How to Fix the Joystick Button on Your Zen V MP3 Player
by boba-brett in Circuits > Audio
3909 Views, 3 Favorites, 0 Comments
How to Fix the Joystick Button on Your Zen V MP3 Player
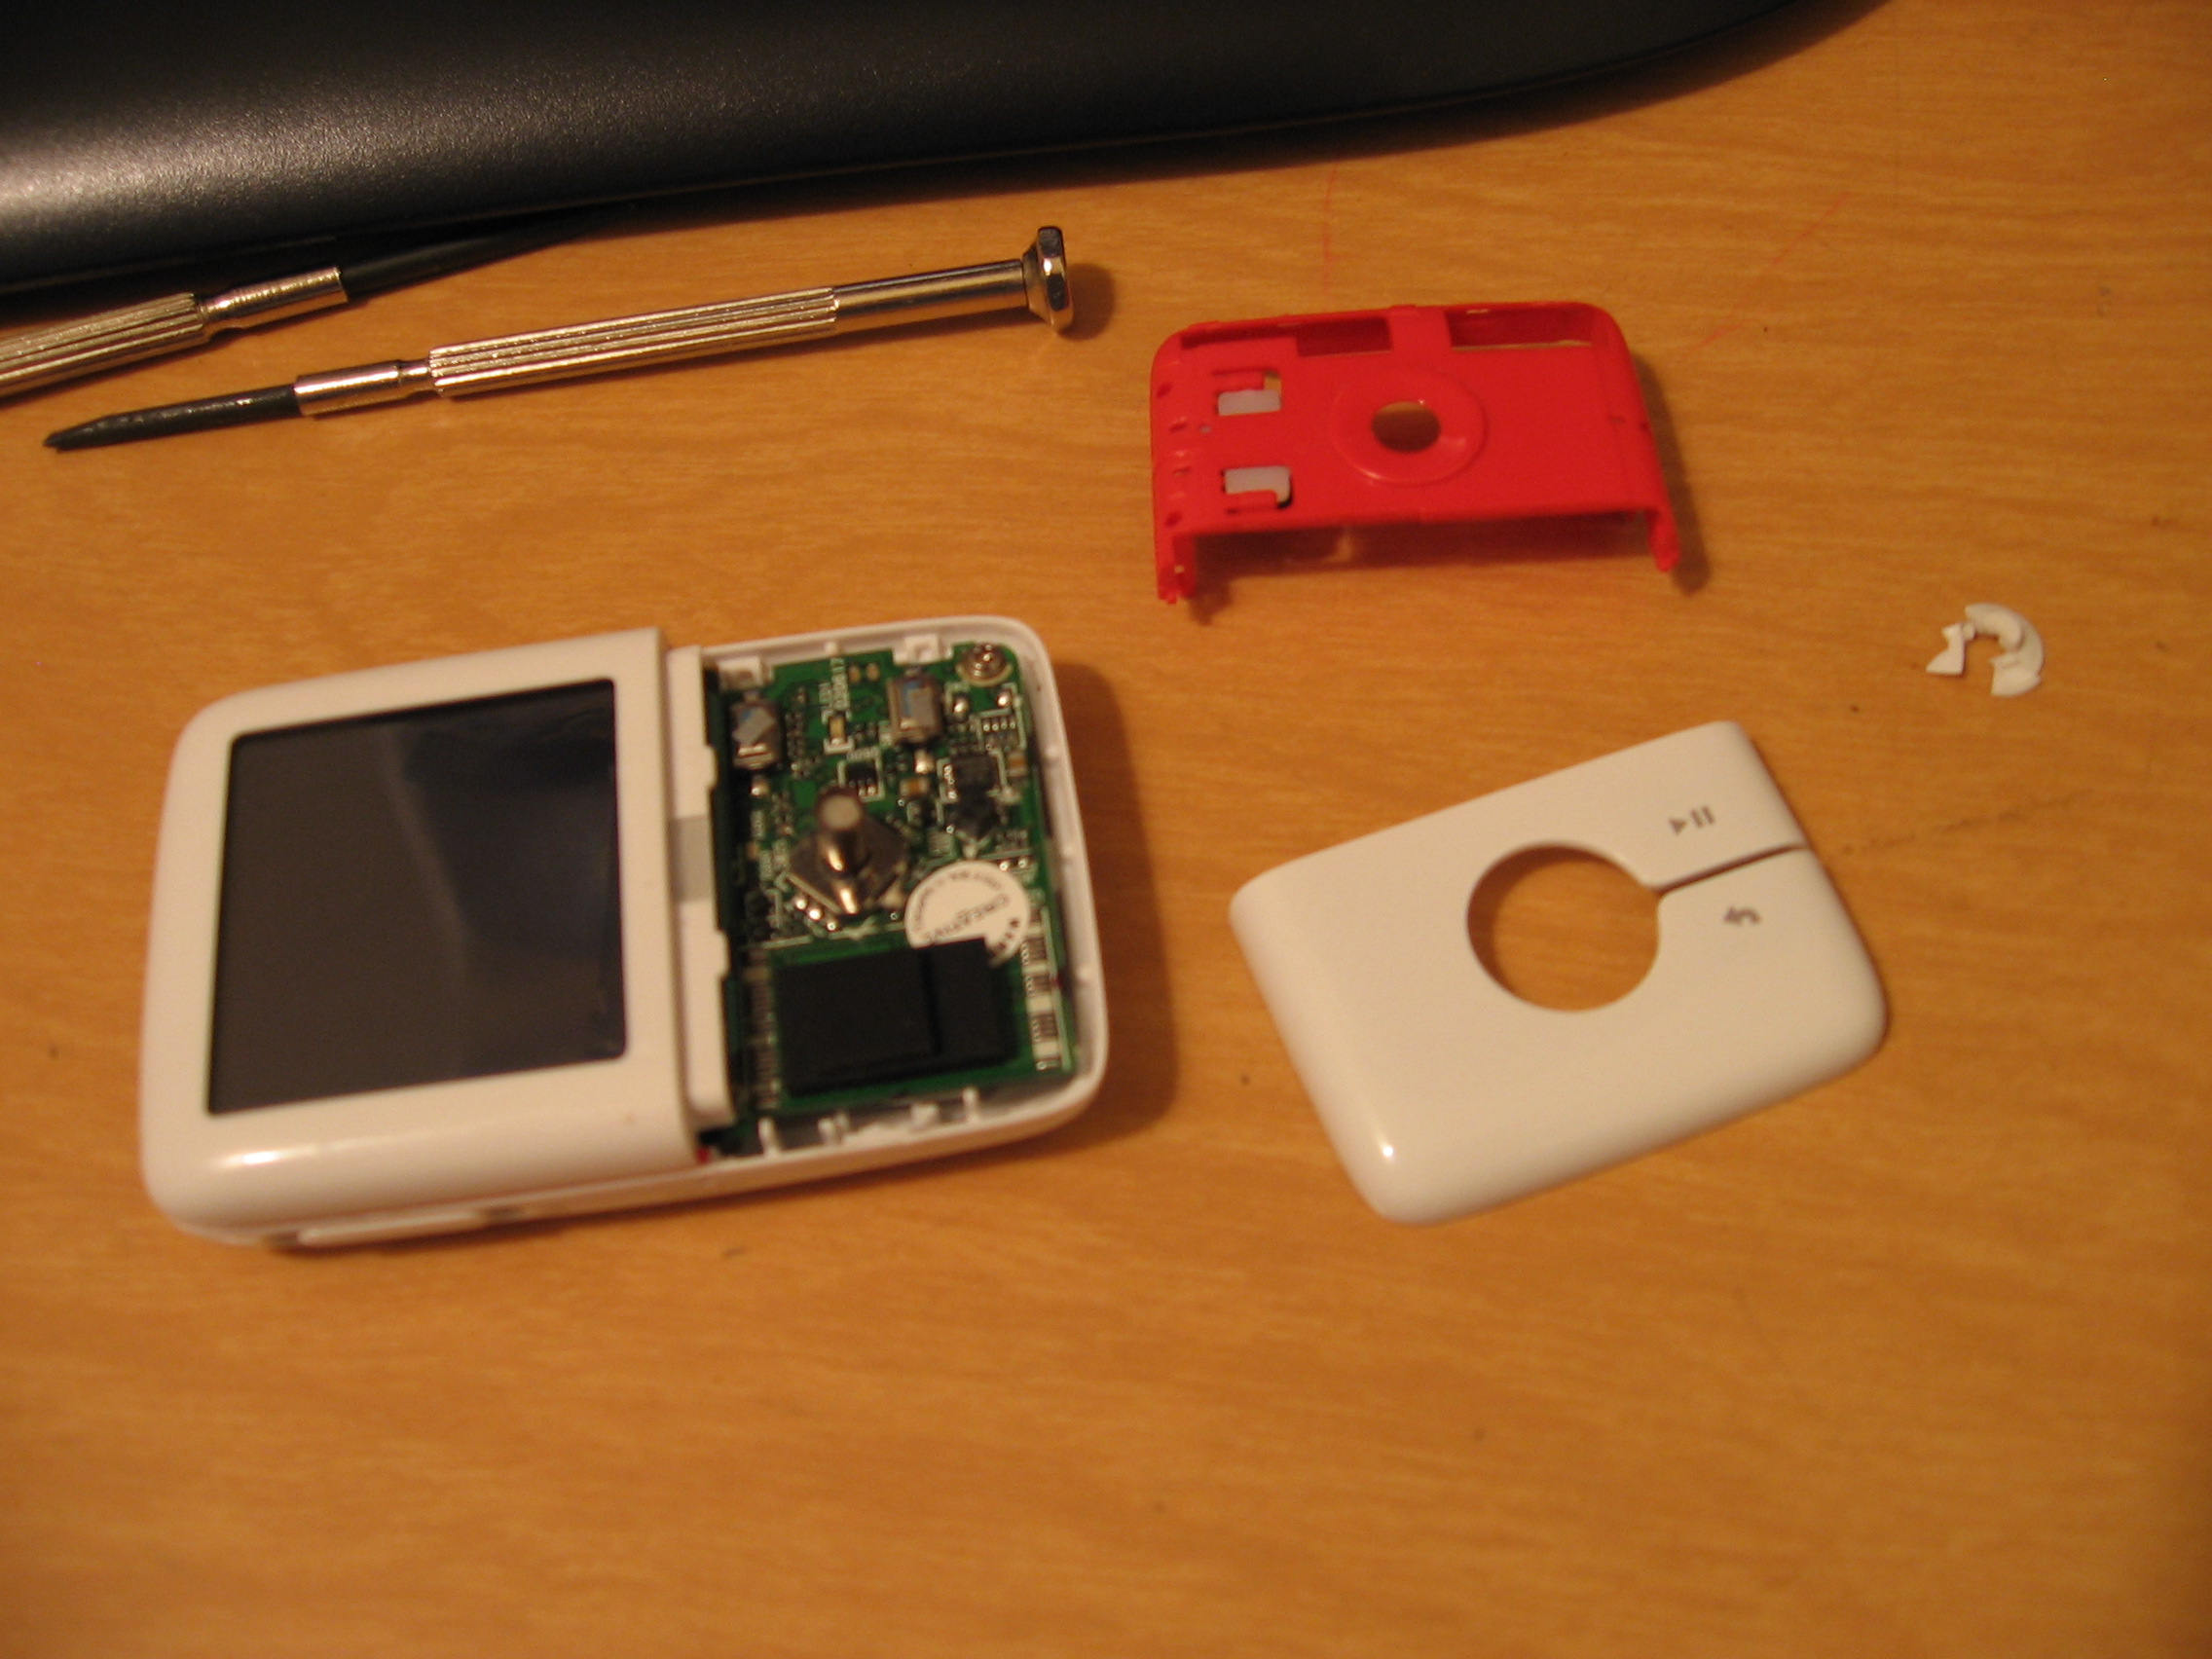
Please bear with me, as this is my first instructable.
You will need:
Super glue
Coffee straw
Eraser
Small flat-head screw driver
This instructable will show you one way to fix the joystick button on your Zen V MP3 player after it has cracked and broken into pieces, leaving you with just a small, sunken-in, square peg which is very hard to reach with your thumb.
Prying Off the Faceplates
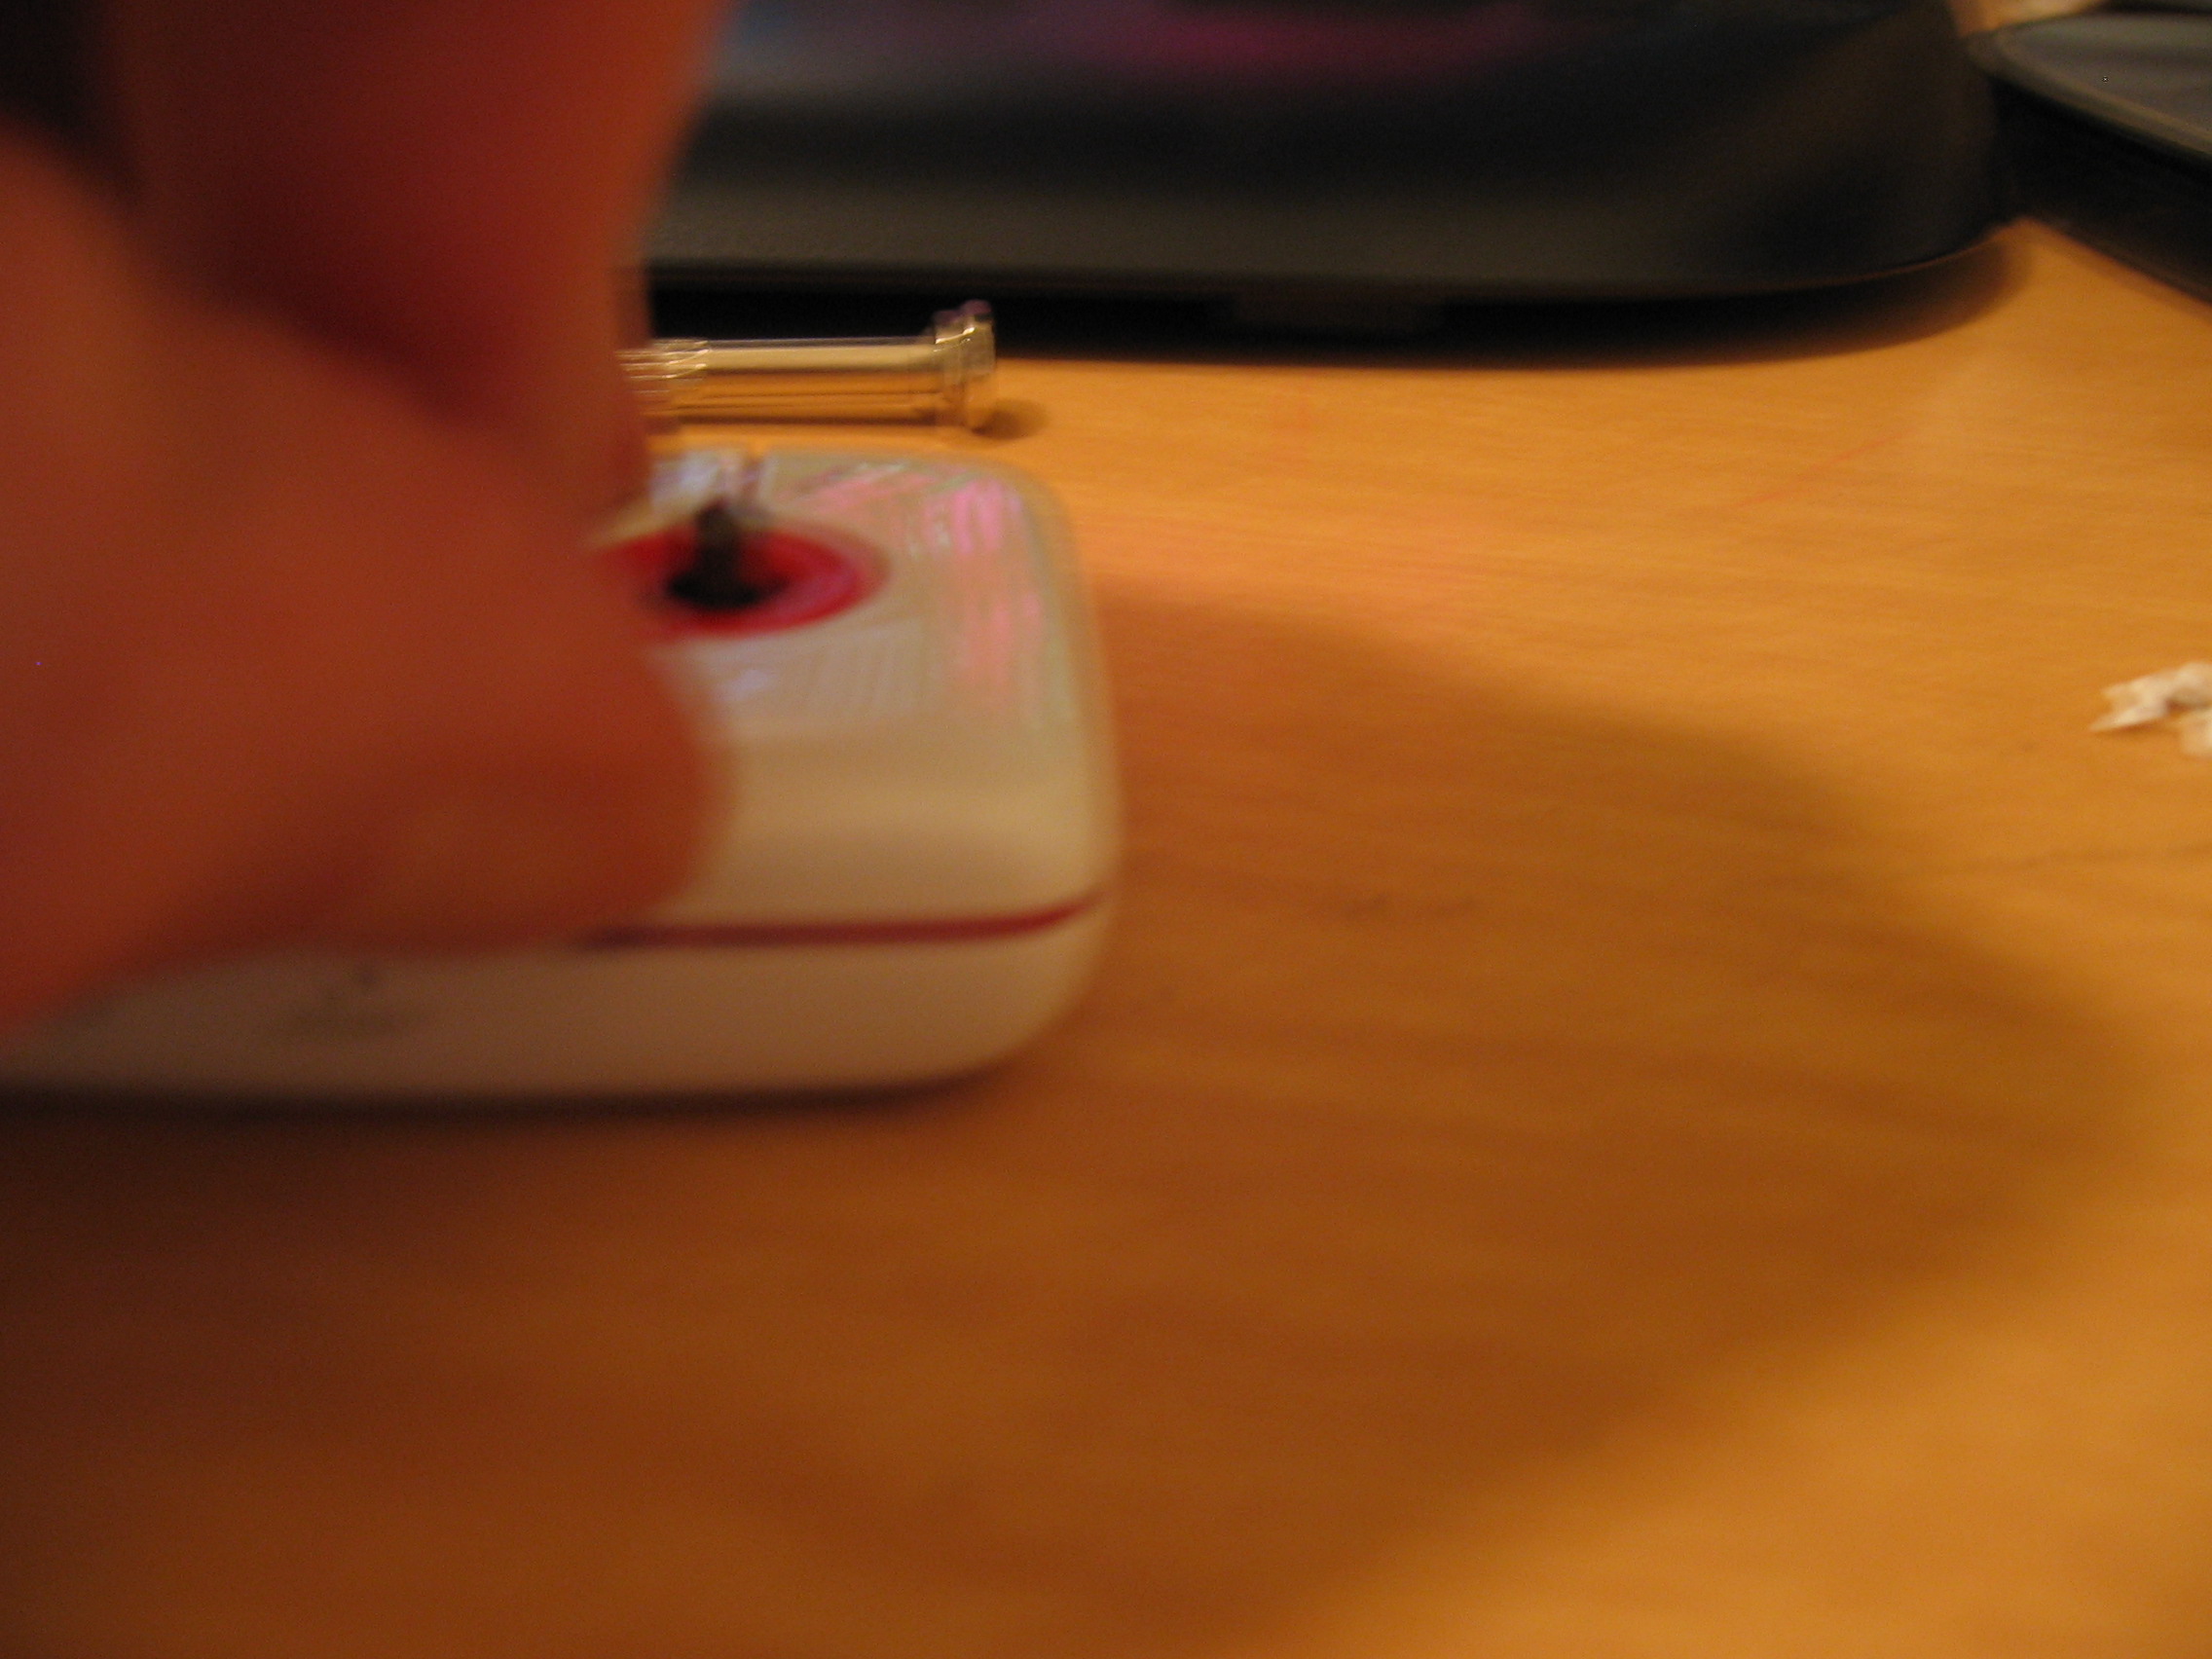
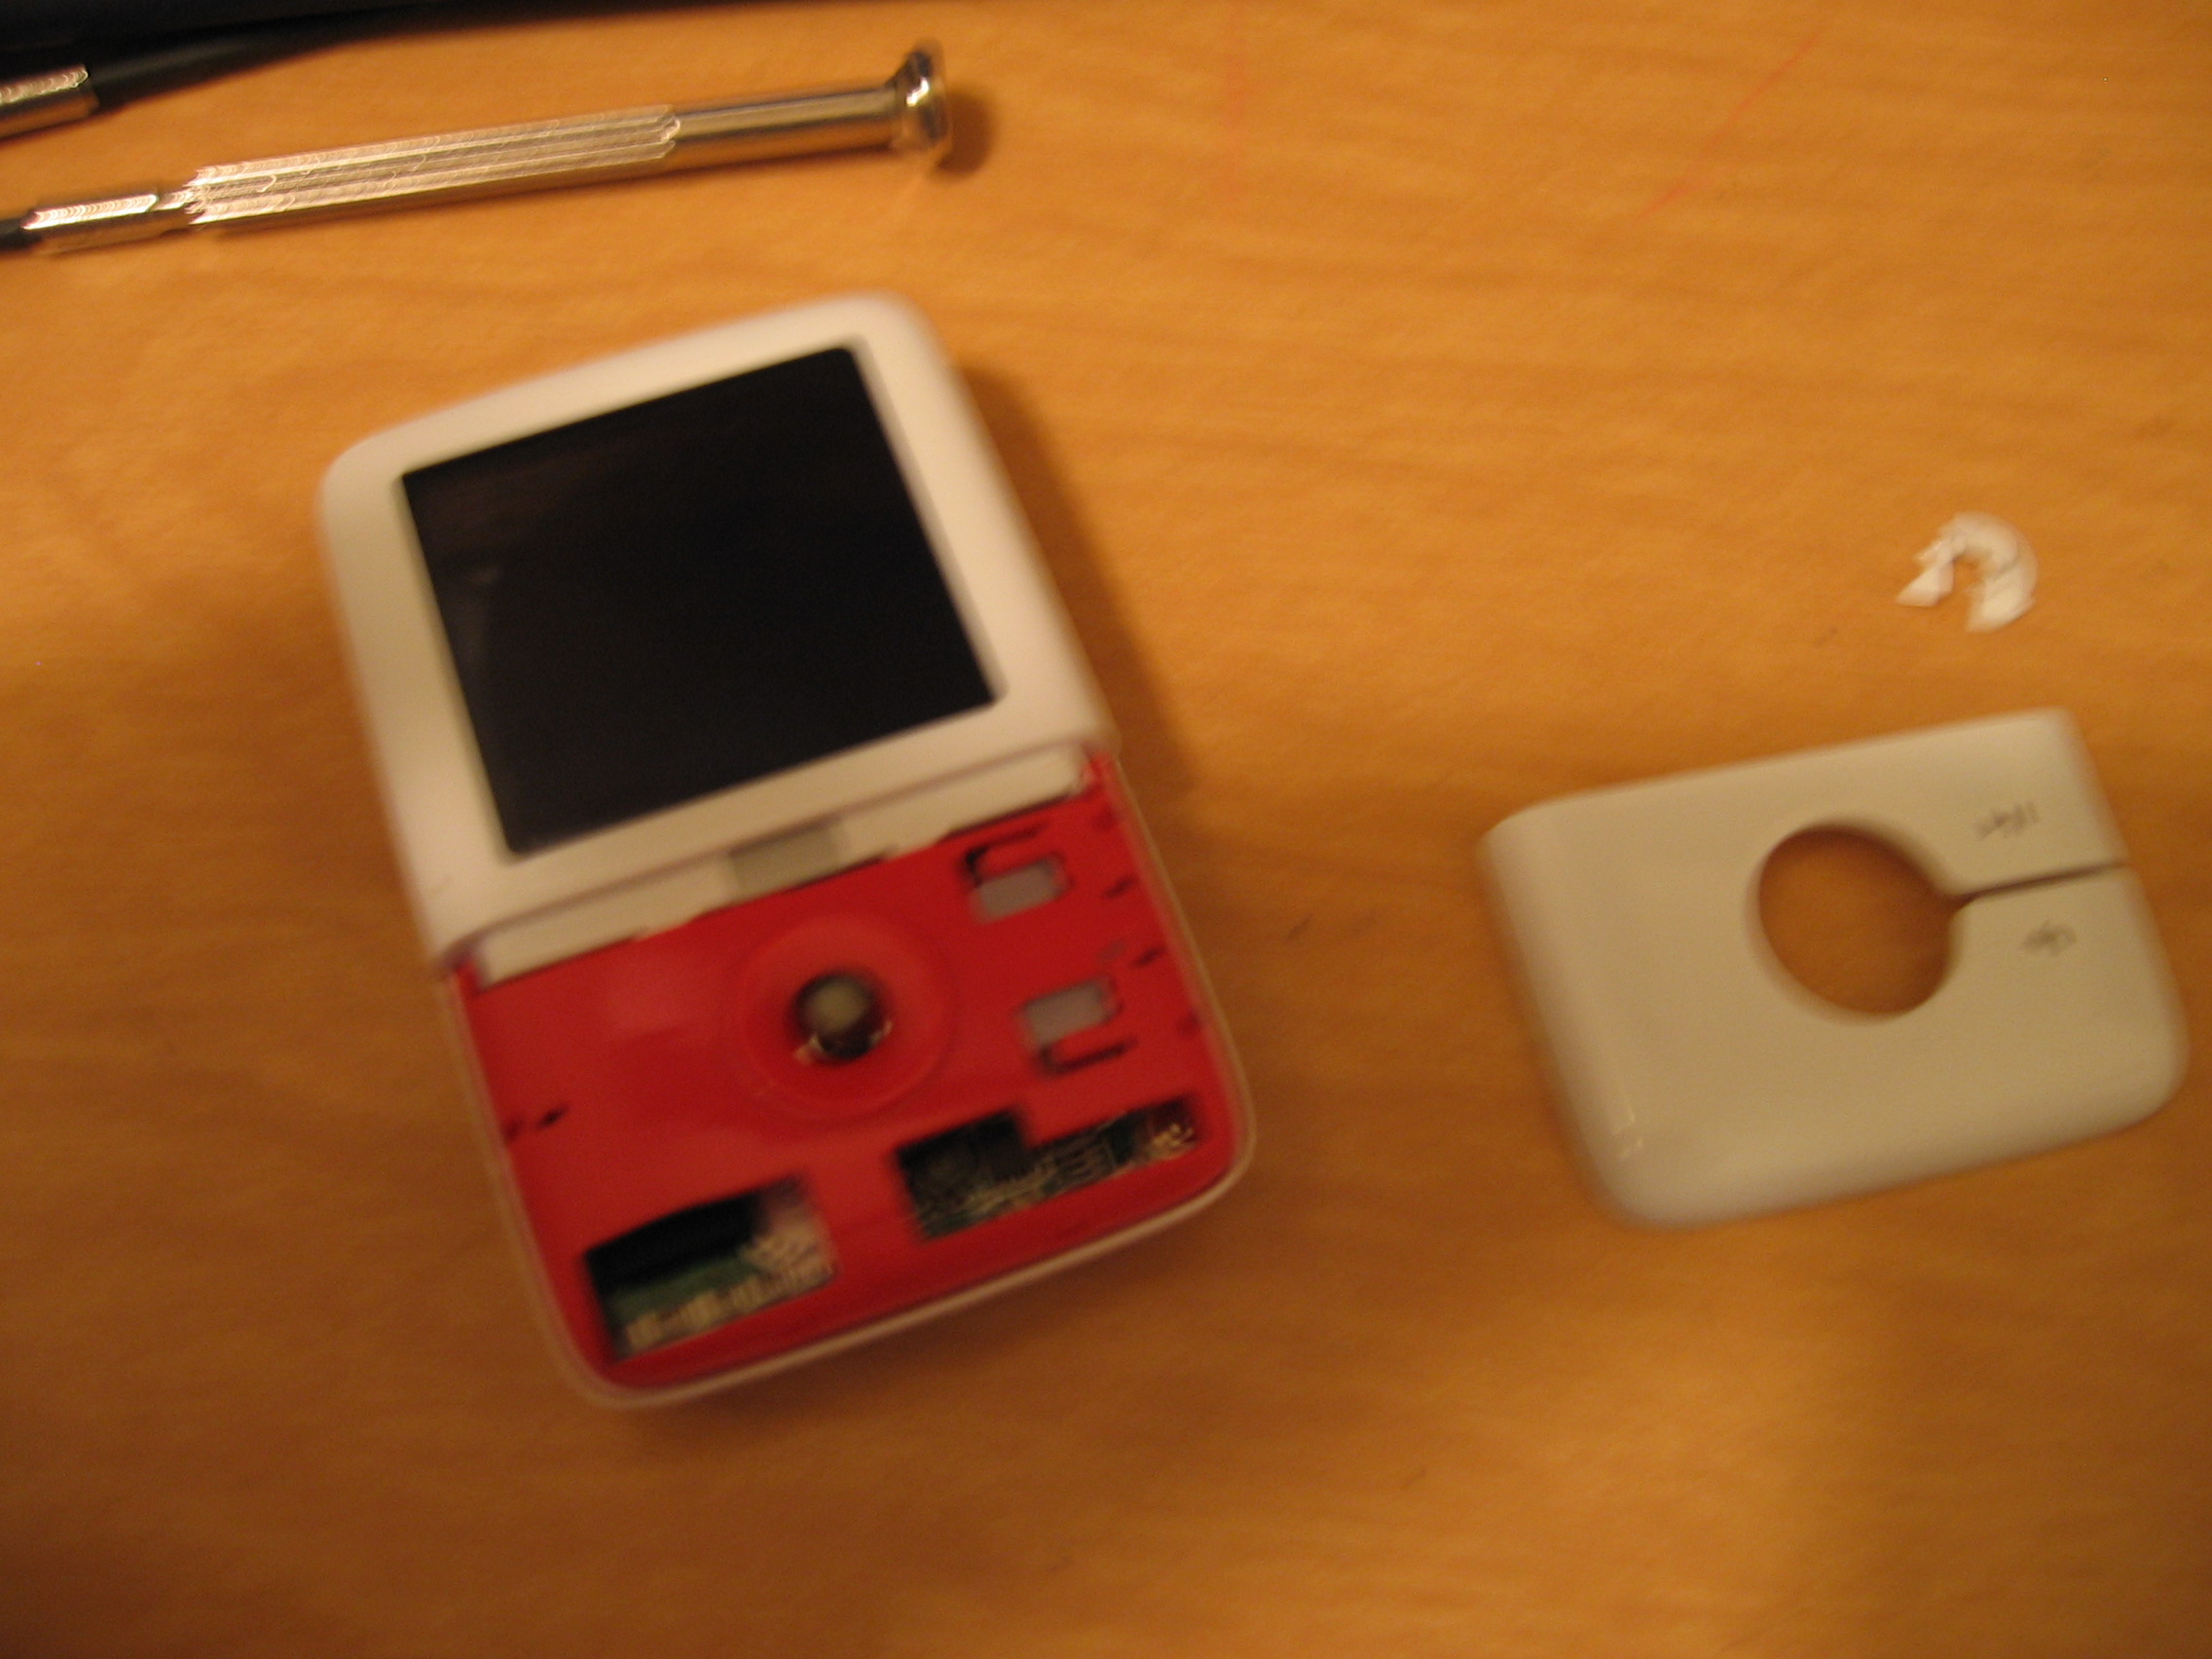
First:
Start at the left side of the player witht he screen at the top.
Hook your thumb nail under the lip of the primary faceplate (white) and gently pry it up.
The red line is actually the secondary faceplate that is exposed from behind the primary faceplate.
Then do the same for the secondary faceplate (red. You might need a small flat-head screw driver to pry it up.
Modifying the Joystick Button
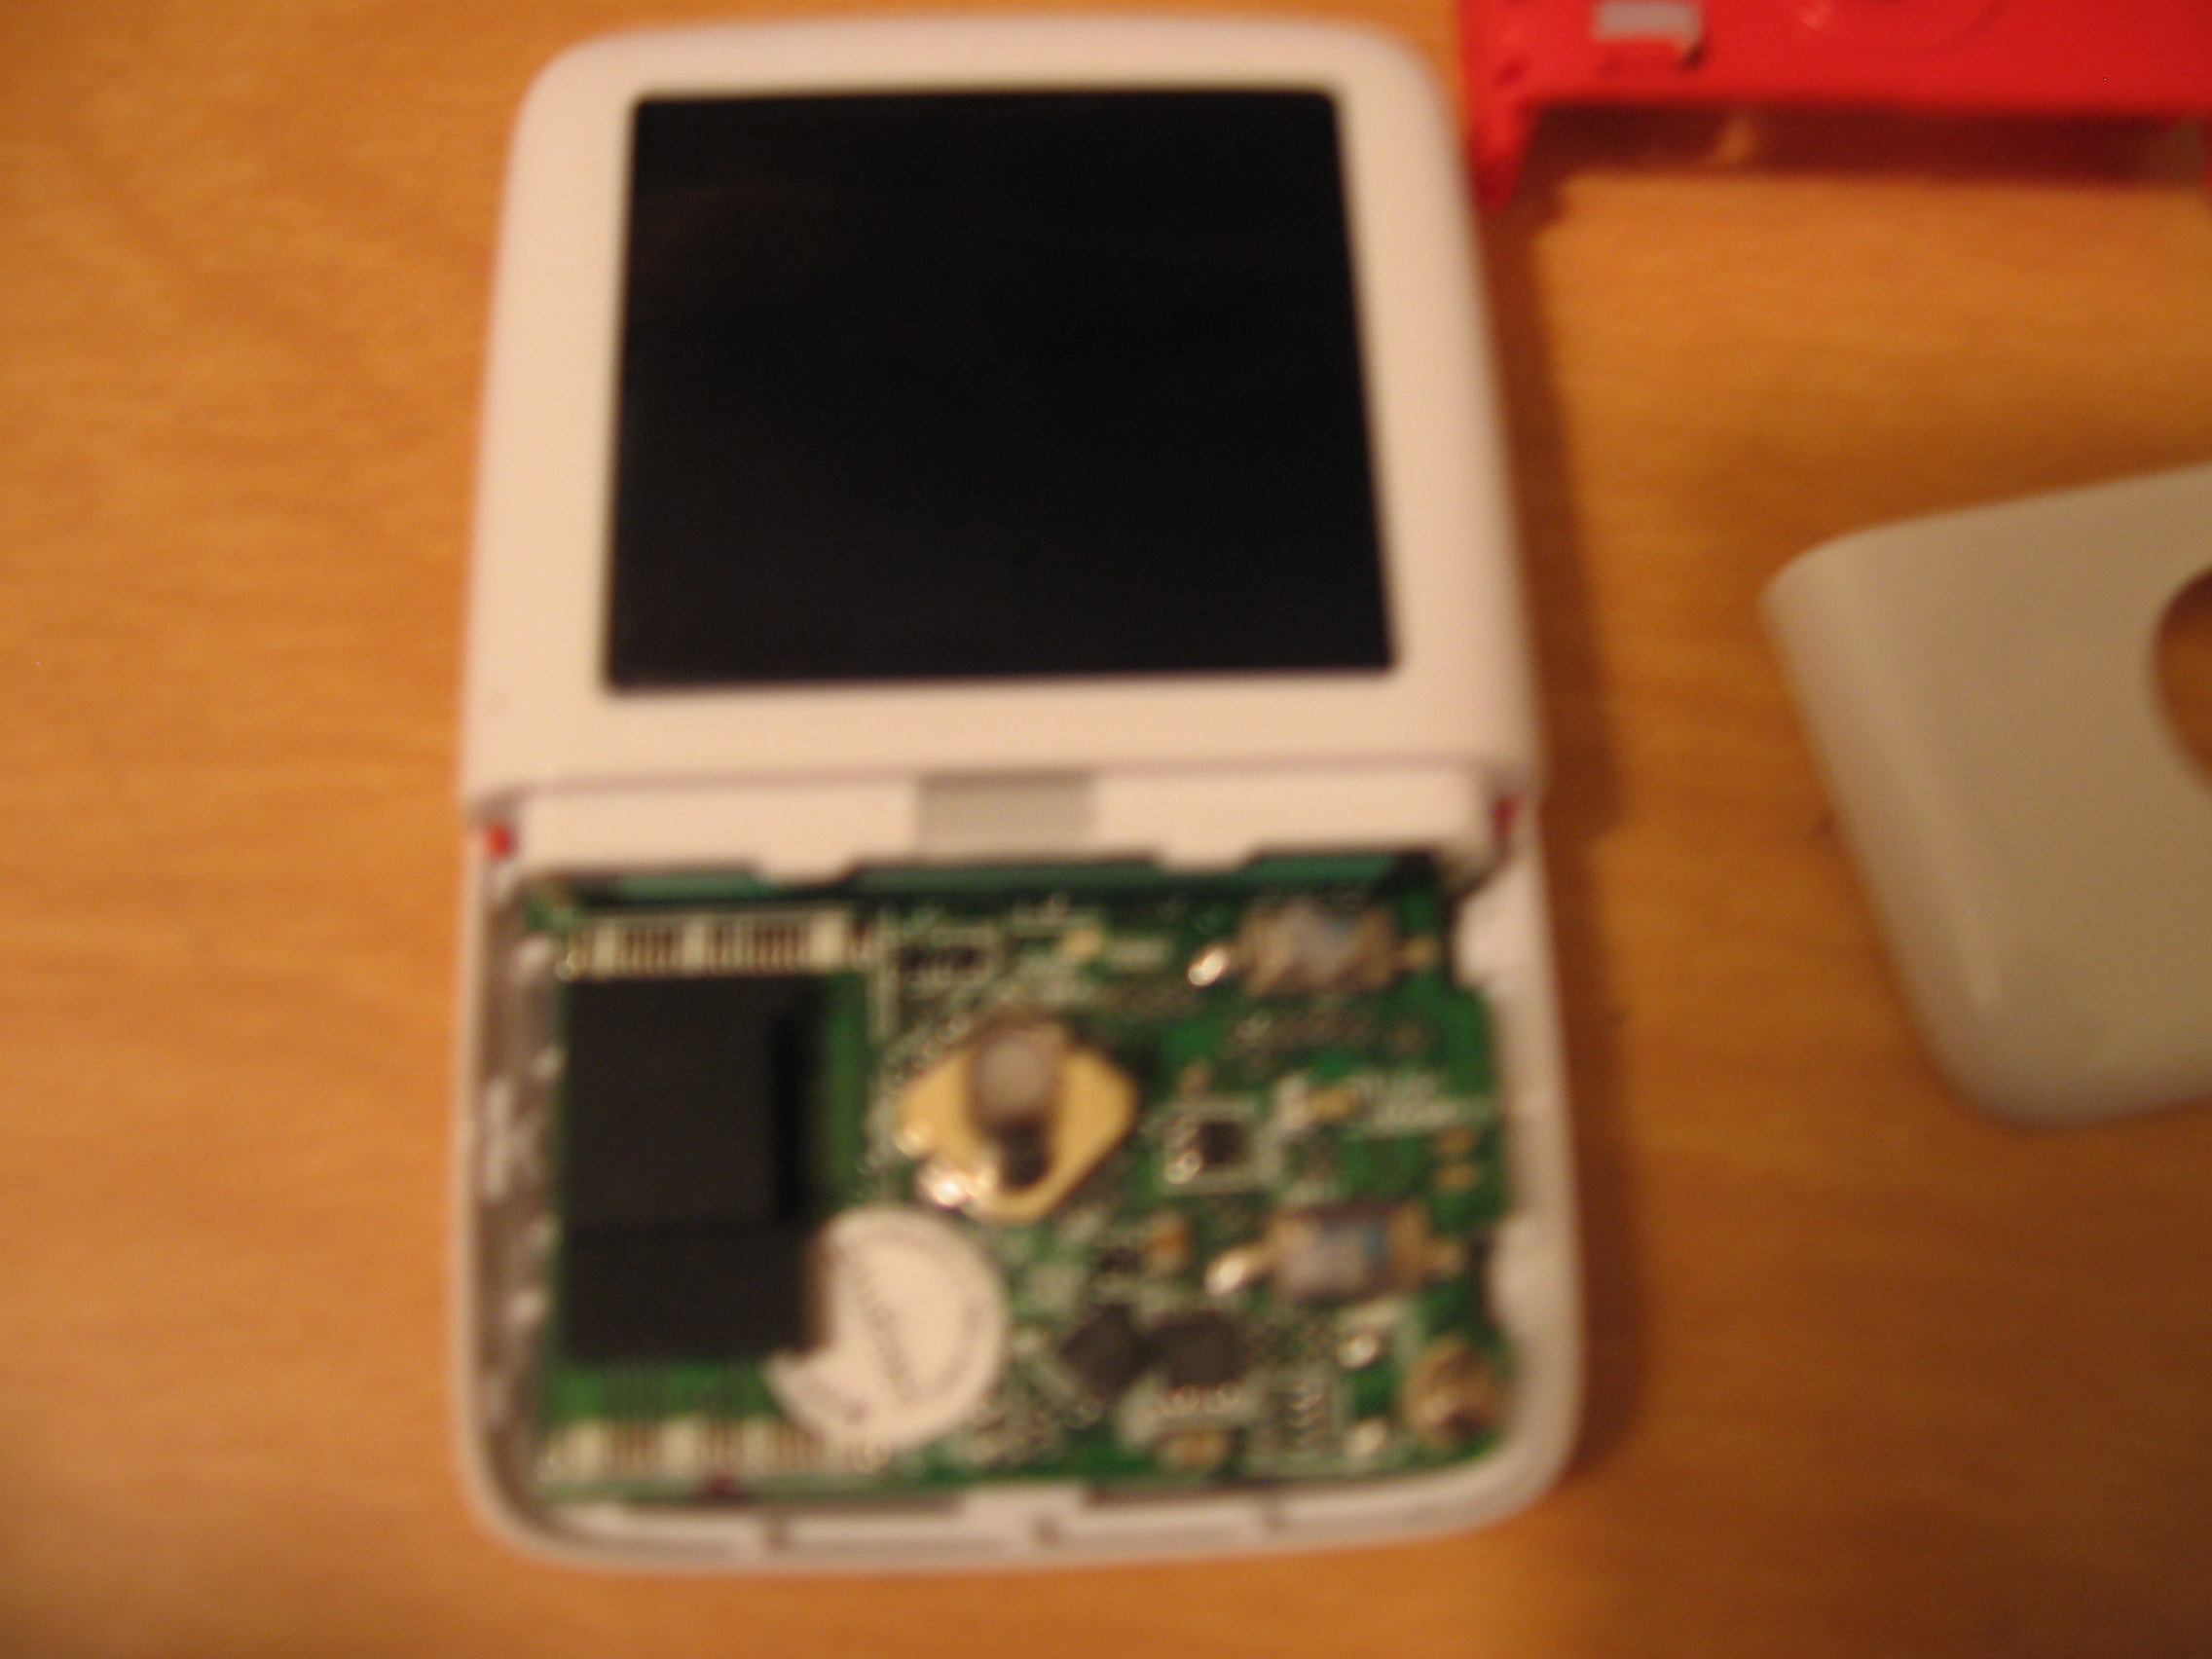
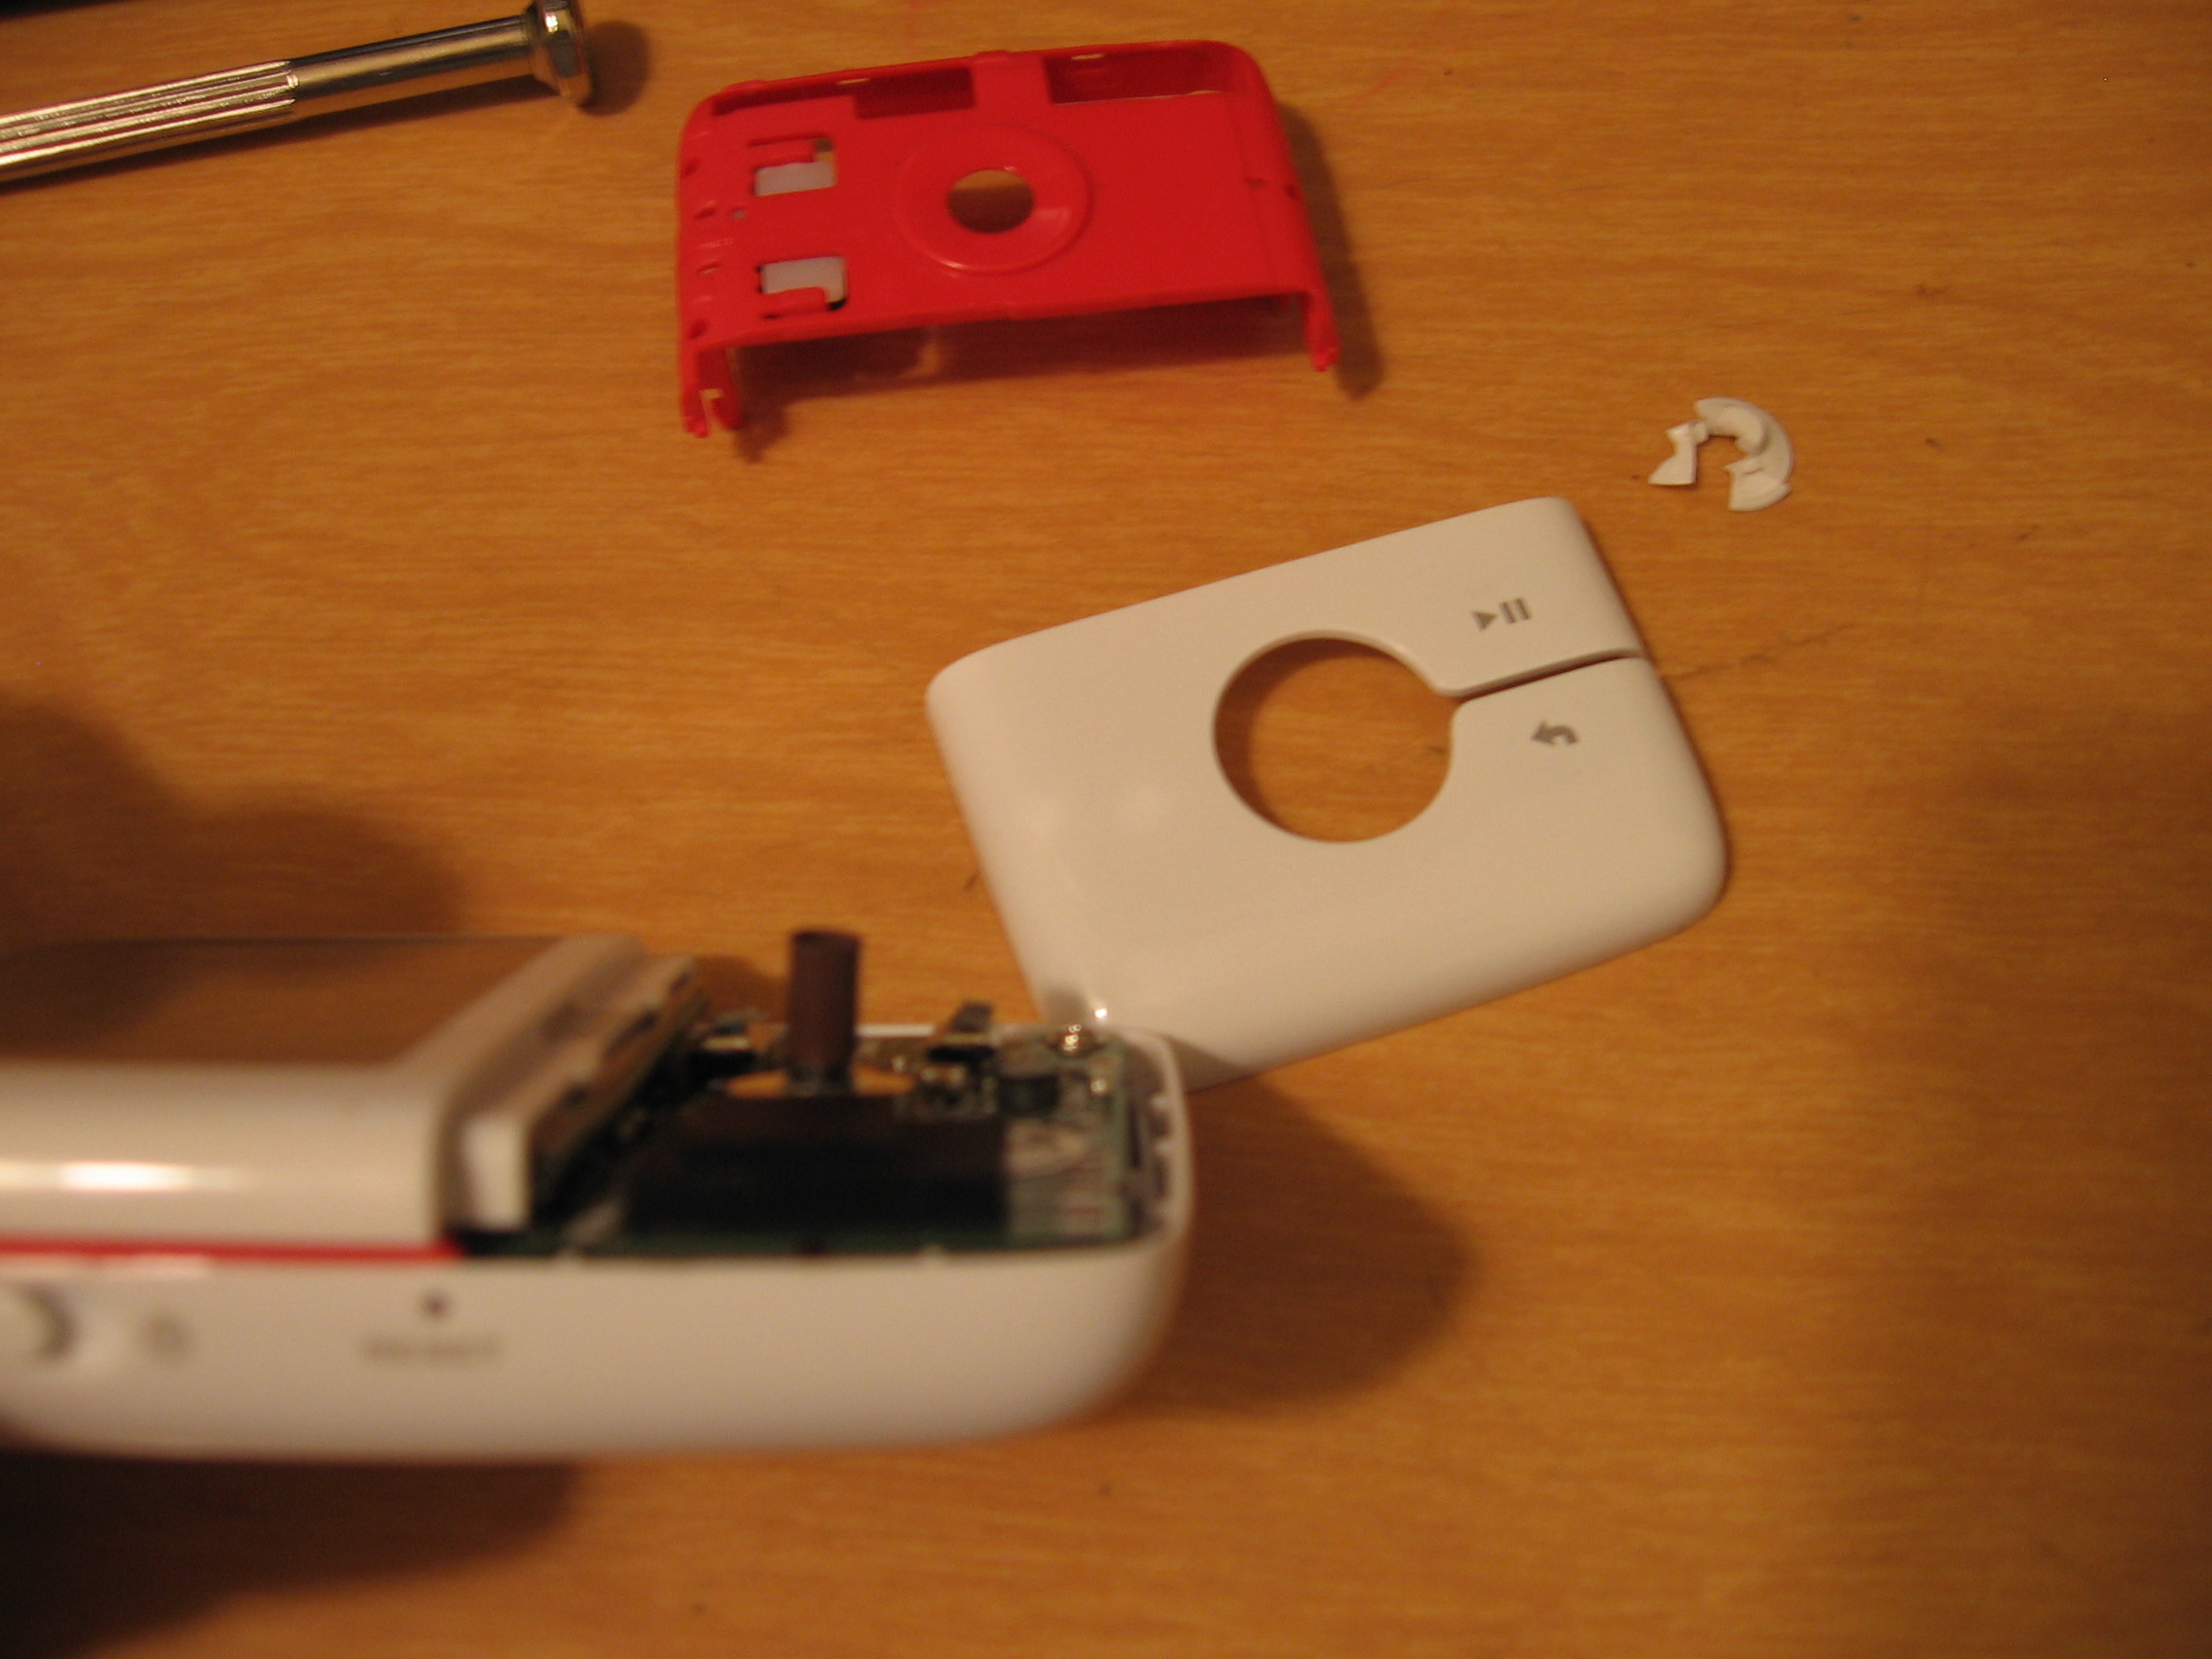
Now cut a section of coffee stirrer straw about a 1/4-inch long and a piece of eraser or some "rubbery" matter slightly shorter that the straw to fit inside the straw.
Add some super glue to the inside of the straw. Careful not to get it on you, laytex gloves work great to avoid glue on your skin.
Slide the piece or pieces of eraser into the straw.
Put a drop of super glue on the end of the straw/eraser assembly and stick it to the button, allowing the straw to go all the way down to the base. This is why the eraser needs to be slightly shorter so that it doesn't stick up pass the top of the straw.
Re-assembly
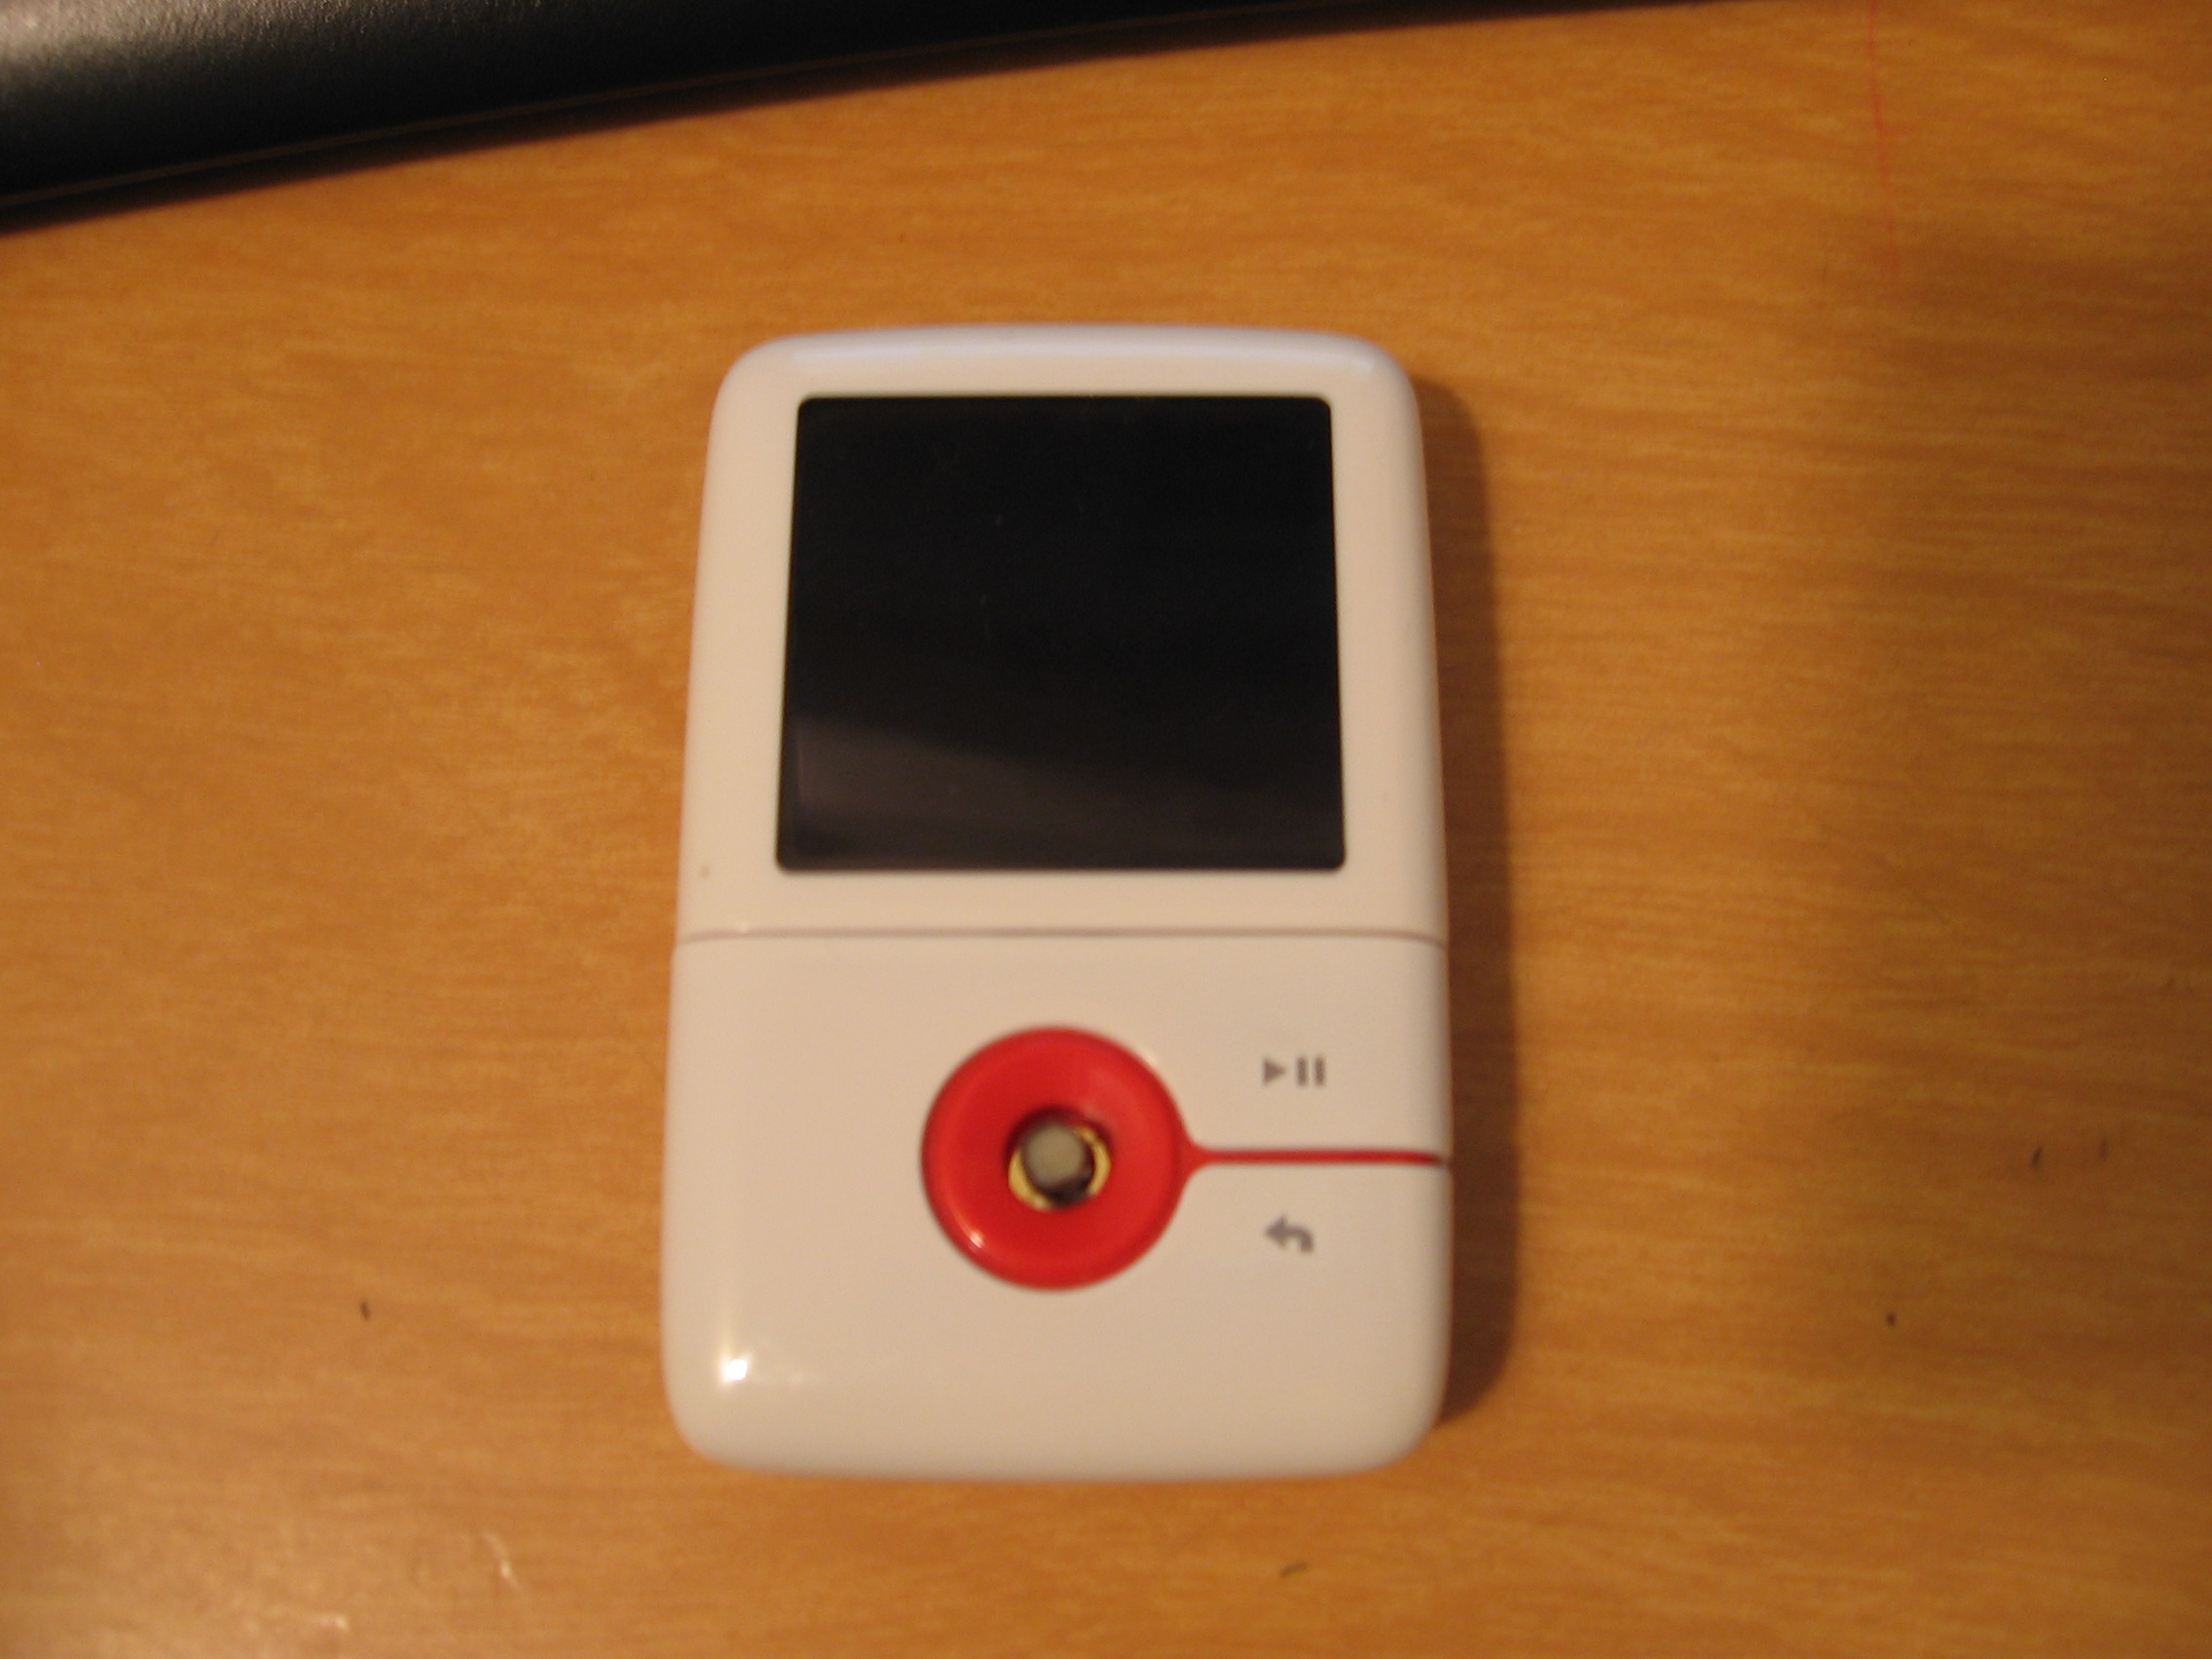
After the glue has dried, simply snap the faceplates back on in the opposite order, right to left.
Voila! you can use the joystick again!
Voila! you can use the joystick again!