How to Fake a Miniature Model.
by joe57005 in Circuits > Cameras
12380 Views, 54 Favorites, 0 Comments
How to Fake a Miniature Model.
Selecting a Picture.

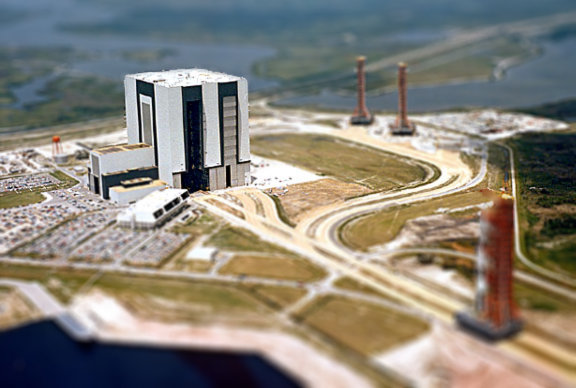
This step is very important. The method i will show you may not work well on some images, in fact, it may not work well on many images. Aerial photographs seem to work best. Remember, you're faking a miniature model, and they're kind of hard to photograph, the easiest way to photograph a model is from just above it. The image i chose for this is an aerial photograph of the vehicle assembly building at the Kennedy space center. I highly recommend you use this image for your first try. (right click and hit 'save image as')
Add a Layer
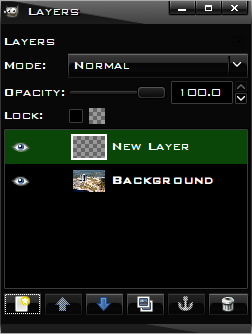
After you've loaded the image in Gimp (File > Open), we need to add a blank layer on top.
In the Layers window Click new layer and name it whatever you want.
If you don't see a Layers window, press Control-L (or select it from the Dialogs menu)
In the Layers window Click new layer and name it whatever you want.
If you don't see a Layers window, press Control-L (or select it from the Dialogs menu)
Add a Gradient

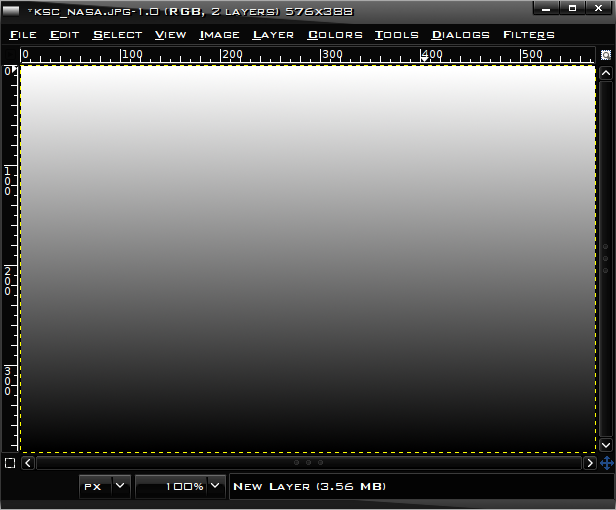
In the Layers window, select the new layer by clicking it.
Now click the Gradient tool in the Gimp window.
Next, click and hold near the bottom of the image and drag the mouse to the top of the image, a line will appear as you drag, it is important that you keep that line as straight as you can. Release the mouse, your image should now be black on the bottom and fade to white at the top and look like the (second) image below.
If it has White at the bottom and black on top, click Colors and select Invert.
Change Opacity and Compensate for Objects.
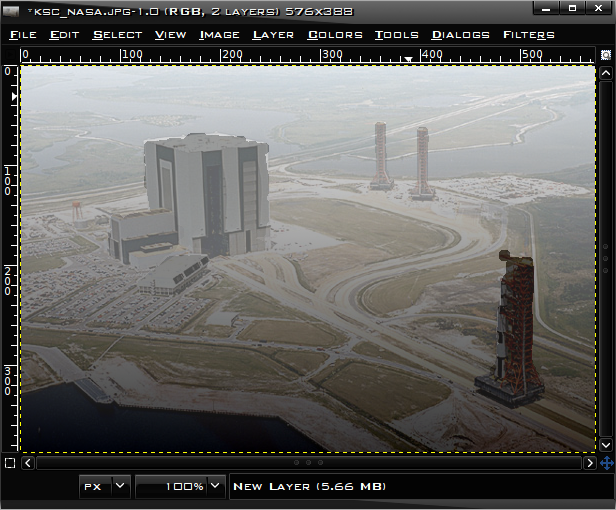
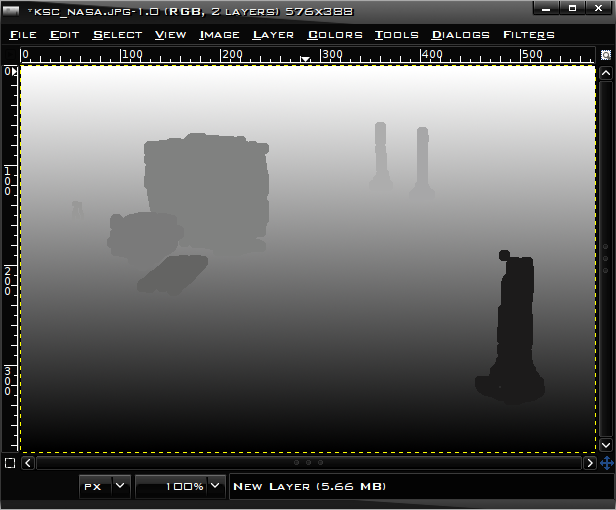
This step helps with realism, you'll see why in a later step.
In the layers window, click the layer with the gray gradient and set the opacity (the sliding bar) to a lower number, keep it a high number so you can still clearly see the gradient, but you want to see the image below. you will be tracing the objects. 79 is a good number
Now, for each object (i only did 6) use the color picker (the eyedropper in the gimp window) to select the color near the bottom of the object. Next click on the paintbrush (or pencil) tool. fill in the object with the color you just 'picked.' If you make a mistake, hit Control-z or select Undo from the edit menu.
If your brush/pencil is too big, use the scale slider to make it smaller/bigger. If it's hard to see, you can increase or decrease the opacity, or zoom in. (magnifying tool, control-click to zoom out)
when you're done, set the opacity back to 100 and fill in any gaps.
Blur the Image.
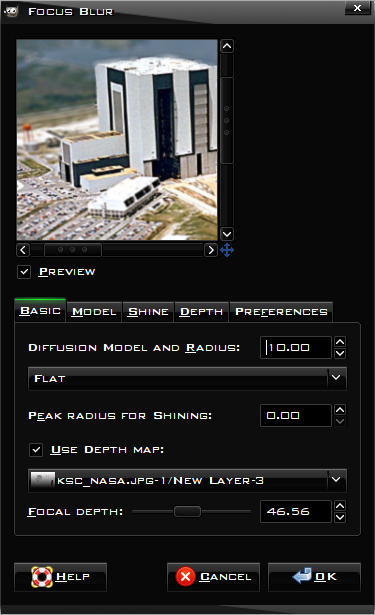
This is where the magic happens...
In the Layers window click the eye next to your gradient layer. it should no longer be visible.
Now click the Background layer in the layer window. in the image window, click Filters and move to the blur sub menu, and click Focus blur.
In the focus blur window check Use Depth Map. Use the layer you made as the map.
Now, decide what you want to be in focus, and slide the Focal depth slider until it's in focus. I recommend making it slightly out of focus for realism. (it's supposed to be a photograph, they're hard to get in focus). Adjust the Radius until you like the amount of blur and click ok.
That's It!

You're done. admire your work and show it off!