How to Extract Wii Games to Your Computer Using a Usb Stick.
by Solderguy in Circuits > USB
107517 Views, 28 Favorites, 0 Comments
How to Extract Wii Games to Your Computer Using a Usb Stick.
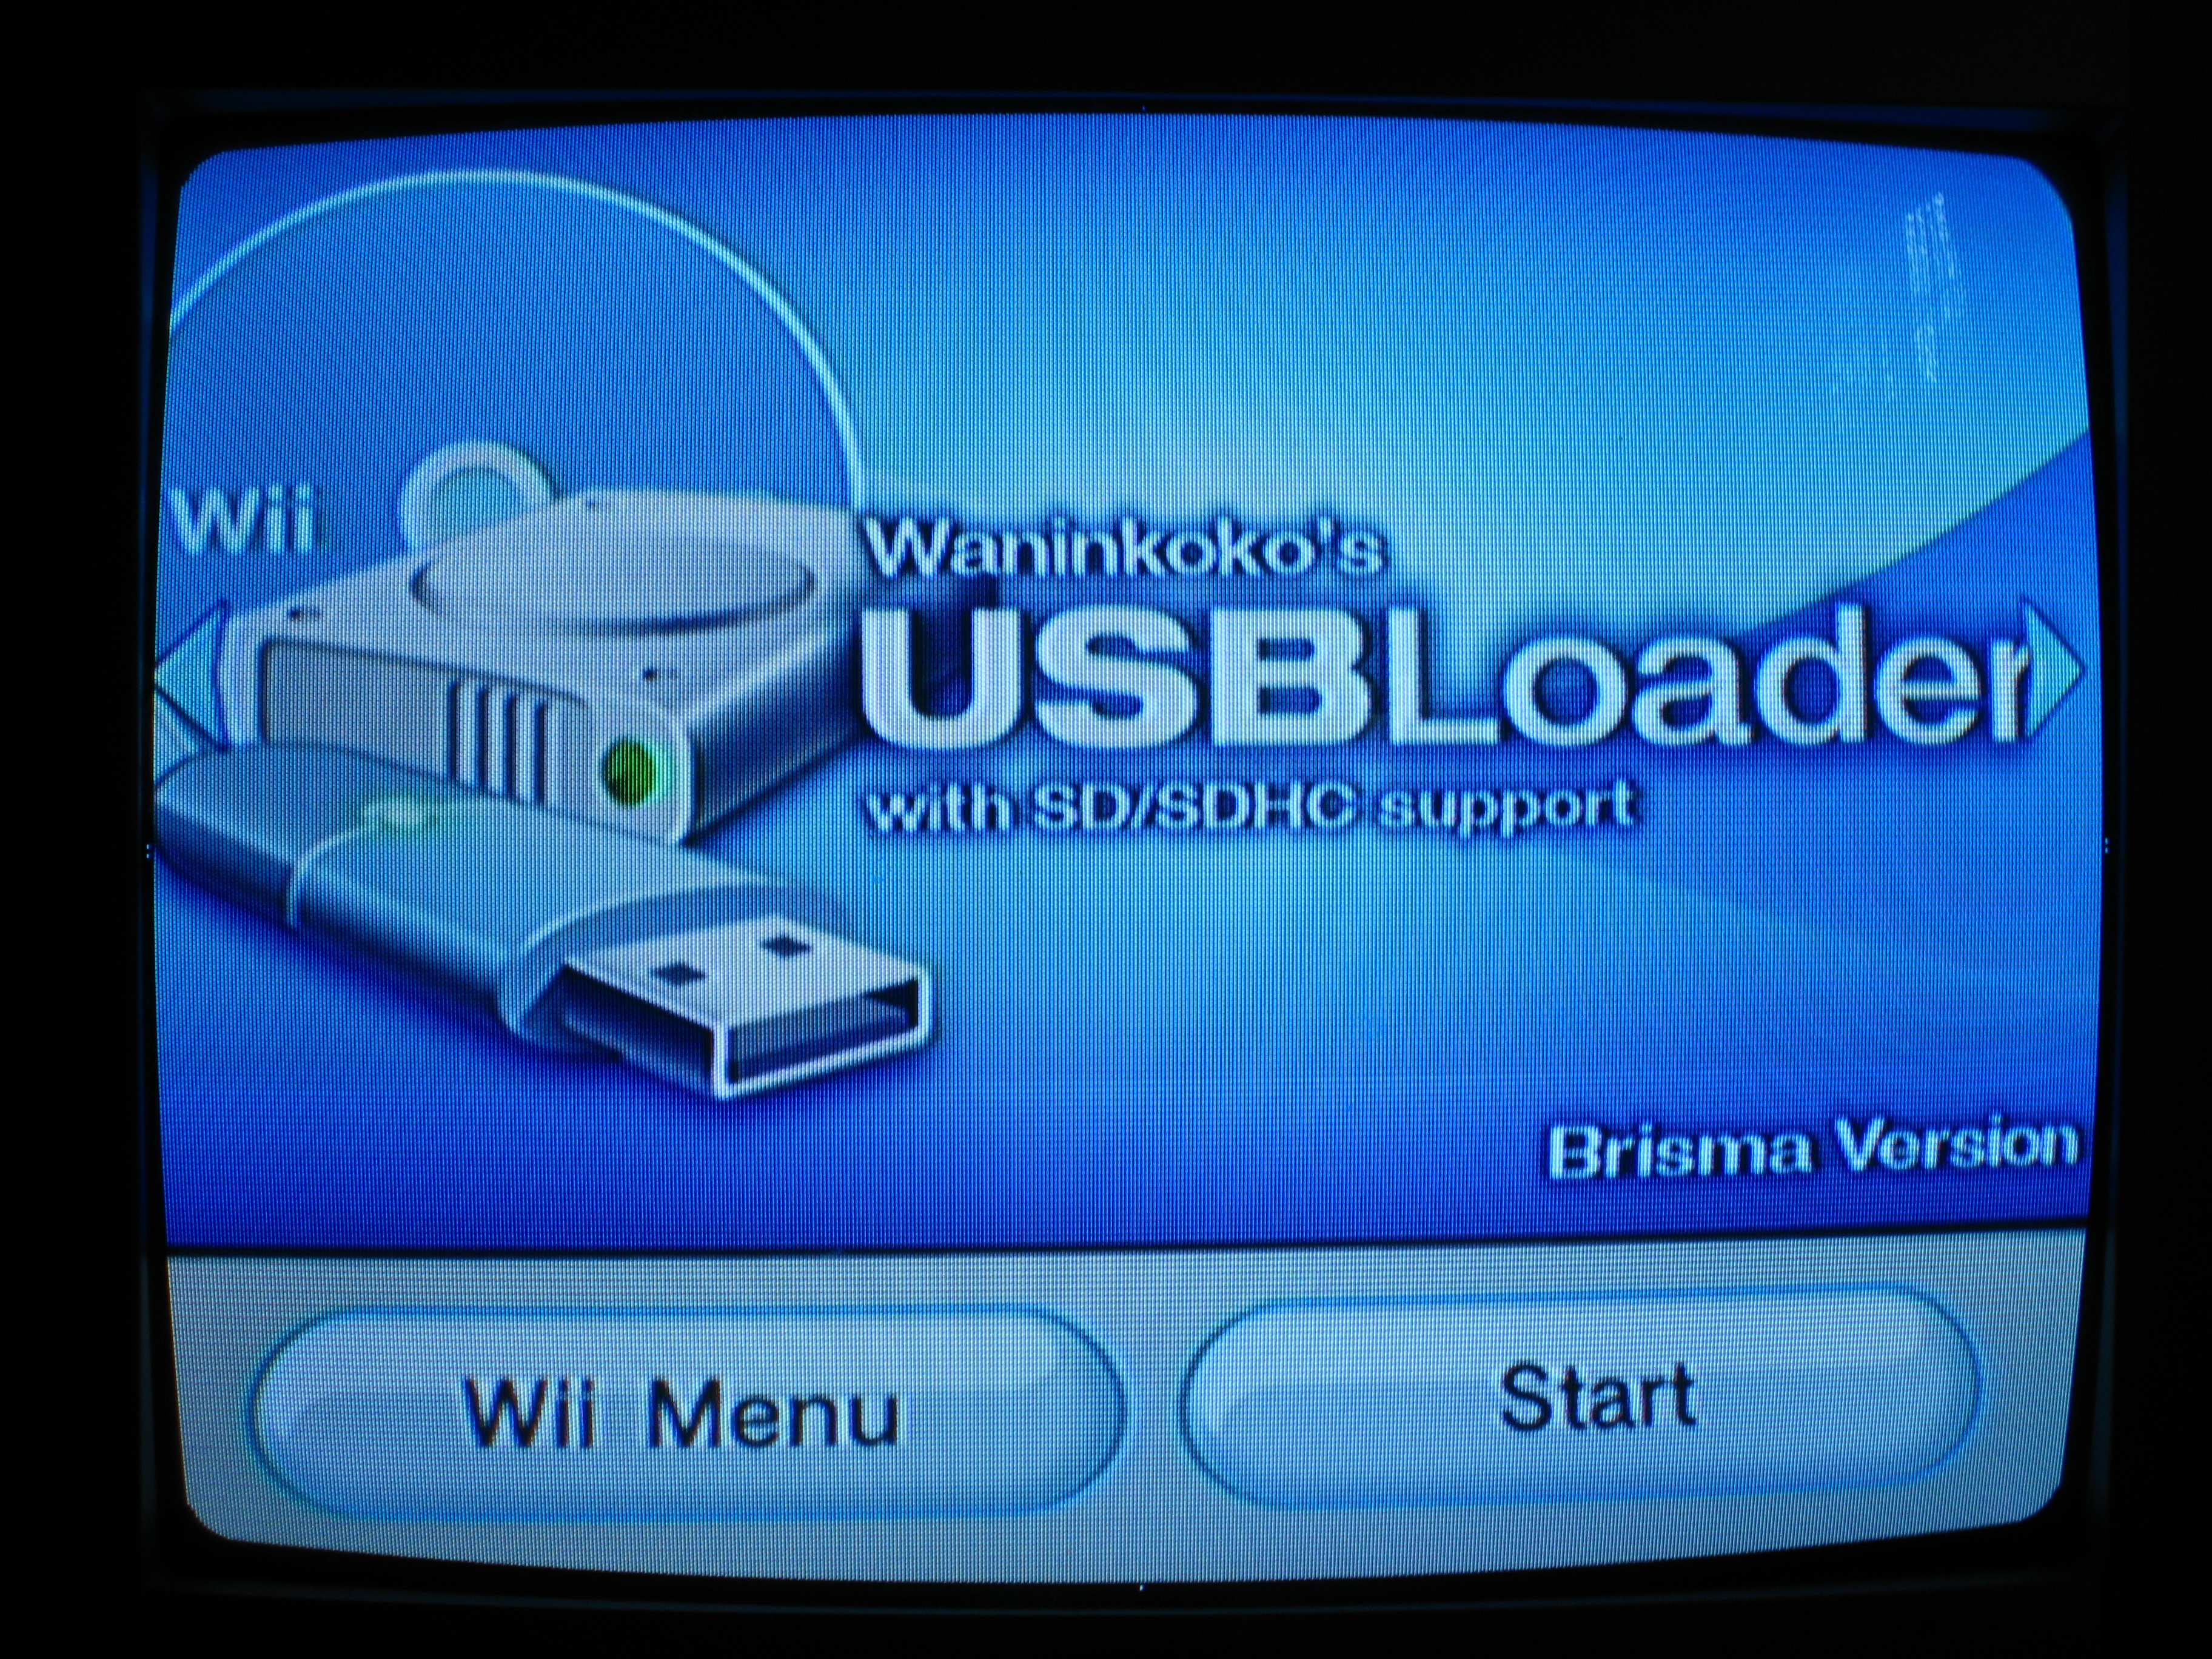
This instructable will show you how to rip a copy of a Wii game to your computer using only a USB stick and your Wii, and how to compress it for storage.
You will need several things to make this happen:
Hardware Requirements:
Wii with firmware 3.4 and under.
A Wii with a functional DVD drive.
A computer with a usb port.
A large usb stick or usb hard drive.(8 GB at most for dual layer games.)
Software Requirements:
The Homebrew Channel
Usb Loader 1.5
WBFS manager 3.0 or higher.
7-zip
Other:
Wii game (Bought or burned backup)
(Optional:
I suggest you use a large usb external hard drive for permanent tertiary storage).
Rip Game to Usb Drive.
To start please insert your WBFS formatted usb stick into the usb port on the back of the Wii.
Turn on the Wii,go to Menu, and start usb Loader Channel.
The screen will go green for a second and you be in usb loader 1.5.
Use the left and right directional cursors to choose "usb mass storage device" and press "A" on your Wii remote.
You will see your usb drive, what games are on it, and how much space is left. ( I recommend that it should be empty.)
Insert your Wii game into your Wii DVD drive, and press "+" on your Wii remote, then either press "A" on you Wii remote to completely rip the game or press "1" to rip the game without the update partition.
After that it will start the ripping process and display the percentage ripped, size of the ripped file, and the estimate time until ripping is complete.
##Remember that some games are smaller than others and will take a shorter time to rip. A perfect example of this is "Super Paper Mario". Even thought it is on a 4.7 GB DVD, it's only 400MB in size. That means that 90% of the DVD was filled with nothing but zeros.##
Extract ISO From Usb Drive to Computer.
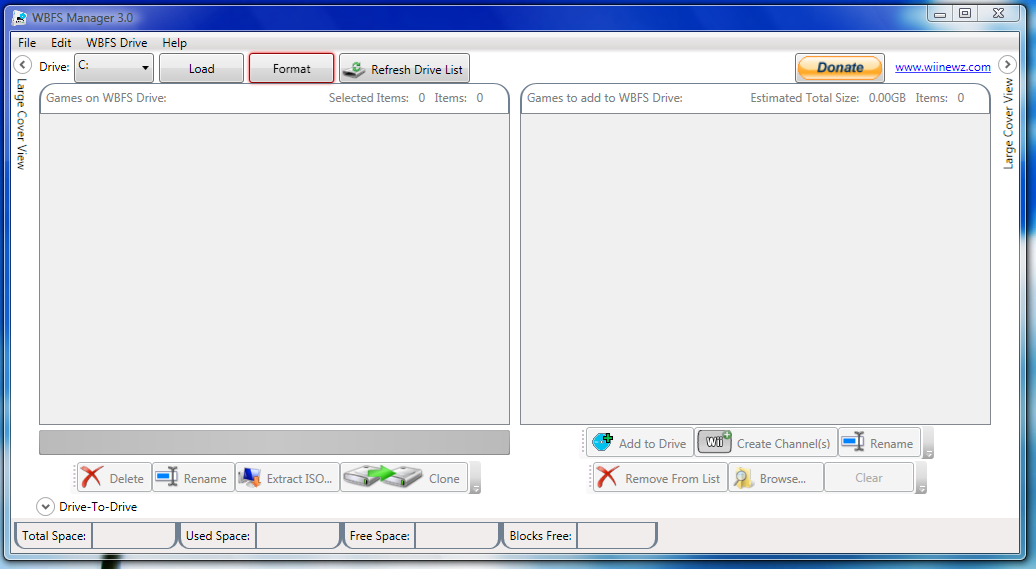
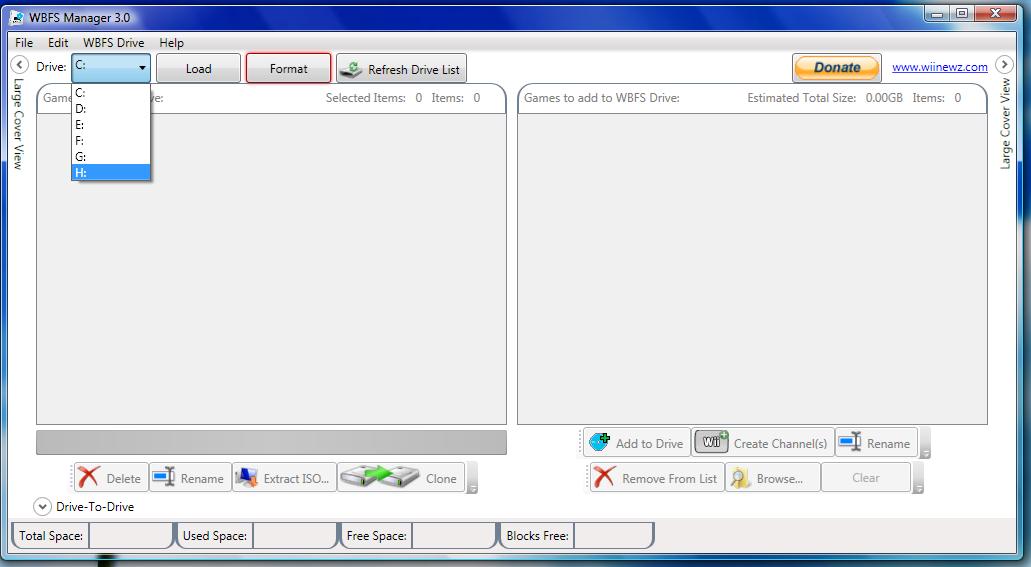
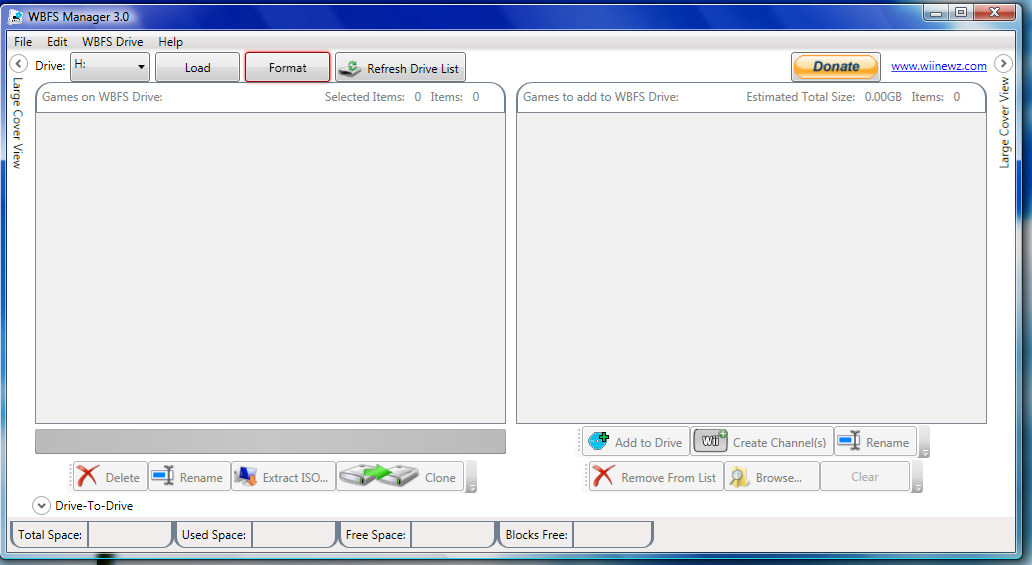
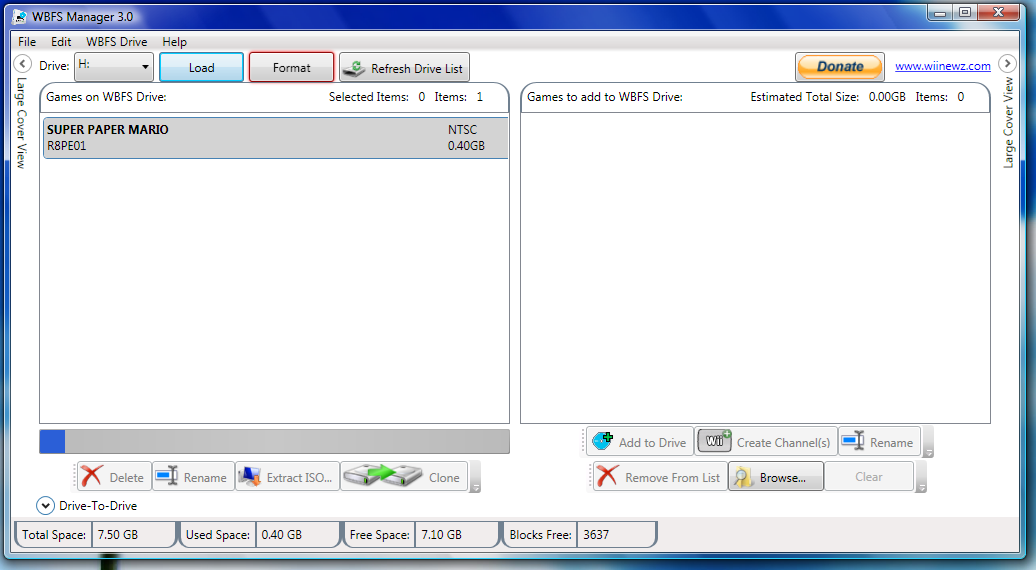
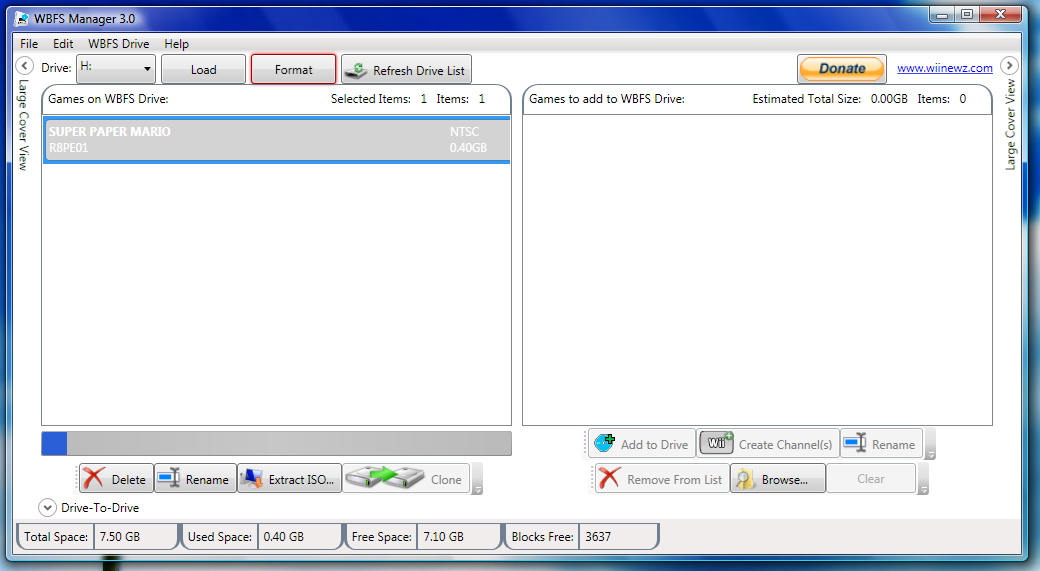
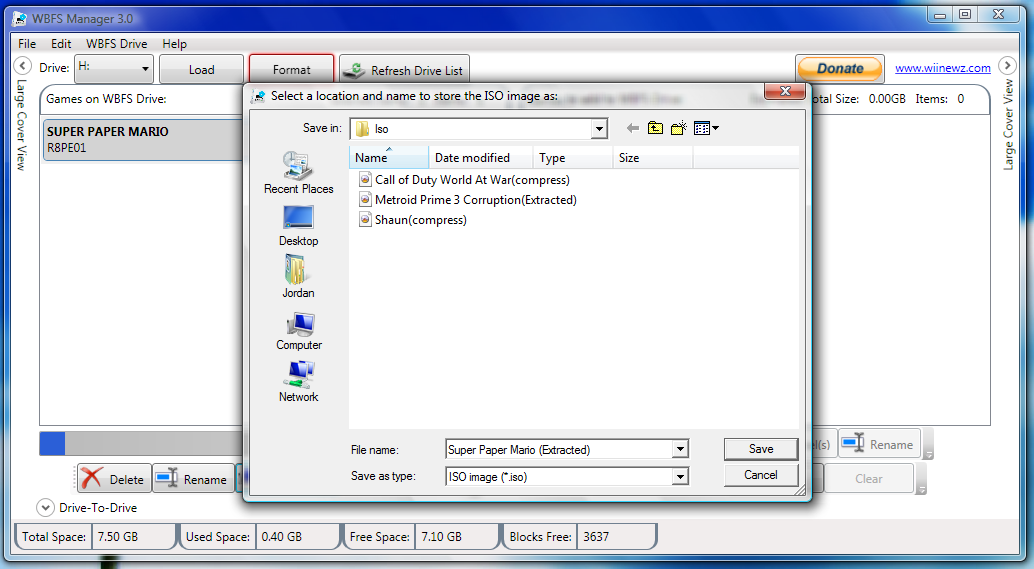
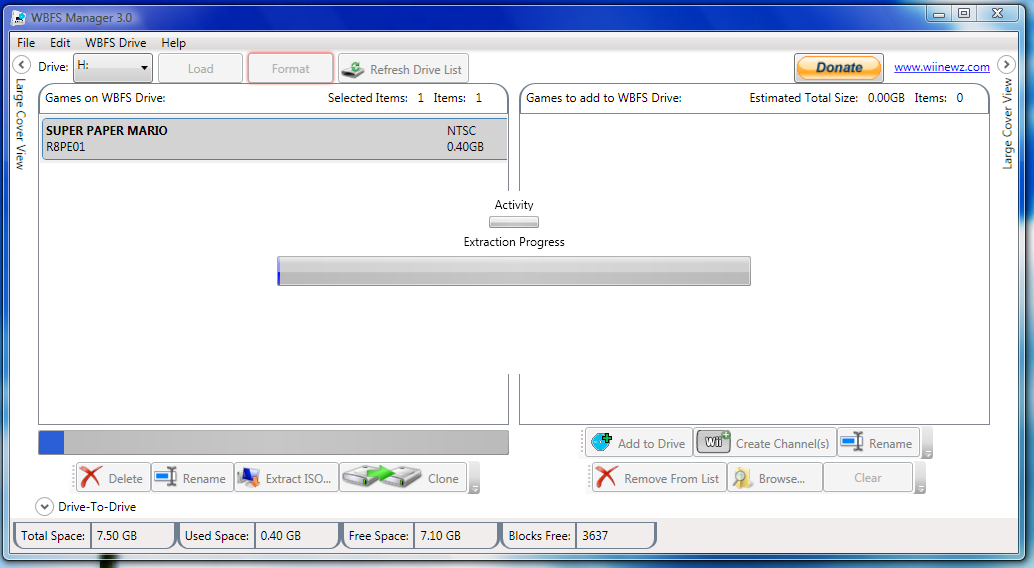
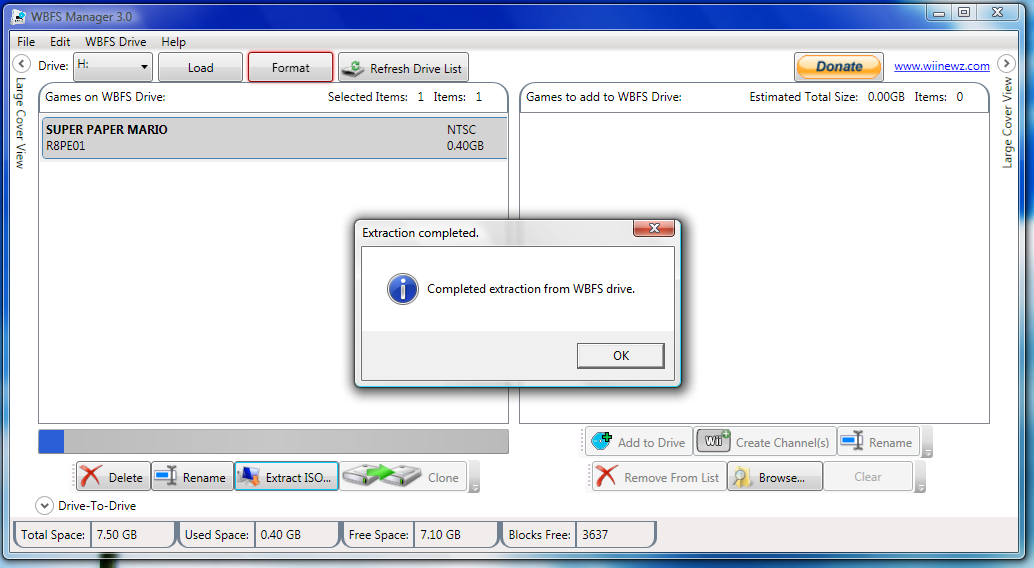
Now that you have your ripped files all nice in your usb stick, it's time to extract the iso to your computer.
First, insert your usb drive into your computer.
Next, open WBFS manager 3.0 by double-clicking it.
Go to the drive tab, and choose the drive letter that correponds to your usb device.
Click load.
After you click load, you will see the game you ripped to your usb stick. Click the game once to select it, and click the "Extract ISO" button near the bottom left corner.
A new window will pop up, select the location you want to save the ISO file.
After you select a location, name the file by typing a name in the empty box next to "SAVE".
After you are done naming the file, click "SAVE."
It will take several minutes to extract the ISO.
(WARNING: The ripped ISO size will always be 4.7 GB even though the file stored on your usb drive was probably less than that. But we will correct this in the next step.)
Compress ISO and Store It.
Now you will compress the ISO and store it on your computer. Compression helps to save space on your computer by getting rid of all the empty space in the ISO file. (Remember "Super Paper Mario"?)
To start compression download Winrar or 7-zip; then right click the ISO and choose "ADD TO ARCHIVE".
A new window will pop up, you can choose to save the file as ZIP or RAR, split the ISO into smaller pieces, add a password, whatever suits your fancy. After you are done tweaking it, click "OK" and the compressing process should begin.
This usually takes 1-2 hours for games that don't have a lot of free space, but on games like "Super Paper Mario" it takes only 15 minutes. After compression is over you can store to file on an external hard drive, usb drive, internet back-up site, whatever works.