How to Embed Any Video Into a Webpage Using HTML5
by speedemin in Design > Websites
20924 Views, 27 Favorites, 0 Comments
How to Embed Any Video Into a Webpage Using HTML5

This tutorial will teach you how to put any video into a website using HTML5 and the new tag. By using HTML5 you can have videos in your website without needing any plugins like Adobe Flash, and they can be played on mobile devices like tablets and smart phones.
This tutorial is for users with intermediate html and website building skills. The time to complete is one to two hours depending on the size of your video(s).
This tutorial is for users with intermediate html and website building skills. The time to complete is one to two hours depending on the size of your video(s).
Download Miro Video Converter
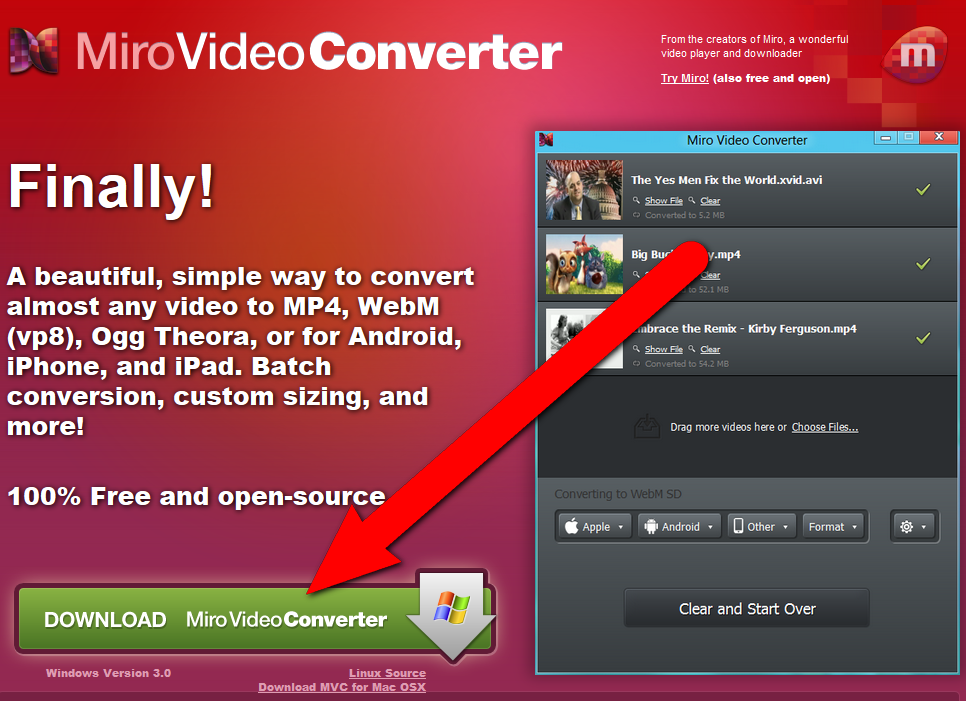
First you need to convert your video(s) so that they will be compatible with all web browsers. I found a good free program that will simply convert any video into the formats we need. It is called Miro Video Converter, go to http://www.mirovideoconverter.com and click the big green download button.
Install Miro Video Converter
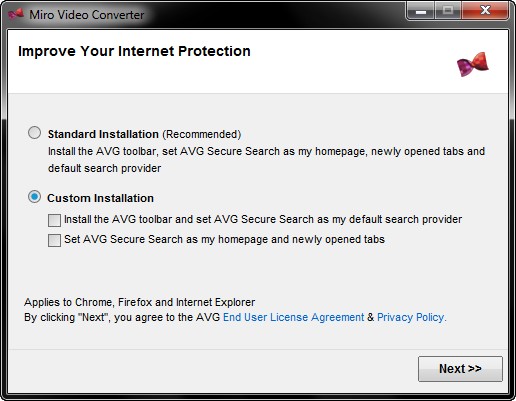
Once it is downloaded, open the file and it will install. Beware that if you choose the "Standard Installation" it will change your homepage and add a toolbar to your browser, you don't want that, so make sure you select "Custom Installation" and uncheck the boxes like I show in the screenshot.
Convert Videos to Mp4
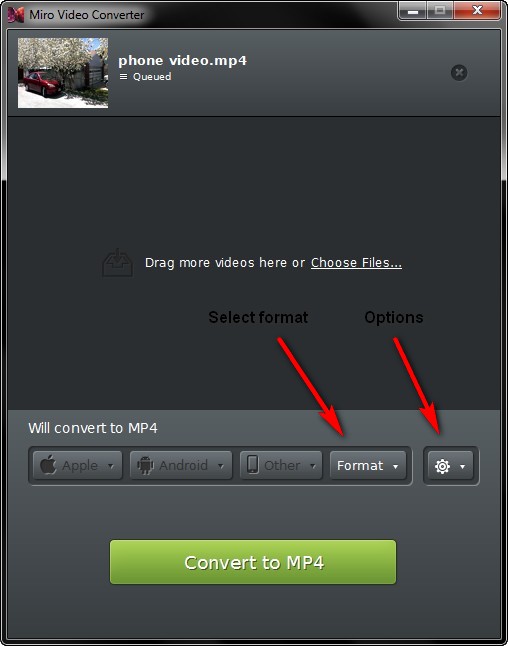
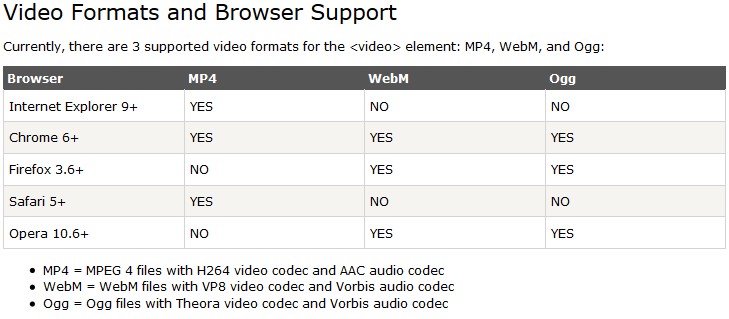
The videos need to be converted to both MP4 and WebM. HTML5 video is a new standard, so half of the browsers use one format and the half use the other, we won't worry about using OGG because it has the same compatibility as WebM. See the table above.
Add your video(s) to the queue by dragging them into Miro or by clicking "Choose Files..."
Select 'Format' > 'Video' > 'MP4'
Press the green convert button, and depending on the size of the video and the speed of your computer's processor it could take some time.
Add your video(s) to the queue by dragging them into Miro or by clicking "Choose Files..."
Select 'Format' > 'Video' > 'MP4'
Press the green convert button, and depending on the size of the video and the speed of your computer's processor it could take some time.
Convert Videos to WebM
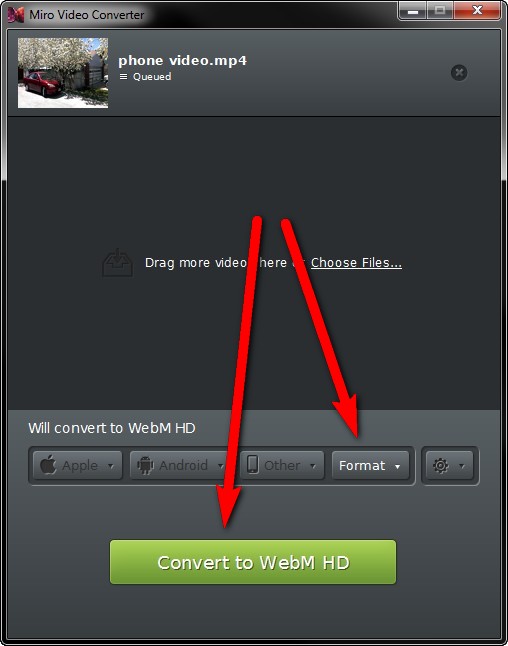
Convert the the same original video(s) again by selecting 'Format' > 'Video' > 'WebM HD'
Then Press the convert button again.
To see where the converted videos went, click the gear button then click 'Show Output video' and it will open the folder where all of the converted videos go.
While the video(s) are converting you can go on to the next step.
Then Press the convert button again.
To see where the converted videos went, click the gear button then click 'Show Output video' and it will open the folder where all of the converted videos go.
While the video(s) are converting you can go on to the next step.
Setup Webpage
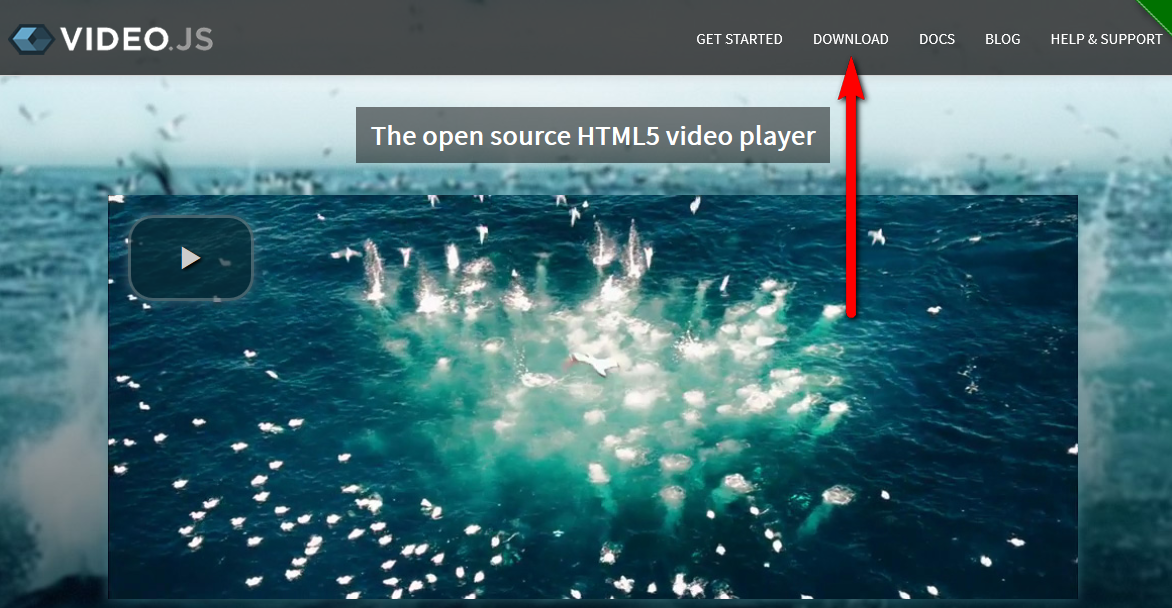
The next we need to put the videos into a webpage and make them work well. Video.js is a JavaScript package that makes it easy to do this.
Go to http://www.videojs.com and click the 'Download' link at the top. It will download a zip file, open that and copy all of the files to where you want all of your webpage files. In the video-js folder there is a demo.html file, use this as an example of the code to use.
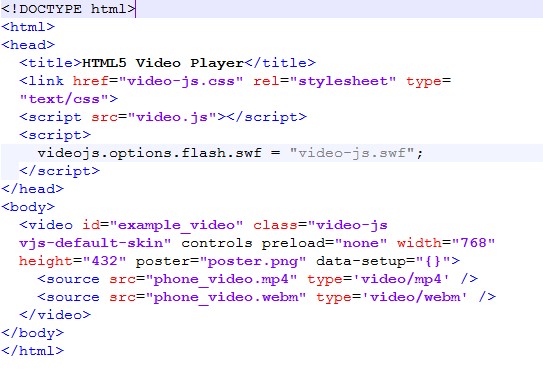
I modified the demo's code to match my video's name and specifications, see the second screenshot.
Note: Internet explorer may try to block the video from playing, so you need to click the 'Allow blocked content' button then refresh the page.
Put All of Your Files in the Same Directory
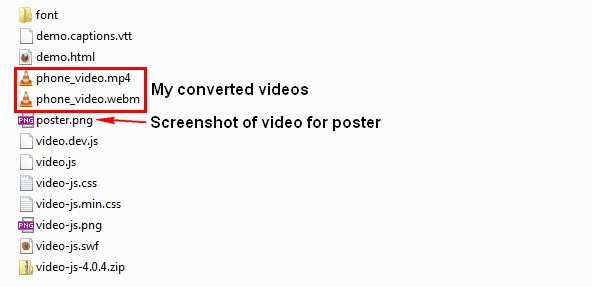
For simplicity, put all of the files from the video-js zip file and your videos into the same folder on your computer. In the screenshot above I show what files I added to the ones that were in the zip folder: my video file converted to both mp4 and webm, and a picture of the video that I want to show before the user clicks play.
My Sample Code
<!--
Here is my code in case you want to copy and paste it then modify it for yourself.
Notice what I changed from the original:
I changed the <source> tags so that they had the src point to the name of my video files. Since we put all of the files into the same folder in the previous step I only had to put the names of the files rather than the full addresses, if you want to separate the files, remember to change the address.
I changed the width and height to match my videos resolution.
I changed poster to poster.png which is a screenshot that I made of my video, this will show before the user clicks play.
-->
<!DOCTYPE html>
<html>
<head>
<title>HTML5 Video Player</title>
<link href="video-js.css" rel="stylesheet" type="text/css">
<script src="video.js"></script>
<script>
videojs.options.flash.swf = "video-js.swf";
</script>
</head>
<body>
<video id="example_video" class="video-js vjs-default-skin" controls preload="none" width="768" height="432" poster="poster.png" data-setup="{}">
<source src="phone_video.mp4" type='video/mp4' />
<source src="phone_video.webm" type='video/webm' />
</video>
</body>
</html>
Upload All of the Files
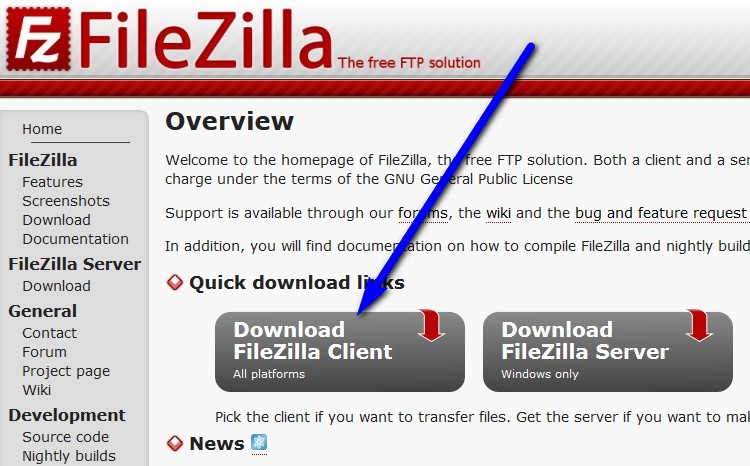
Use an FTP client to upload all of the files to your server. I like to use FileZilla you can download that for free here: https://filezilla-project.org
After they are uploaded you should be able to go to the url and the video should be able to play.
Note: If you get a MIME error it means that the server isn't setup to use webm and/or mp4 file types, you can fix this in your domain settings provided by your web host.
After they are uploaded you should be able to go to the url and the video should be able to play.
Note: If you get a MIME error it means that the server isn't setup to use webm and/or mp4 file types, you can fix this in your domain settings provided by your web host.
Finish Up
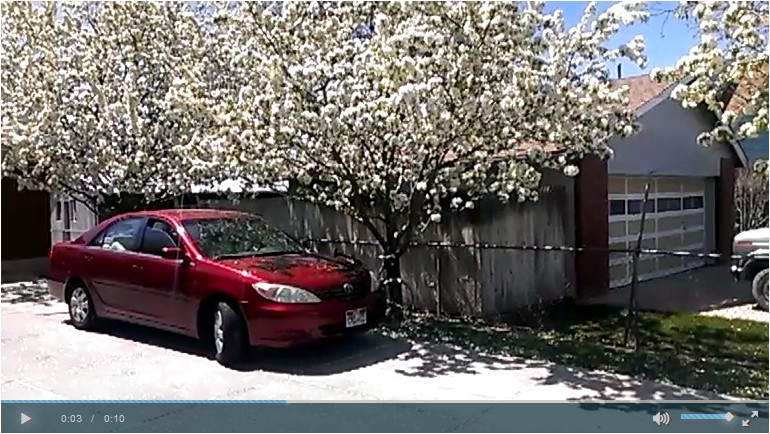
That is the basics for putting videos into a webpage using the HTML5 <video> tag. Now you can use this in any webpage you make.
If you want to learn about more options, like autoplay, you can check out the video.js documentation here: https://github.com/videojs/video.js/blob/master/docs/index.md
Please leave a comment if you have any questions.
If you want to learn about more options, like autoplay, you can check out the video.js documentation here: https://github.com/videojs/video.js/blob/master/docs/index.md
Please leave a comment if you have any questions.