How to Digitize Slides and Film Negatives With a DSLR
by tholopotami in Circuits > Cameras
67437 Views, 192 Favorites, 0 Comments
How to Digitize Slides and Film Negatives With a DSLR
.jpg)
.jpg)
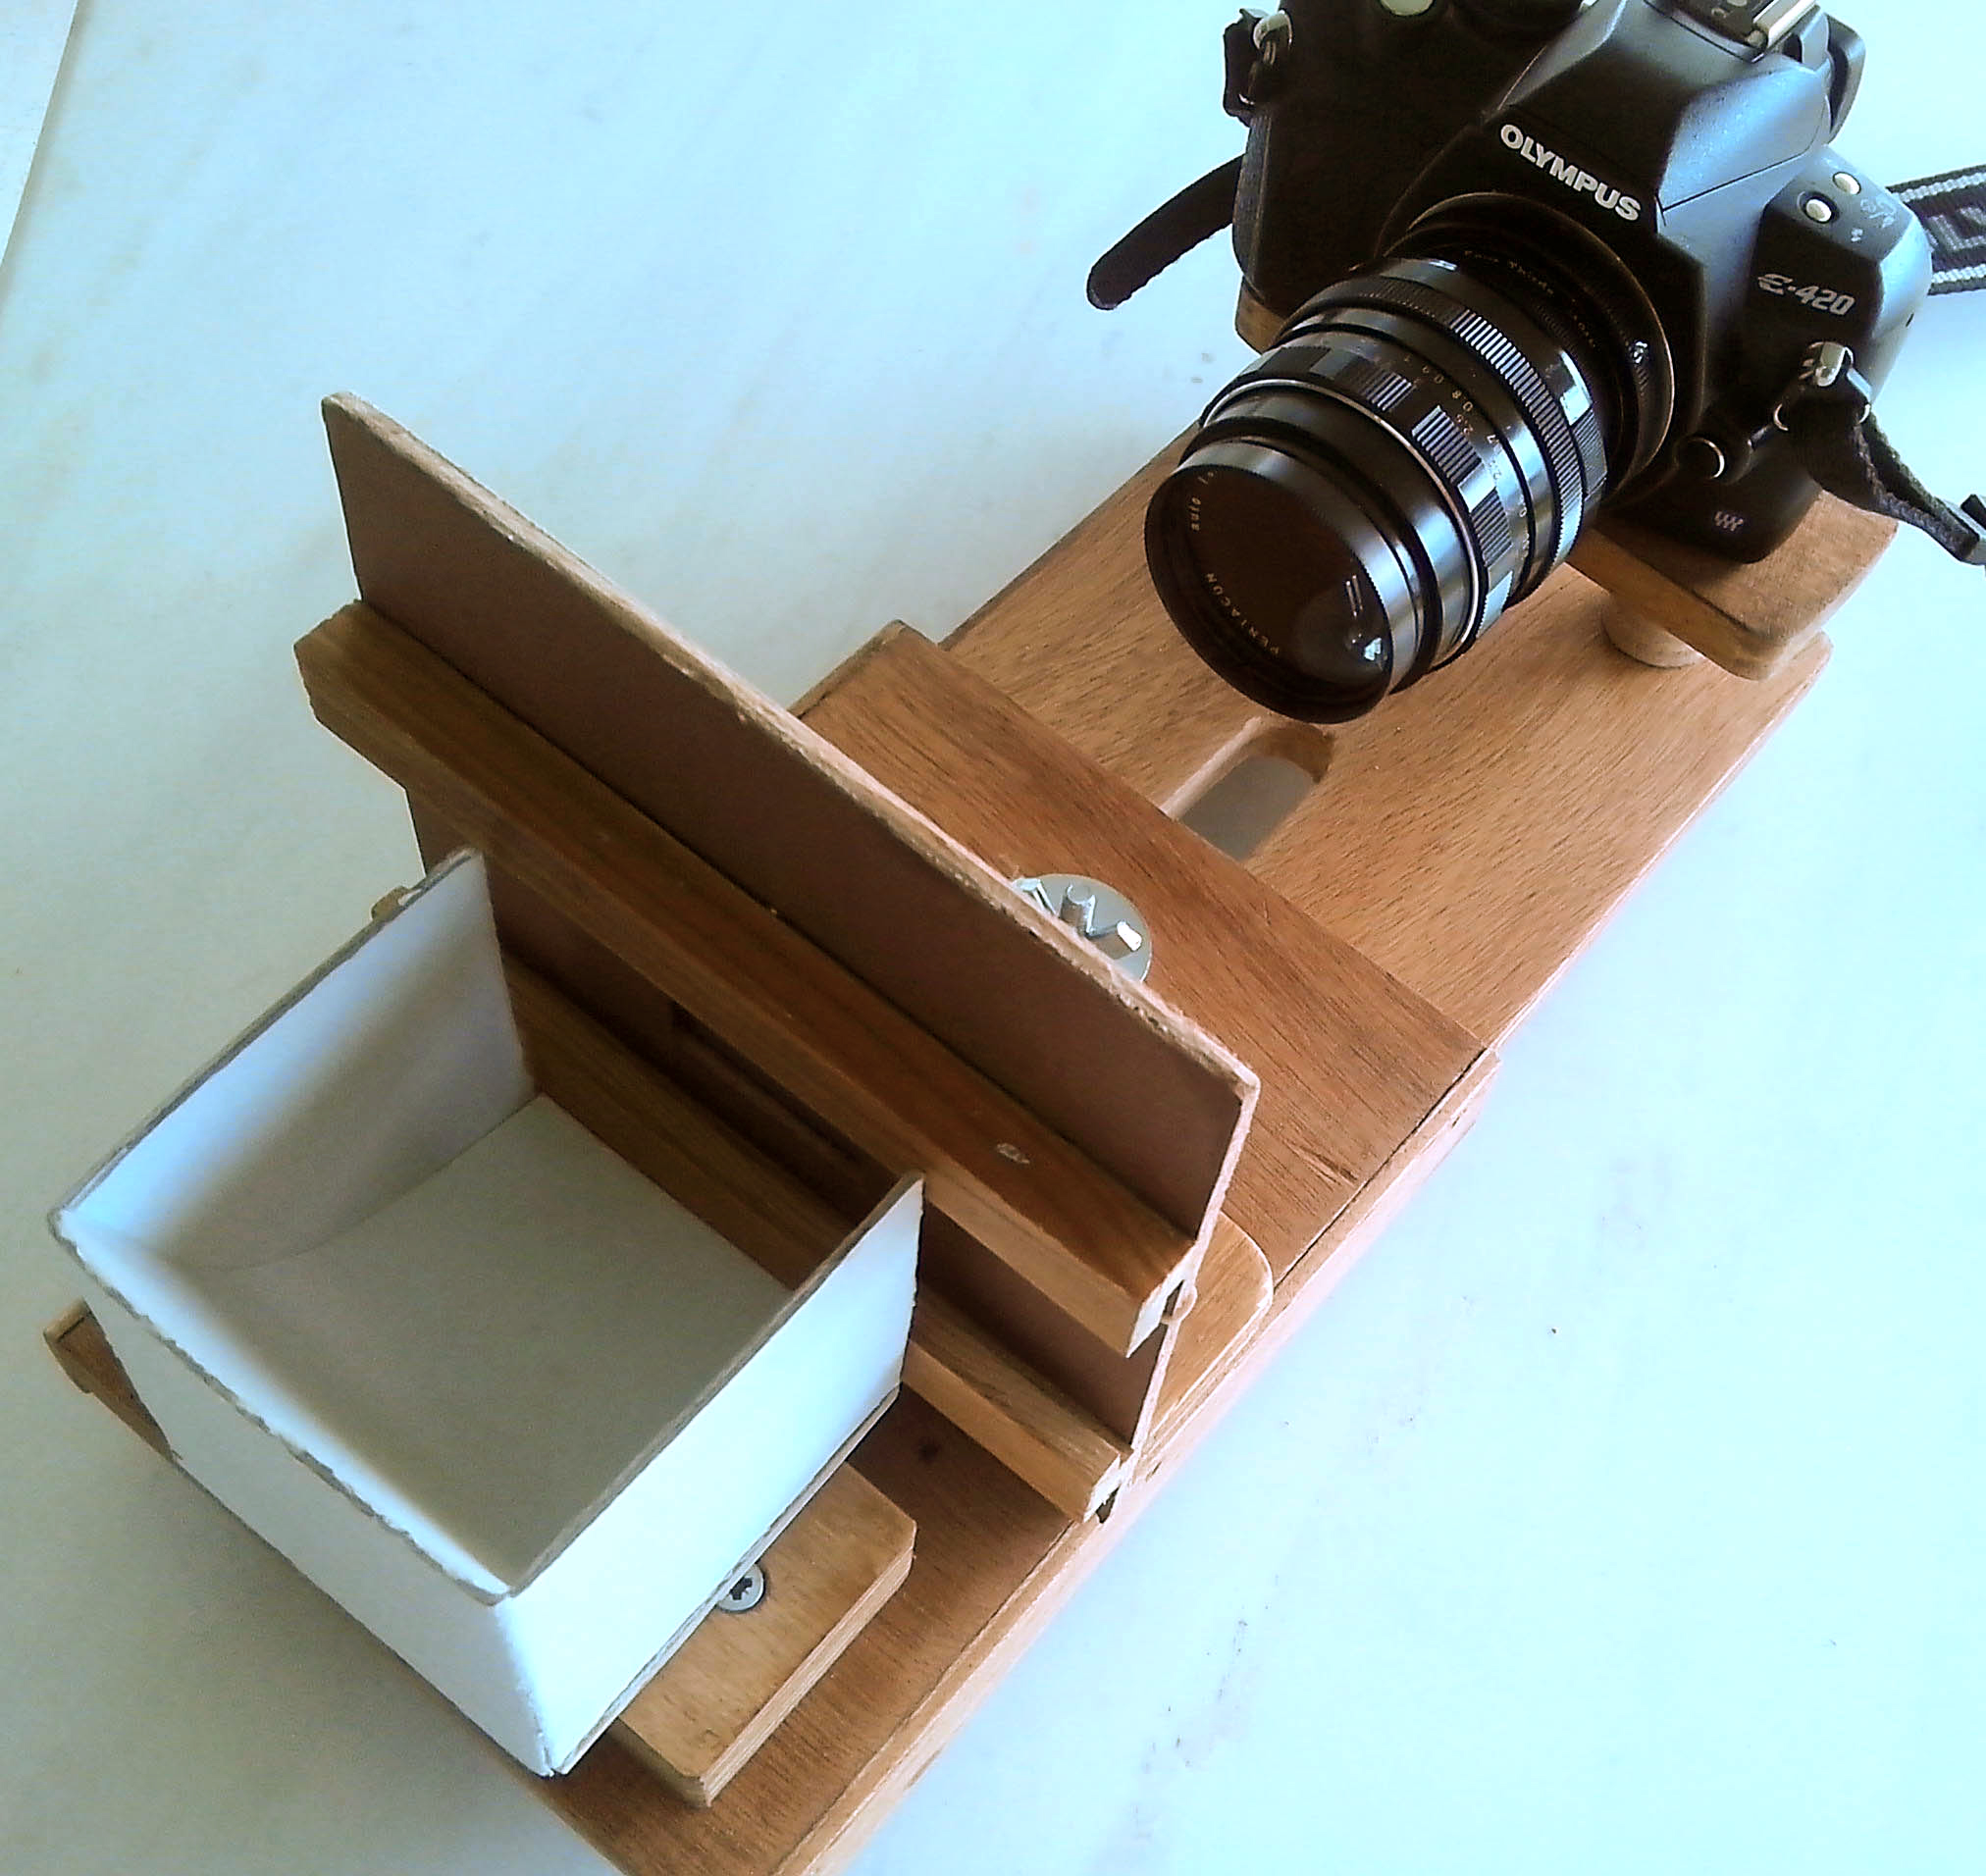
- A versatile and stable setup for digitizing slides and negatives with a DSLR or any camera with a macro option.
- This instructable is an update of How to digitize 35mm negatives (uploaded July 2011) with several improvements to expand its functionality. My interest in using this method to copy negatives and slides has increased since I restarted shooting film a few years ago. I brought out of the closet the best of my old film cameras, bought a couple more (second hand at very low prices) and I use them as much as my DSLR. I also develop B/W negatives, something Ι used to do when film was the only available medium. Since I copy negatives quite often, I had to redesign the setup and increase its versatility and effectiveness. The reasons why I am still interested in film are discussed in the two final steps of this instructable.
Lessons Learned From the Previous Setup
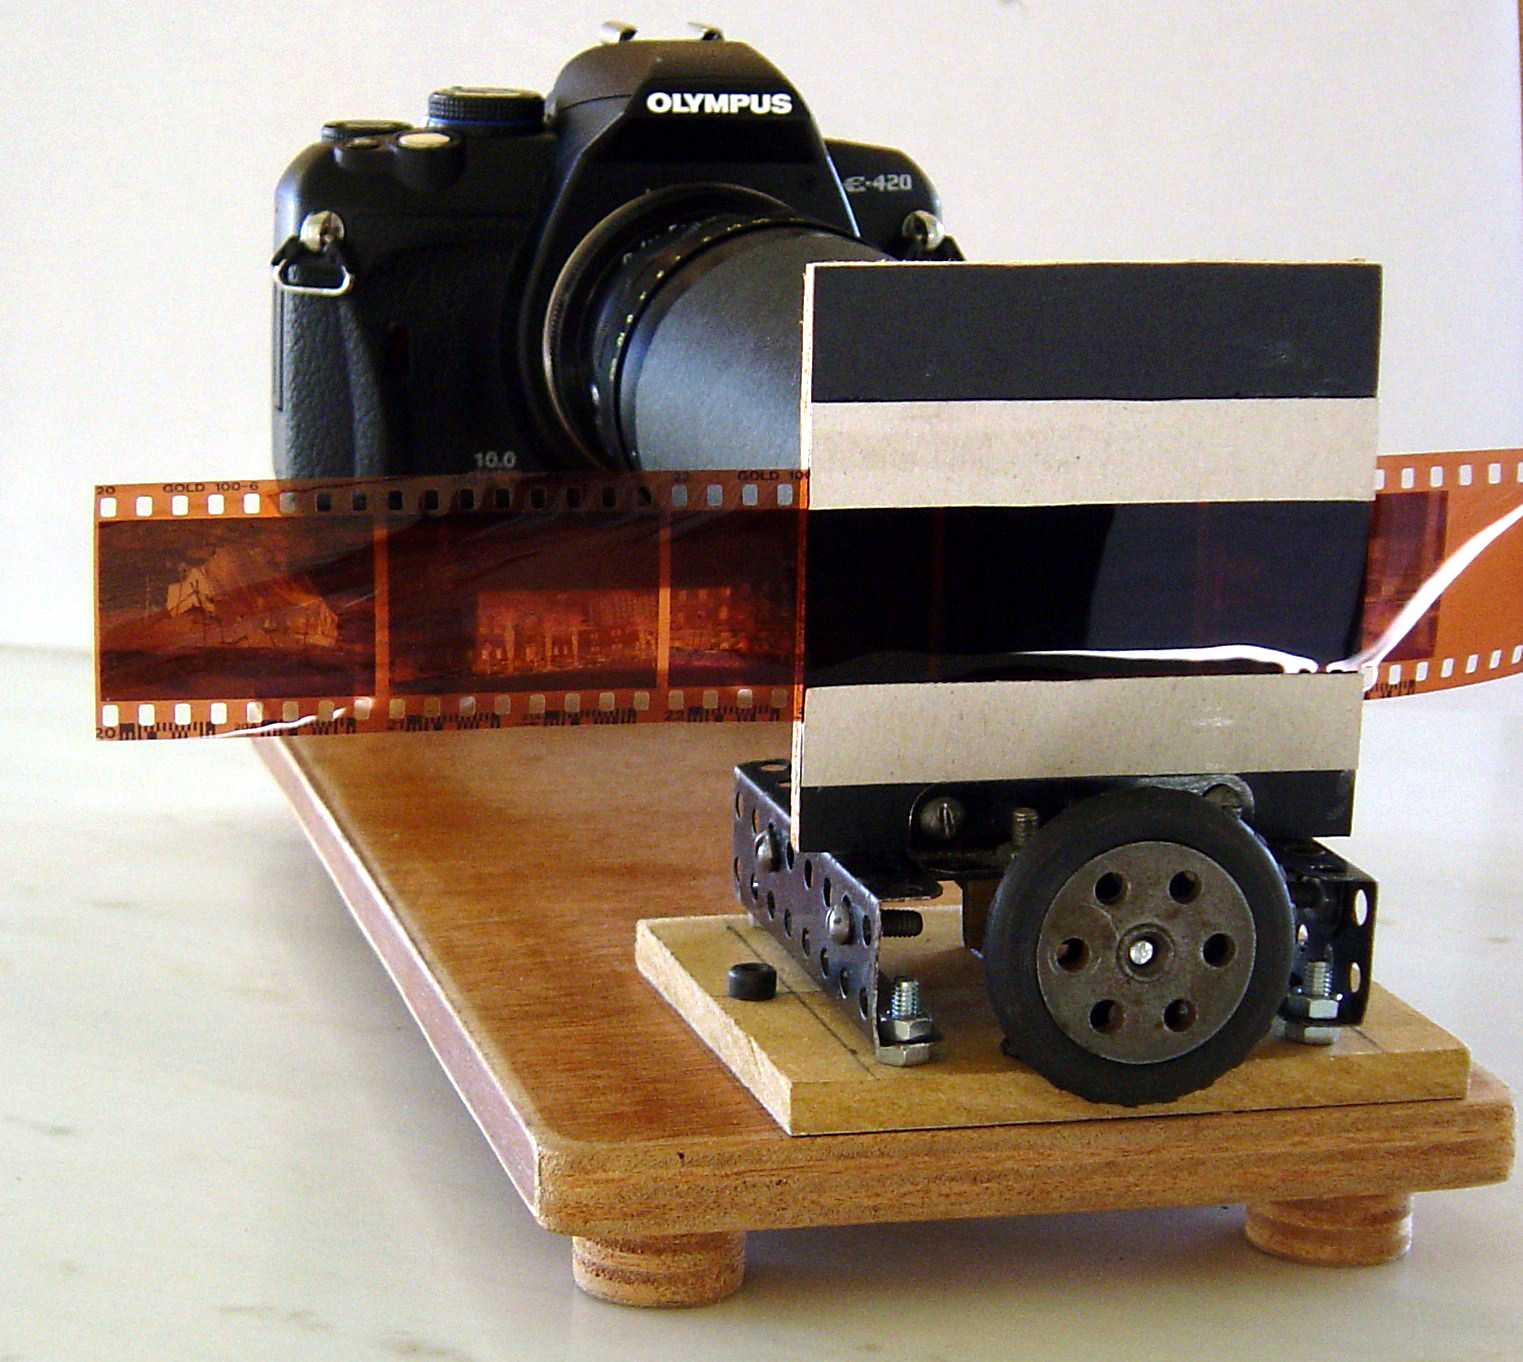
The setup of the 2011 instructable is shown in the photo. These are the aspects that I had to change:
1. Moving platform
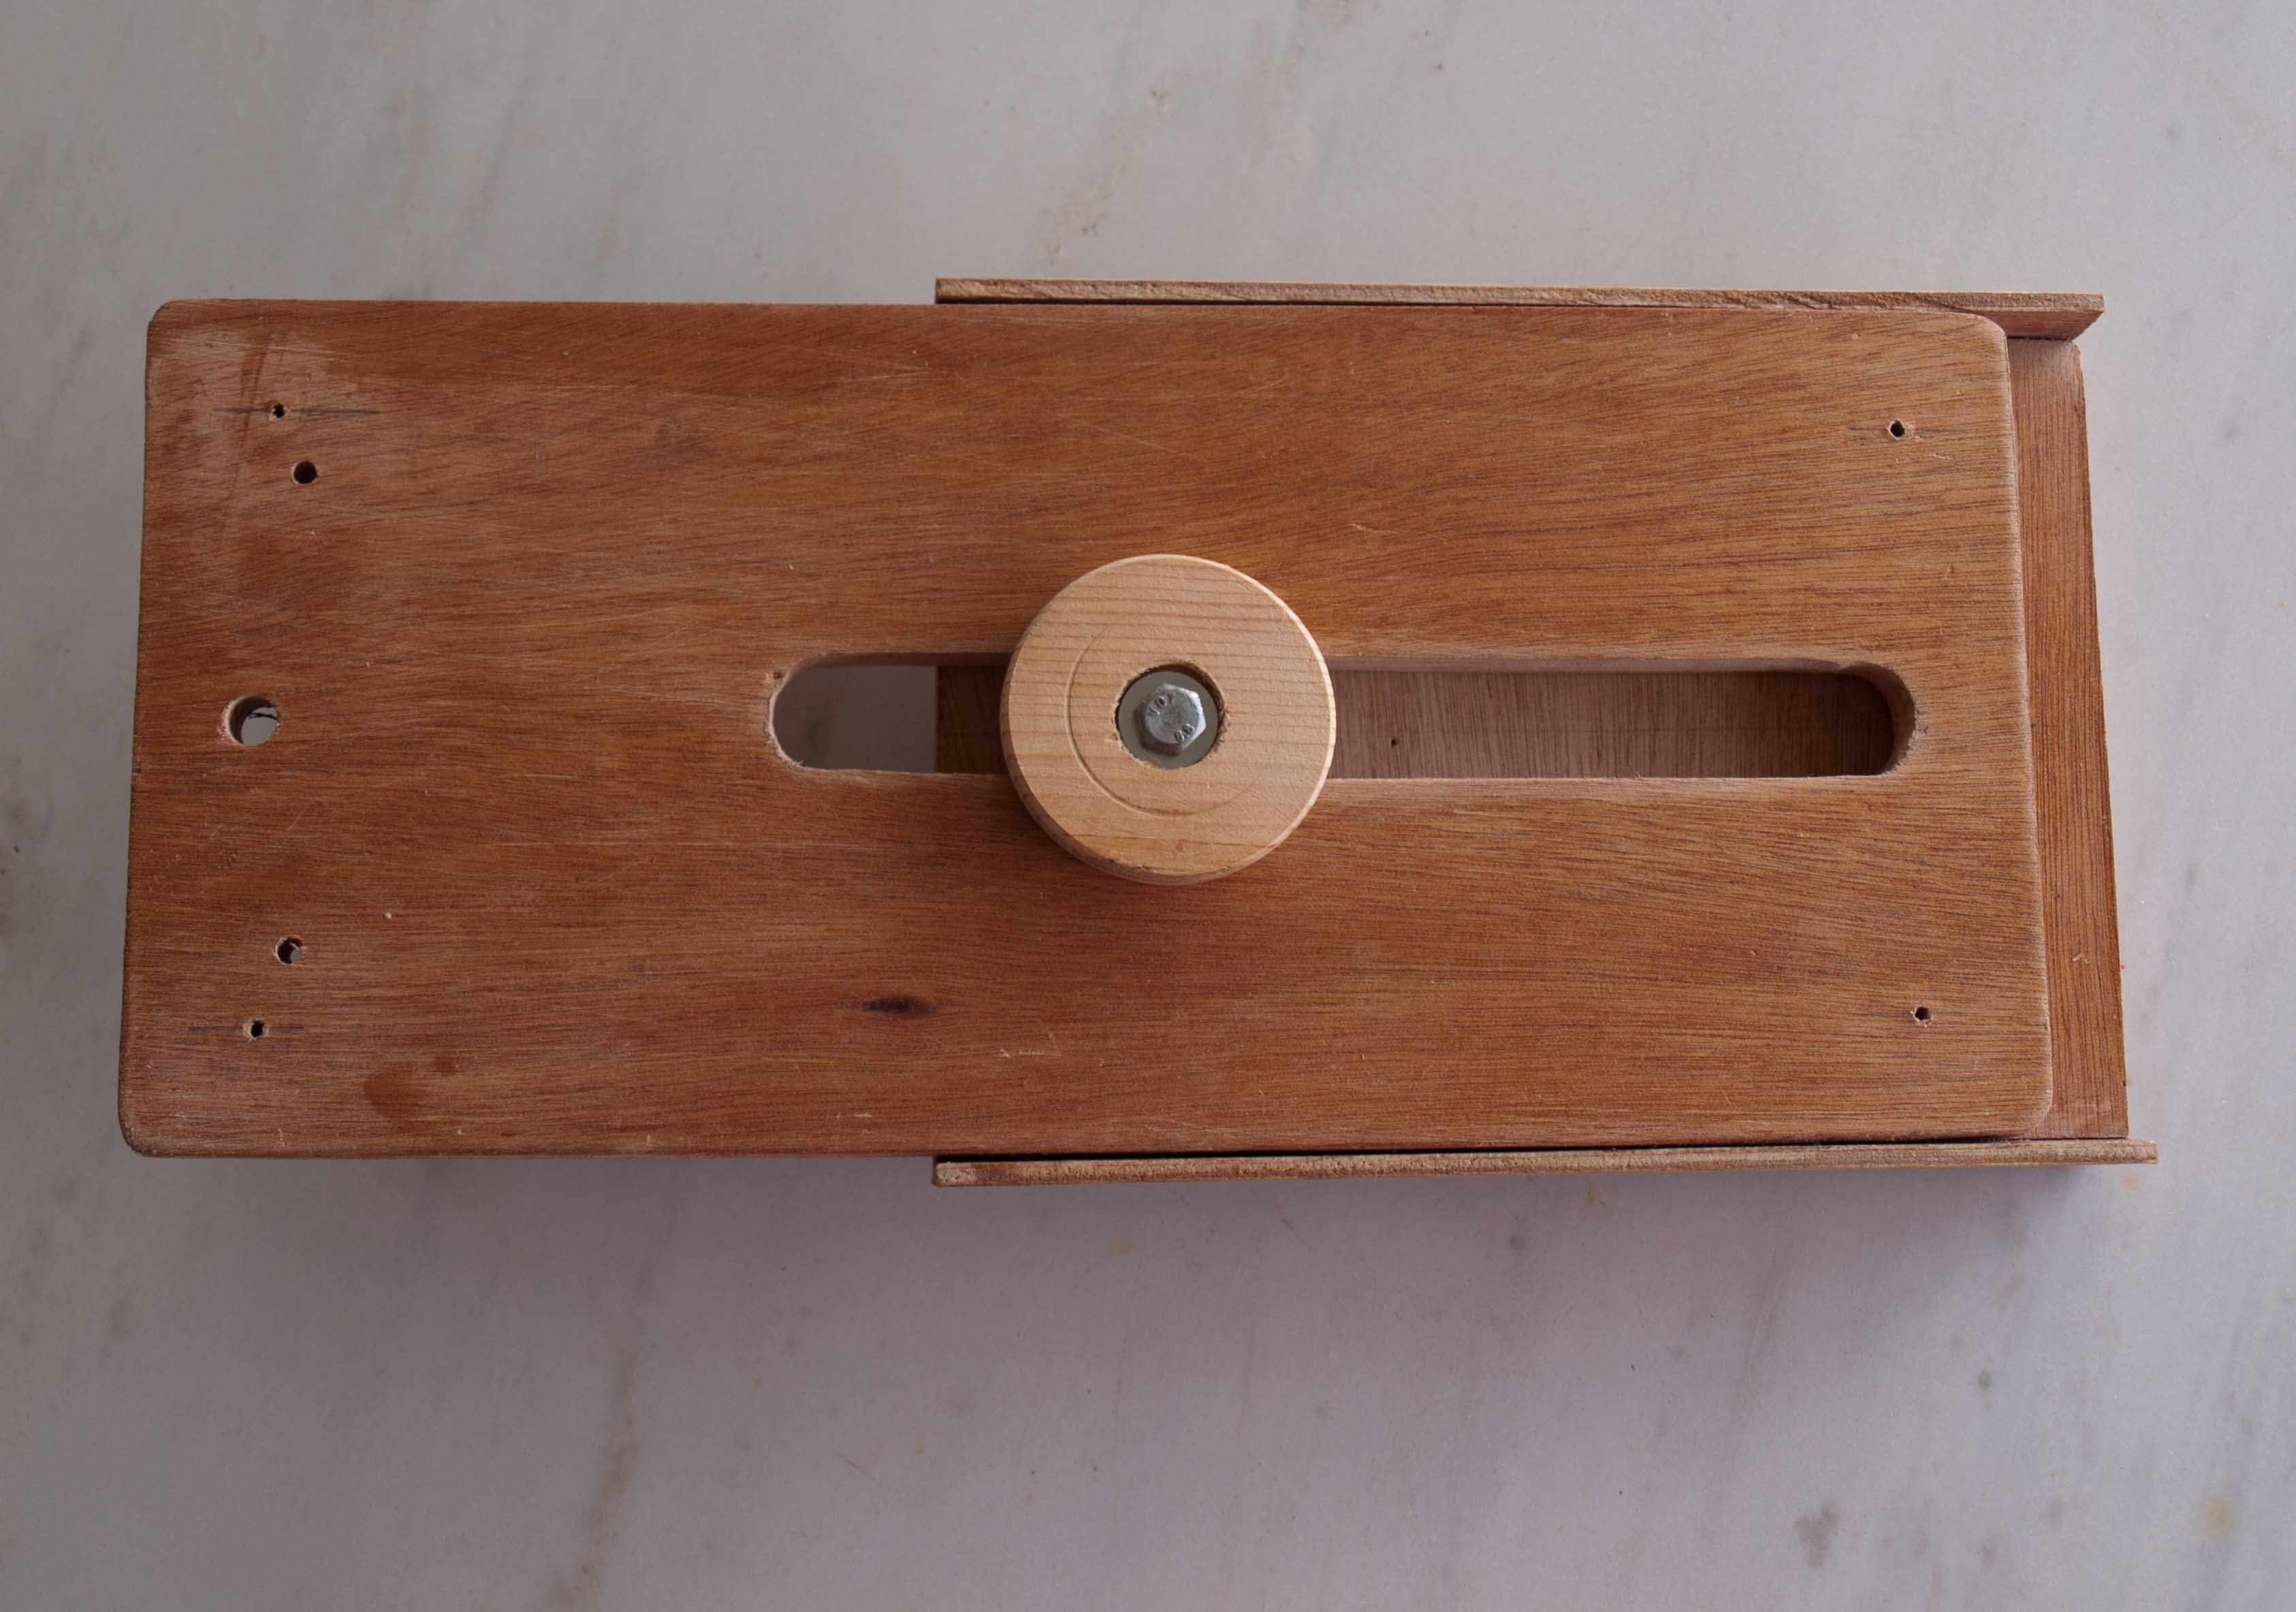
I included a meccano stage in order to add precision in focusing. This was not really necessary since focusing the lens and using the magnification feature of the live view of the camera is more than enough. In addition, in the case of 6x6 negatives I needed a larger distance between the frame and the camera, so I substituted the meccano part with a sliding platform, thus increasing the distance range up to 25cm.
2. Holder for the 35mm negatives
In the old setup, the negatives were loose and stayed flat only in front of the screen. This made loading negatives a little more difficult and time consuming, plus they could be damaged more easily. I decided to cut all my negatives in 5 frame pieces , as those I already have in archive and mount the stripes in a home made film holder. This proved to be a major upgrade. I strongly suggest to anyone doing the same to make or buy one of these used in scanners.
3. Screens
I made 2 screens: One for 35mm negatives and slides ( using both sides) and one for 6x6 medium format negatives. These are mounted on the sliding platform with two screws and can be easily installed/unistalled.
4. The light source
I used a projector which of course is OK provided that you keep the projector's lenses clean. I substituted this by a simple cardboard reflector which has some advantages (a) homogeneous light due to refection and diffusion (b) faster to setup since it uses the desktop lamp (c) there is no need to use an opaque screen like an acrilic plastic which absorbs light. I gained 1-2 stops of shutter time in this way.
A Few Important Tips
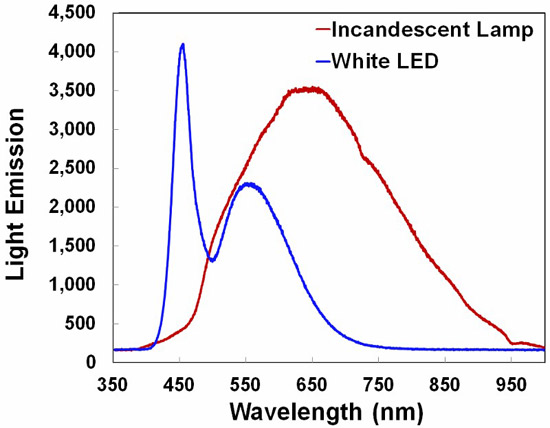
The success of this method depends on many factors:
- The negative should be illuminated uniformly with a filament source. A filament source (halogen or other) has a broader and more uniform spectrum and it is closer to perception of the human eye than LEDs for example (see figure).
- The illumination should be intense enough, so that you can copy the faintest colors that may be on the negative. This will also minimize the noise on the final picture.
- Focus carefully. I focus on the live screen using the x20 magnification marker
- Restoring color balance is a delicate work. Color negatives look reddish and when inverted bluish. When possible, preserve a part of the border of the negative when taking the photo with the DSLR. Use the color of this stripe as a "white" to restore color balance with your software.
- If your camera has a RAW option, go on and use it, save both in RAW and JPEG. This format will help you recover overexposed and underexposed areas and improve your final image. See the instructable of ChronicCrafter for some basic information. If this counts at all, once I started using RAW it became permanent.
and here is a bonus tip that I consider vital and comes from my personal experience:
- Before starting, inspect your negative/slide using reflected light coming from a surface e.g. a desk top lamp shining on a white paper on your table. Look carefully the colors and the contrast. Try to keep in mind the picture you see. One way or the other you should be able to get close to this picture in terms of colors, intensity and contrast. If you don't , then either (a) you underexposed when copying with the DSLR or (b) you made the wrong moves in post processing the image.
About software:
- The basic post processing operations you need (cropping, inverting colors, hue/saturation, color balance, color temperature, gamma curve, contrast, sharpening/blurring) can be performed with a lot of software, free or not. I use Lightroom which is actually tuned to deal with groups of photos.
- A program that I frequently use for simple procedures is Photofiltre, a free image editor and a lightweight portable alternative to Photoshop.
Building the Setup
.jpg)
.jpg)
.jpg)
.jpg)
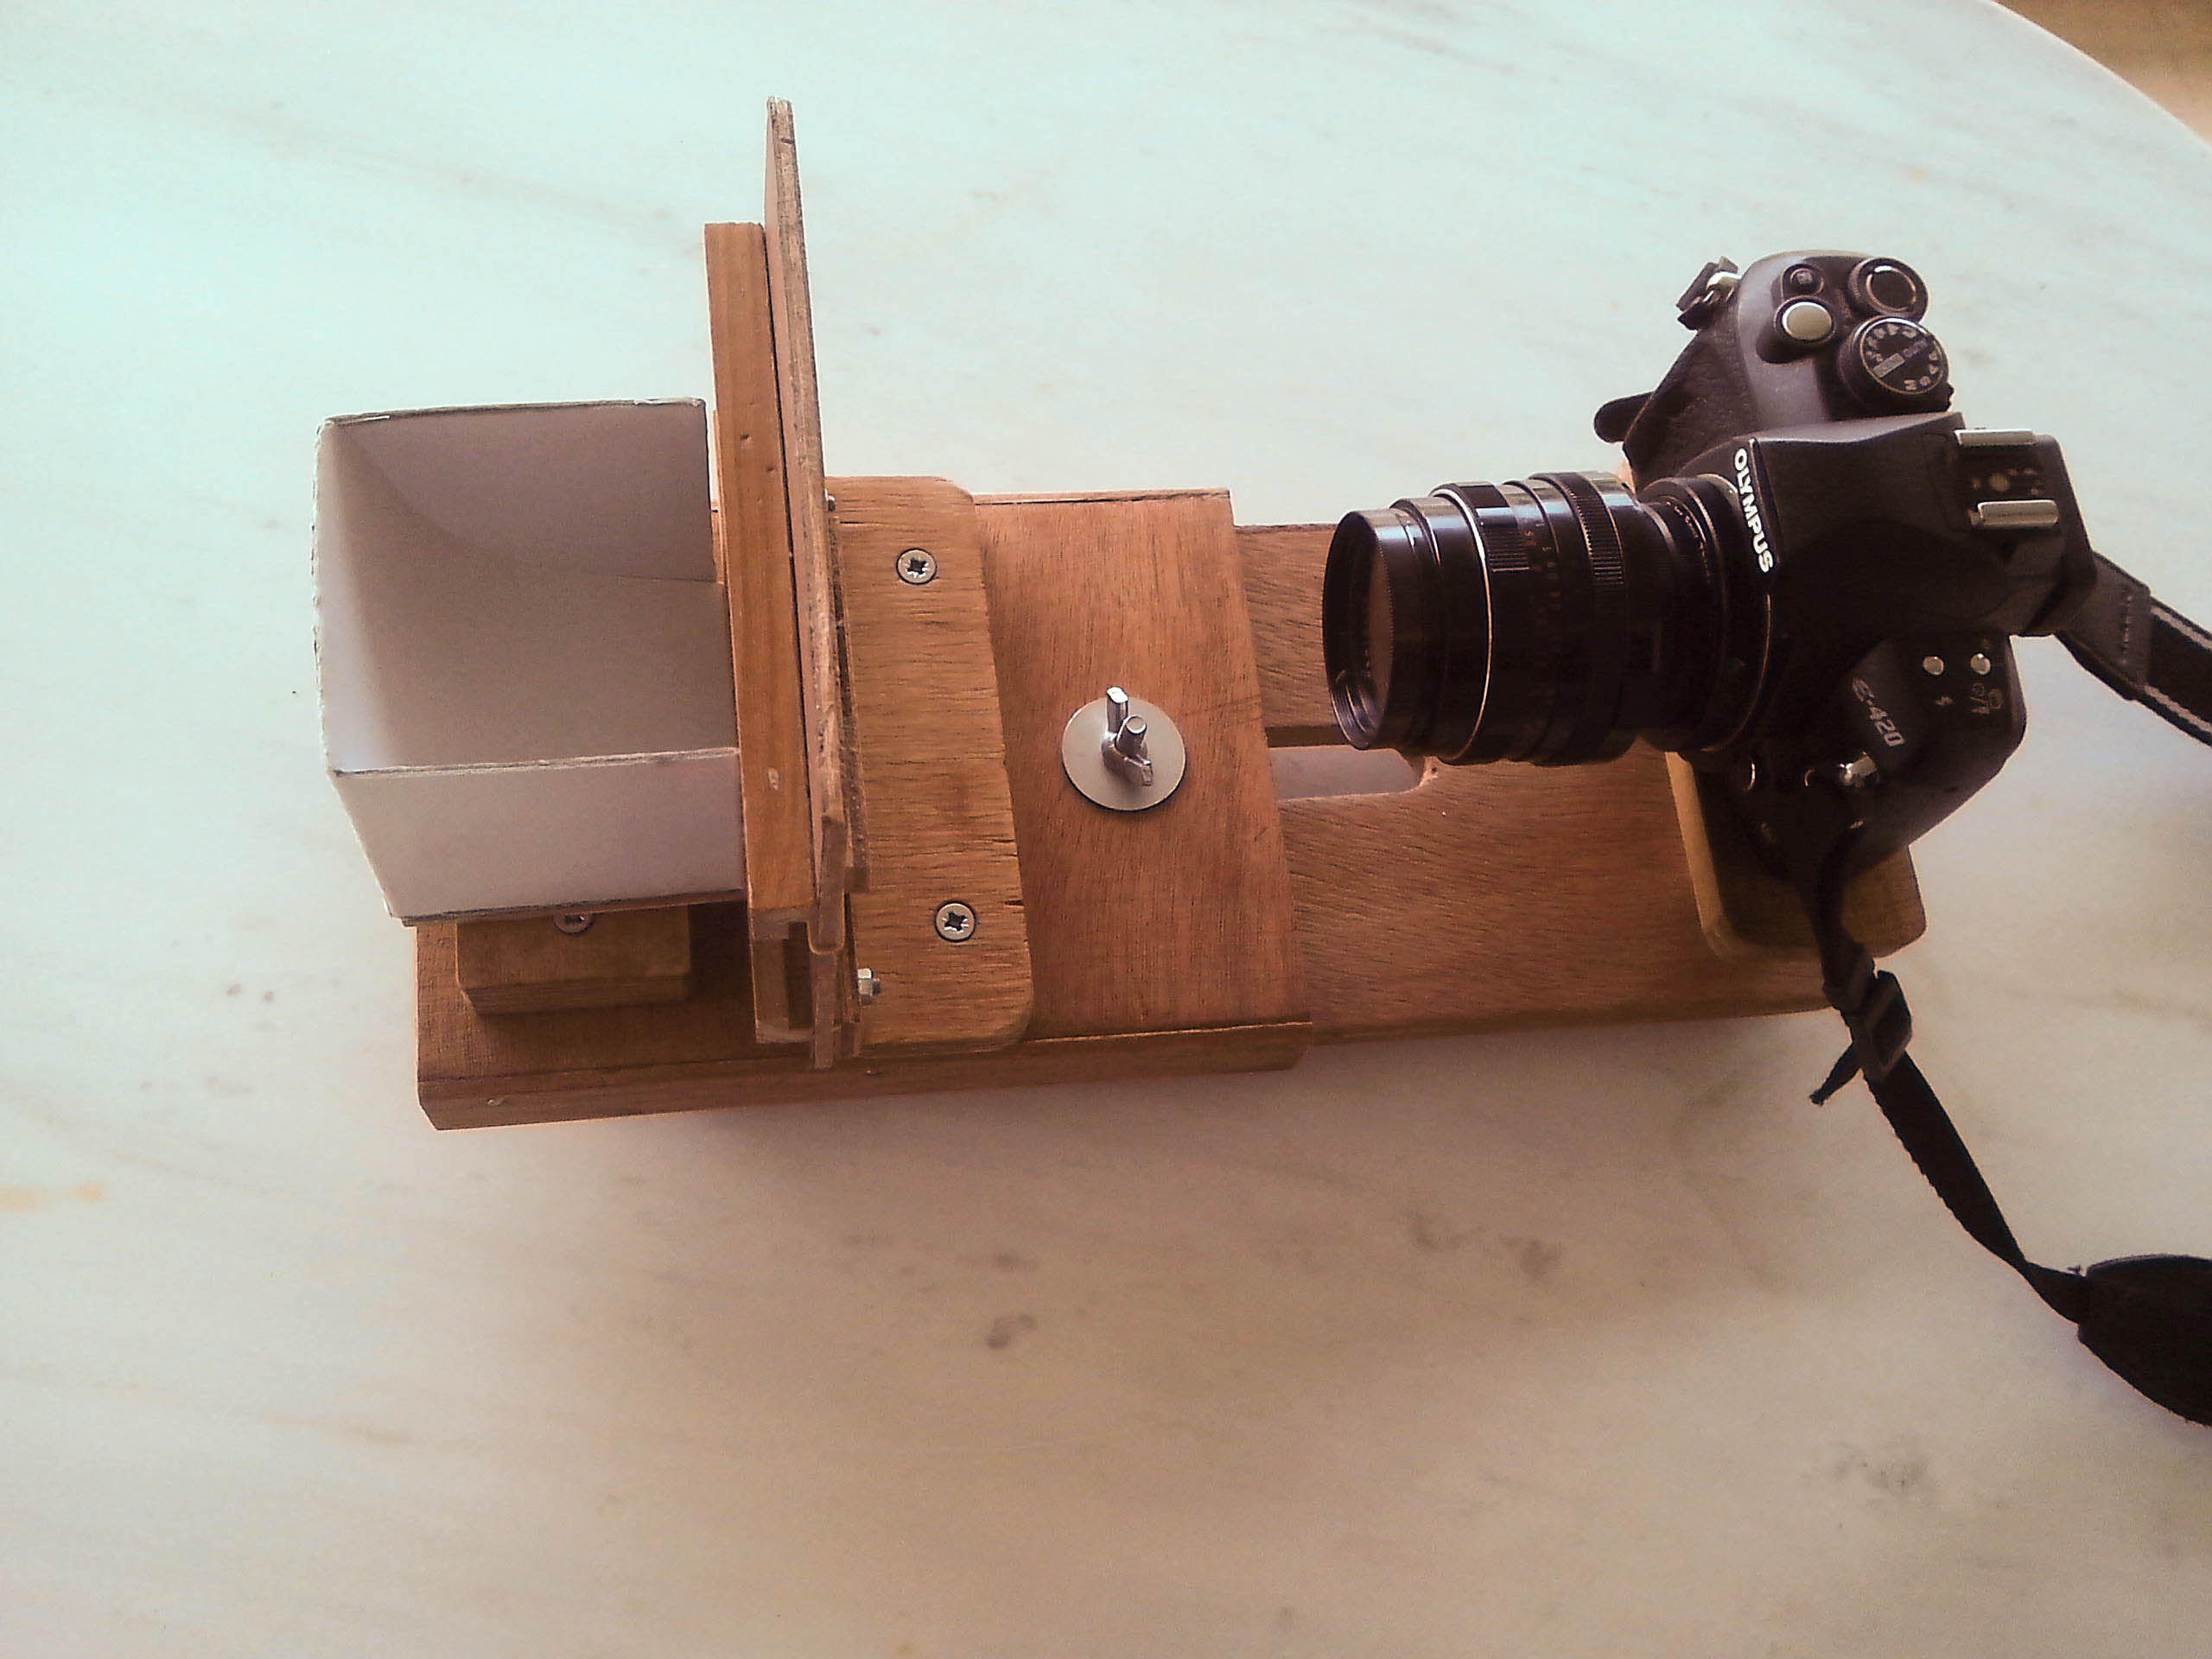
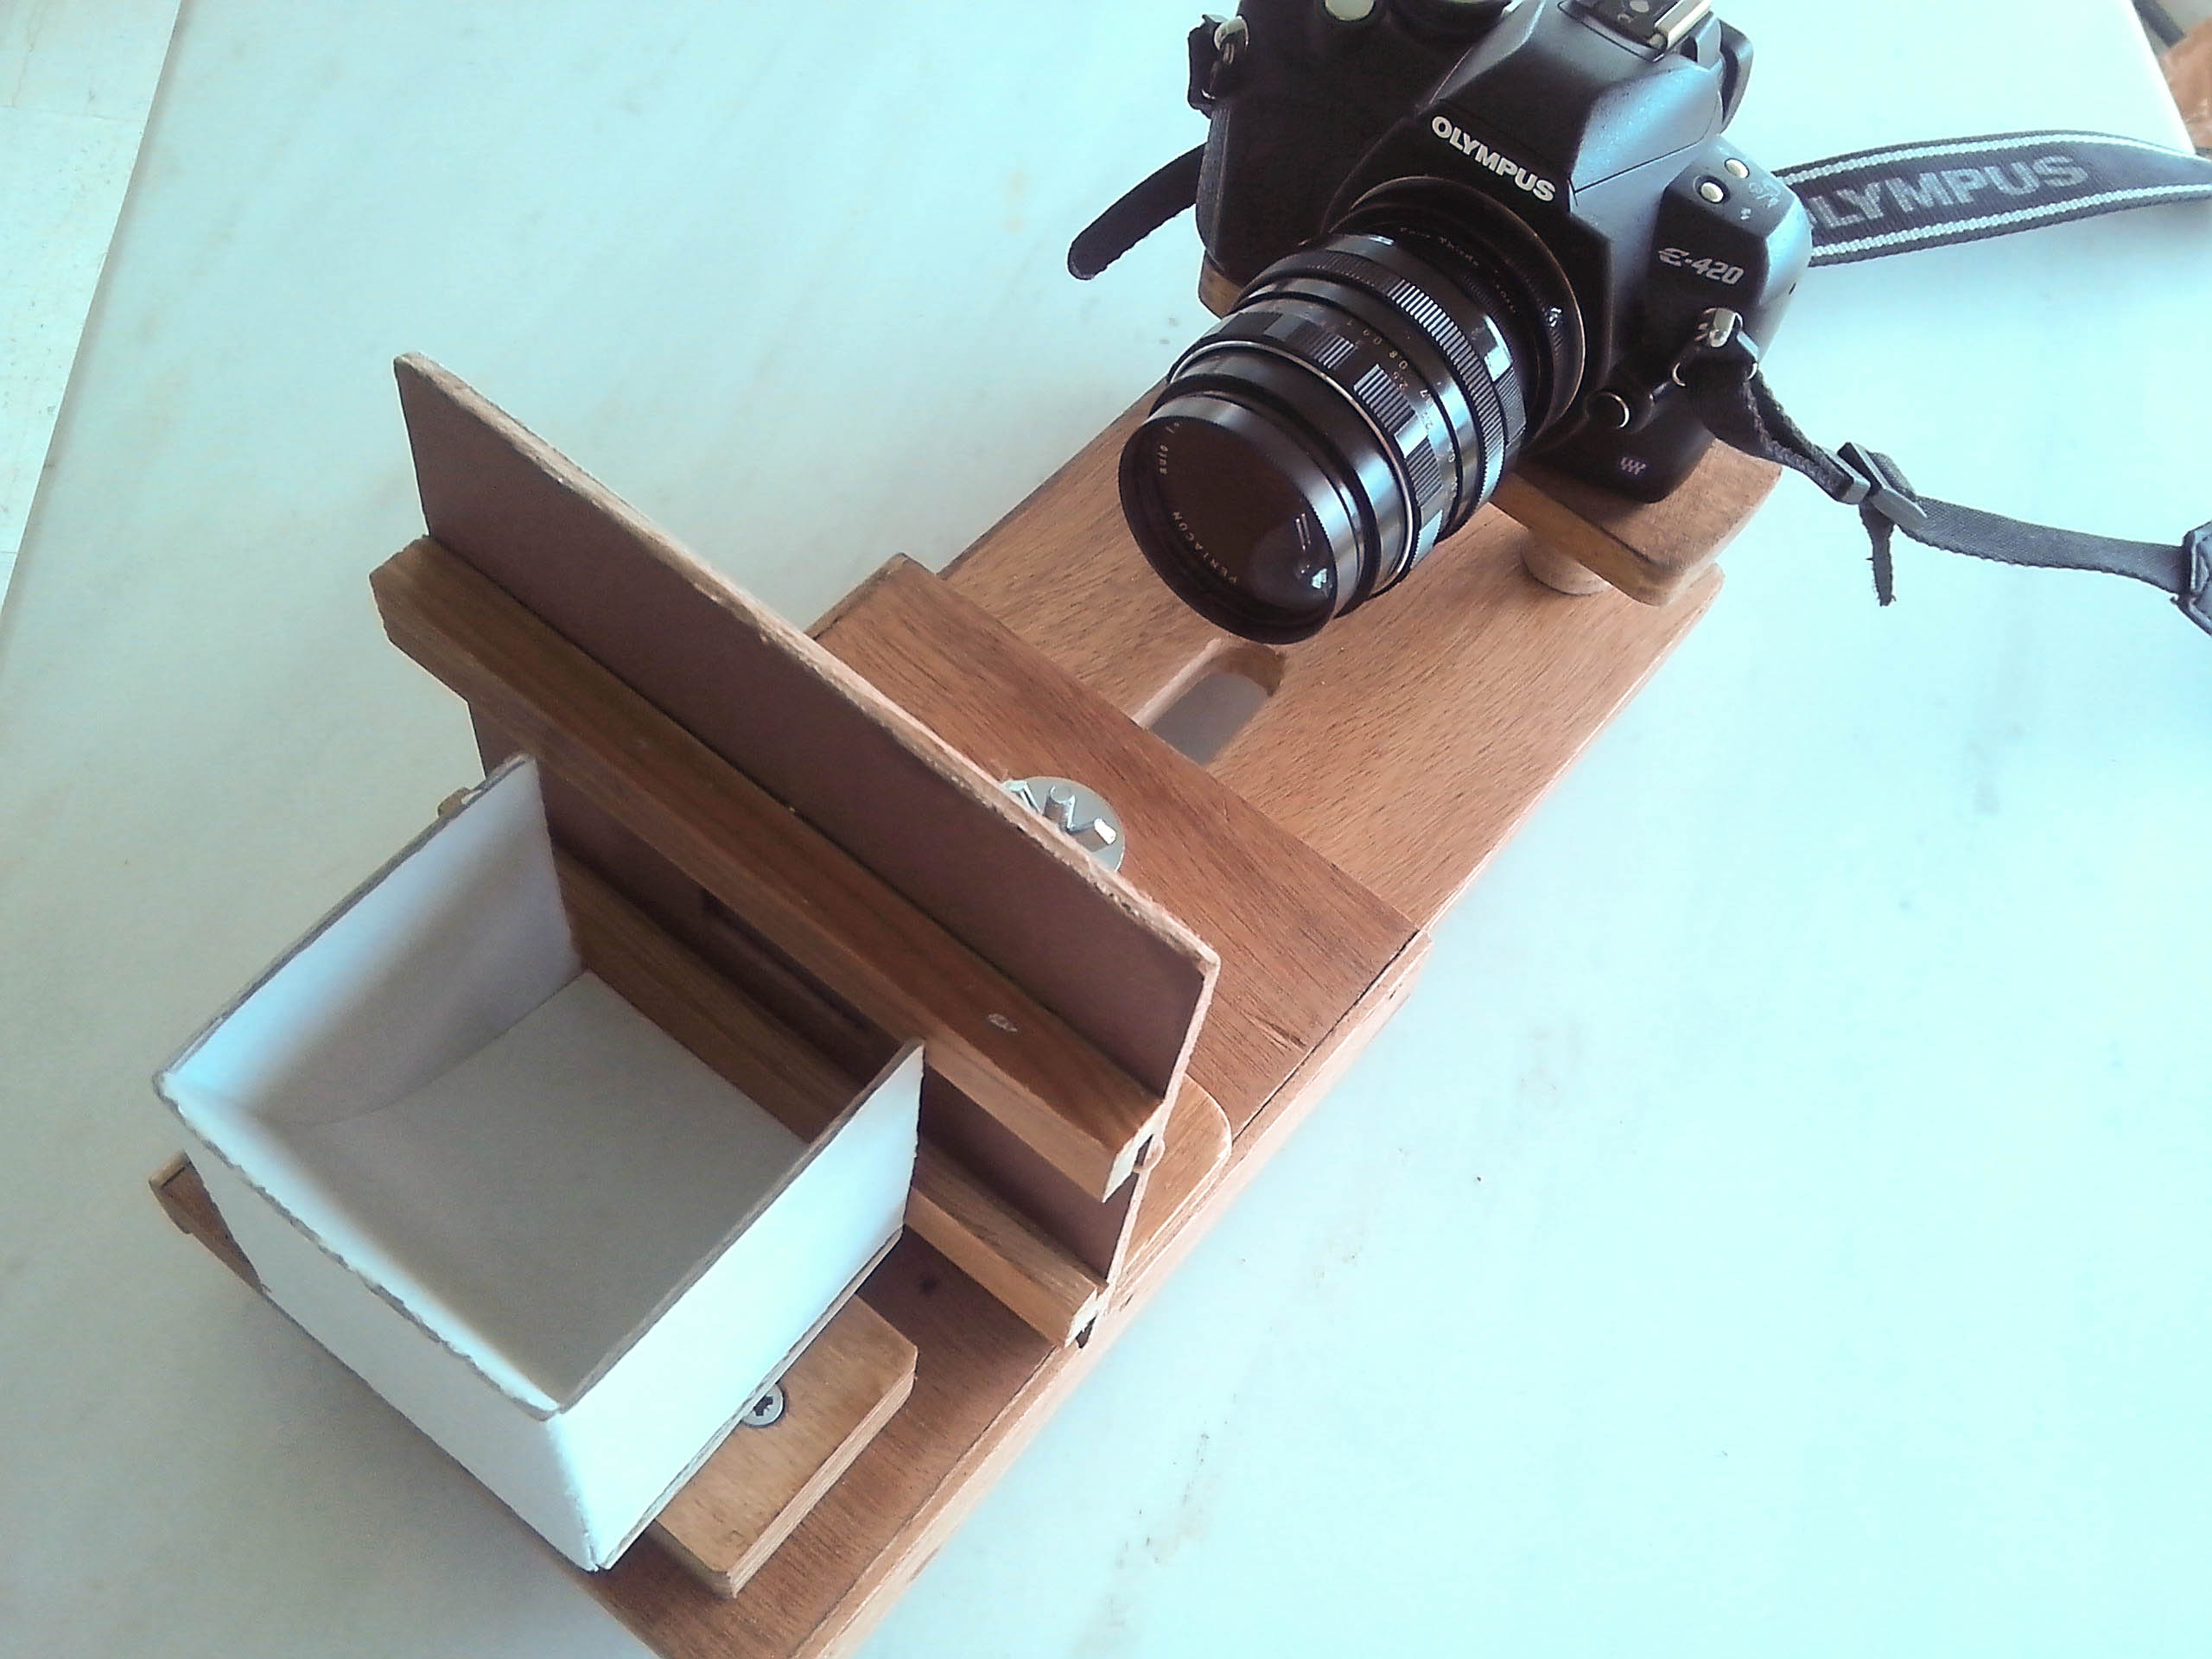
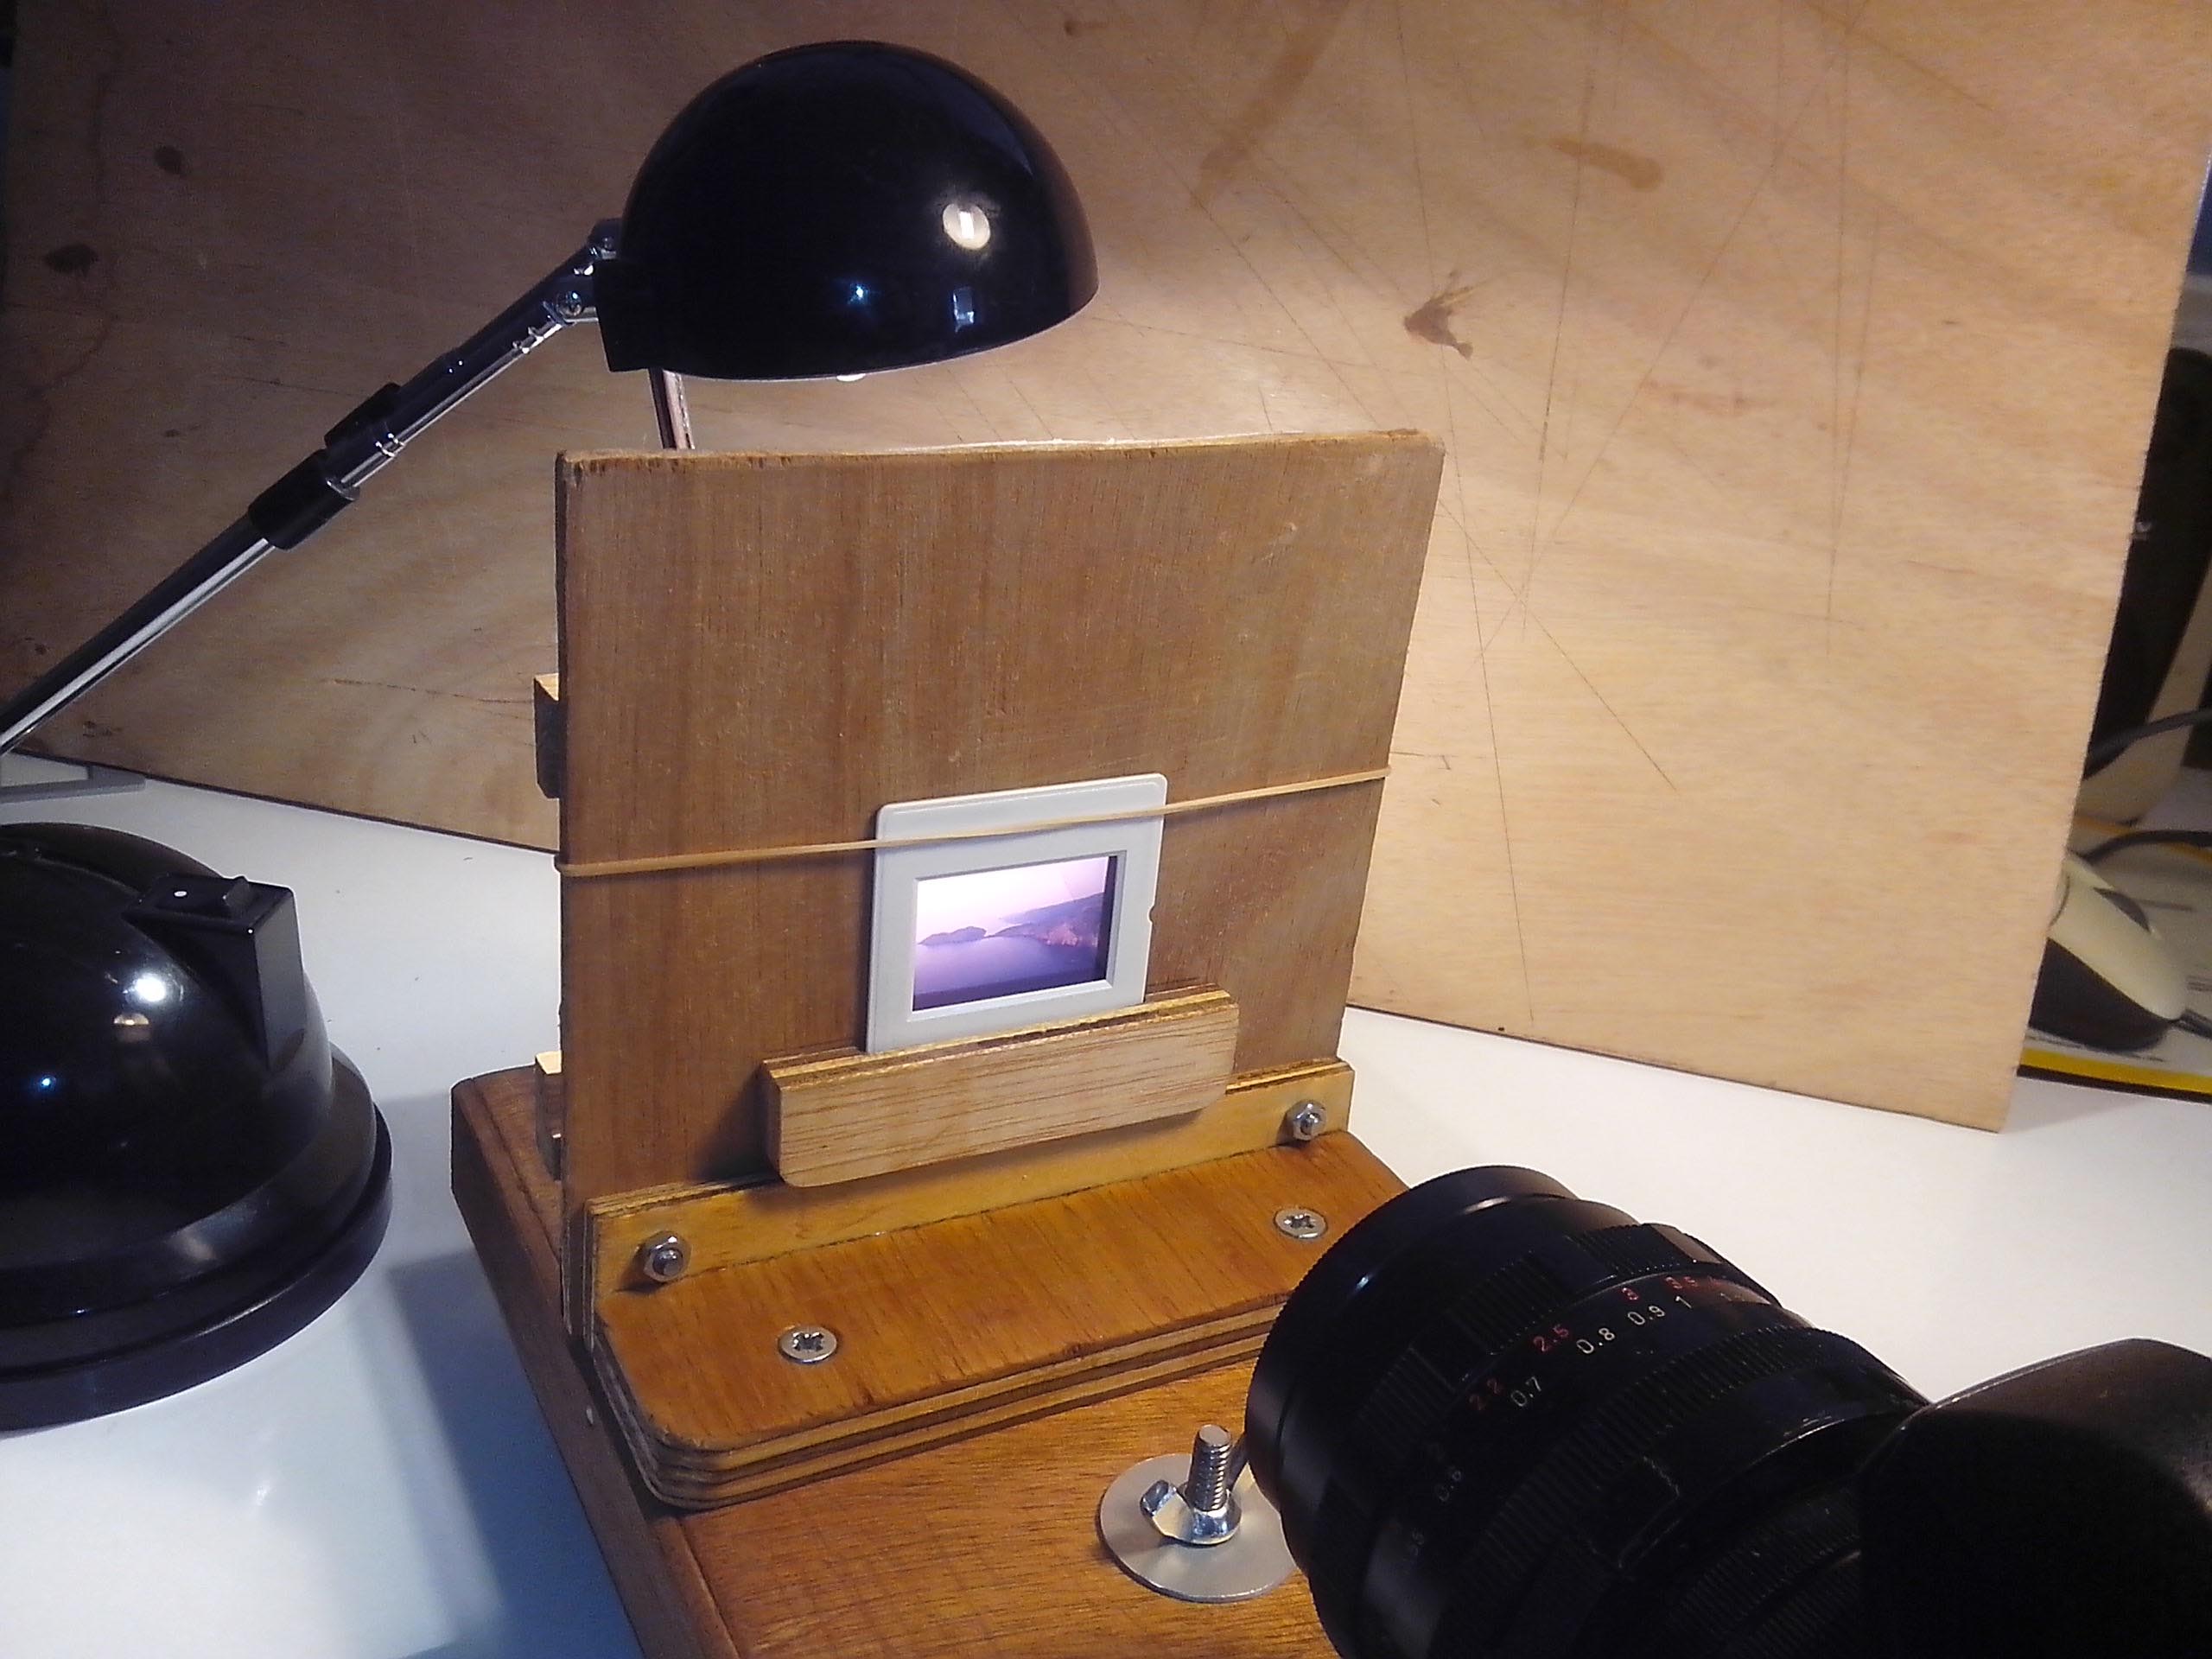
- The "optical bench" consists of a movable platform on a base. The different frames for slides and films are mounted on this platform.
- The light is provided by a desktop halogen lamp after reflection on a cardboard lightbox. The lightbox is held in place by a magnet in contact with a washer.
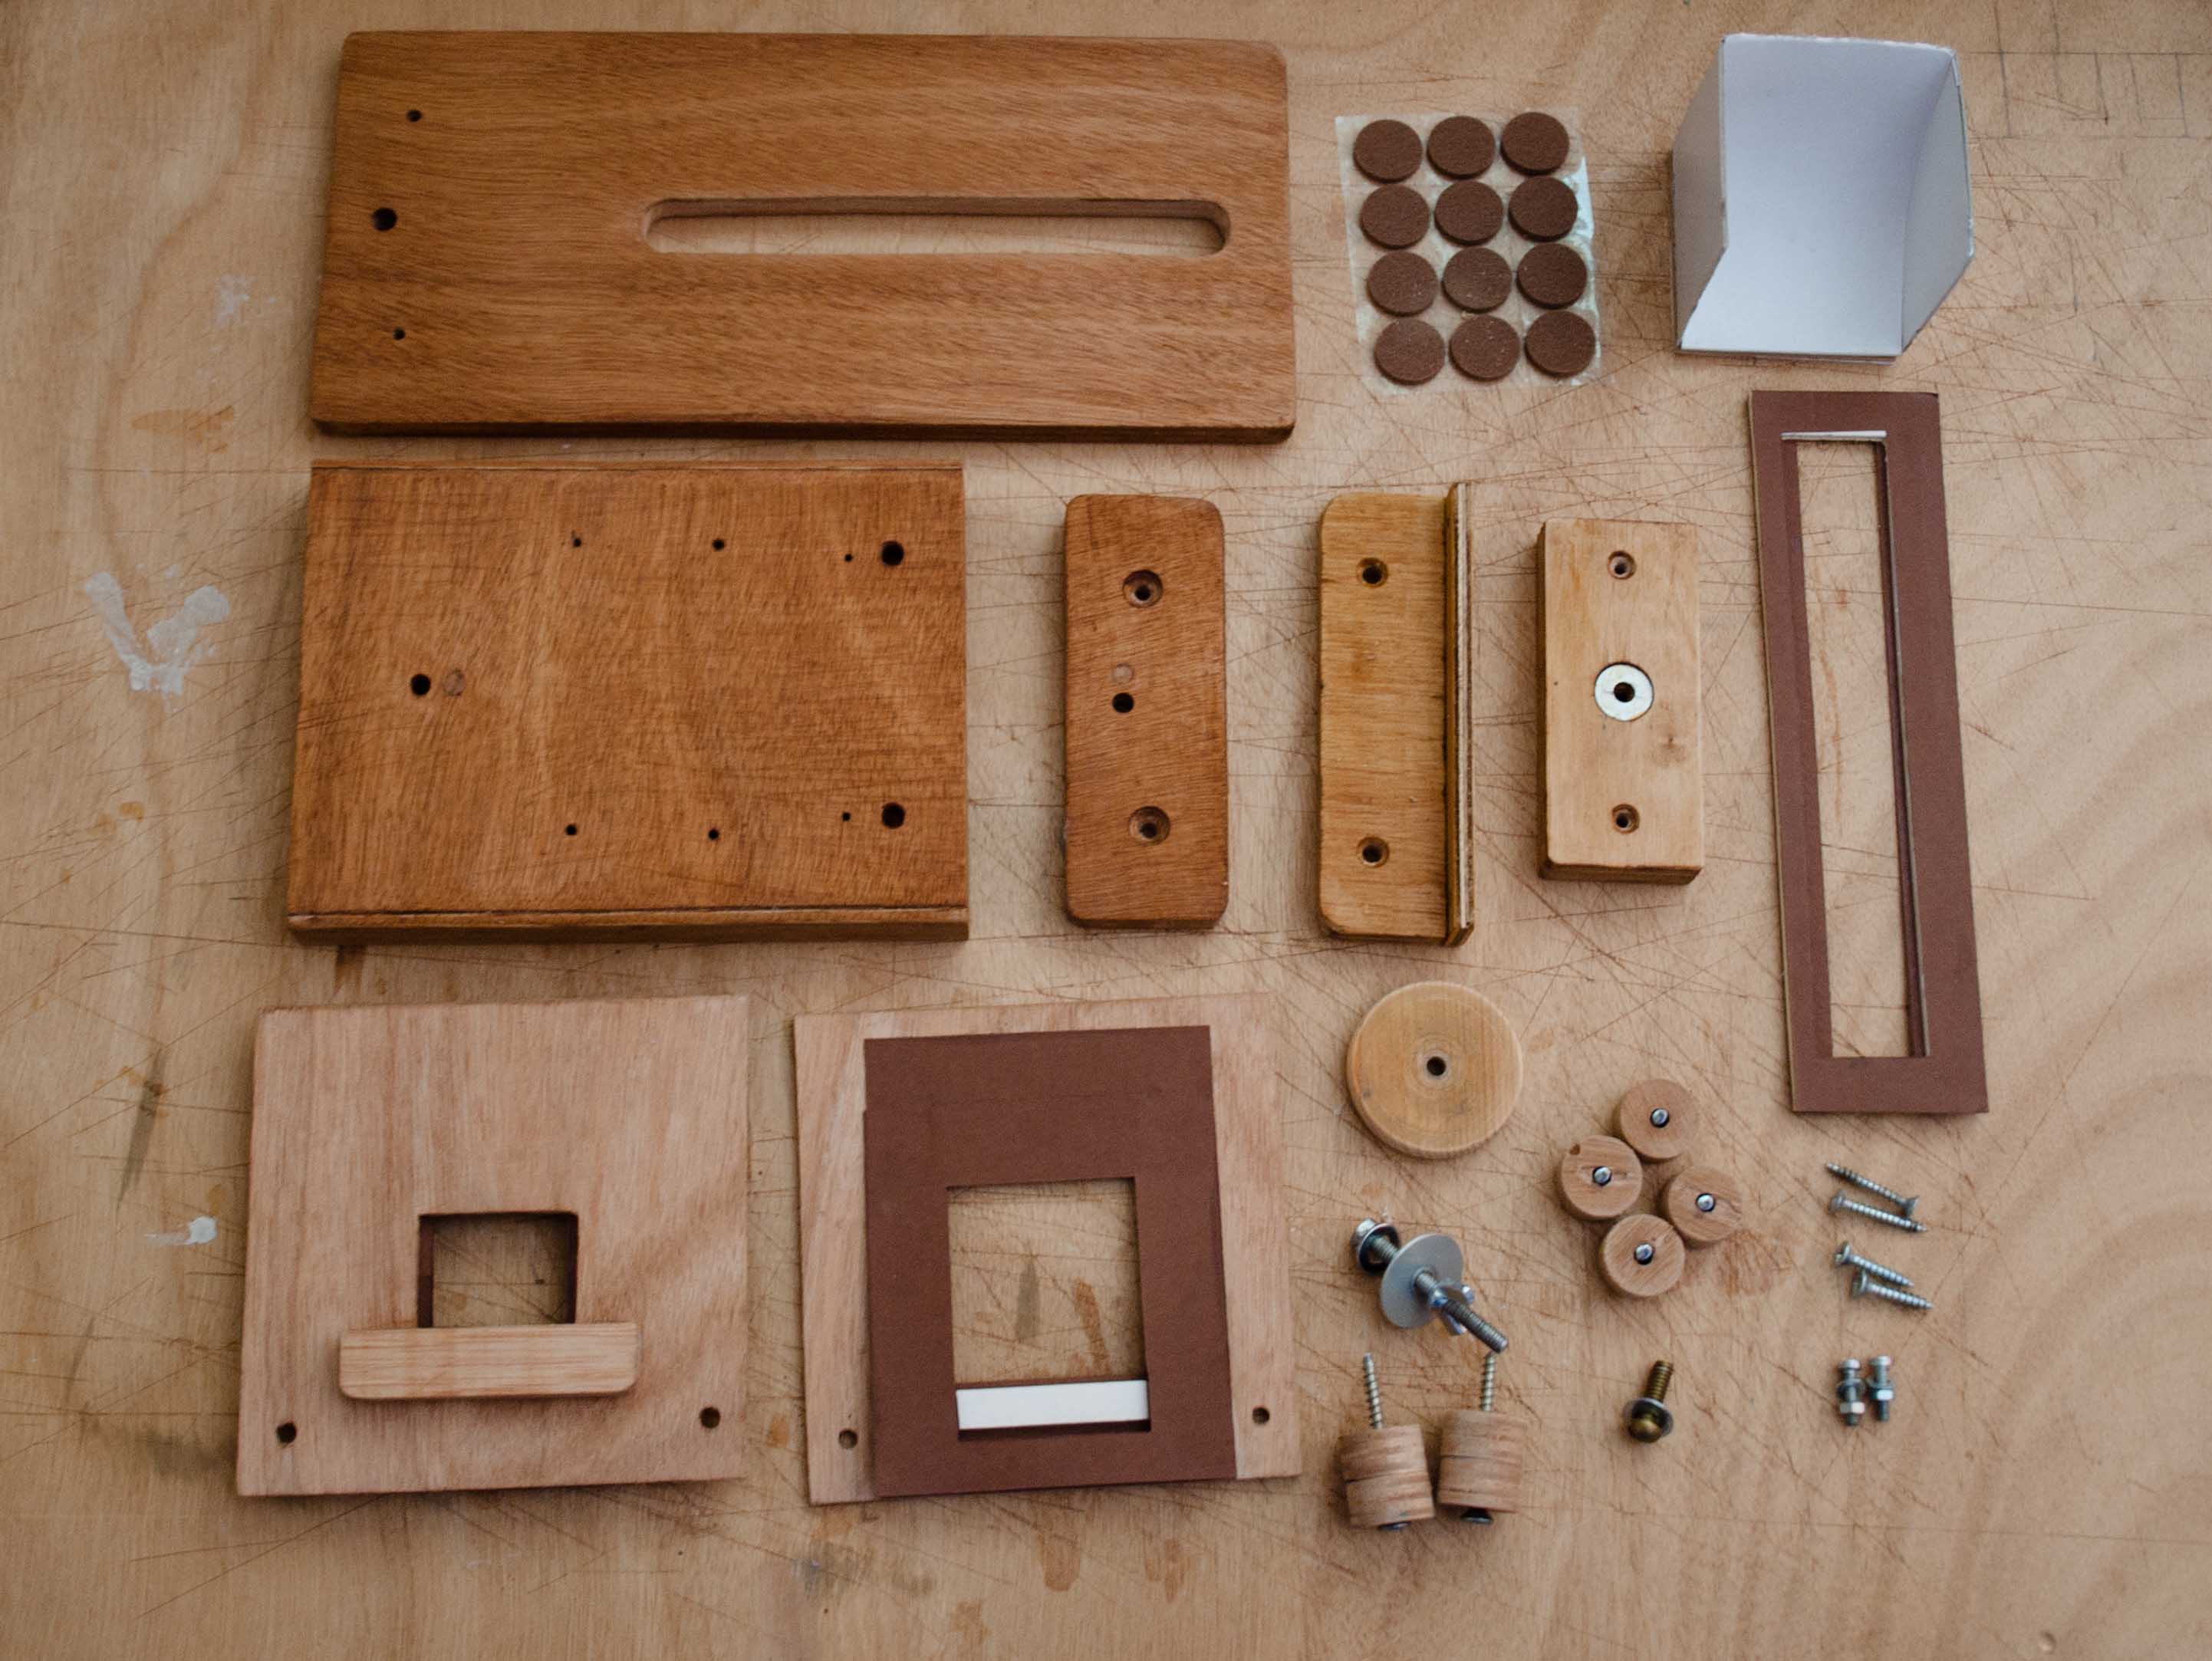
- All the components are shown in the photo. Everything was made from pieces of scrap plywood. I avoided gluing parts together and used screws instead, in order to facilitate modifications.
Making the Light Box
.jpg)
.jpg)
.jpg)
.jpg)
.jpg)
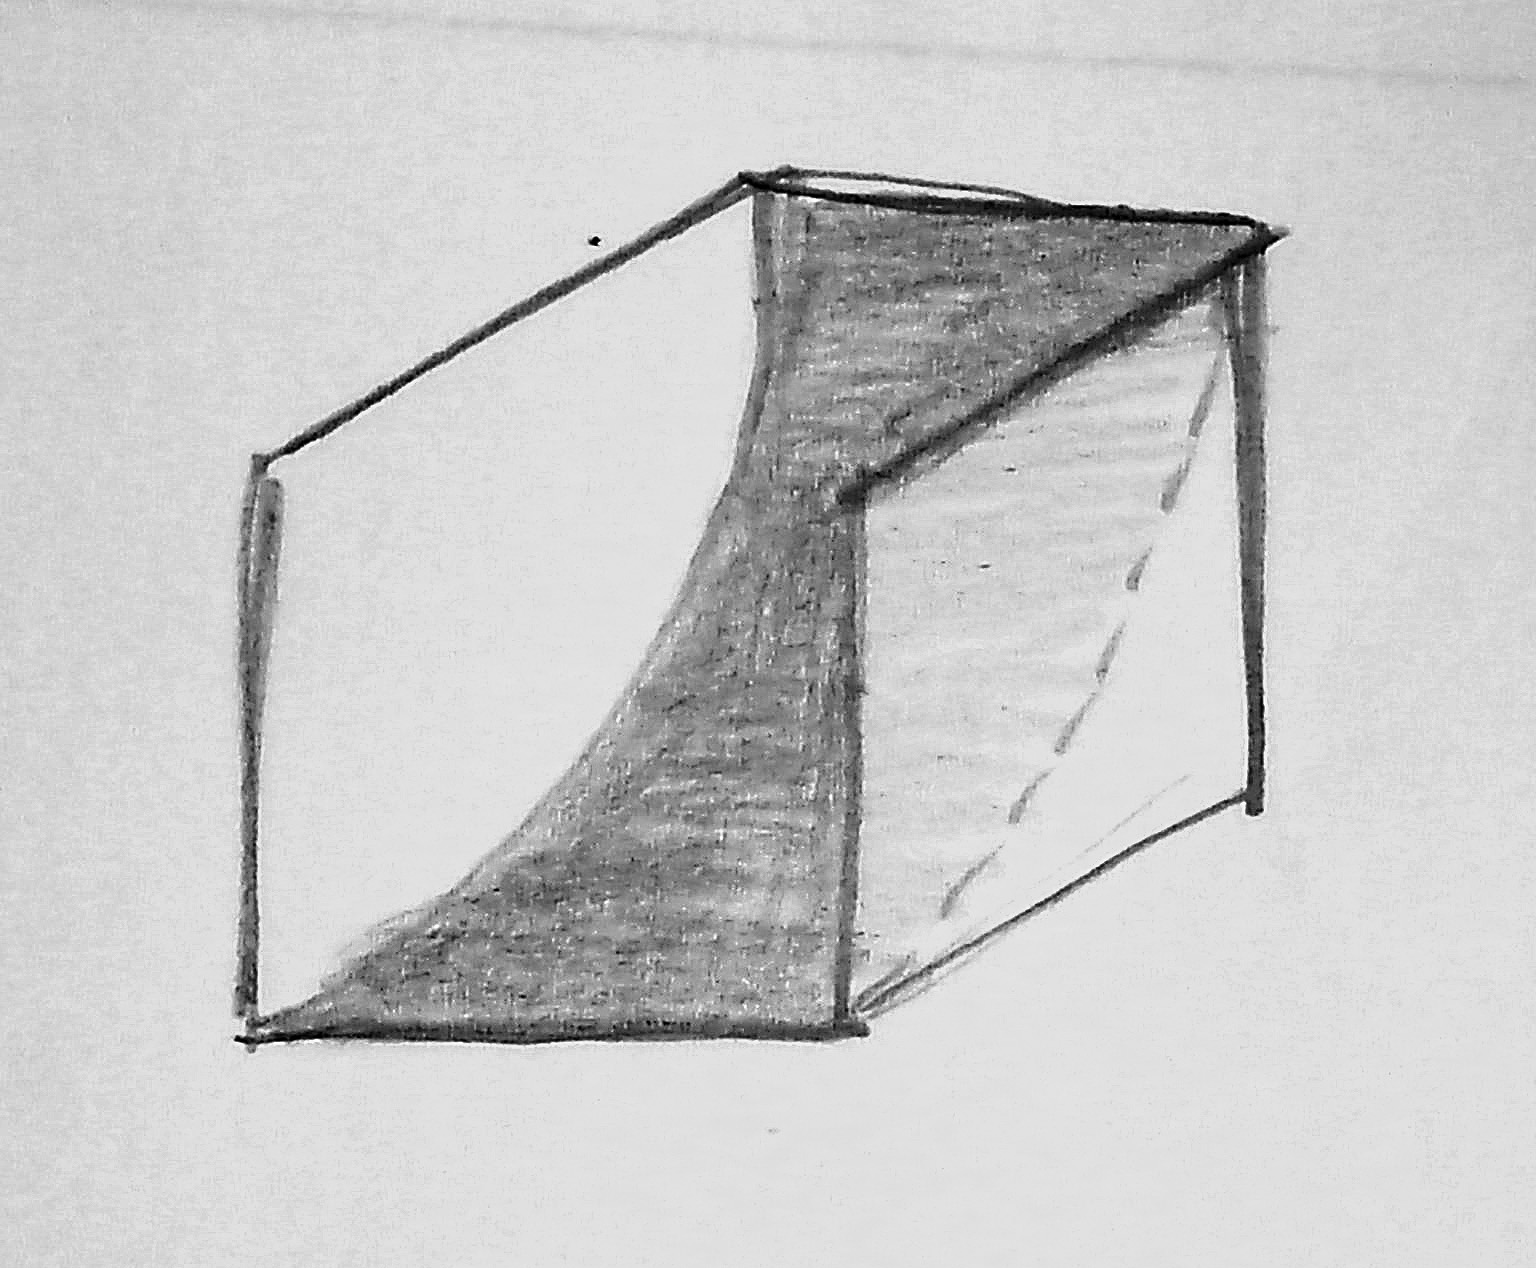
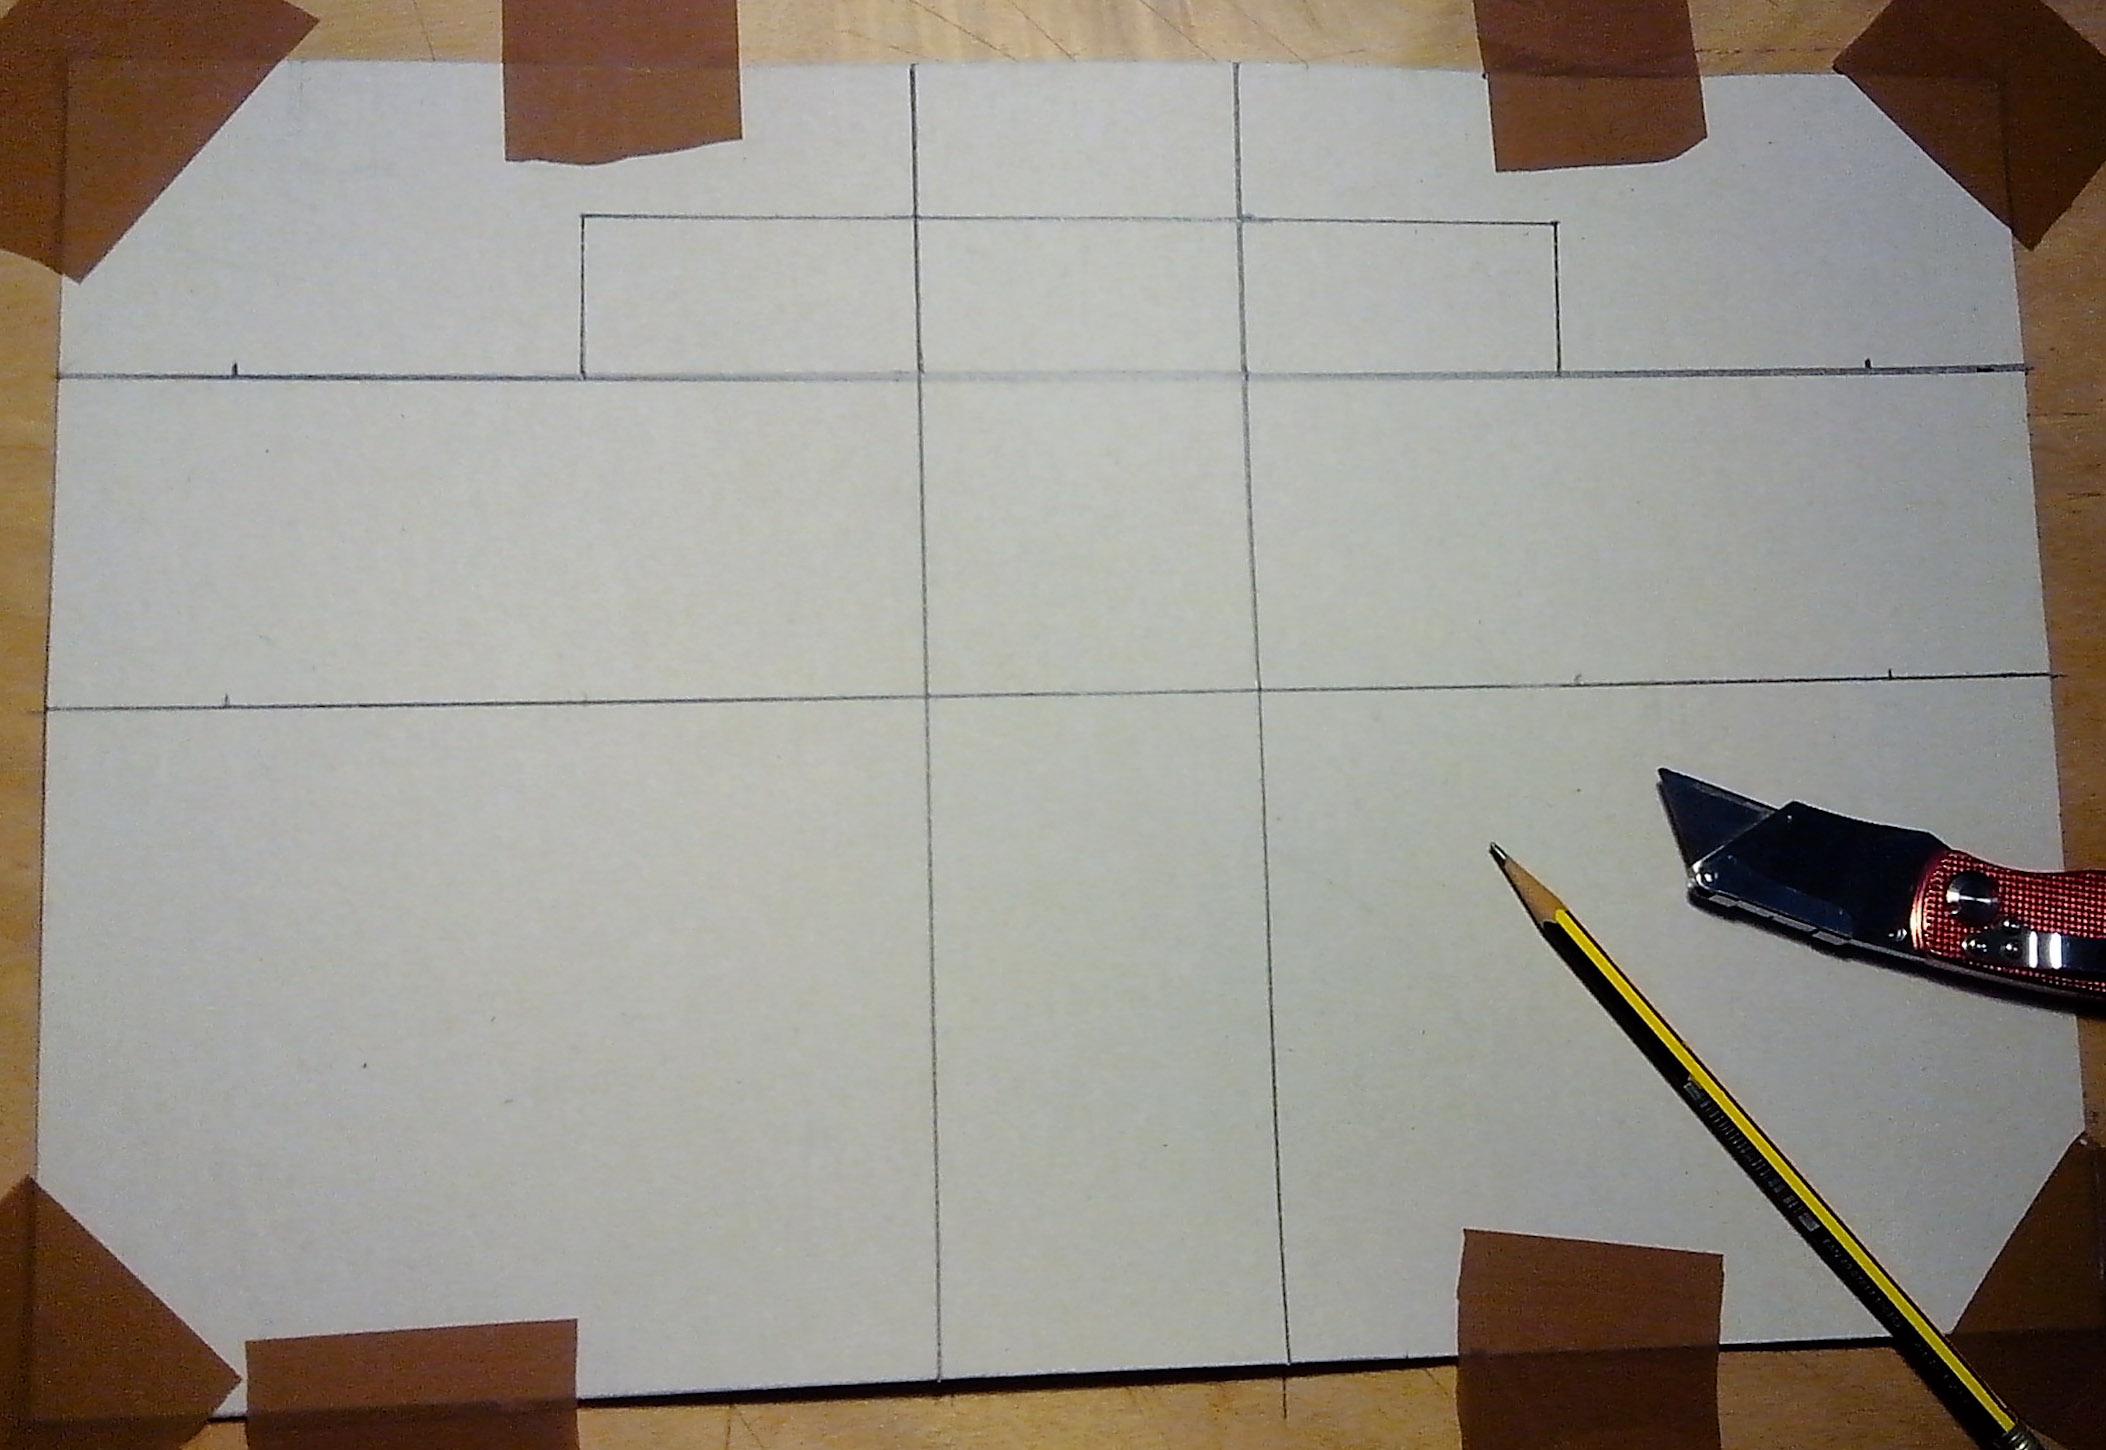
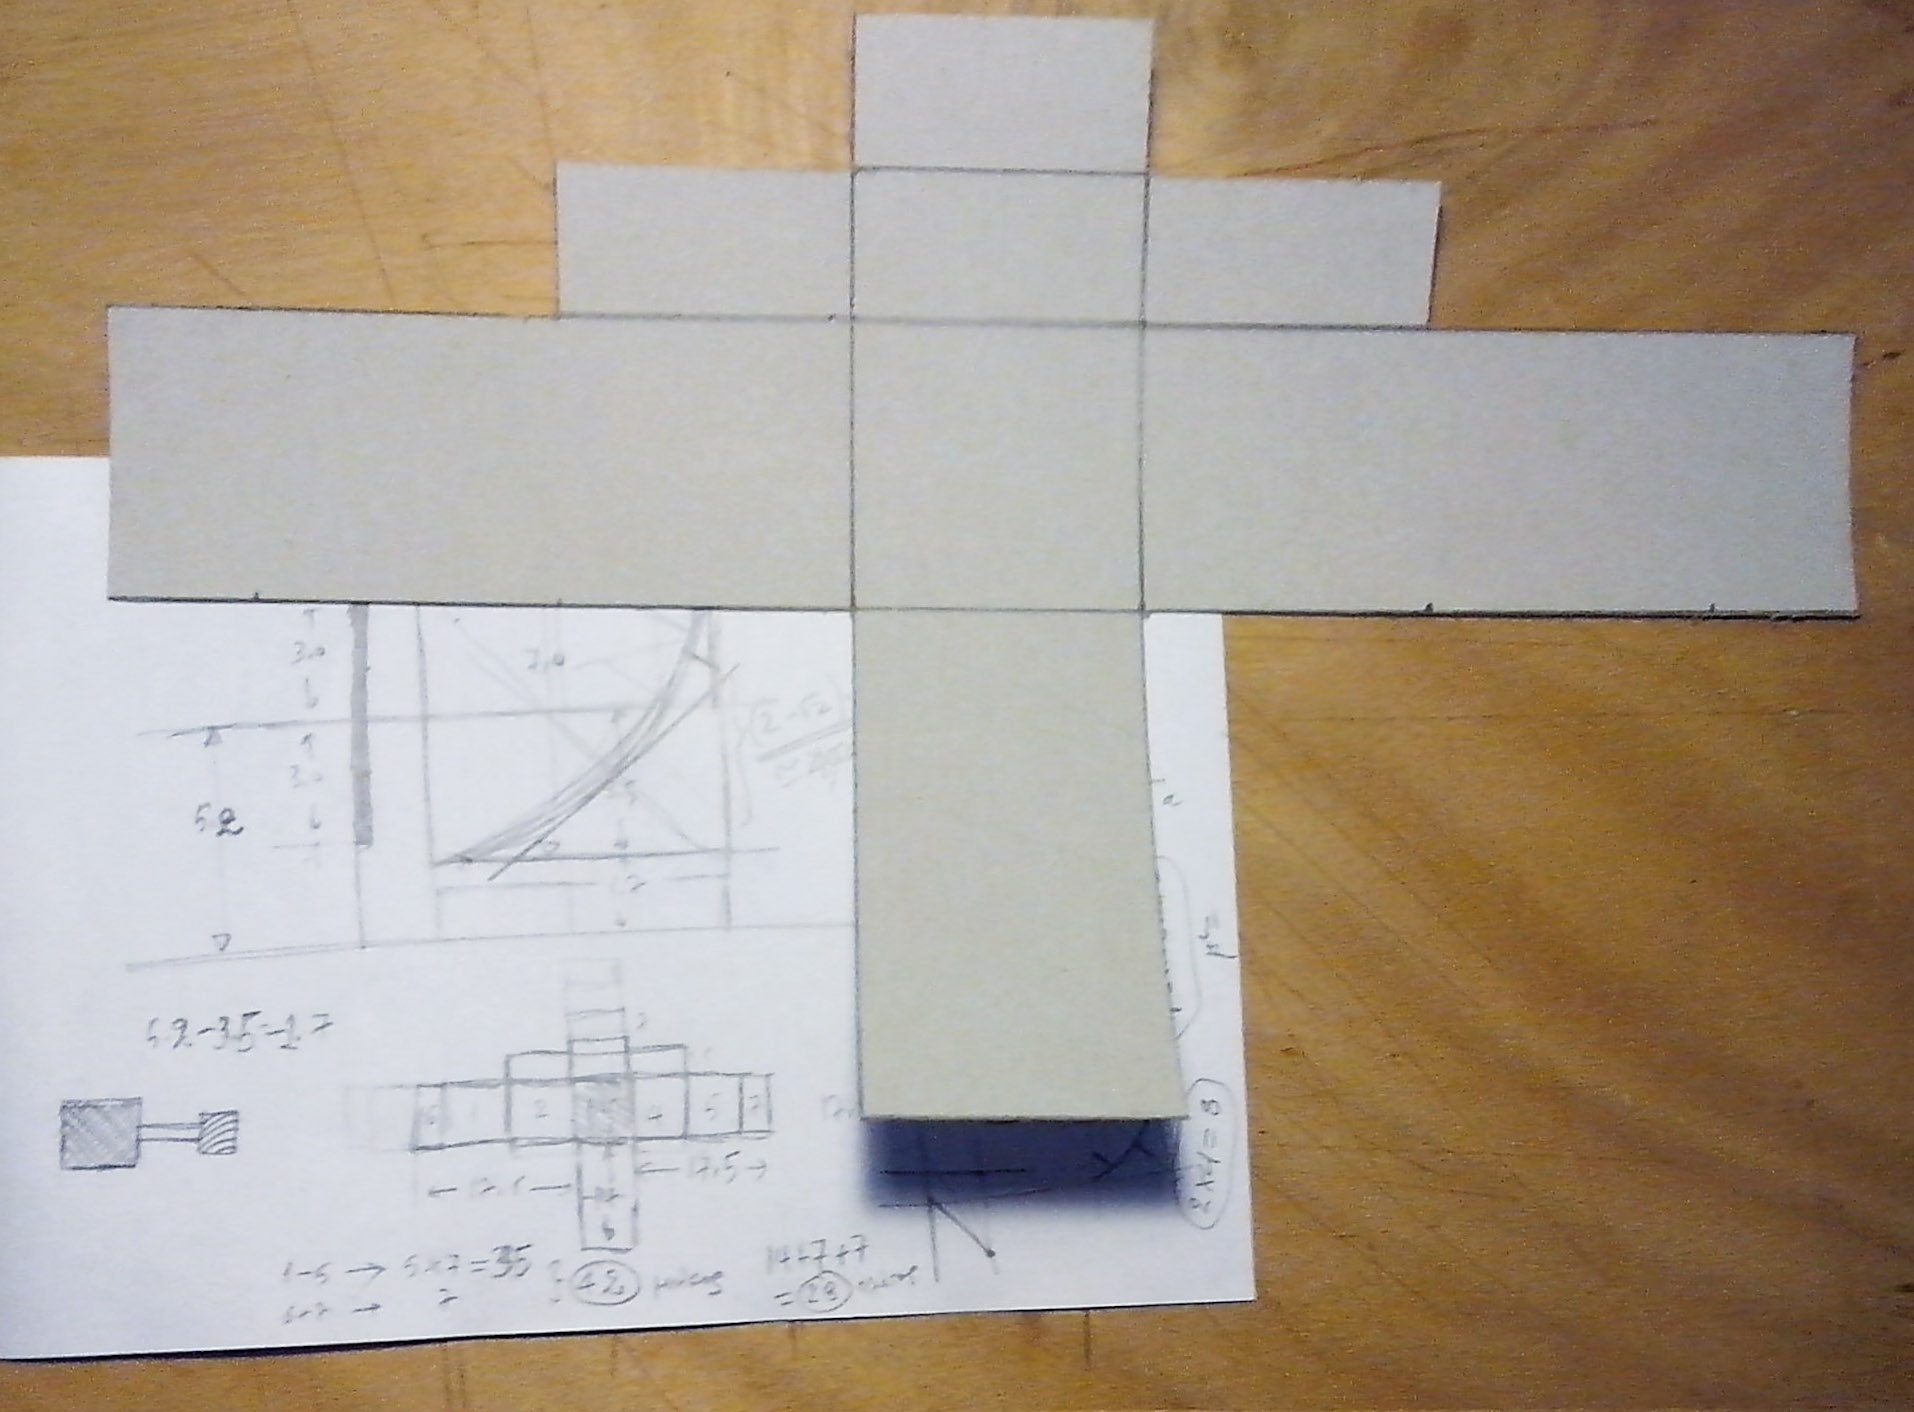
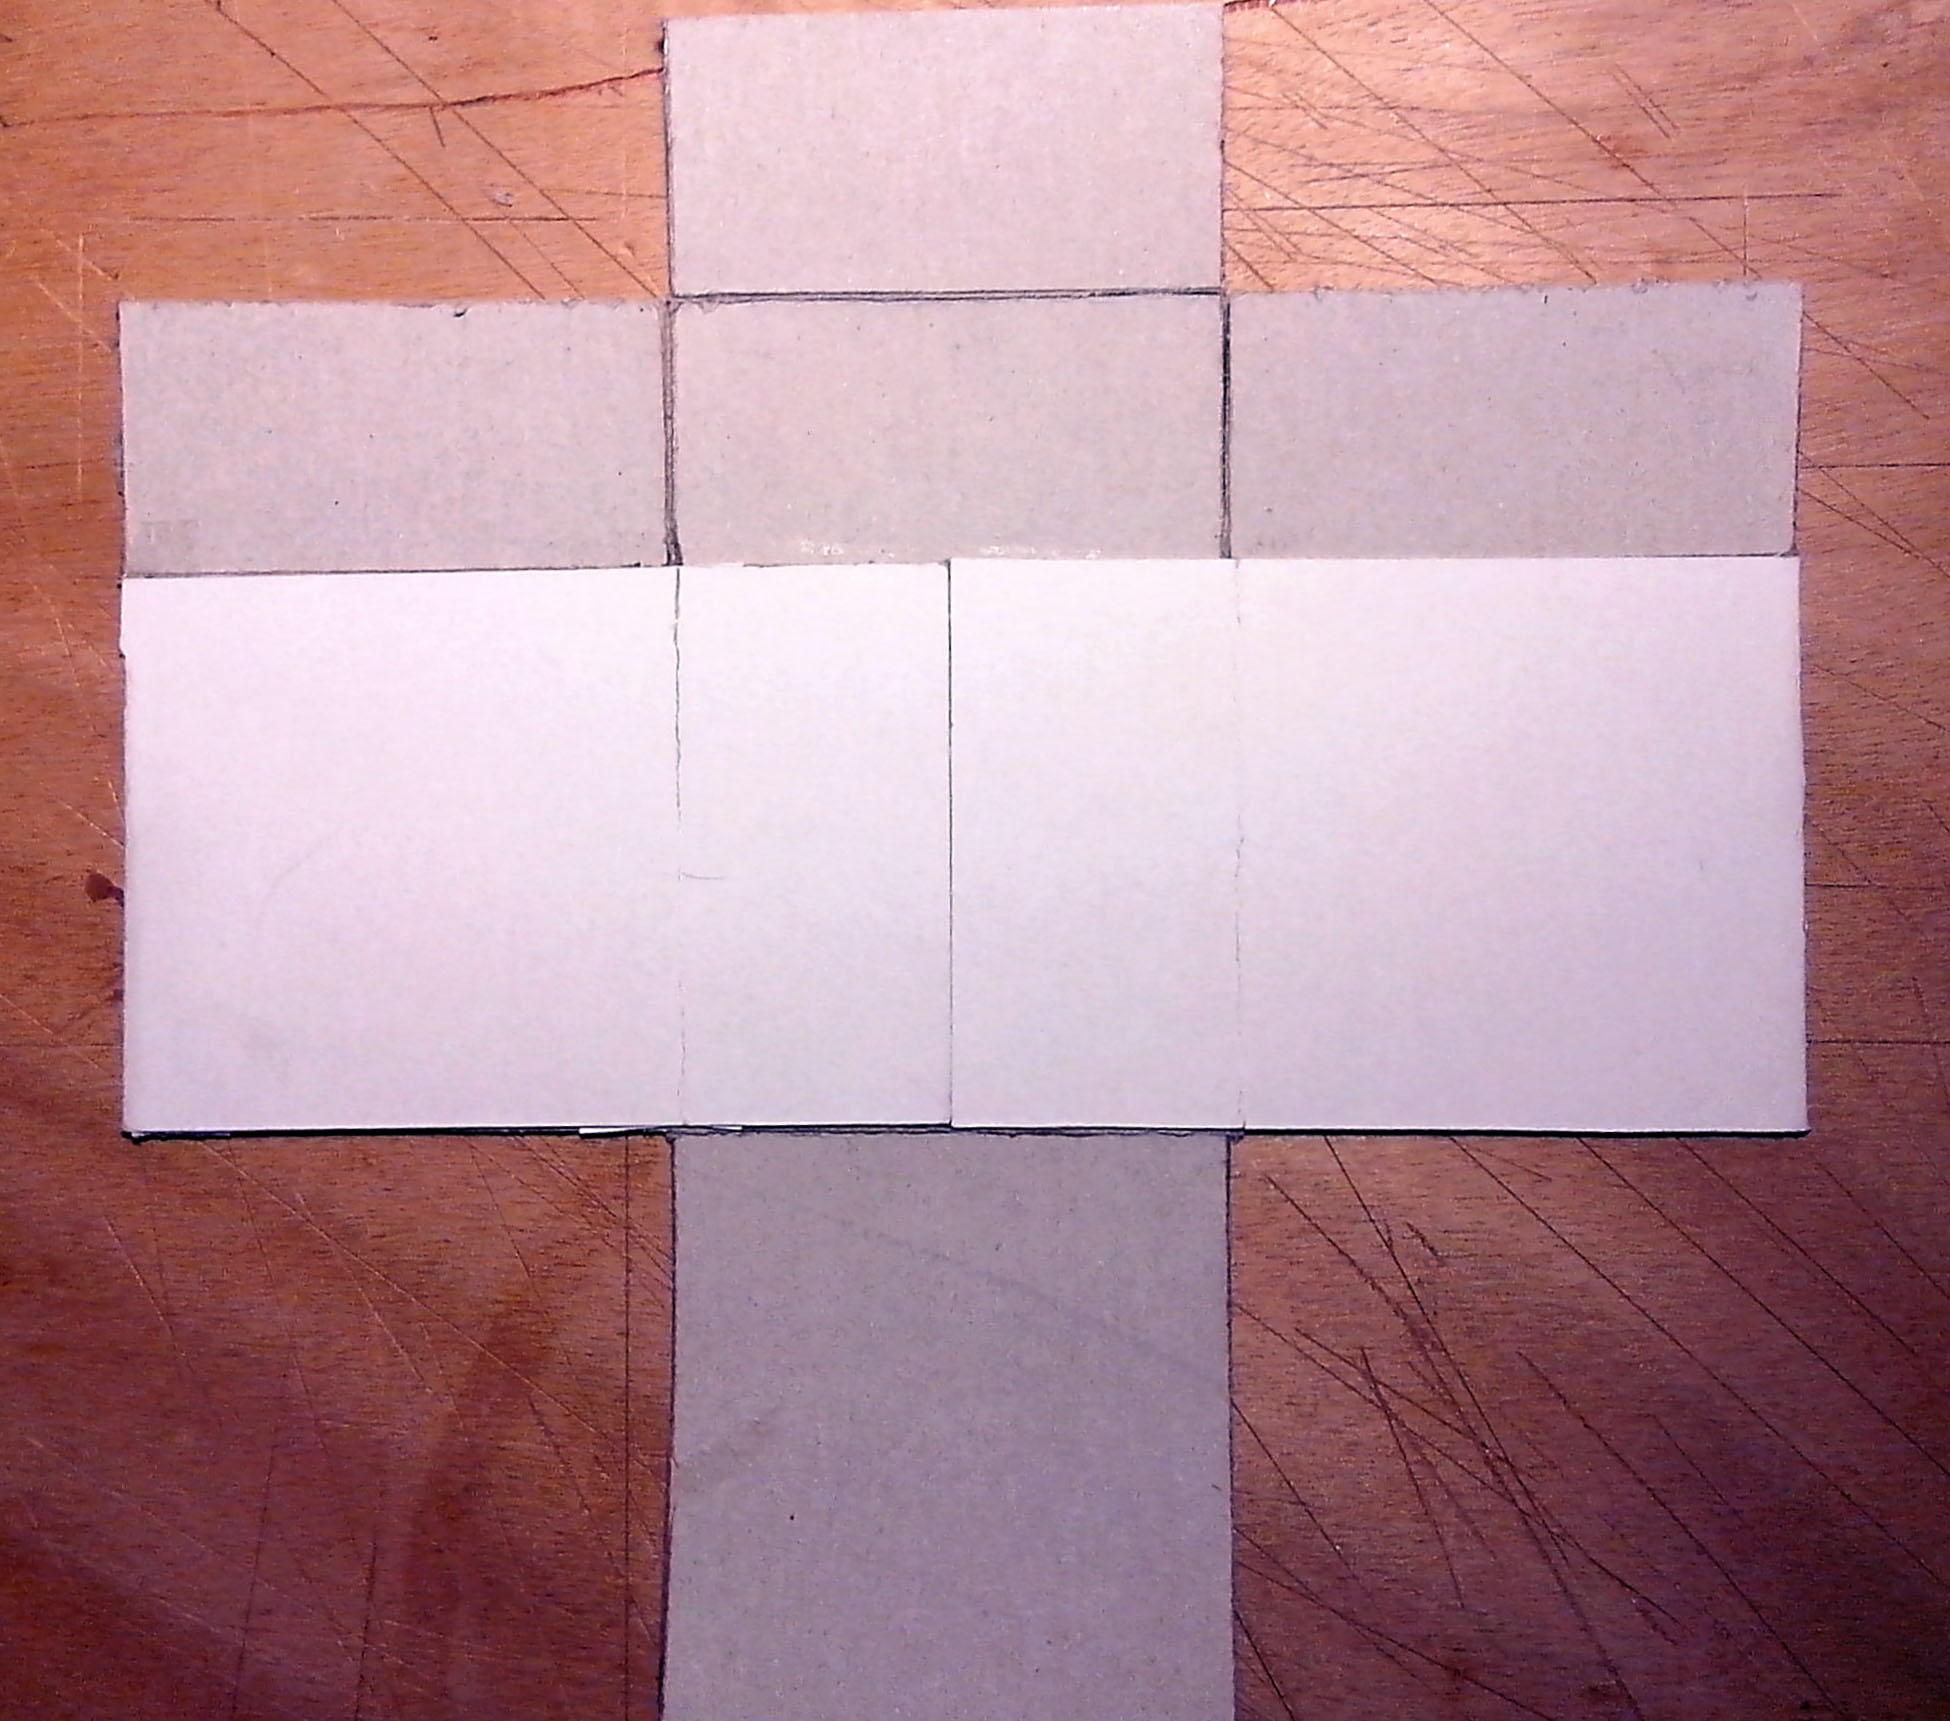
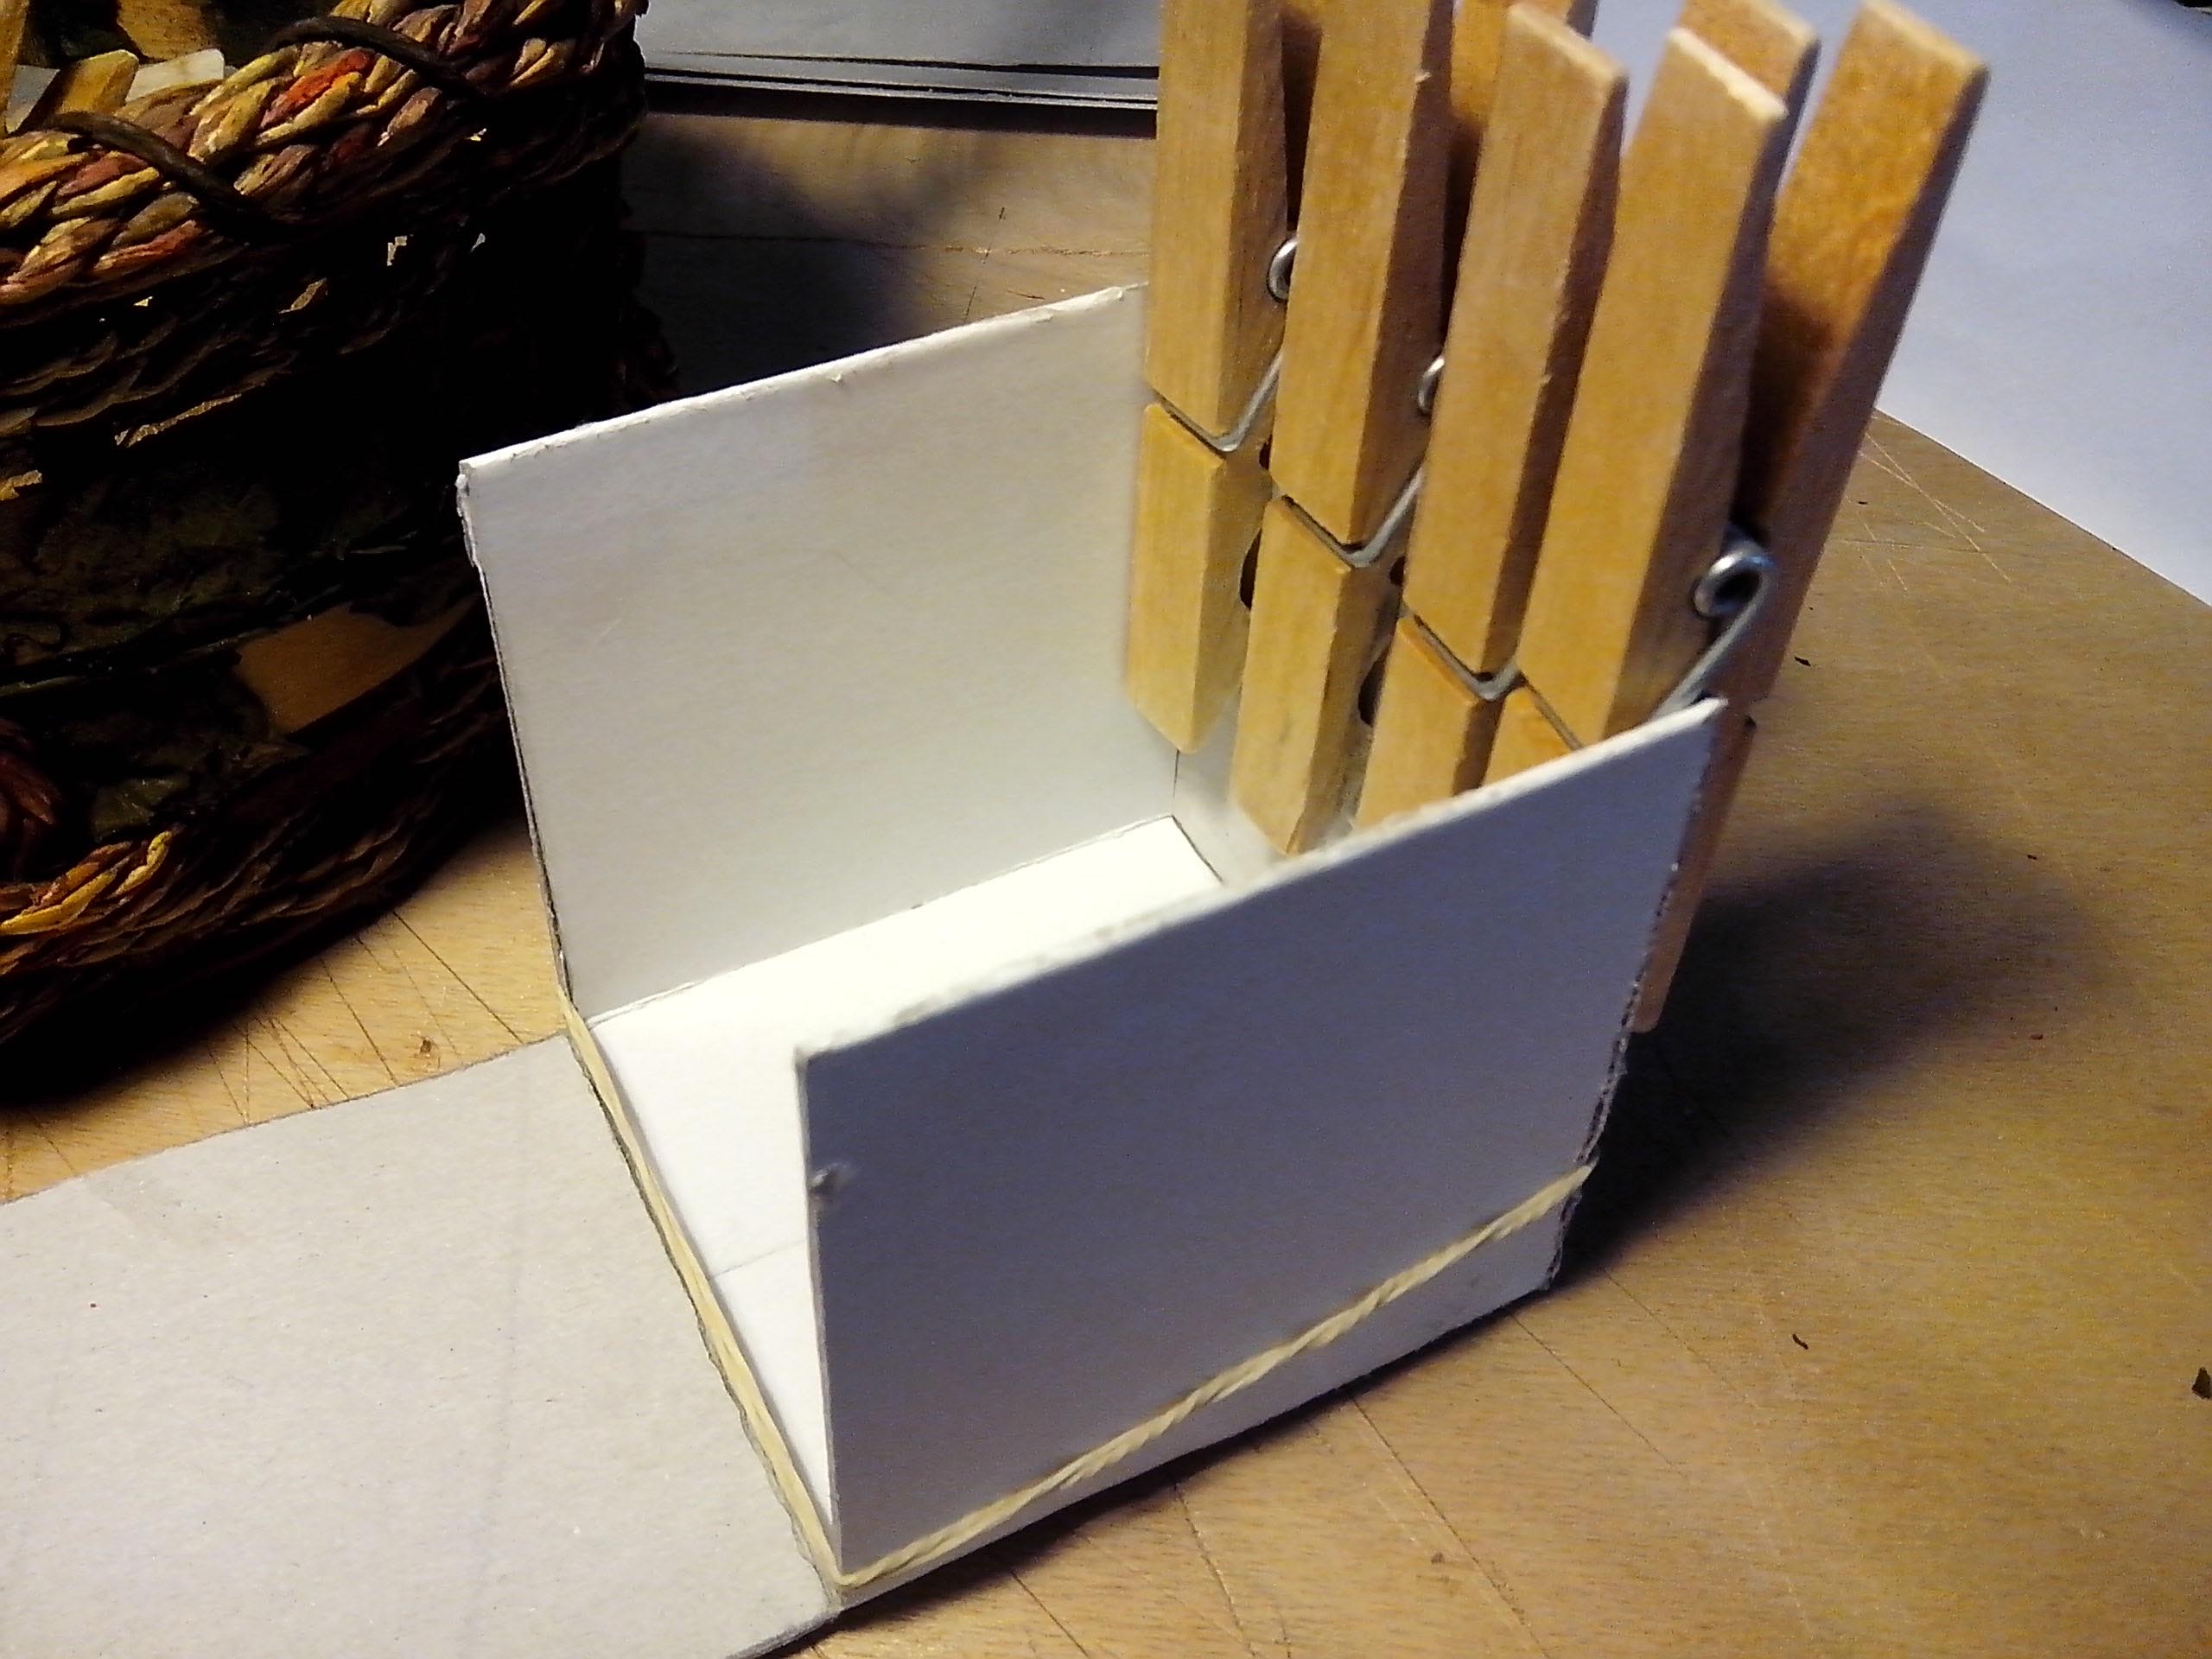
I made a cube 7cm x 7cm. It is small but works fine, the reflected light is homogeneous and there are no signs of vignetting on the photo.
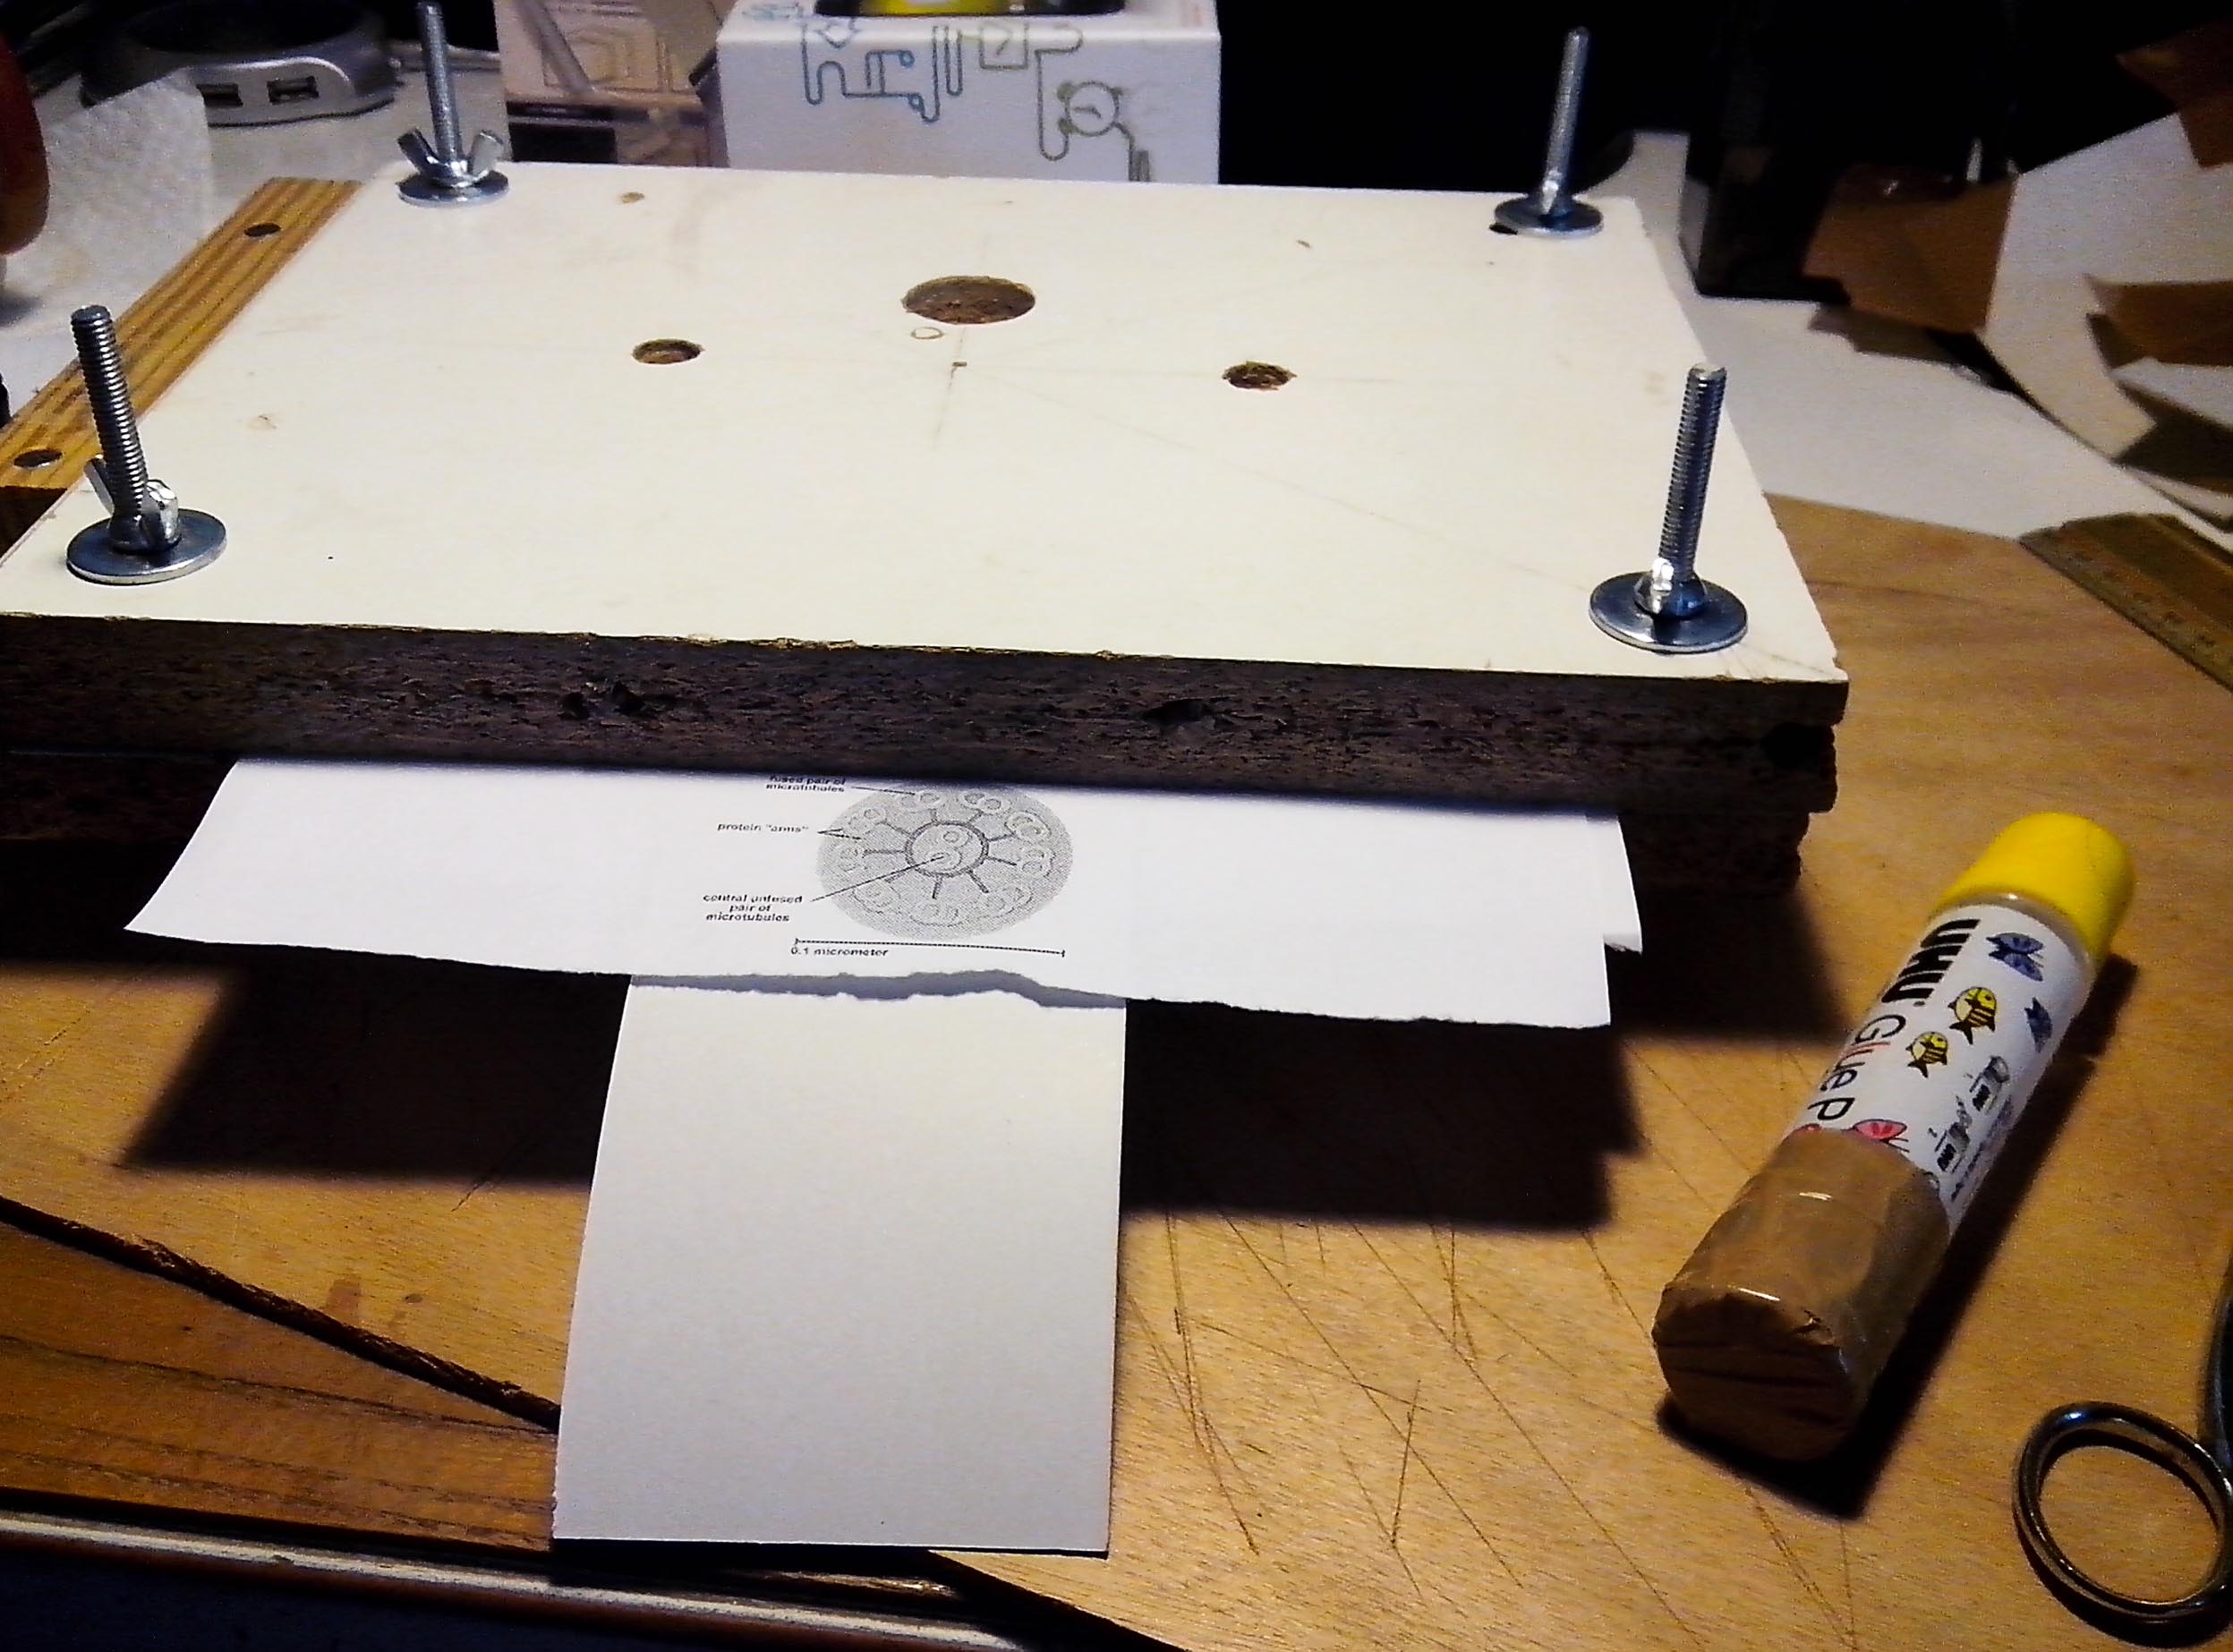
I used cardboard (a little more thick than the most common one). The pattern was designed on the gray side. It is a simple folding and gluing procedure shown in the photos. After folding, all external sides should be white. The main reflector (middle stripe) is curved and it is the last part to fold and glue. One should be careful to keep the surface clean.
The Panel for Slides and 35mm
.jpg)
.jpg)
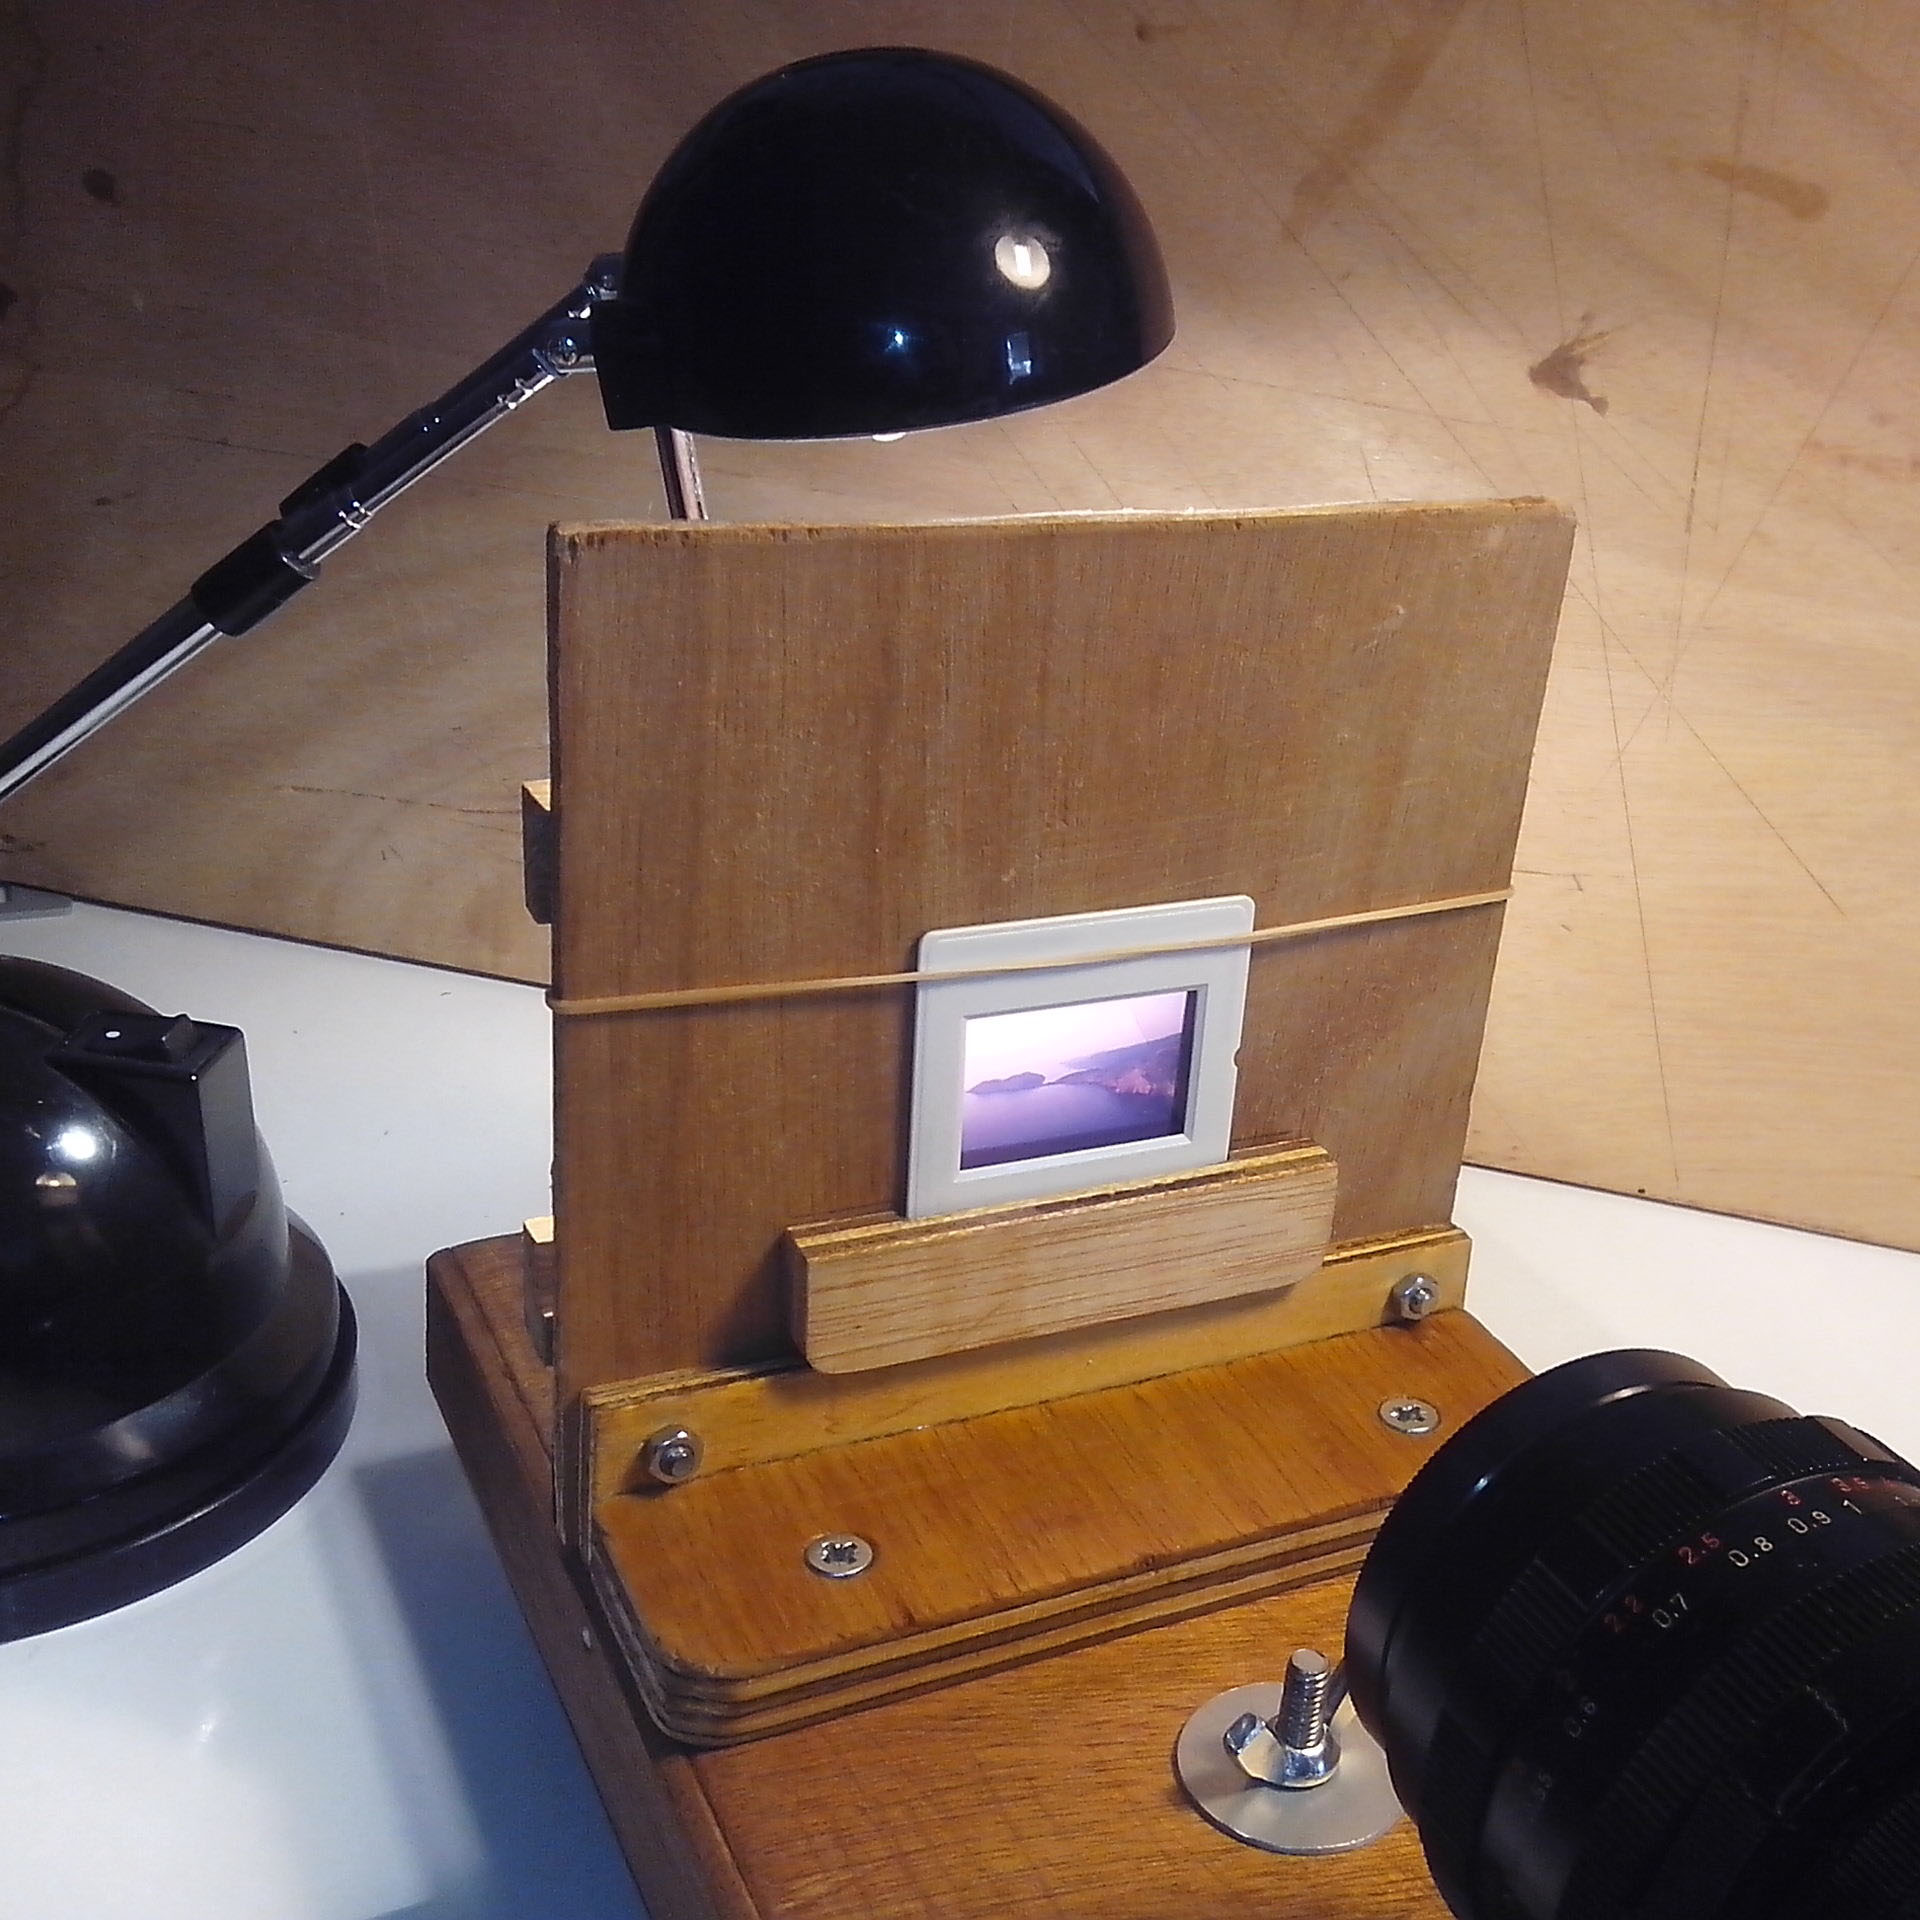
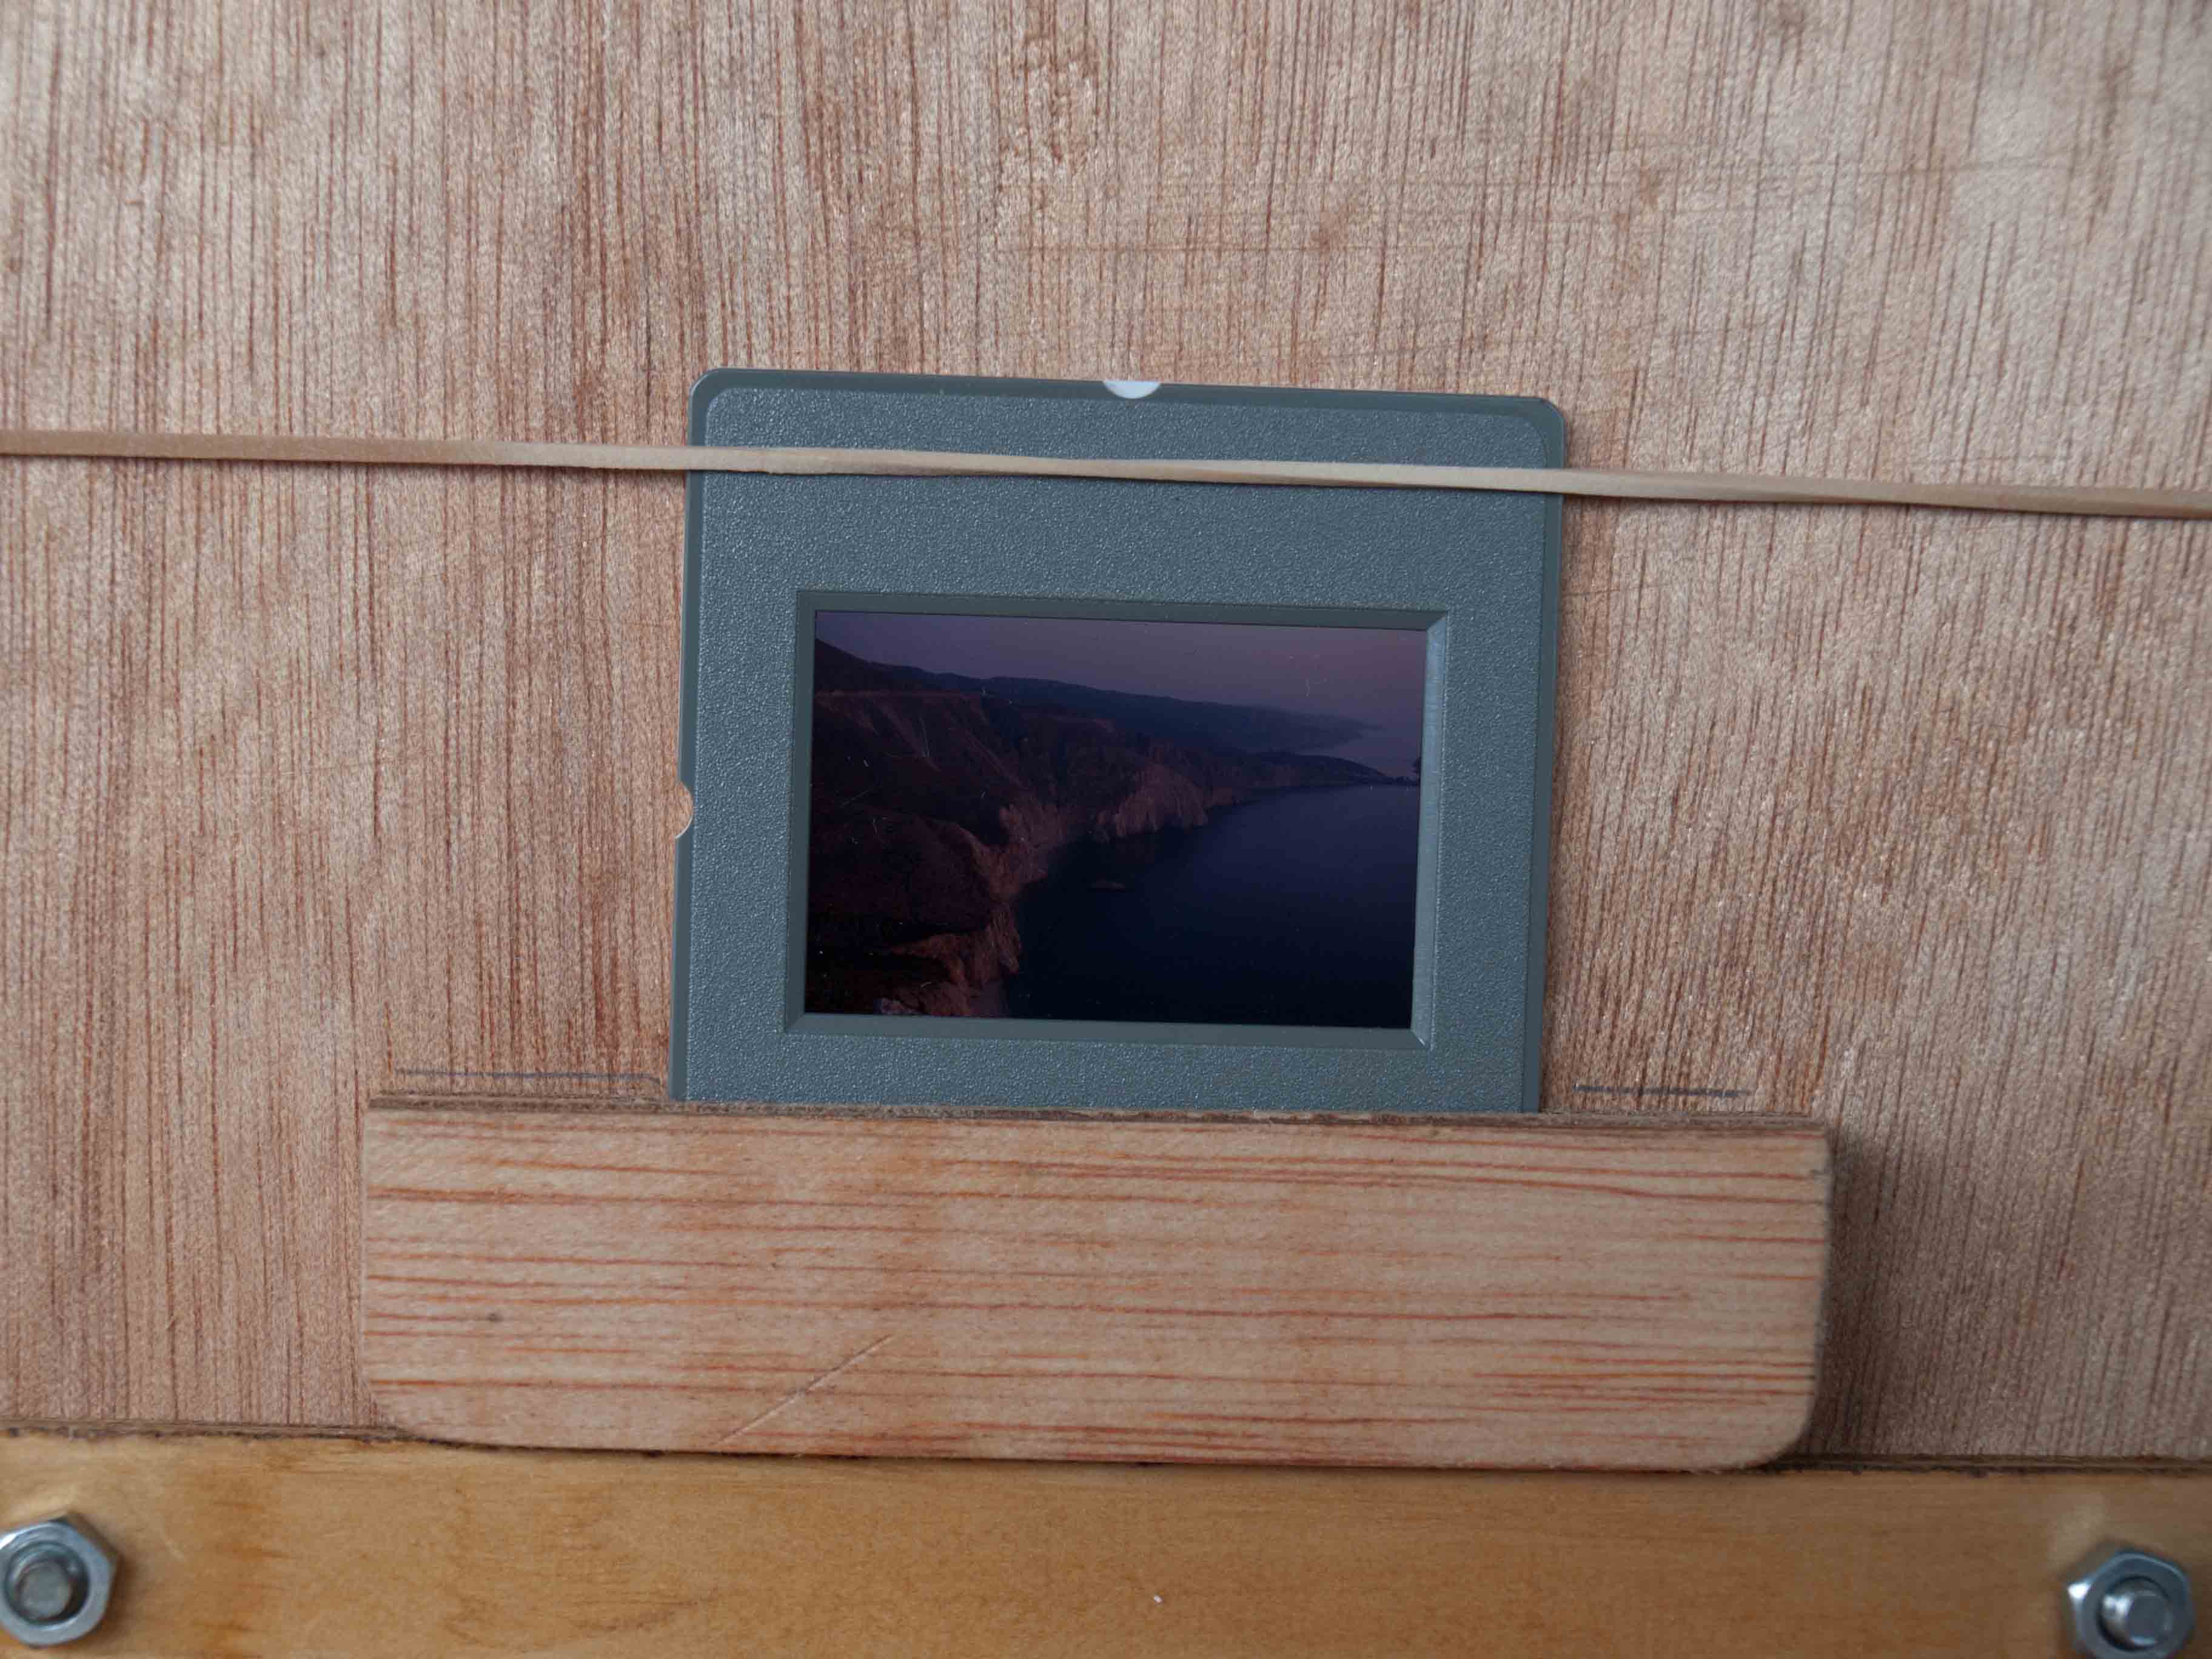
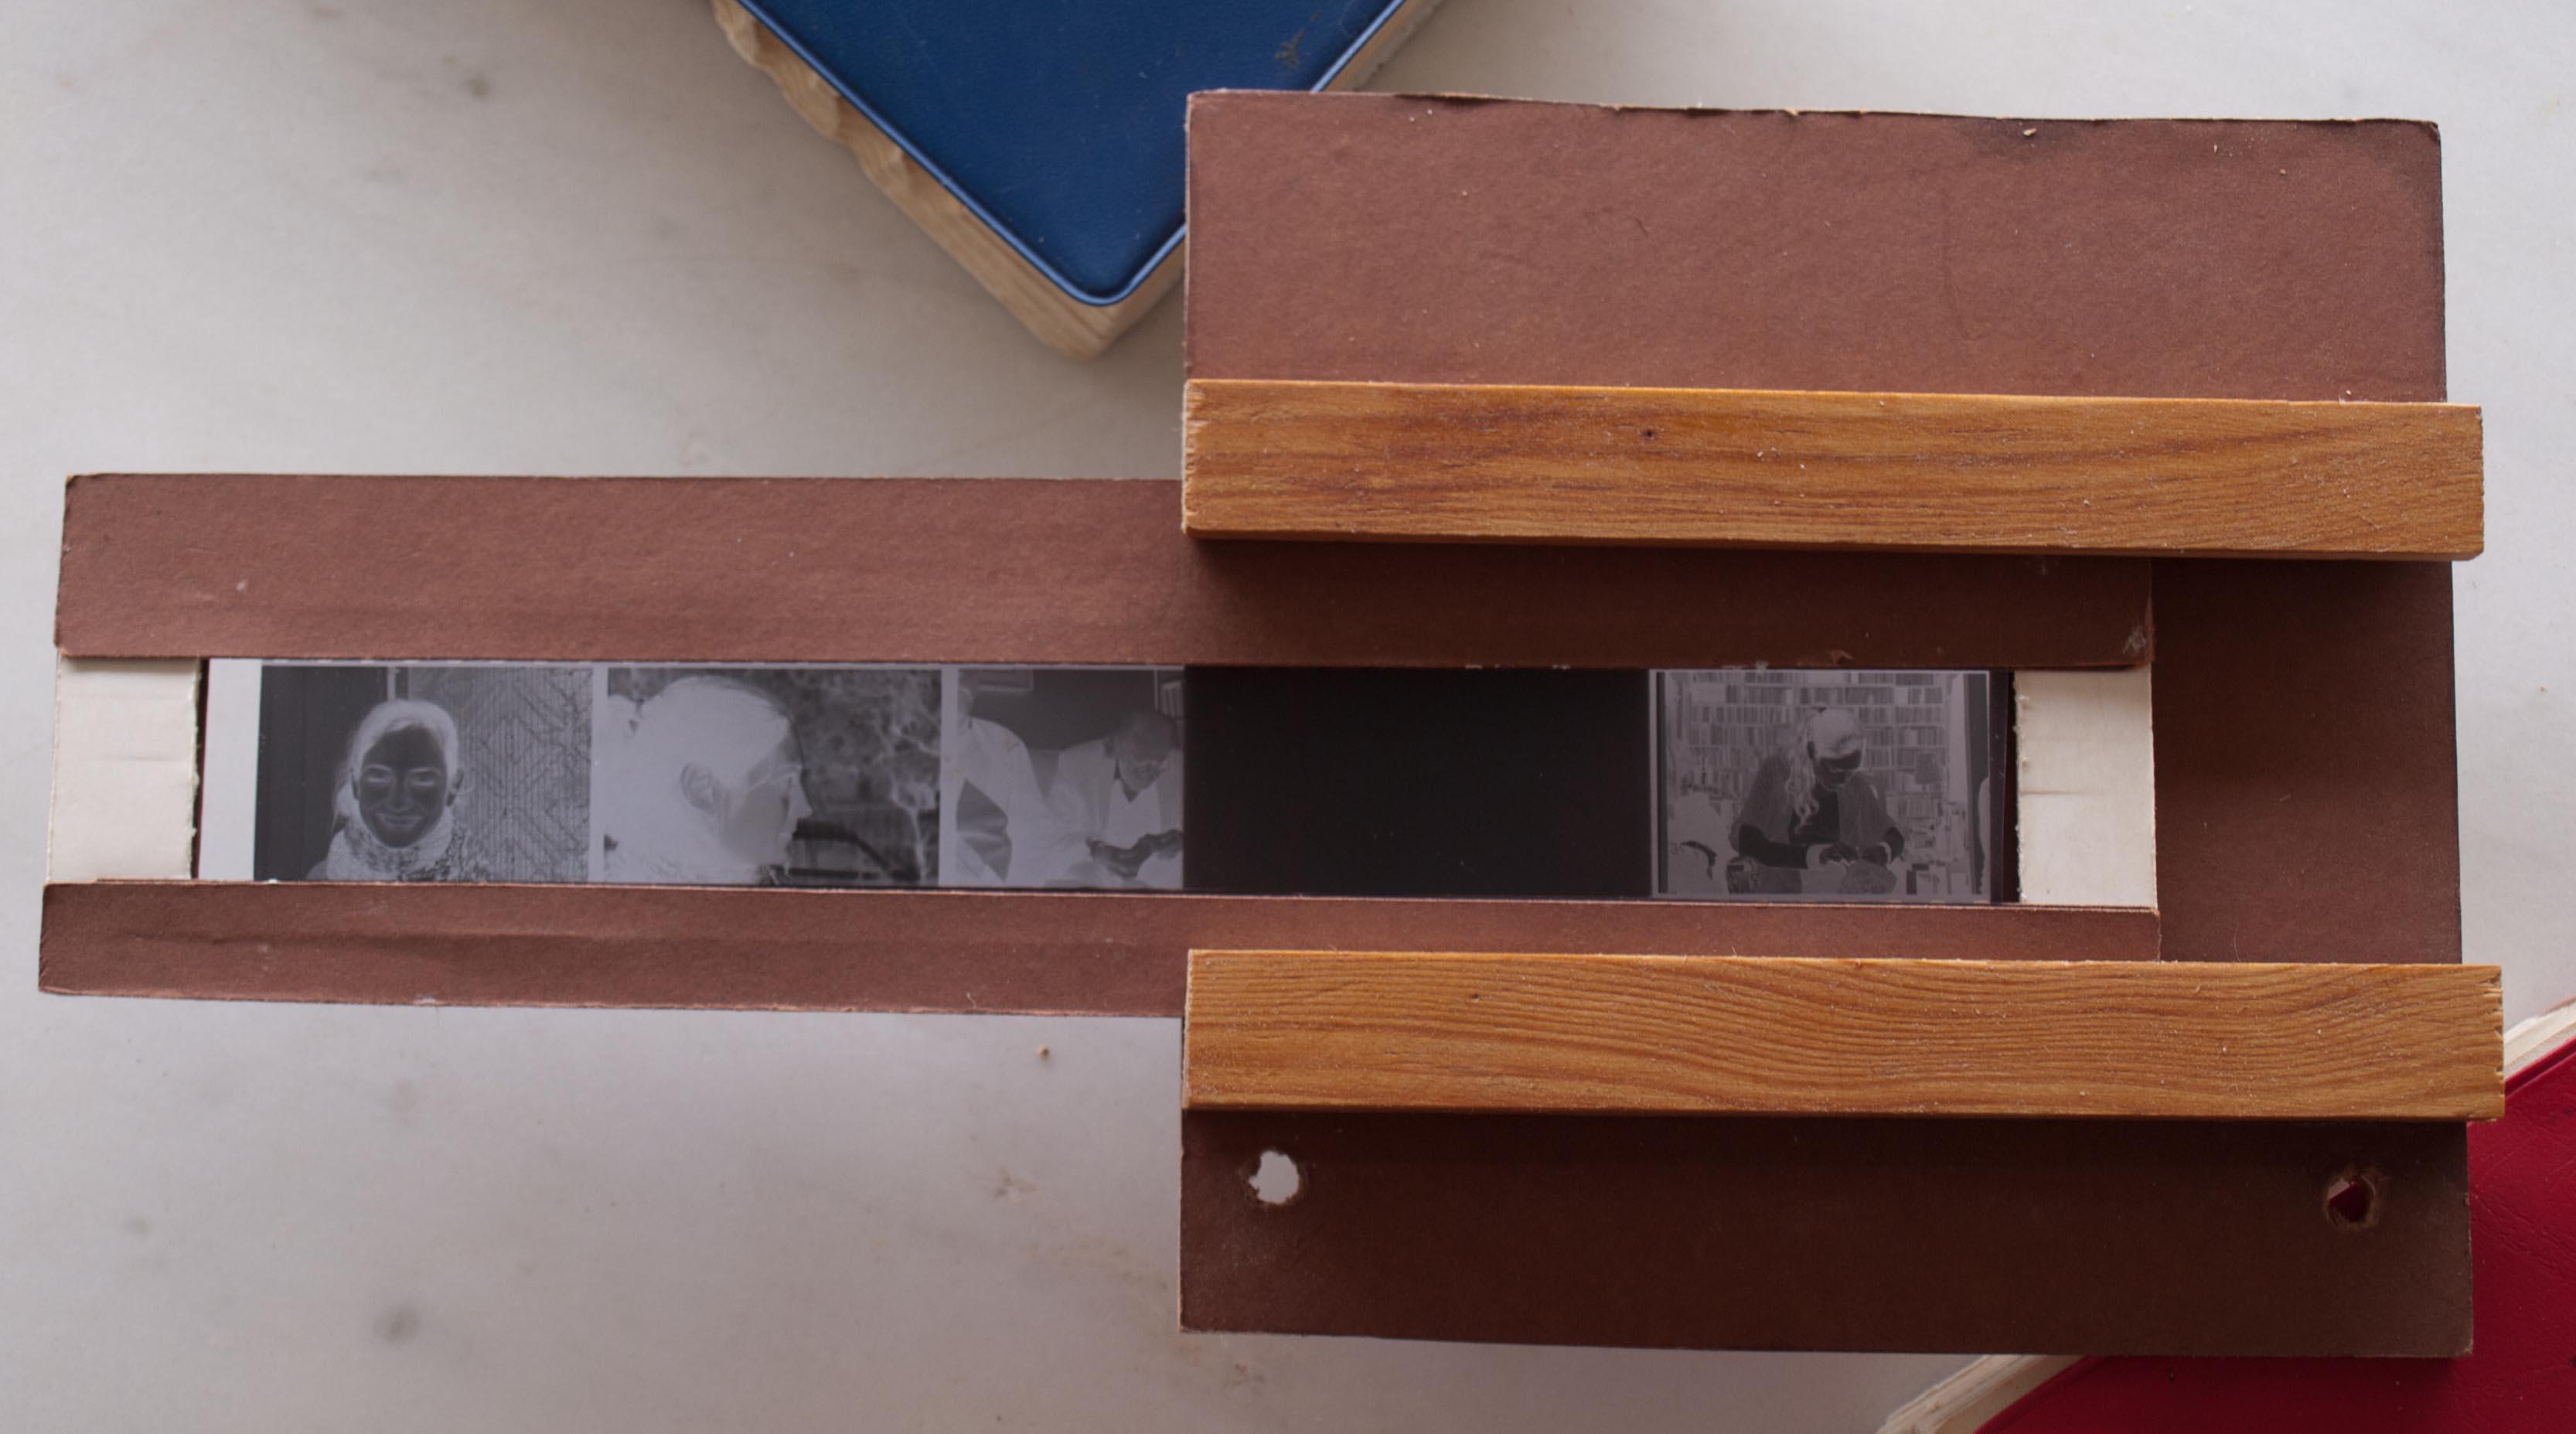
The camera-film distance needed for slide and negative are equal so I decided to make them on the same plywood frame.
The slide holder is very simple. The slide is inserted in a wooden pocket and held in place by a rubber. The rubber keeps the slide tangent to the frame and this is the simplest solution I could think of.
As I discussed before I made a film holder out of cardboard and canson paper. This helps protect the negative and it makes the whole setup more "user friendly".
The frame is covered with canson paper. The carriers of the holder are made out of wood and they are glued on the frame.
The Medium Format 6x6 Film Panel
.jpg)
.jpg)
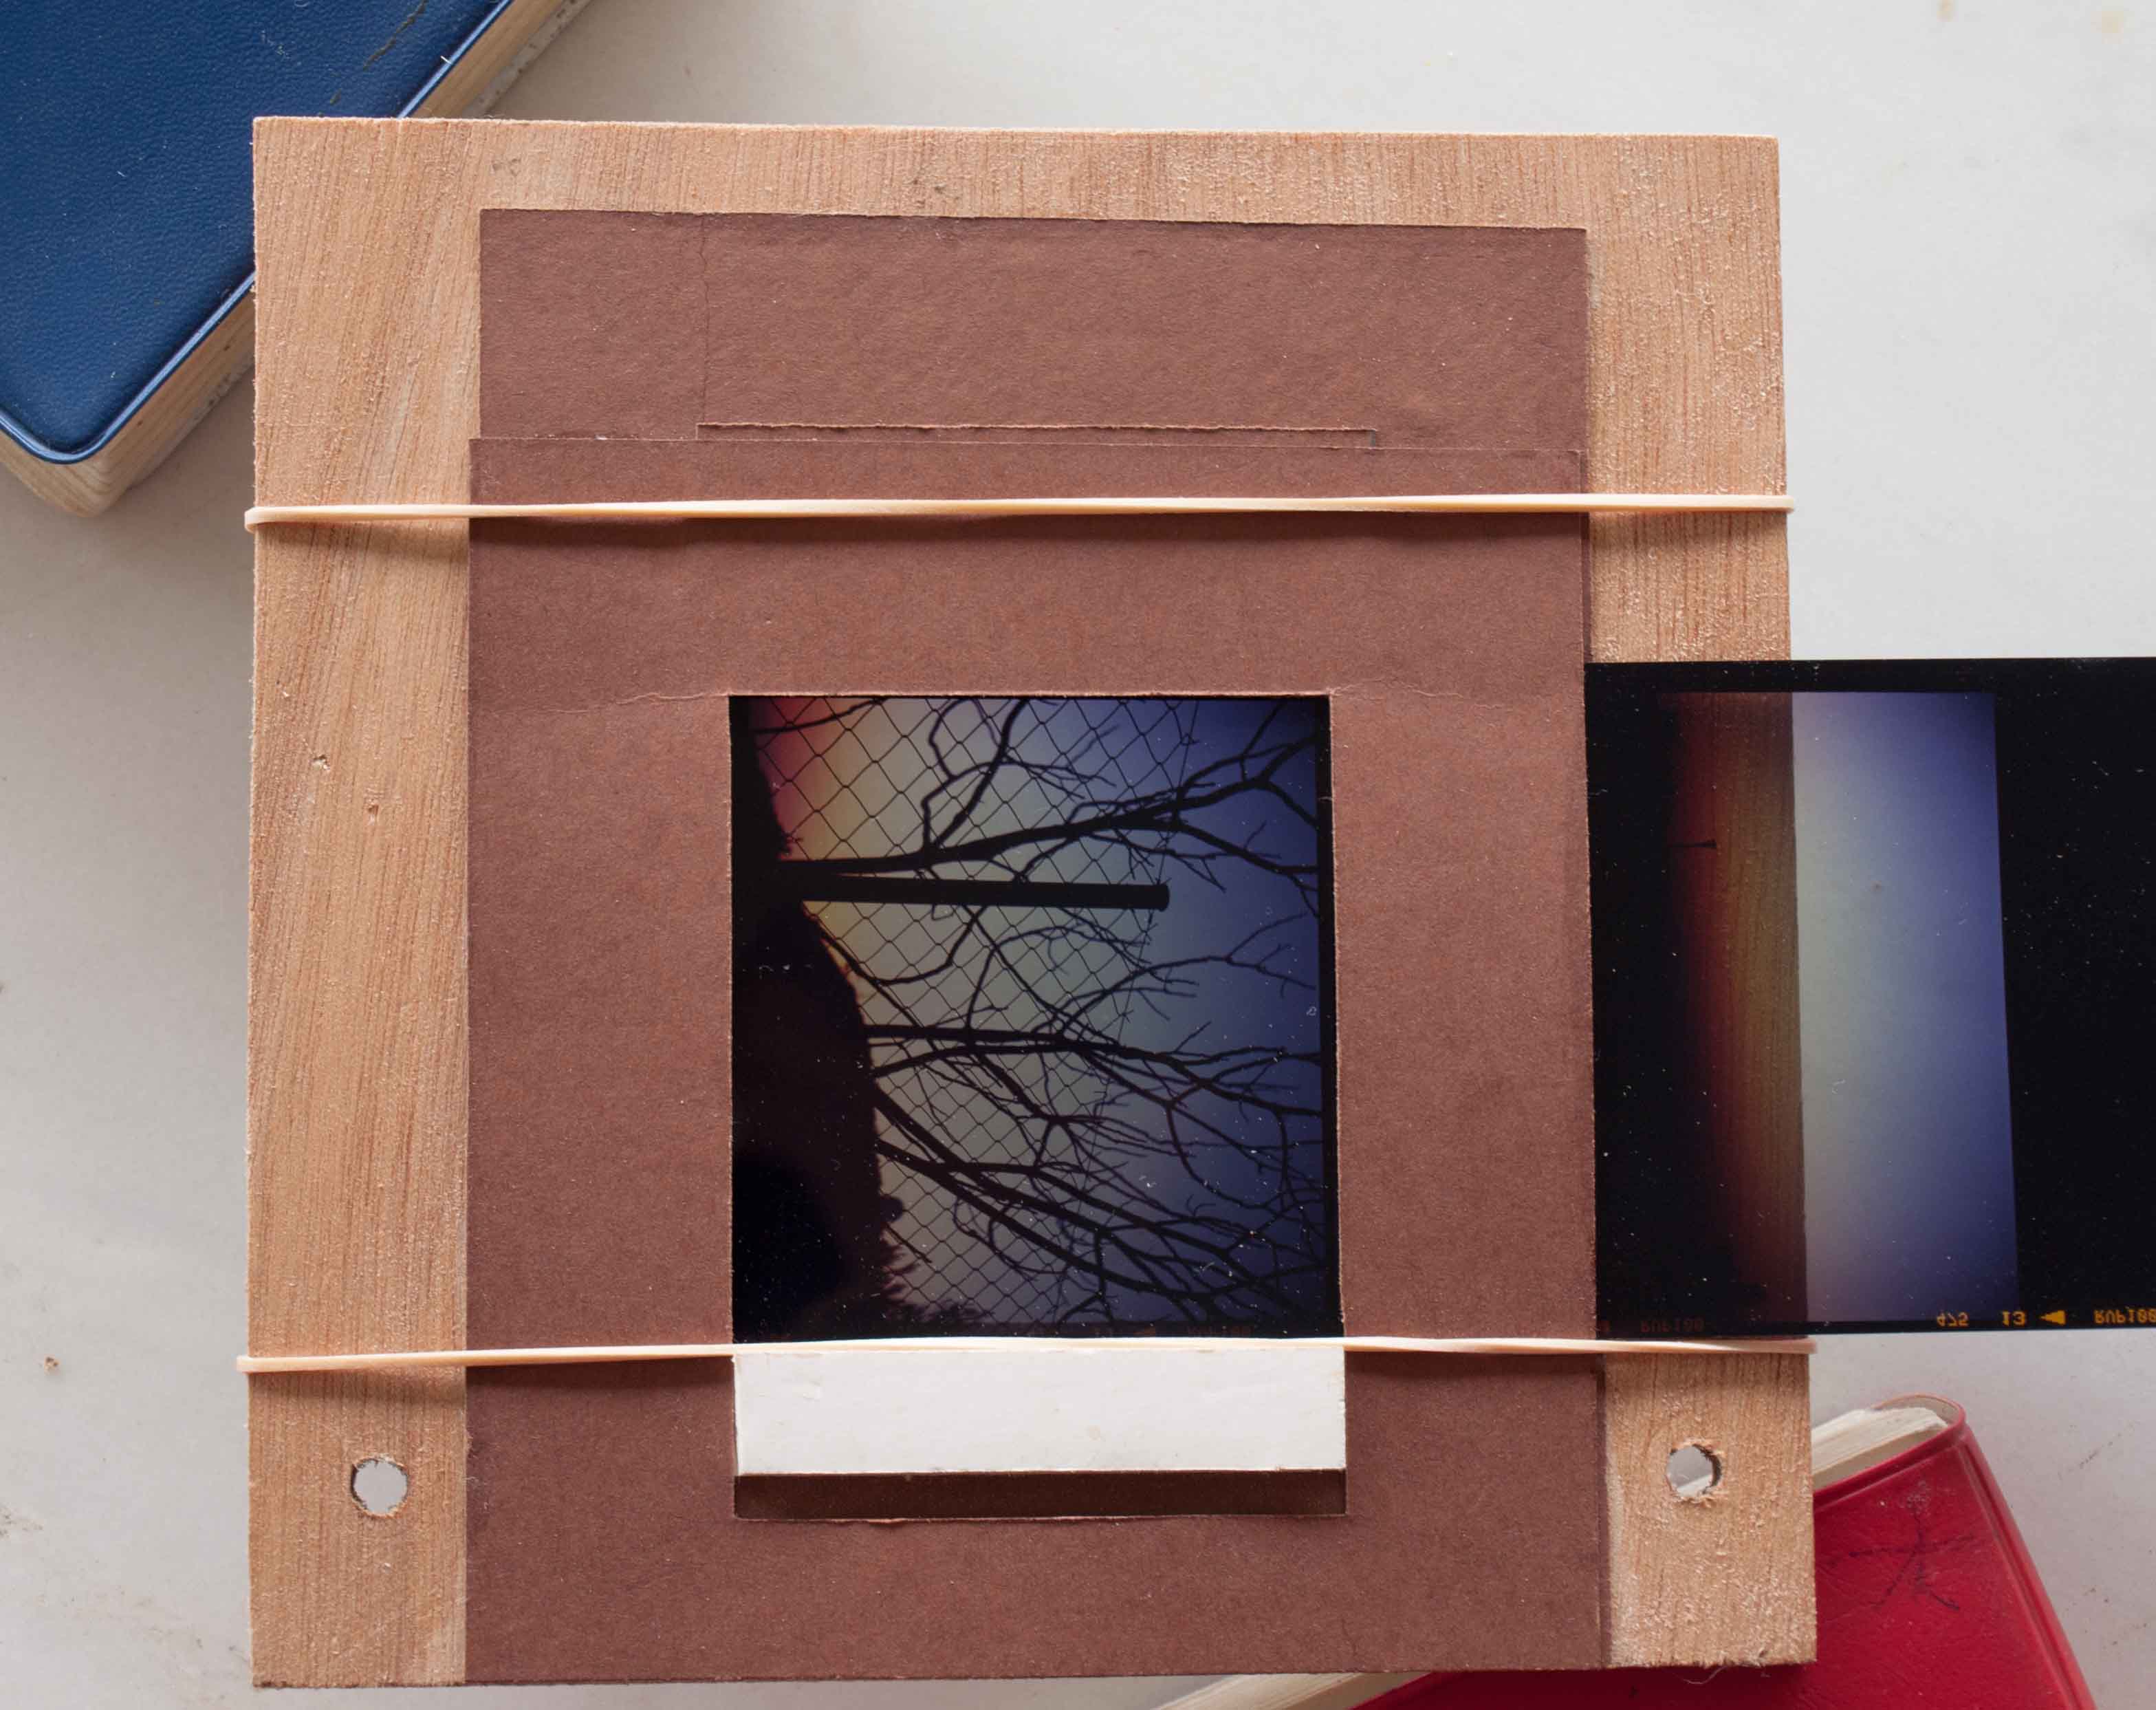
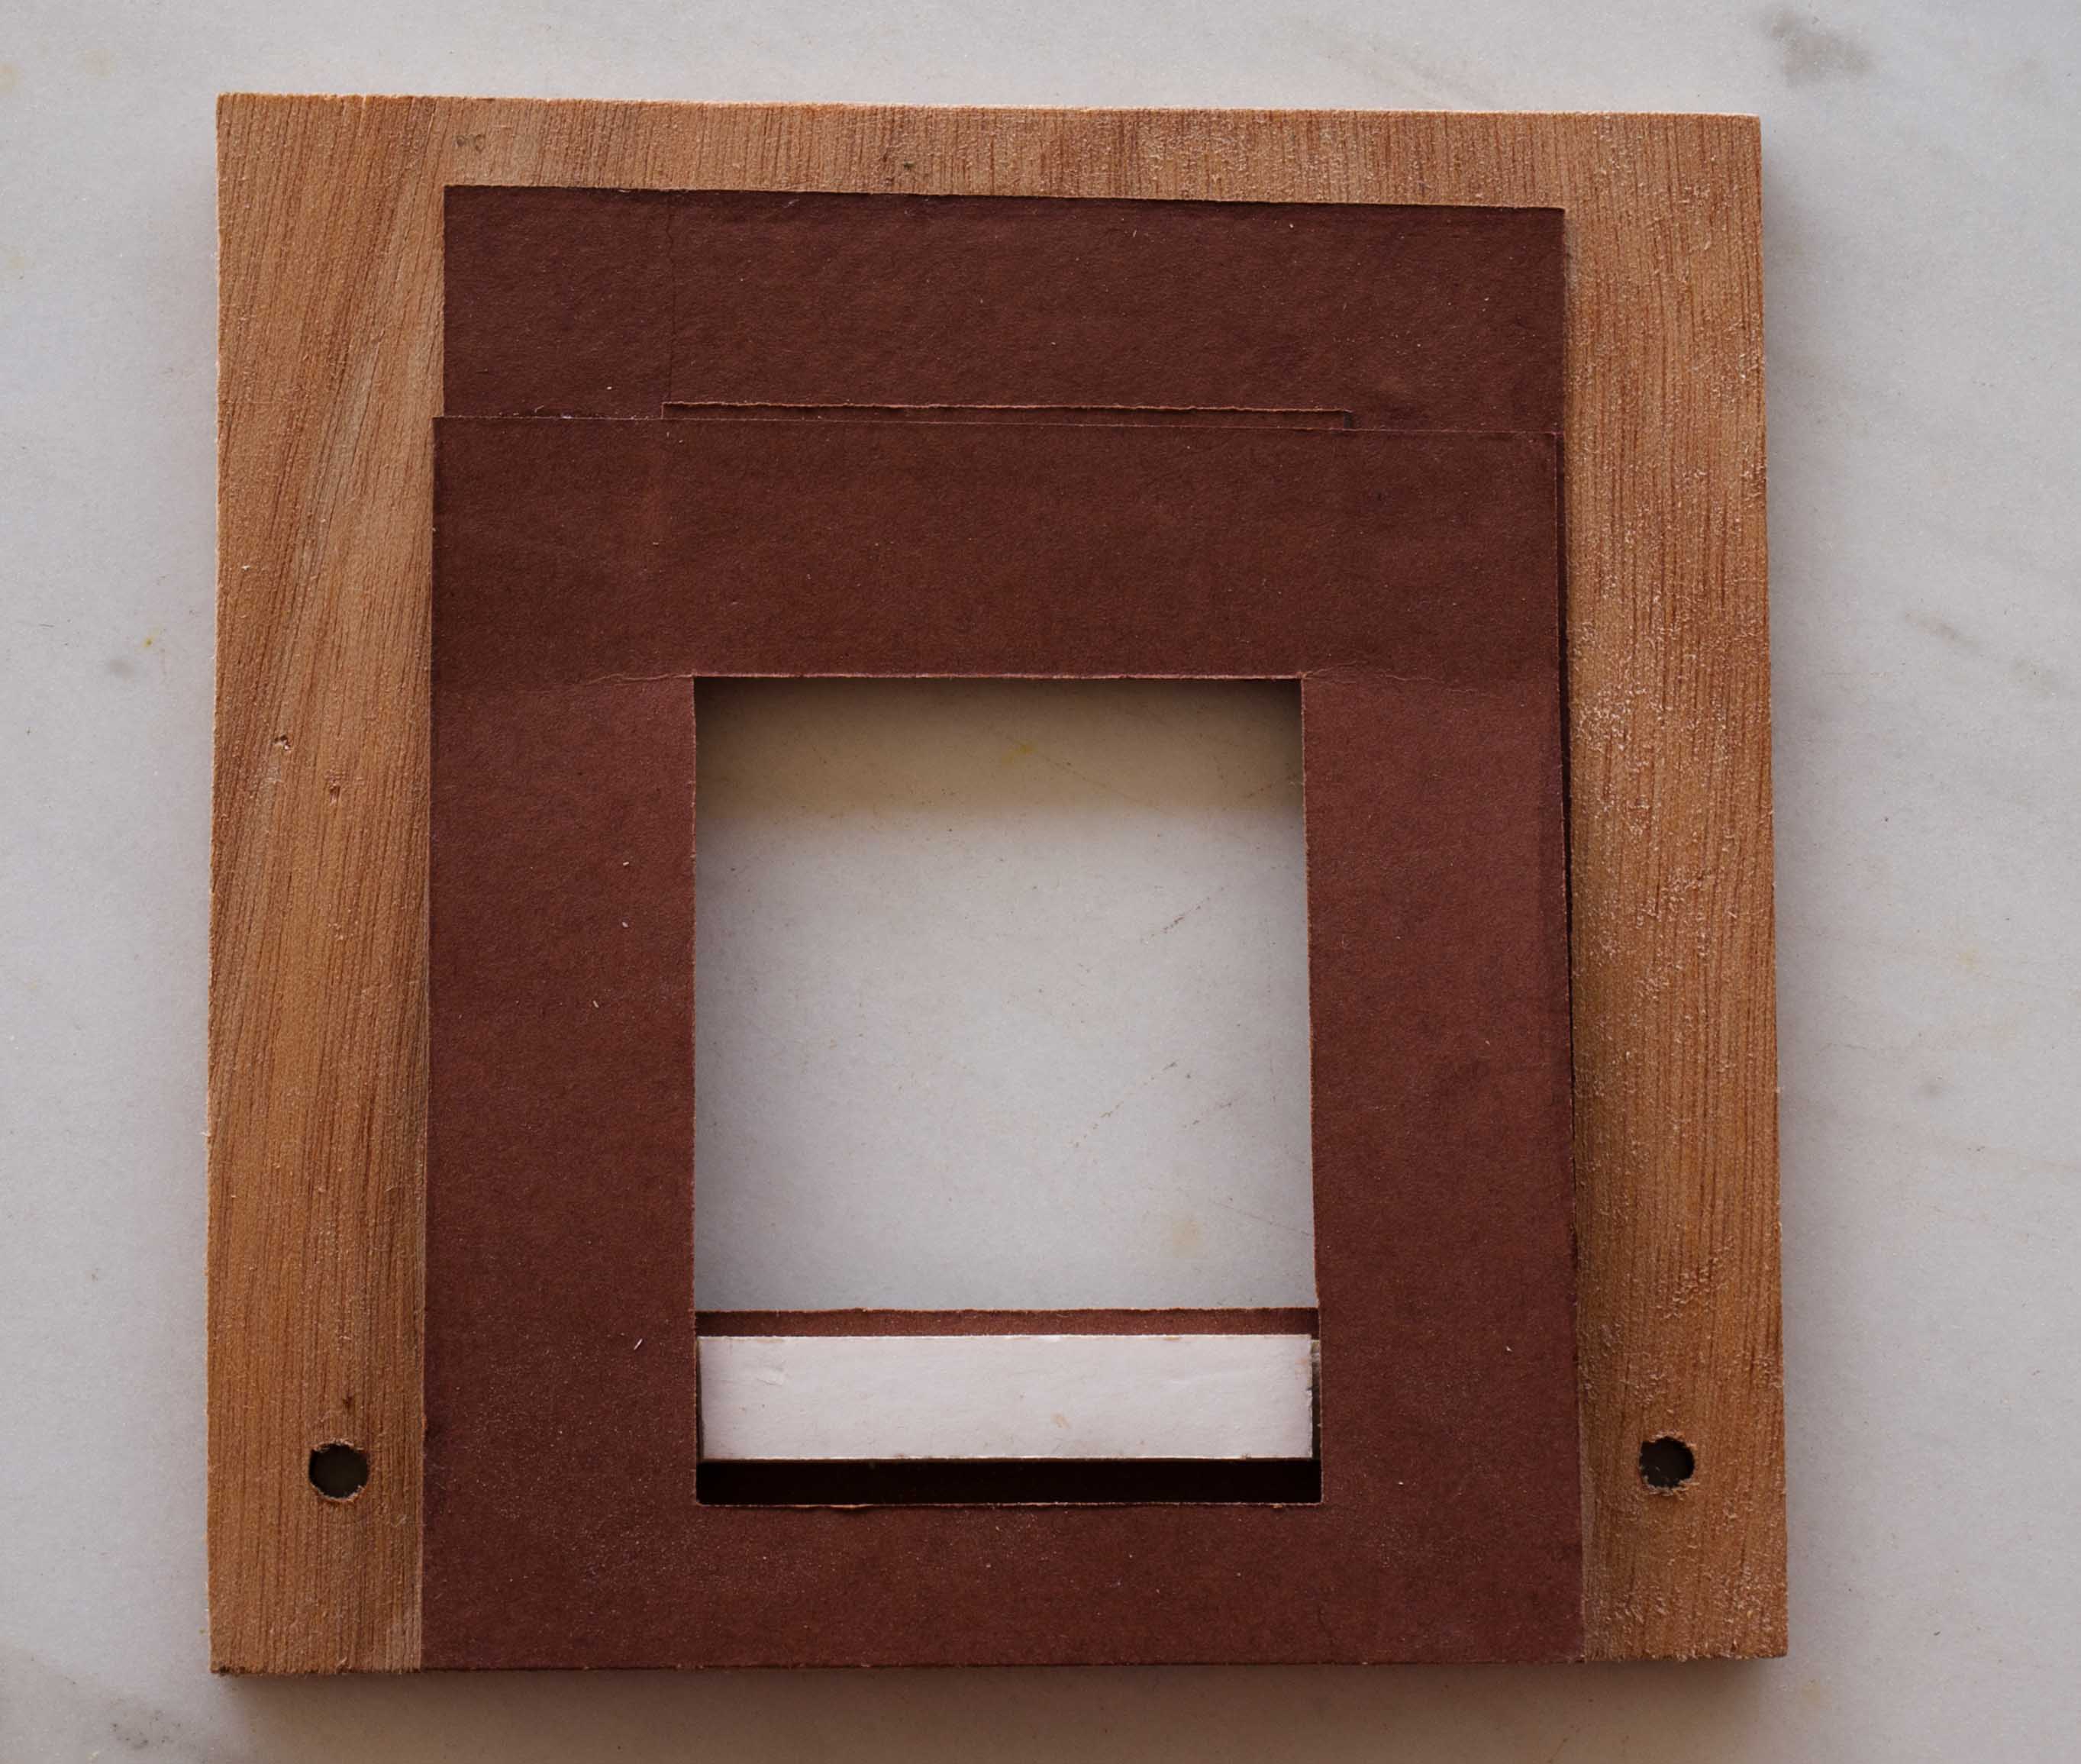
In the case of a medium format negative it is more critical than the 35mm case to hold it tight on all four sides. So I made a kind of "envelope" out of canson paper and held in place with two rubbers.
In the future I intend to make a cardboard holder as in the case of the 35mm film.
The Camera and the Lens
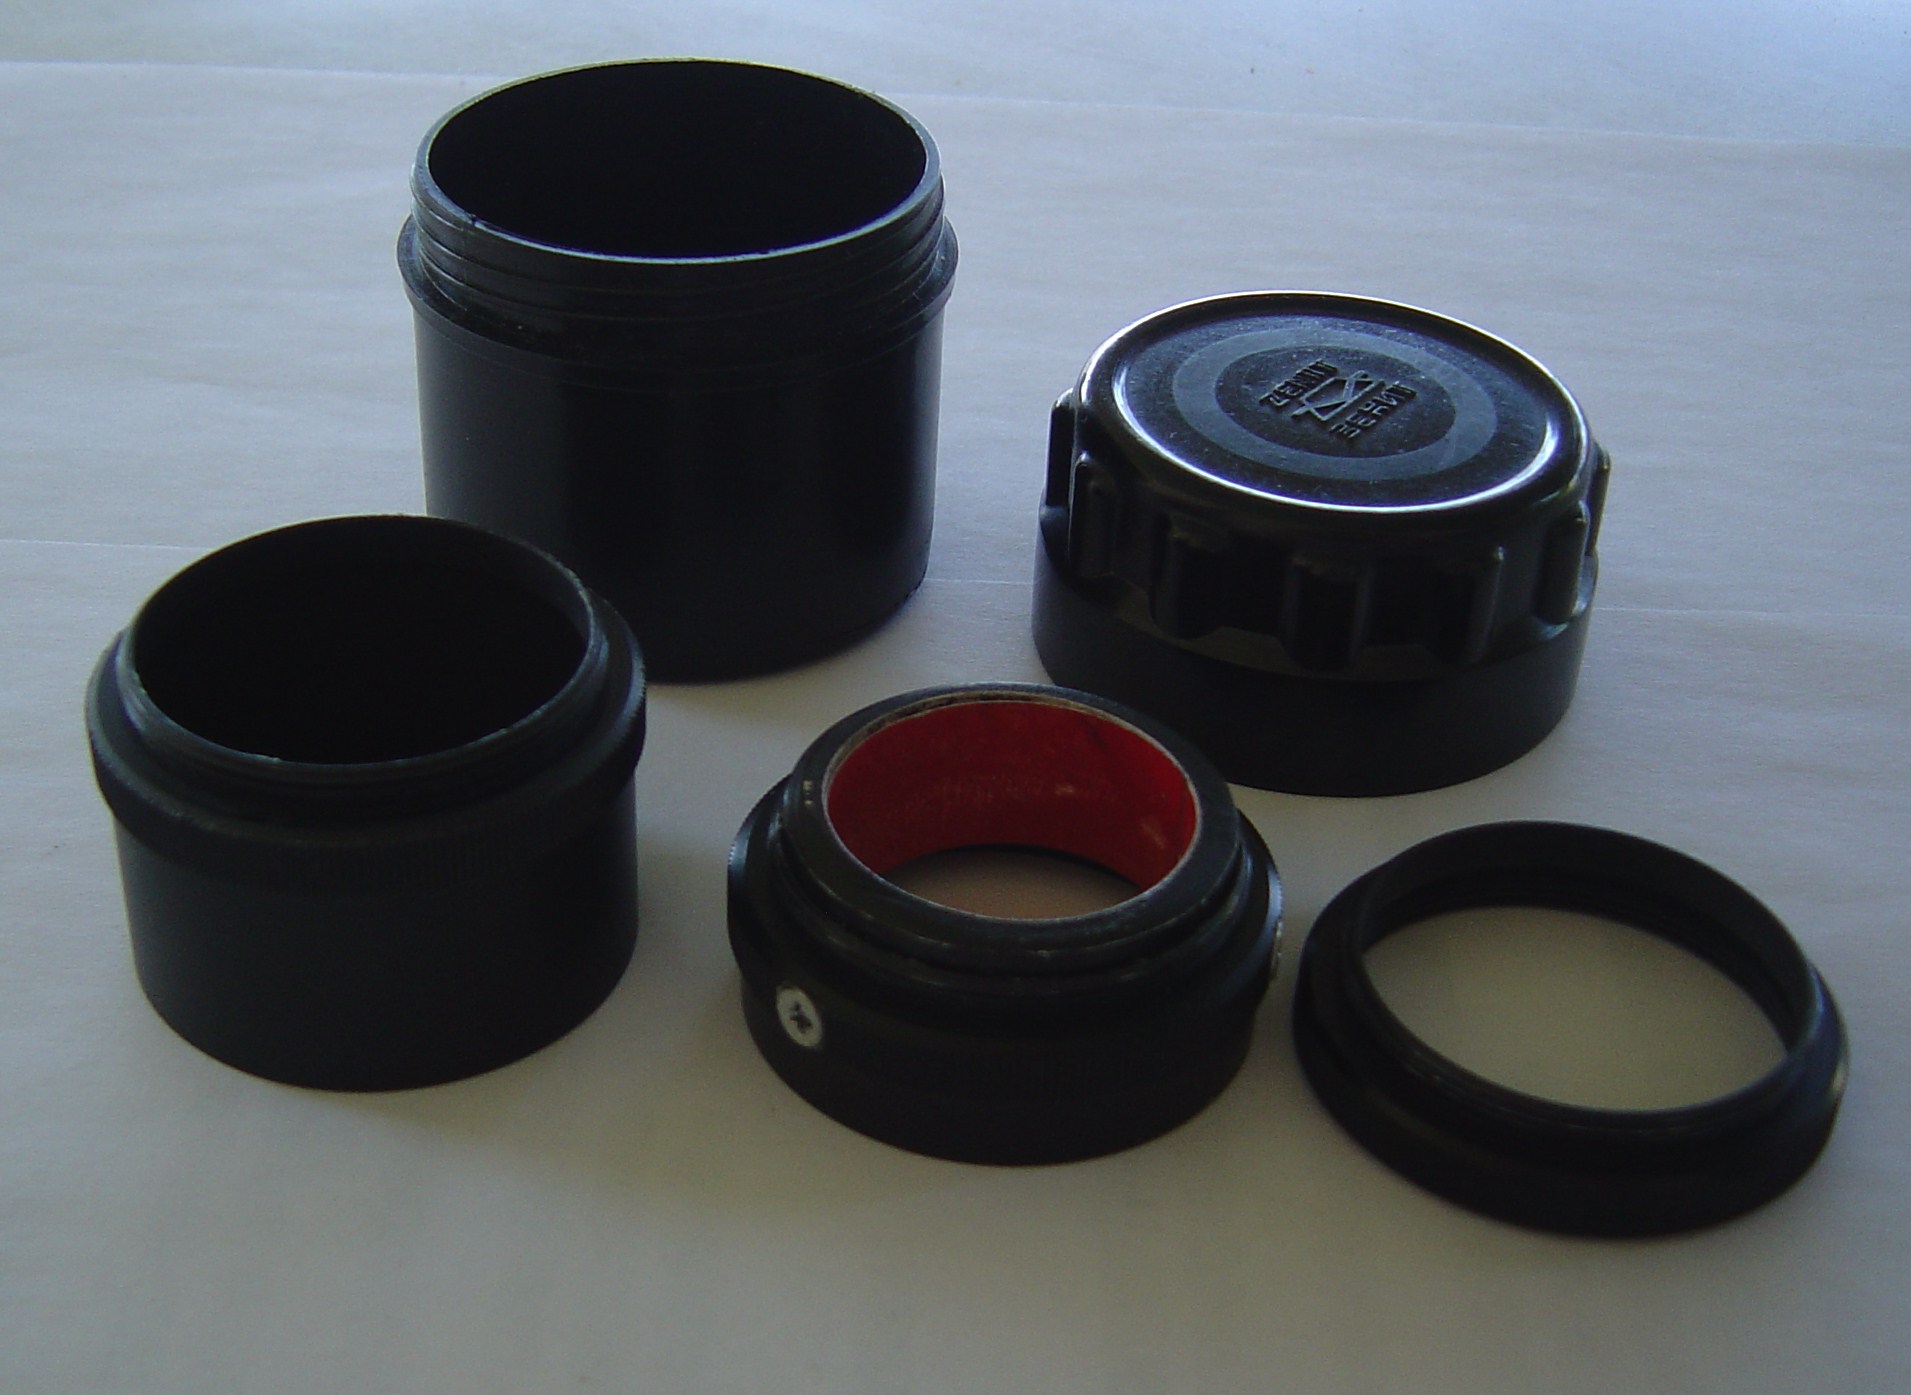
- A short advice: use the best camera you have for this job.
- I upgraded the lens I was using on my Olympus from a Helios 44 to a 50mm/1.8 Pentacon prime lens given to me by a friend. This is used as a macro lens with the help of M42 extension rings (both items can be found on e-bay at reasonable prices).
- The best solution would be to use a macro lens suitable for your specific DSLR (probably expensive) and the second best is to use a macro extension tube for your specific camera which will allow you to autofocus (less expensive).
Working With Slides
.jpg)
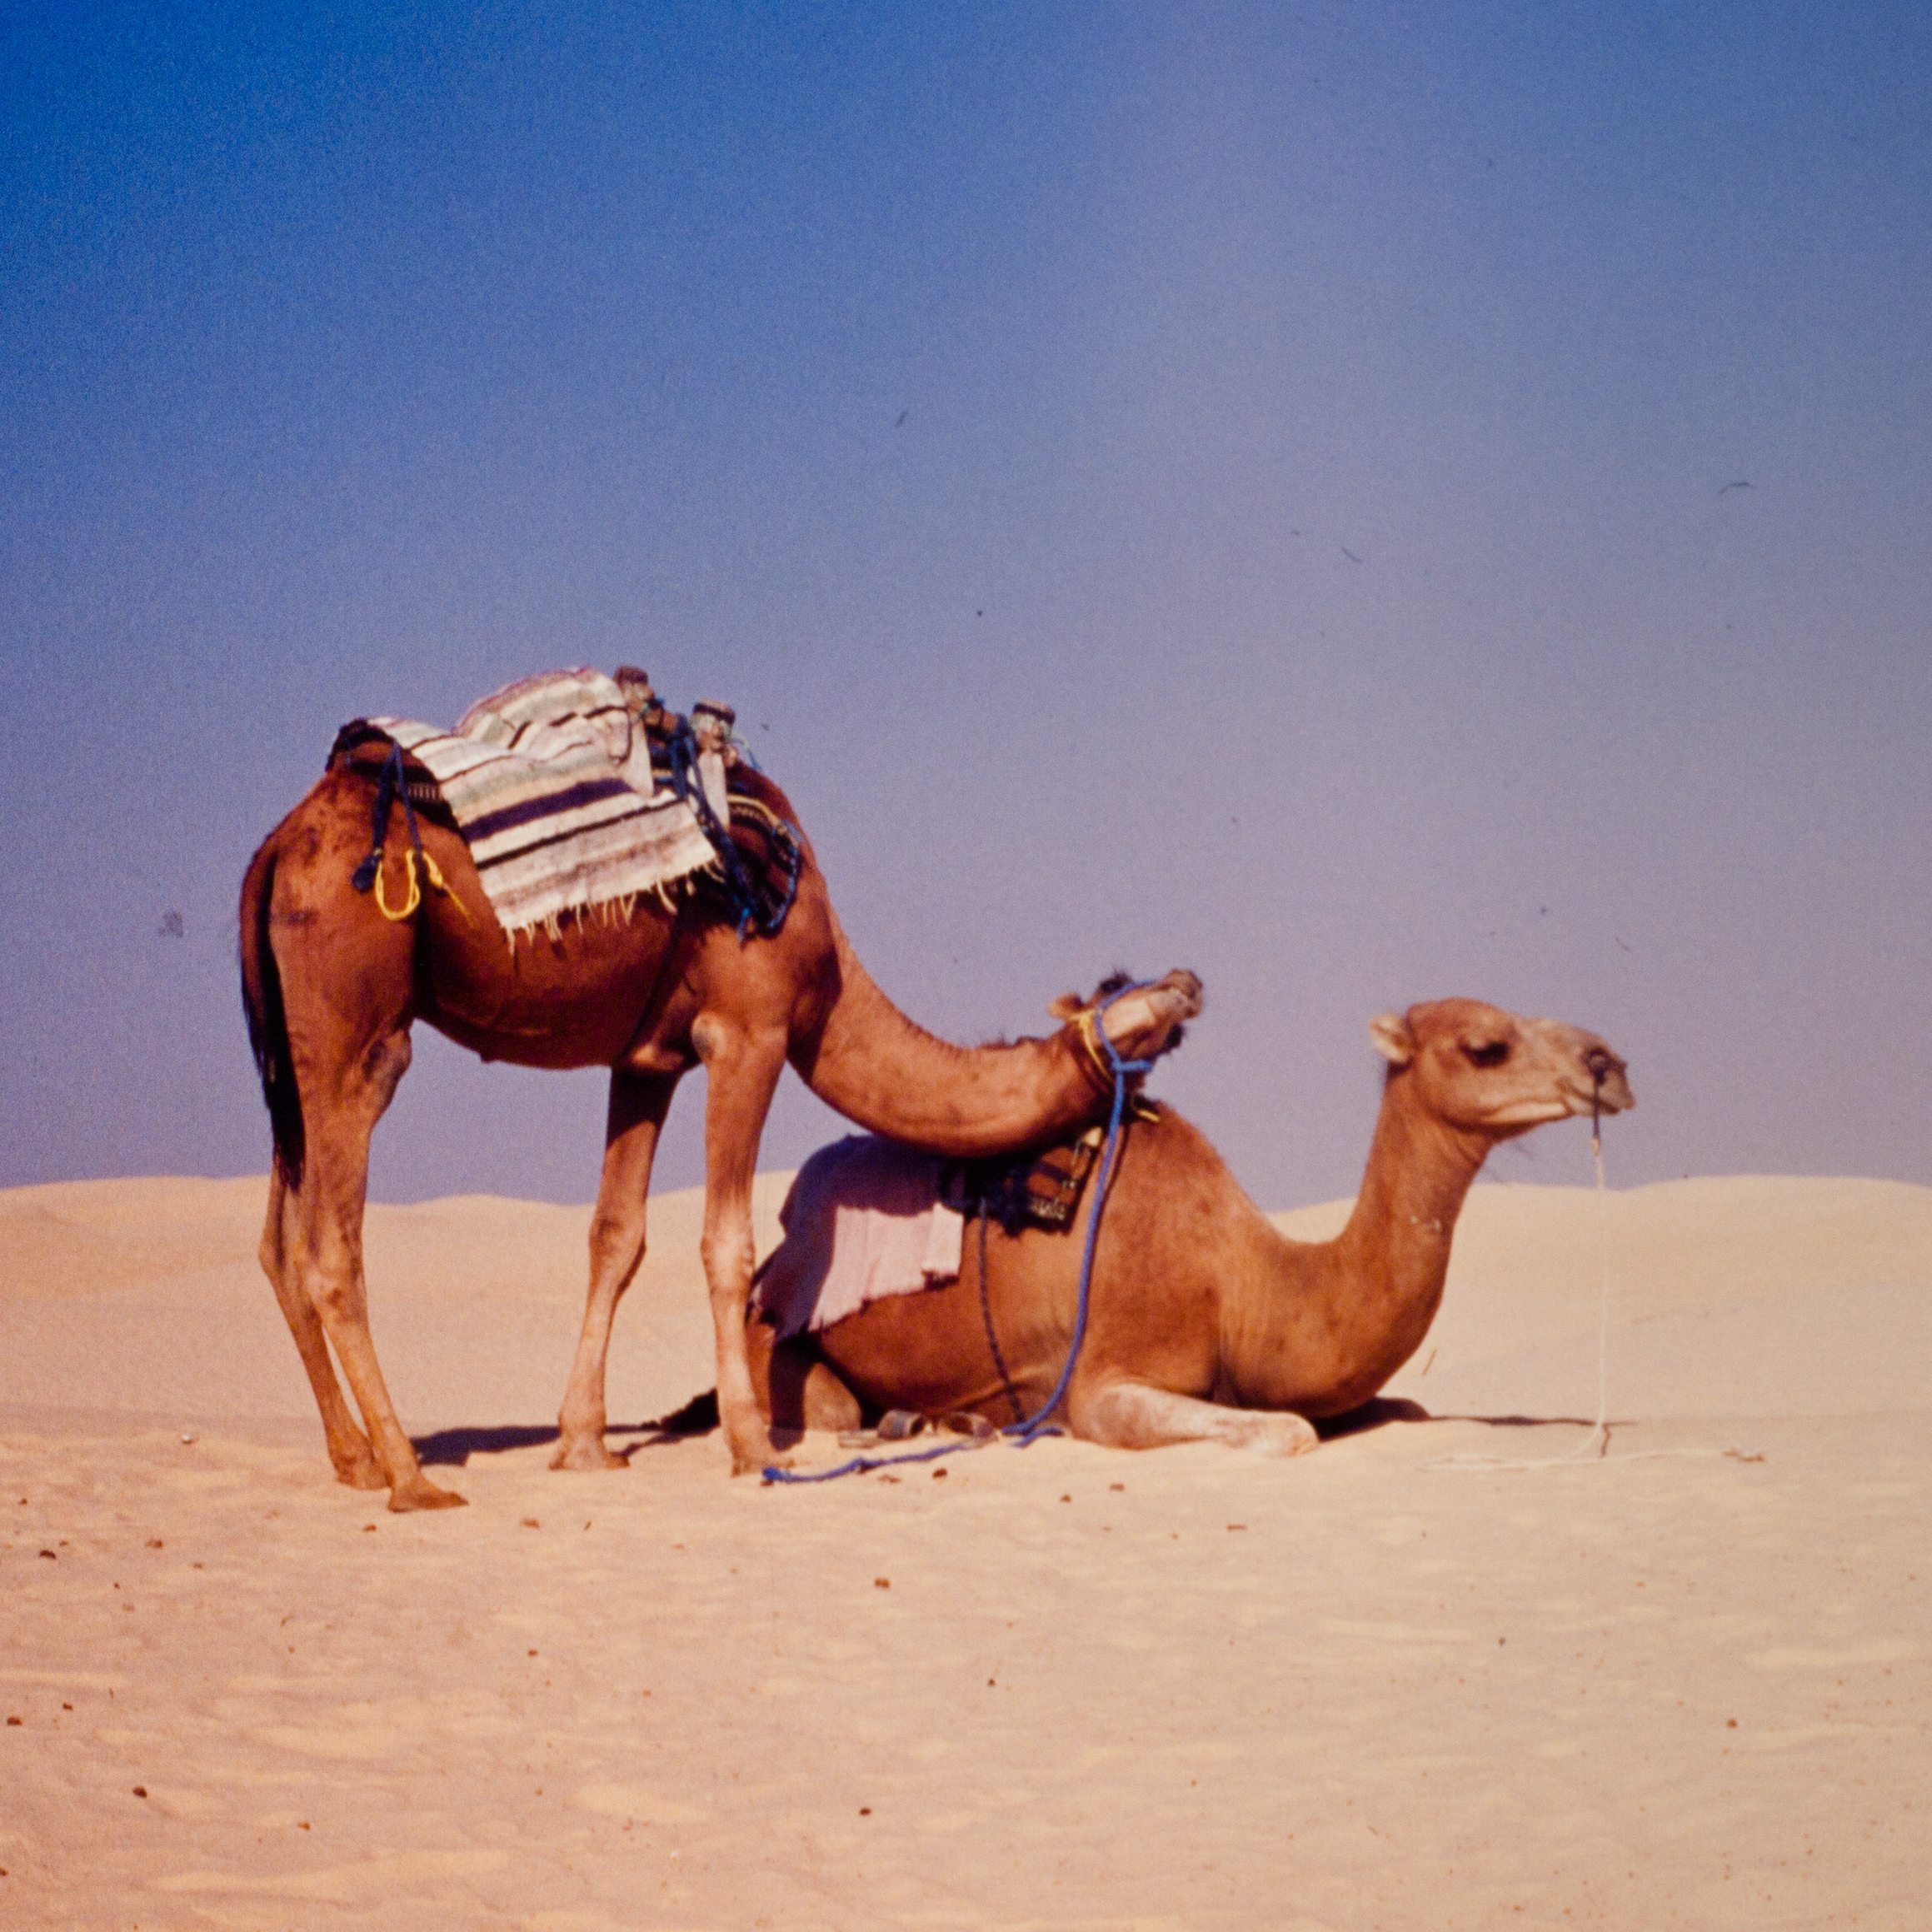
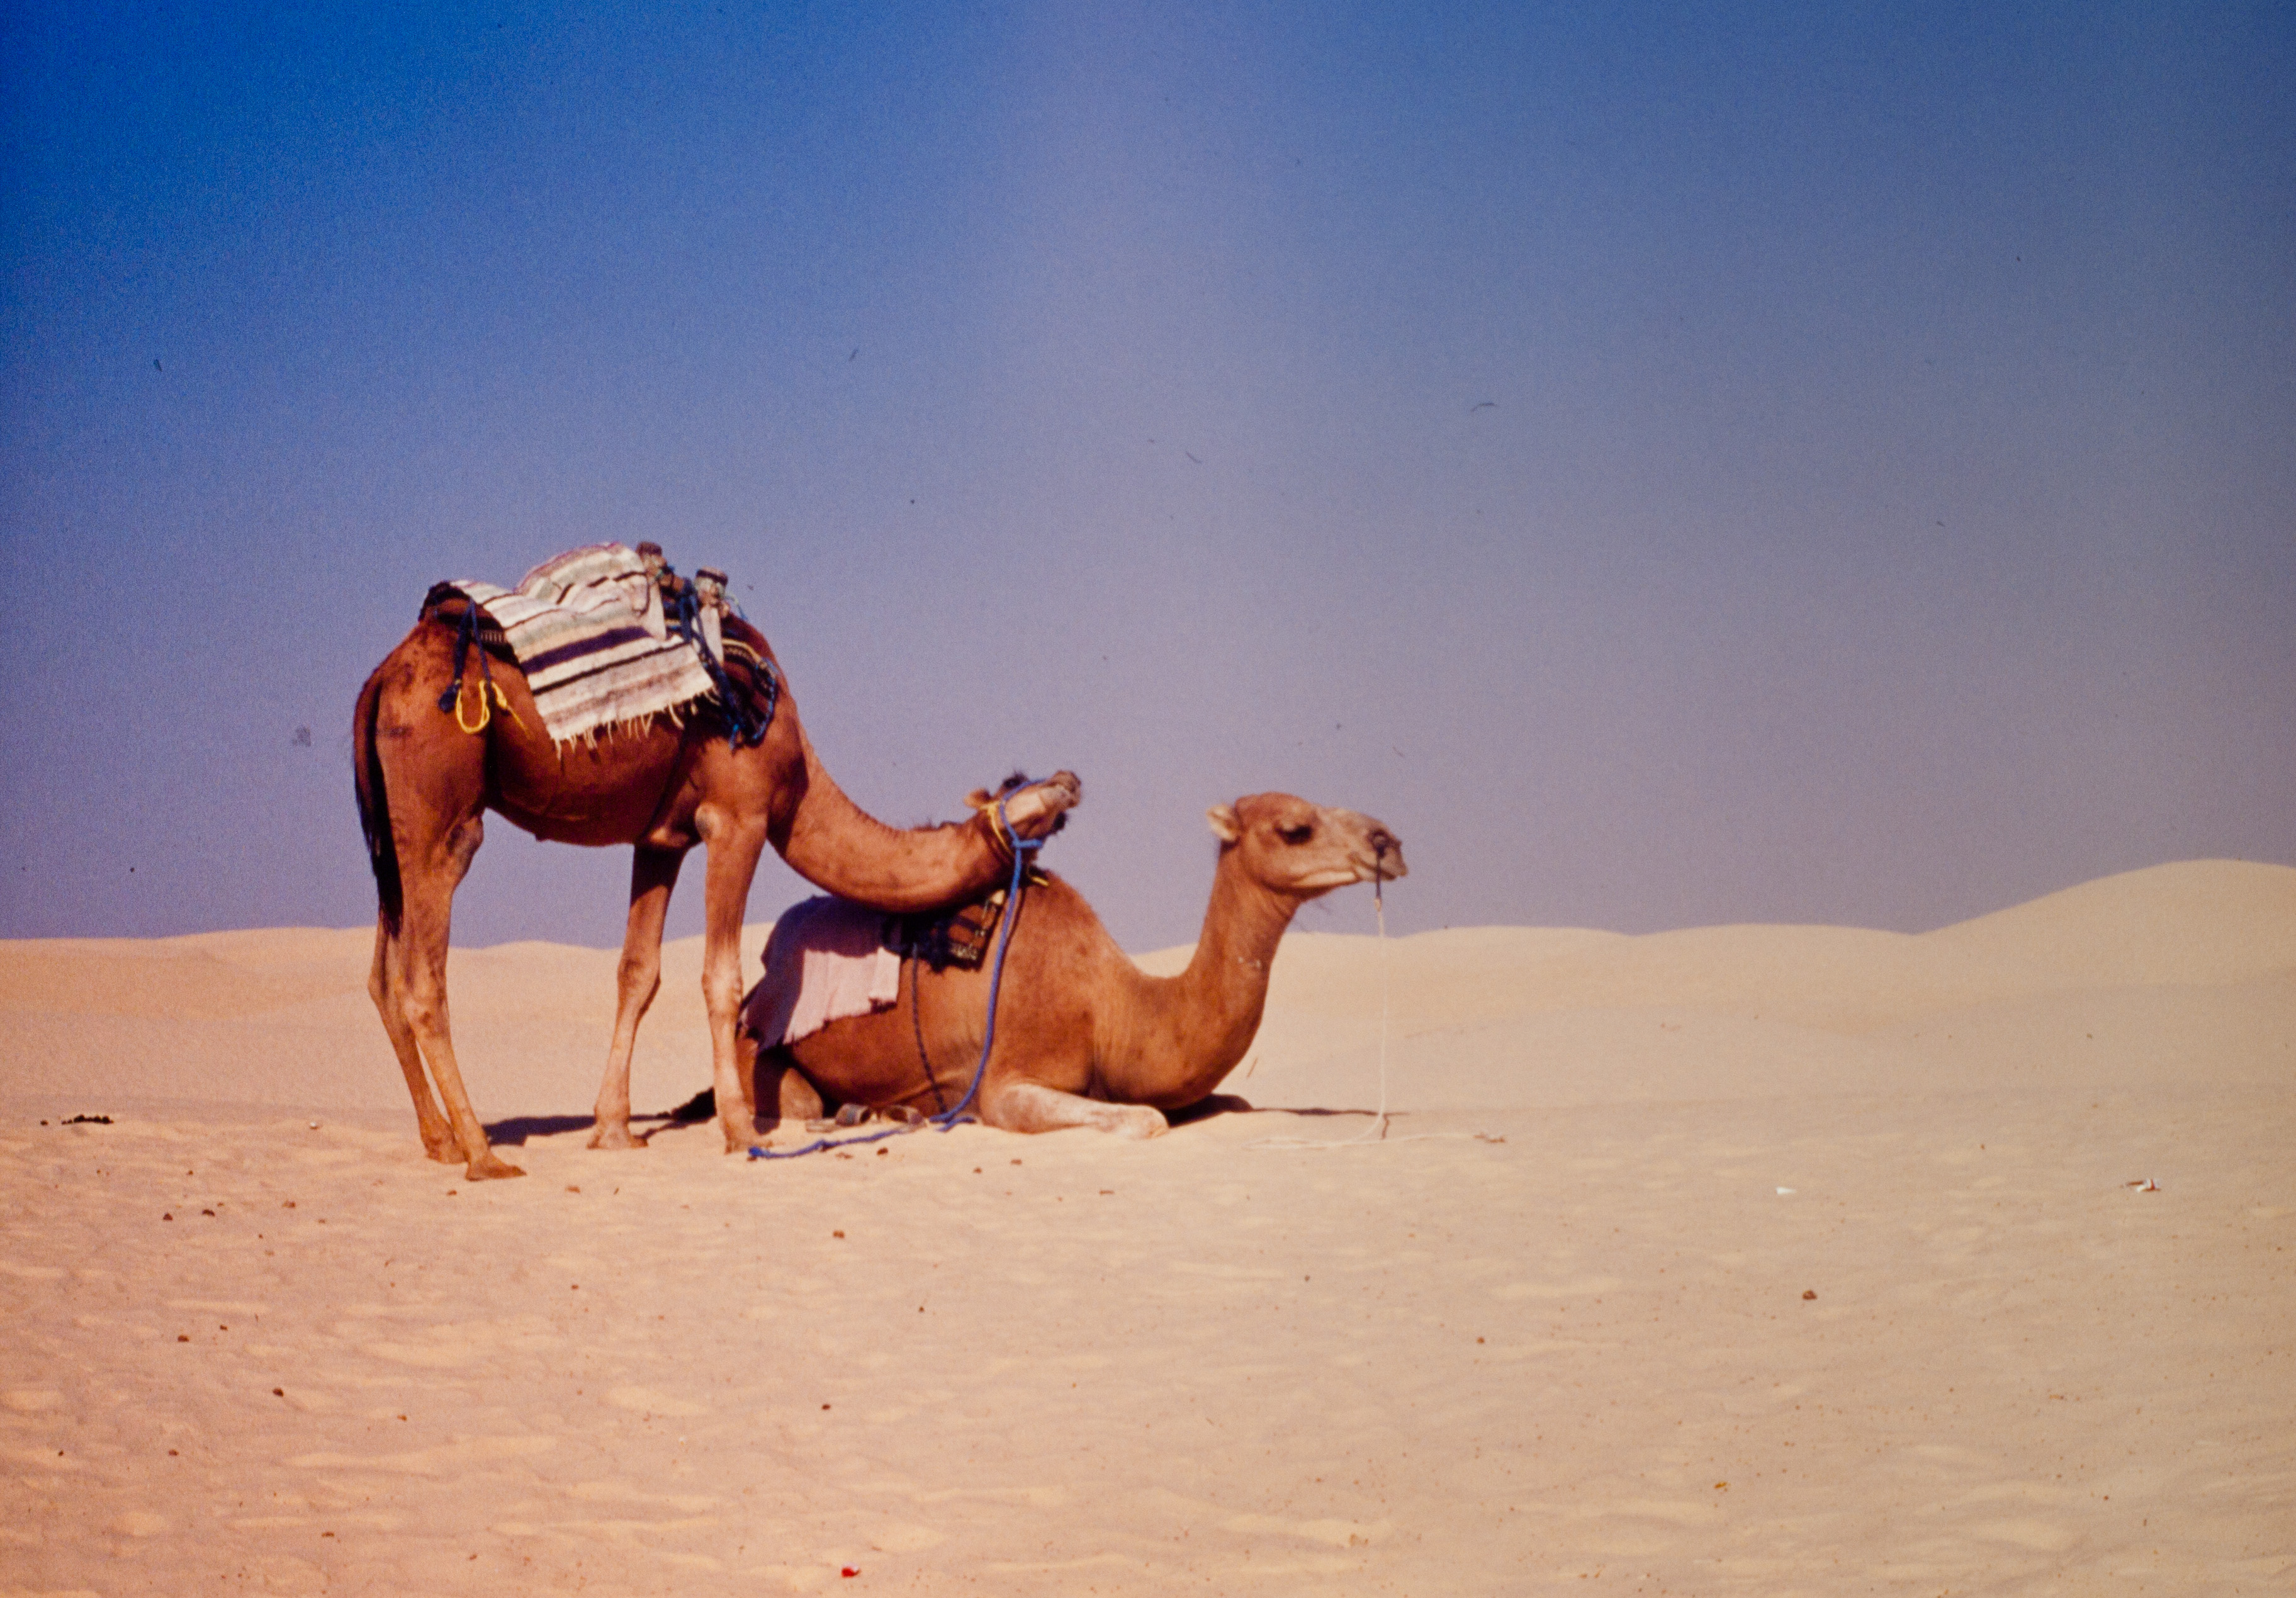
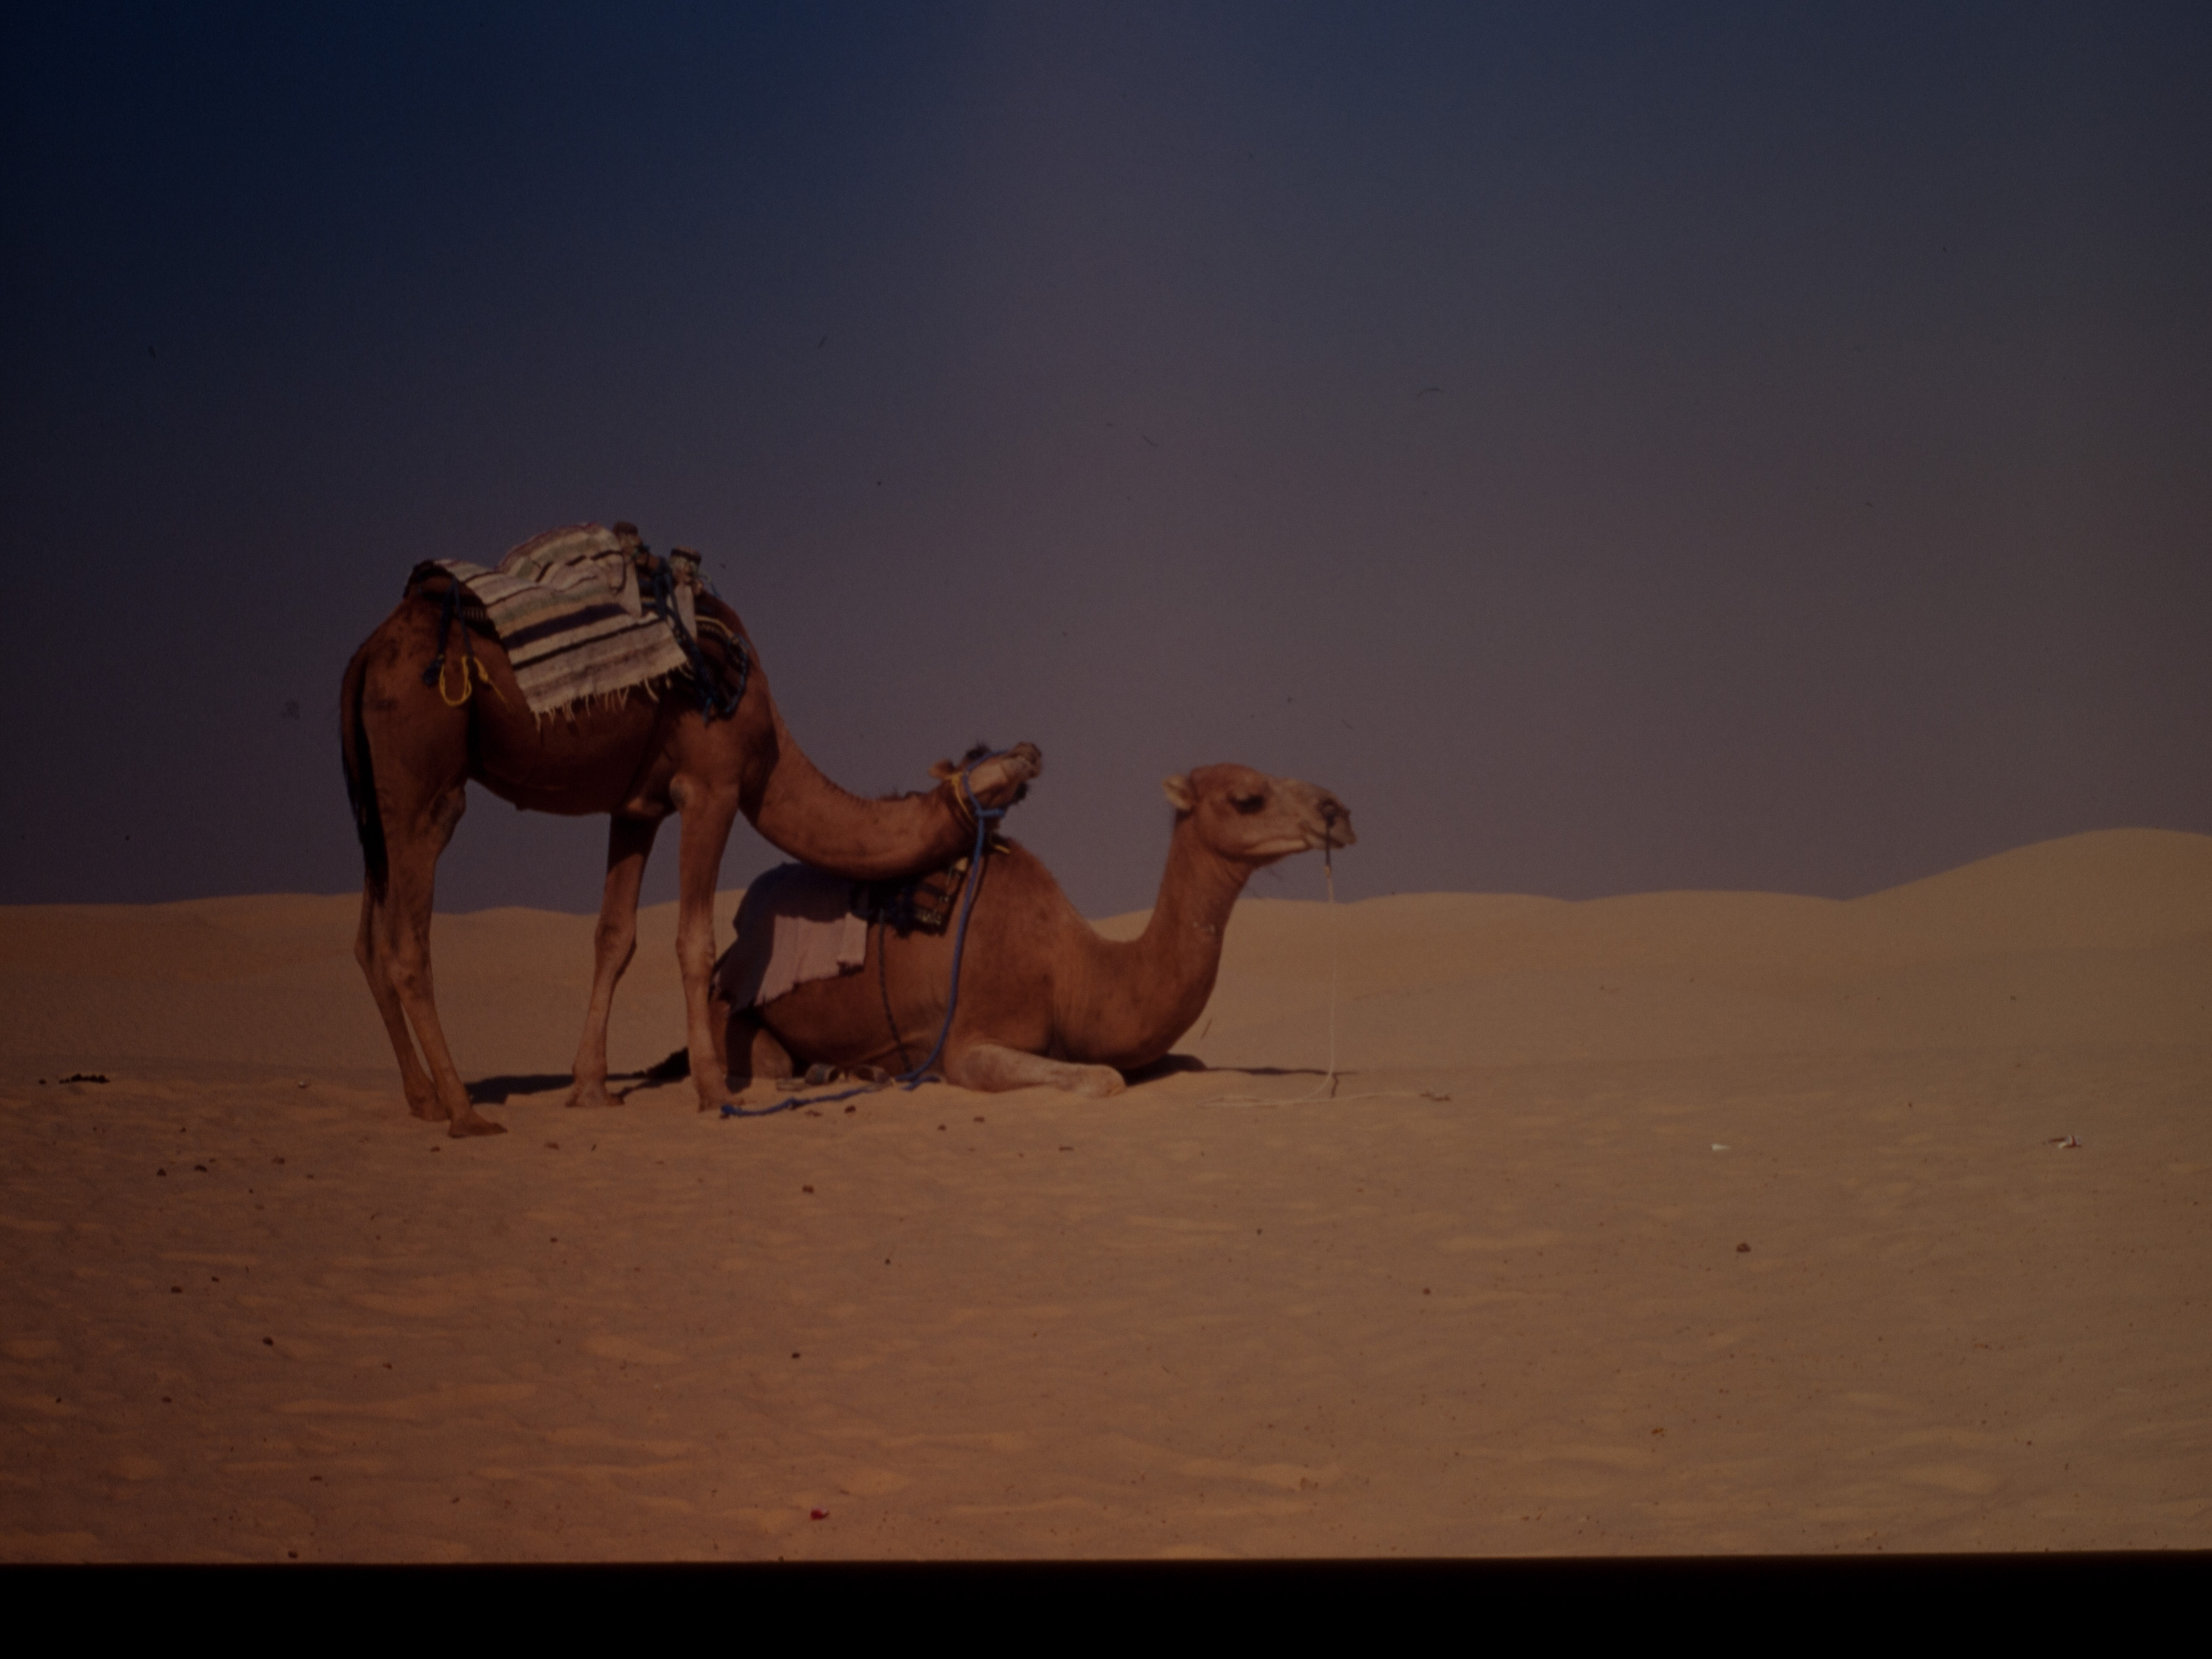
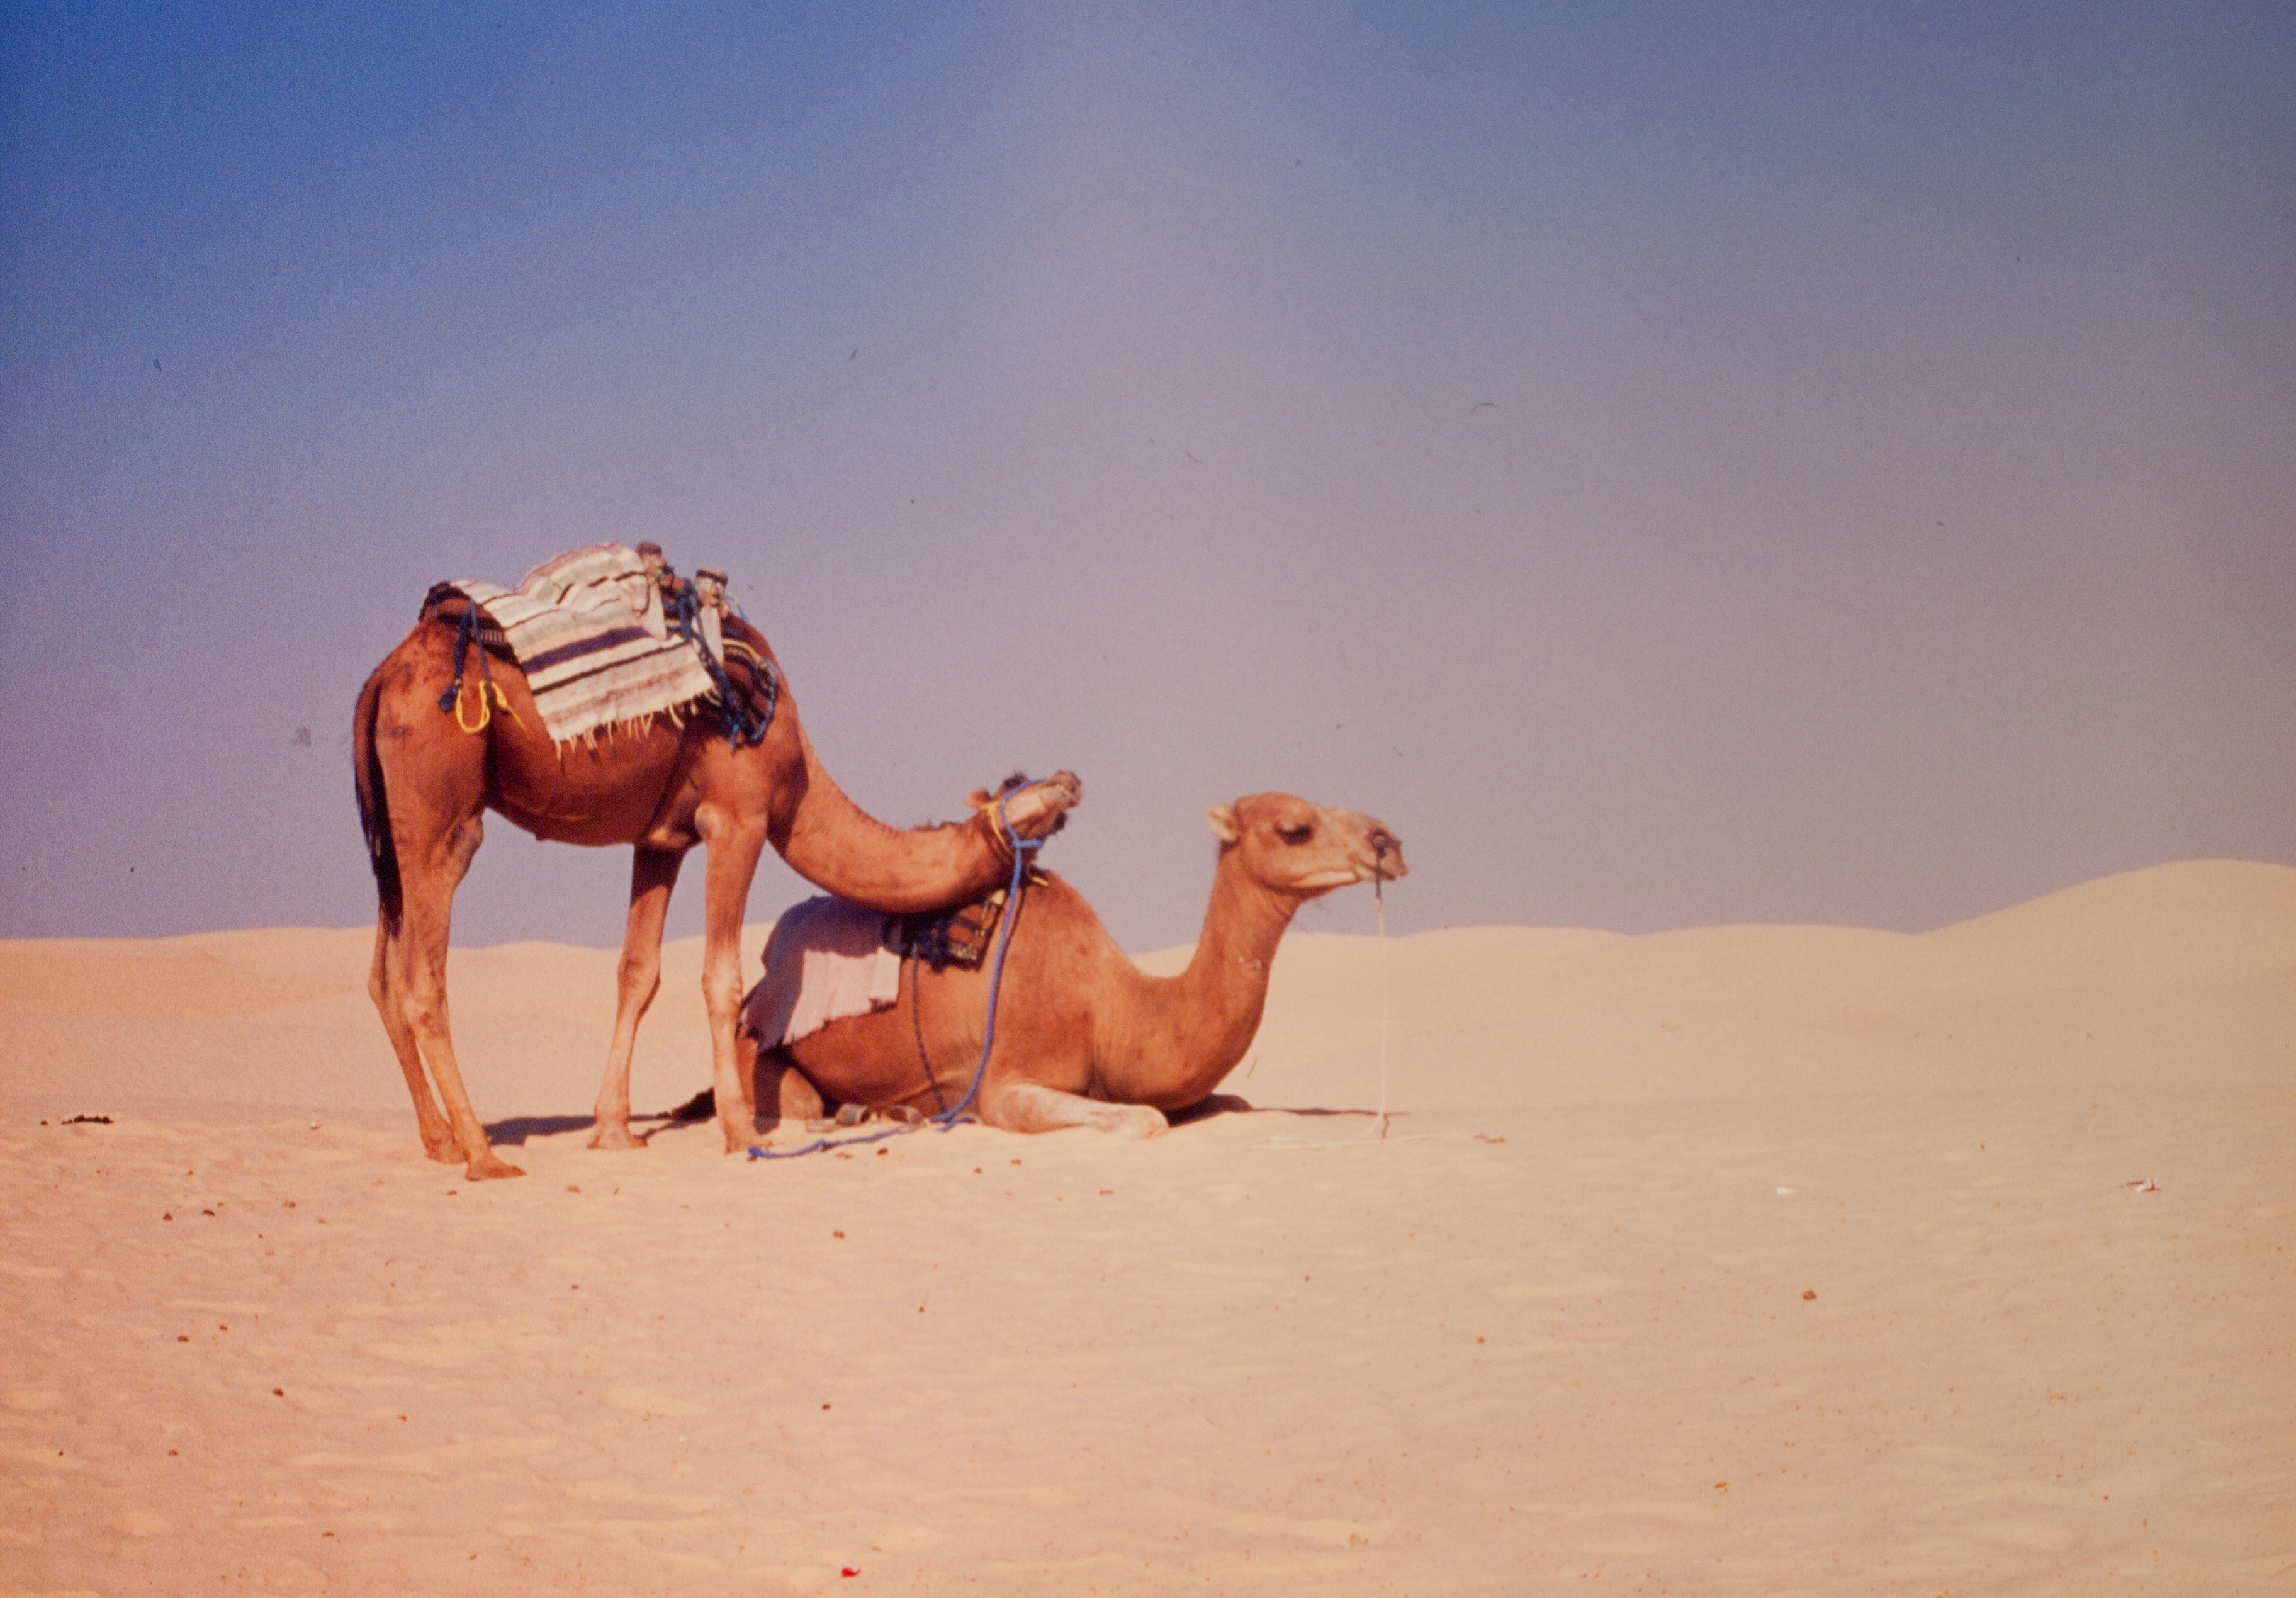
This specific photo was shot in Tynisia a lot of years ago with a FED3 camera and Kodak 200 ISO slide film.
I copied the slide with 100 ISO , f11.0 aperture and 1/30 sec exposure time. The result appears underexposed but the information is there.
- Working with Lightroom, first I cropped the photo and recovered the highlights using the RAW data. This darkens the photo even more so you have to increase the light at this point.
- The final stage is to correct tone balance using the gamma plot. Lightroom provides 4 different tonal zones for adjustment. Finally I slightly modified colors by lowering a little the color temperature, a slight blue shift to the whole color scheme.
Working With Black and White
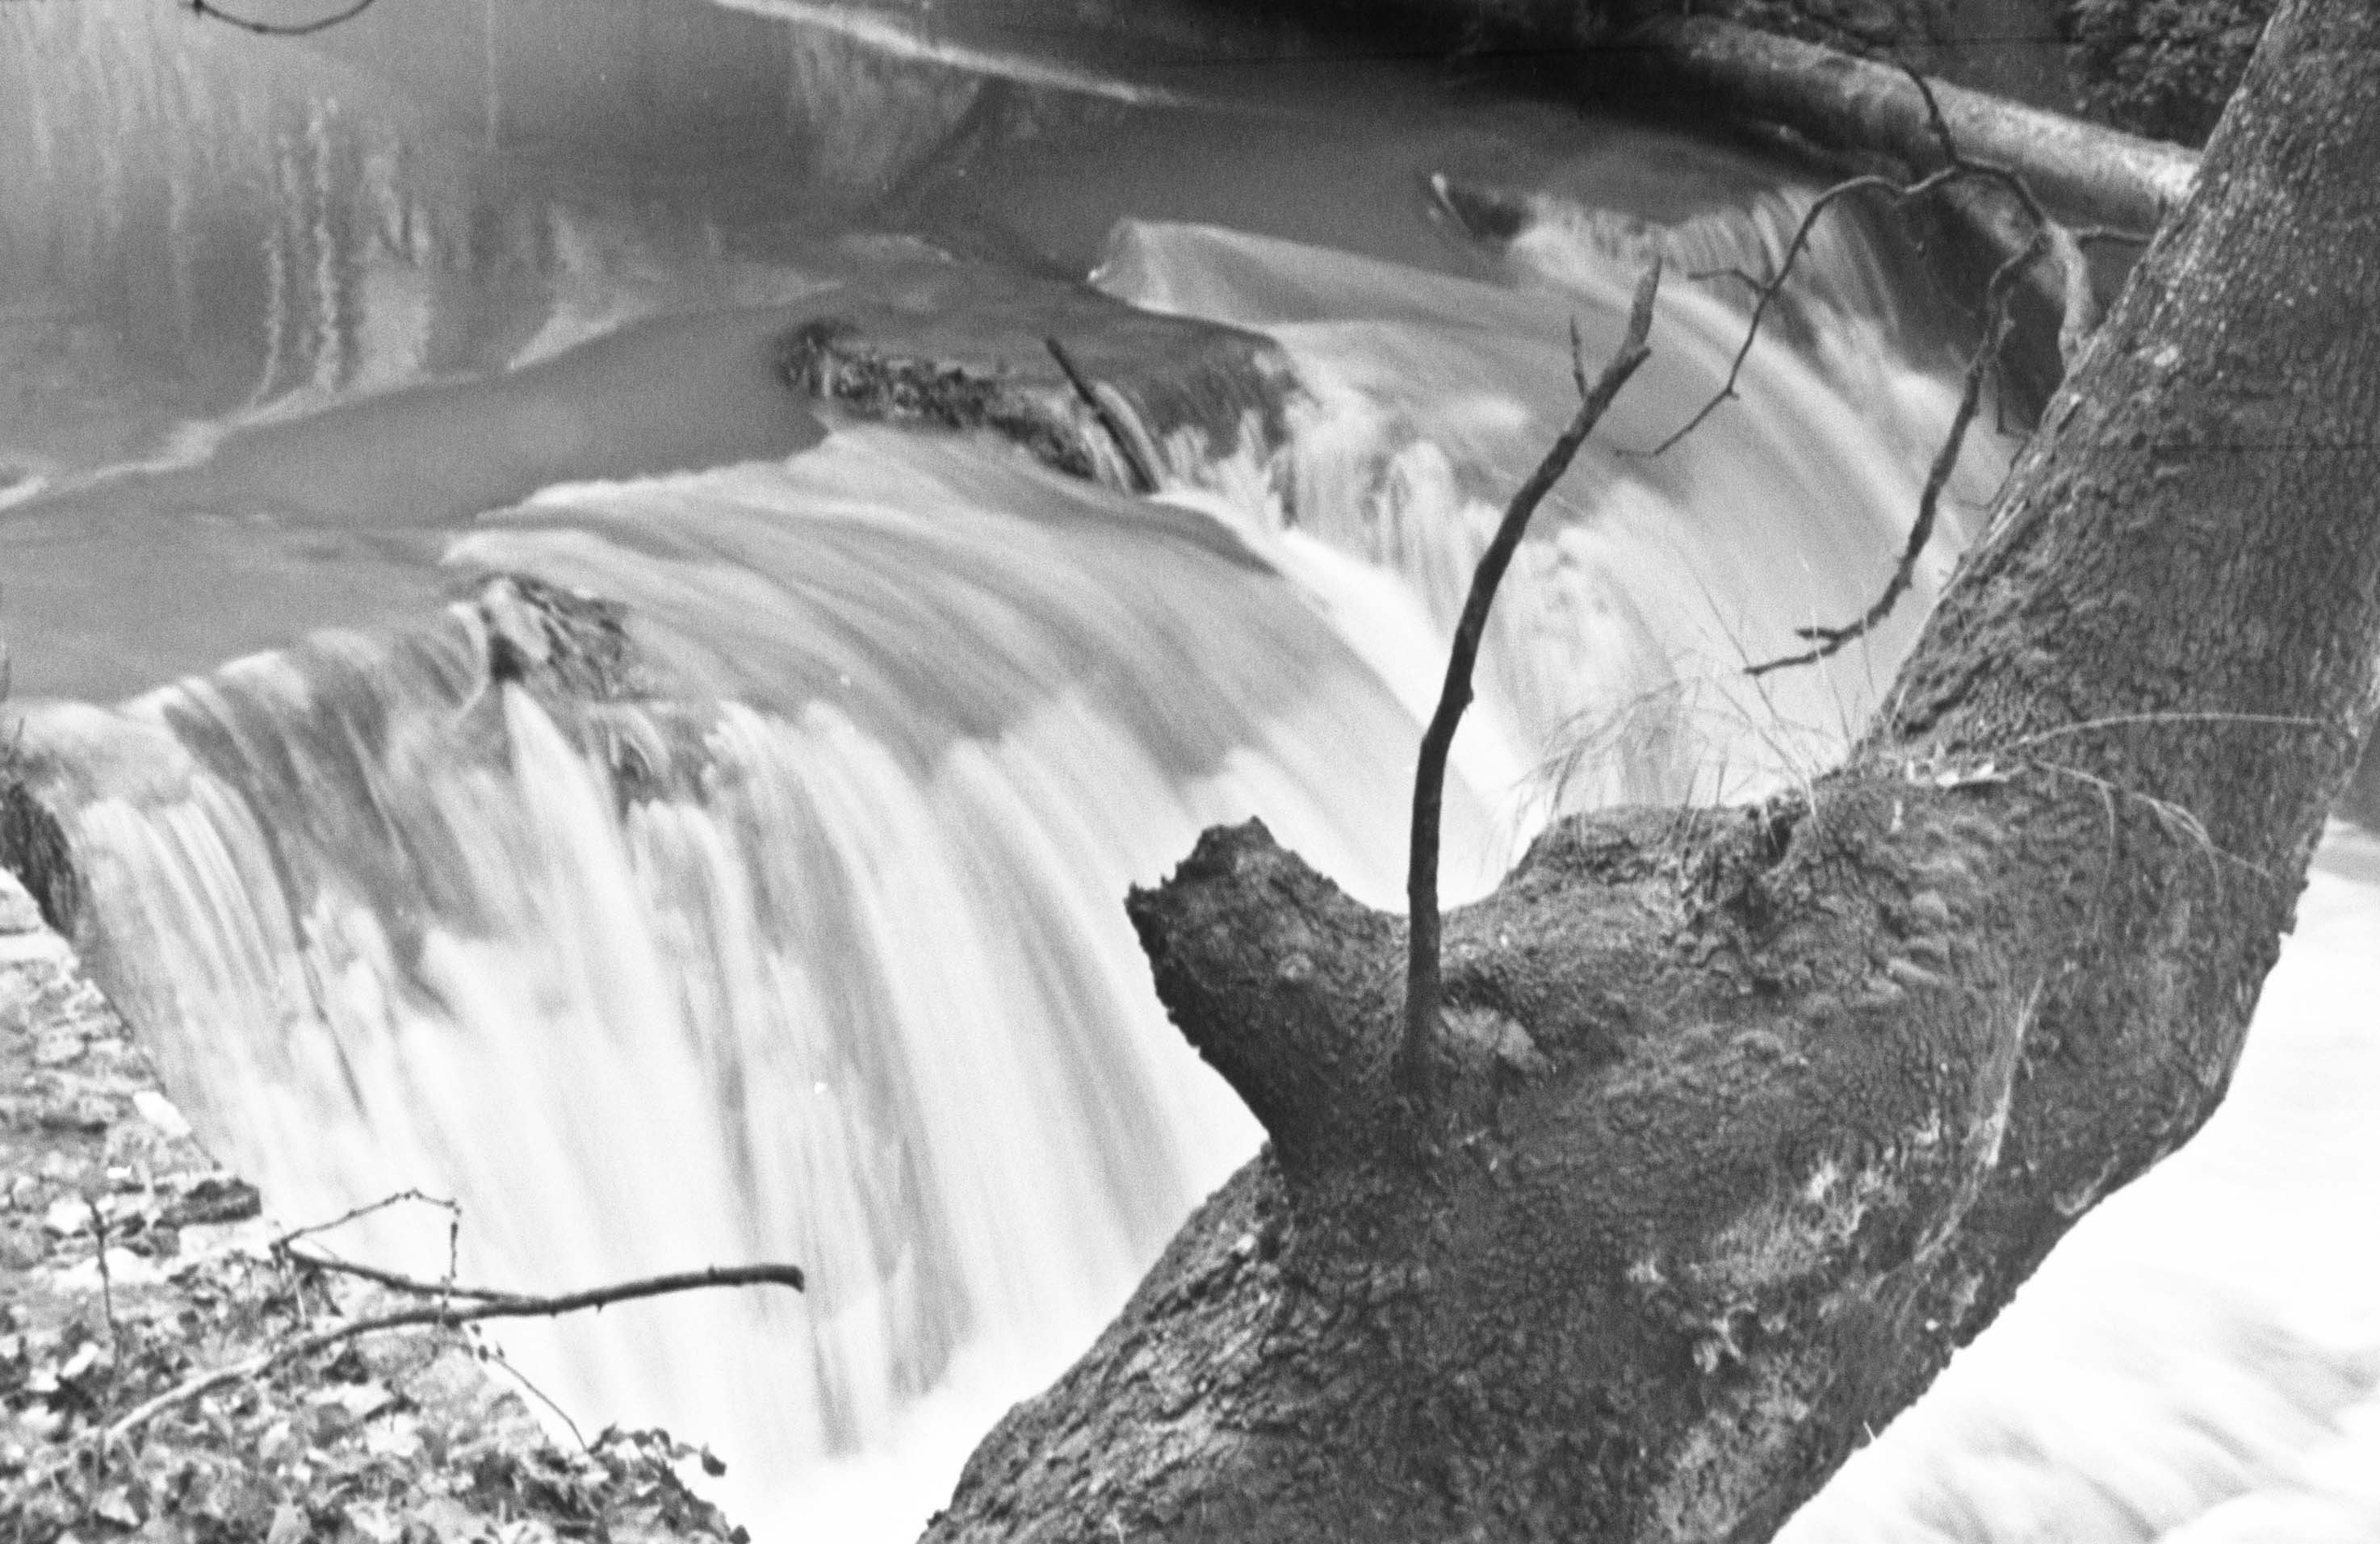
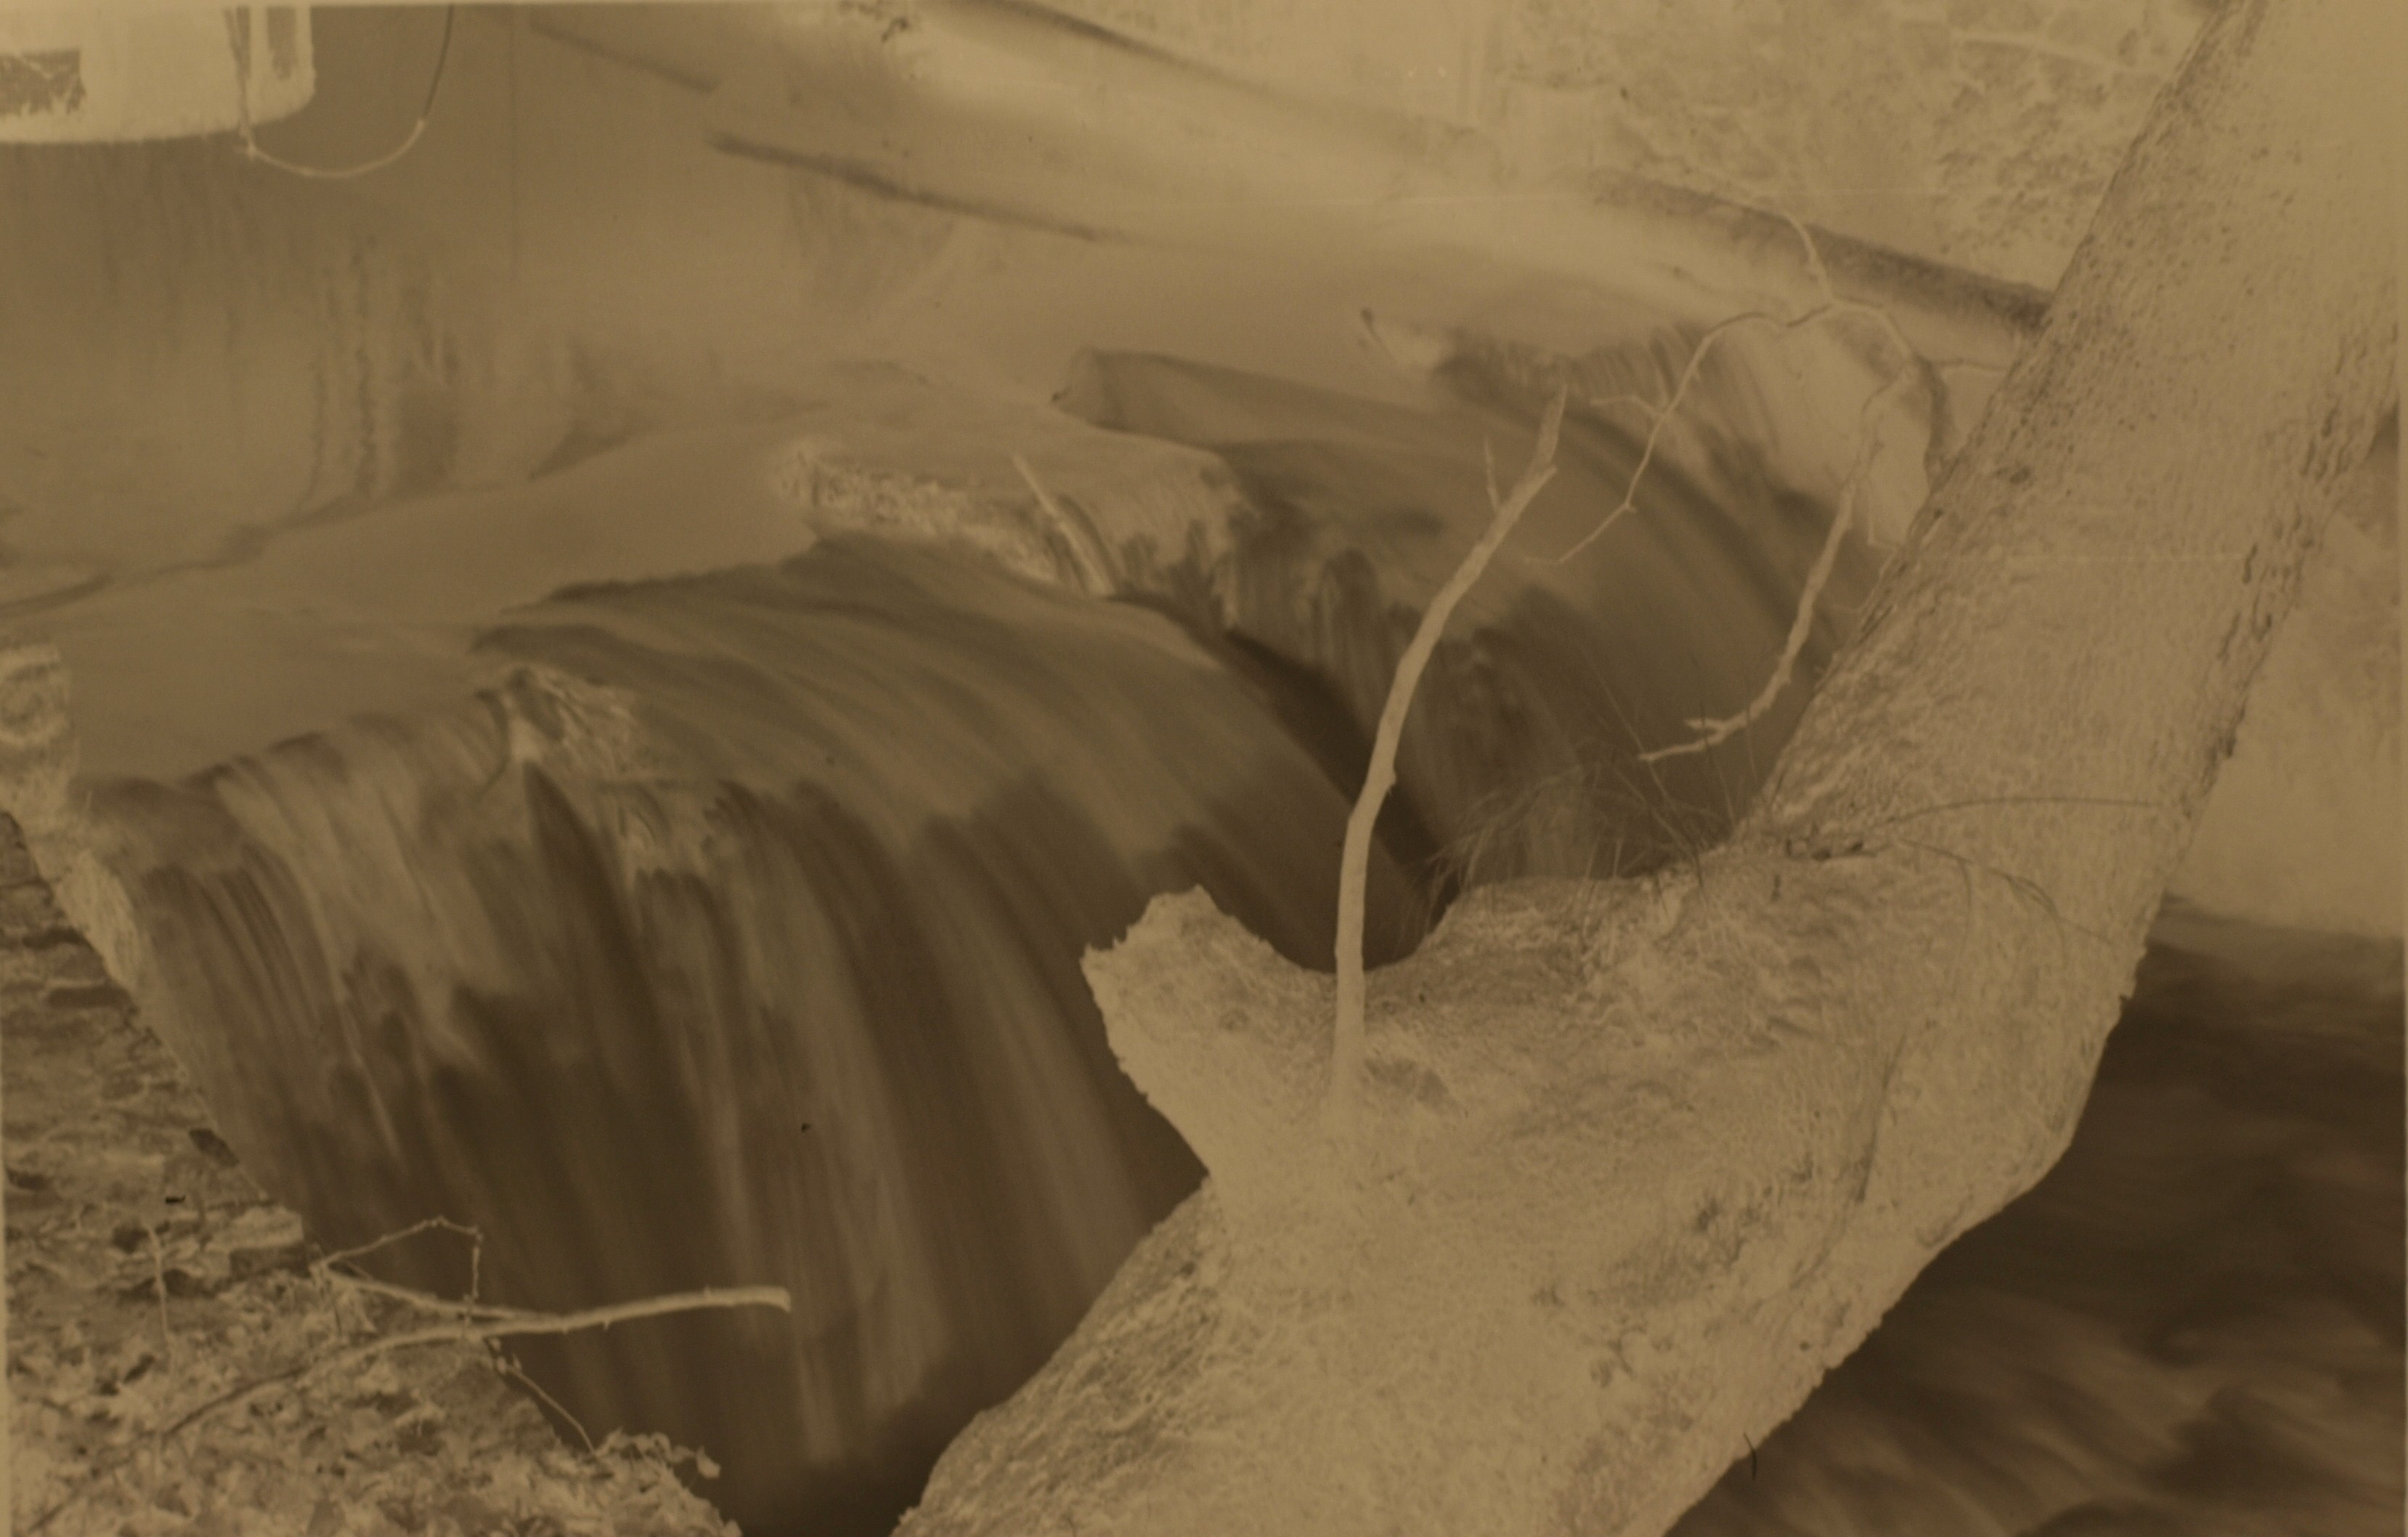
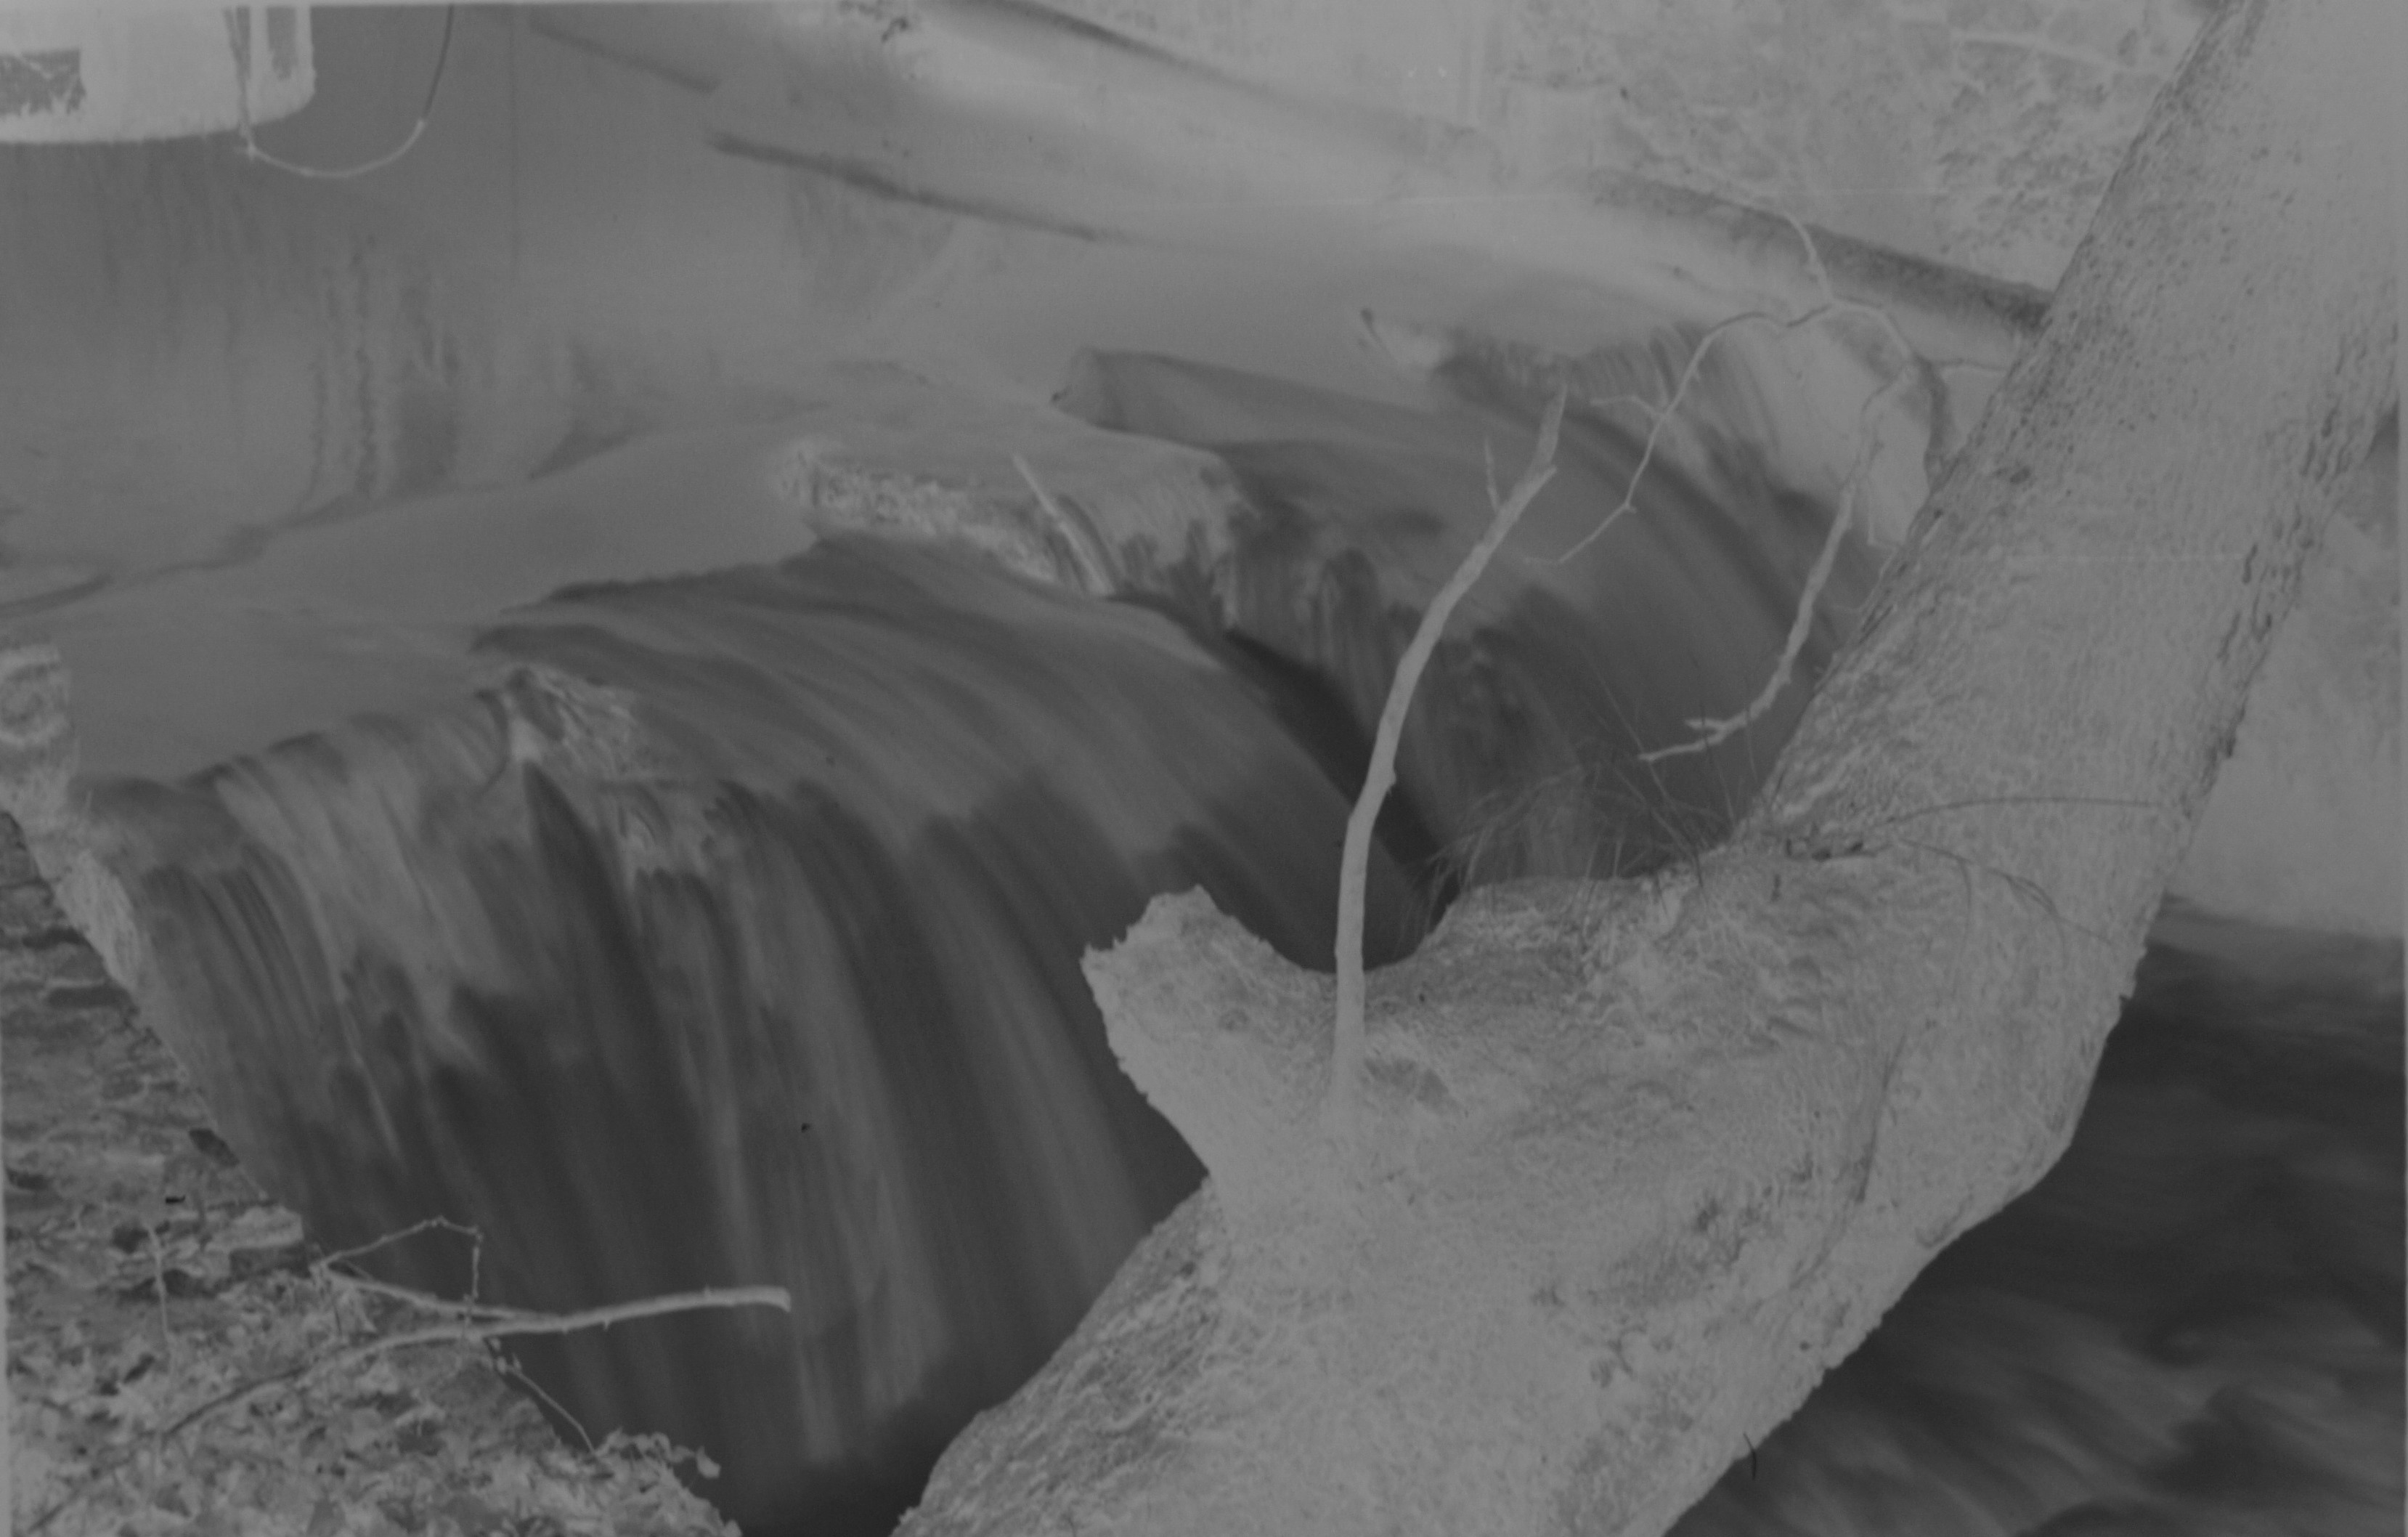
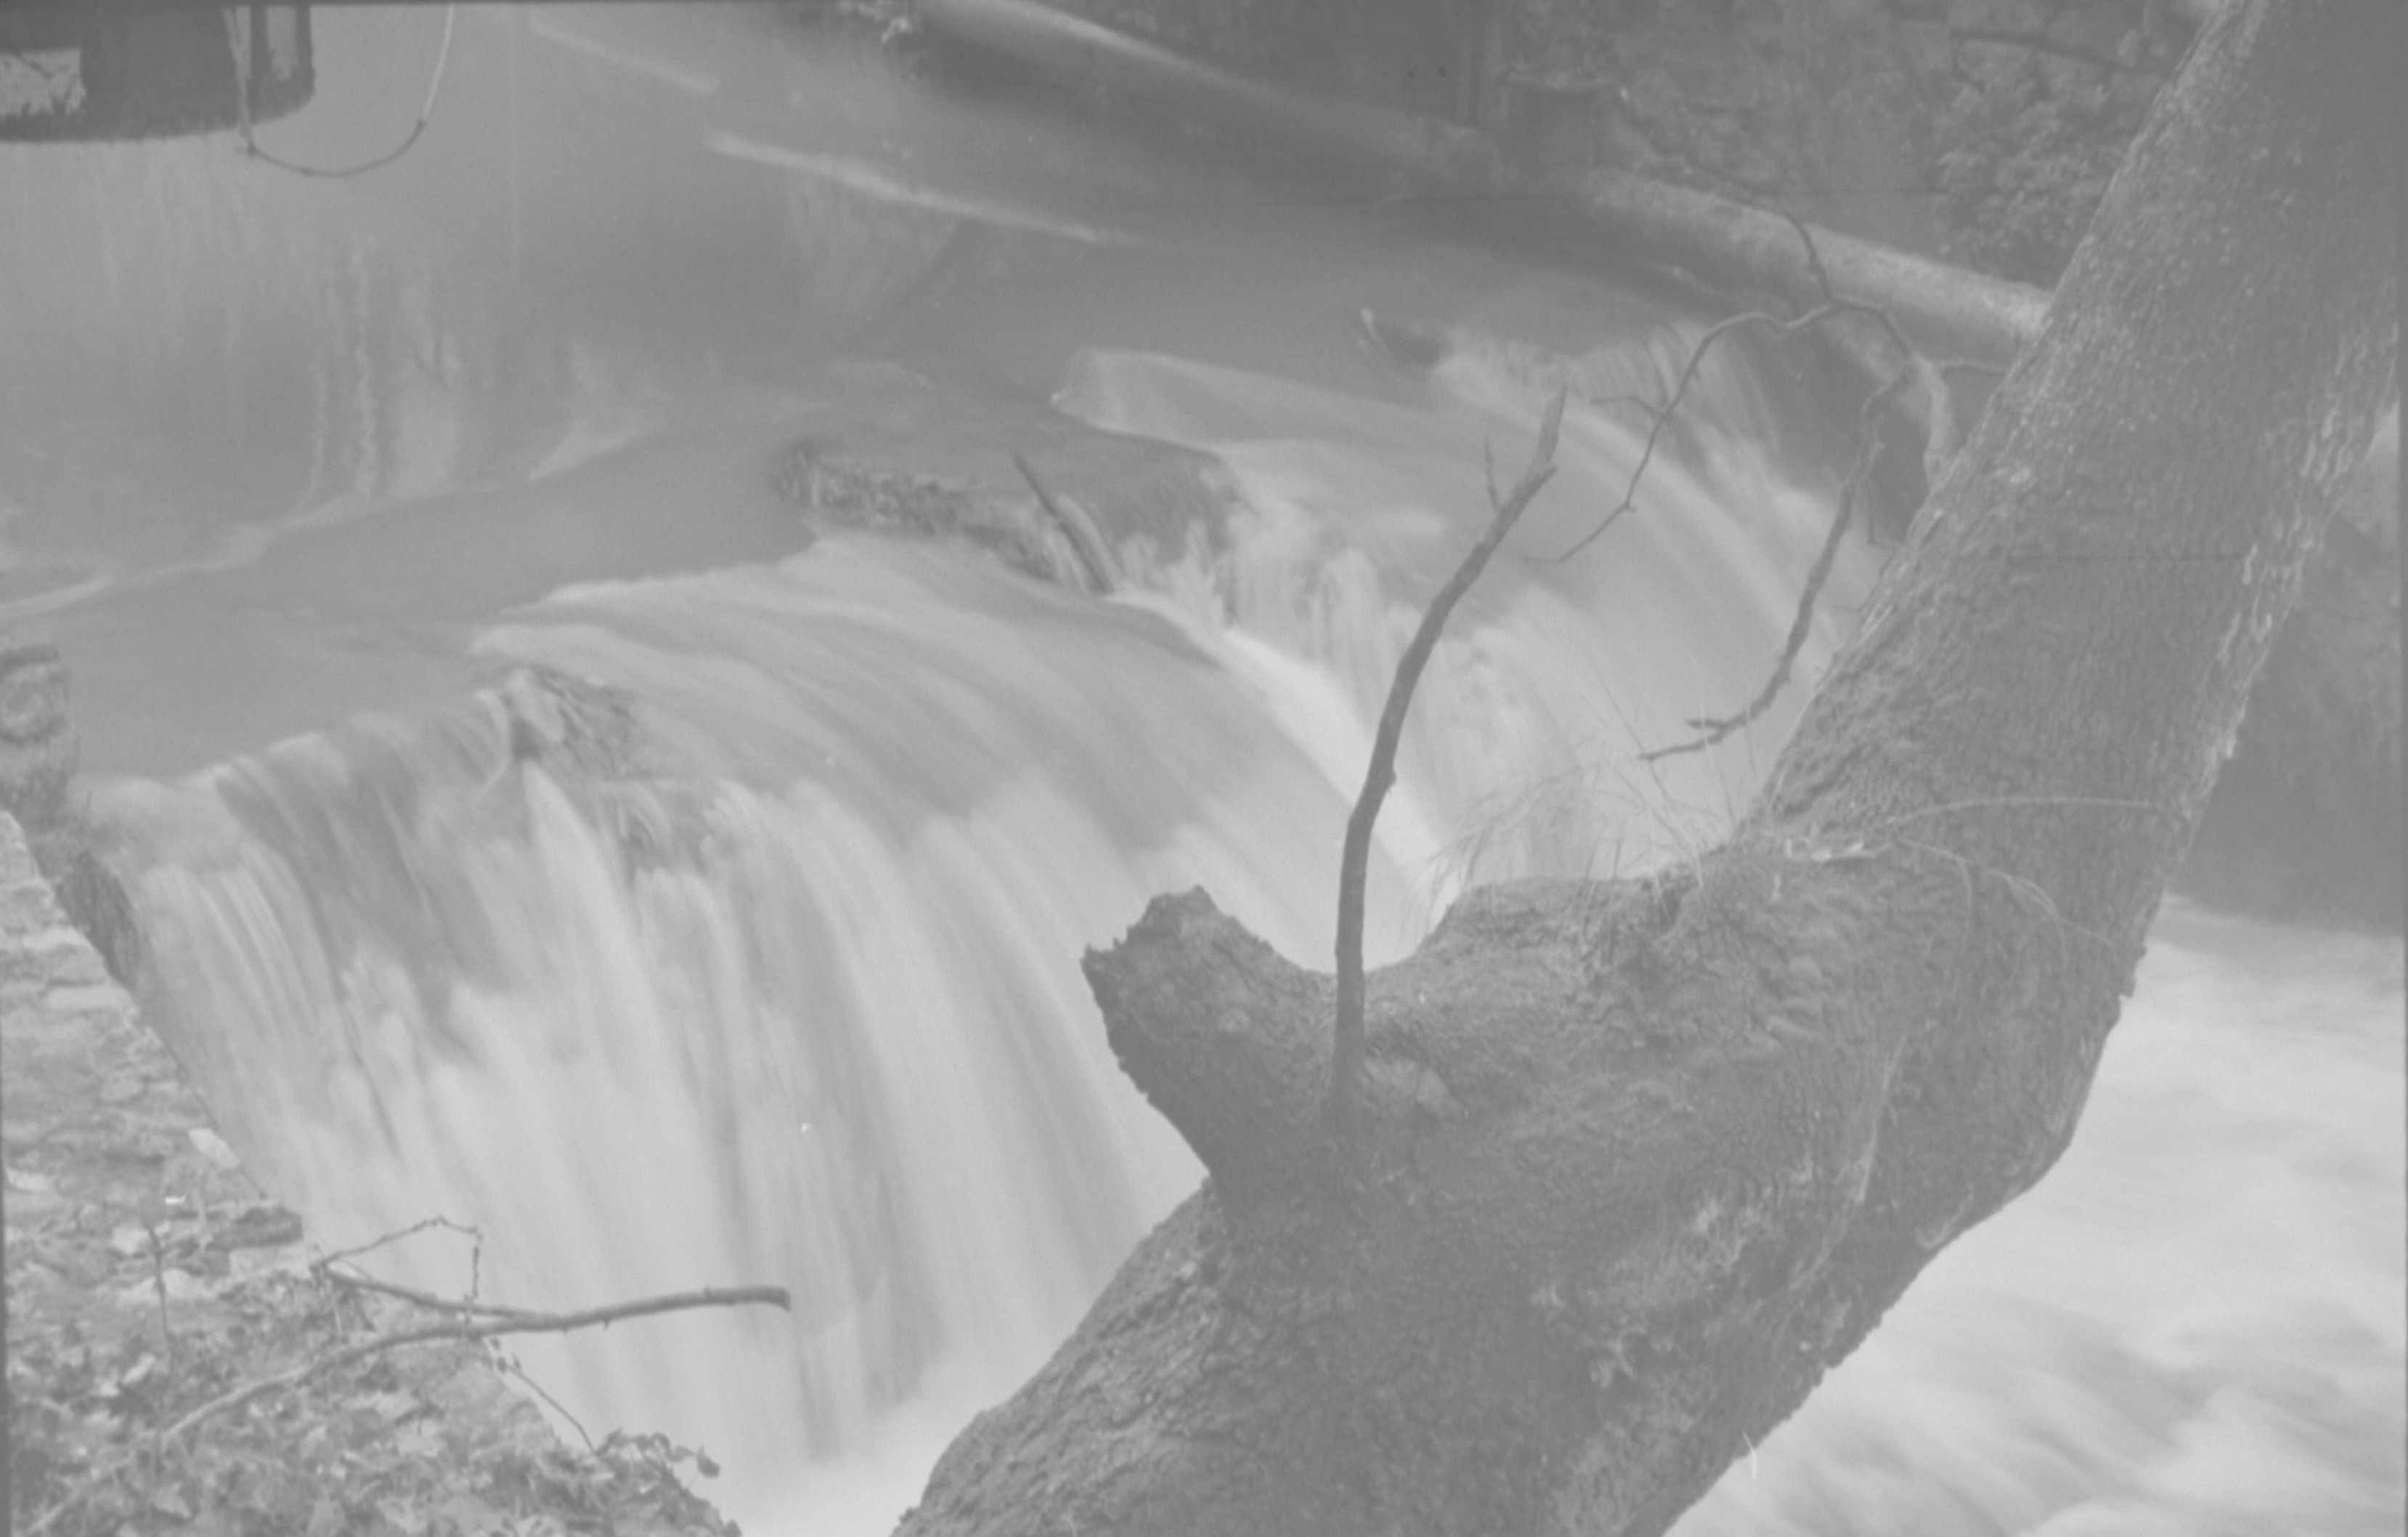
This photo was shot with a Canon EOS 1000F camera with the lens it came with (a zoom 35-80, f3.5). The film is a B/W Kodak TMAX 400. I copied the negative with the Pentacon lens at f=8.0 and t=1/40 sec, ISO=100. The B/W is normally the simplest case and I did all the processing steps with the Photofiltre free software. Here they are:
- Frame the image. Keeping the borders for reference is not necessary in this case.
- Turn it to a B/W negative image. This can be done in two ways: Either discard color information or set color saturation to a minimum using the Hue/Saturation tool. The result is the same.
- Invert colors (taking the negative image)
- Work the brightness, contrast and the gamma plot to put tone qualities in equilibrium. Often this is very subjective
Working With Color Negatives
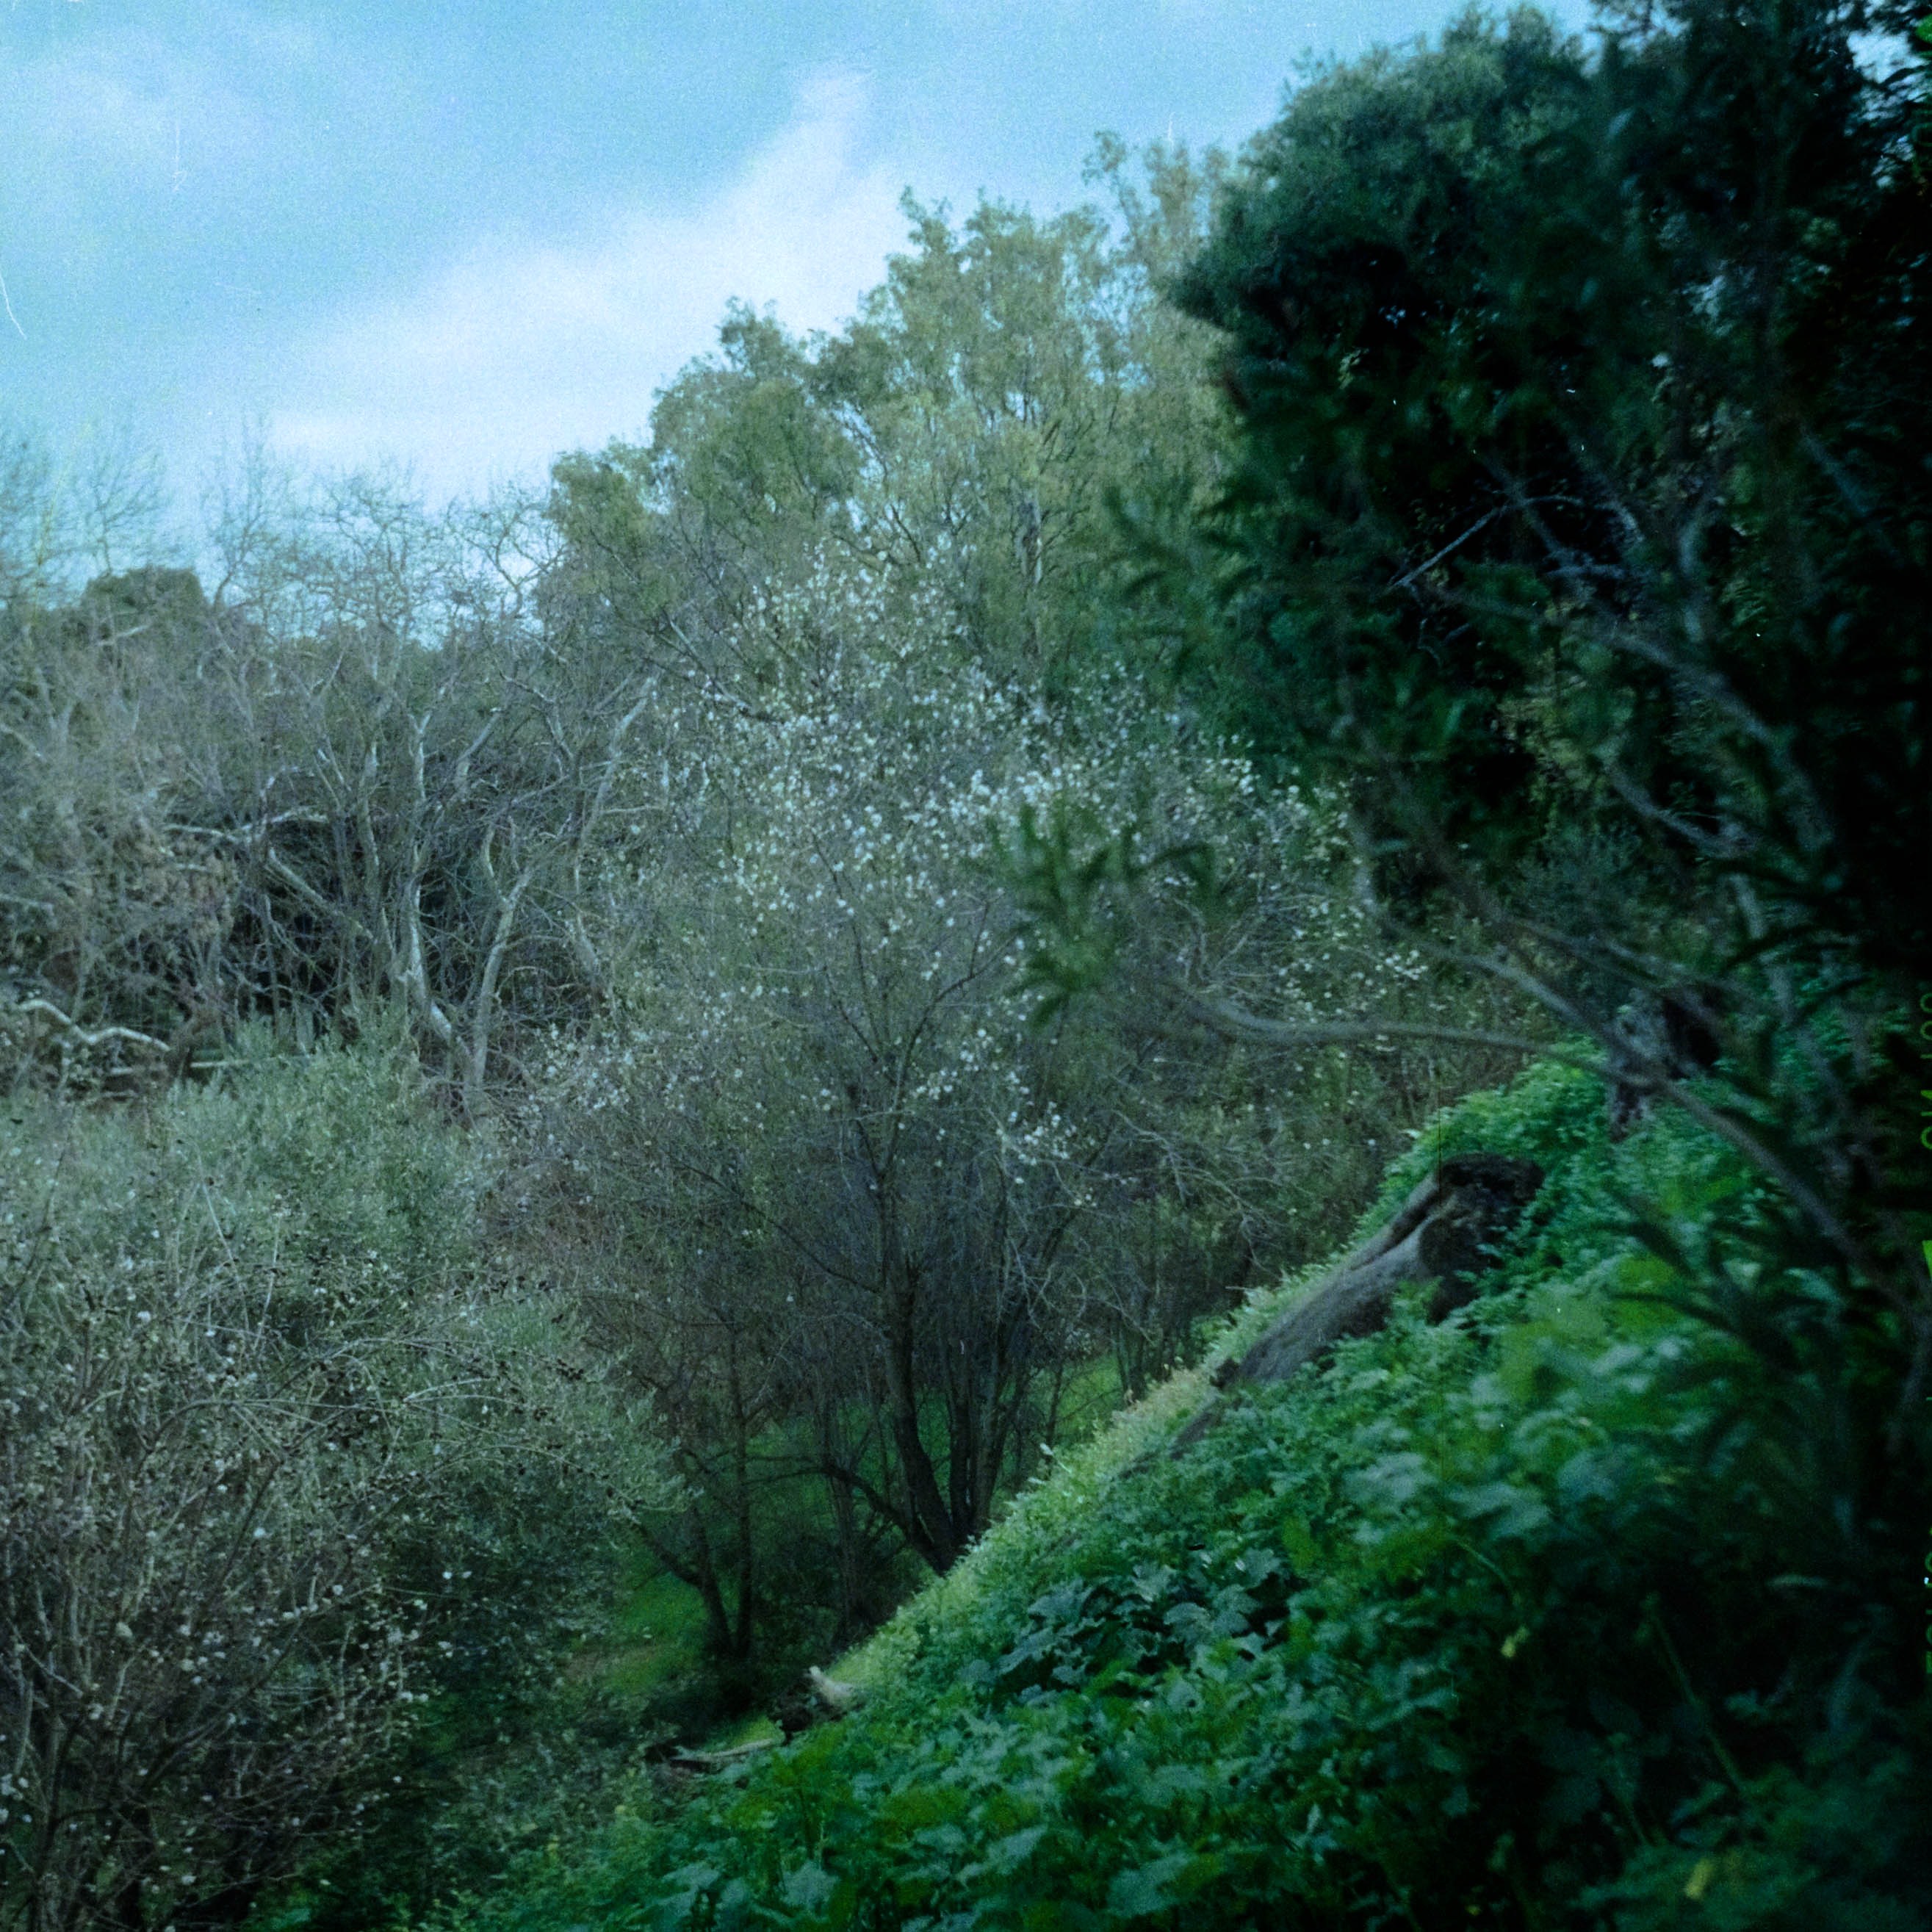
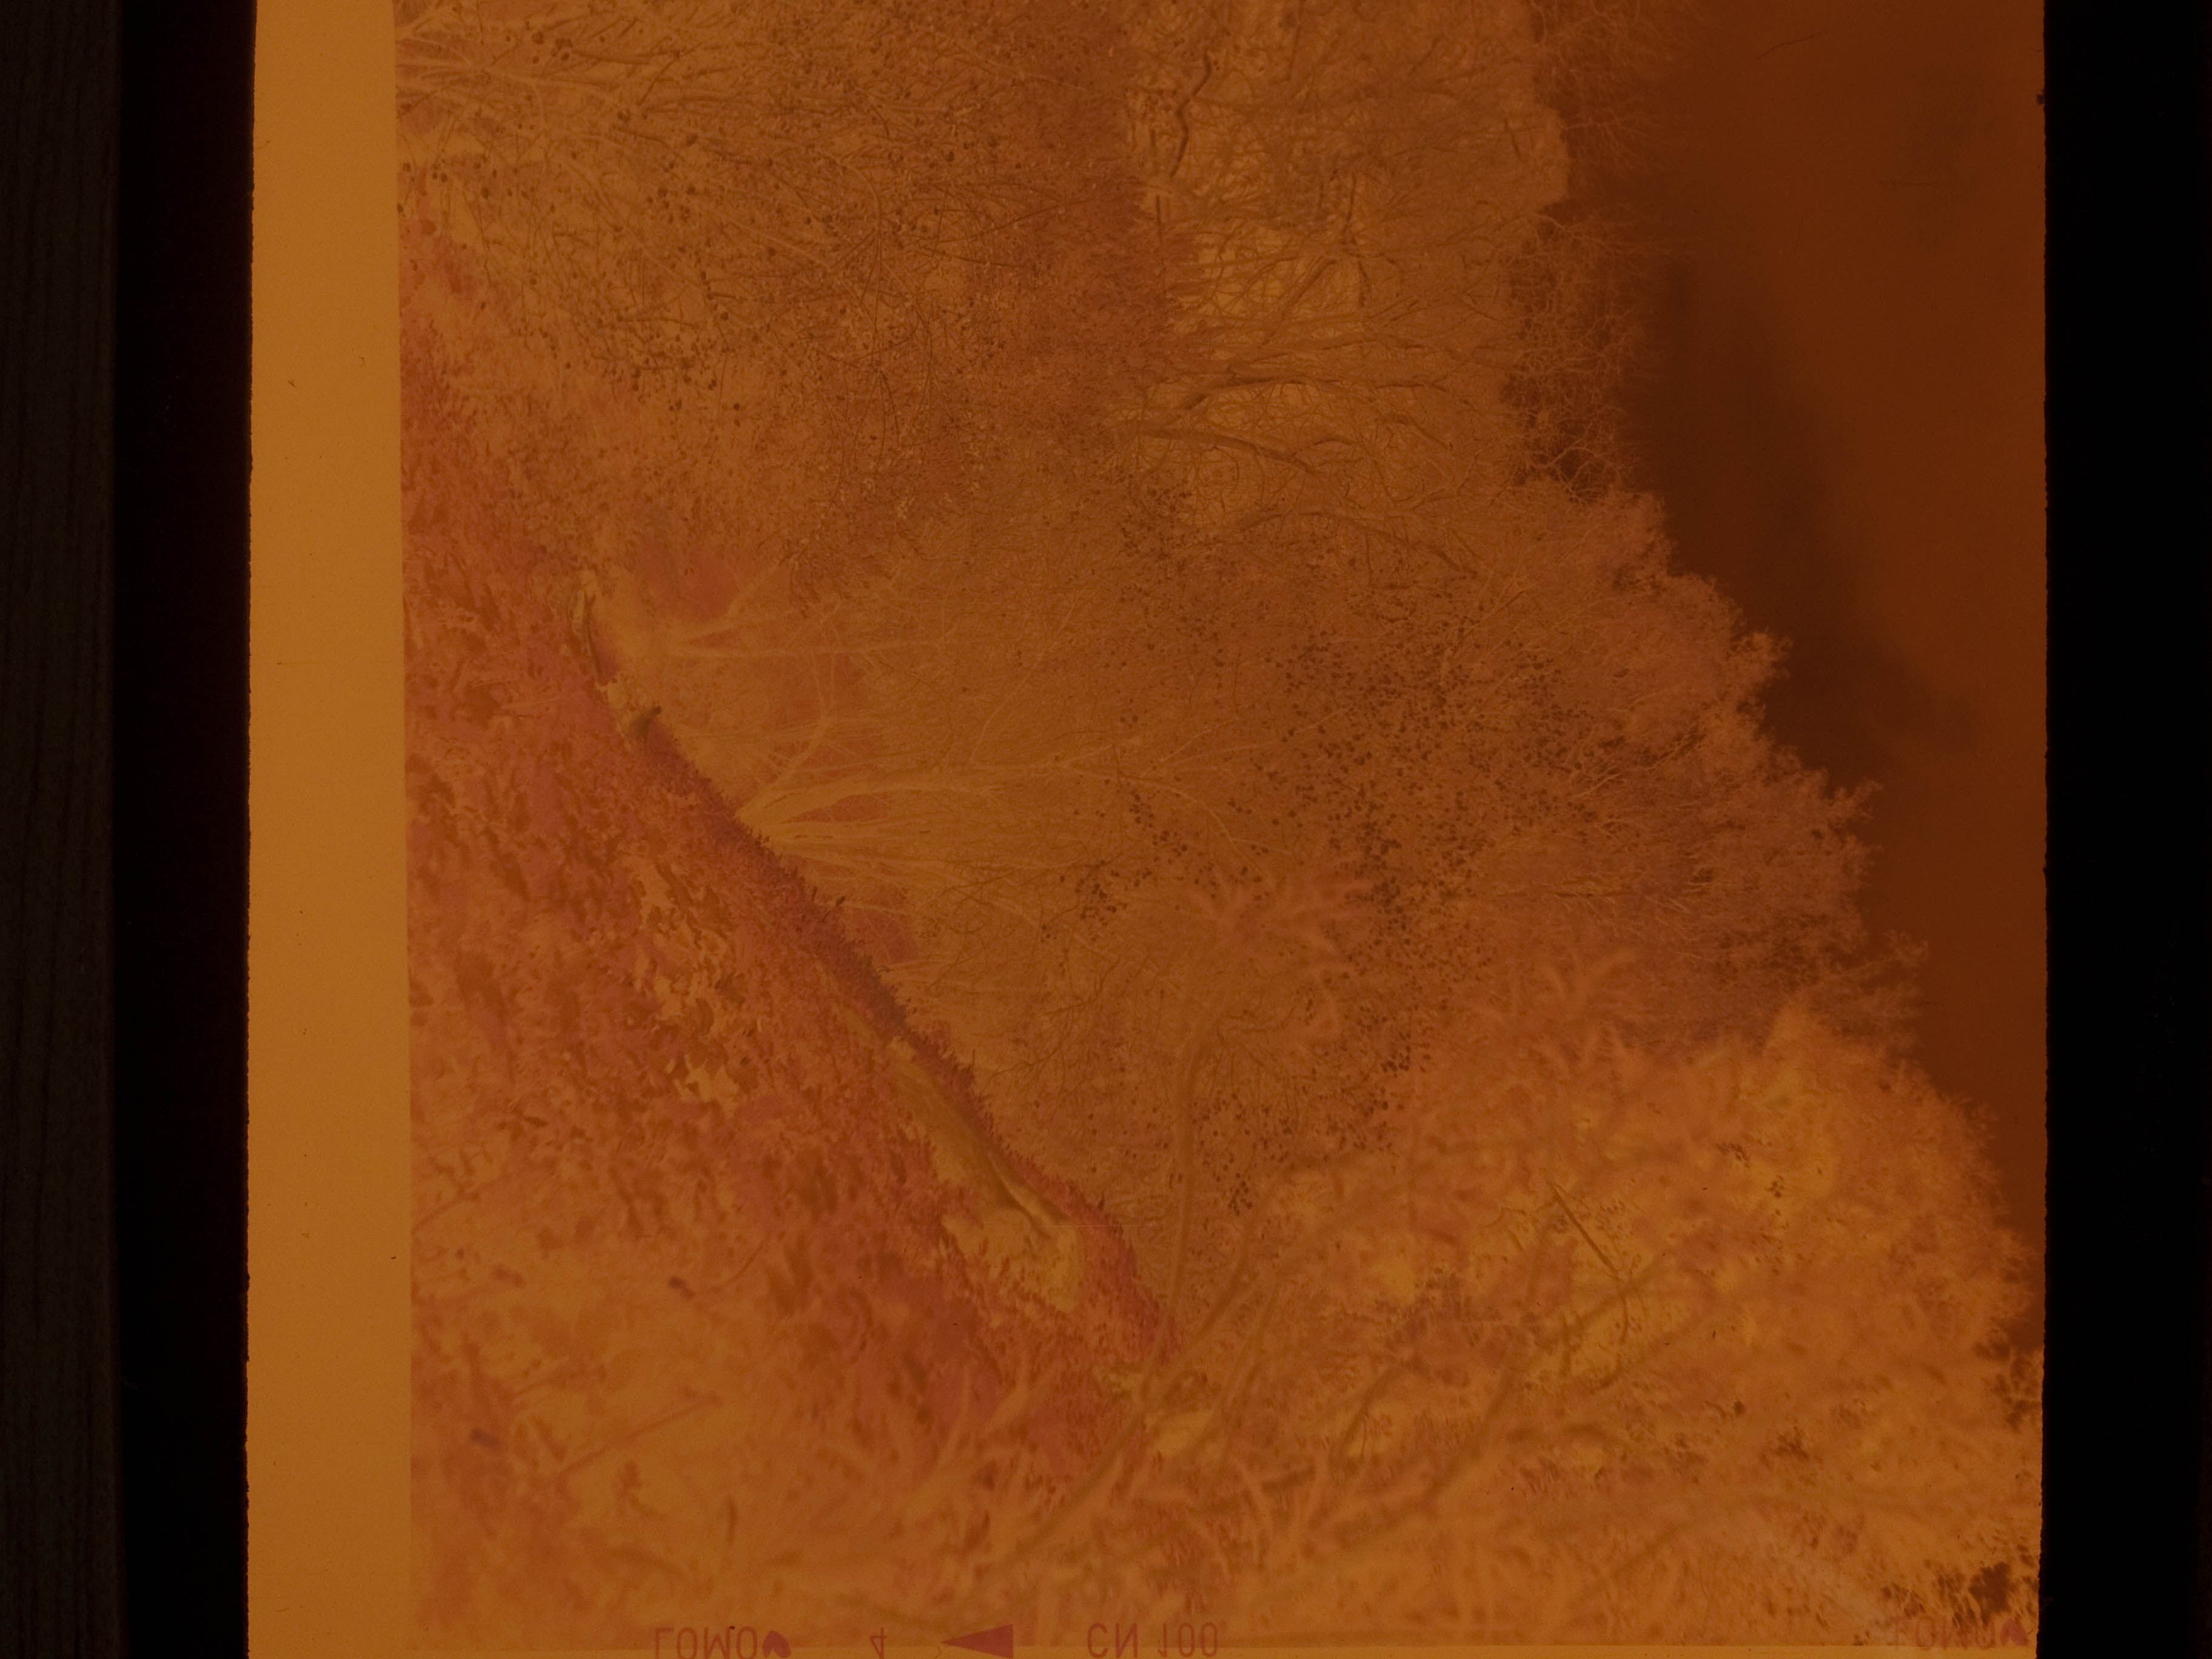
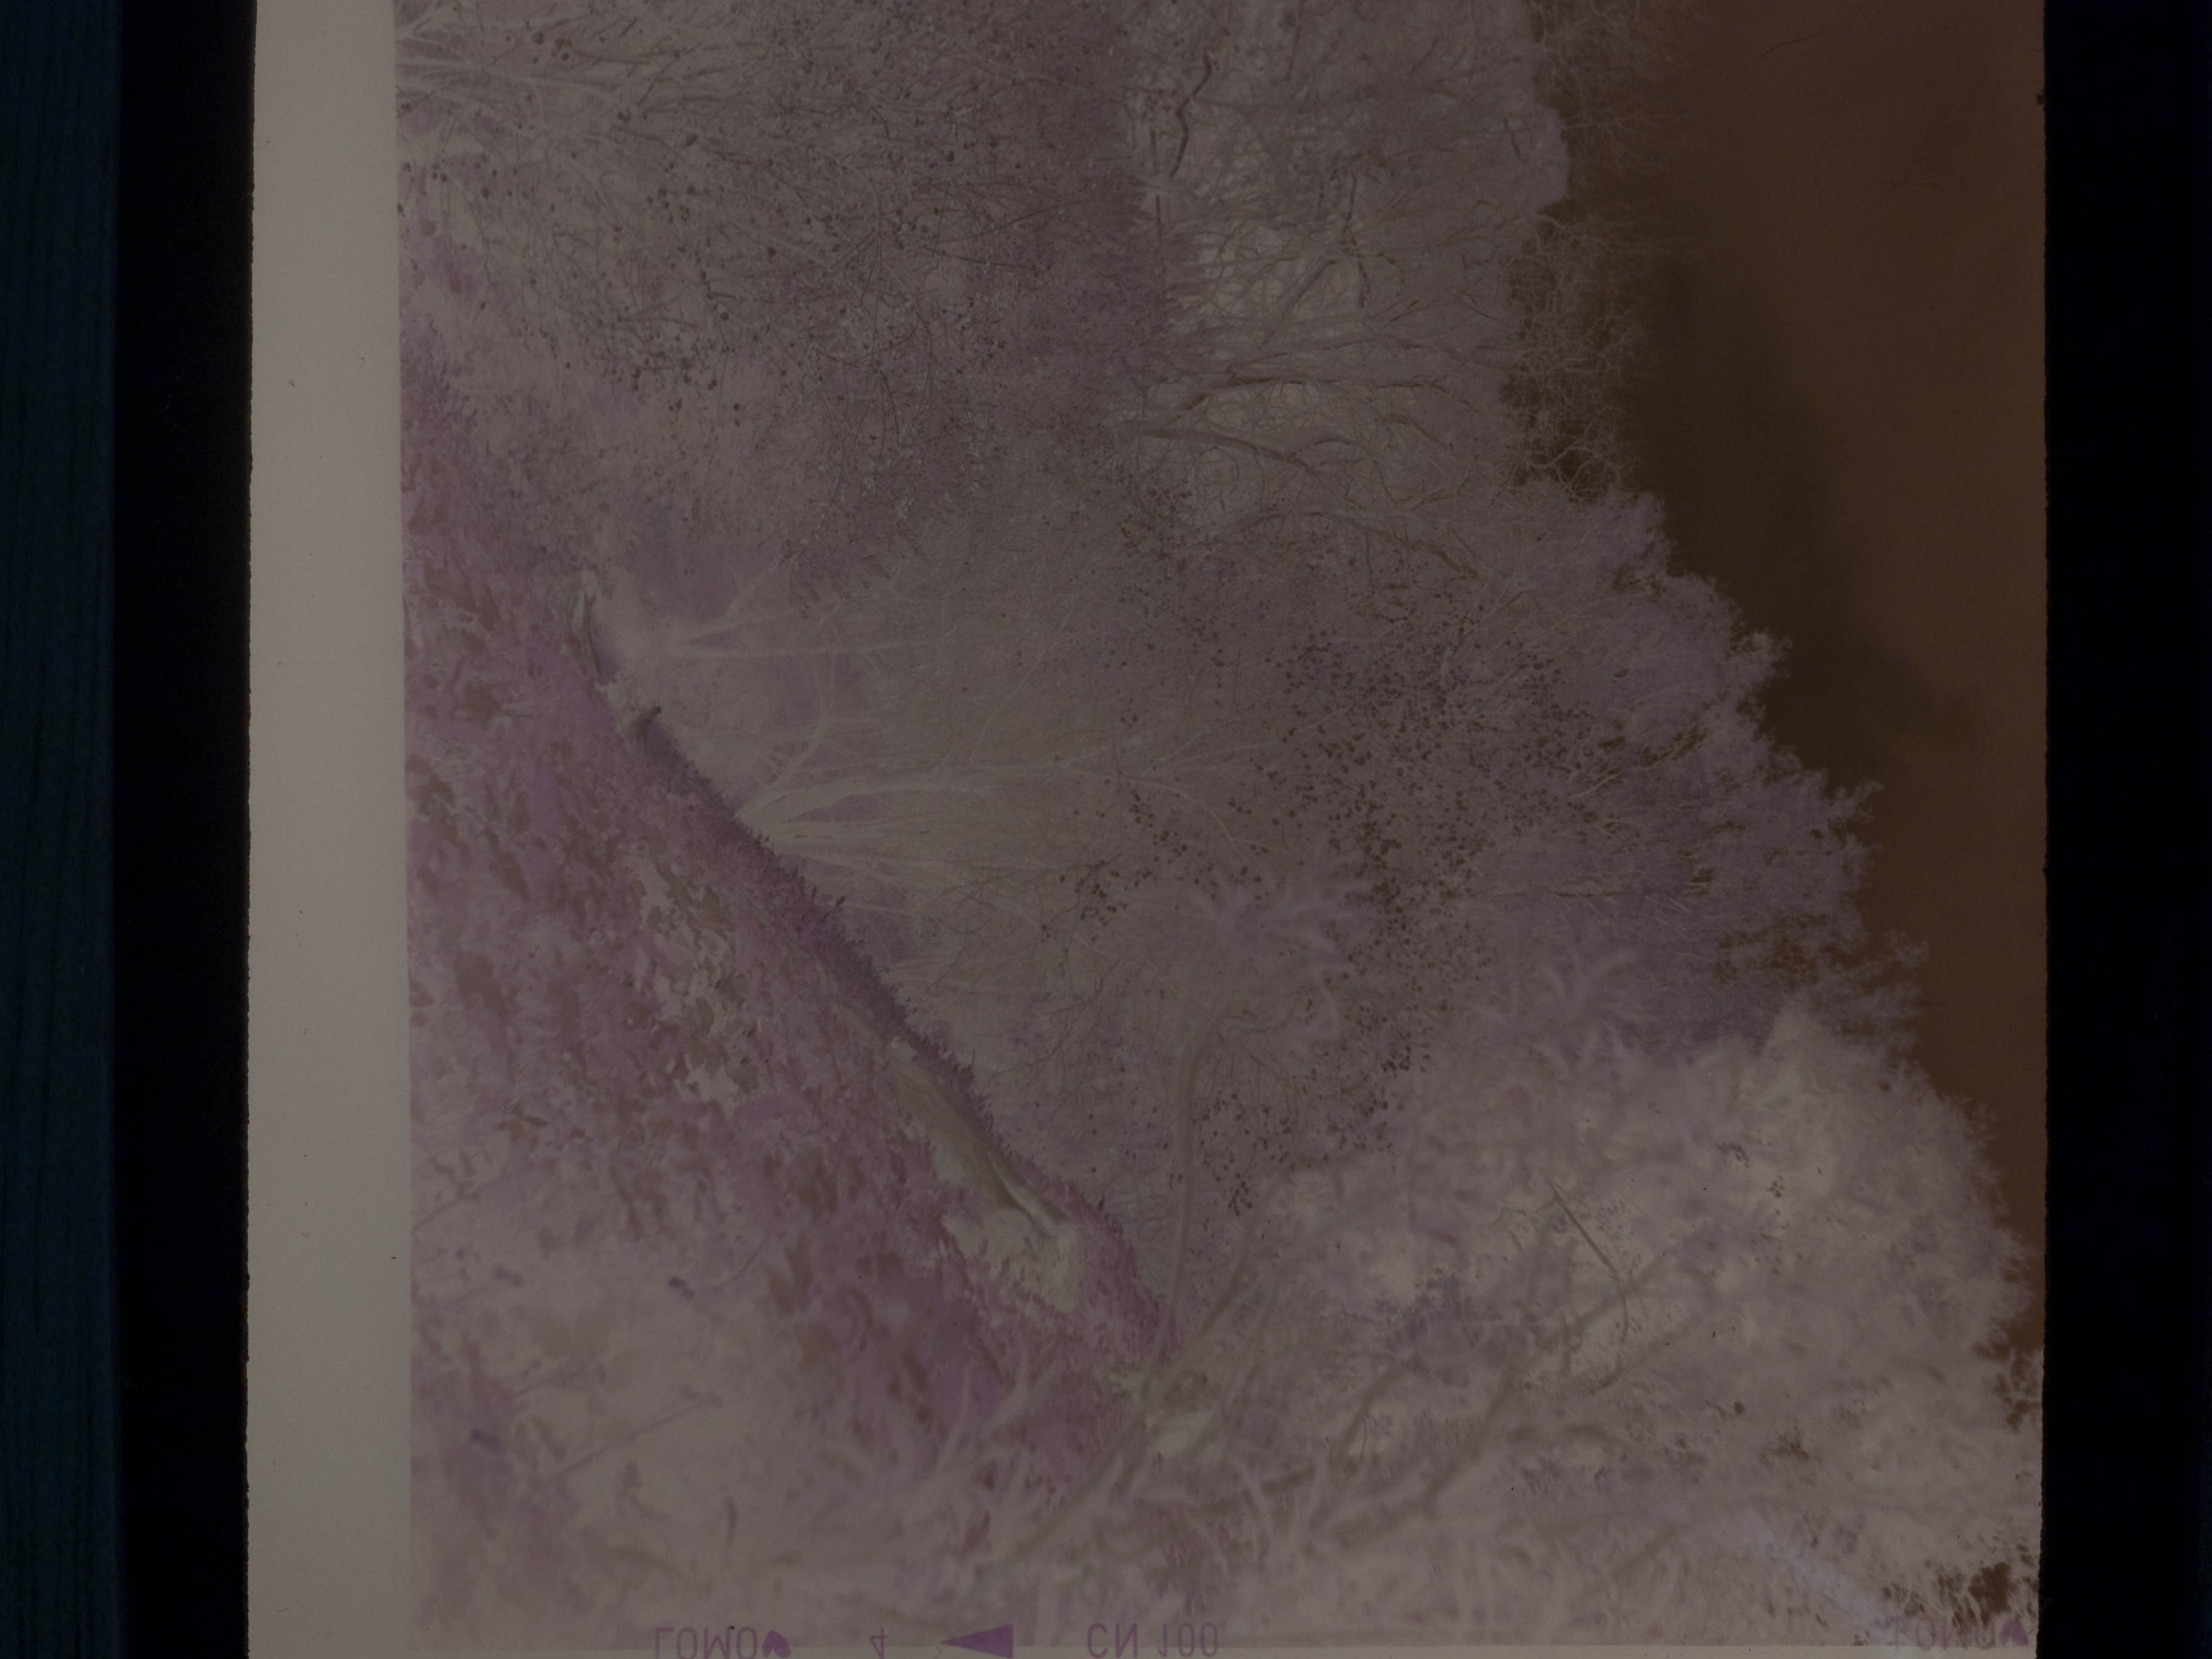
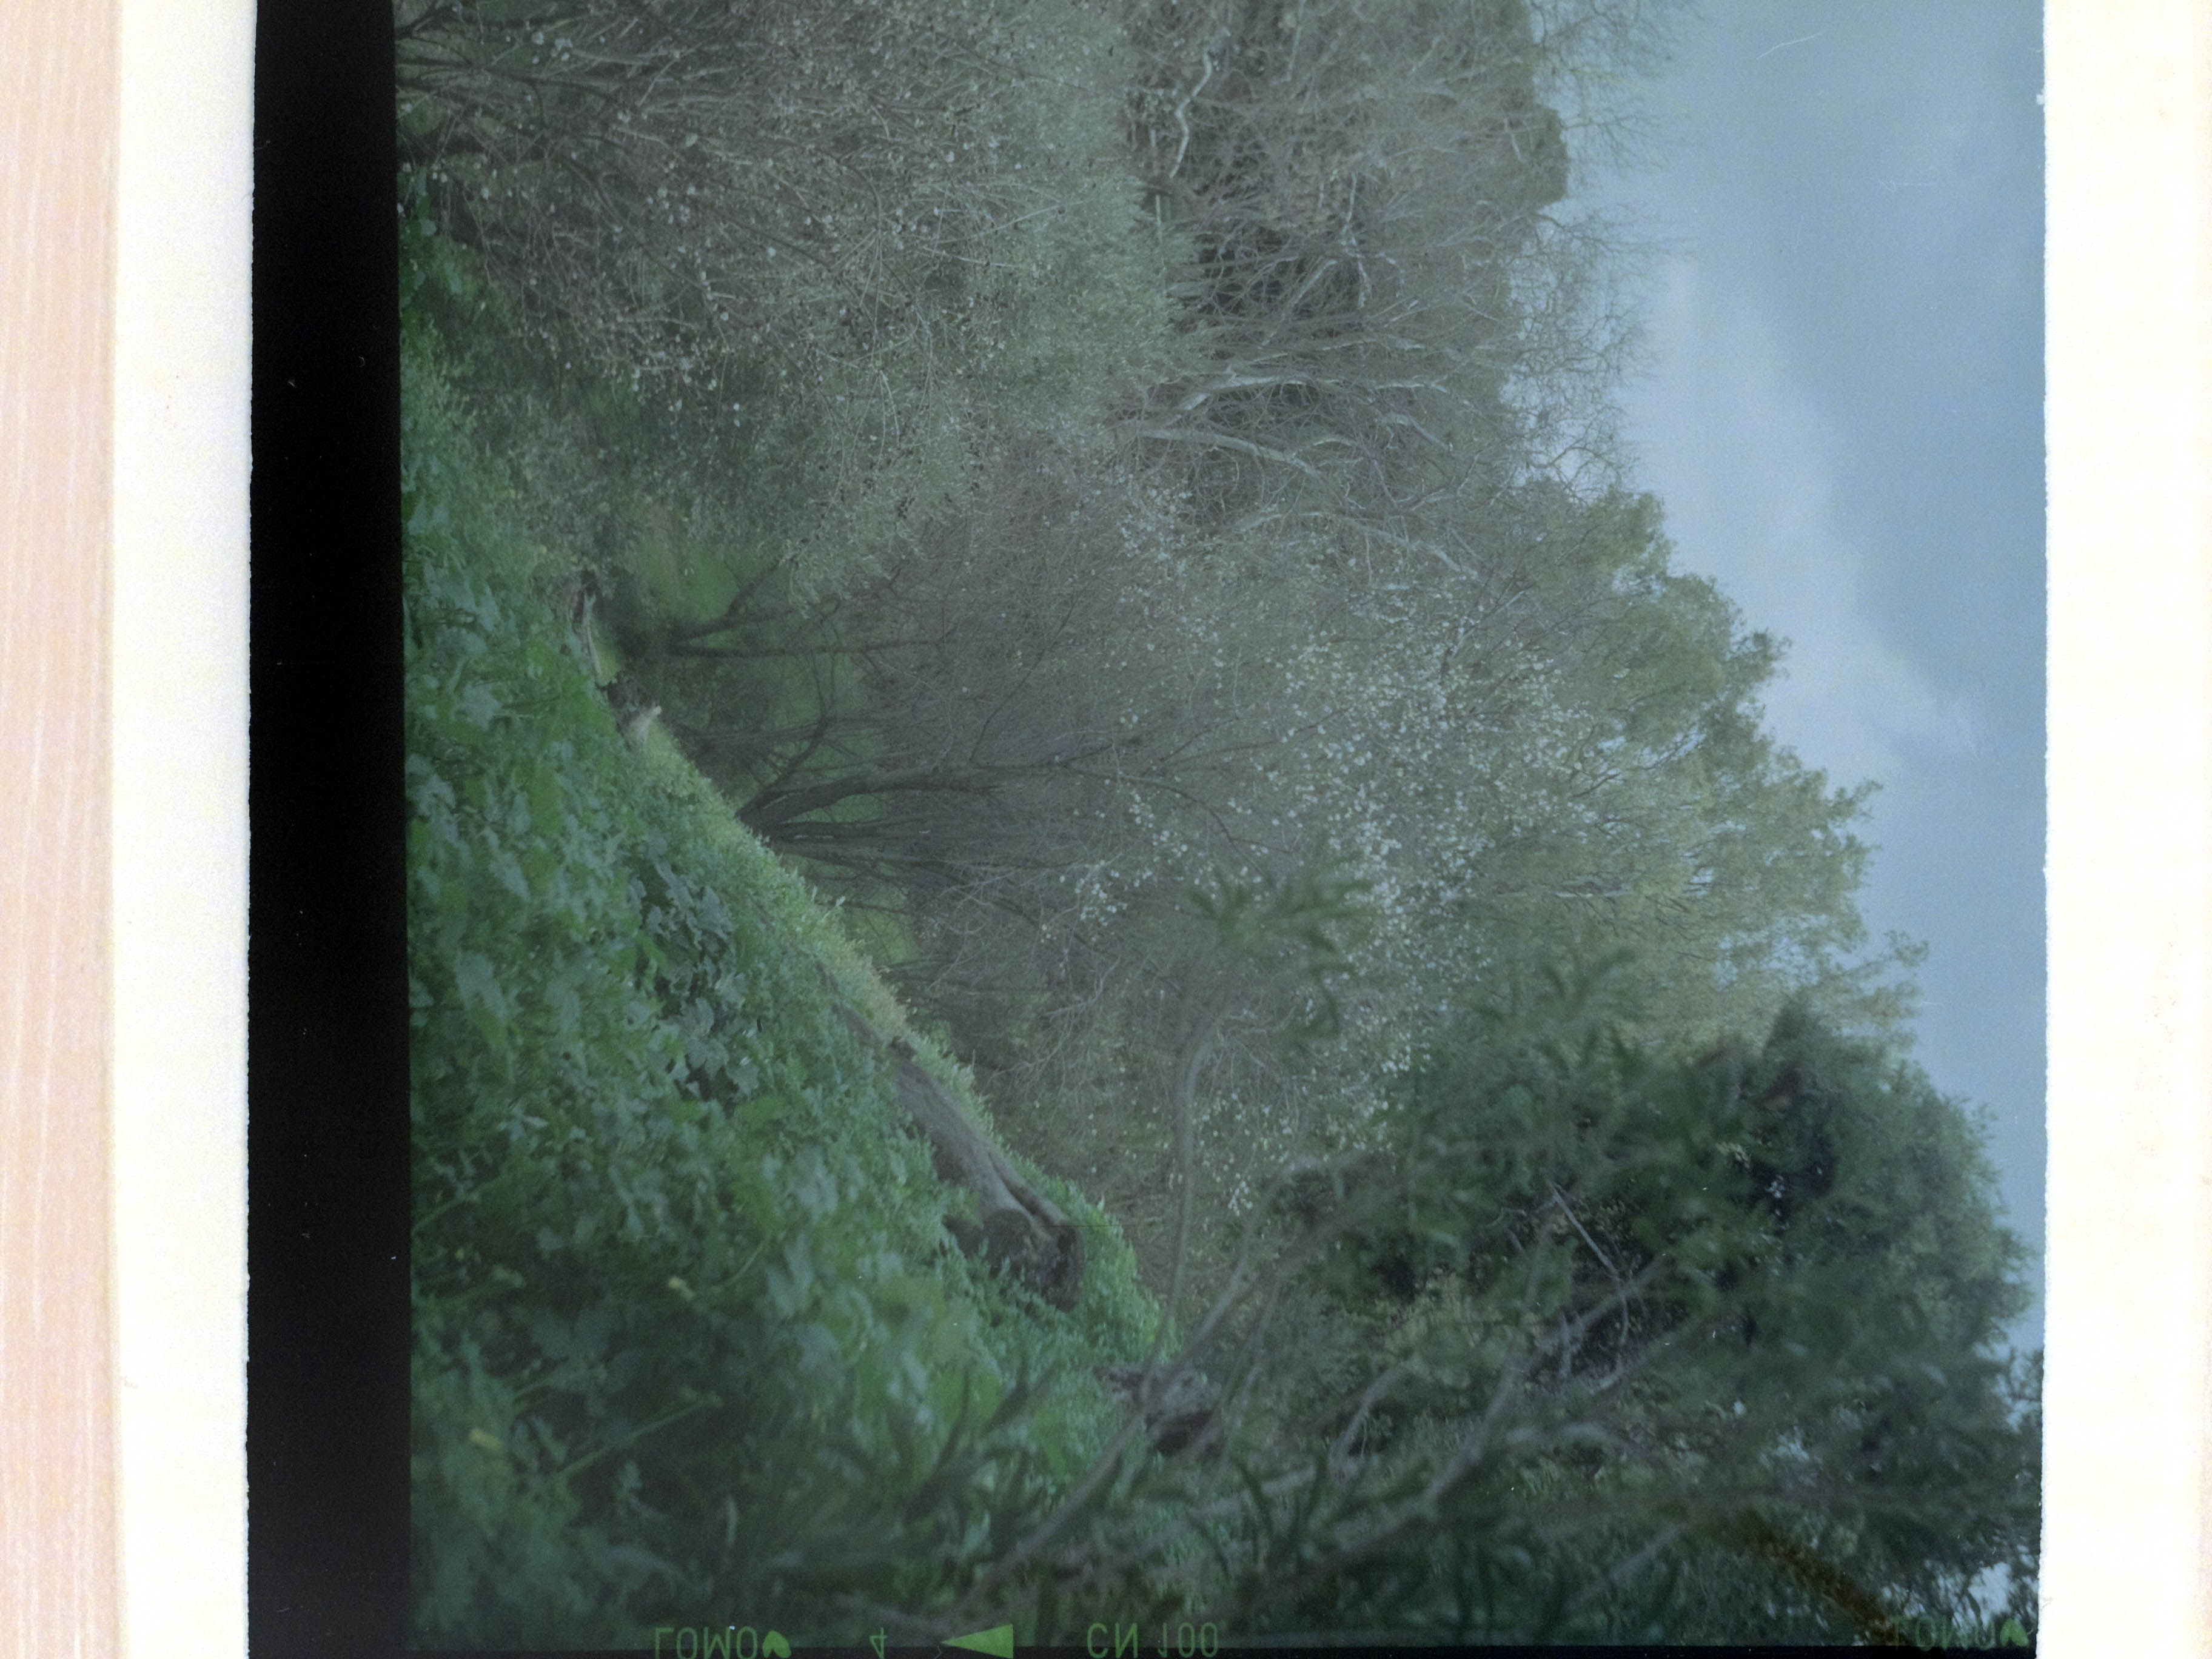
Color negatives are relatively the more difficult to process correctly. The reason is that you cannot recognize colors from the inverted reddish image. For example in the specific photo green and blue dominate and when you look at the negative you have no idea which is which. This is where you need the tips given in step 2.
- Inspect the negative under light to recognize what you expect to see in the final photo.
- Shoot the negative slightly overexposing.
- If you keep a stripe on the edge of the photo, use this to restore color balance. This can be done either before inverting colors or after. The negative will appear gray after balancing.
- Use the RAW format if you are familiar with it.
Film AND Digital!
Why shooting film?
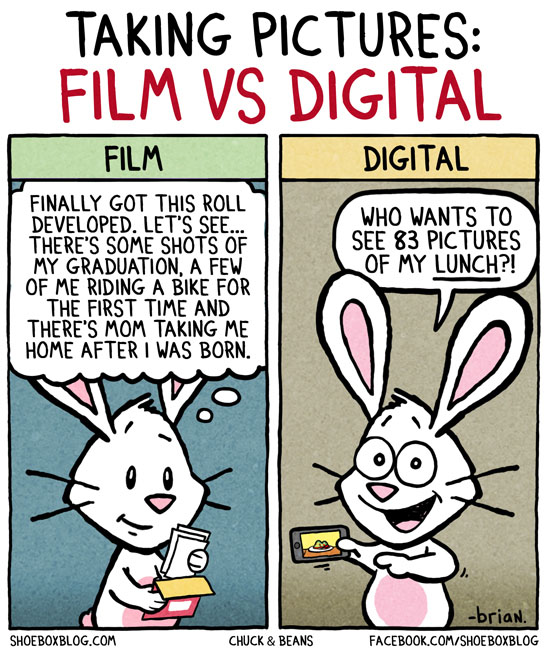
- I like the way light diffuses in film. This is different than what you get with digital cameras - different, not better or worse. However the dynamic range of film i.e. the ability to retain details in highlights and shadows is superior from what you get with cheap digital cameras. A discussion on this can be found here.
- Fast and slow: we need them both. I like the fact that digital cameras offer the possibility of many zero-cost shots in a few minutes that can be previewed on the spot.Of course this gives you more chances to take a nice image. However I equally like the fact that a medium format film gives you only 12 chances, so you have to be prepared and you are obliged to use your brain a little more before pushing the shutter. I think that by doing this you learn to appreciate more your digital camera also and use it in a better way.
- I like the development procedure. I restarted developing B/W after many years.
- I am nostalgic about my old cameras. I like the sound of the mechanical shutter and I am interested to see how they perform today and how they compare to digital.
For how long?
- For as long as film is available (although hard to find).
The cameras I use
- Canon EOS 1000F. Nice camera body, mediocre lens. It has a lot of programming features that I like. I often mount other lenses on it.
- Yashica Electro 35. Aperture priority rangefinder camera with an excellent 45/1.8 lens.
- Rollei 35 SE. This camera is very peculiar. Everything is in the wrong place but you get used to it. It is probably the smallest of its kind and it is not battery dependent as the first two (it needs a battery for the photometer but who cares).
- Lubitel 166U and Meopta Flexaret V. I like both my TLRs. Lubitel is simple, light and the lens is very clear. Vignetting is the signature of this camera. Flexaret is a real metal TLR. The lens, the viewing and the focusing systems are excellent.
A Final Thought
.jpg)
- Photography is not about high resolution or high ISO, it is about the subject (content) and how you perceive it and display it (composition).
- If you wish you had a camera with more megapixels, check out what people in the lomography site accomplish with cheap plastic Dianas , occasionally using expired films deliberately processed with the wrong chemicals!
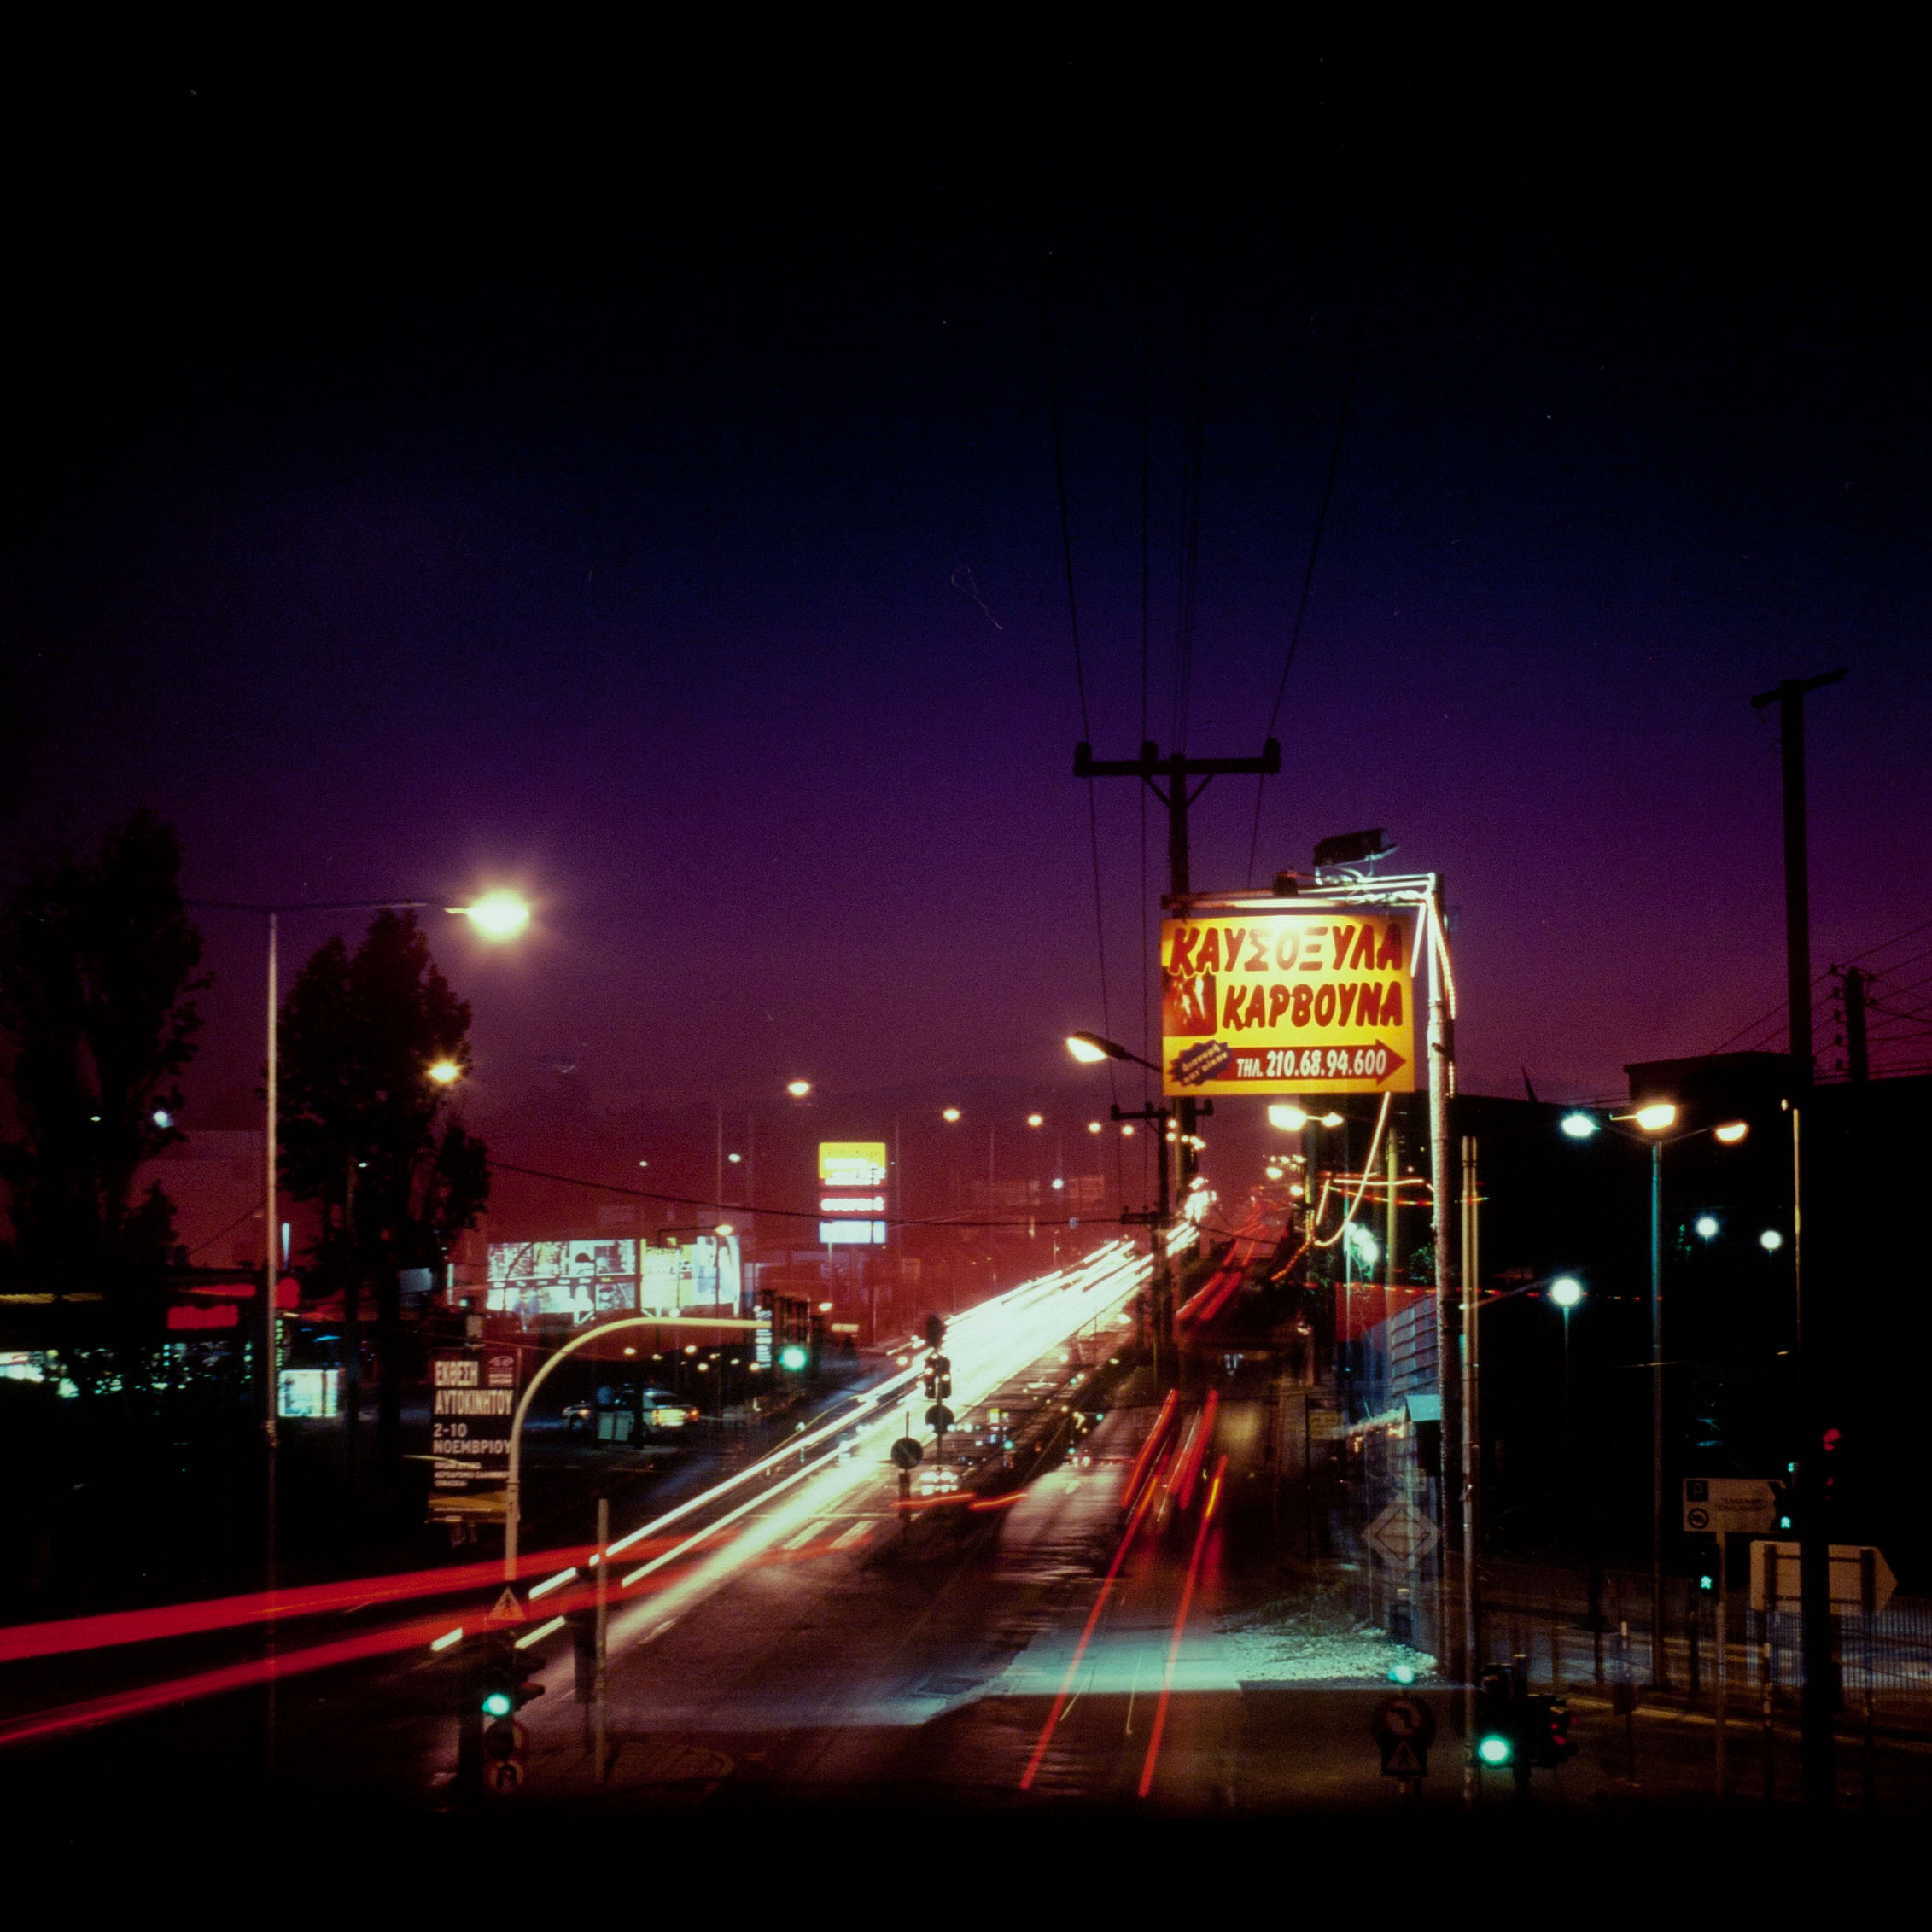
- If you complain that you need 6400 ISO or more for a decent night shot, look at the night photos of George Brassai , all taken with 50-100 ISO films.
- That being said, it doesn't hurt to own a D4s Nikon with a full frame sensor and 256000 ISO (expandable to 409600).
- Digital or analog, let the following quote of Henri Cartier-Bresson guide you:
"To take photographs means to recognize - simultaneously and within a fraction of a second - both the fact itself and the rigorous organization of visually perceived forms that give it meaning. It is putting one's head, one's eye and one's heart on the same axis."