How to Create Original Artwork for a 3D Printer: Illustrator to Tinkercad (SVG)
by emilyshore in Workshop > 3D Printing
10622 Views, 15 Favorites, 0 Comments
How to Create Original Artwork for a 3D Printer: Illustrator to Tinkercad (SVG)
)
I just took a great class at TechshopSF on advanced 3d printing. The instructor suggested using Tinkercad or Meshmixer for design. However, nothing was mentioned about how to convert existing artwork into something that Tinkercad can handle (STL or SVG files only).
This instructable aims to fill that gap!
This 90 second video shows you everything you need to know. So you can watch it instead of reading the steps.
Materials
Illustrator (I used CS3 which is old.)
Tinkercad account (free)
I was using a 2014 Type A 3D printing machine at Techshop SF. But this doesn't cover the actual printing part, just file conversion.
But I Have a Jpeg! What Do I Do?
Please refer to my instructable Make bitmap image into a vector that specifically addresses this issue.
Illustrator Portion
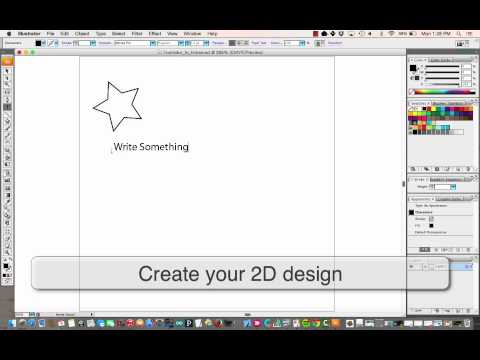
Open illustrator, design whatever you want to make (a shape, text, etc.) and "save as" a SVG file. Very easy.
Please note, that it appears that Tinkercad will NOT allow you to group and ungroup something you upload as one SVG file. So for instance, if I uploaded a SVG of my name "Emily" once it's in Tinkercad I will NOT be able to group, ungroup and move the letters independently. There if I want full editing ability in Tinkercad, I should create a separate SVG file for each piece I want to remain independent within Tinkercad. Kind of annoying.
Tinkercad Portion
Log into Tinkercad.
Create a new file, or edit an existing one you already have.
Click on the import tab, click on the "file" button, click on "choose file", locate and select the SVG you just made on your computer, and click "upload". Once again, it's very easy!
And Voila! You're Done!
That's it! You can now edit the height or general dimensions in Tinkercad and send your file to be printed!
Suggestions/Improvements! Please share in the comment section, along with pics of anything you've made using this tutorial!