How to Create a Time-lapse on Android

by pucksurfer in Circuits > Cameras

9476 Views, 106 Favorites, 0 Comments

How to Create a Time-lapse on Android
55a402f250e1b67e2d00069a.jpeg

I've always wanted to take cool time-lapses, they are very neat and can turn out amazing. I've seen several apps for Android that let you take time lapses, but never really used them. Then recently I got this cool app called Tasker, and a whole world opened up.

Basically we are programming the phone to take a picture every so often and put them in a folder, so then we can later turn them into a time lapse. Its a cool process and the best part is... YOU DON'T HAVE TO KNOW HOW TO CODE!!

Tasker
temp_1272248922.jpg
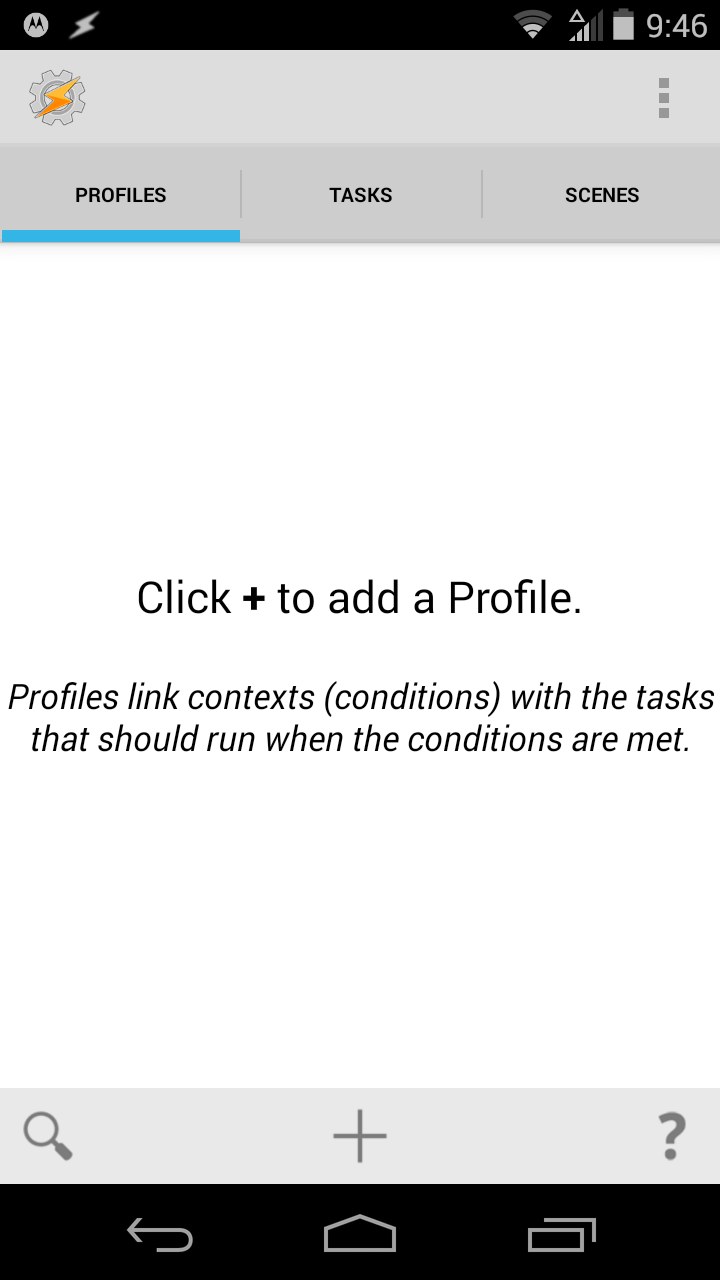
Tasker is an amazing app, that everyone who owns an android phone should have. It is $2.99 on the Google play store and is worth every penny. Basically, Tasker allows you to "code" (no coding experience required) different actions to do and different things like that. It is a very cool app and you can customize your phone to an amazing degree.

Creating Your Task and for Loop

temp_-529738394.jpg
temp_-707736966.jpg
temp_-761620612.jpg
temp_468148551.jpg
temp_-241593045.jpg
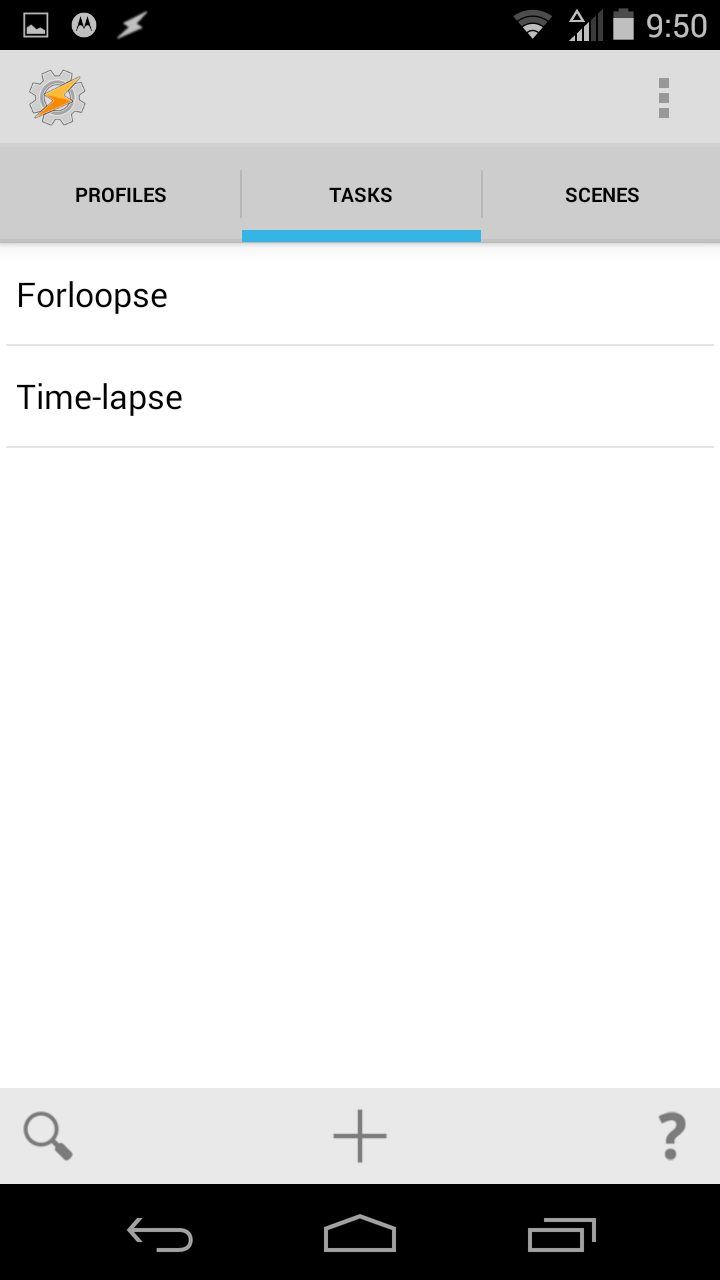
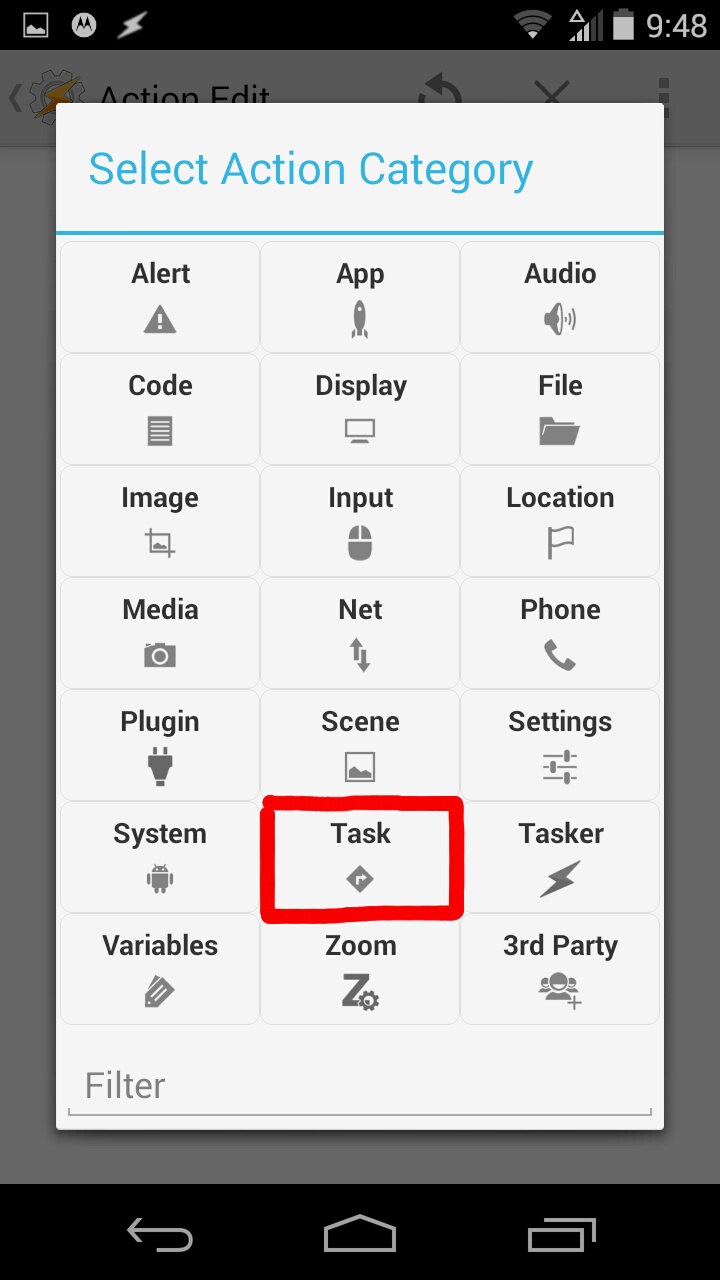
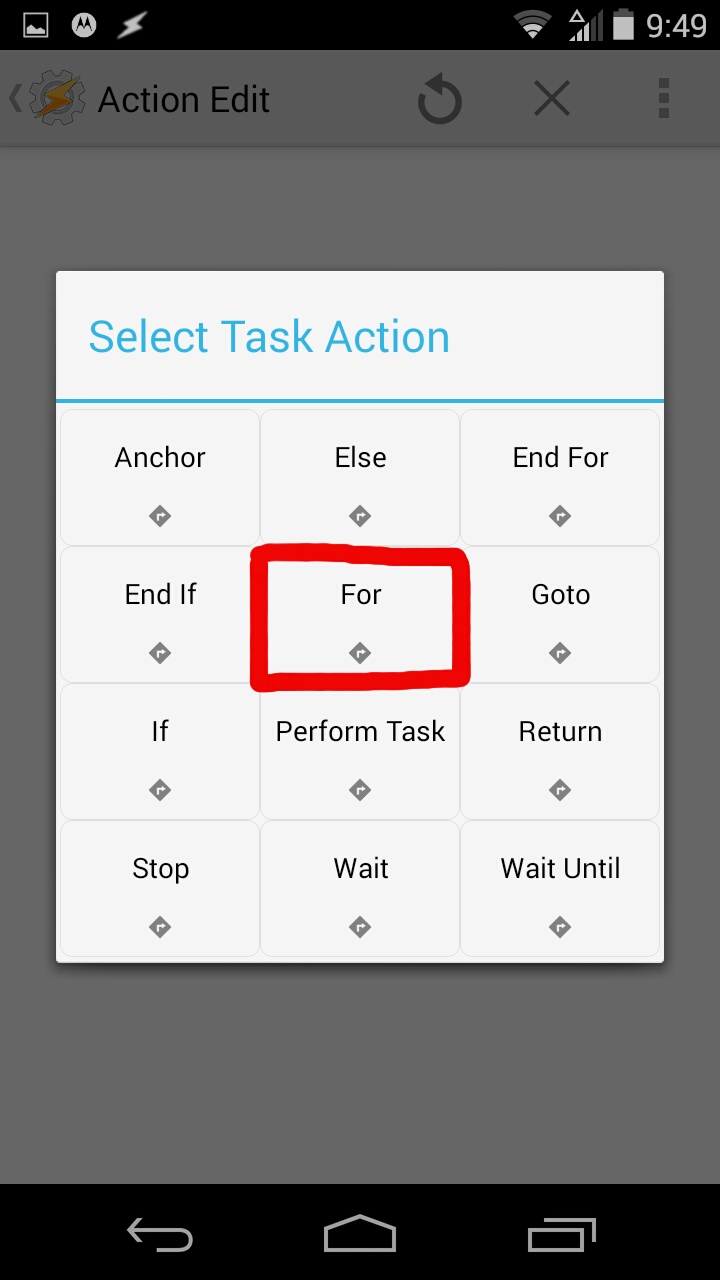
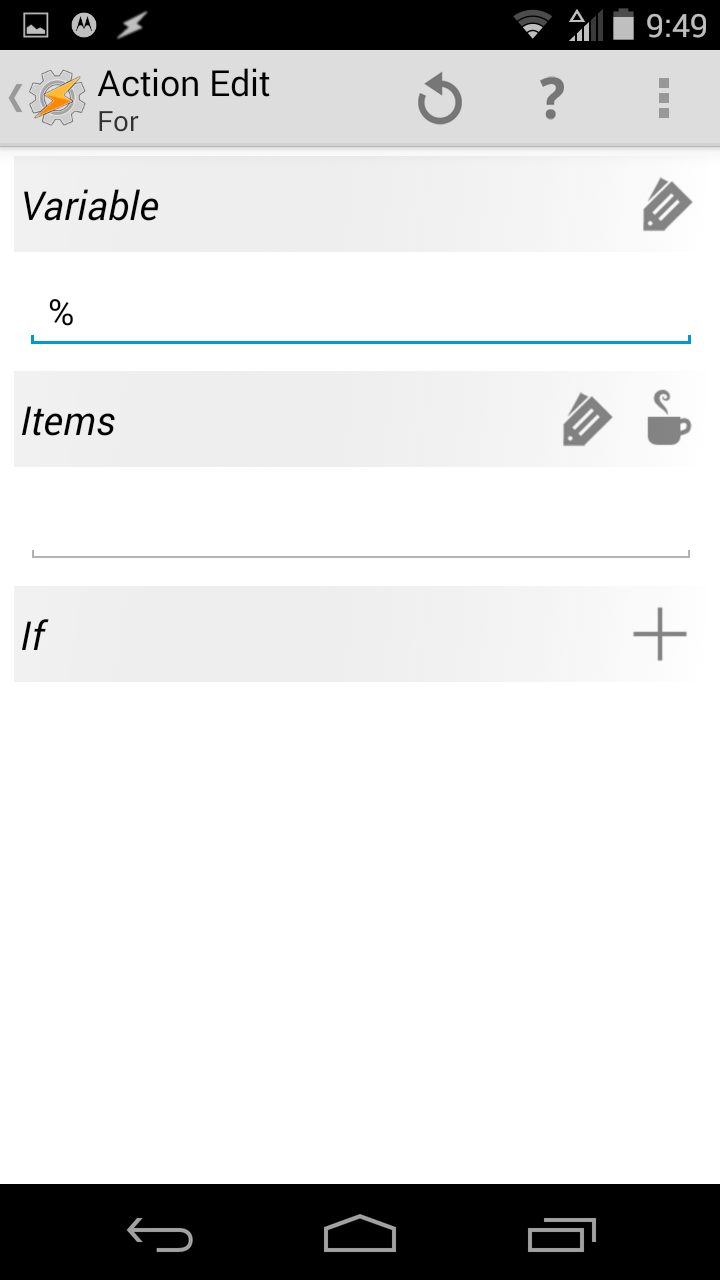
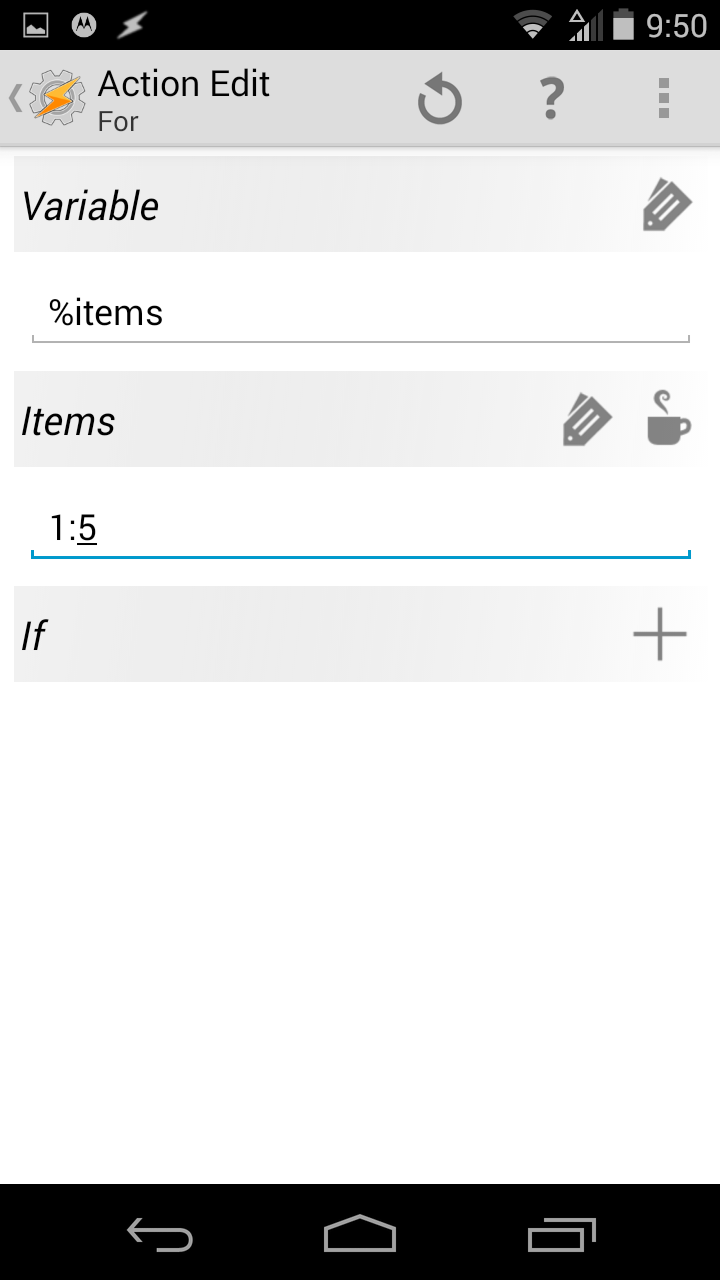
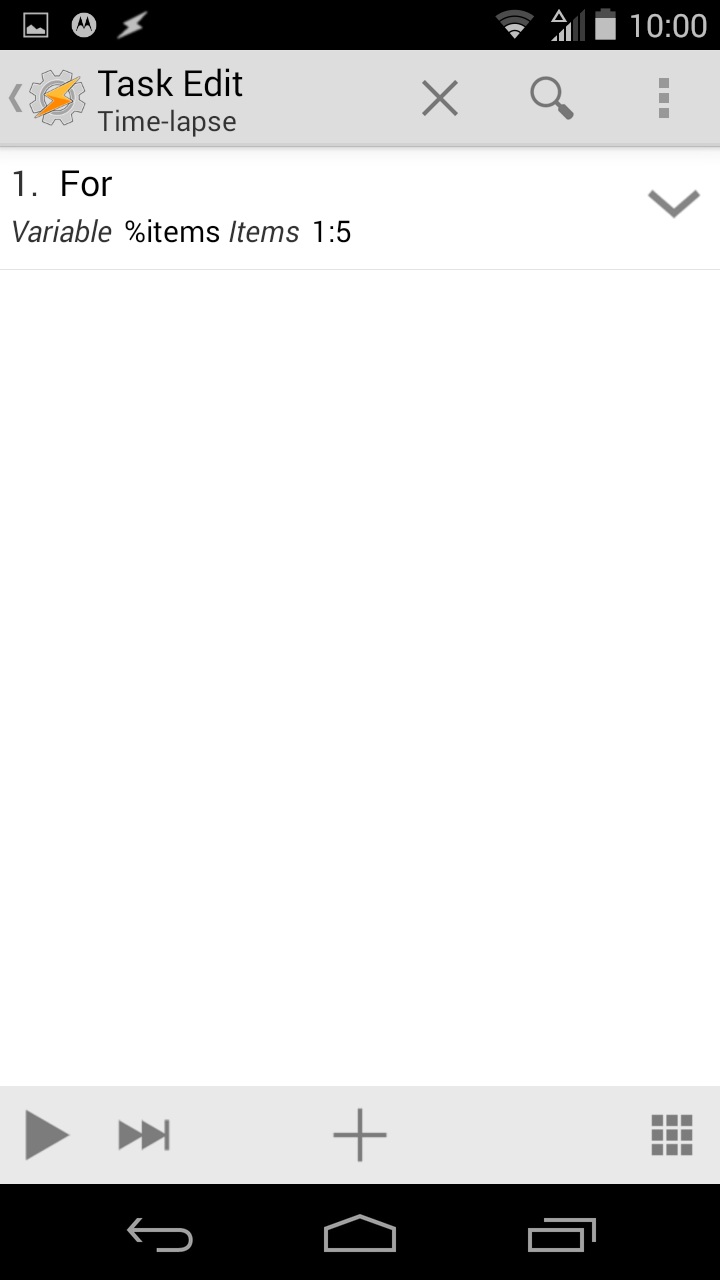
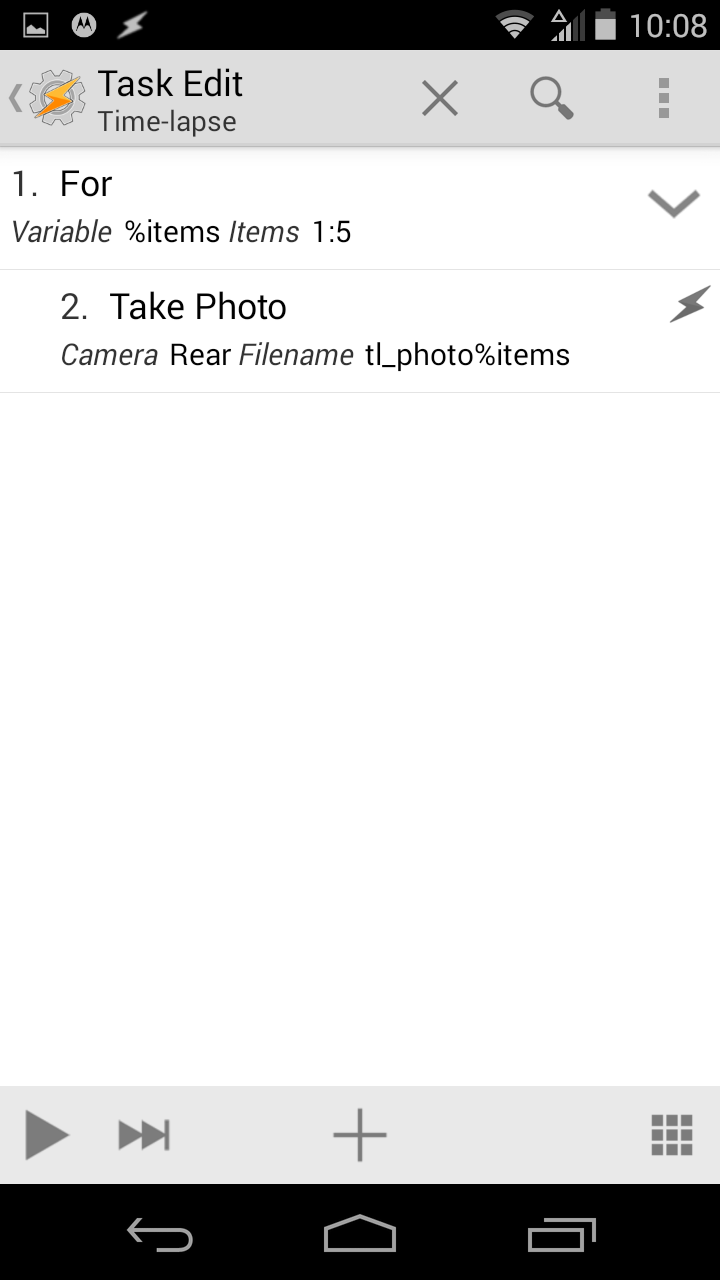
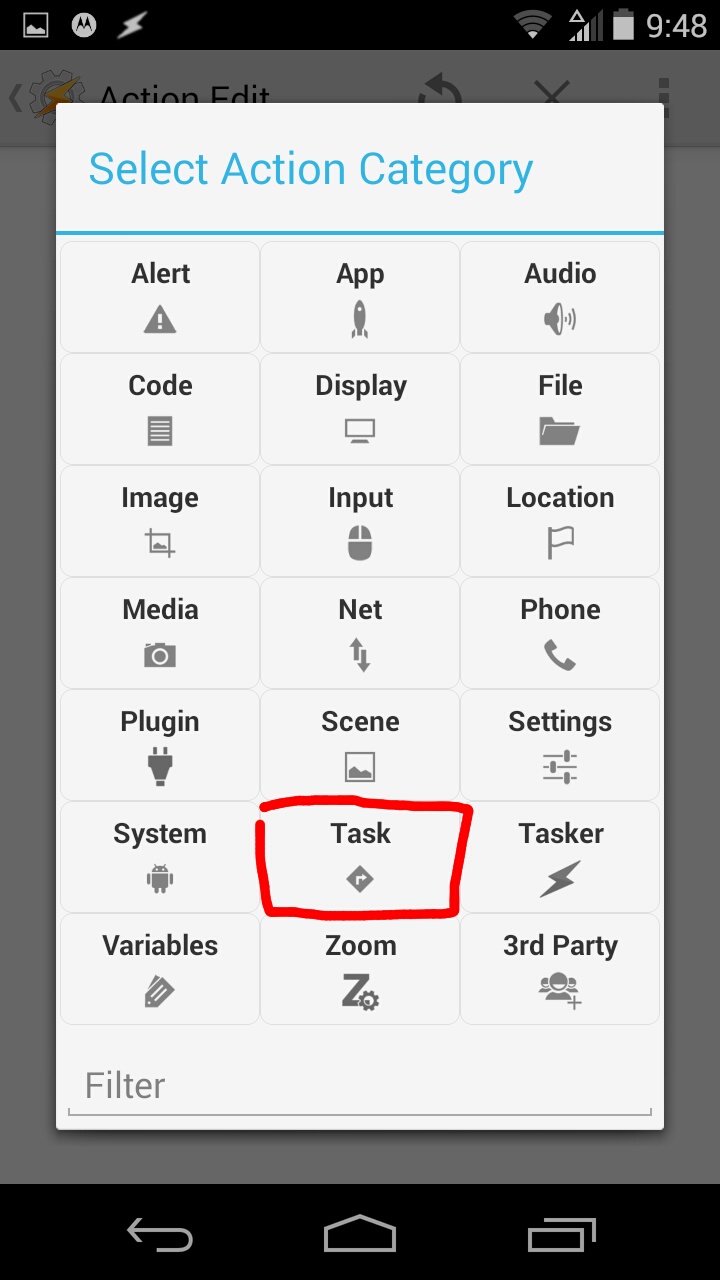
Now, in Tasker, go to the tasks tab, and click the plus at the bottom. I called mine "time-lapse". Then click the plus at the bottom and hit task > for. Then for variable, enter items (so it should show %items) and under items enter how long you want your time-lapse to go for (how many pics) I put mine at 1:5 and it will take 5 pictures. Then hit back.

Take Picture

temp_-432804324.jpg
temp_591272834.jpg
temp_-1649748898.jpg
temp_-432752960.jpg
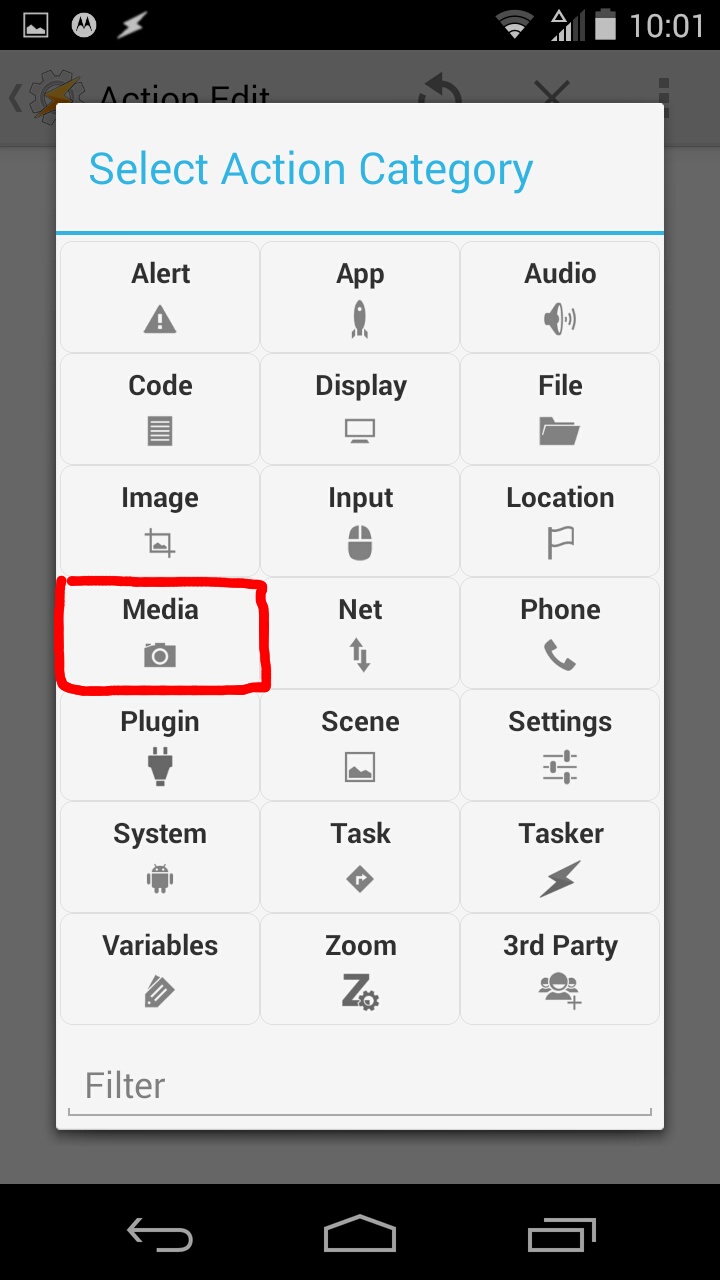
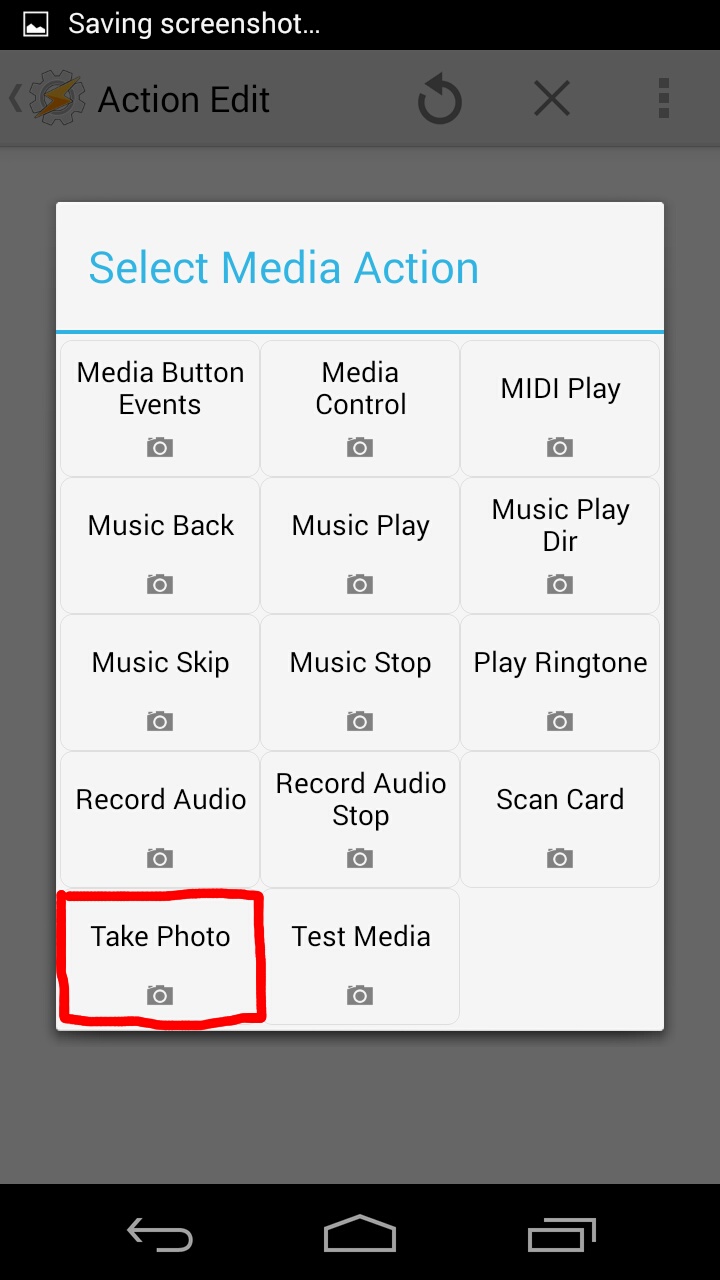
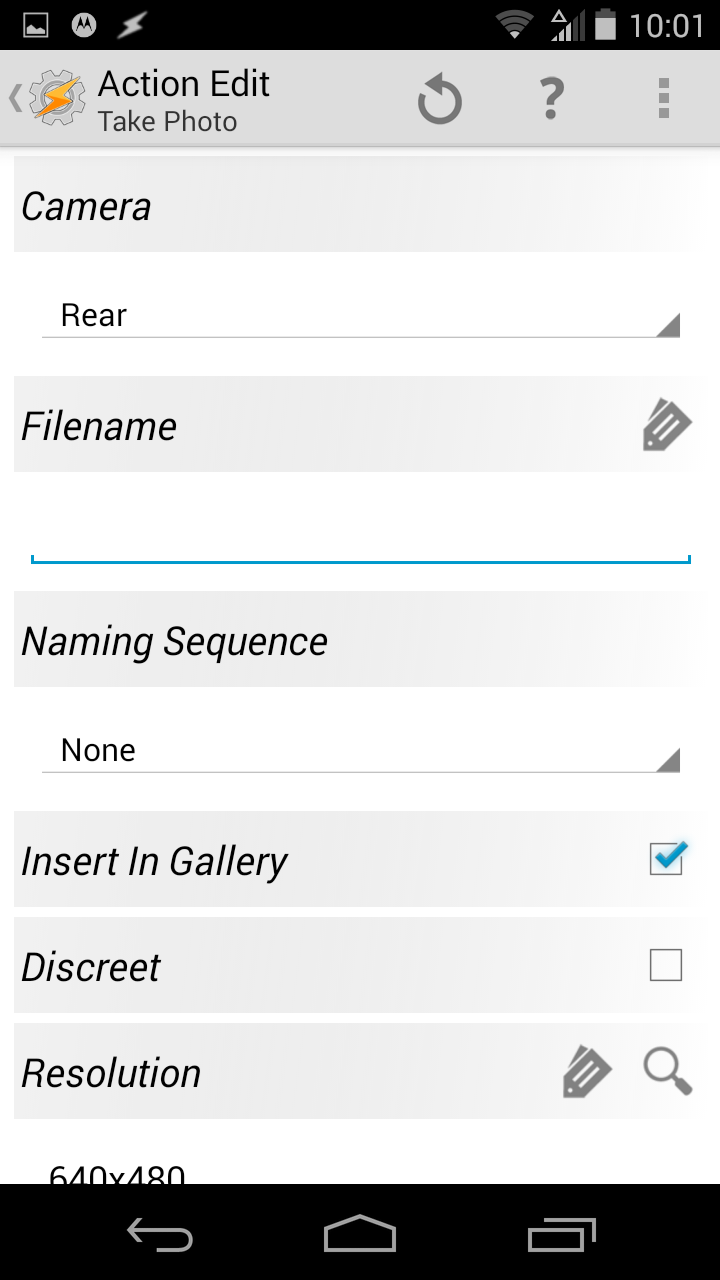
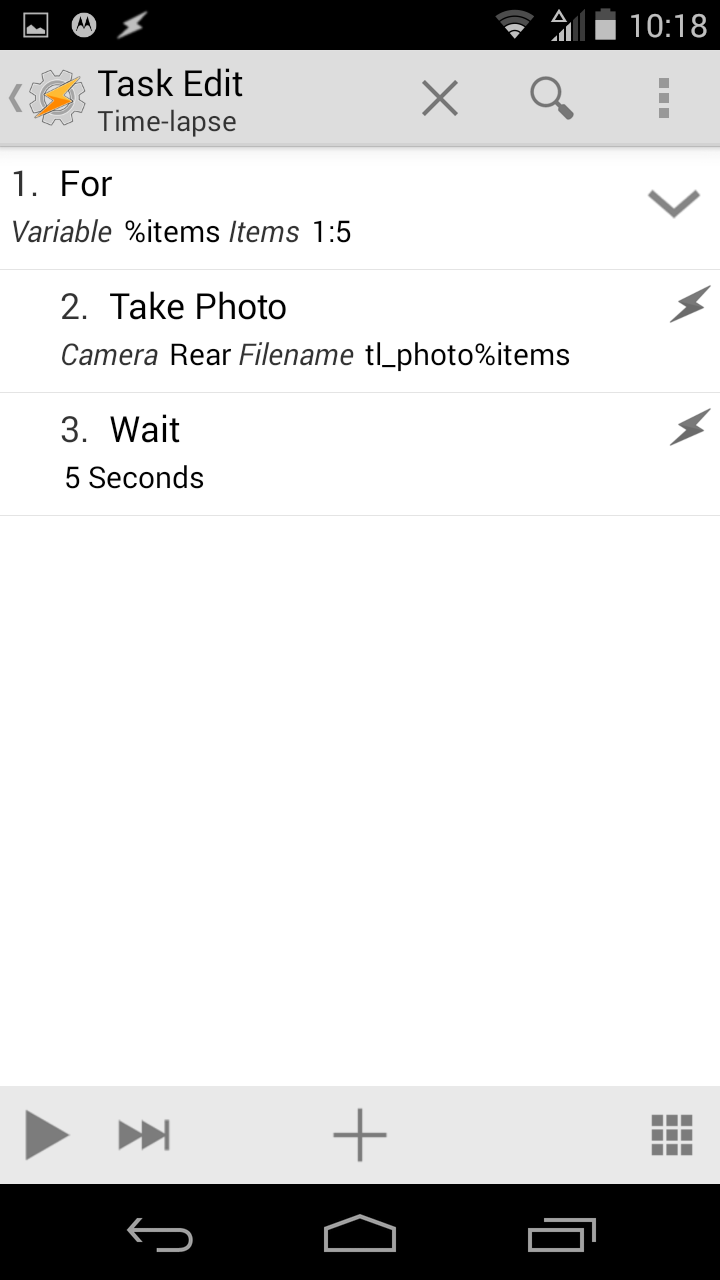
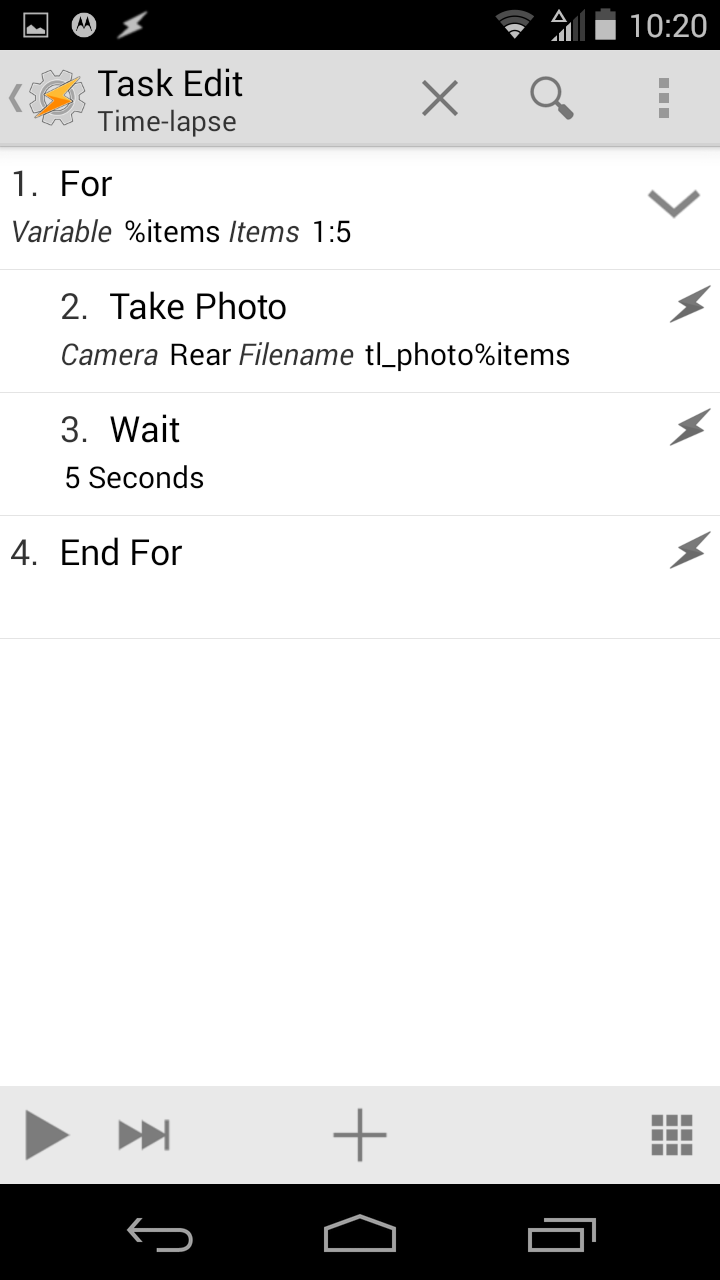
Now you should be at a screen that looks similar to picture 1. Click the + button, then choose media>take a picture. Then adjust the settings to your liking, except the file name. For the file name, it should have %items at the end, so I put tl_photo%items. This will count the photos you've taken. Then hit back.

Wait Function

temp_468148551.jpg
temp_1428641324.jpg
temp_1140228715.jpg
temp_1786675814.jpg
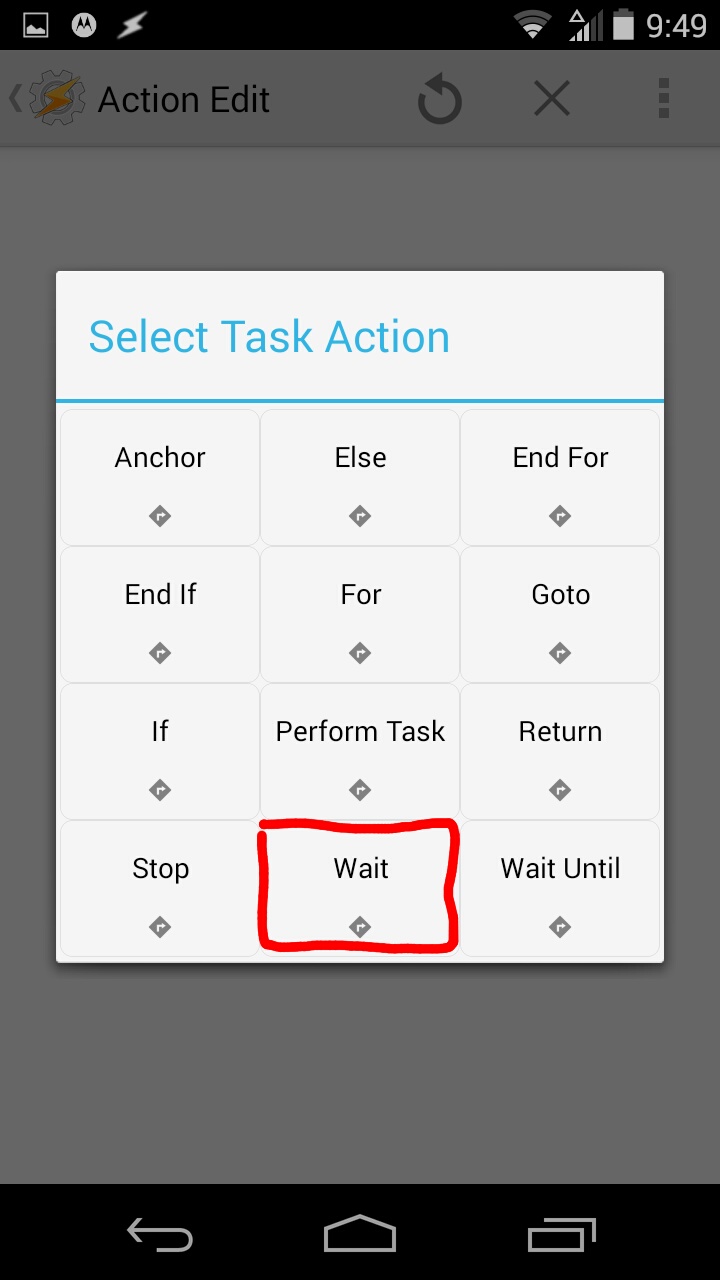
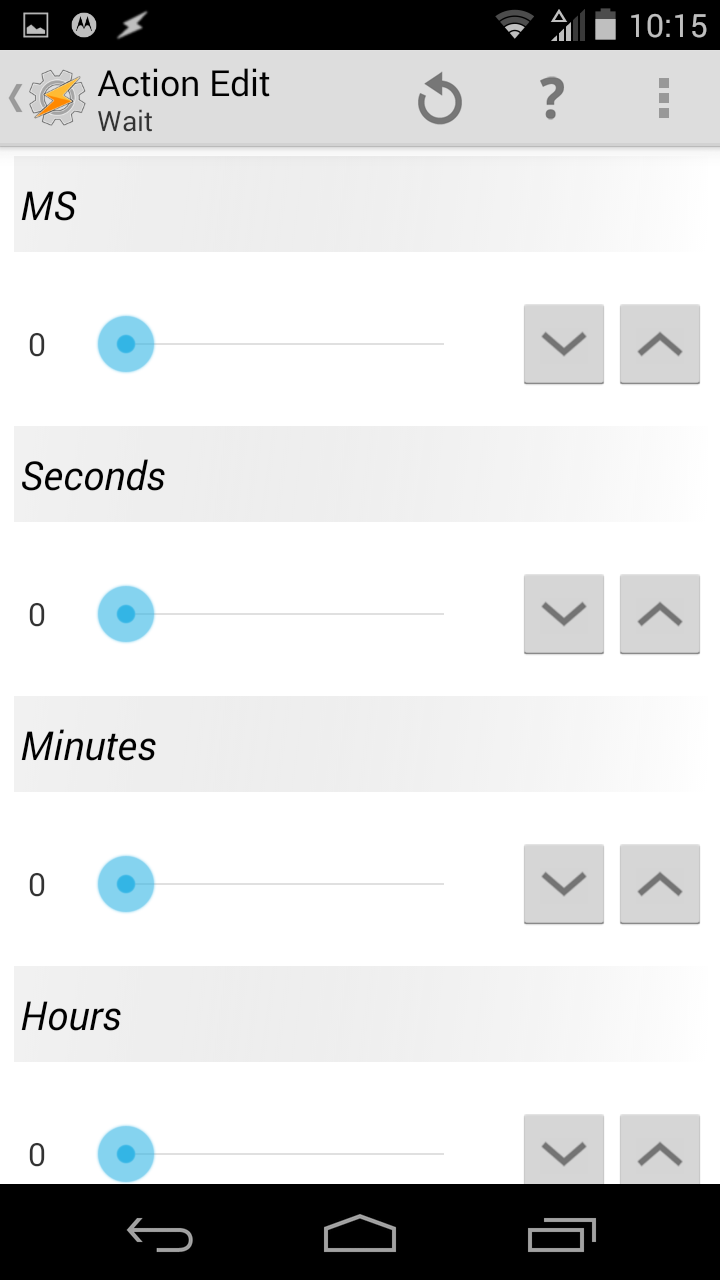
Your screen should now look like picture 1. Hit +, then task > wait and select how long you want your intervals between pictures to be. I would recommend not going bellow 5 seconds, I chose 5 seconds as my interval. Then hit back

End Function

temp_-761620612.jpg
temp_-432804324.jpg
temp_-568323156.jpg
temp_1085766475.jpg
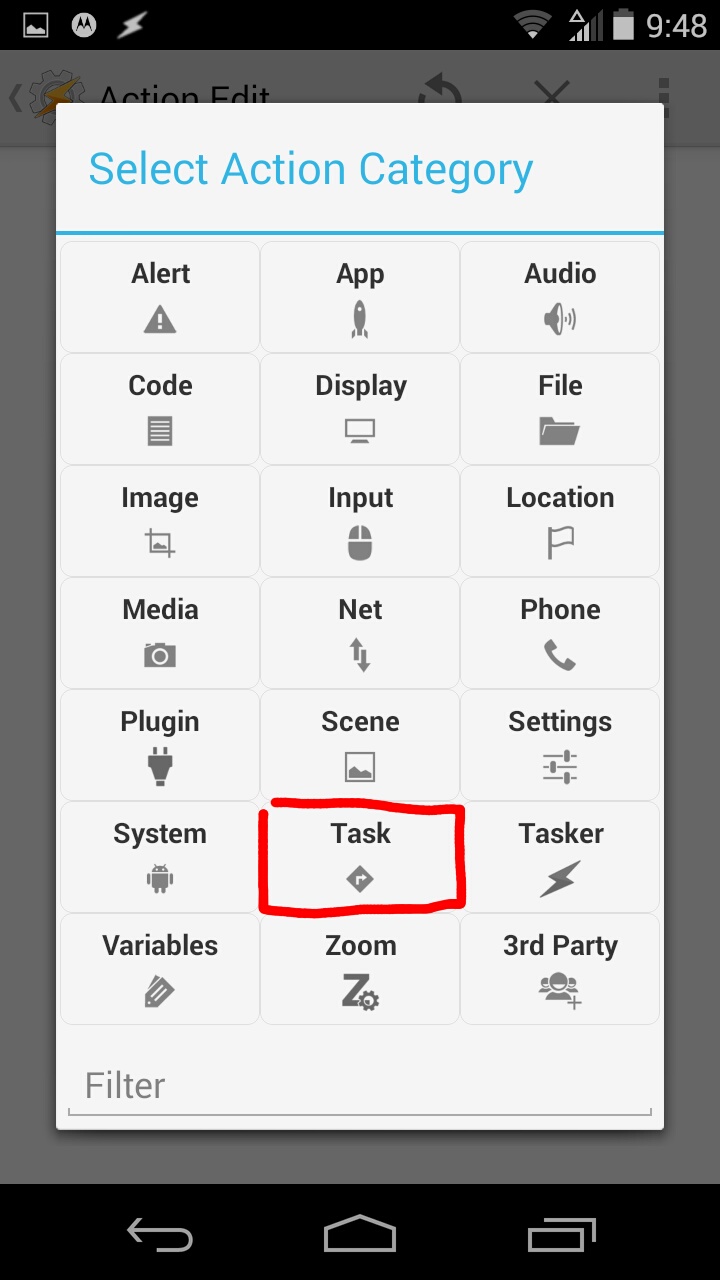
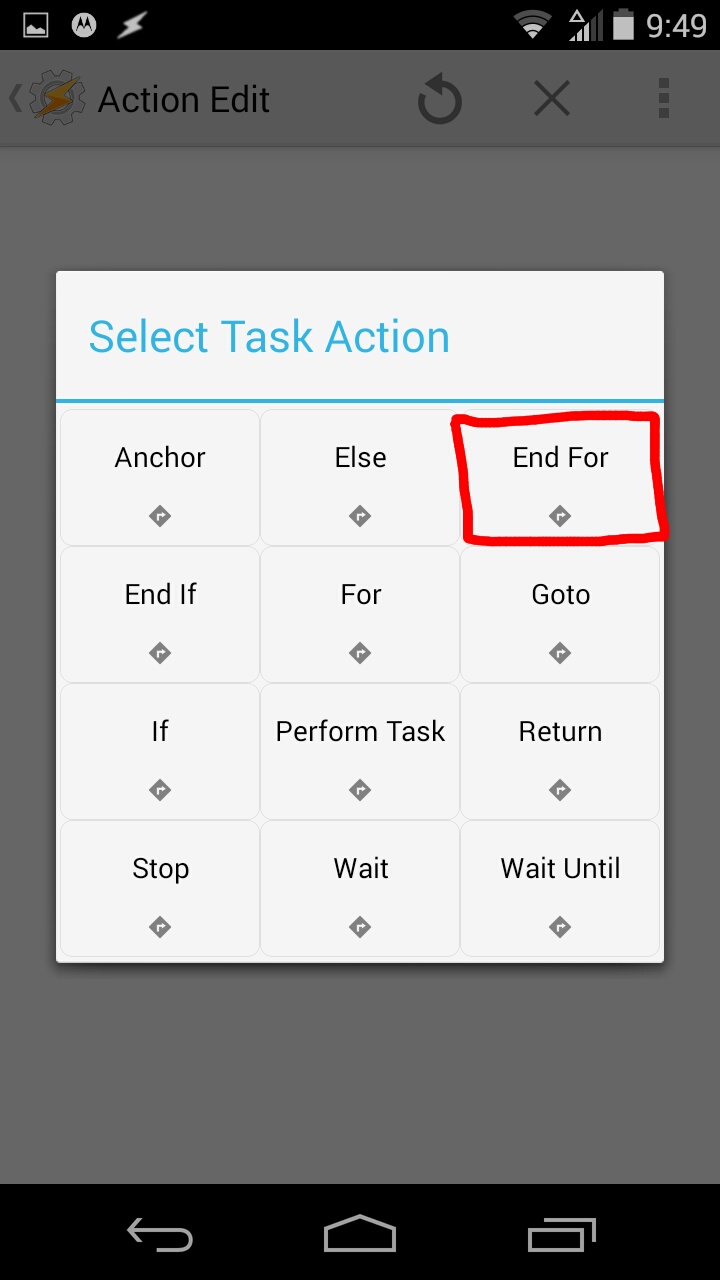
Now for the finishing touch. The end. Your screen should not look like picture 1, then hit +, then task > end for. And you should be see a page that looks similar to picture 4.

Take Your TimeLapse!

temp_1836909019.jpg
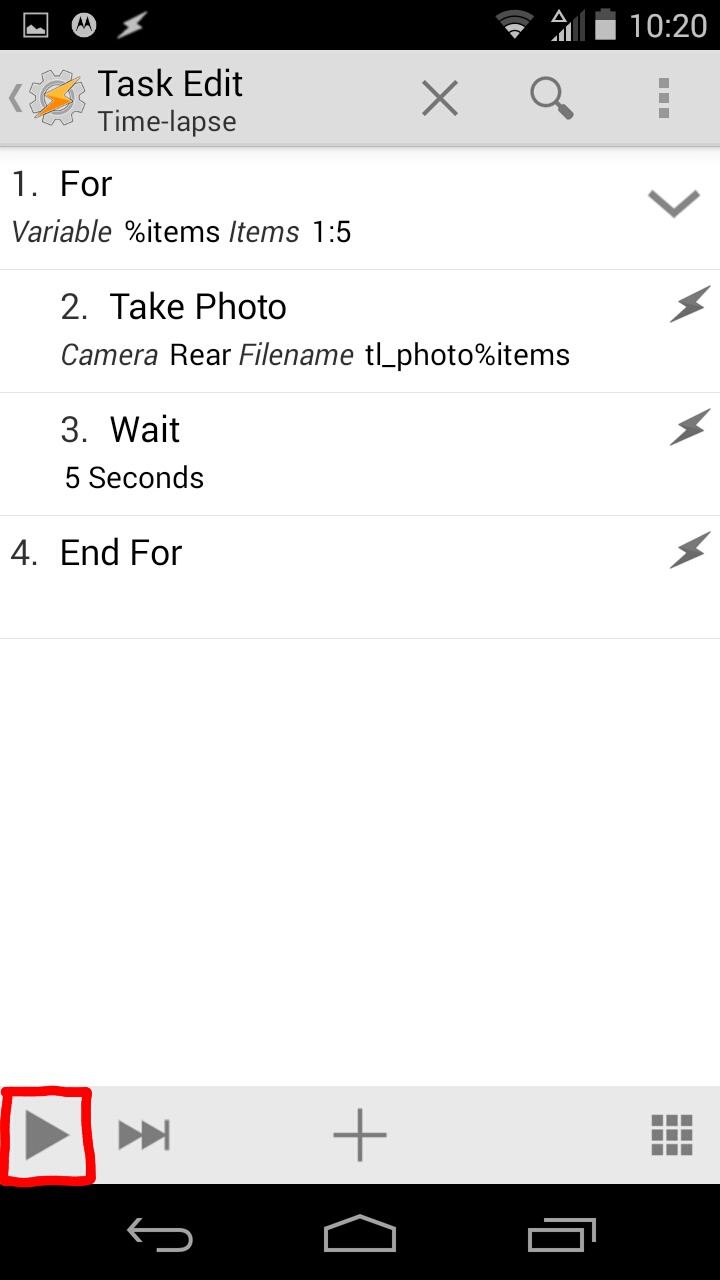
Now to take your time-lapse, just set up your phone, andpress the play button in the bottom left corner. Then wait until it's done.

Note: it's probably a good idea to plug in your phone for a longer time-lapse.

The Photos
temp_1272248922.jpg
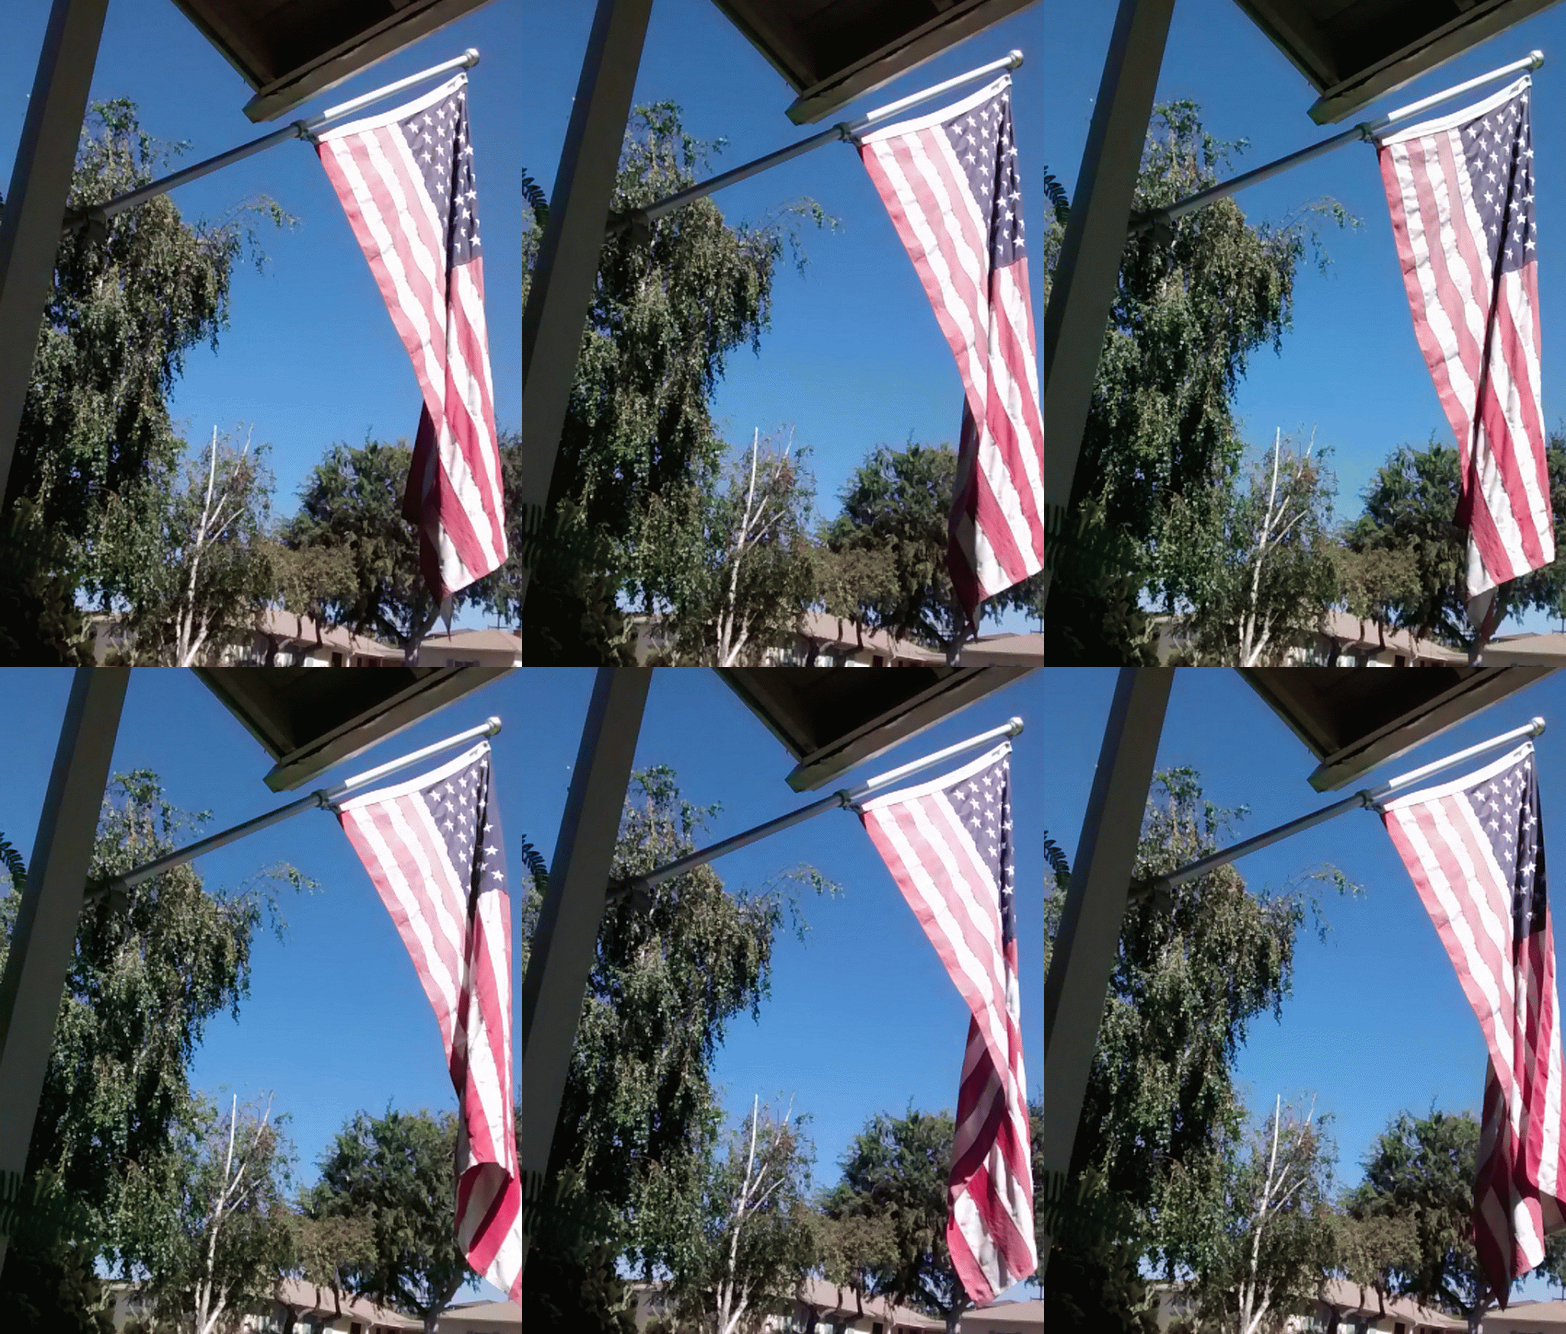
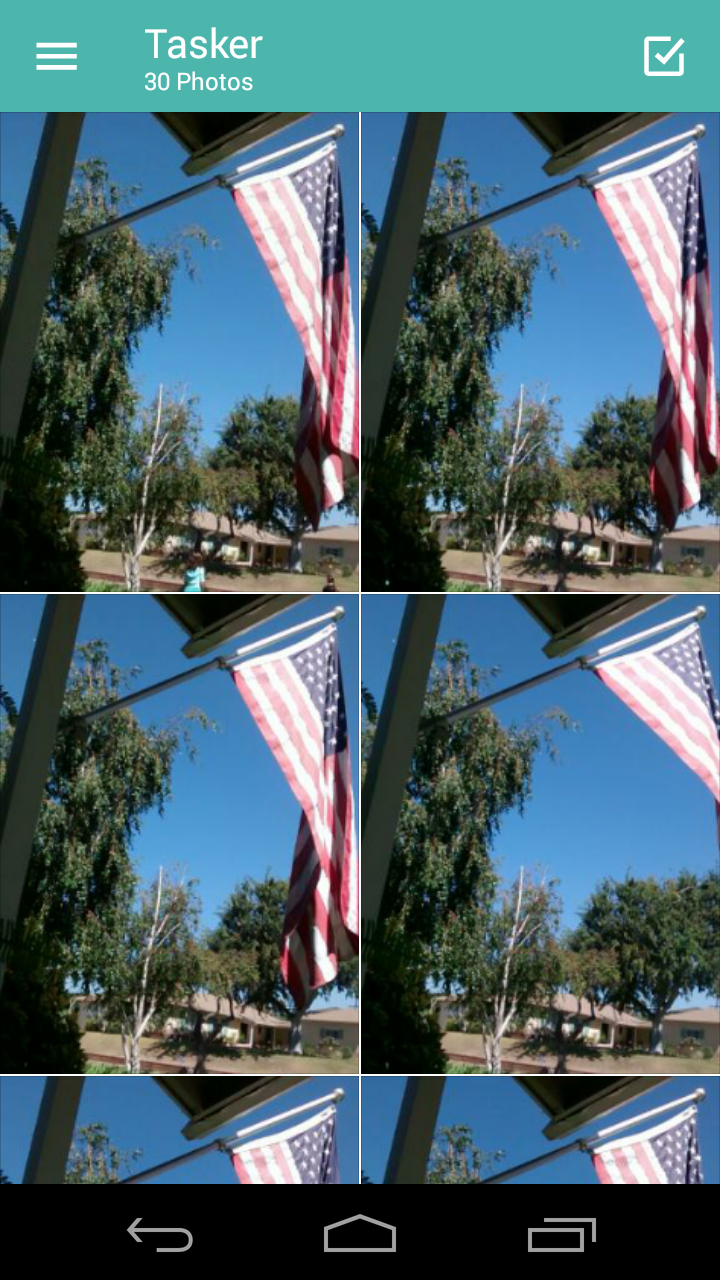
Now all of your photos from the TimeLapse should be in a separate folder, mine was called Tasker. You can take these photos and turn them into a video or animated gift file pretty easily, there are several websites that can do that for you.

Turning Them Into a TimeLapse Video

There are tons of softwares that can do this for you. It is super easy to do. And I'm sure there are some websites that will do it also. The first classic software that comes to mind is imovie for these things, but I know there are other softwares out there. I would probably set my fps to 5-10 fps.

Making Your TimeLapse an Animated Gif

ezgif.com-crop.gif

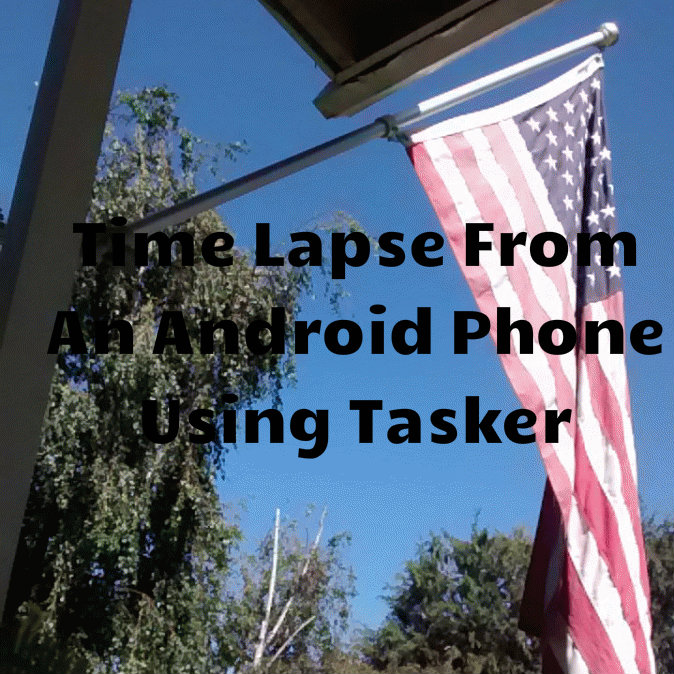
You can also do this on softwares like adobe flash but there are much easier ways to do it on the Internet. Like gifmaker.me or ezgif.com which is what I used.