How to Create a Sphere With Cell Shading
by Tao Takashi in Circuits > Websites
17149 Views, 2 Favorites, 0 Comments
How to Create a Sphere With Cell Shading
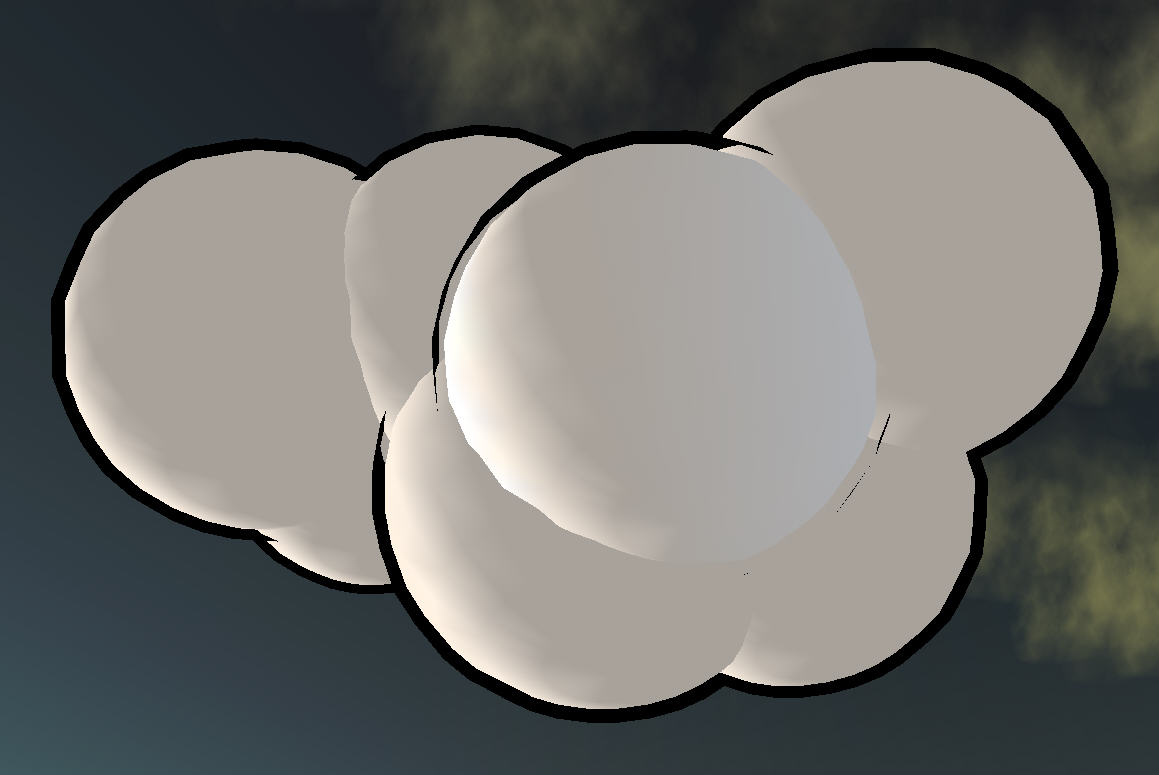
This little tutorial will explain how to create a cell shaded sphere.
Create a Sphere
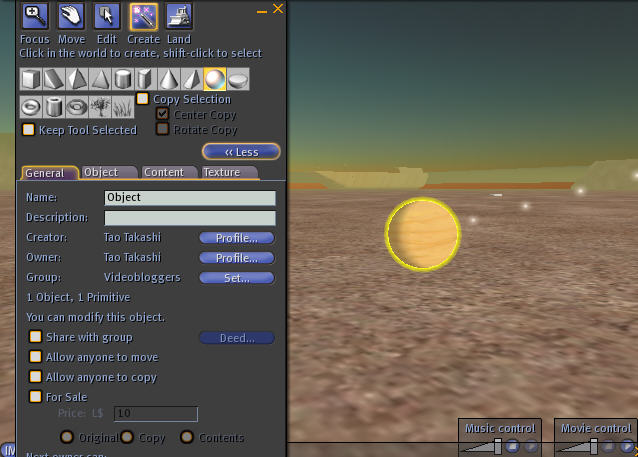
Simply click the "Build" button in the toolbar and select the sphere from the list on top. Click somewhere in the world to create it.
Define the Right Texture for the Sphere
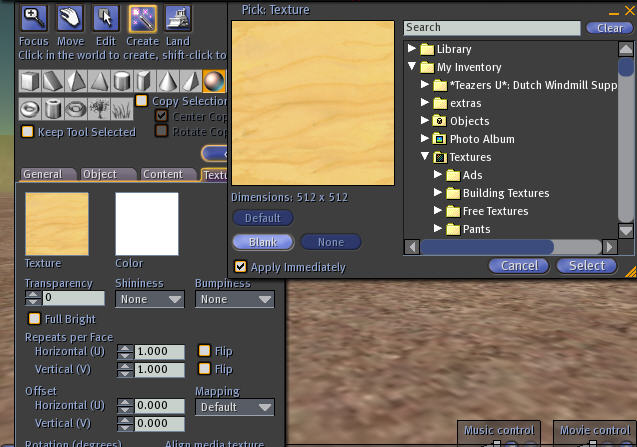
We do not want wood here so go to the "Texture" tab of the edit window and click on the wooden texture. A window will appear which let's you define the new texture. We just click blank as we don't want one. Then choose "Select" to close the window again. If you want you can now choose a different color with the color field but I simply keep it white.
Make a Copy of That Sphere
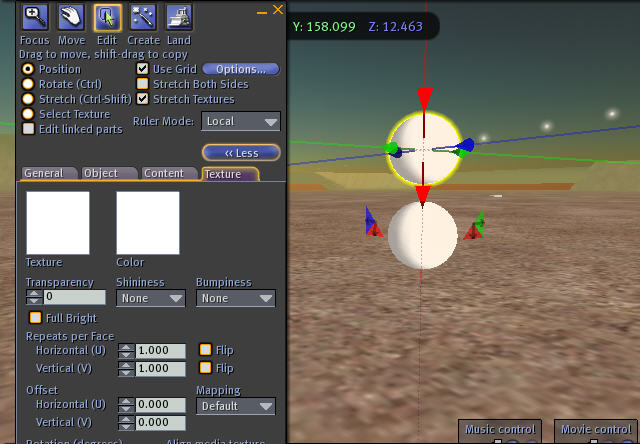
A copy is simply made by holding down the Shift key and dragging the sphere with the mouse at one of the arrows. I used the red down arrow and moved it upwards. Because of the shift key a copy will be created which stays at the original place.
Move It Back to the Original Place
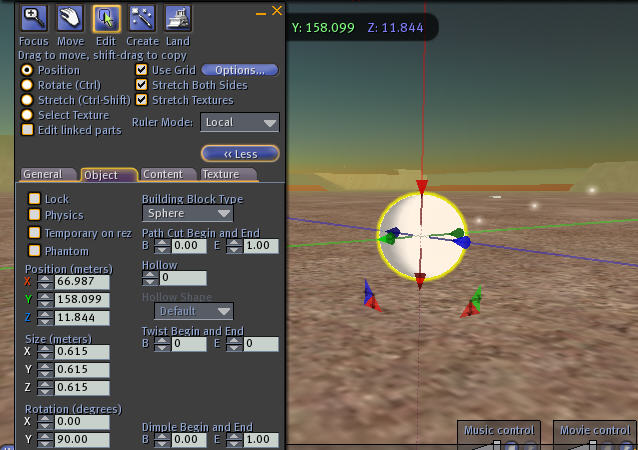
As we need the new and old sphere to be at exactly the same position we can type CTRL-Z (or in the menu: Edit->Undo) . This will undo the move but keeps the sphere. After that both should be in the same position (you cannot see though that it's two spheres now).
We also want to make the sphere a little bigger than the other one. To do that make sure the "Stretch Both Sides" checkbox in the upper part of the edit window is checked. This is important so both spheres will have the same center.
Now hold down the CTRL and the SHIFT key. Some handles for resizing the sphere will appear. Drag one of the grey corner handles to make that sphere slightly bigger. Release all keys then.
Make It Black!
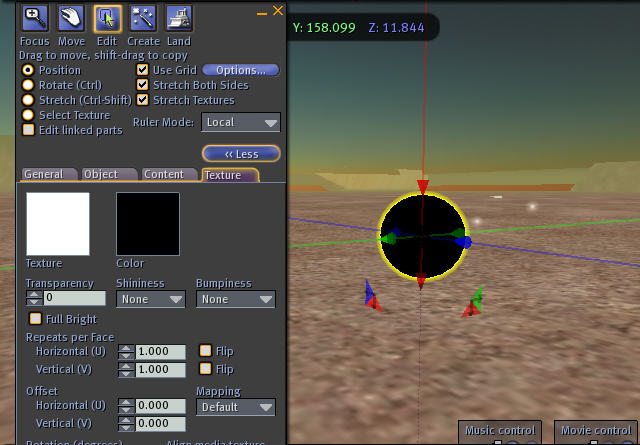
Now it's time to make that bigger sphere (which should still be selected) completely black. Select the "textures" tab again if not still active, click the color field and select Black from the list. Choose "Select" to close this window again.
Make It Hollow
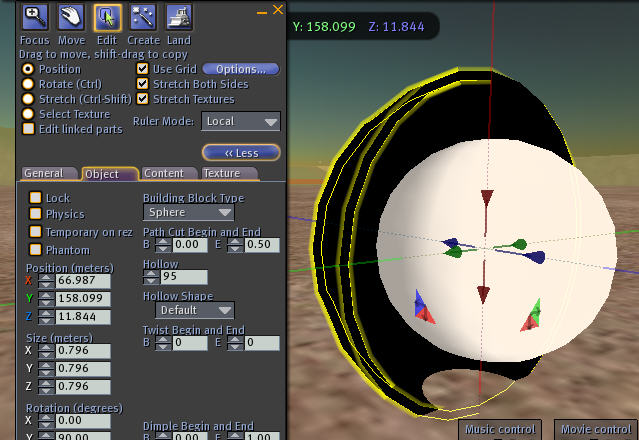
Choose the "Object" tab and set hollow to 95. If you want you can look inside by setting the End cut to 0.5 and setting it back to 1.0 afterwards. You will see the white sphere (here I made the black one a bit too big actually).
Make the Outer Texture Seethrough
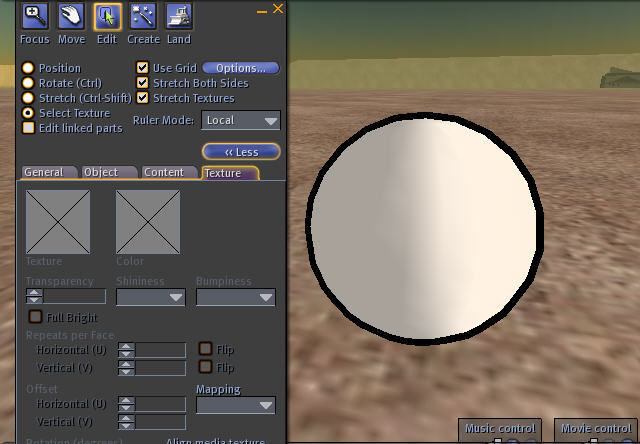
The last step is to select the "Texture" tab again and select "Select Texture" in the upper part. Then click on the outside of the black sphere.
Now you need a 100% alpha texture which you can get from me in-world (IM to Tao Takashi) if you don't have it already. If I am not online try to ask somebody in a sandbox.
You apply that texture just to the outside and finished is your cell shaded sphere. Just make sure the outer one is just a tiny bit bigger than the inner one.
You can link them now and maybe copy them as shown before to make clouds or whatever.
Have fun!