How to Convert Real Audio Streamings to MP3 Files
27859 Views, 15 Favorites, 0 Comments
How to Convert Real Audio Streamings to MP3 Files
Hello!
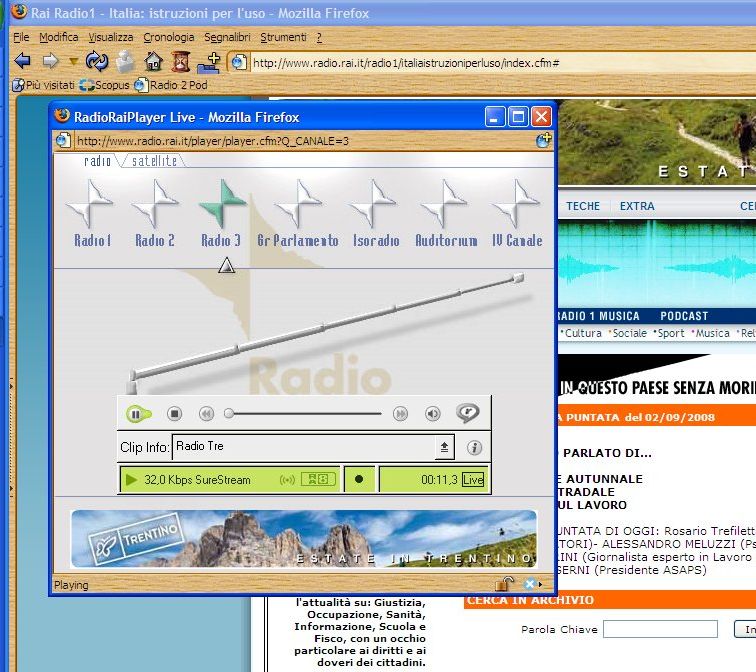
Probably some of you listen to audio contents or shows from web radios by Real Audio Player or Real Audio Plug-in of the web browser.
The PROBLEM
These files are often broadcasted as streaming, but usually it is not possible to download them for off-line listening.
The SOLUTION
In this instructable I explain how to download a Real Audio streaming and transform it into a MP3 file, suitable for listening on computers and MP3 players, or burning to audio CD.
IMPORTANT
Some of the software used in this instructable is in Italian language, so the menu and functions represented in the pictures may not correspond to your software. I hope this will not limit the understanding of the instructable.
Credits:
This instructable takes some useful information from the following sources:
- http://swen.antville.org/stories/735413/
on Swen's Weblog. Very detailed explanations and many tips there in.
- http://giubot.wordpress.com/2007/10/01/da-stream-real-a-file-mp3/#comment-963
on Giubot's Weblog. A short but clear explanation about alternative strategies for downloading and recording (in Italian).
Software
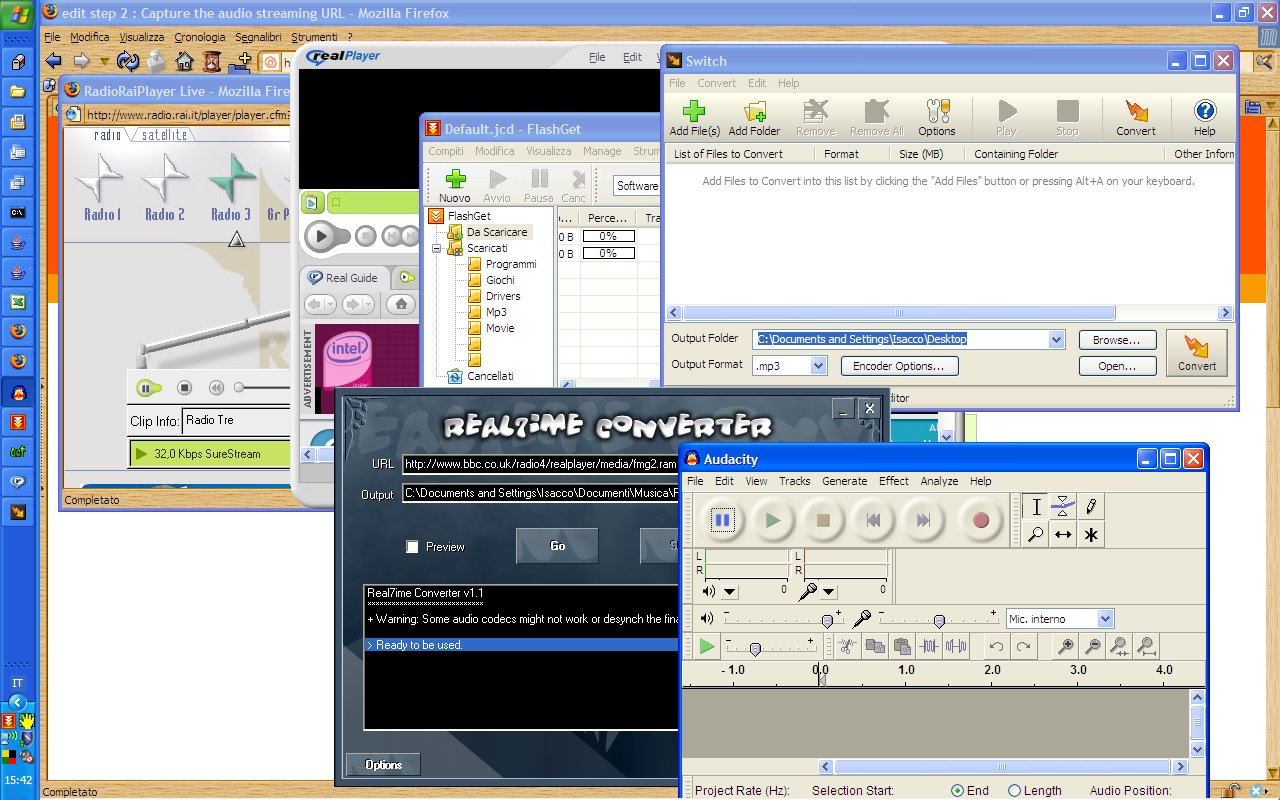
I will propose three methods:
- First method, based on Flashget. This is the most direct procedure.
- Second method, based on Real7time. This is an alternative if the first method does not work
- Third method, based on Audacity. This is the final solution if the previous methods do not work.
Please notice that THE PROCEDURE AND THE SOFTWARE THAT I SUGGEST ARE NOT THE UNIQUE WAY to obtain MP3 from Real Audio streaming. Alternative software to accomplish the same task is available. Nevertheless the purpose of this instructable is just to explain a direct and simple procedure.
What is needed
For this instructable you need a Windows PC with and some additional software listed below.
This instructable uses Open Source software, FreeWare, and Free versions of commercial software.
- RealPlayer software or RealPlayer Plug-in. This is probably already installed if you use to listen to Real Audio streaming. Free version available.
http://italy.real.com/player/win/
- FlashGet, an efficient download manager
http://www.flashget.com/en/download.htm
- NCH Switch, free audio file converter
http://nch.com.au/switch/
The NCH audio suite is a commercial solution for handling and processing of audio files. A free version is available. Some of the tools of the free version expire after a while, but the Switch conversion tool does not expire.
- Real7time, recorder for audio e video streamings.
http://r7cproj.euro.ru/indexe.htm
Audacity, a great open-source software to record and modify sounds
http://audacity.sourceforge.net/download/
Capture the Audio Streaming URL
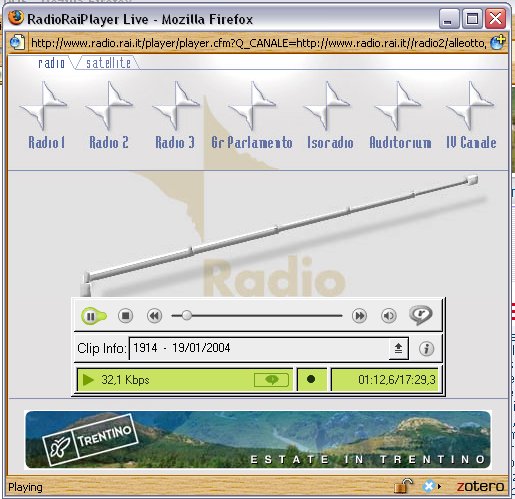
When you play the streaming, the Real Player starts in a new browser window (Picture 1).
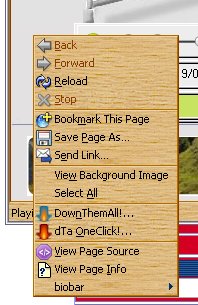
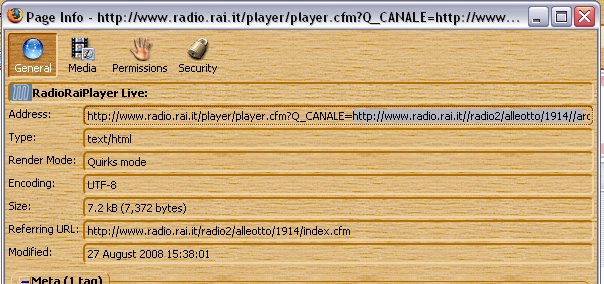
Right click on the Real Player window, just out of the player bar and select "View page info" (Picture 2). A new windows pops up with the information about the audio streaming (Picture 3).
Look for the "Address" URL, it should appear like the following:
http://www.radio***.it/player/player.cfm?Q_CANALE='''http://www.radio.***//radio*/****/***/file_name.ram'''
This URL is composed of two parts, each one beginning with "http".
The link to the source audio file is the second part of the URL, starting from the second http://www (Picture 3). Copy this part of the URL.
Method One. Download the Source Audio File With Flashget
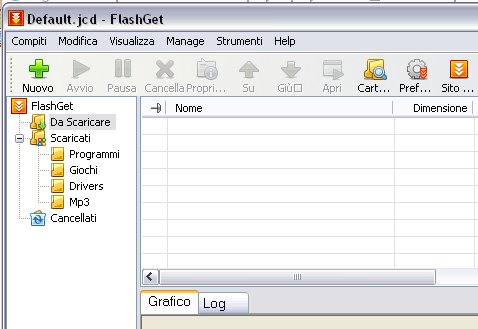
Start Flashget and create a new download by clicking on the large "+" button on the menu bar (Picture 1).
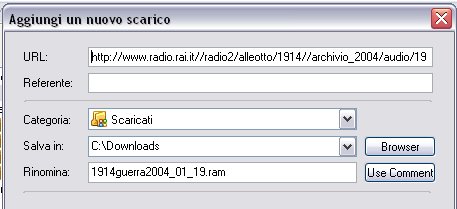
As a new window appears, paste the URL copied from the Real player in the URL line (Picture 2). Usually the copied URL is automatically pasted in this line from the clipboard. Check the destination folder where the destination files will be saved. The default is C:\downloads\. Confirm to start the download.
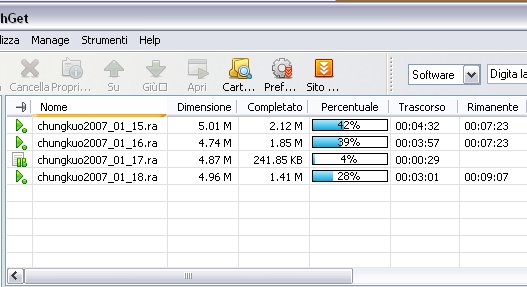
Multiple downloads can be started in each session. The downloads are listed in Flashget main window and their progressing is shown together with the estimated time (Picture 3). Each download can be stopped or paused to be recovered later.
After the download is complete you will get RealAudio Files with .ra extension. These files can be played on any computer with Real Player or other players that support this codec.
The Real Audio files give a relatively high quality at low bit rates. That is why this standard is largely used for web radio streaming. At low bit rates the sound quality is much better than corresponding MP3 files of the same size. If you plan to listen to the files on a computer I suggest storing the .ra files, since they are much smaller the MP3 files and keep the original quality.
Convert Real Audio to MP3 With NCH Switch
Switch can convert a single file or multiple files in a folder (batch conversion). The second option is very convenient when you have many files and you want to convert all of them with the same settings.
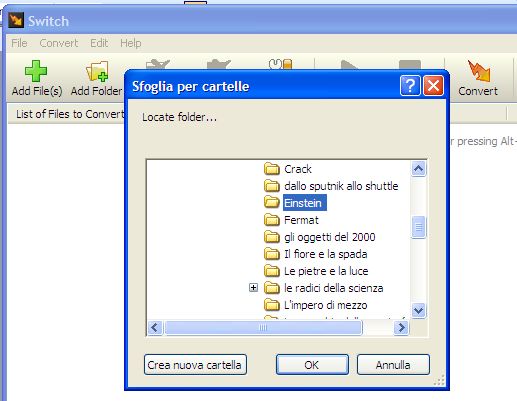
Start Switch and click on the "Add folder" button (Picture 1). In the new window locate and select the folder where the downloaded files have been saved.
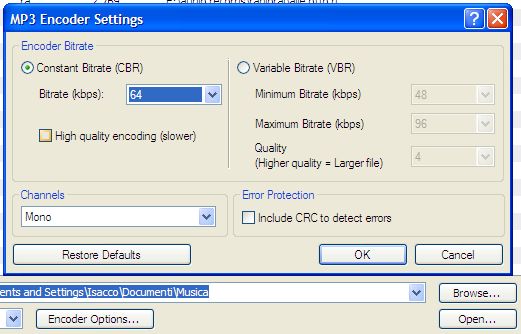
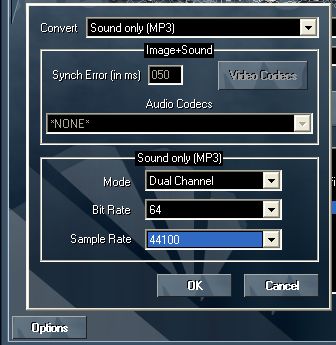
Now you can choose the settings for MP3 conversion (Picture 2). The main settings are "mono" or "stereo" and "bit rate". For the bit rate you should perform some tests in order to choose the level that satisfies your listening needs and respect the original sound quality. As a thumb rule a higher bit rate is required for MP3 files to keep the quality of Real Audio files. For example try 48 to 64 kilobits per sec (kbps) to convert a Real Audio file encoded at 20-30 kbps.
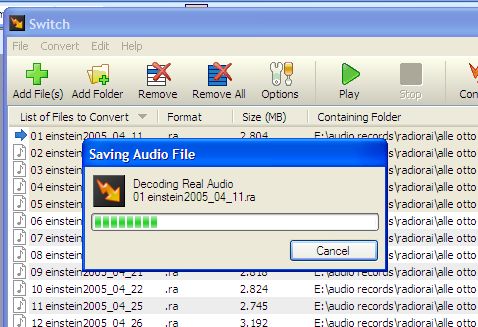
The conversion of multiple files can take some time according to the size and number of files and the speed of the computer (Picture 3).
Method Two. Recording the Real Audio File With Real7time Converter
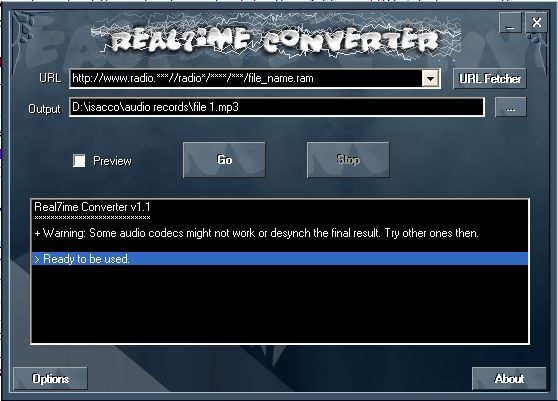
Start Real7time and paste the streaming URL copied in step 2 in the URL line (Picture 1).
Select the destination folder and click on the "Options" button for the recording settings (Picture 2). You can chose to record as Wave files (high quality lossless) or directly as MP3. See the step 4 for choice of MP3 bit rate. Confirm with "GO" button and wait until recording is complete.
For more details:
Real7ime Converter (R7C) is a converter of any RealPlayer streaming medias (video and sound) to AVI/WAV/MP3 format. Rel7time is not a downloader. It plays the Real Audio streaming and records it in another format (MP3, wave, or others) in real time. This implies that recording ten minutes of streaming takes ten minutes. Nevertheless multiple recordings can be carried out at the same time by starting multiple Real7time windows.
Method Three. Recording the Real Audio File With Audacity
Audacity is a very powerful software to record, edit and modify sound files. In this case we use it as a simple recorder.
This method is basic and allows recording any sound output from the computer soundcard. The method is very flexible but the drawback is that all computer sounds are recorded at the same time (even Windows alert sounds or incoming e-mails!). The method does not work with basic sound cards sometimes found in notebooks or integrated in some mother boards, because these sound cards can record only from external input (microphone or line-in). In this case the source "Stereo mixer" is not selectable from inside Audacity.
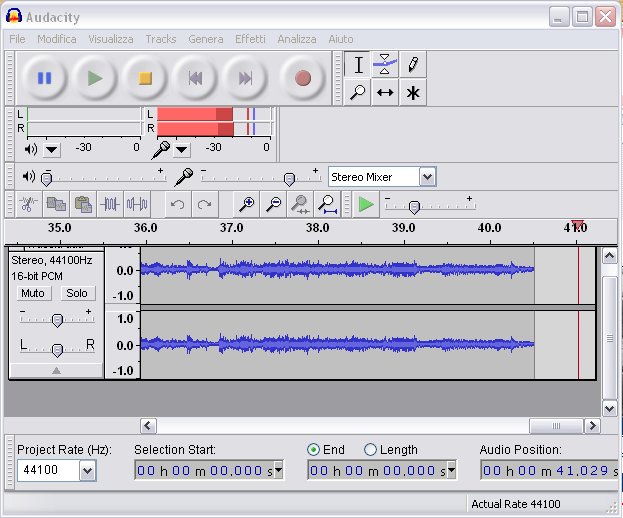
Start Audacity and select the recording source "Stereo mixer" in the menu bar (Picture 1).
The input level may need some preliminary optimization in order to obtain a decent volume without saturation. Adjust the Input volume slide to about 0.5 for a first test. Start playing the audio streaming and click the recording button of Audacity bar. While recording is in progress adjust the input volume in order to get sound peaks below 0 decibel in the VU meter scale. Stop recording and play this test record to check if the sound is okay. You can close and discard this sound test record.
Once the input level had been adjusted, start the Audacity recording, just before the Real Audio Player. Stop recording when the audio streaming is finished. If large gaps of empty sound have been recorder at the beginning and at the end, they can be easily deleted with Audacity edit functions.
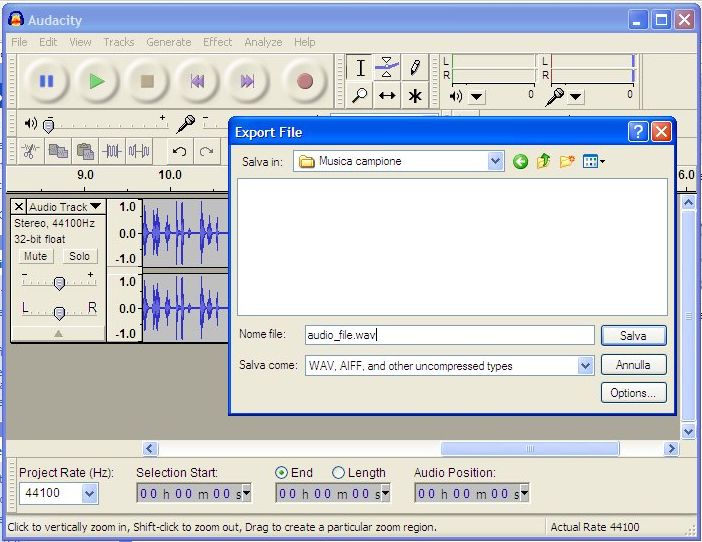
Export the recorded sound as Wave file using the Export function of Menu\File. In the following windows you can define file name and select the destination folder (Picture 2). The Wave file obtained can be converted in MP3 using Switch as explained in step 4.
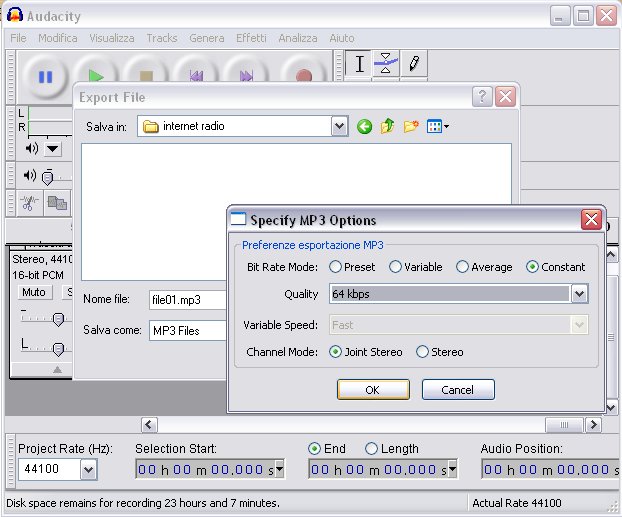
Note that Audacity can directly export in MP3 format only if the LAME MP3 encoder is installed. (Picture 3). http://lame.sourceforge.net/index.php
A detailed explanation about the configuration of LAME as encoder for Audacity can be found in this instructable
https://www.instructables.com/id/Getting-free-music-legally-and-converting-it-to-M/
Off-line Listening
Now you are able to gather a collection of you favourite radio shows or music and listen to them without an internet connection. Enjoy it!
Final remark. I gently ask English speaking people to let me know any mistakes found in this instructable.