How to Compress Your Psp Backups' ISO Files Into CSO Files to Save Space.
15908 Views, 5 Favorites, 0 Comments
How to Compress Your Psp Backups' ISO Files Into CSO Files to Save Space.

In this Instructable I will show you how to compress your psps' backups from ISO to CSO to save space on your memory stick, using only one piece of software that is usable with Wine In Ubuntu. You will also need a CFW (Cusstom Firm-Ware) psp to make any use of this.
Get the Software

Boot Up the Software.

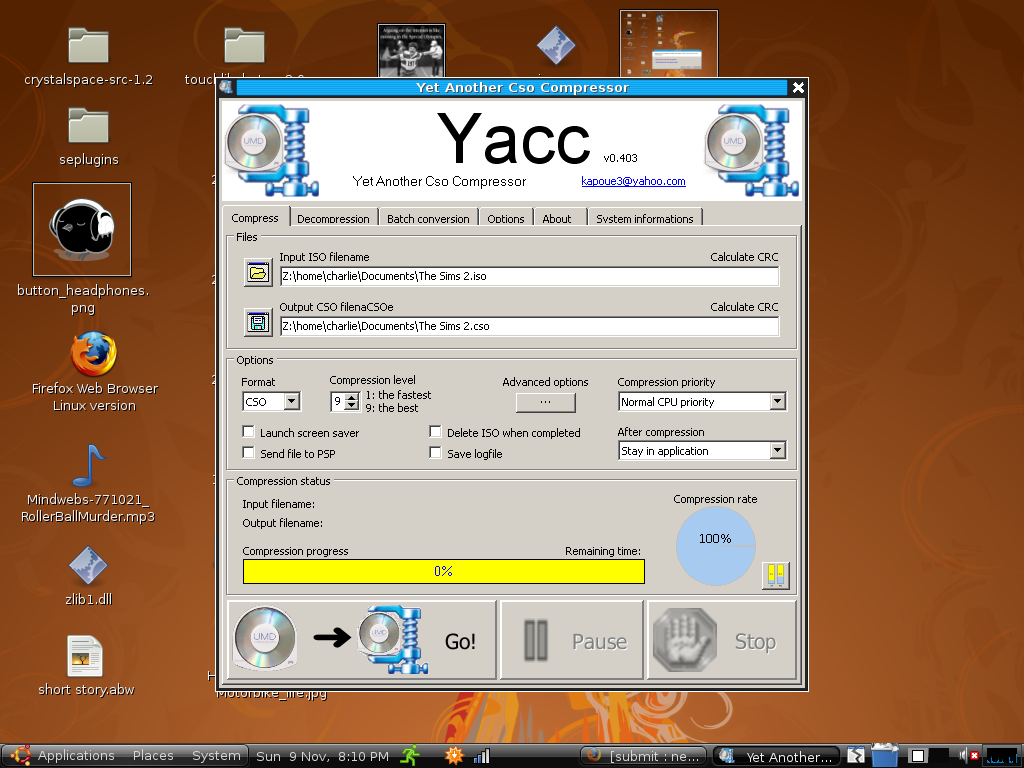
Now extract the files from the RAR that you've downloaded from the YACC website. then run the YACC.exe file and a window should come up that looks like the one shown in the picture below.
Find Your File Then Compress!


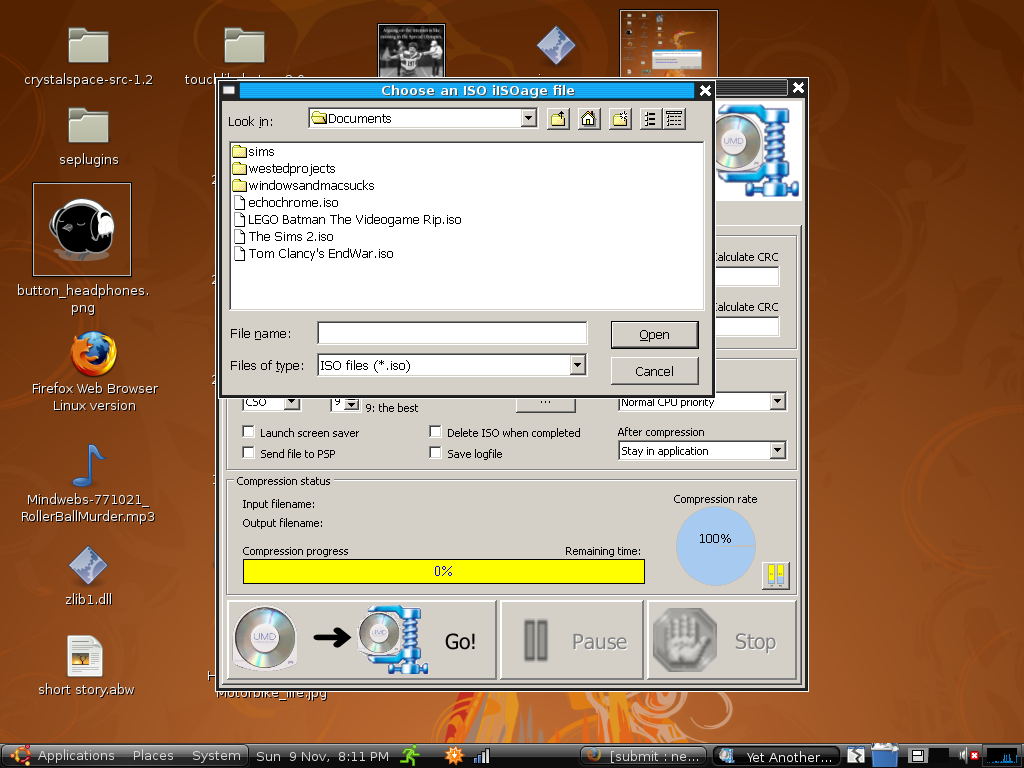
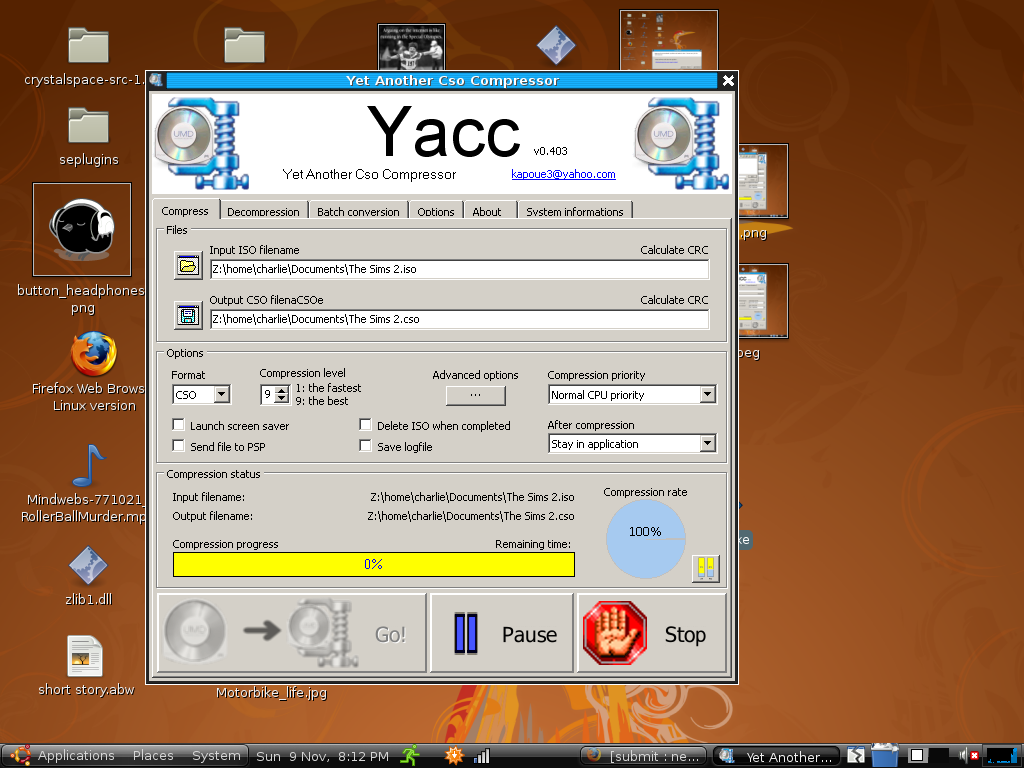
In the box that says Input ISO filename, find your ISO then click open, In the Export box a file will automatically appear in the same place as the original ISO, you can change this if you would like to, but I will not. Lower on the screen you can see a select file output You can switch between in CSO,DAX,and JSO for a psp you will have to make sure that you have it set to CSO for a fast compression rate. You will also want to keep the compression level on 9 to make sure that you have a high quality compression.
Send the Newly Compressed Files to Your Psp

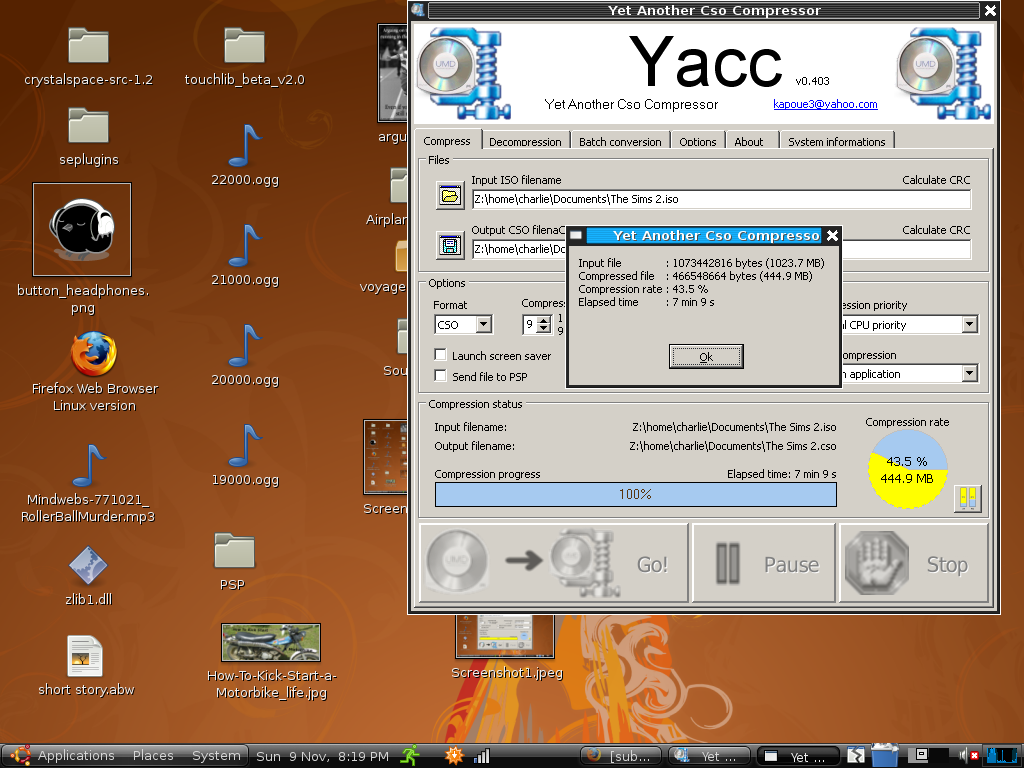
The name of the step says it all, place your newly compressed files in the ISO folder of your psp. If you are using Ubuntu I noticed that my computer would say the file was transferred completely, but my psp disagreed. So when you are transferring the files your psp will have a bar that is moving back and forth, once this dissapears unmount your drive then disconnect your psp. The below picture shows what happens when the file finishes.