How to Change the LCD of Your Nokia Mobile Phone.
24815 Views, 8 Favorites, 0 Comments
How to Change the LCD of Your Nokia Mobile Phone.
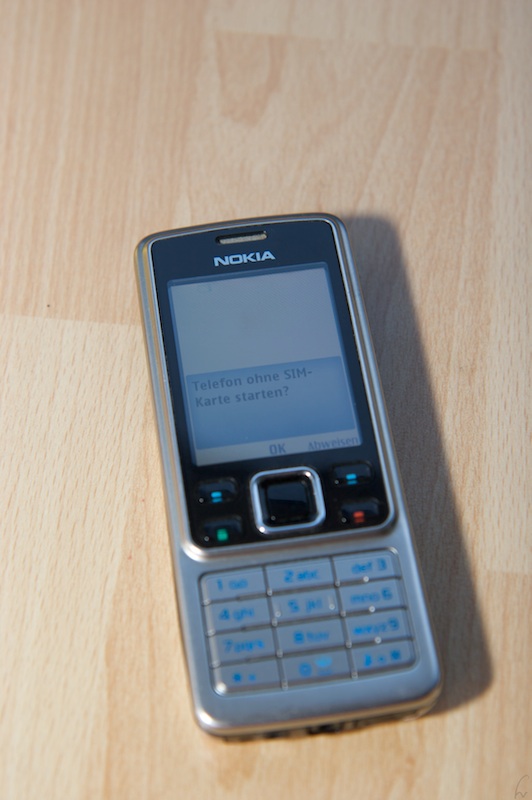
This instructable will show you how to change a broken LCD on your Nokia. The pictures above show a Nokia 6300 classic, but it willl be the same or nearly the same with many other models of Nokia.
Why would you to have to change your LCD? Maybe because of this...
Why would you to have to change your LCD? Maybe because of this...
Supplies
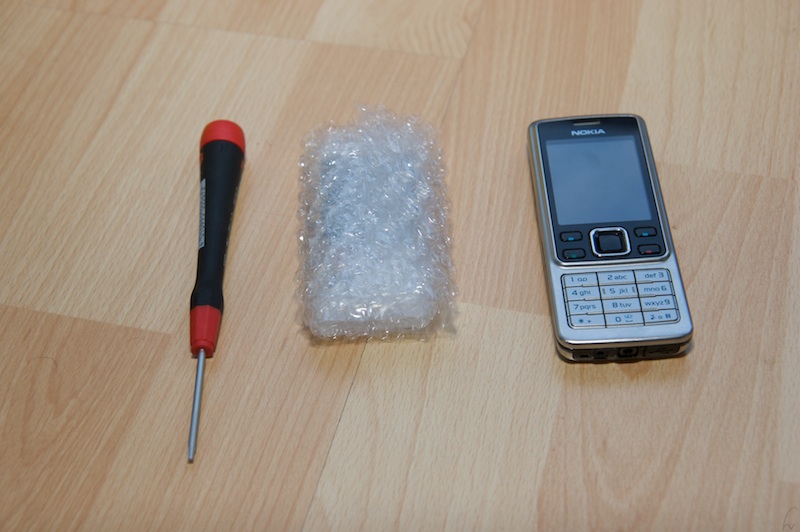
What you will need:
- a Nokia mobile like mine (as you can see here, the background lightning still works but not the LCD)
- a new LCD (you can get one on eBay for 10 to 20 Bucks.)
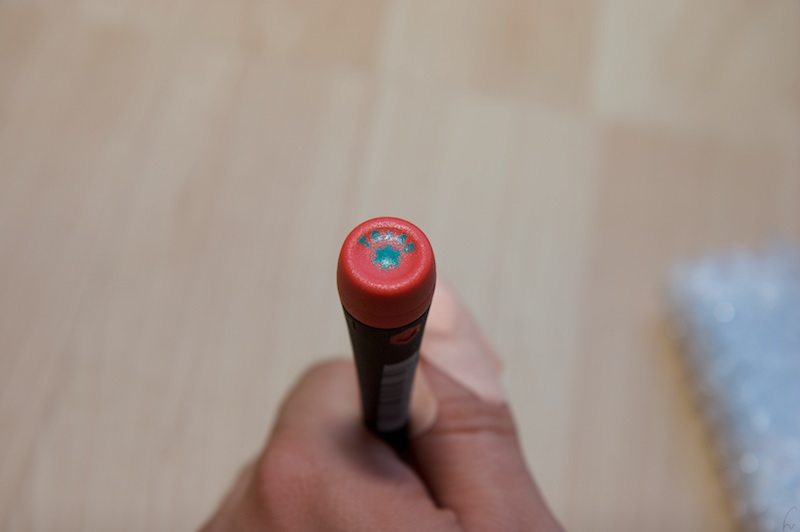
- a T6 Torx-Screwdriver
Prepare the Phone
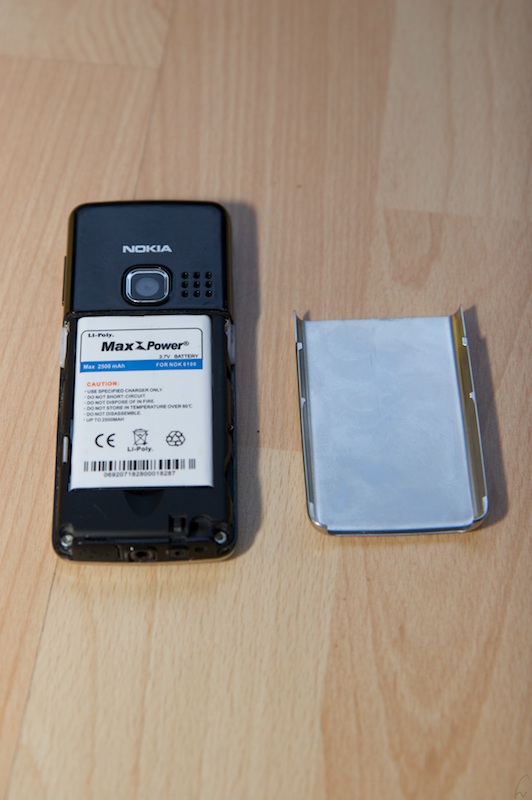
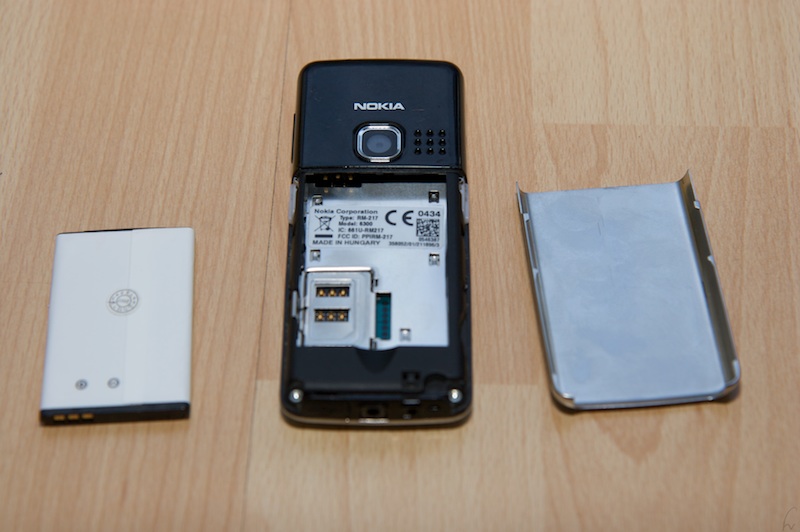
Open the battery case by sliding the hood downwards. Remove the battery and if you want the sim card, too.
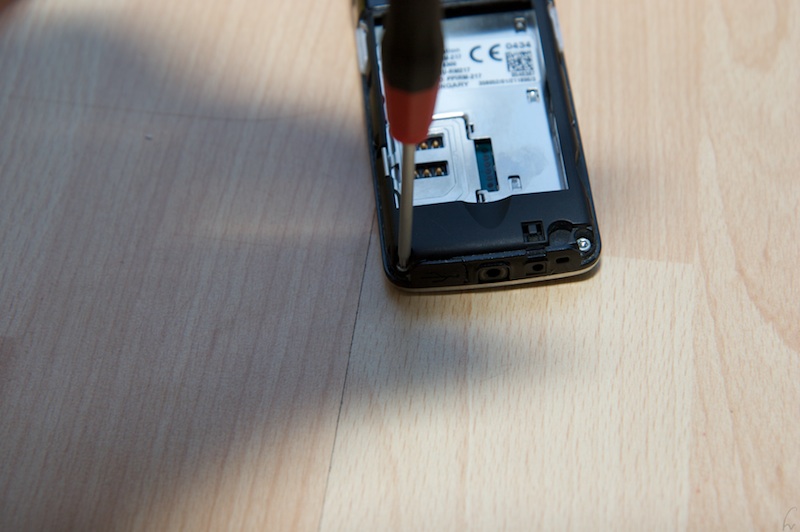
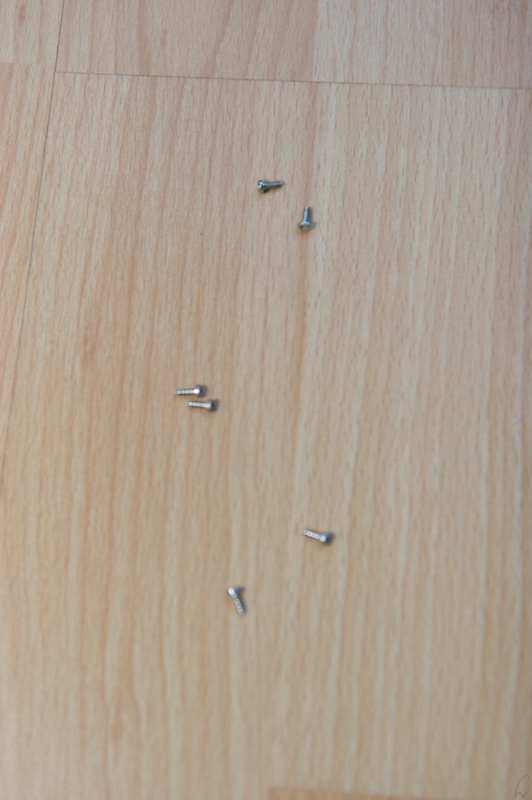
Now you can see two screws on the end of the phone. Unscrew and remove them.
Now you can see two screws on the end of the phone. Unscrew and remove them.
Remove the Front Case.
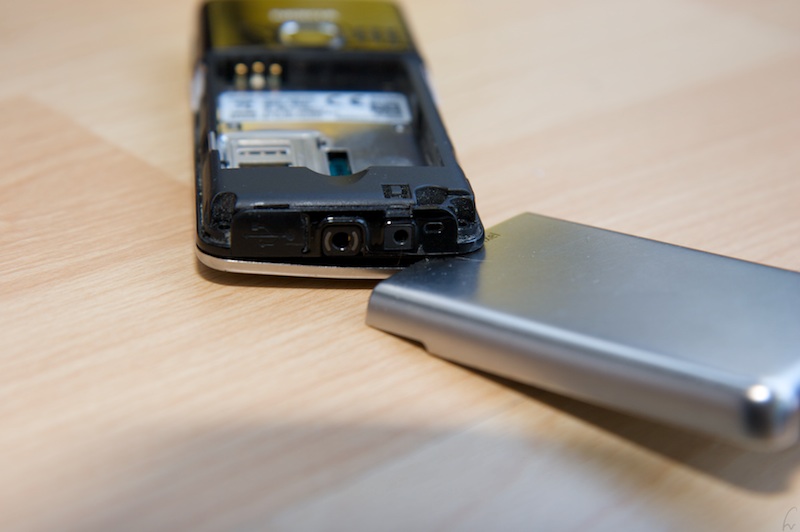
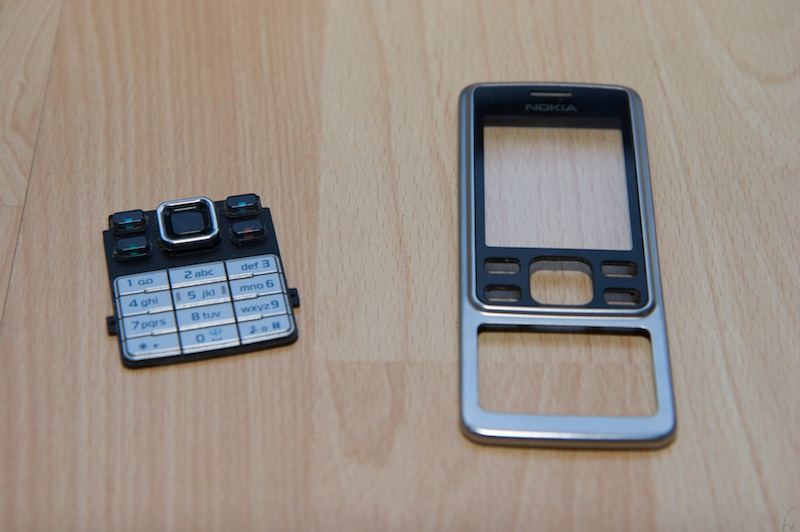
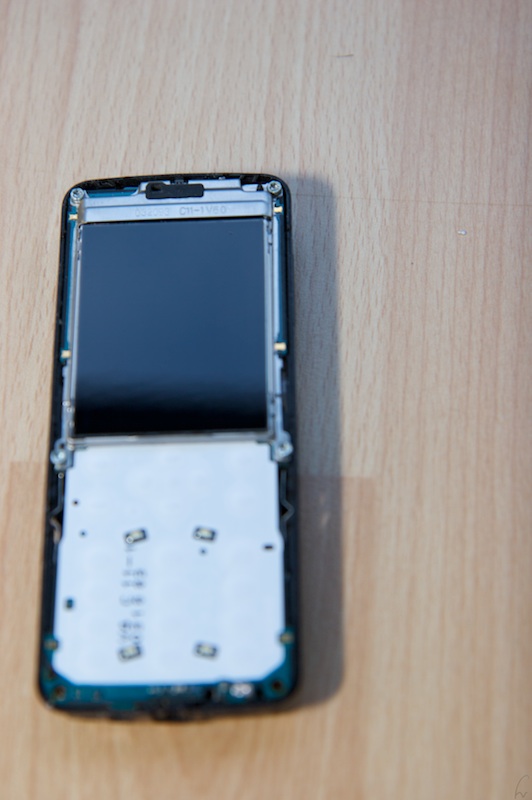
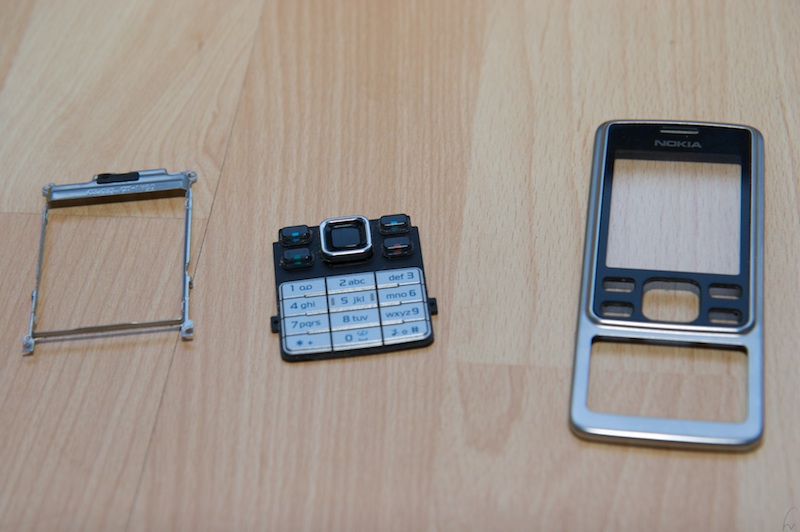
After you have removed the 2 screws you can remove the front case and keypad by carefully sliding the battery case hood between phone body and front case. Look at the pics, they will make it easier to understand.
Get the Board Out of the Phone Body.

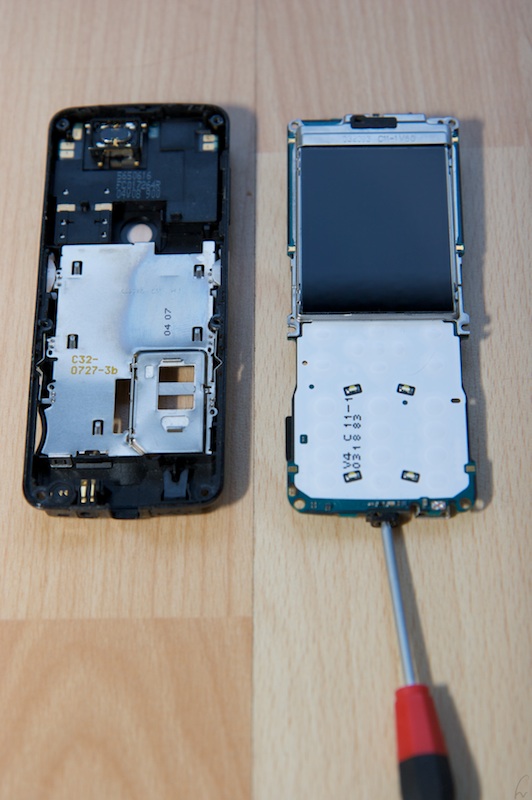
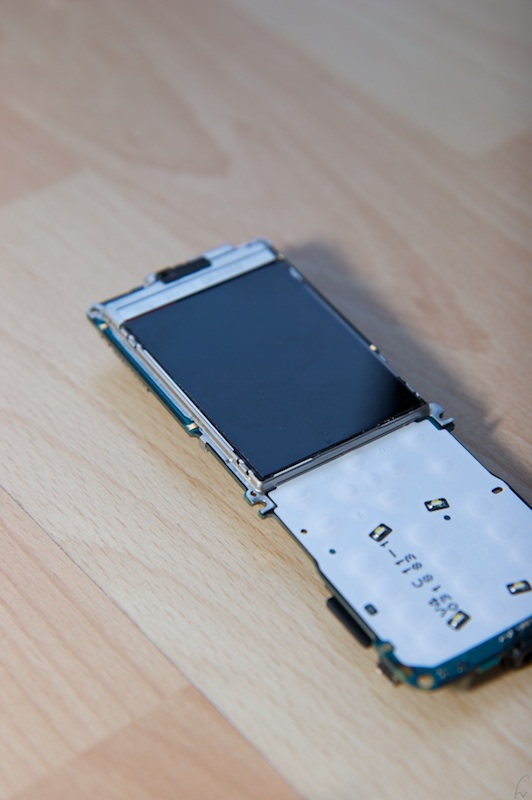
Now you got to get out the board with the LCD on it. Out of the phone body.
Remove the LCD.
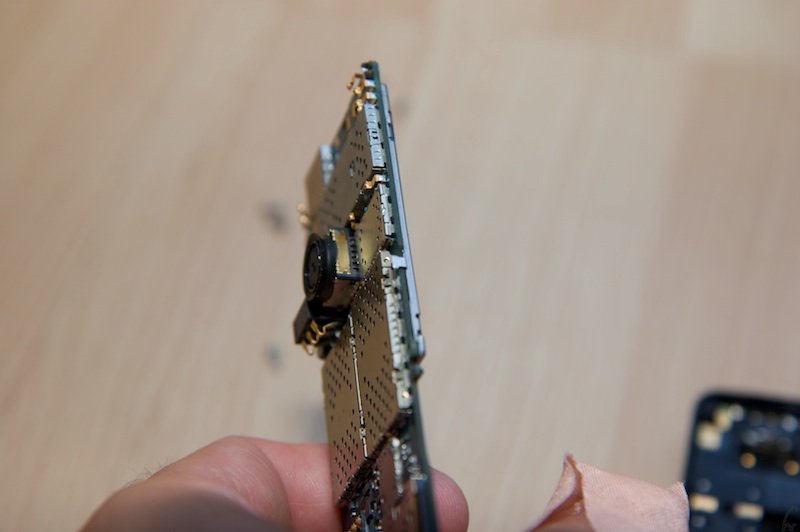
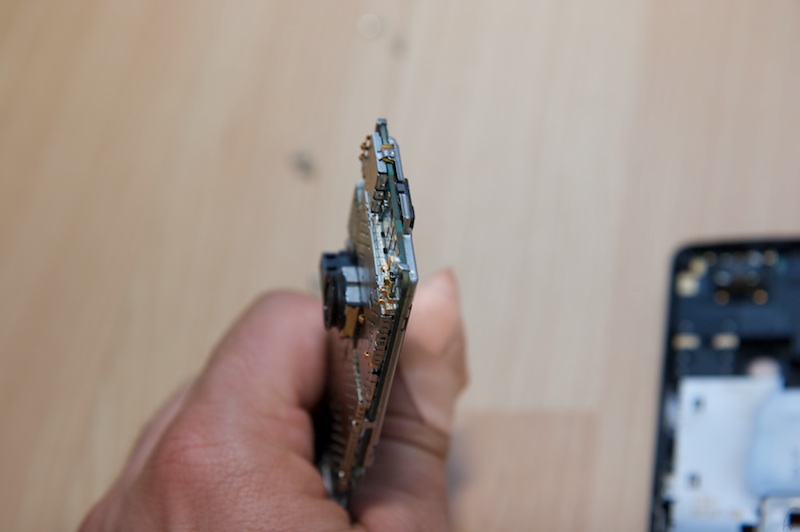
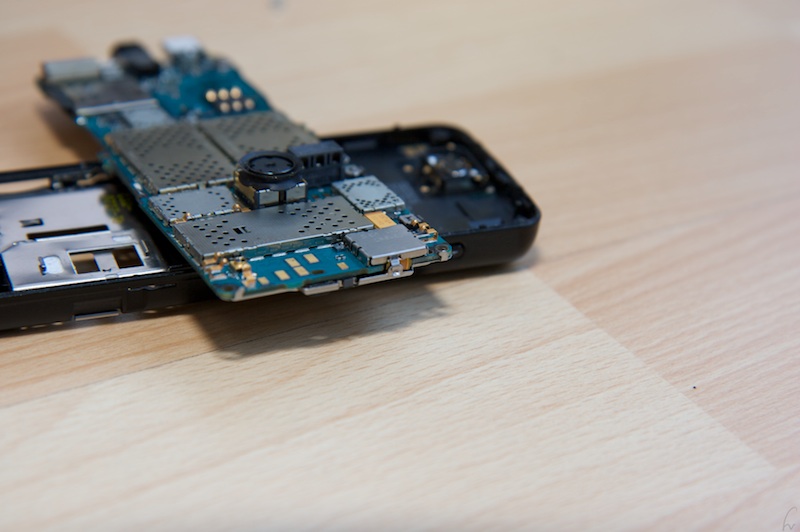
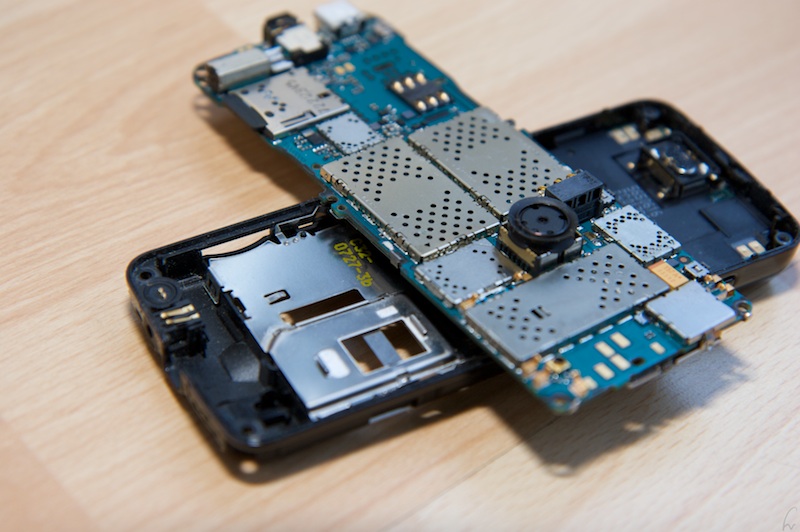
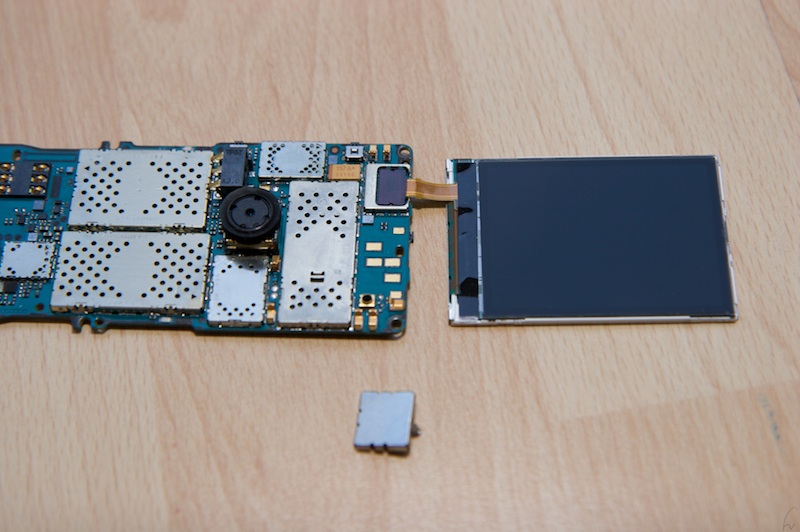
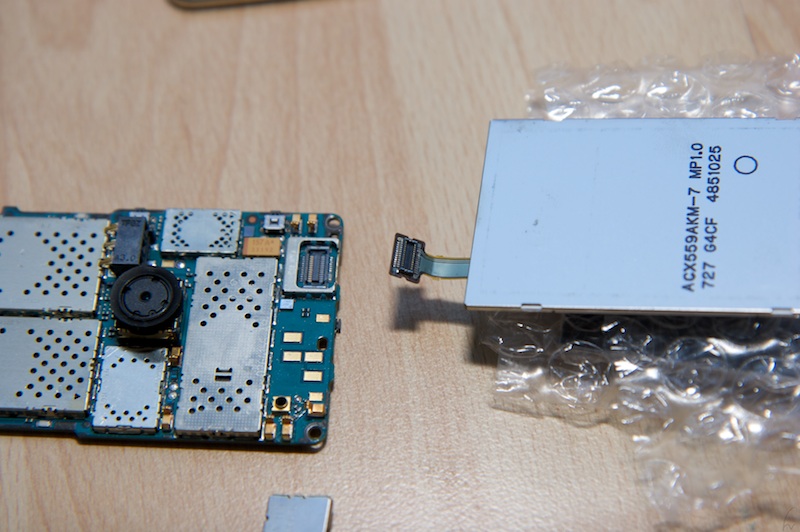
The LCD is attached to the board with a frame. The frame is attached to the board by two clamps and the connection cable from LCD to the board. The cable is covered by a hood that is also fused with a clamp to the board.
Step by step.
1. loosen the clamps on the sides of the board
2. remove the frame by lifting it up and pull them over the side of the board (upwards)
3. remove the upper cap that holds the connection LCD-board
4. lift up the LCD and unplug the connection from the board. It should be easy, but if not use carefully some more strength.
Attach the New LCD and Assemble Your Phone.

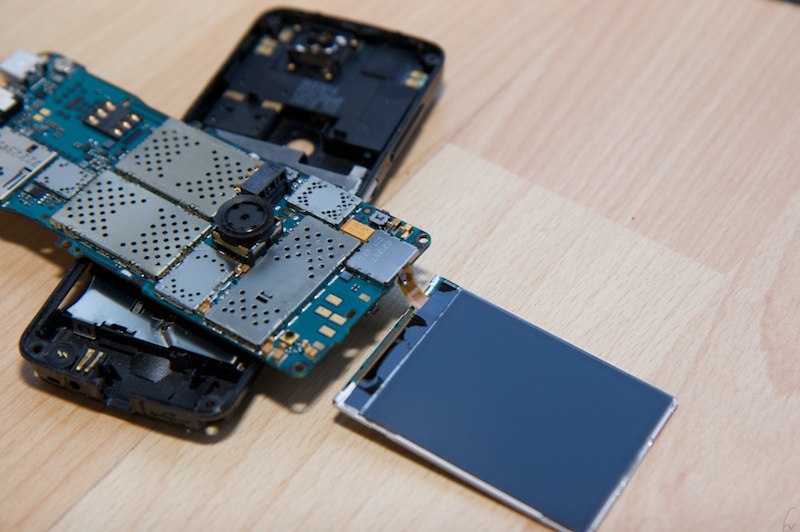

Now you have to connect the new, shiny LCD to the board.
To do this, press the connecting plug onto the jack on the board. Move around until it fits, then press. It could be, that you have to press a bit harder than expected. But as always be careful.
As you have done this, reassemble the phone by doing the steps 1 to 5 backwards, thus 5 to 1.
Use your phone (wisely - don't go swimming with it for example.)
Have fun.