How to Build a People Counter With Raspberry Pi and Ubidots
by UbiMaker in Circuits > Raspberry Pi
85438 Views, 56 Favorites, 0 Comments
How to Build a People Counter With Raspberry Pi and Ubidots
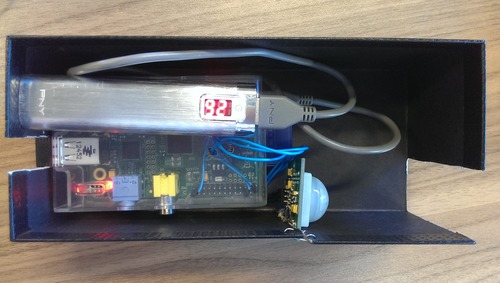
In this simple project we'll use a motion sensor to detect if an object is passing in front of our Raspberry Pi. Then we'll count how many times that happens, and send this value to Ubidots.
People counters are typically expensive devices used in the retail industry to understand how shoppers behave. Thanks to Raspberry Pi and Ubidots, we're able to build a functional people counter in a few hours and with a few bucks!
Once we send the people counting data to Ubidots, we can create nice graphs for analysis, as well as SMS/Email alerts.
Getting the Right Materials


To complete this project you'll need:
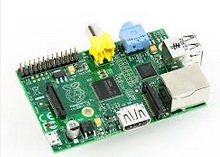
- A Raspberry Pi Model B
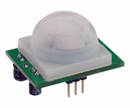
- A PIR Sensor by Parallax
- A Raspberry Pi compatible USB WiFi Dongle
- A USB battery pack to power the Raspberry Pi (this is optional in case you want to leave the Pi completely wireless)
- Three female-female jumper wires
Ubidots account - or - STEM License
Wiring Things Up
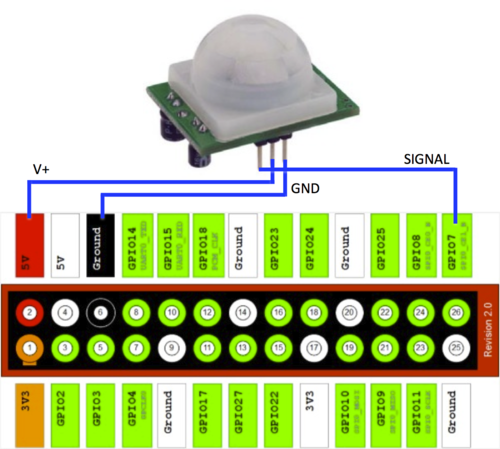
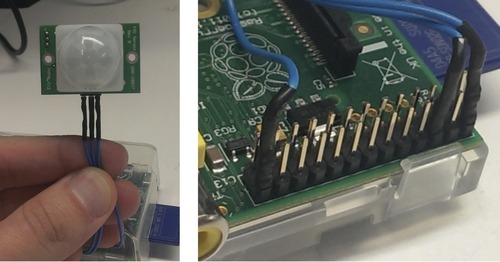
The PIR motion sensor is quite simple to use because it only has three pins:
- V+
- GND
- A signal pin that outputs "1" when there is movement and "0" when there isn't.
No need to solder anything, nor to write complex I2C or serial functions to detect this signal; just plug the cables straight to the GPIO pins of your Raspberry Pi and it will work!
Casing

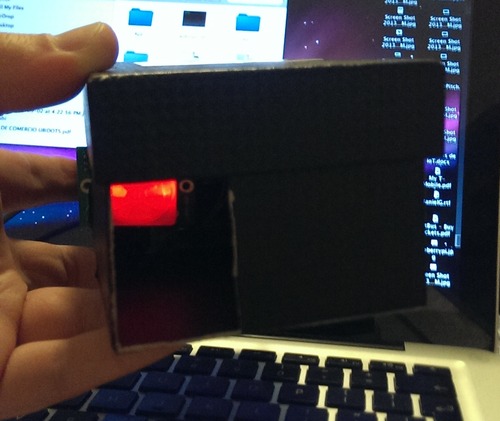
Because the PIR sensor is very sensitive to movement, I used the jumper switch behind it to set the lowest posible sensibility. Also, I took an old case from a pair of sunglasses and made a hole in it, then placed the RPi and the PIR sensor inside it. This way, the motion sensor highly focused in one point, instead of being so omnidirectional.
Coding Your RPi
At this point, we'll assume you have done a basic setup of your Raspberry Pi and you are looking at its Linux command line. If not, we recommend going through this guide first. You can also check this post about using Wicd to setup the WiFi of your Raspberry Pi.
Let's begin by making sure we have all the required libraries:
$ sudo apt-get update
$ sudo apt-get upgrade
$ sudo apt-get install python-setuptools
$ sudo easy_install pip
$ pip install ubidots
Create a new file called "peoplecounter.py":
$ sudo nano peoplecounter.py
And write into it the code below. Make sure to replace the values of the API key and the variable ID with the ones in your personal Ubidots account. (Note: the code is not too elegant, but hey I'm not a Python developer, just a hardware guy :)
The script consists of a loop that checks the state of the pin #7 (the motion sensor). If it reads a "1", meaning that there was movement, then it increments the "peoplecount" variable and waits 1.5 seconds so the motion sensor goes back to normal. This is done 10 times, making sure there is at least 1 second between each cycle, then it sends the total sum of "movements" to Ubidots. If you need to calibrate the People Counter, you should then play with the "time.sleep" lines with other values.
from ubidots import ApiClient
import RPi.GPIO as GPIO
import time
GPIO.setmode(GPIO.BCM)
GPIO.setup(7, GPIO.IN)
try:
api =ApiClient("a21ebaf64e14d195c0044fcc3b9f6dab9d653af3")
people = api.get_variable("5238cec3f91b282c7357a140")
except: print "Couldn't connect to the API, check your Internet connection"
counter = 0
peoplev = 0
while(1):
presence = GPIO.input(7)
if(presence):
peoplecount += 1
presence = 0
time.sleep(1.5)
time.sleep(1)
counter += 1
if(counter==10):
print peoplecount
people.save_value({'value':peoplecount})
counter = 0
peoplev = 0
Display Your Data
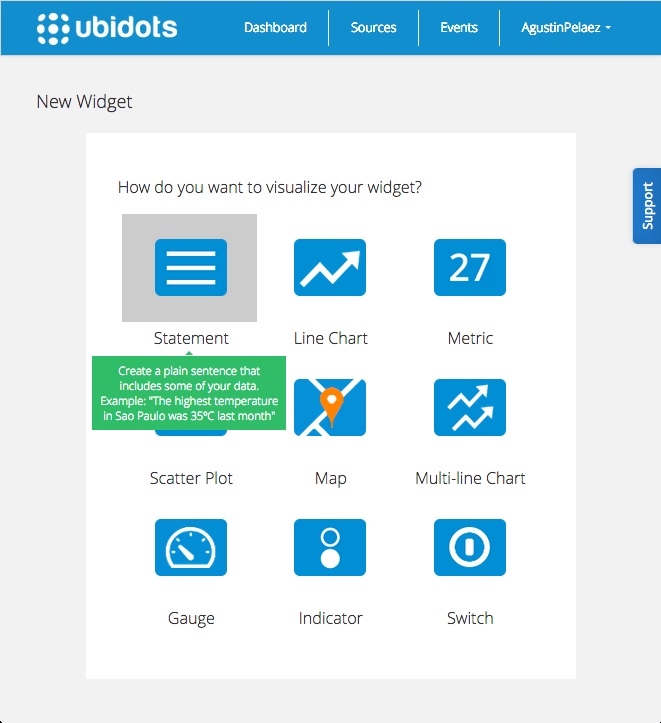
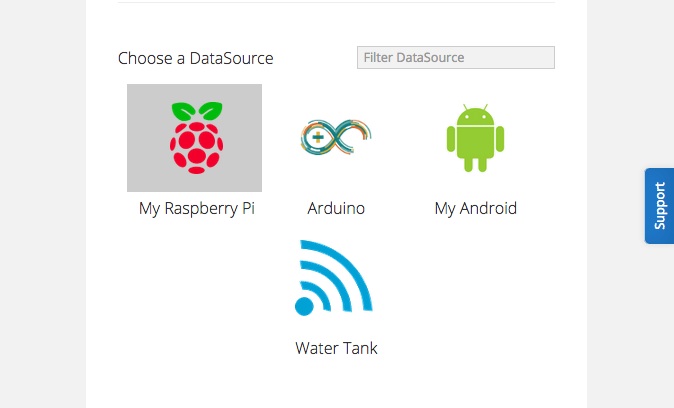
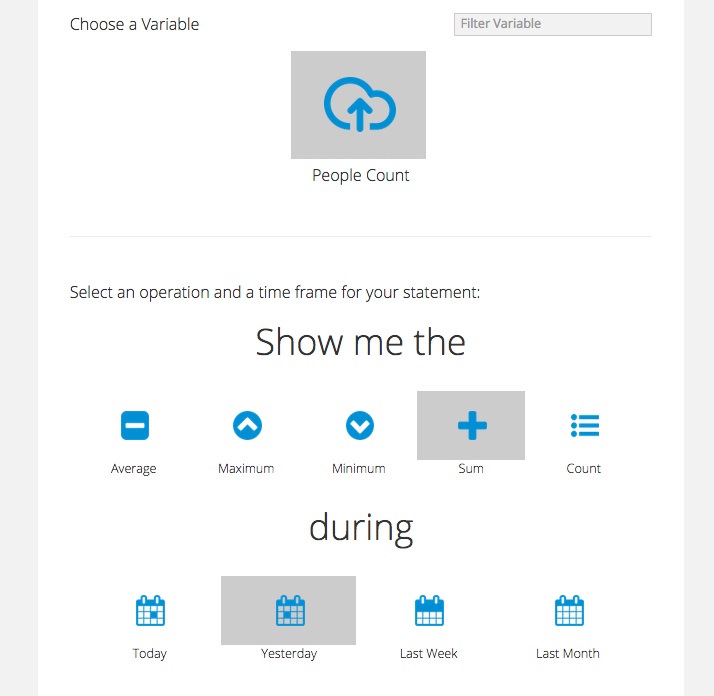

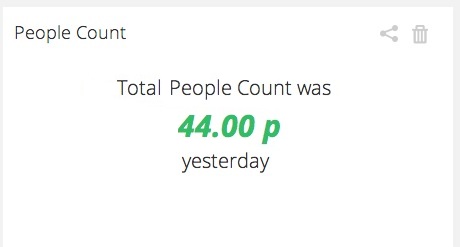
Finally, go to your Ubidots dashboard and add a widget of the type "Statement". This will display the total number of people detected within a time frame you specify
Wrapping Up
This project provides a hint of the amount of people passing through a particular point. It doesn't provide the exact number of people, given the limitations of the motion sensor, but in some applications this might be just enough.
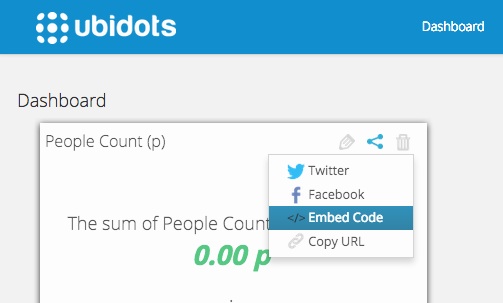
The collected data can be easily sent to the Ubidots Cloud, where it can be interpreted by creating alerts, live dashboards or even sharing this data in social media, as embed code, or just in a public link. You can also read this data from another application using the Ubidots API.