How to Apply Textures on Individual Object Surfaces in Second Life
by Wilder_Linden in Design > Websites
24449 Views, 5 Favorites, 0 Comments
How to Apply Textures on Individual Object Surfaces in Second Life
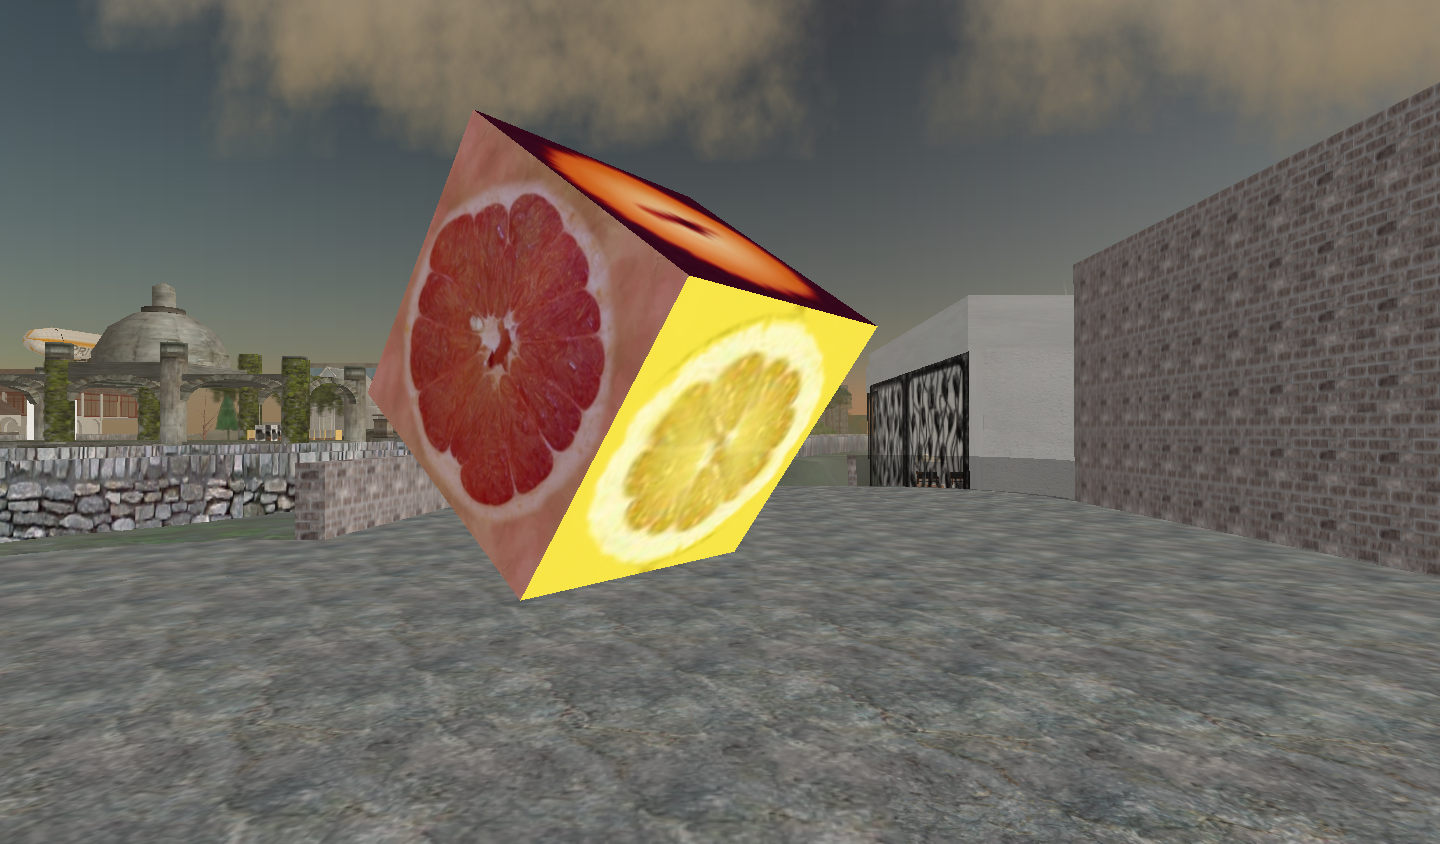
Within Second Life you have the ability to apply multiple textures to a single object. The process is very simple and can greatly enhance the appearance of your builds.
Create a Single "prim" in the Shape of a Box
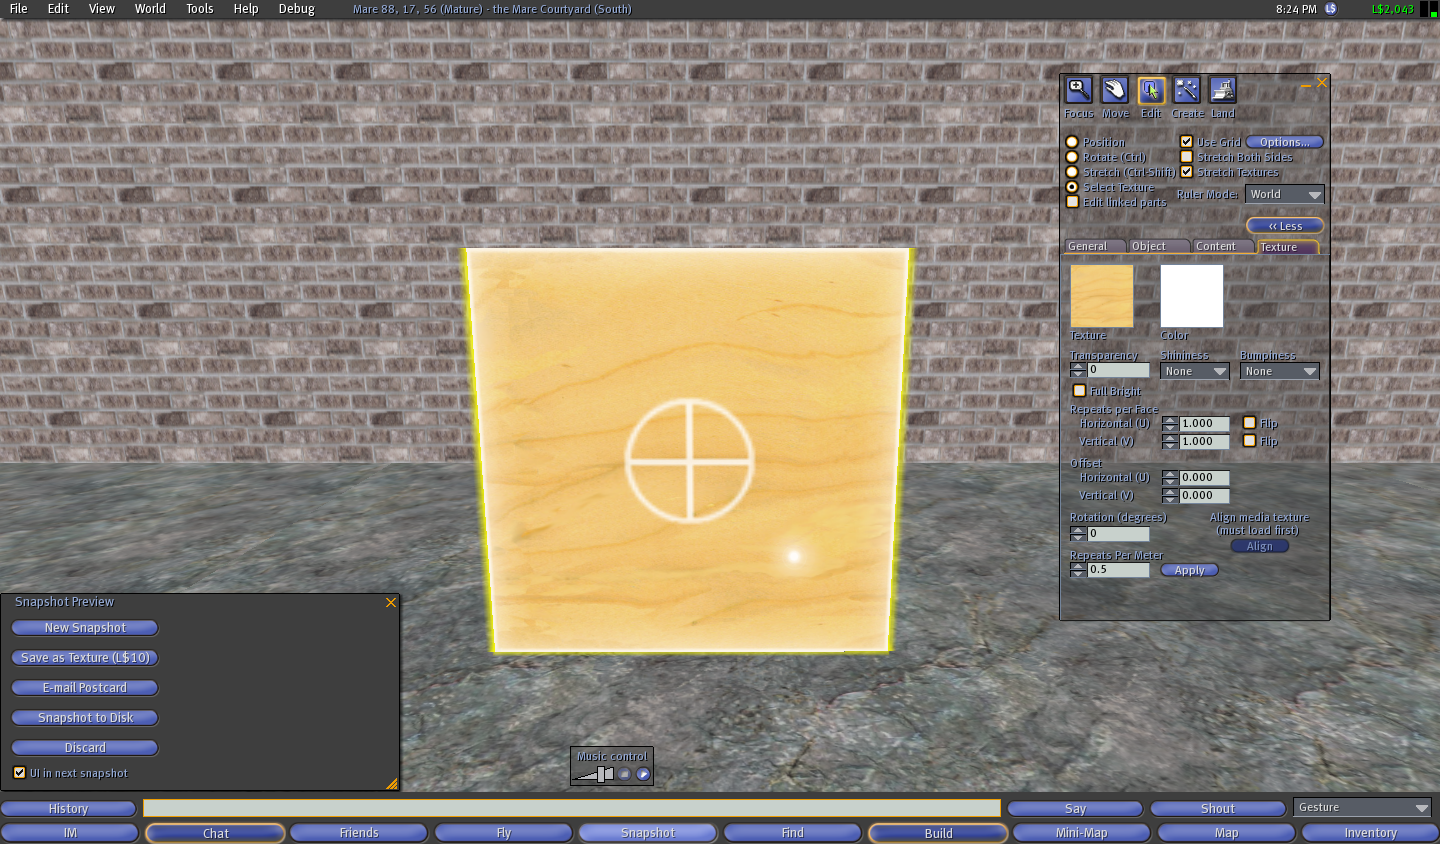
With your box selected click on the Texture Tab in the modify object dialogue box.
Then click on the radial button labeled "Select Texture"
You will notice that each side of your box has a white circle with a plus in the middle.
Then click on the radial button labeled "Select Texture"
You will notice that each side of your box has a white circle with a plus in the middle.
Apply a Texture to a Single Side of the Box
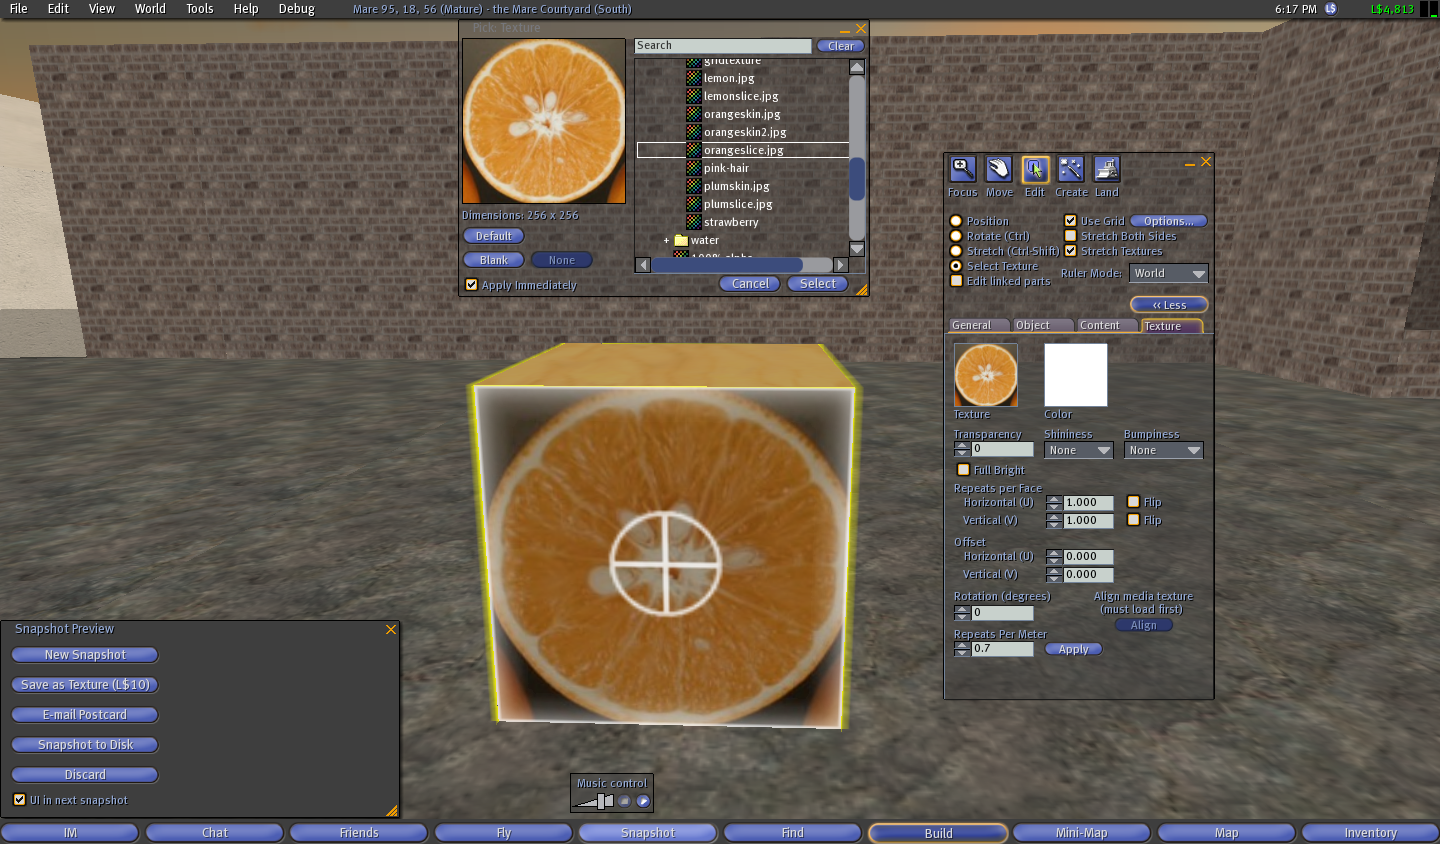
Select one side of the box by left clicking on it once
Click on the box labeled Texture in the object dialogue box
Your inventory will automatically open allowing you to select whatever texture you would like to apply.
Choose a texture from your inventory and click select.
Click on the box labeled Texture in the object dialogue box
Your inventory will automatically open allowing you to select whatever texture you would like to apply.
Choose a texture from your inventory and click select.
Select a New Side of the Box
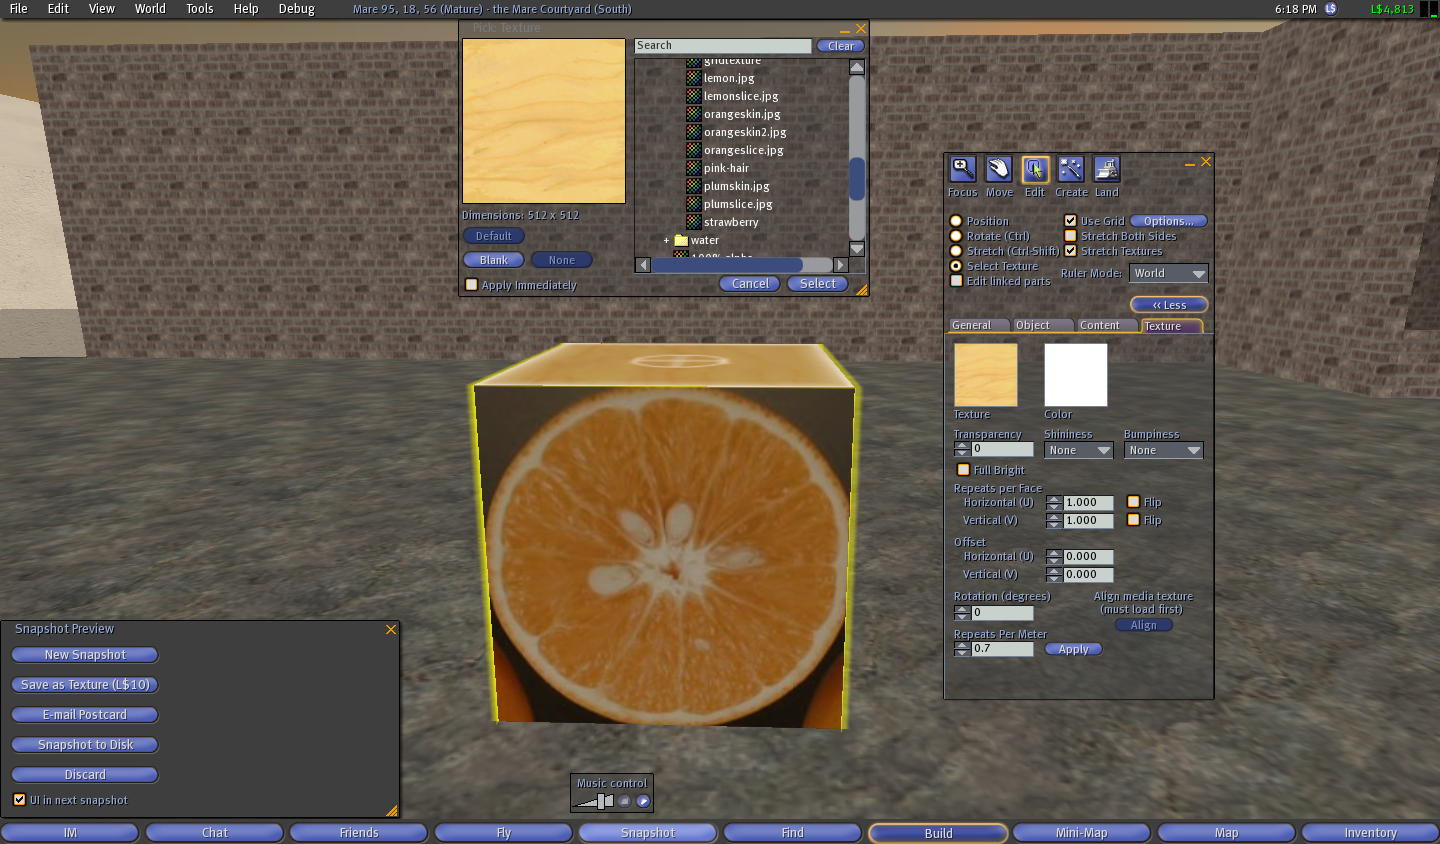
As with Step 2, select the side of the box you wish to apply the texture to and left click on it once.
Apply a Different Texture to Another Side of the Box
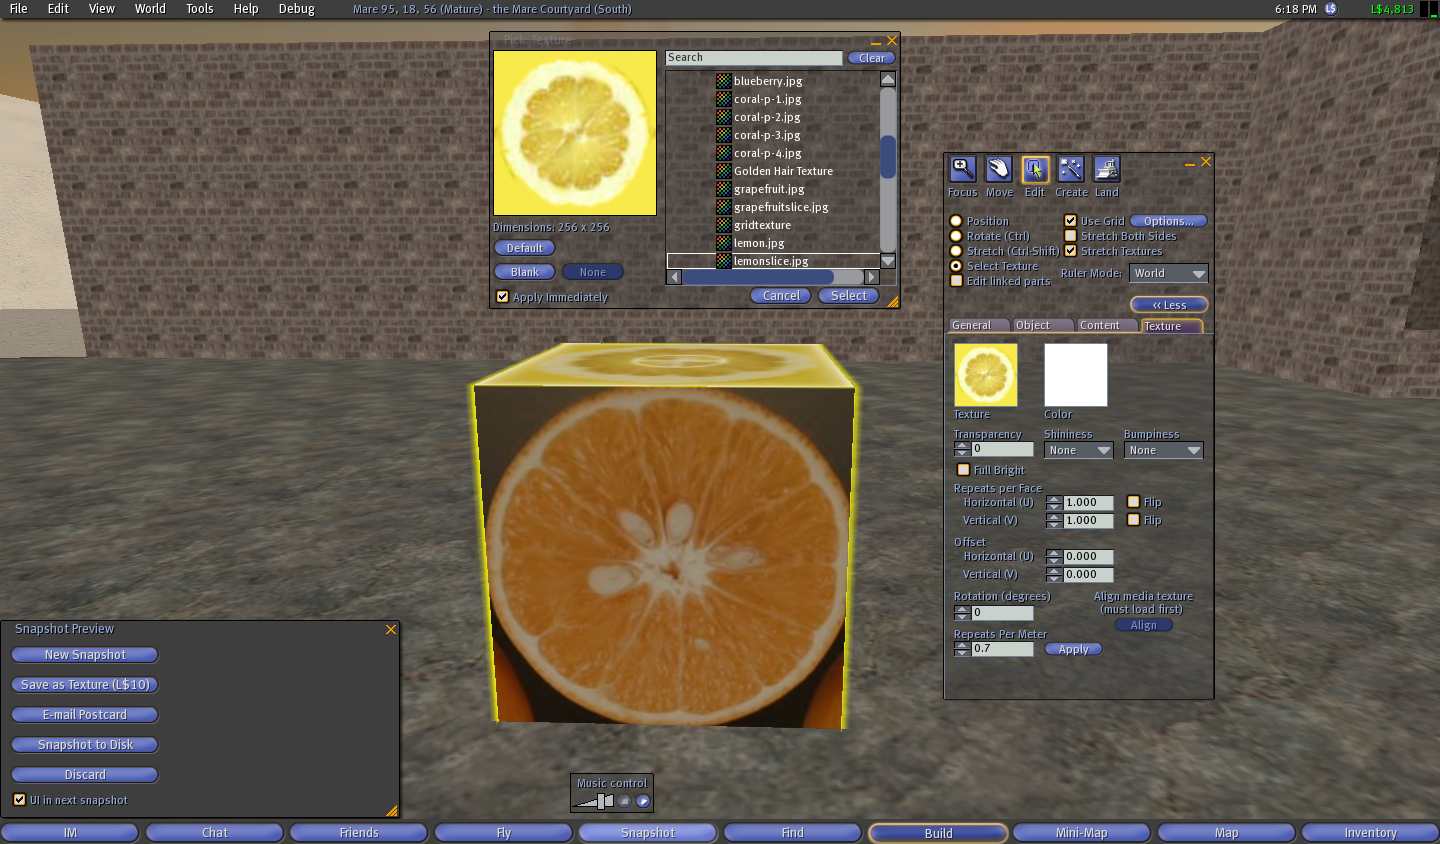
Follow each of the steps outlined in Step 2, however, this time apply a different texture to the newly selected side.
Rotate Your Box and Select a Third Side.
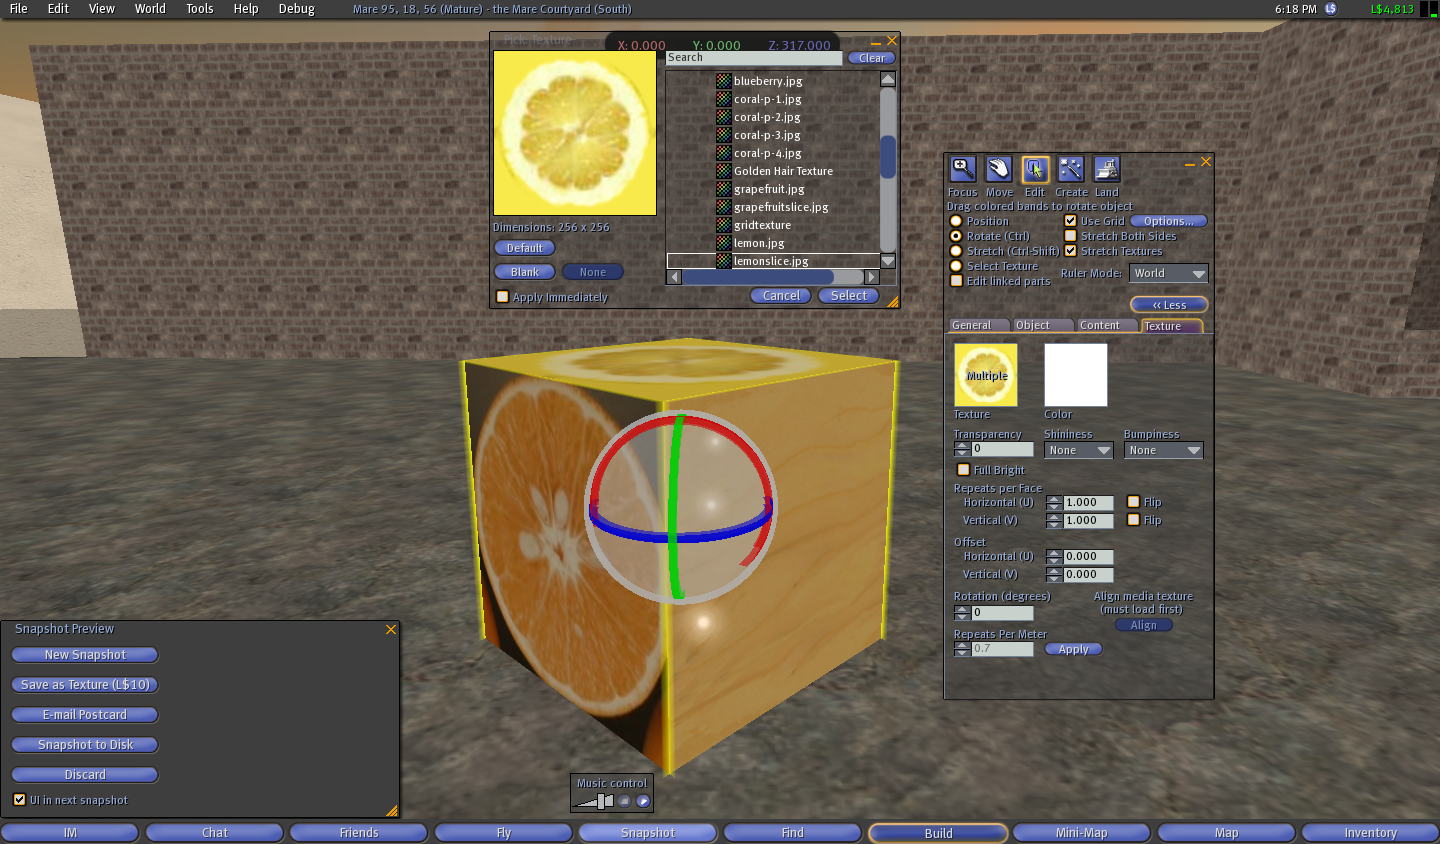
Click on the rotate radial button or hold the Ctrl Key while the box is selected.
Rotate the box so that you can see an additional side.
Rotate the box so that you can see an additional side.
Apply a Third Texture to the Box
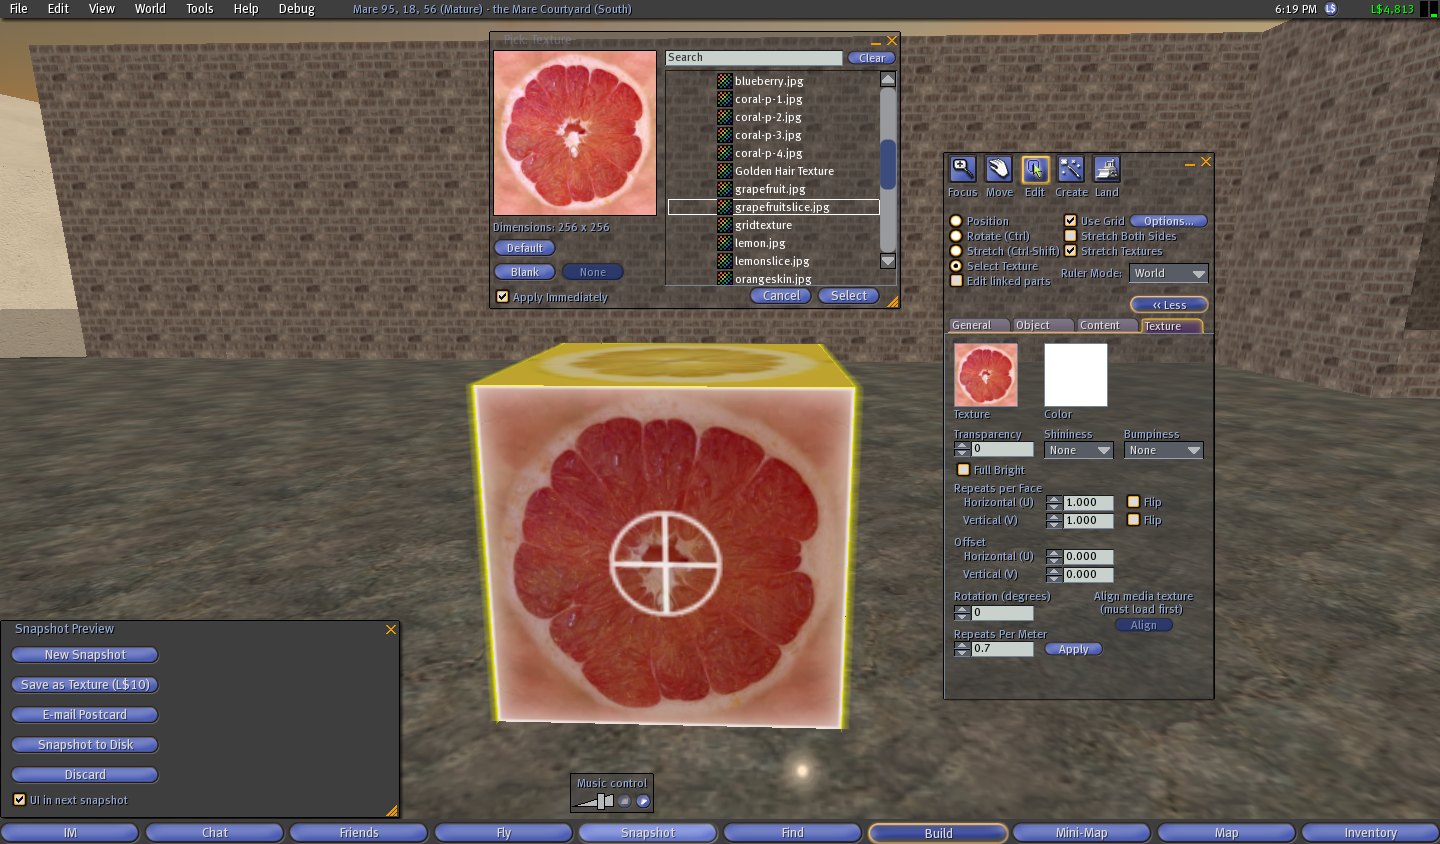
Again, repeat Step 2 with yet another new texture.
Continue to Apply and Modify Textures As Needed.
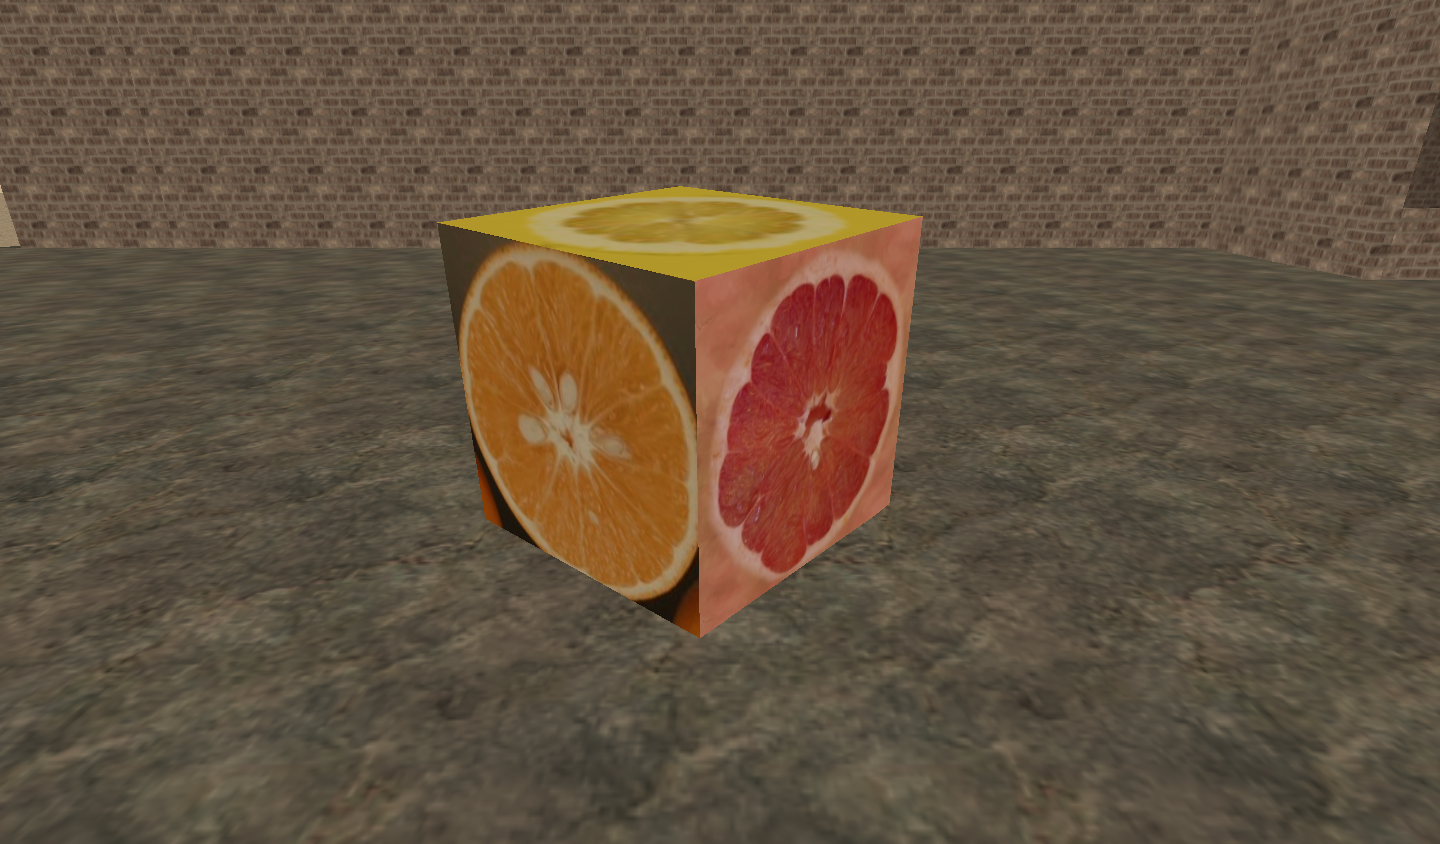
In addition to applying new textures on additional sides of the box, you can use any of the texture modify tools, such as transparency, repeats per meter, bumpiness, etc.