How to Use the Nedlam's Workshop Laser Cuttter
by mmorse22 in Workshop > Laser Cutting
204 Views, 0 Favorites, 0 Comments
How to Use the Nedlam's Workshop Laser Cuttter
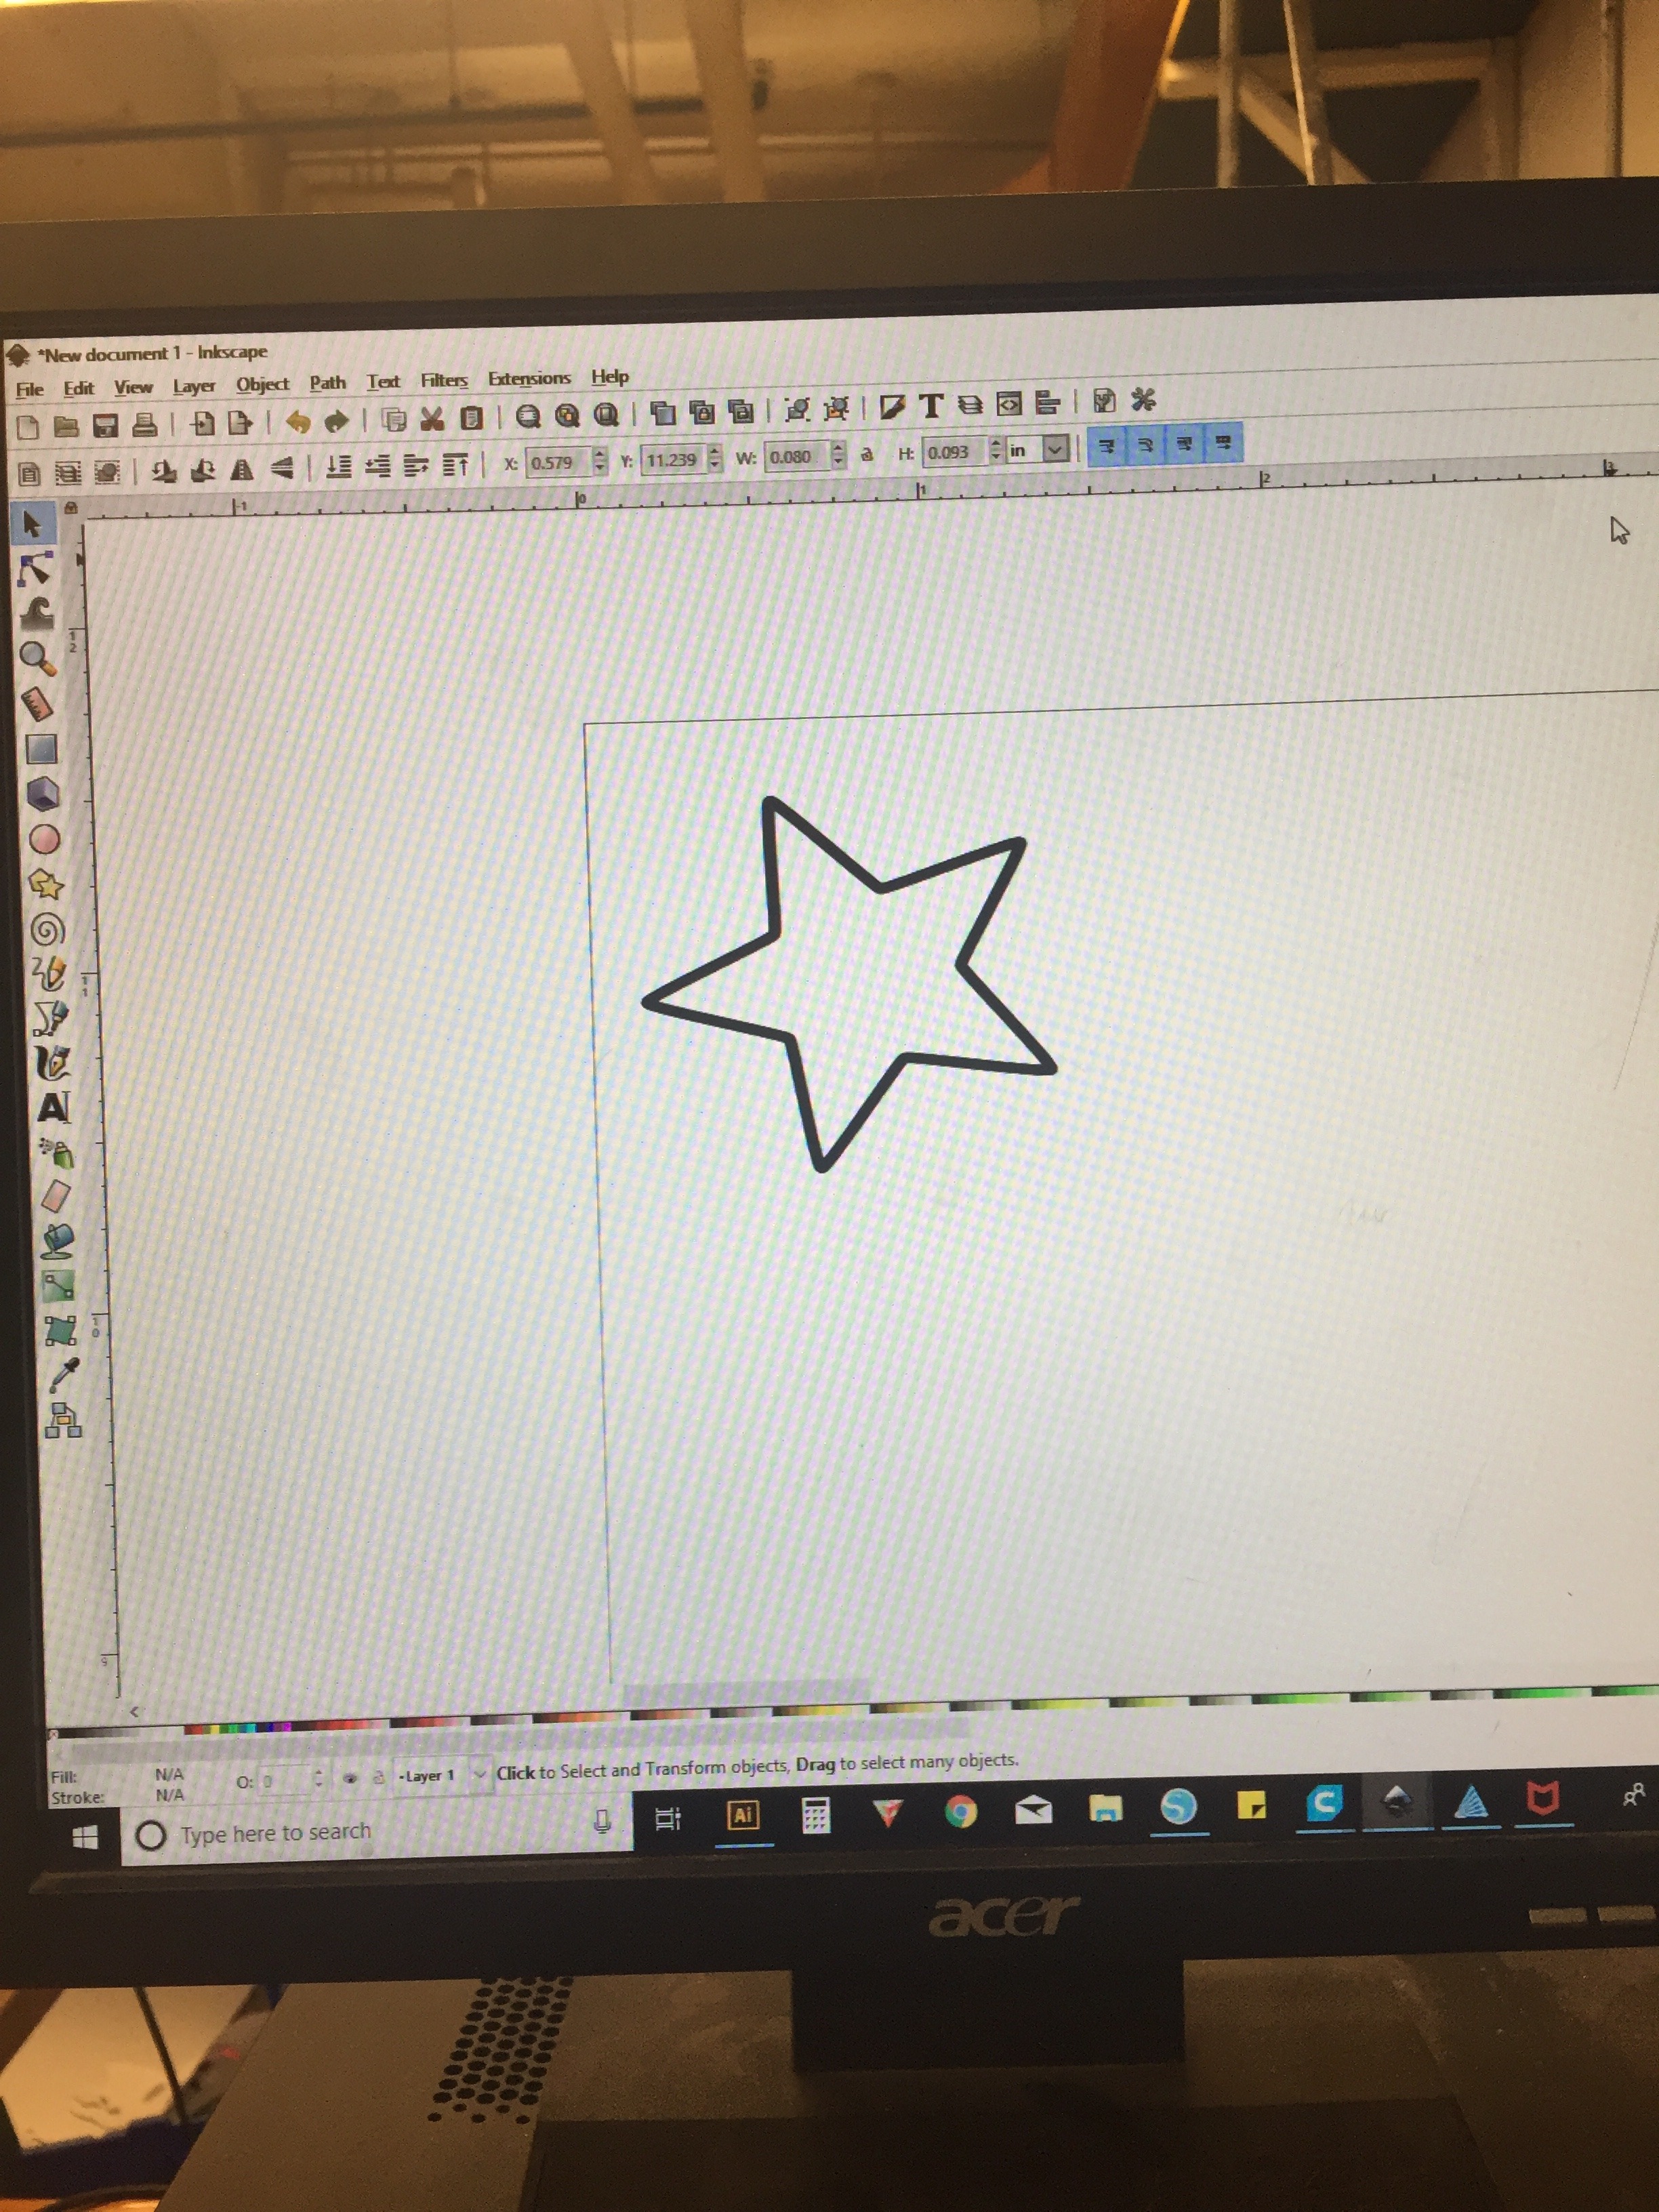
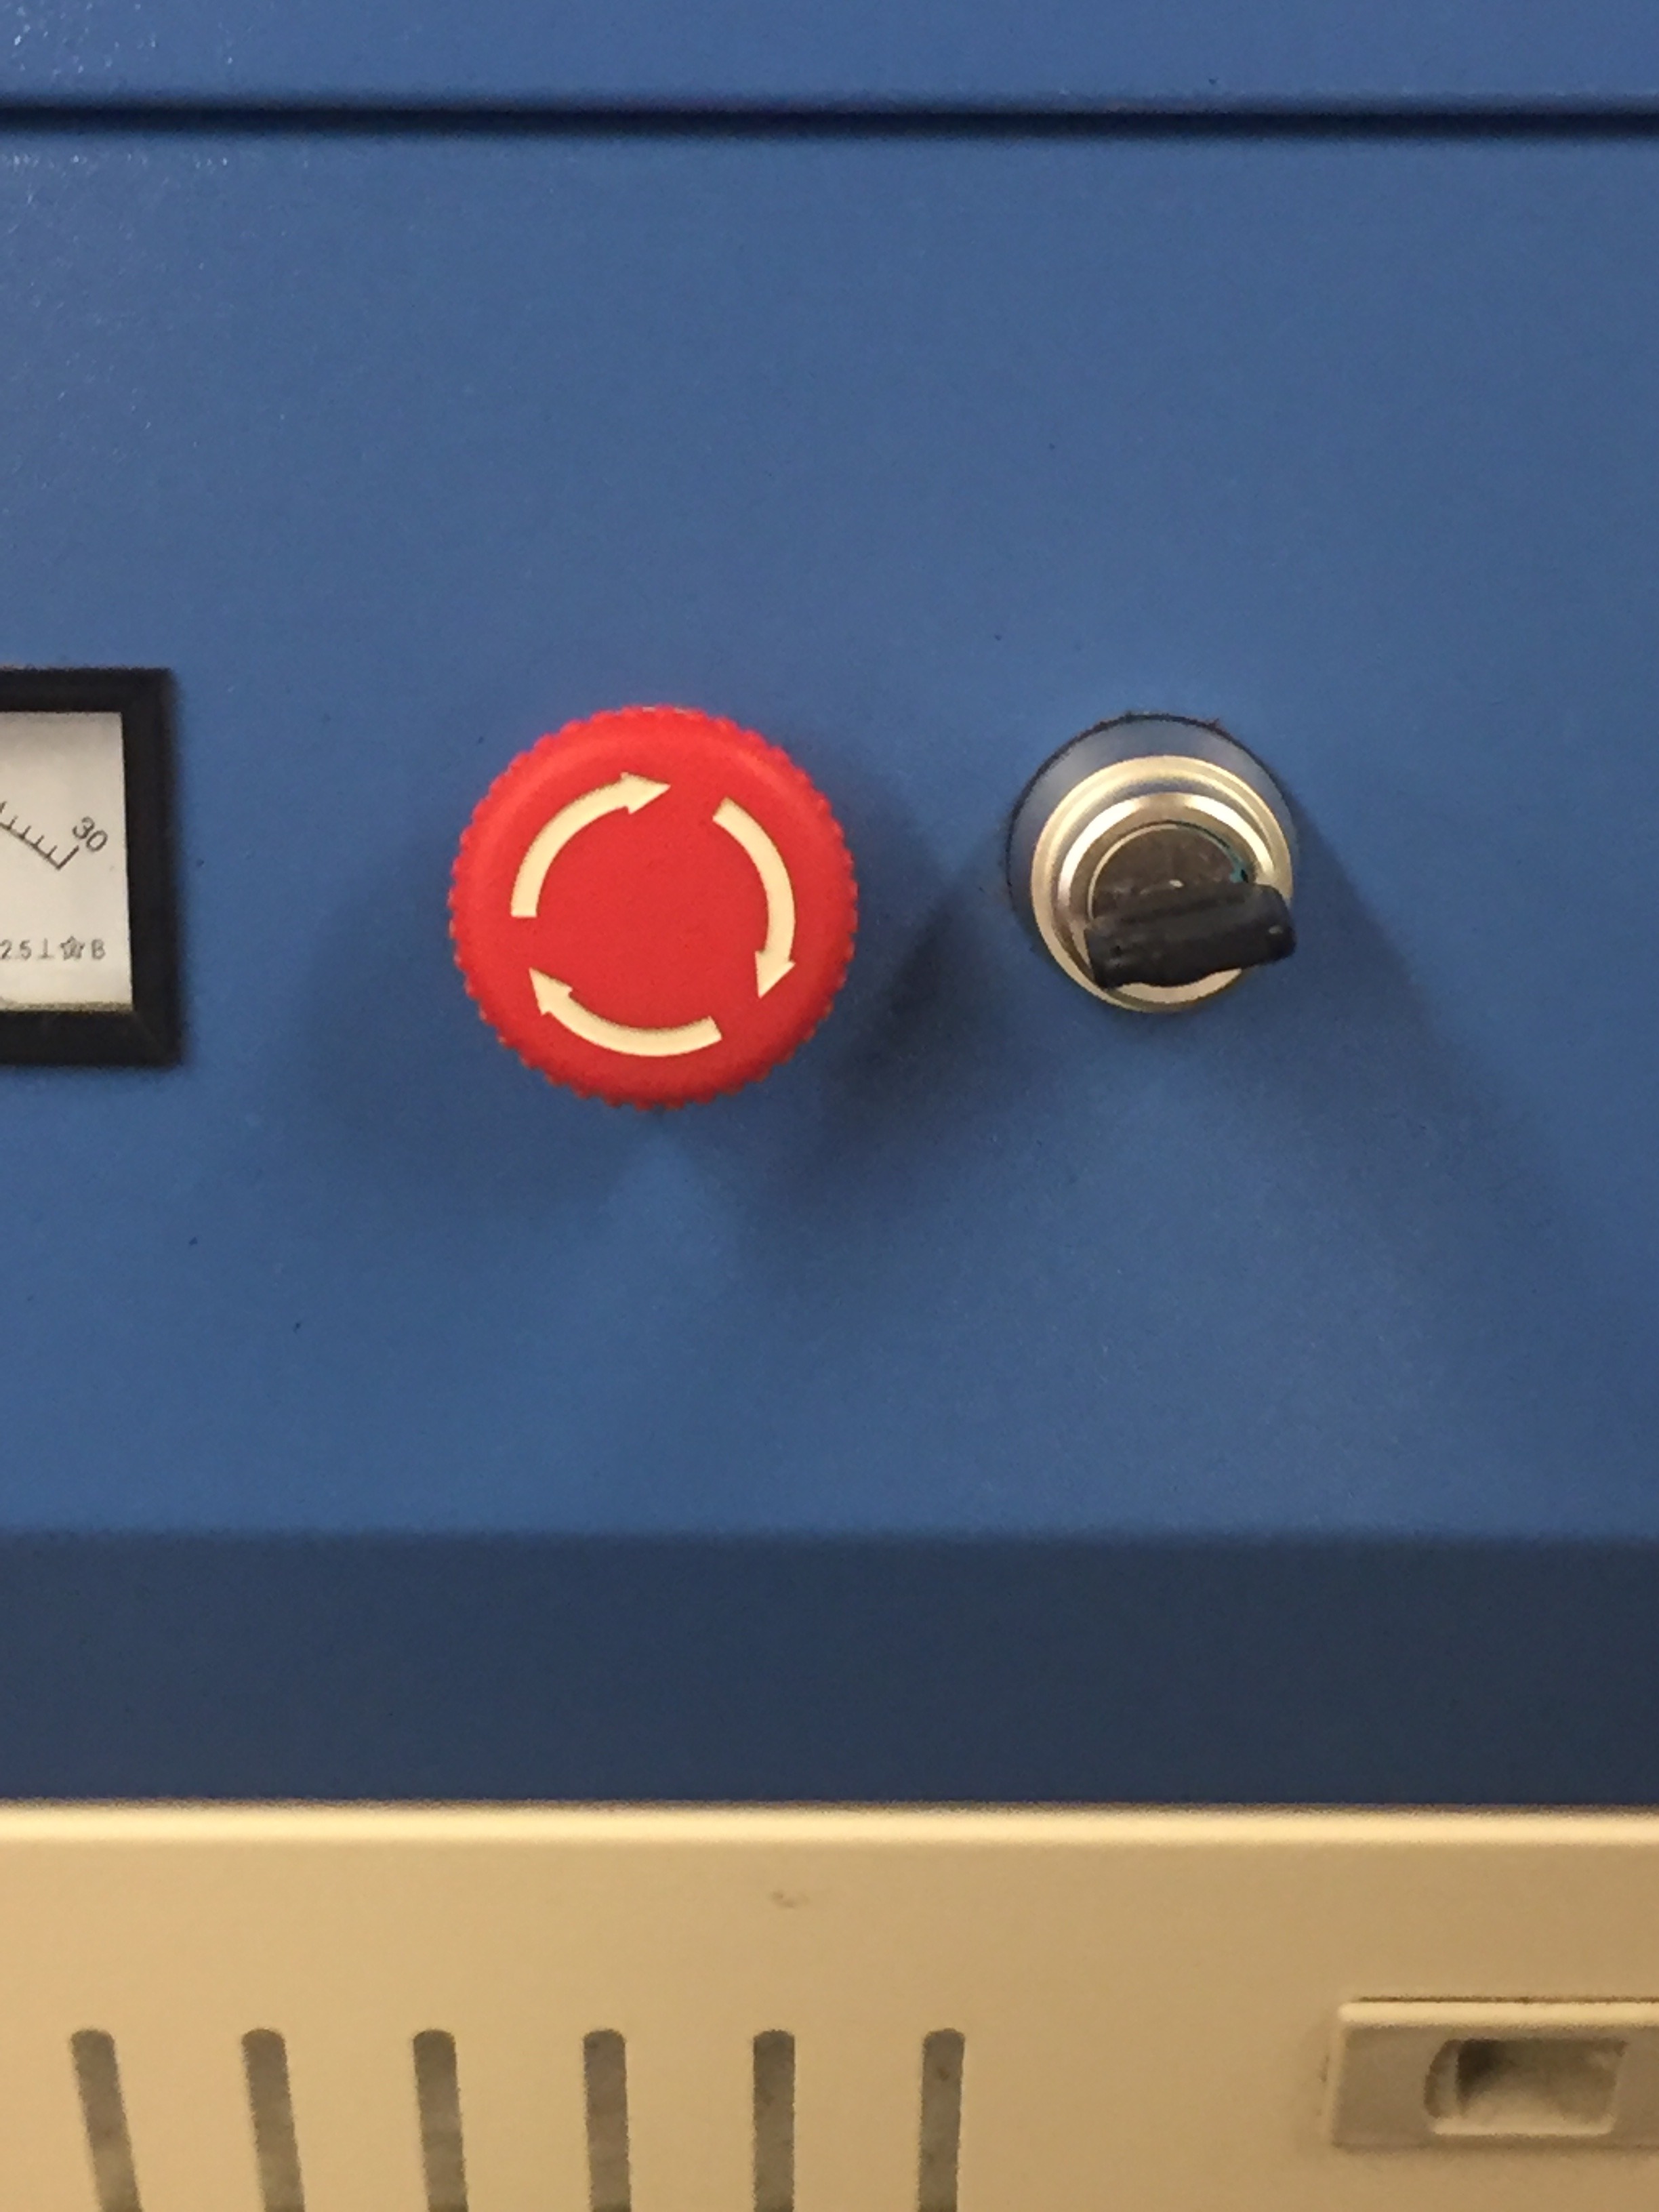
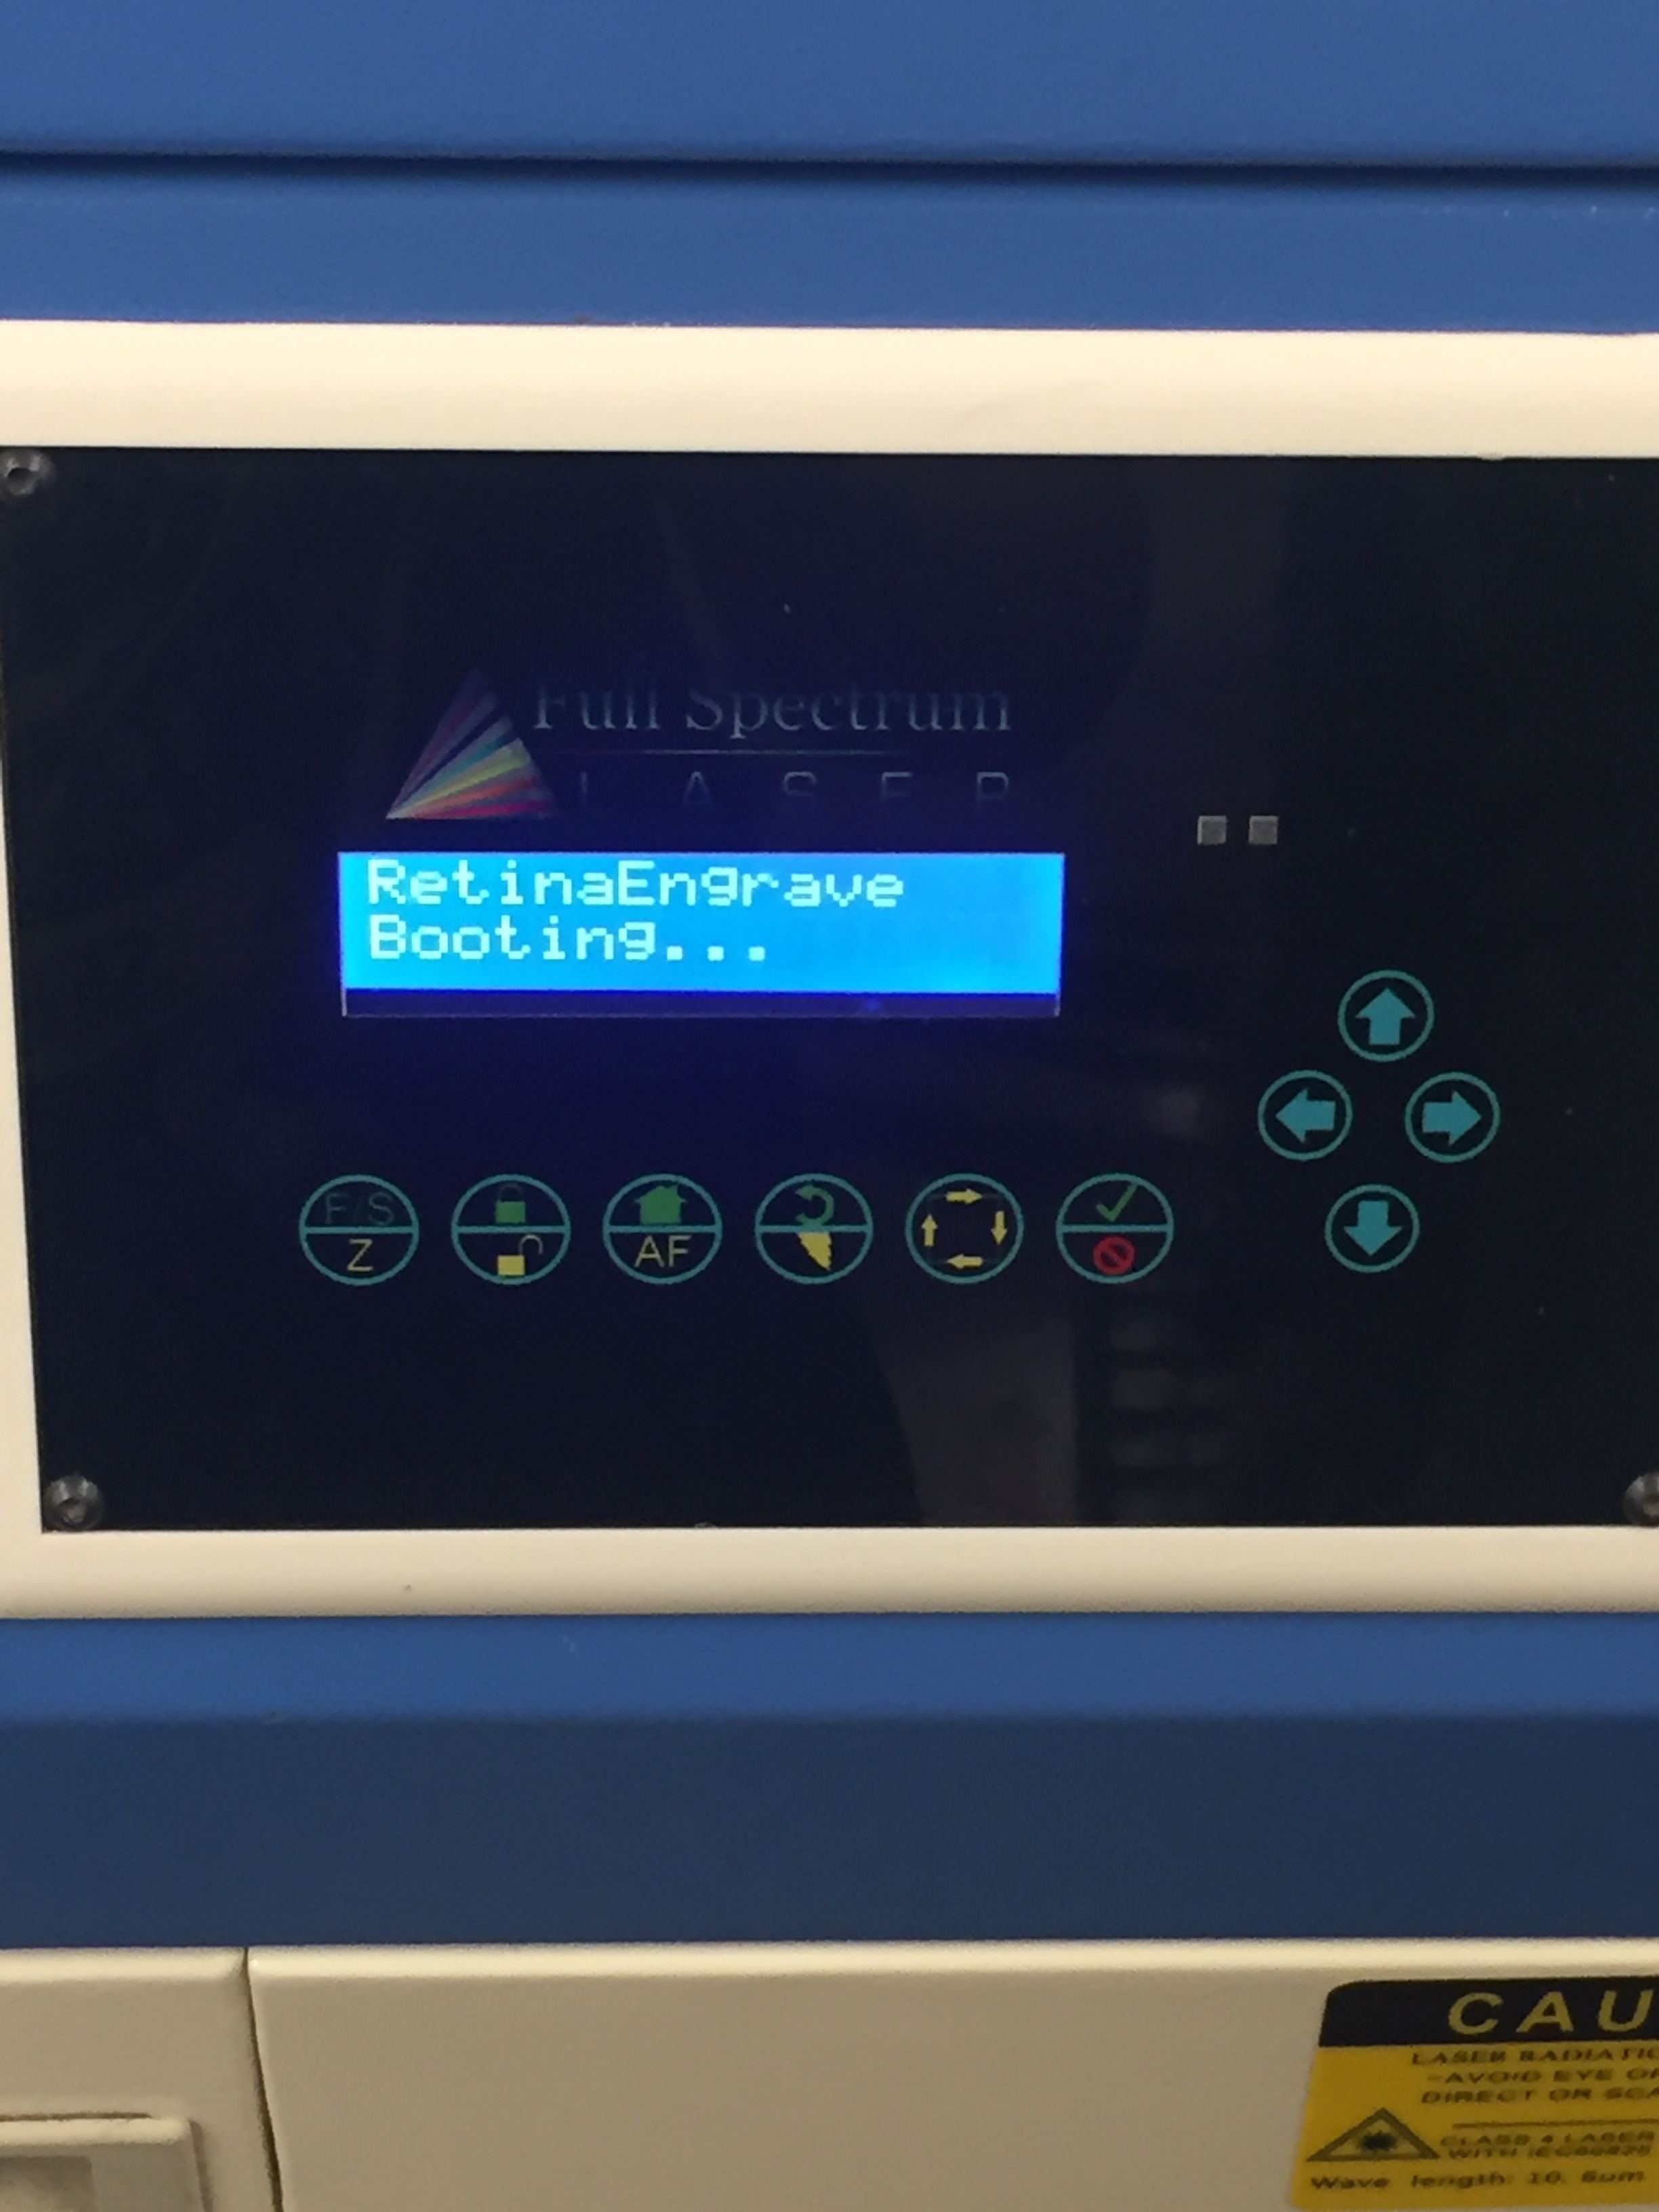
First, use inkscape or adobe illustrator to create your design. Choose a laser cutter safe material (Paper, non-PVC containing fabrics, leather, wood, cardboard, acrylic) to cut or engrave your design on. Turn on the laser cutter by inserting the key and turning it- a 'booting' message should appear on the display. Place your material neatly and square to the cutting surface in the laser cutter.
Transferring Your Design to RetinaEngrave
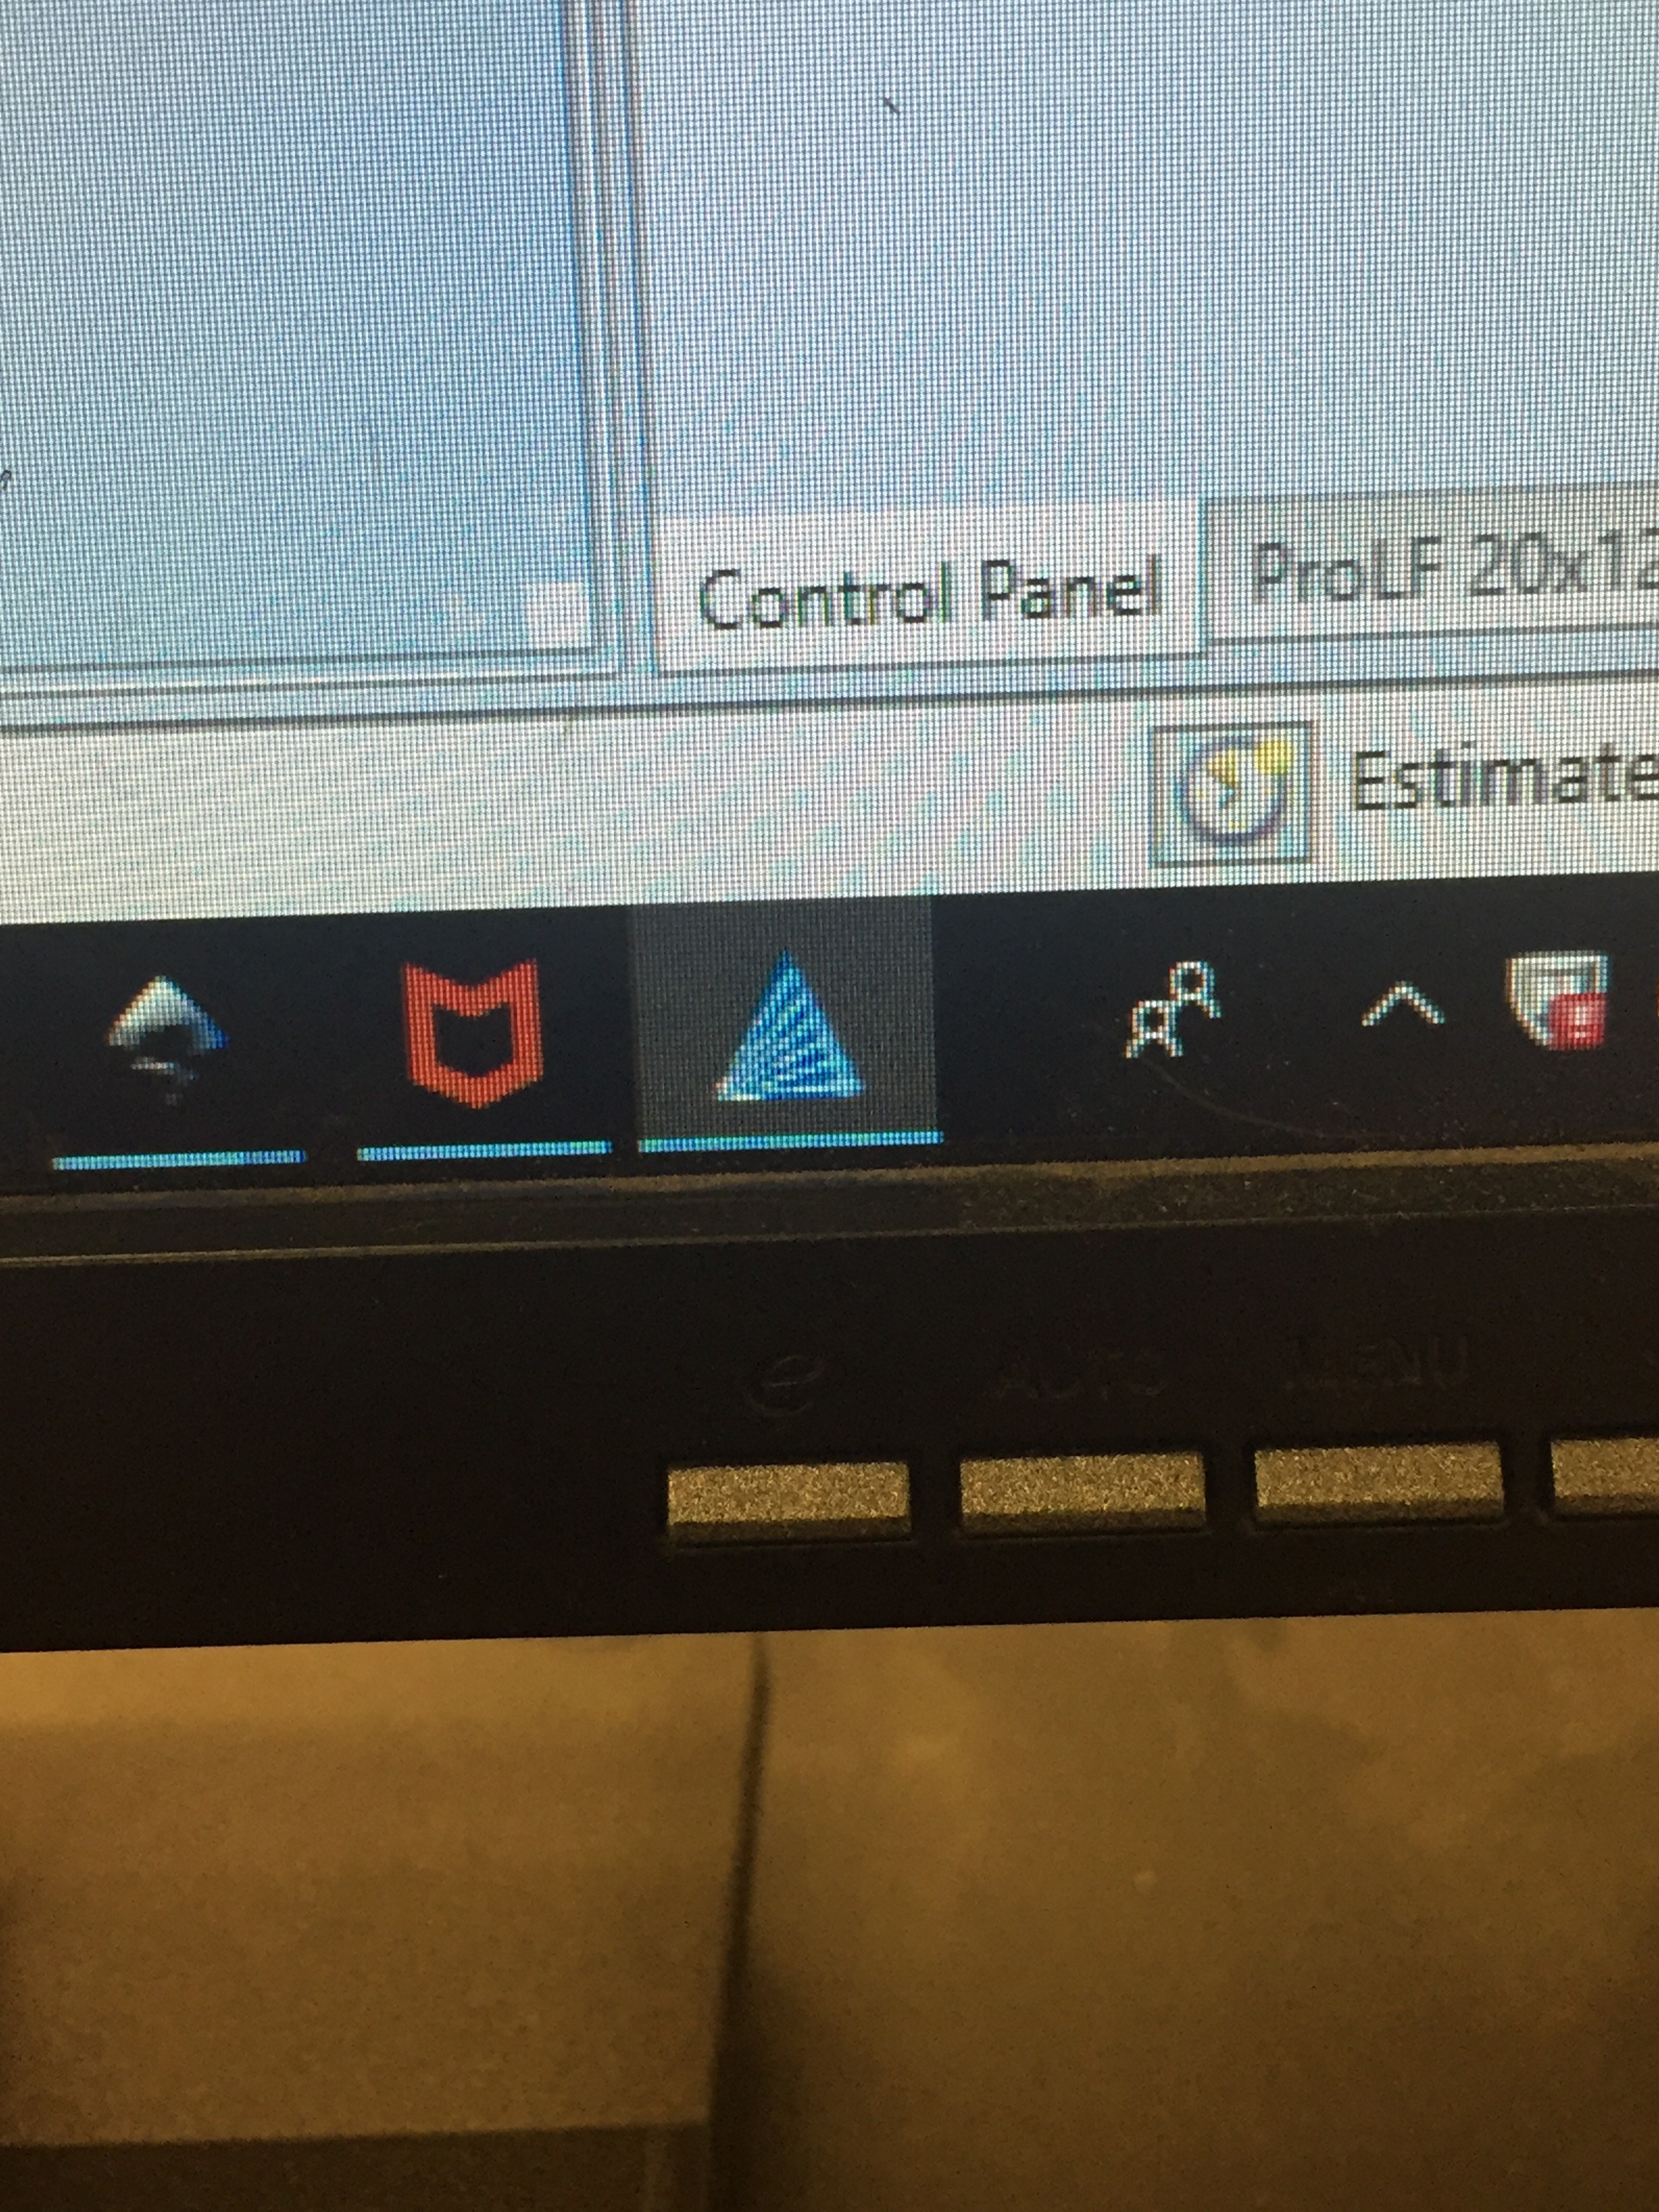
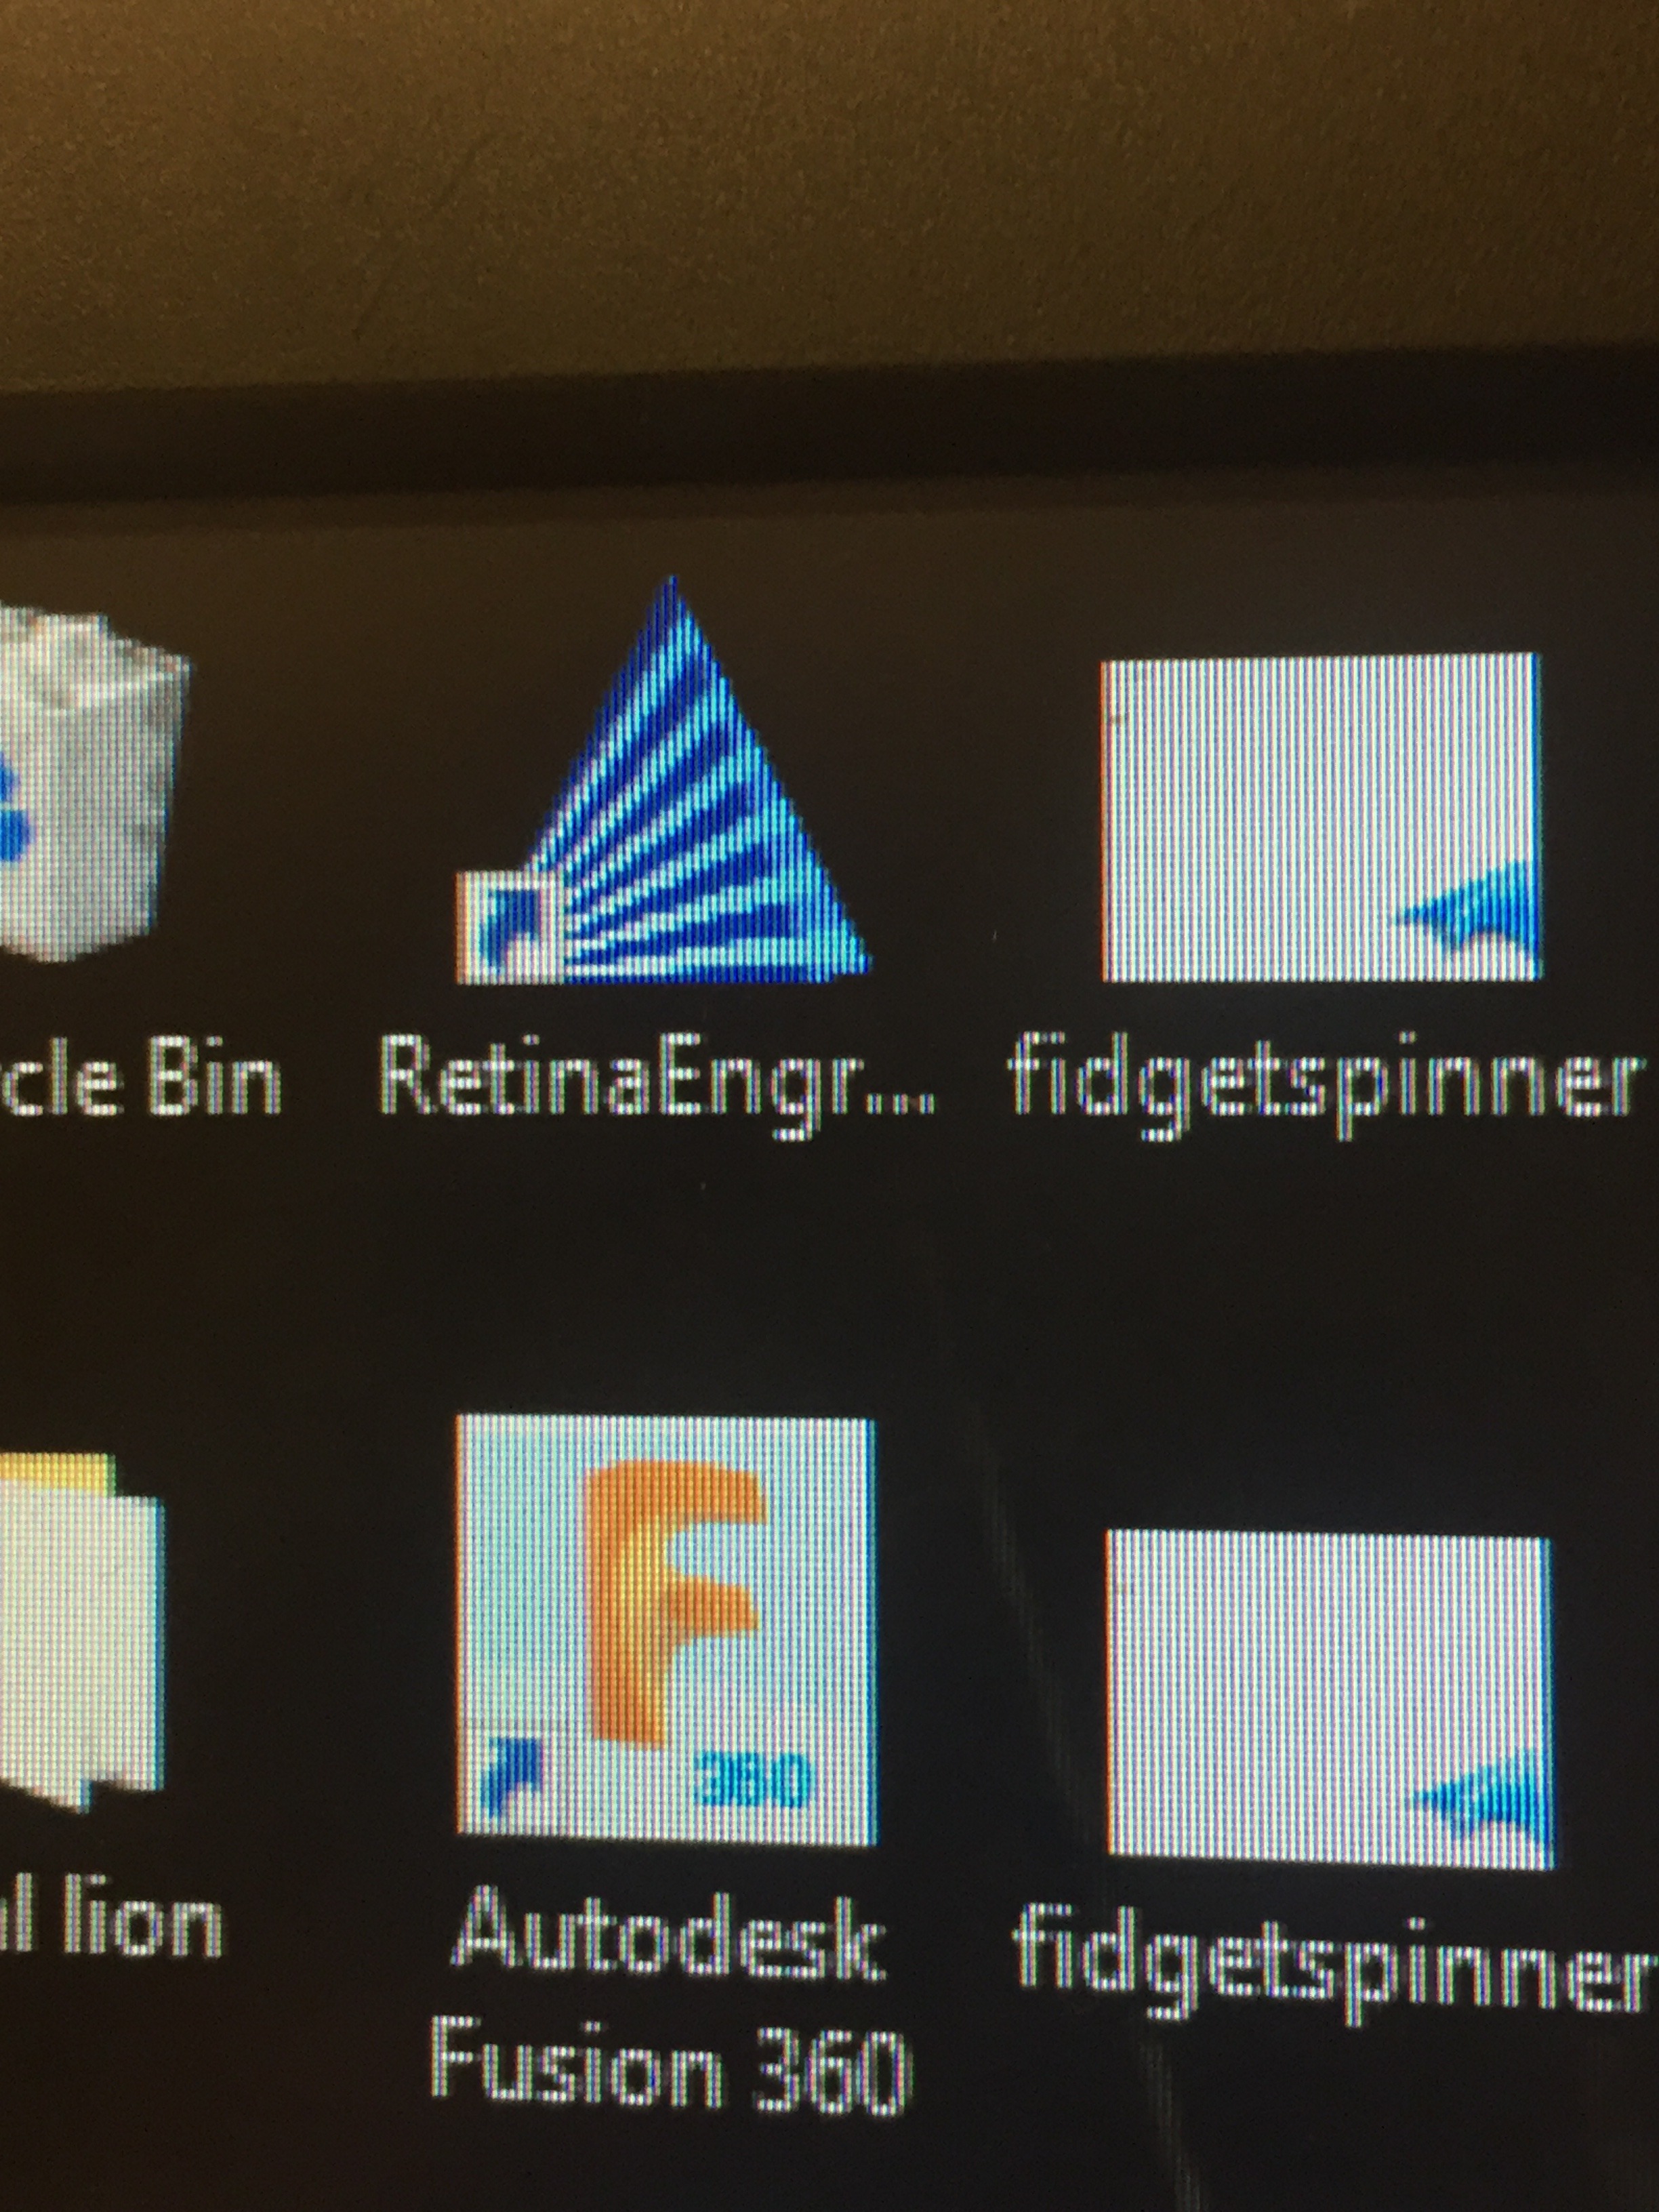
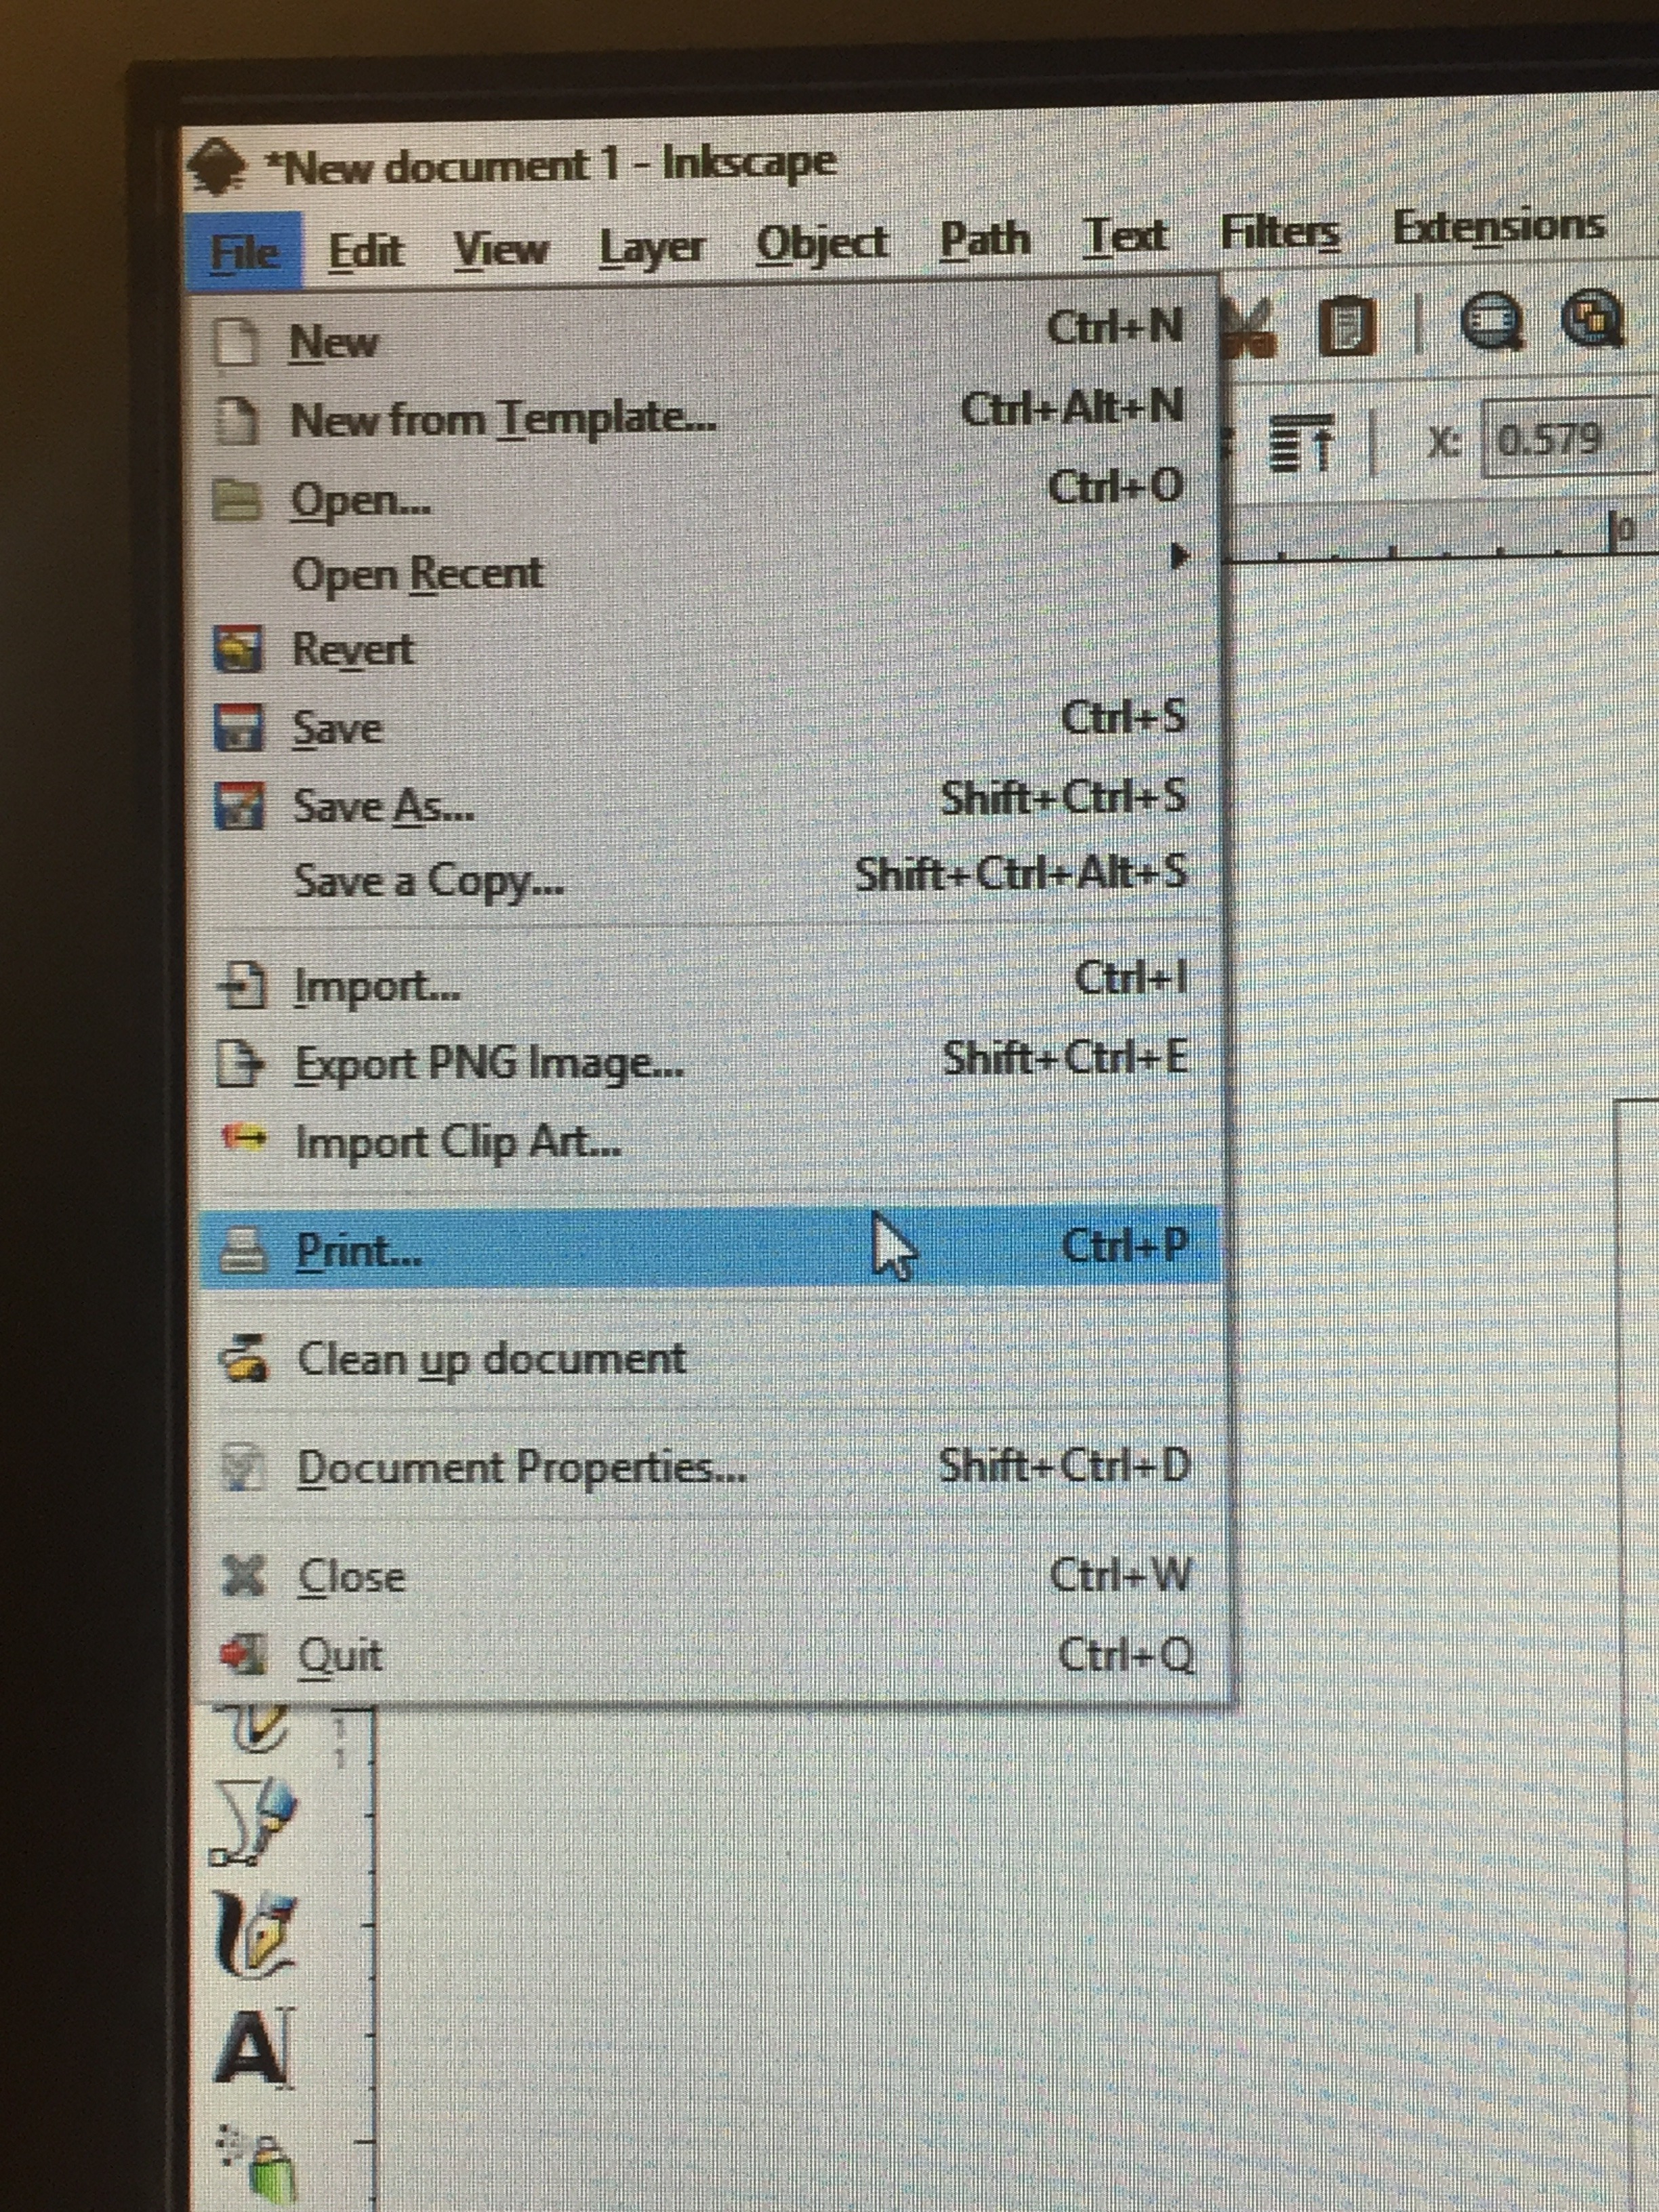
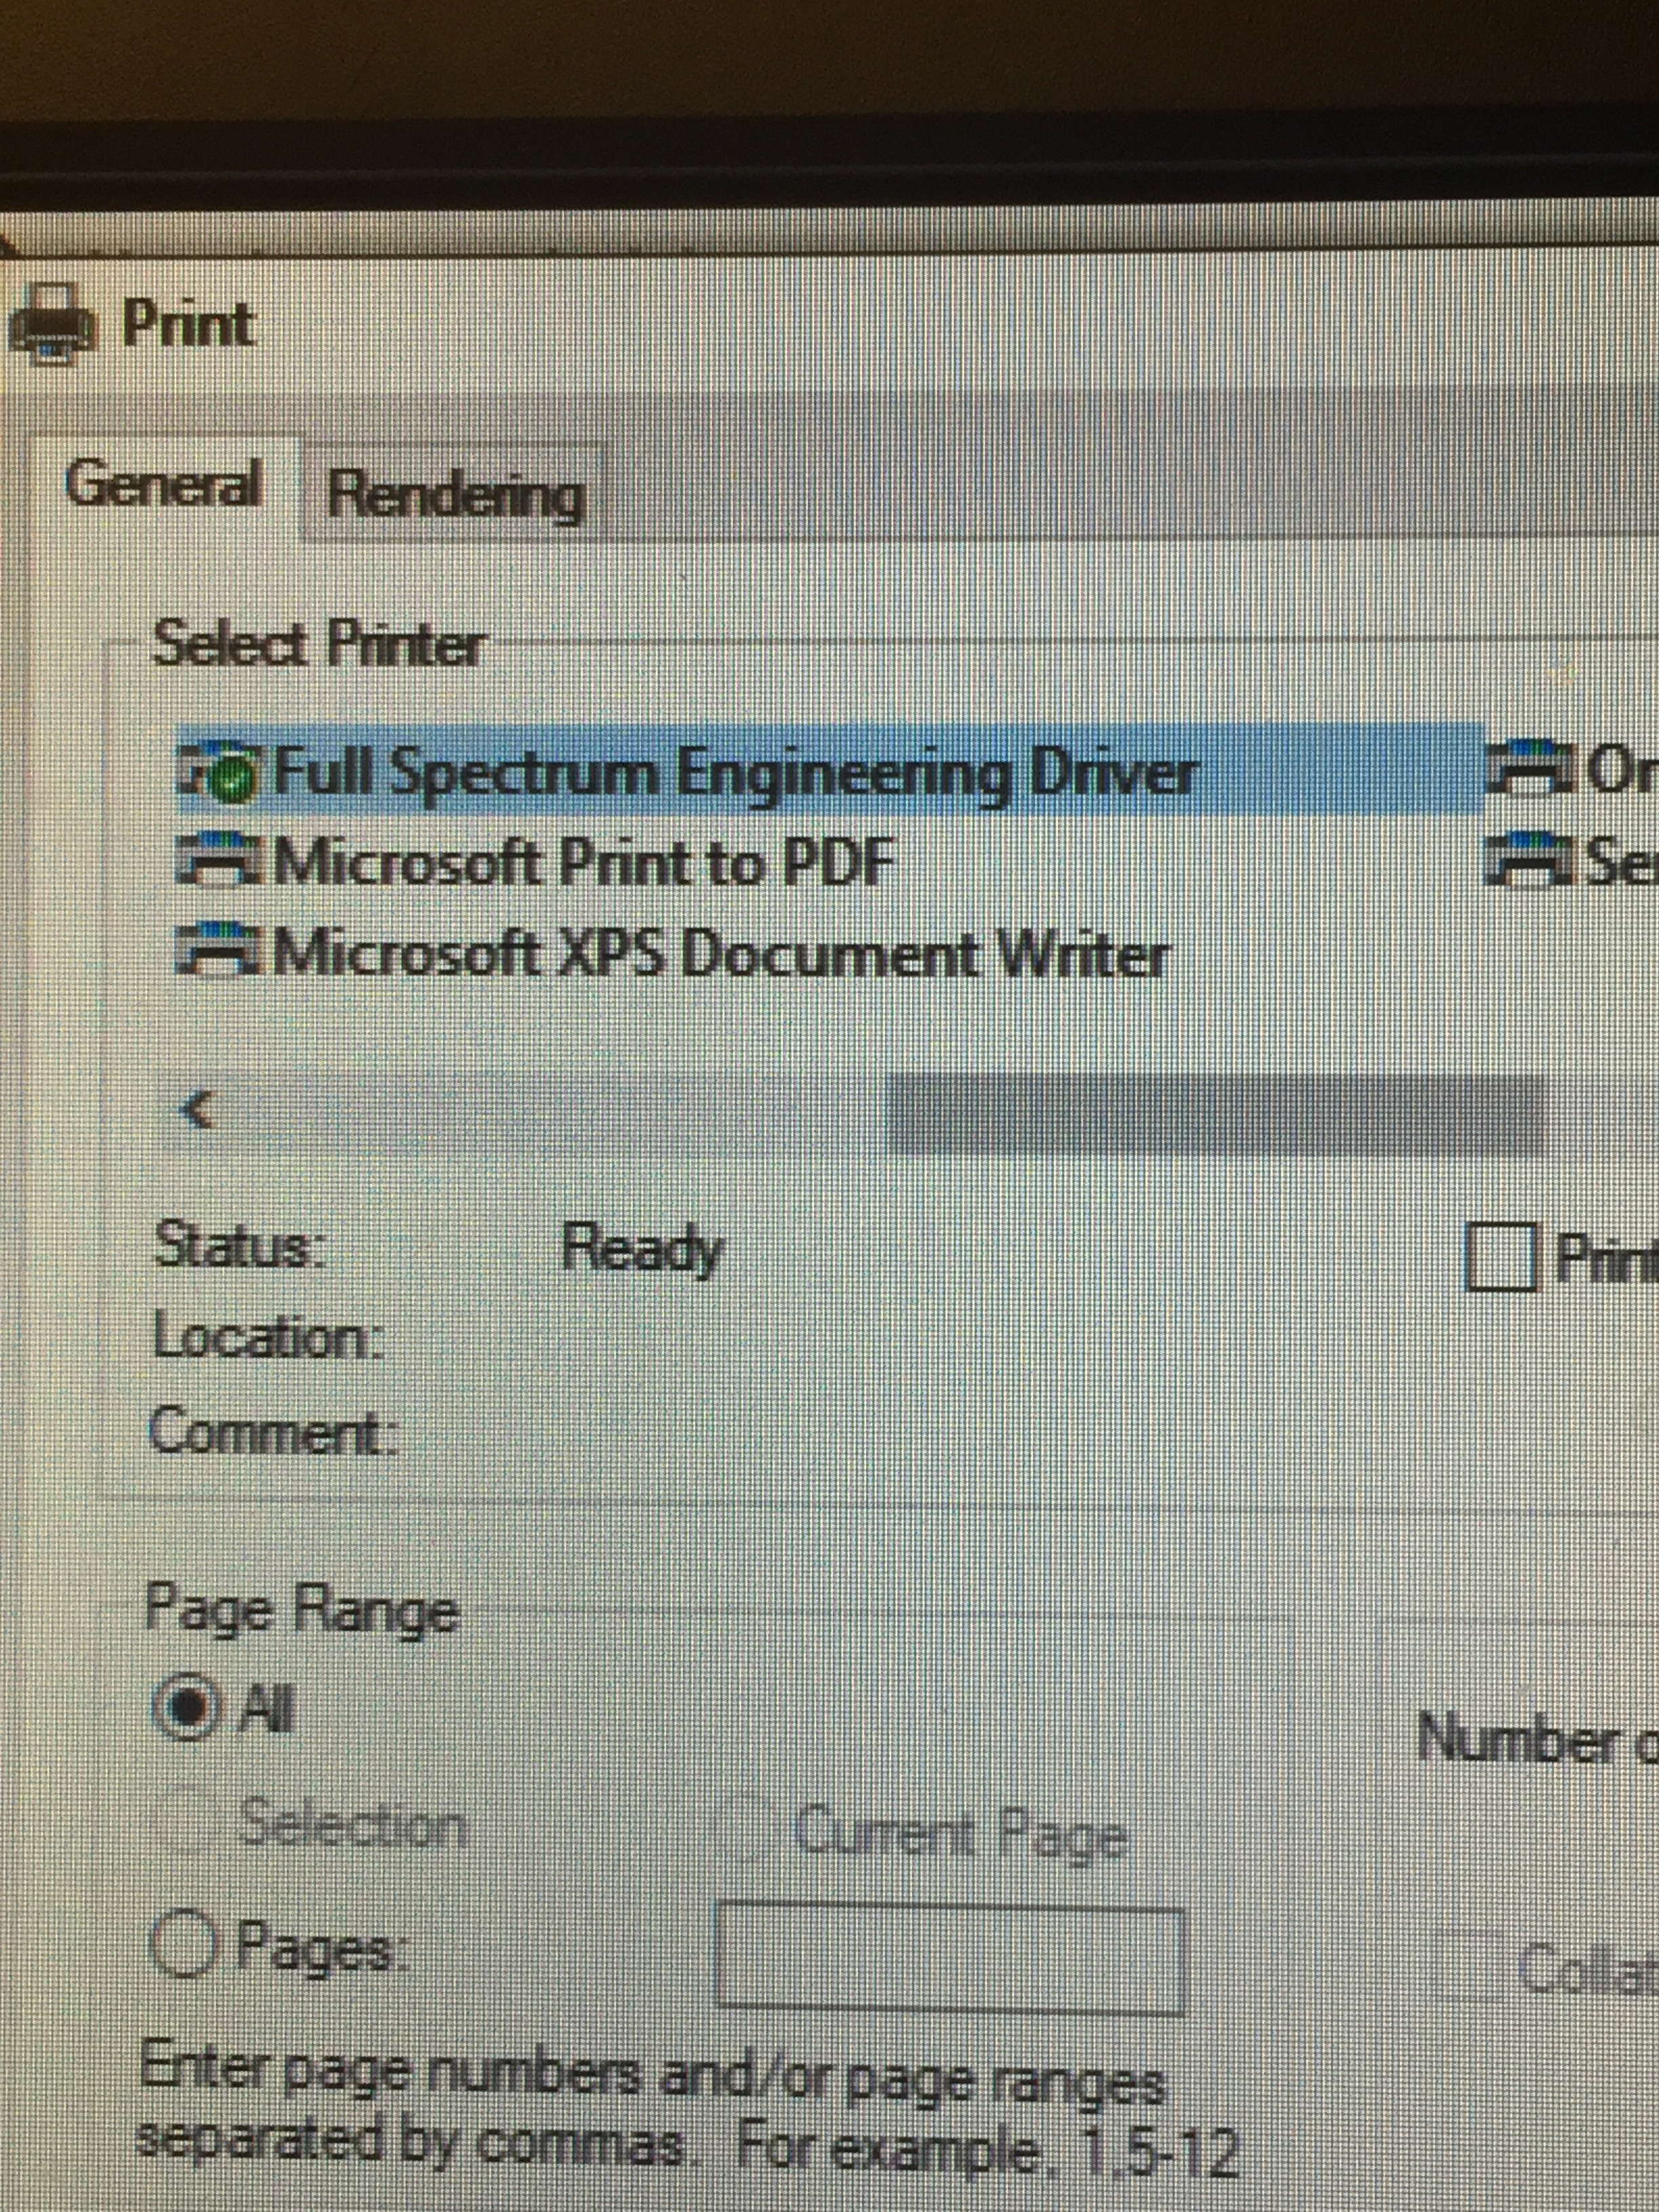
First, ensure the application RetinaEngrave is open. Pull up your design and go to File->Print. Make sure Full Spectrum Engineering Driver is selected as your printer. Press print.
Setting Up Your Job
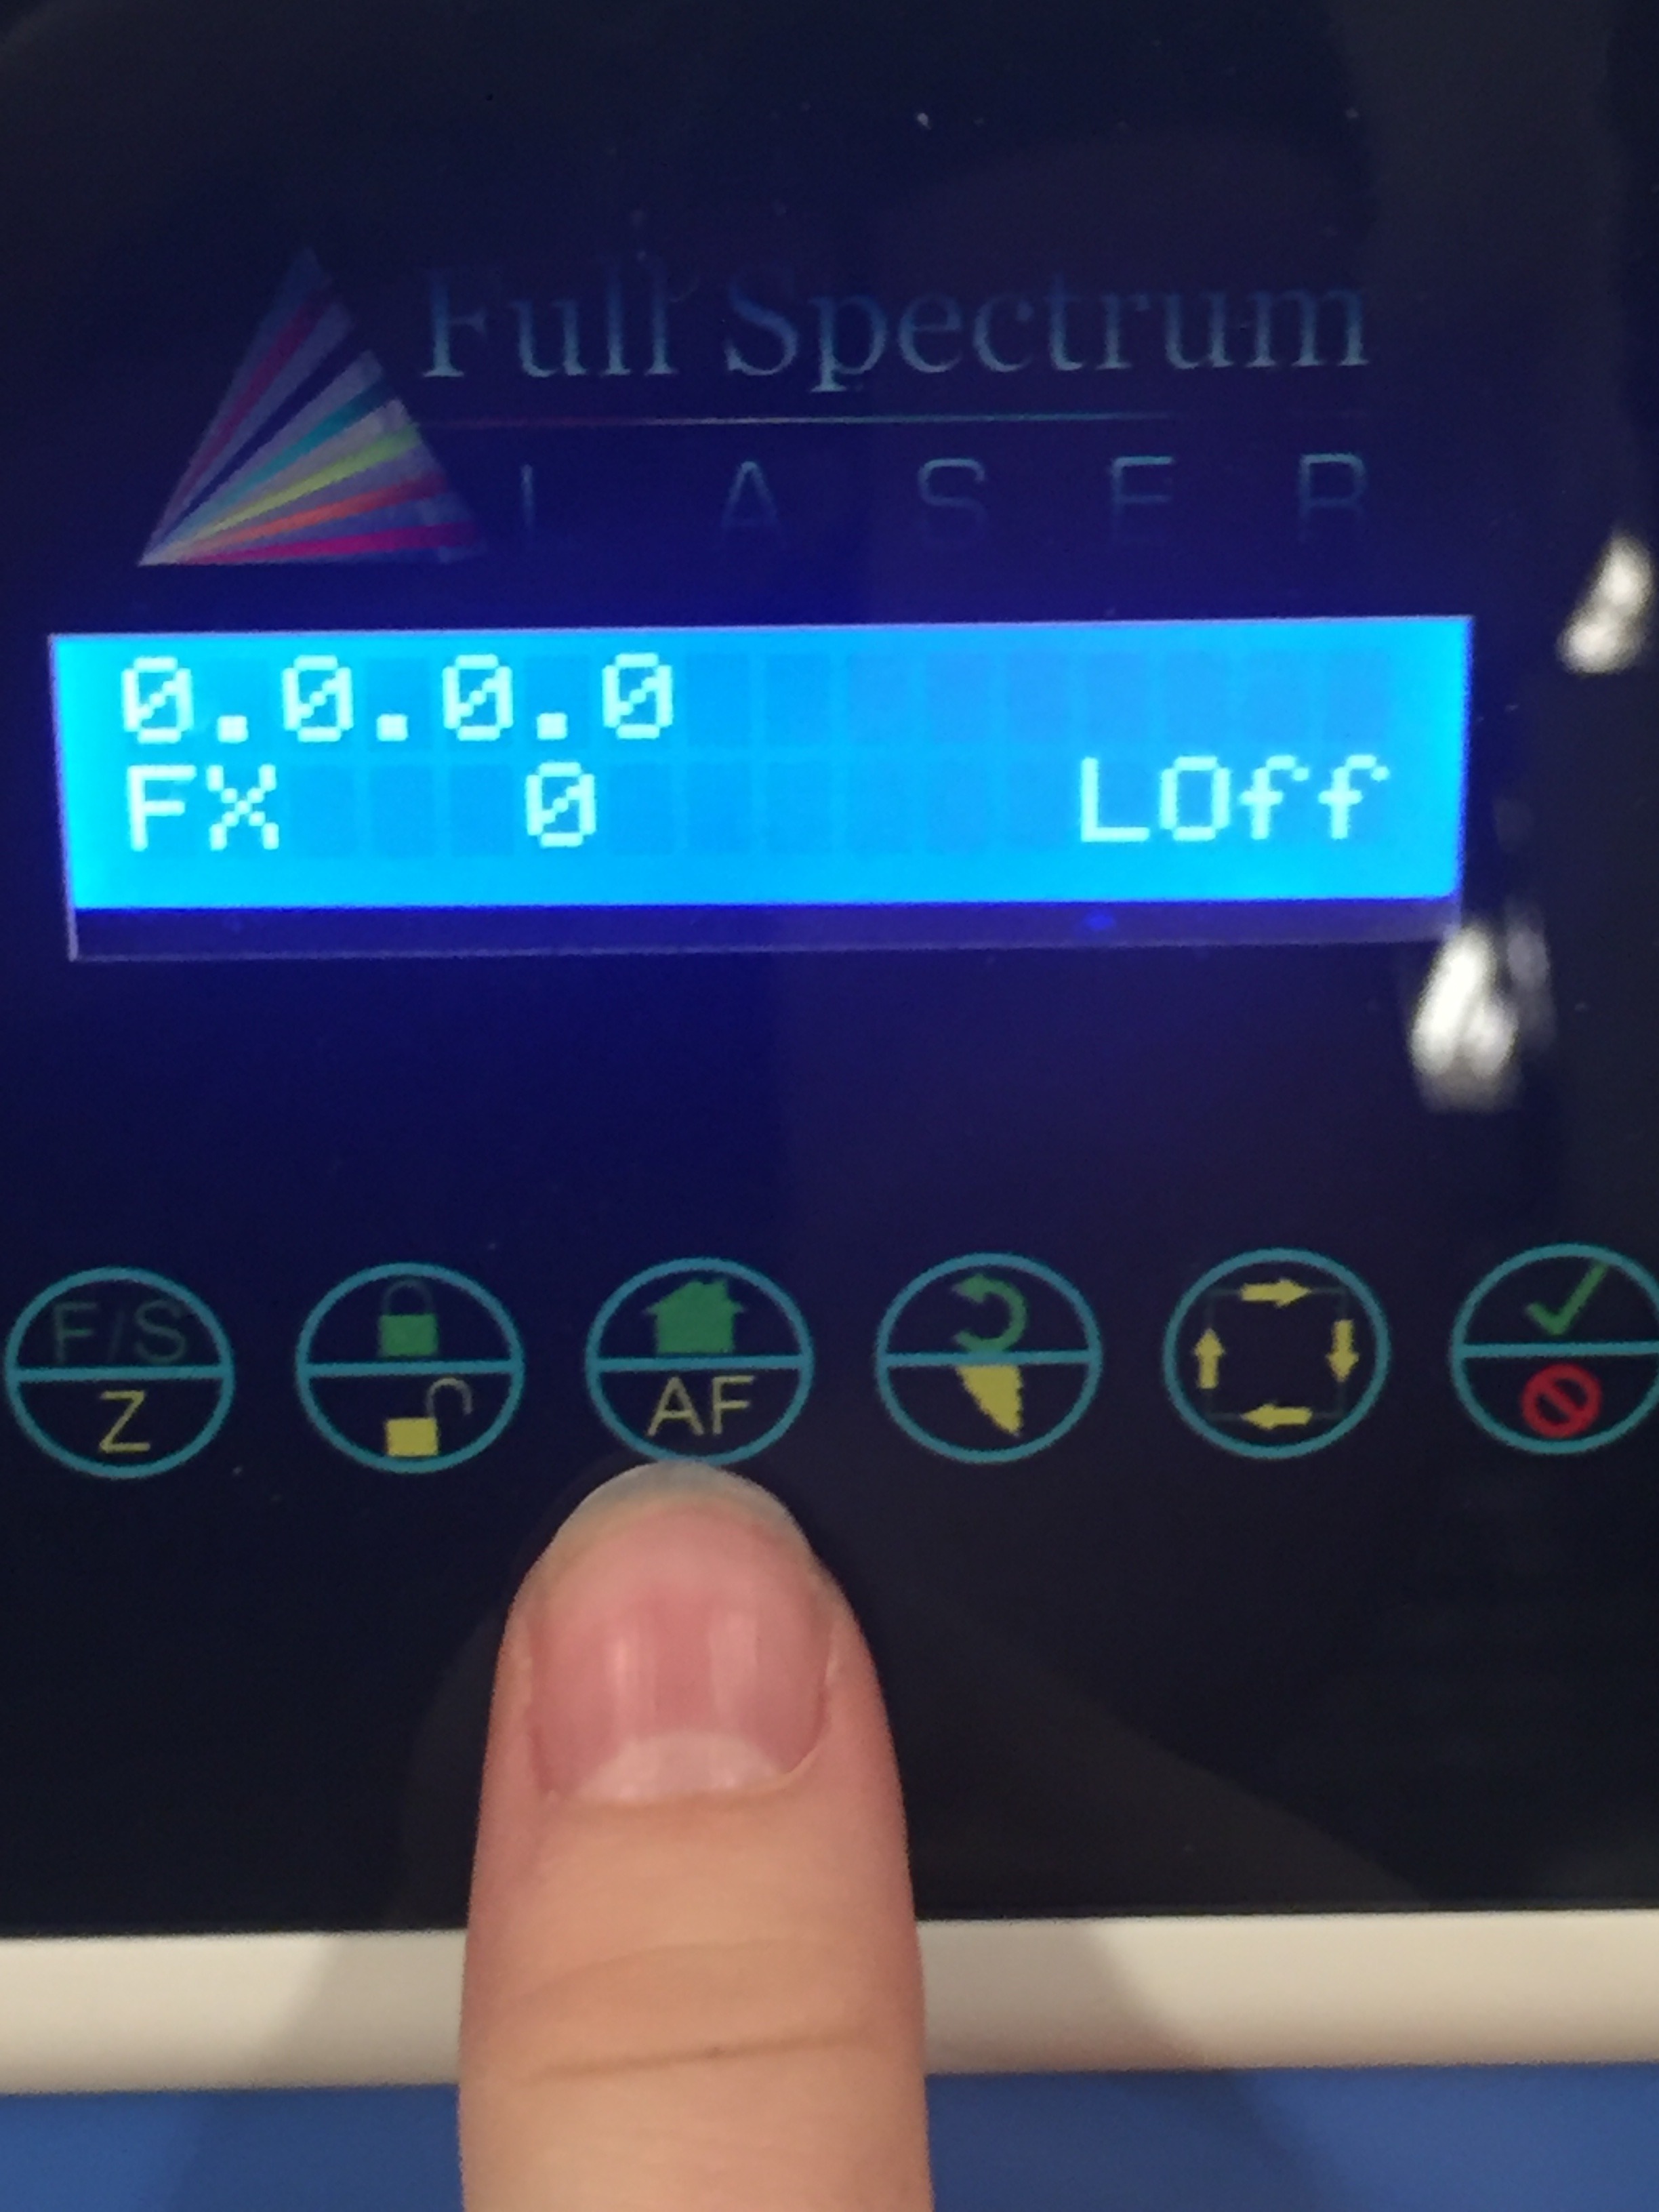
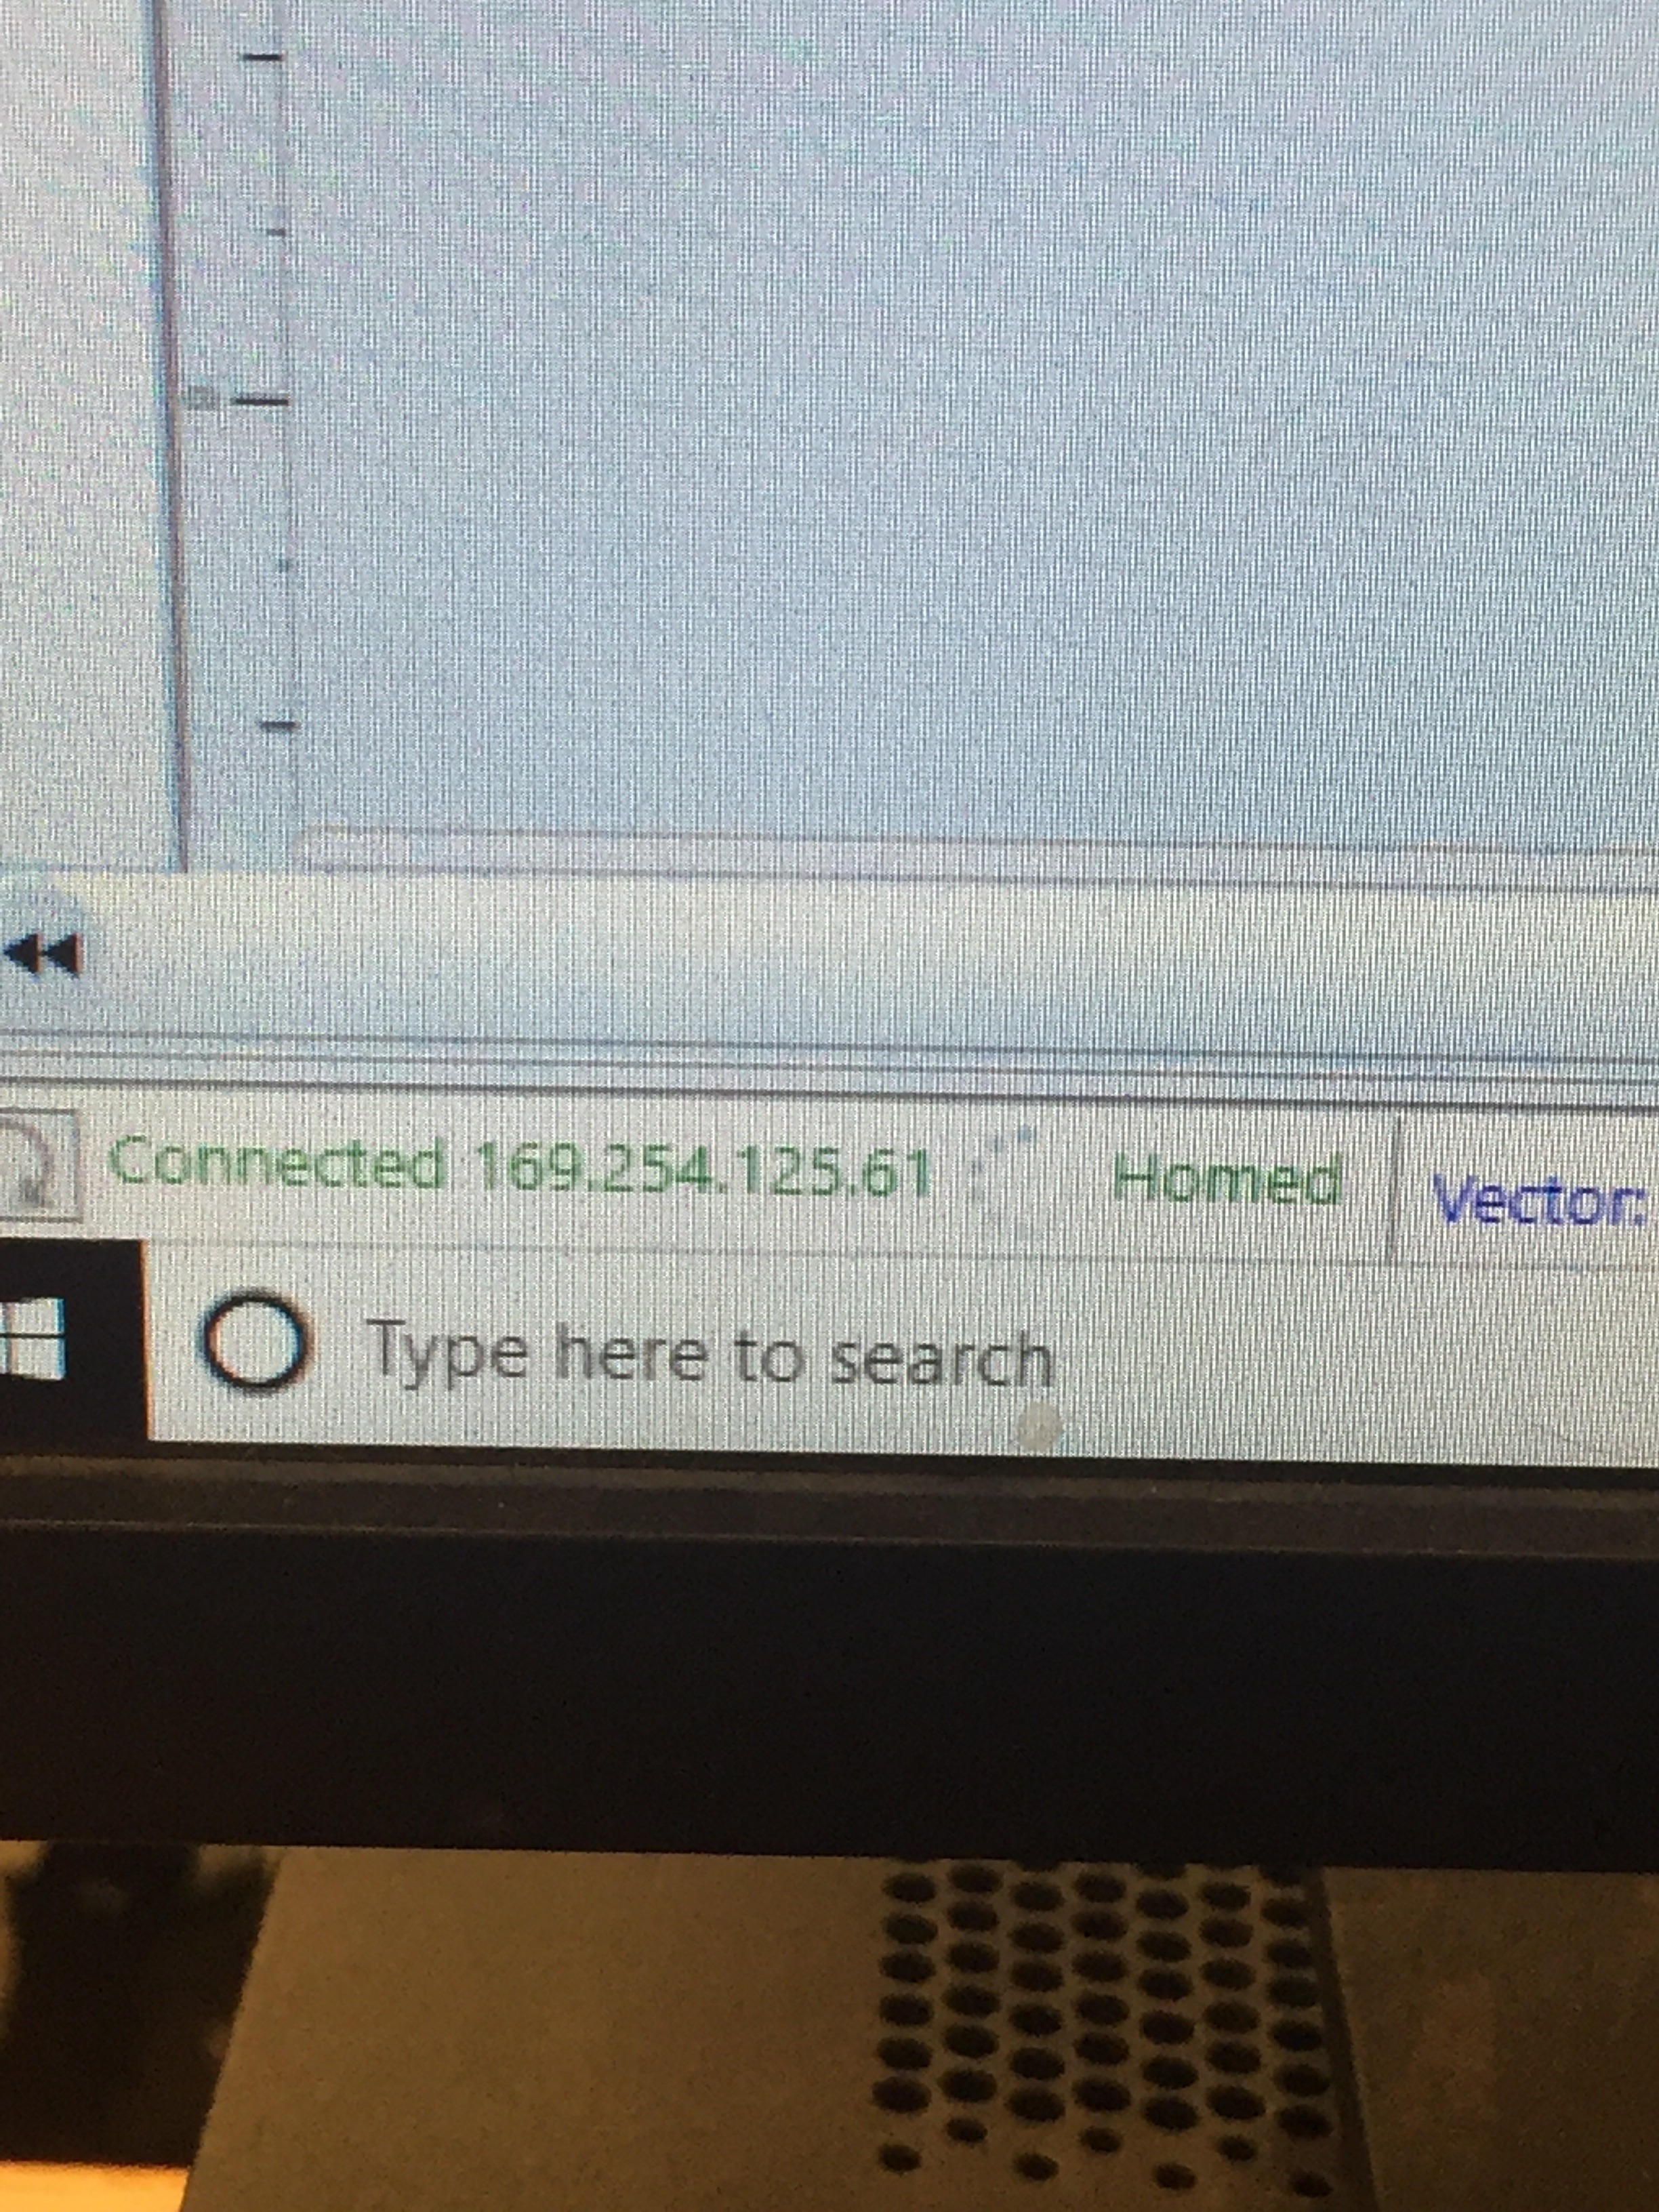
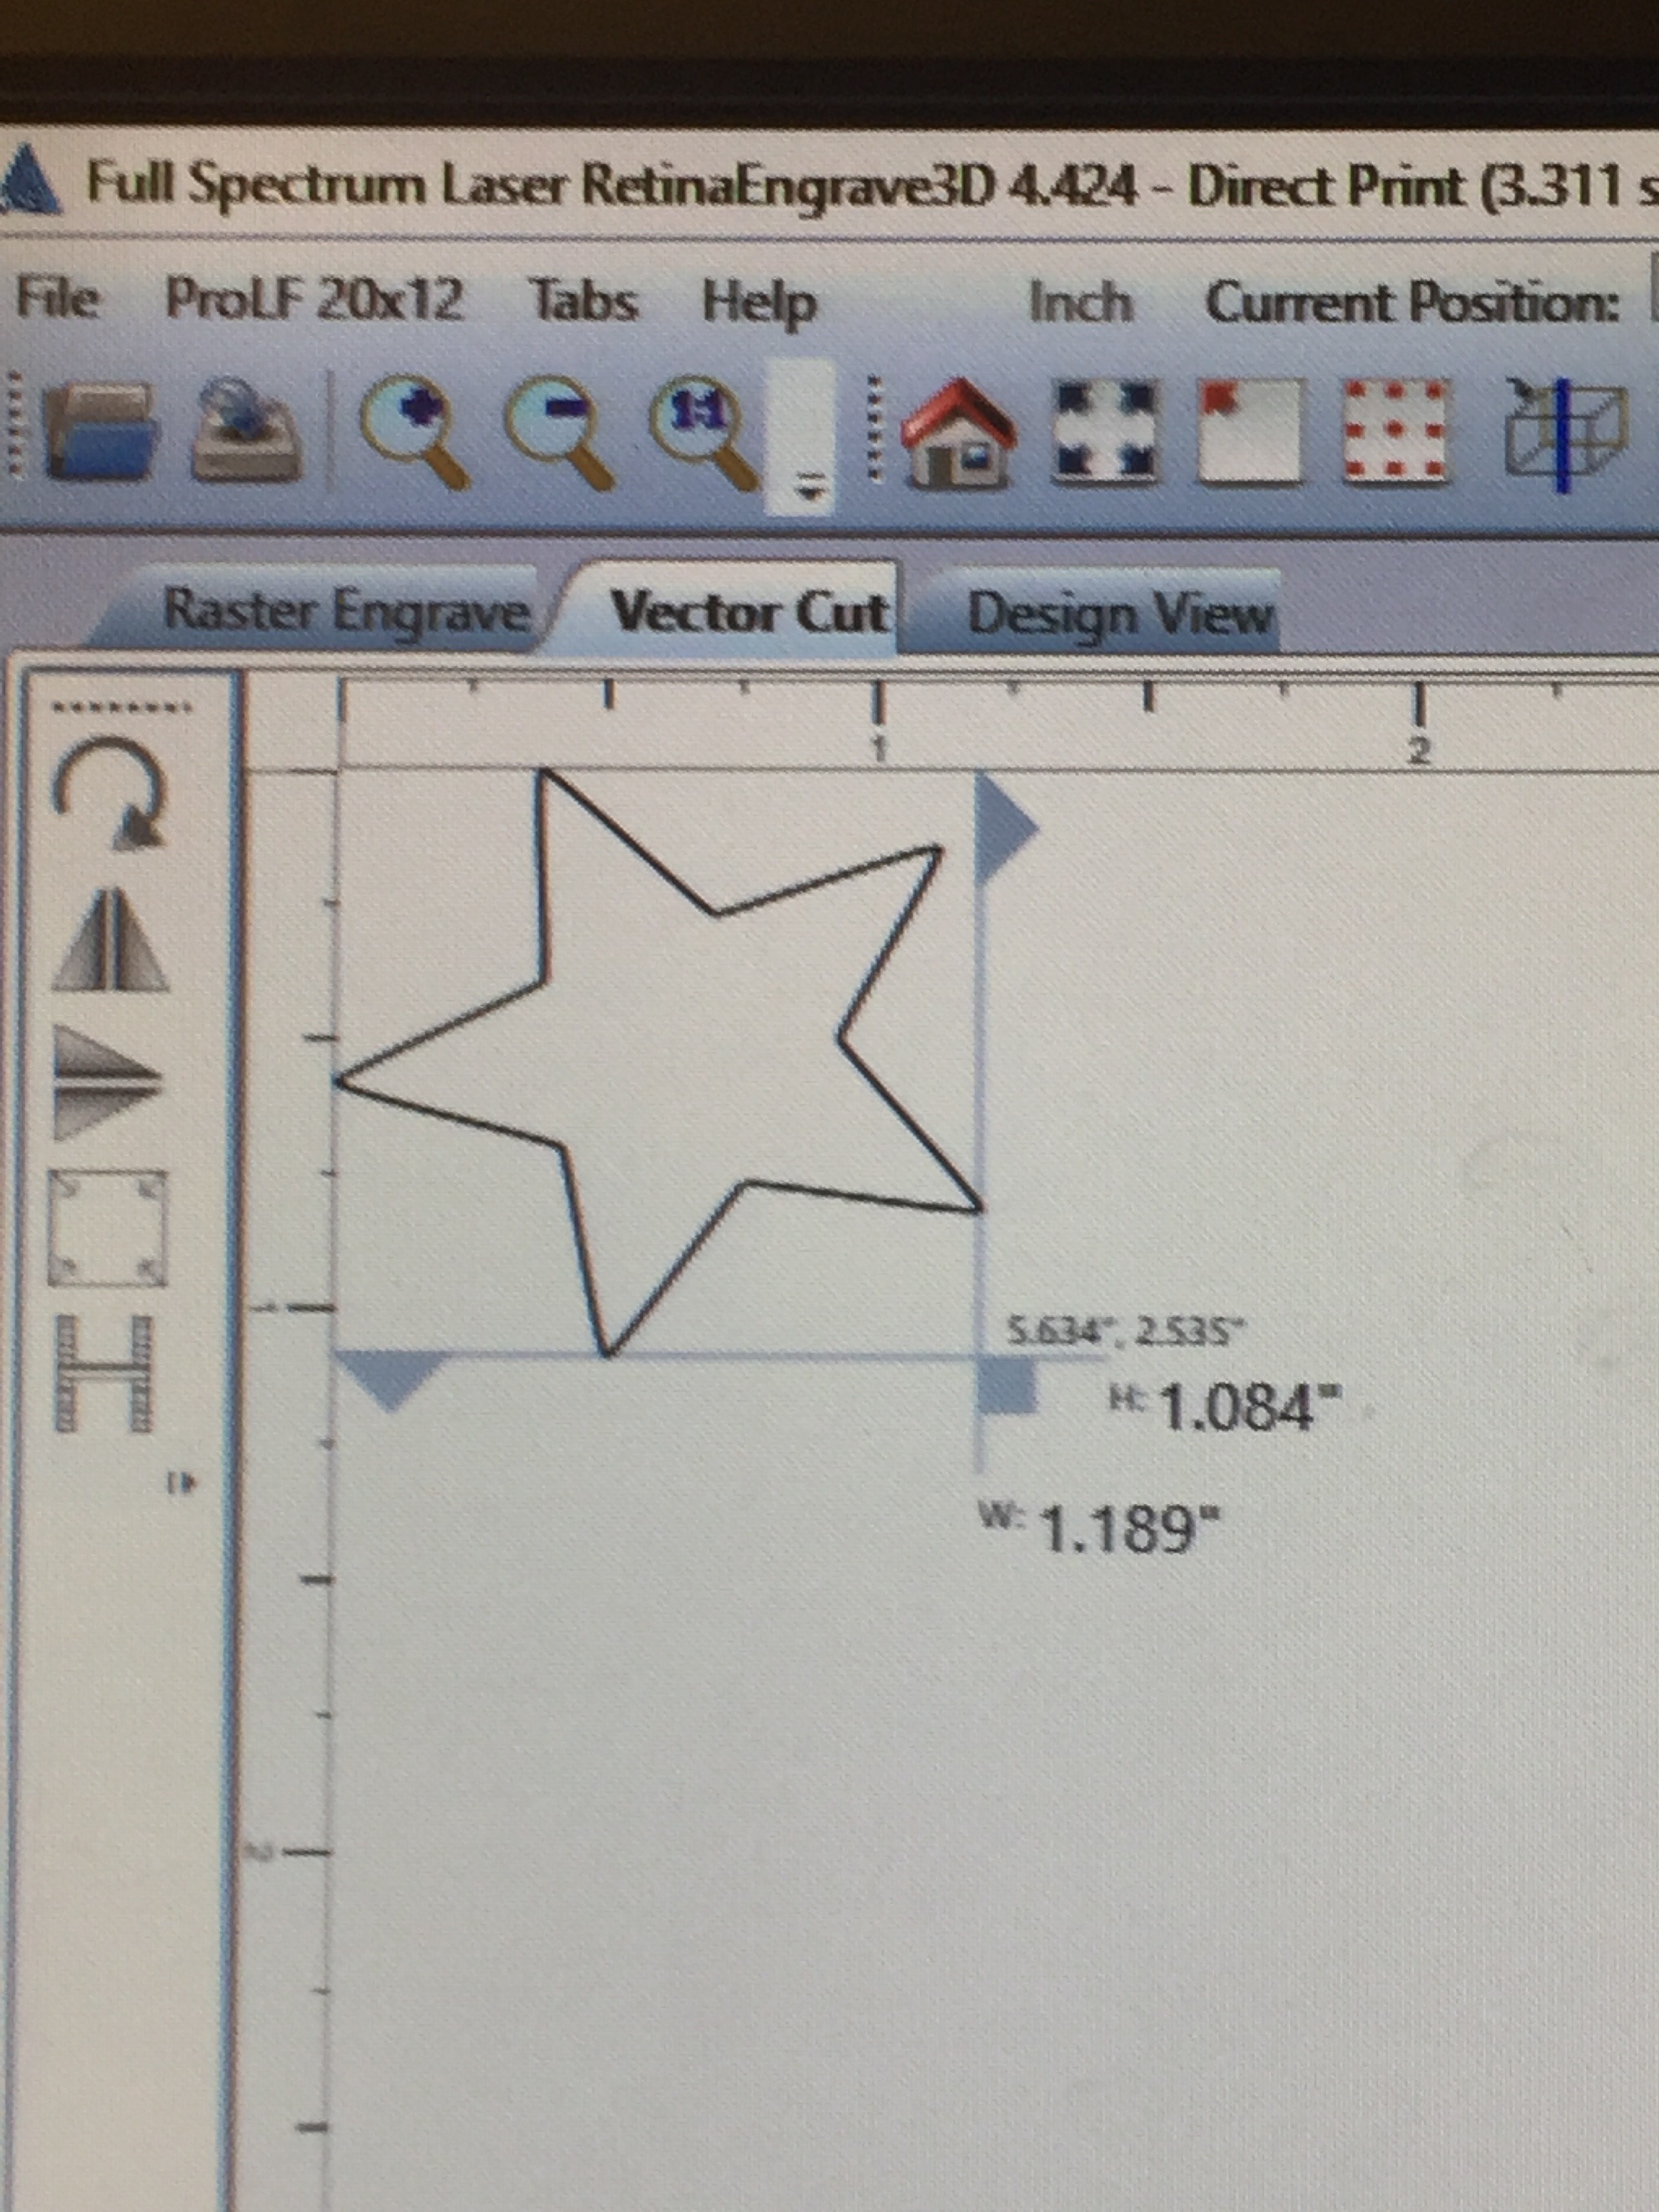
On the laser cutter, press the button with a green house to home the laser. In RetinaEngrave, ensure the bottom left corner of the monitor is showing a 'connected' message and your design is properly displayed in the correct format (raster engrave or vector cut, depending on what you want to do).
Running a Job Perimeter
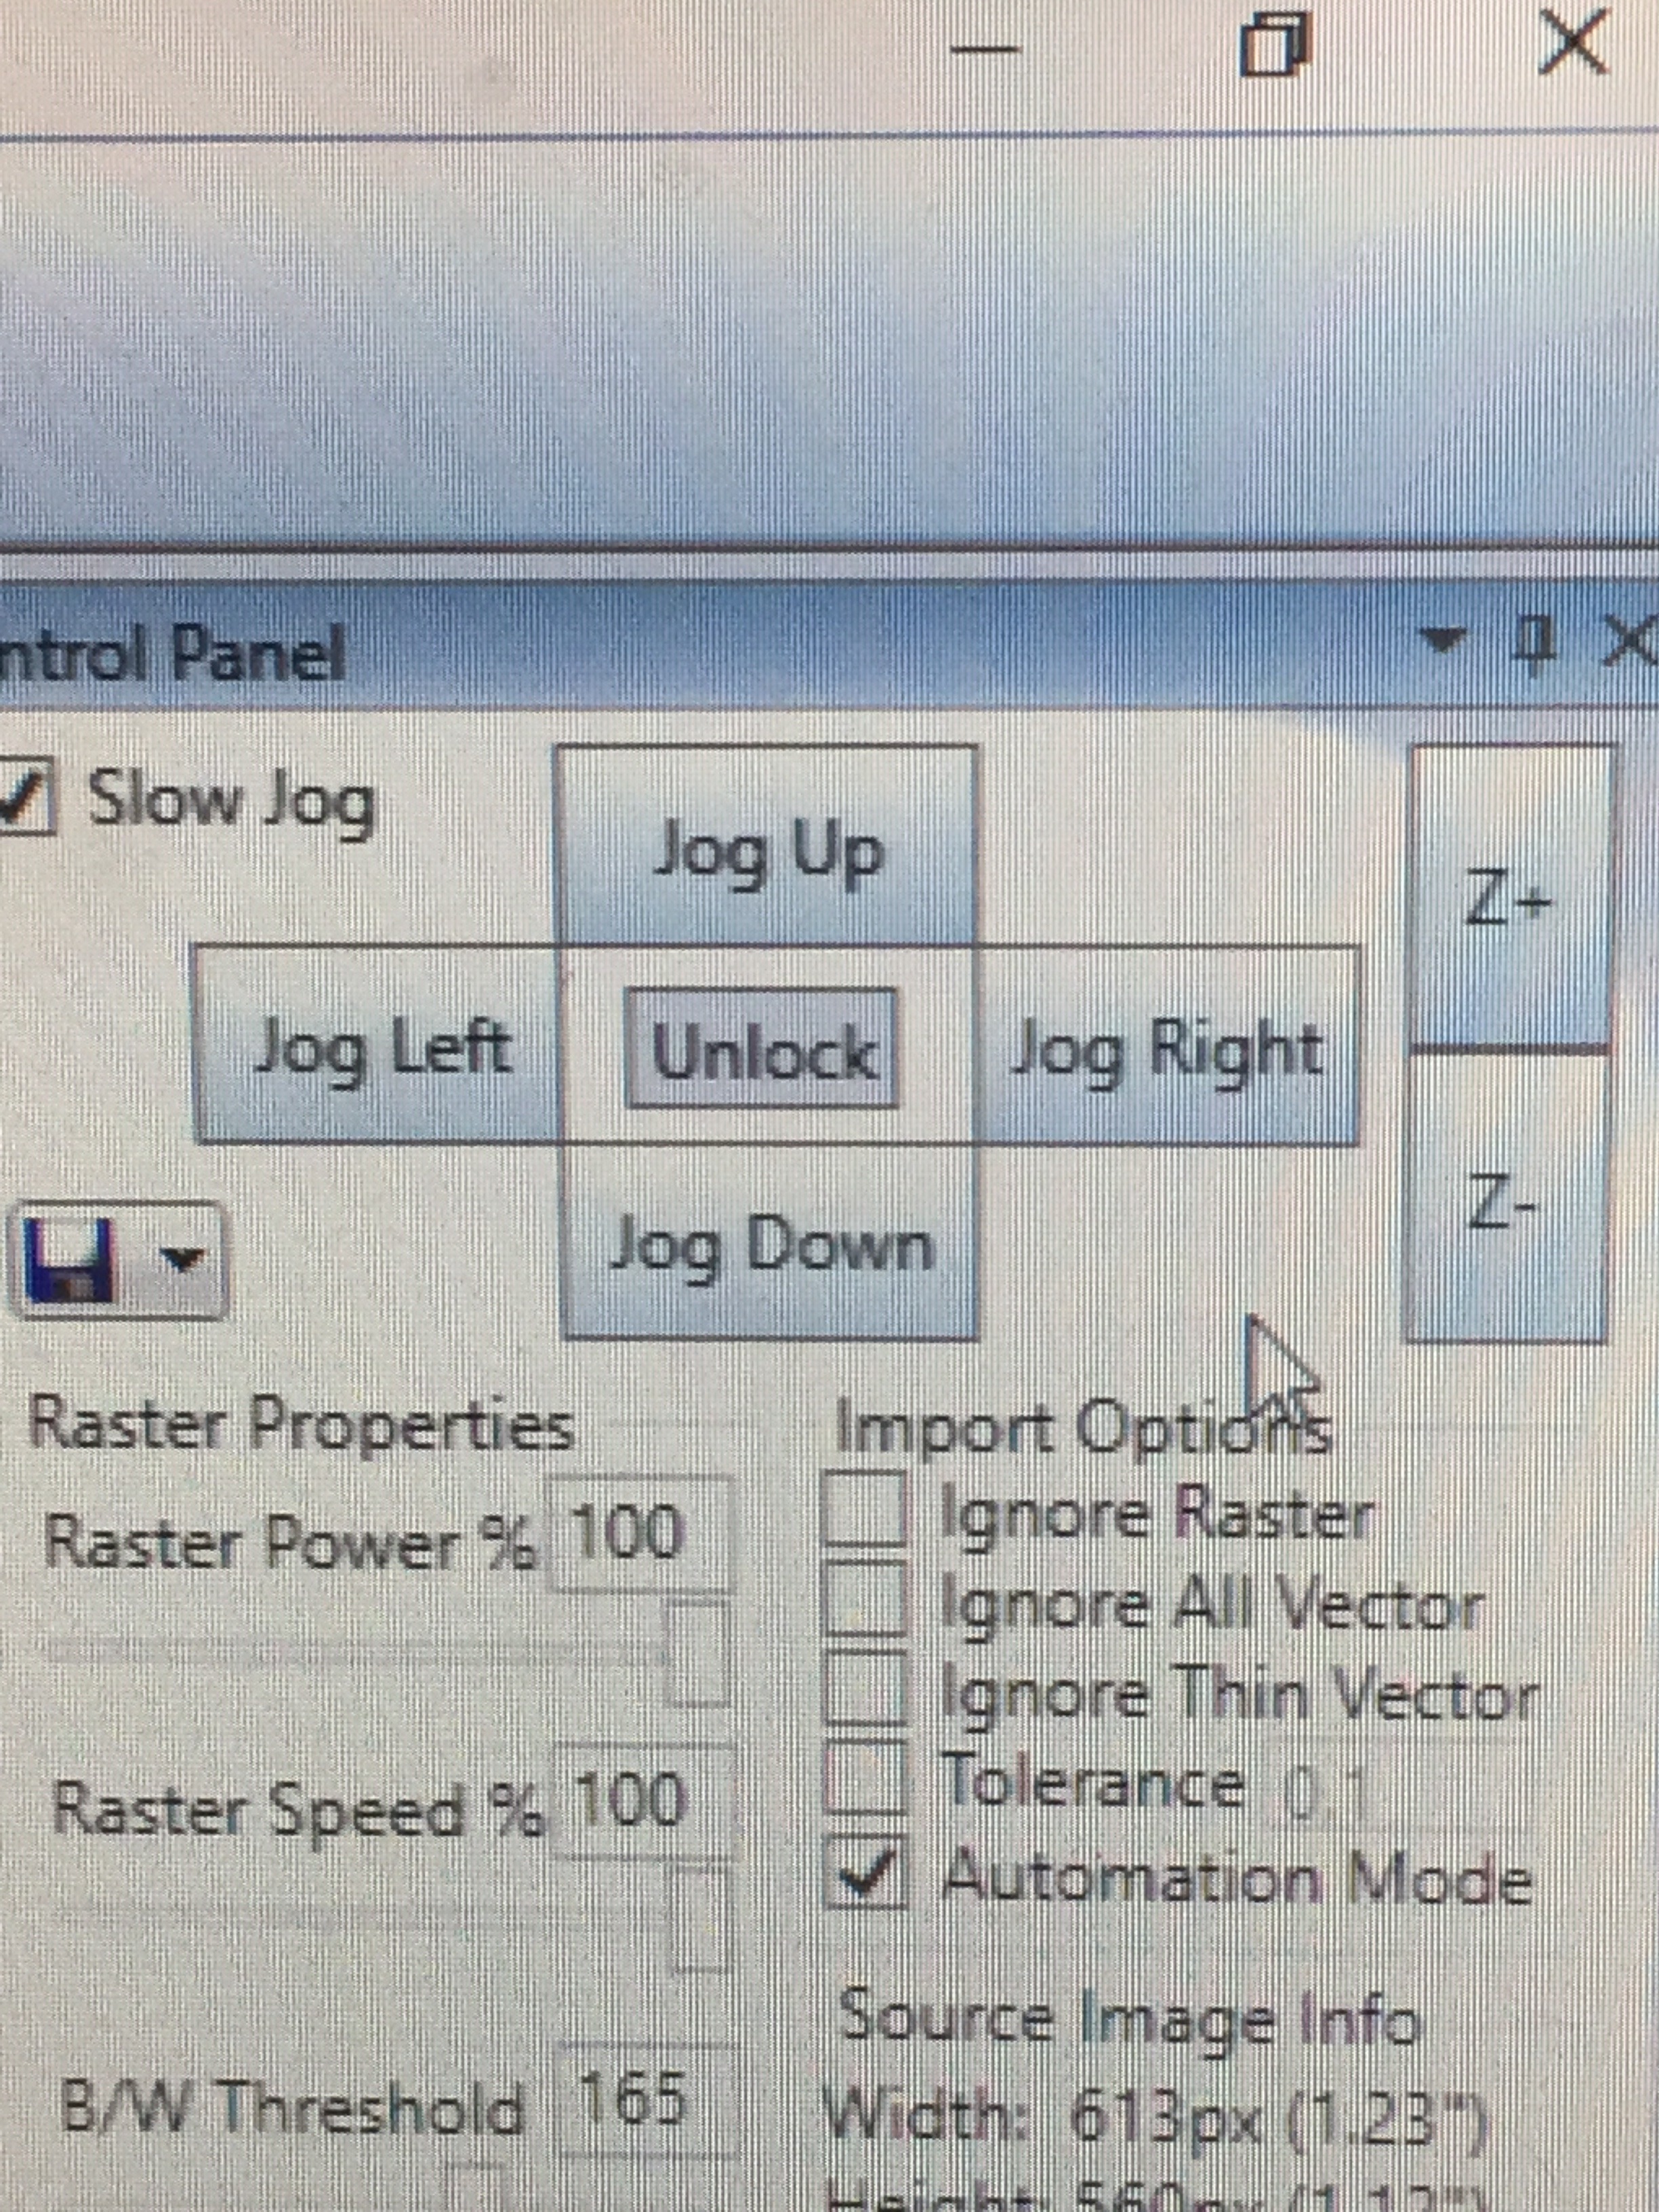
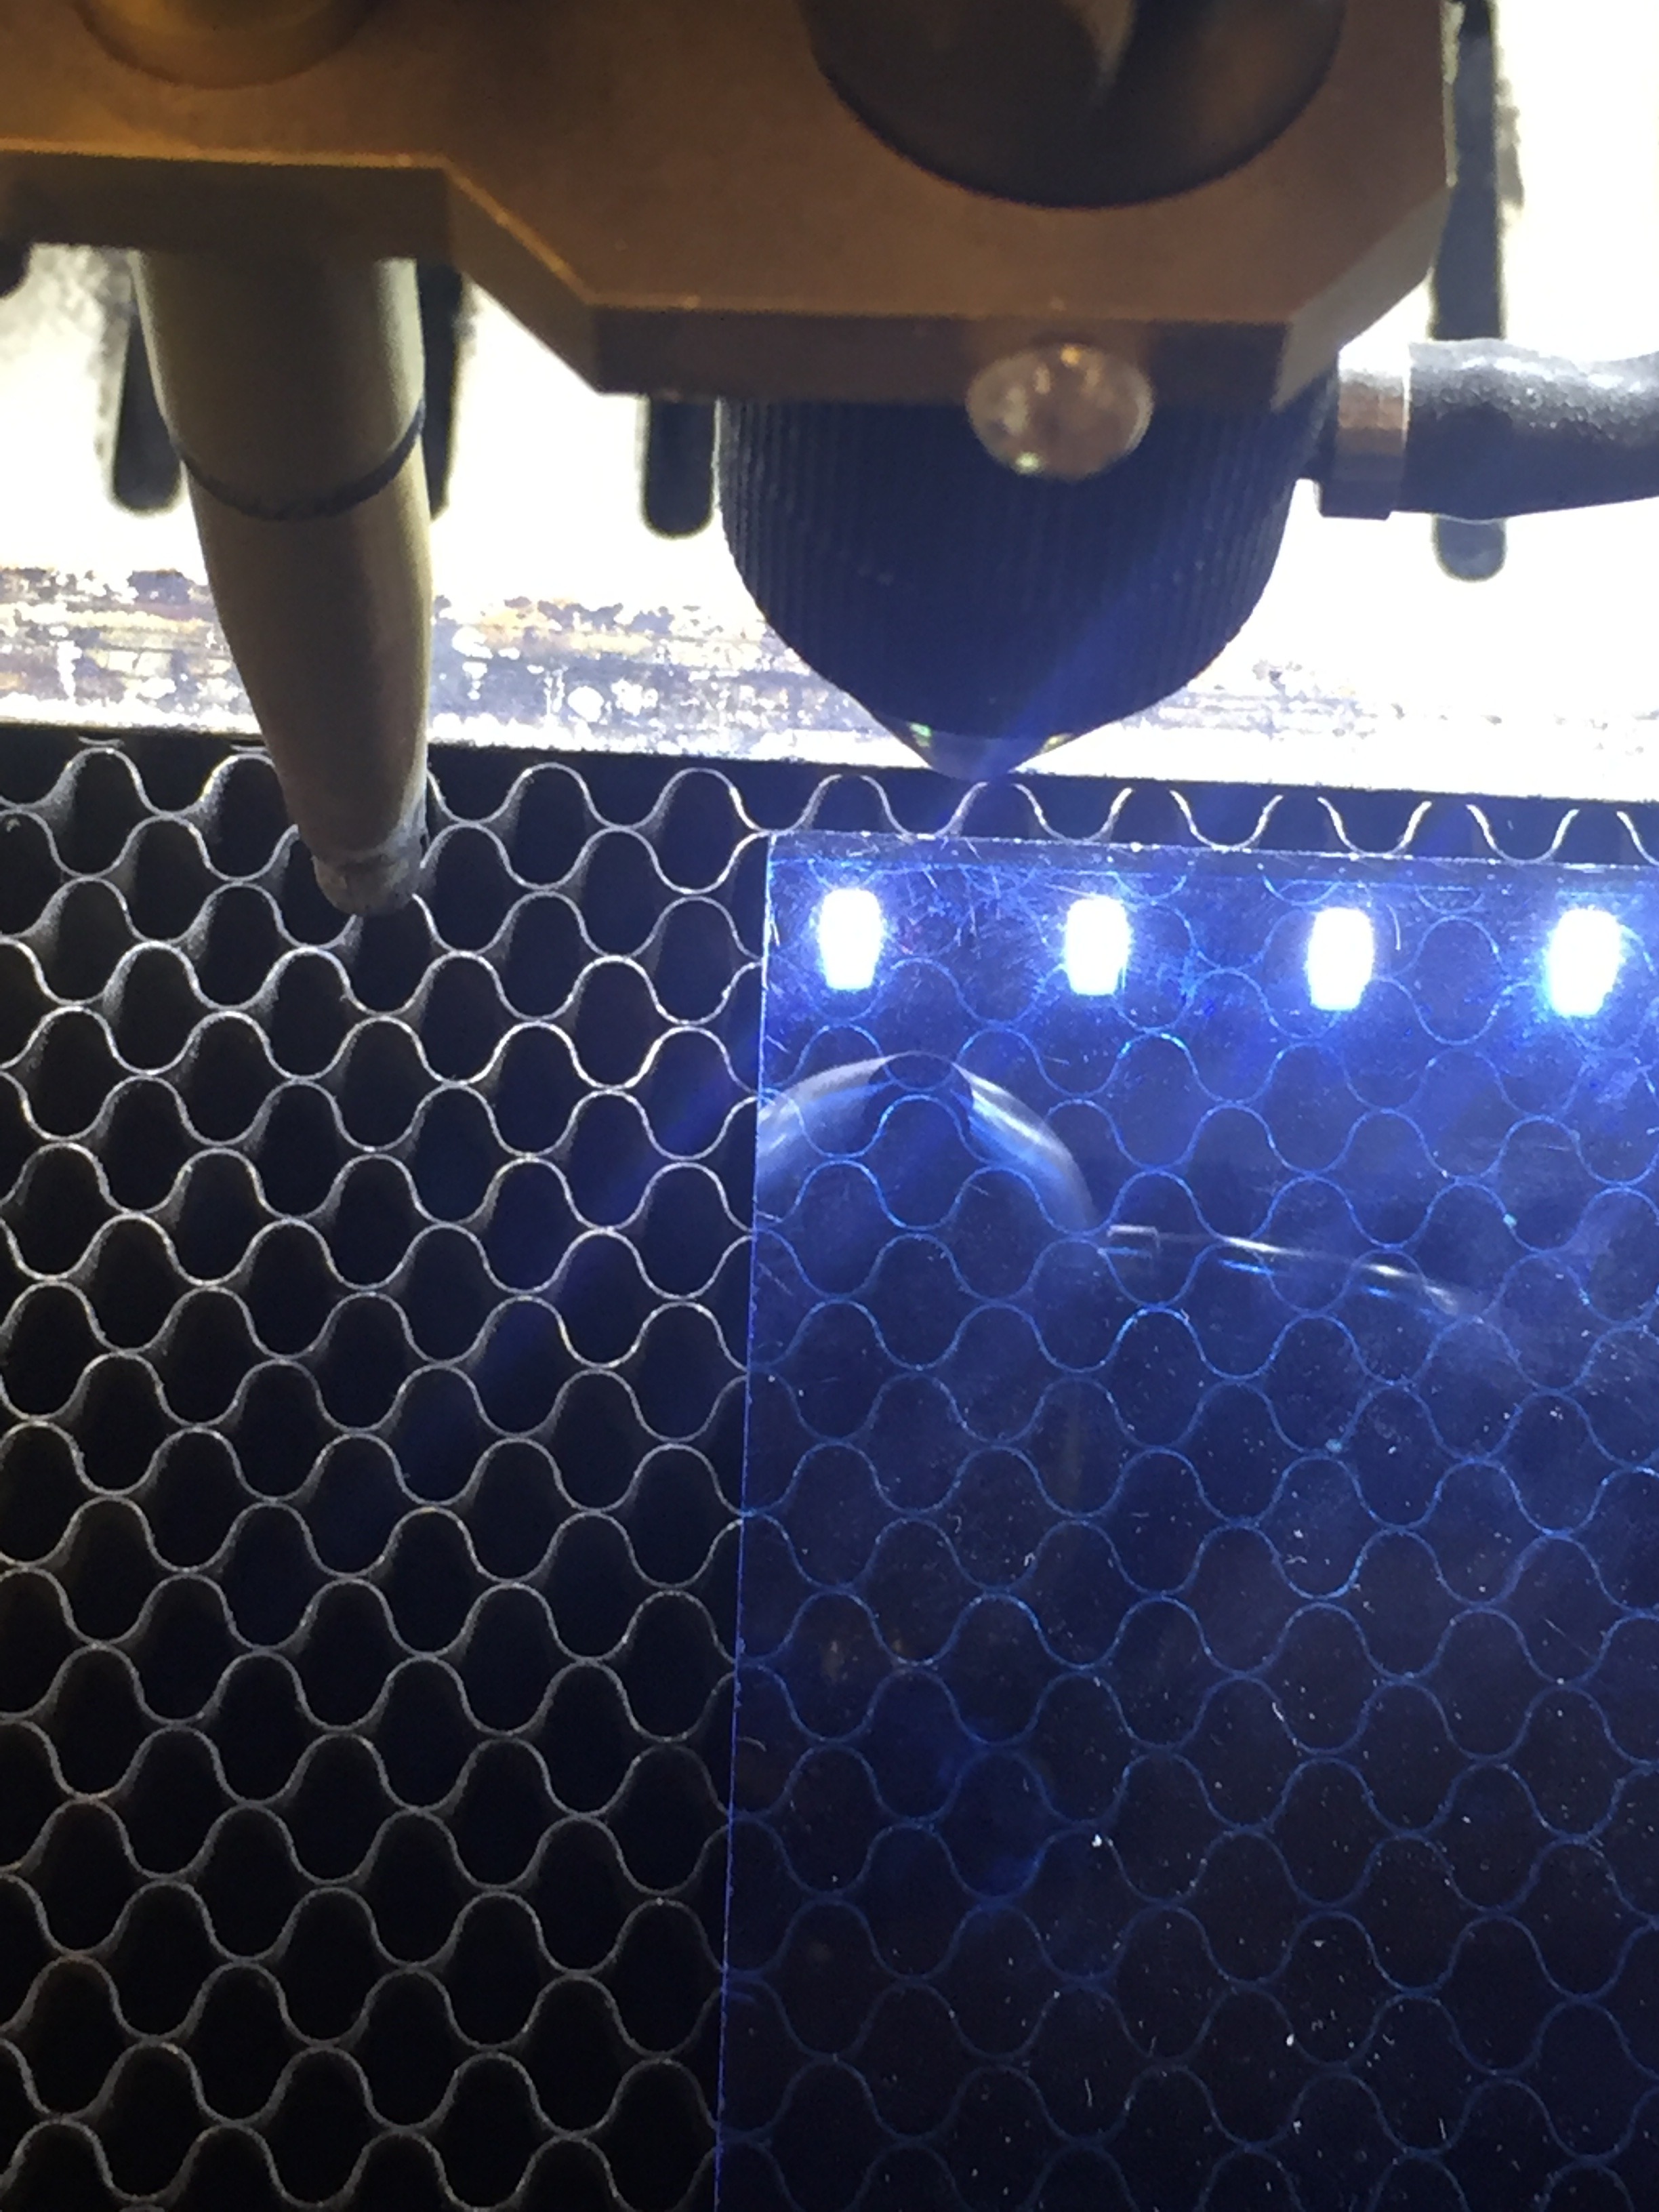
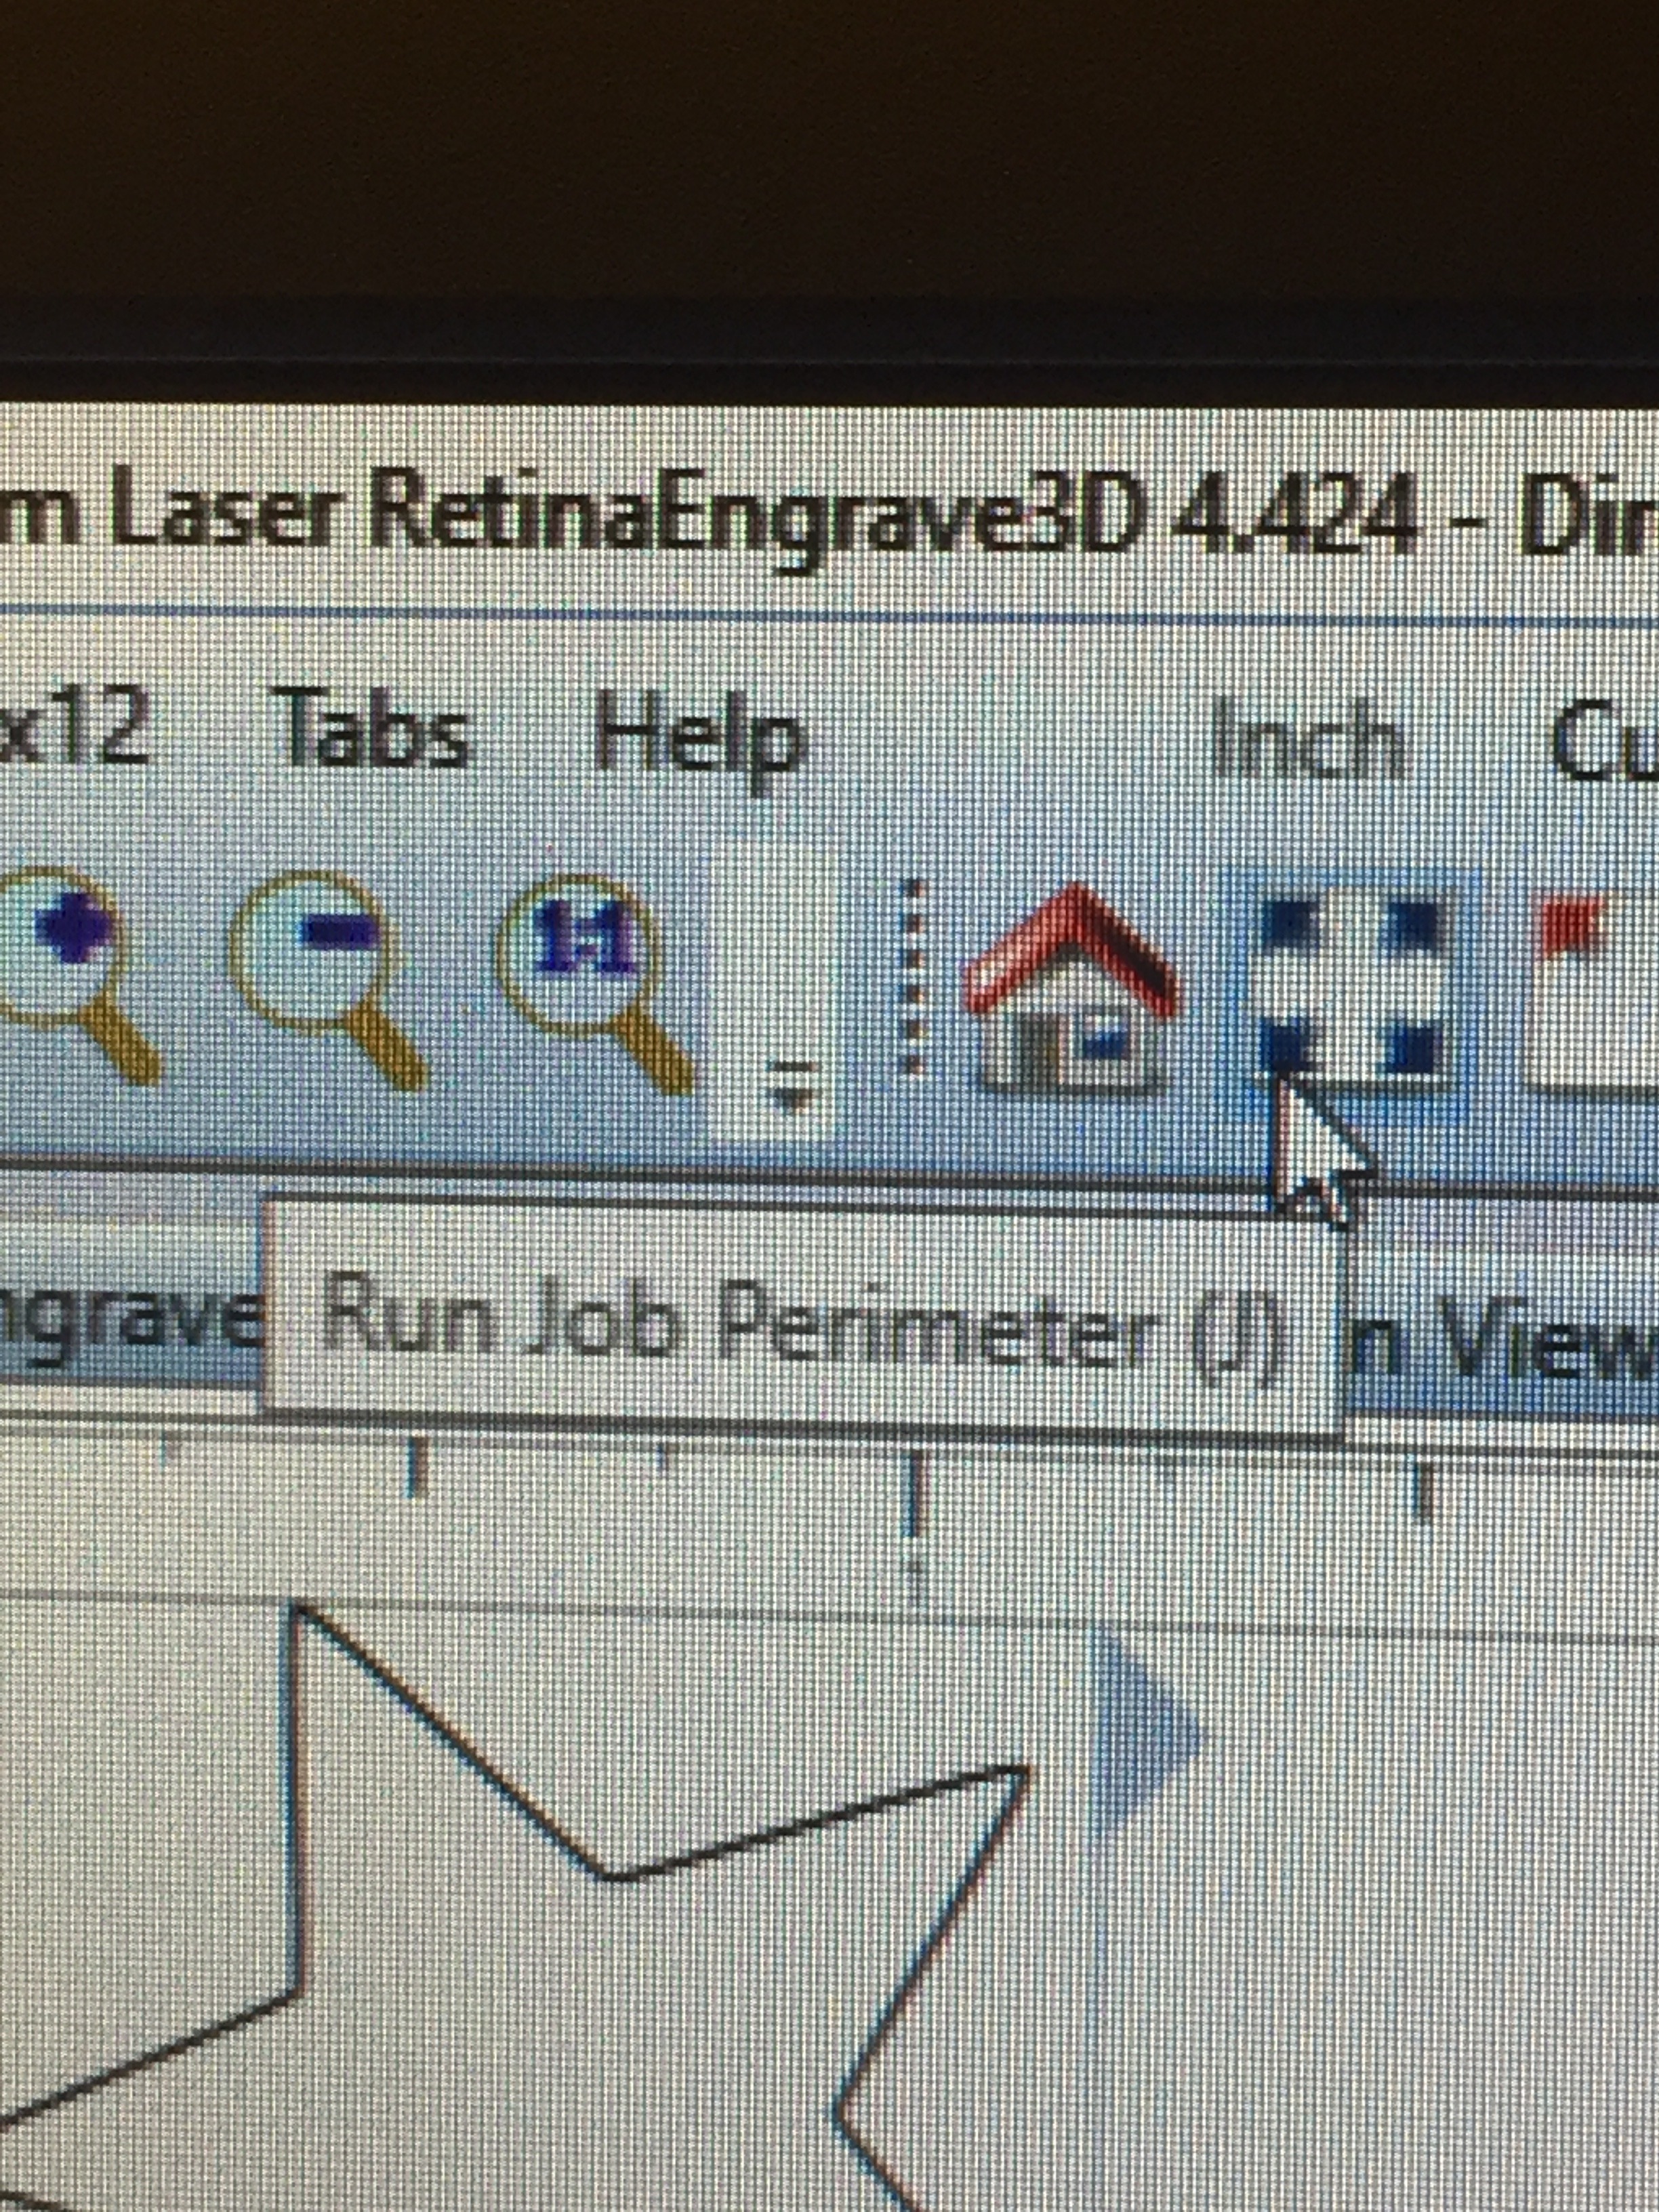
Use the 'jog' controls in RetinaEngrave to move the red laser dot to the upper left corner of your material. Then click 'run job perimeter' and wait for the laser dot to return to the upper left corner of your material.
Running Your Job
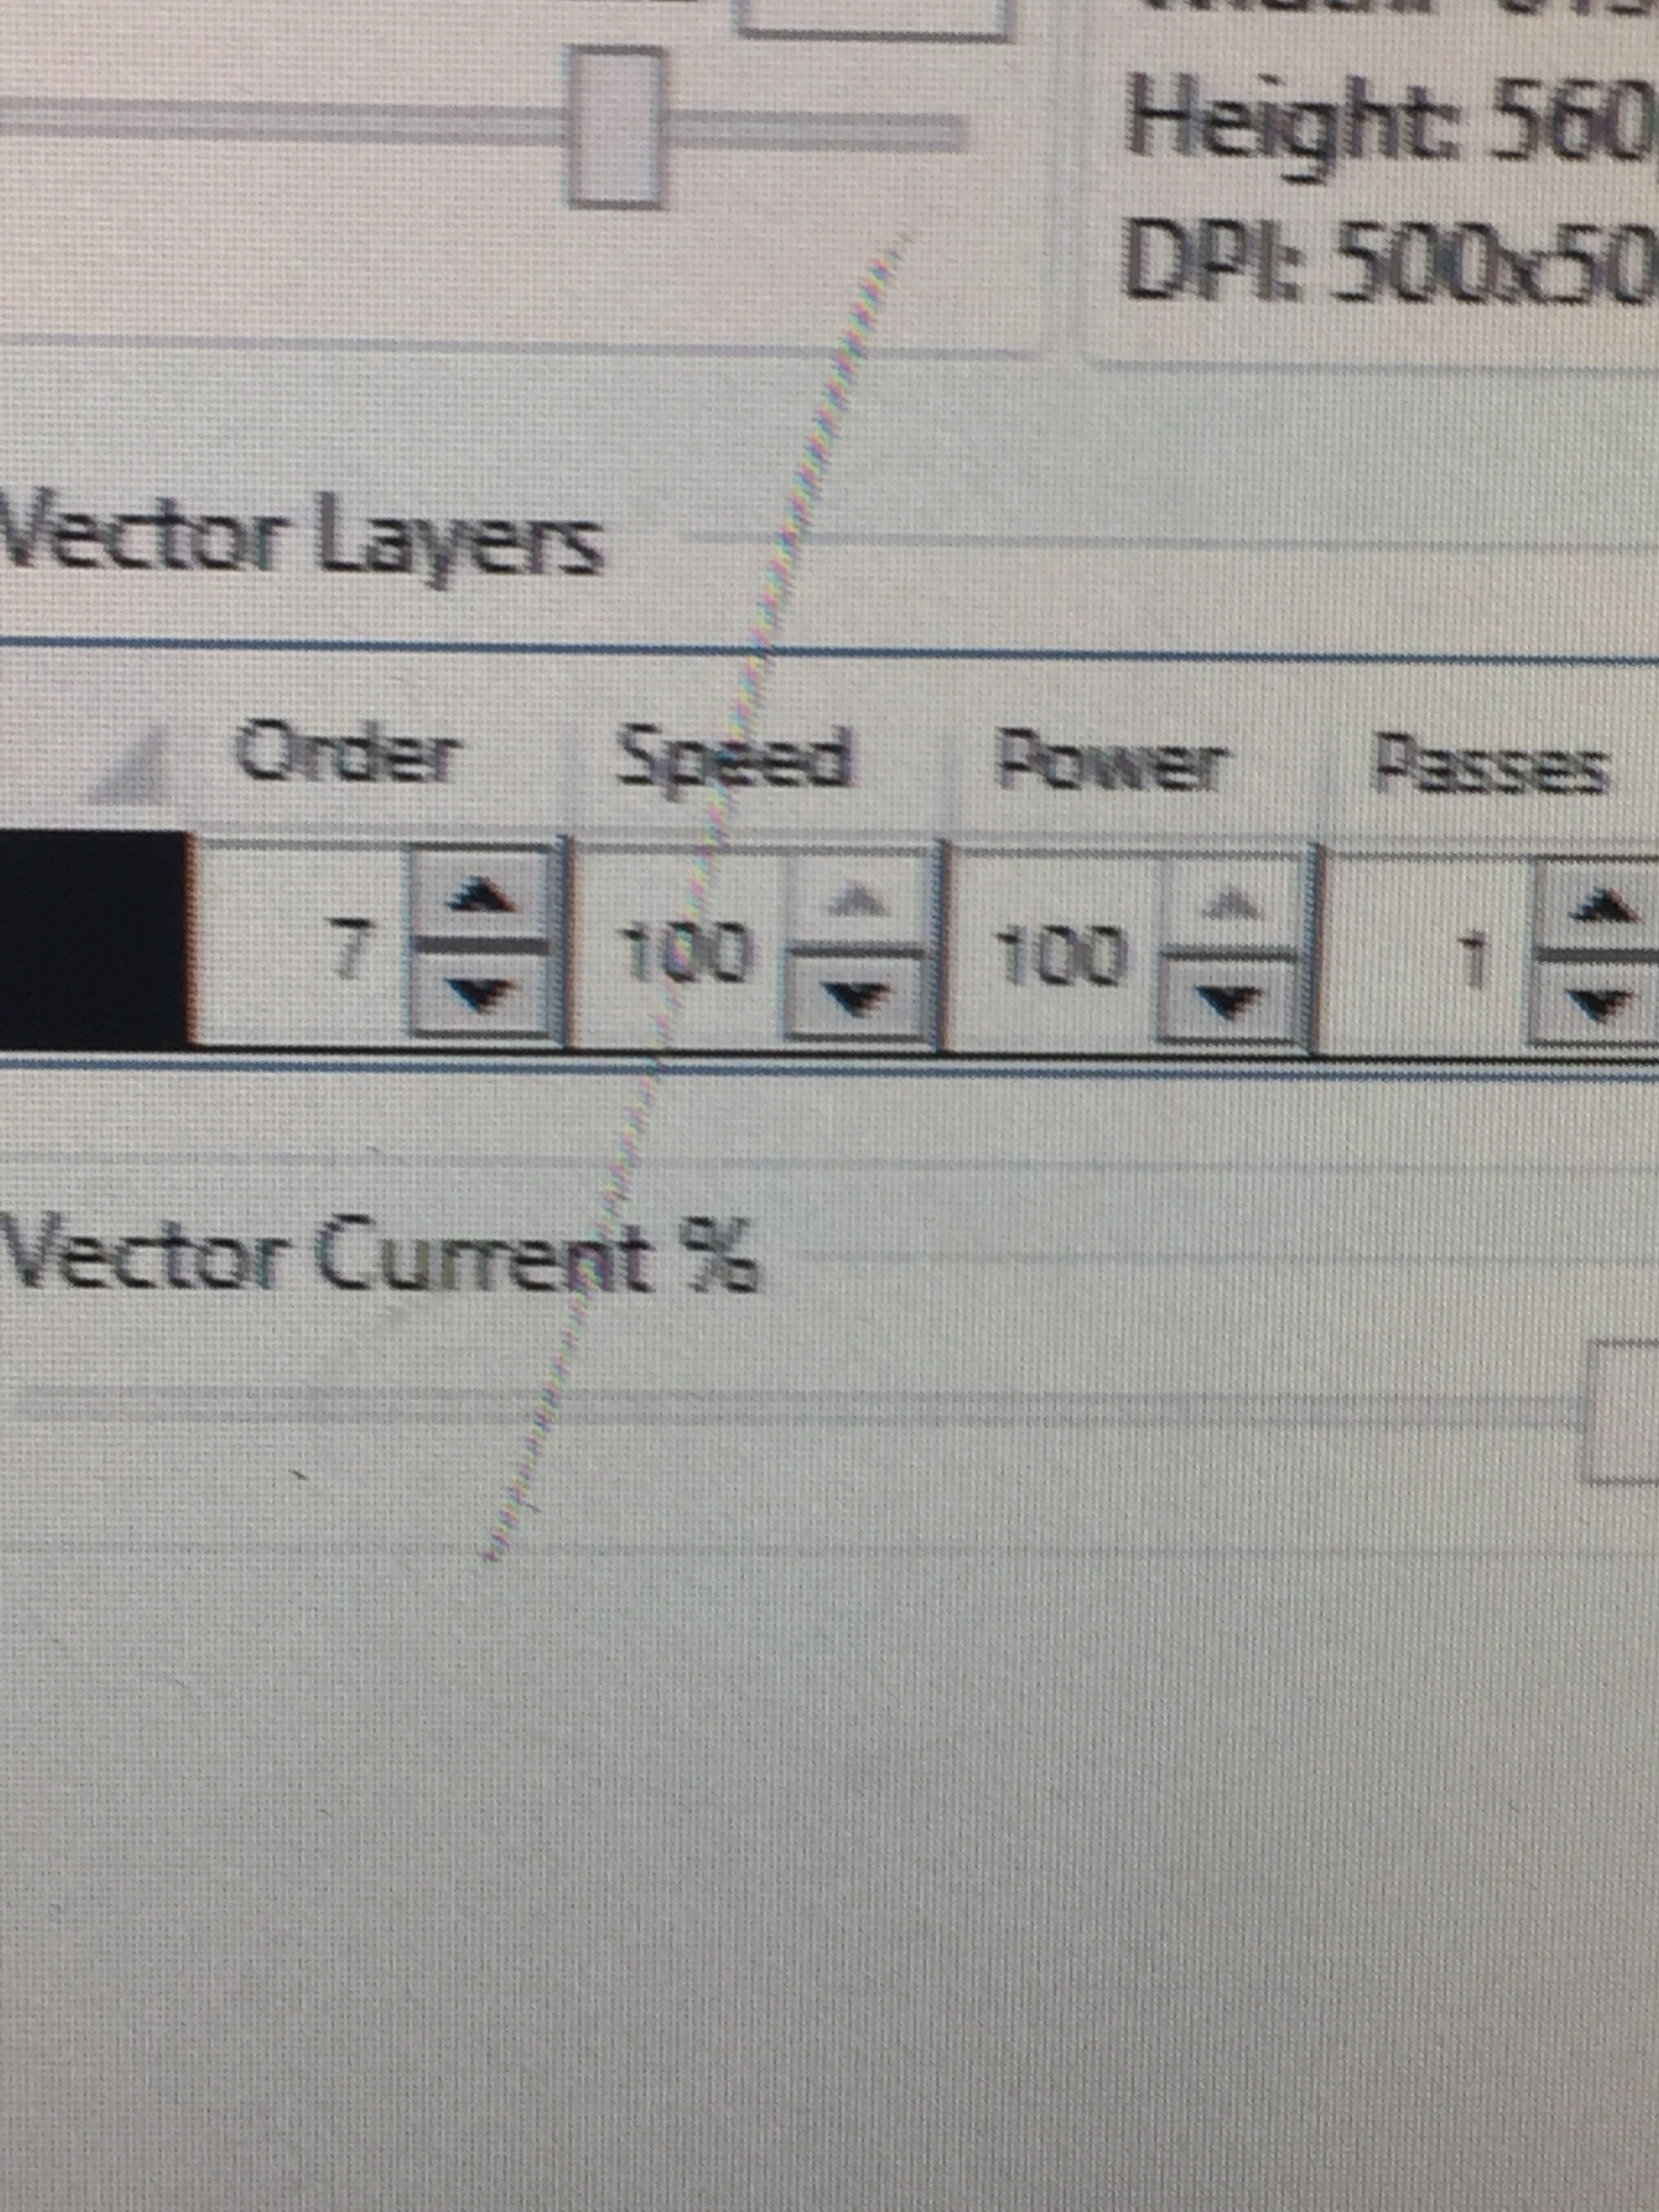
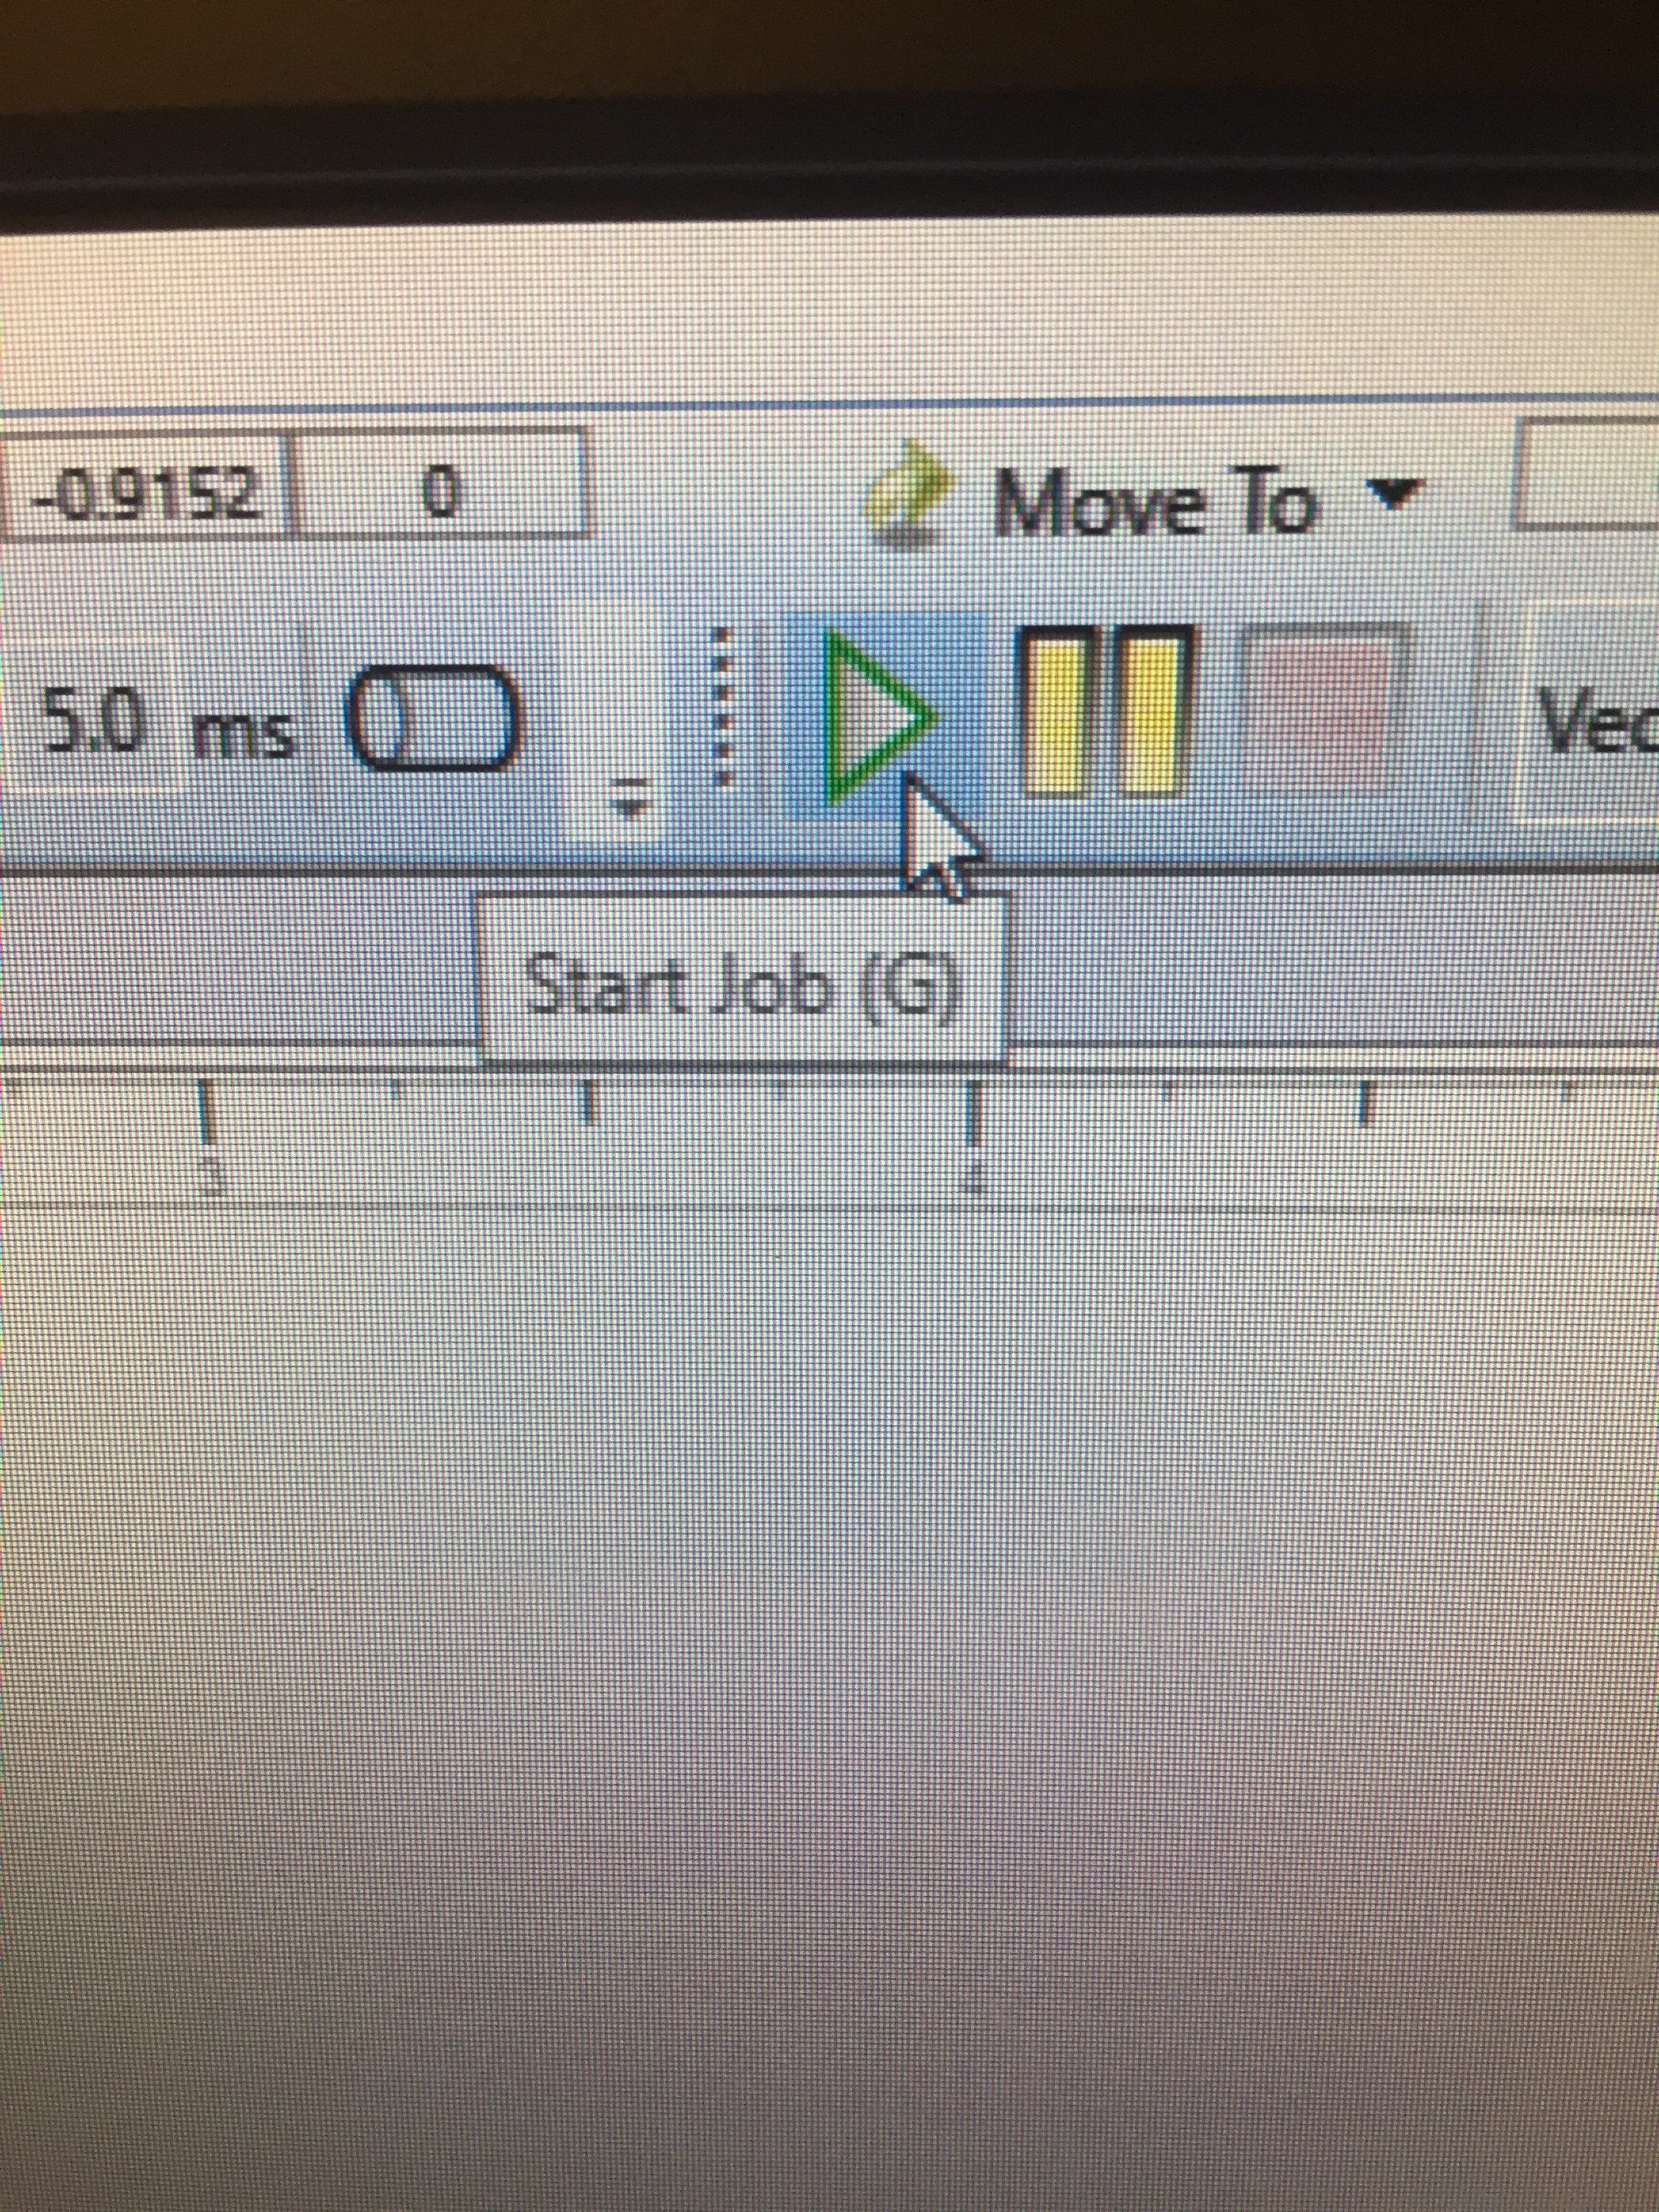
Check your speed and power levels are the correct ones for your intent and your material. Ensure the fume extractor is running and the laser cutter lid is closed. Then click 'start job'. Remember to not look directly at the laser while it is cutting.
Congratulations!
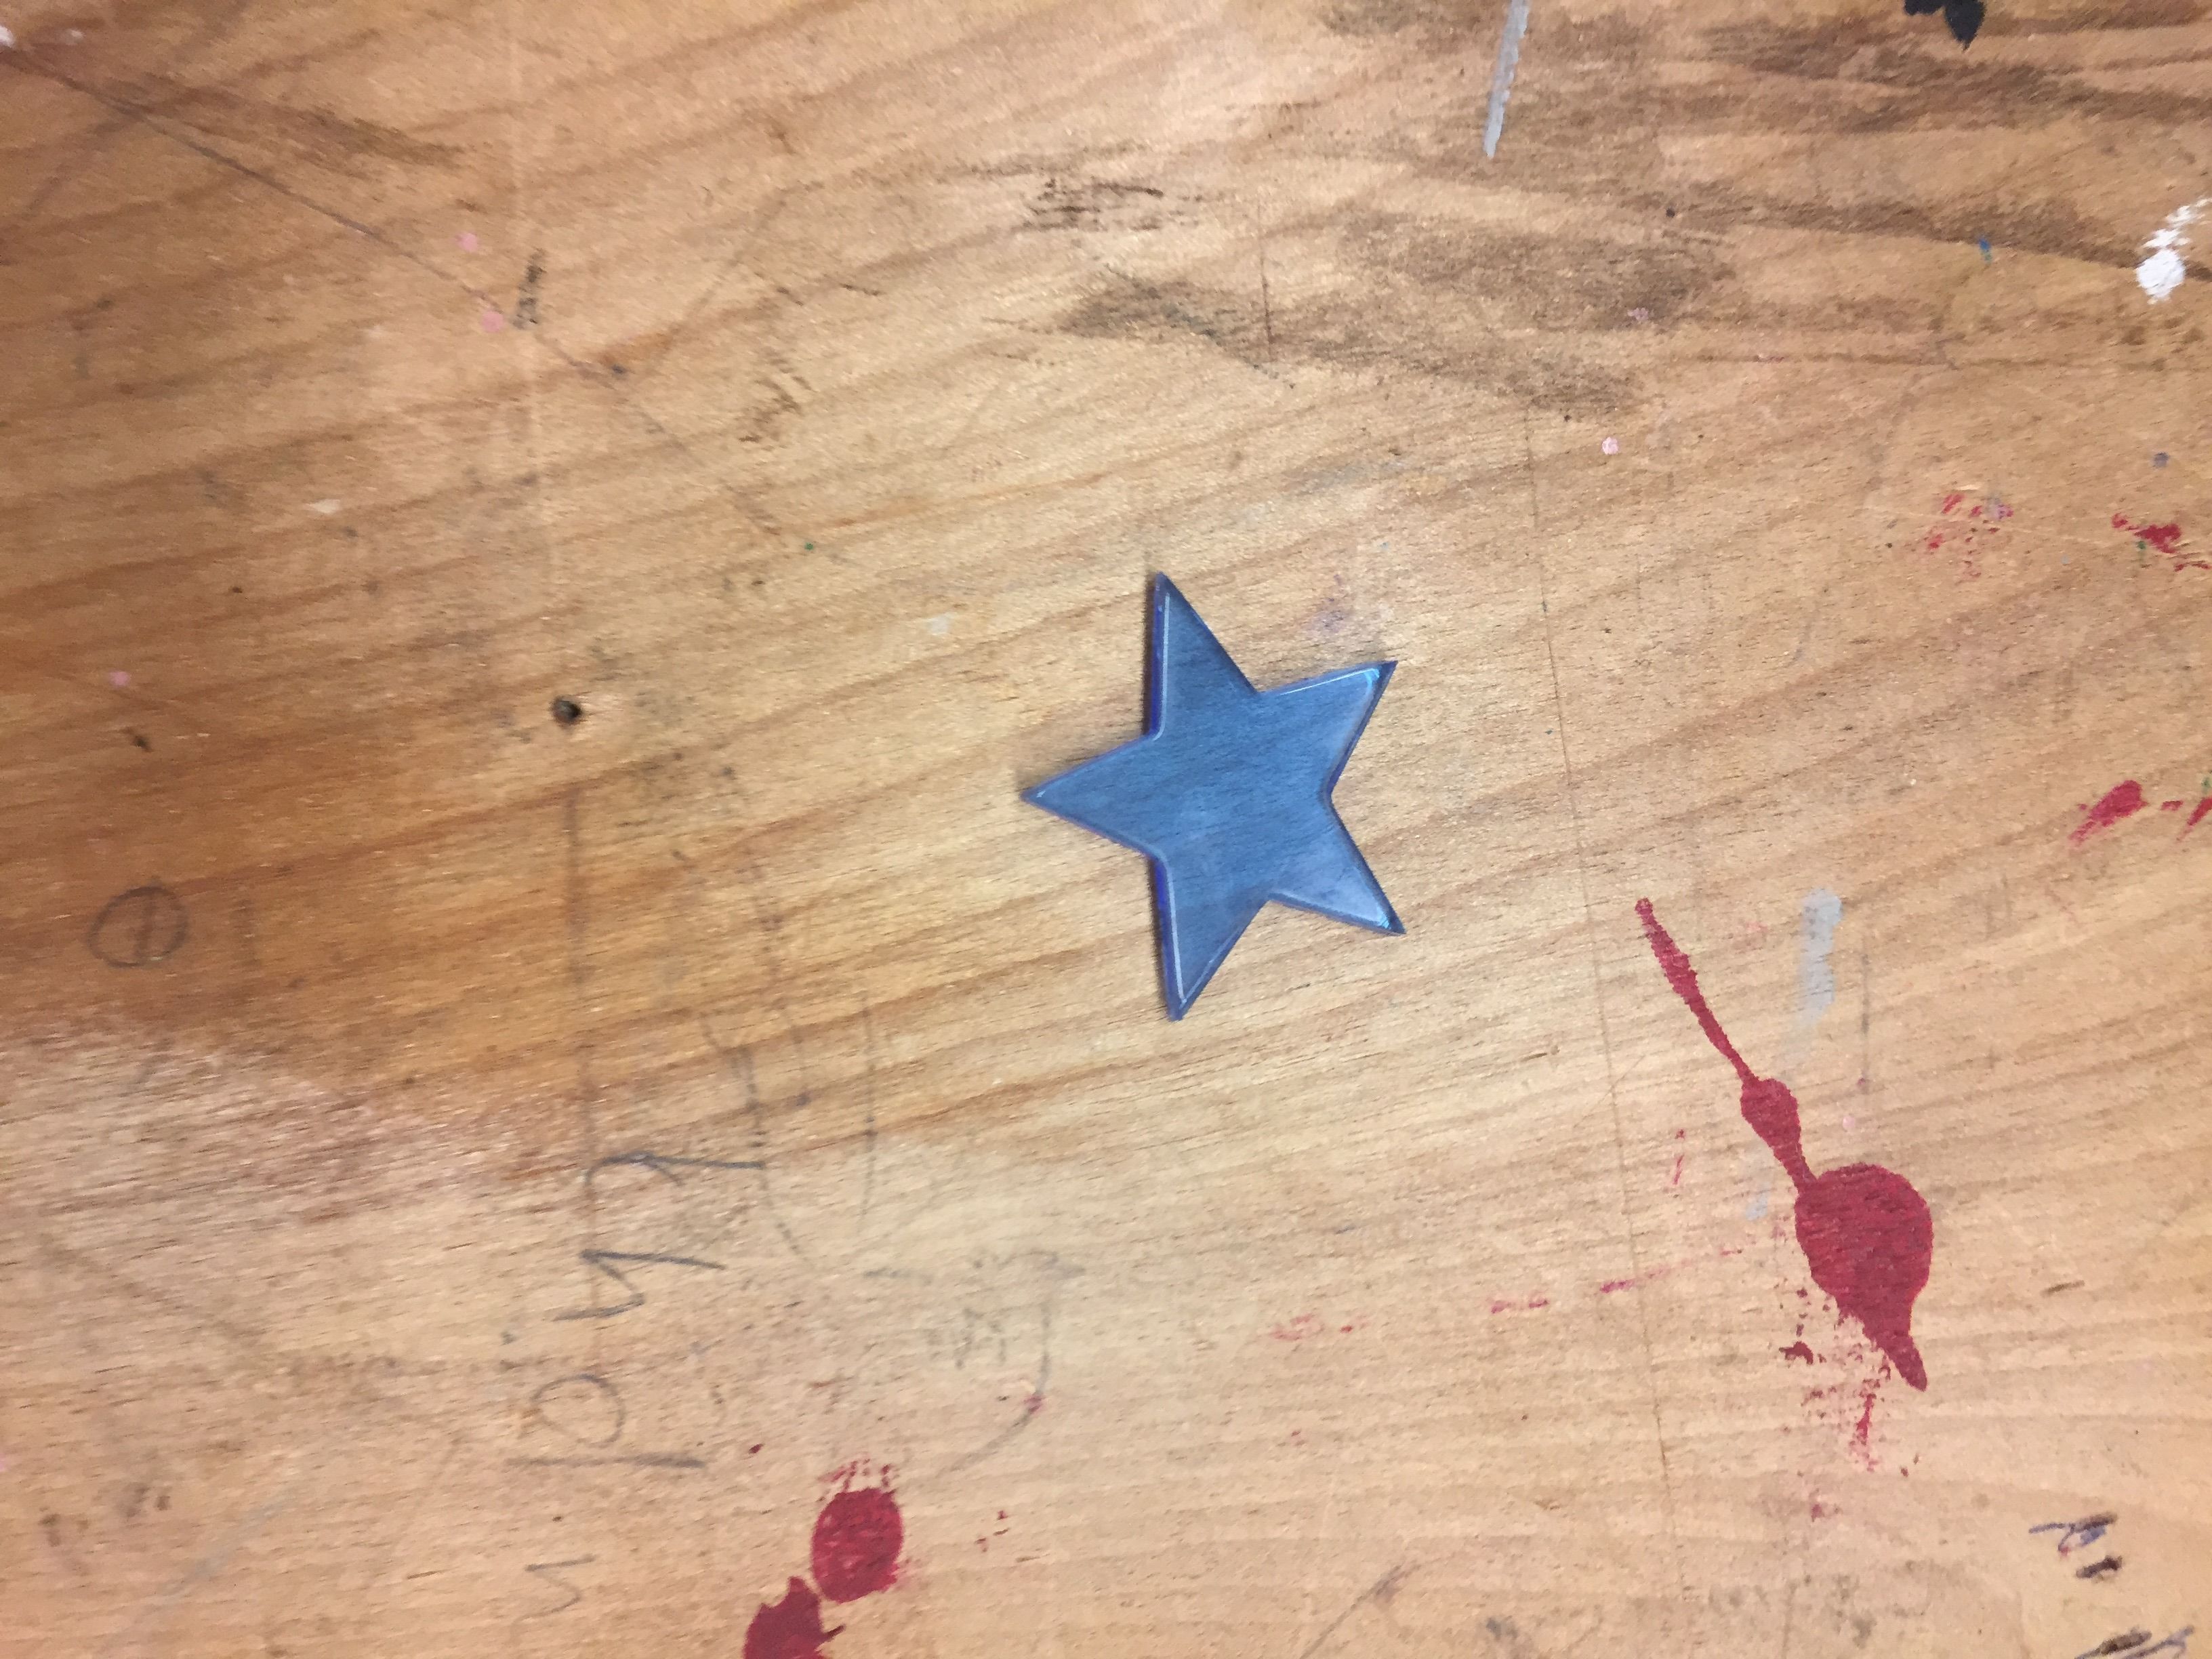
After you have run your job, let the fume extractor run for a short time, then remove your project and any scrap material.