How to Use the M-BUS (meter Bus) to Read Smartmeters for Electricity, Gas, Oil, Heat Etc. With the Raspberry Pi
by Zihatec in Circuits > Raspberry Pi
6234 Views, 1 Favorites, 0 Comments
How to Use the M-BUS (meter Bus) to Read Smartmeters for Electricity, Gas, Oil, Heat Etc. With the Raspberry Pi

Due to rising prices for oil, gas and heat as well as climate change, it is becoming more and more important to monitor energy consumption in order to keep an eye on energy costs, but also to be able to check the effectiveness of savings. Many meters for oil and gas, but also for water, are equipped with a special bus system, the M-BUS or meter bus, for monitoring consumption values.
This instructable describes how such meters can be read out via the M-BUS interface by a Raspberry Pi.
Supplies
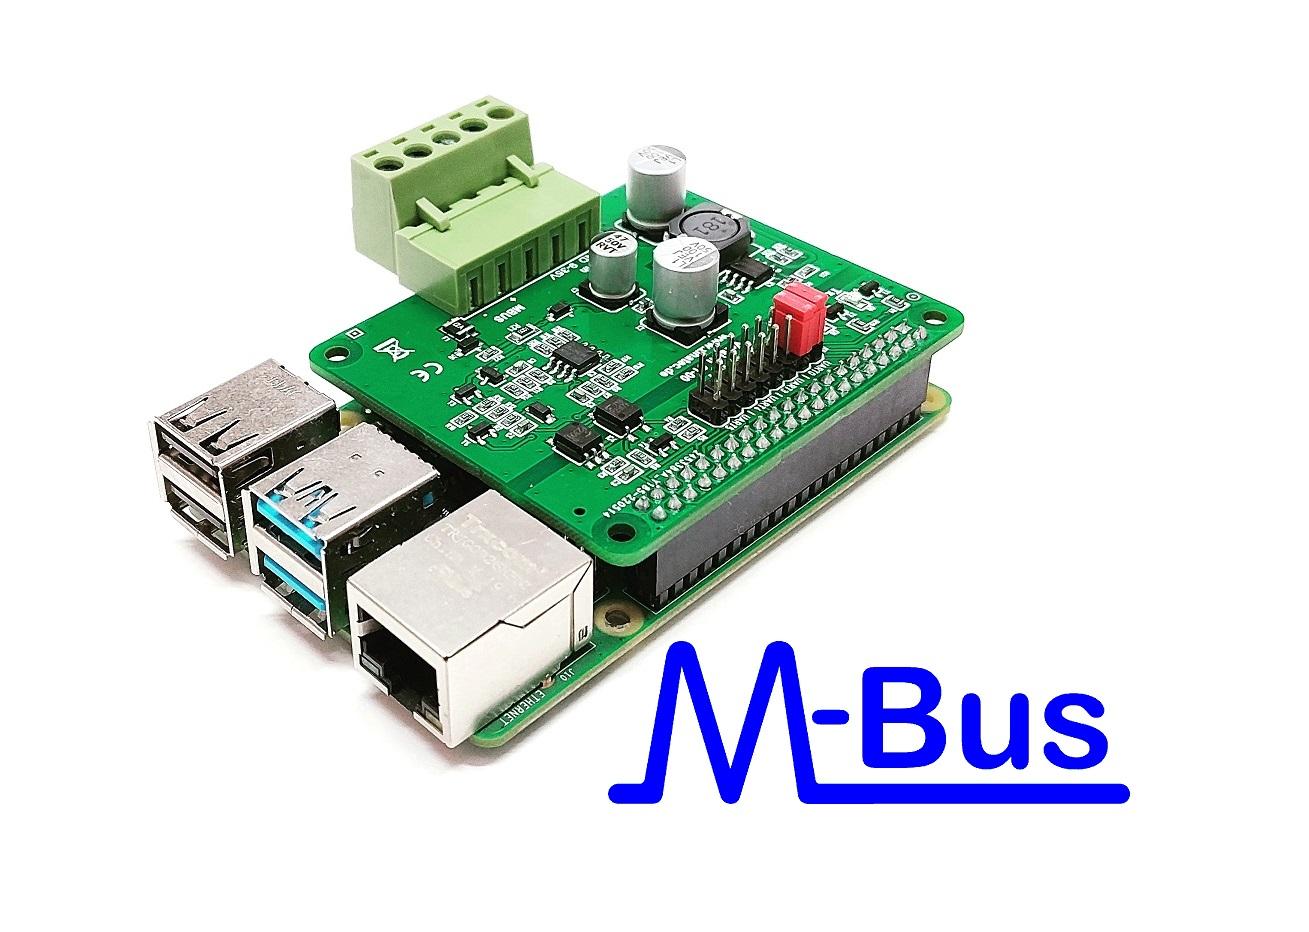
A special interface is required to connect the Raspberry Pi to the M-BUS. The M-BUS HAT in our example uses the UART interface of the Raspberry Pi.
- M-Bus (Meter-Bus) Master
- powered by an external 9..30V DC voltage (36V for the MBUS will be generated internally from this voltage)
- up to 6 unit loads can be powered
- isolated interface
- selectable UART via jumper (with Raspberry Pi 4 only)
- indicator LEDs for RX and TX
- removable block terminal for bus connection
- stackable headers version
Jumper Configuration
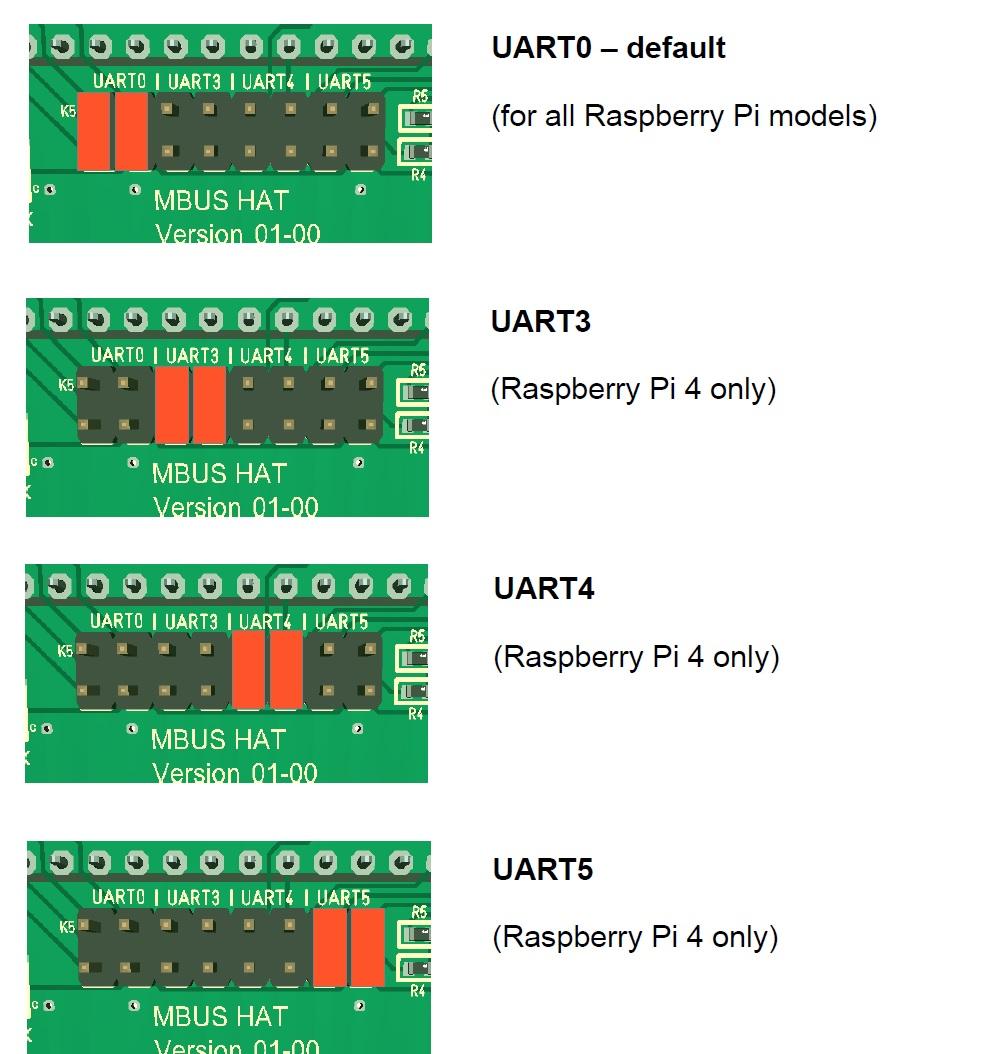
First we have to put the jumpers for the selected UART on the HAT. All older Raspberry Pi models only have the UART0. Only the Raspberry Pi 4 has up to 5 UARTs.
UART(0) Configuration
The easiest way is to use the raspi-config tool to enable the UART to the GPIO14/15 pins.
Take a fresh Raspbian Bullseye image. Open the console window and enter the following commands:
sudo raspi-config
goto '3 Interfacing Options'
goto 'I6 Serial Port'
'Would you like a login shell to be accessible over serial?' --> NO
'Would you like the serial port hardware to be enabled?' --> YES
Finish raspi-config
sudo echo "dtoverlay=disable-bt" | sudo tee -a /boot/config.txt
sudo systemctl disable hciuart
reboot the Raspberry Pi
Now you can access the UART via /dev/serial0
UART3-5 Configuration (for Raspberry Pi 4 Only)
The Raspberry Pi-4 features additional hardware UART ports. The M-BUS HAT can use the additional UARTS 3 – 5. You can enable the additional UARTs by editing the /boot/config.txt file:
sudo nano /boot/config.txt
For UART3 add the following line at the end of the file:
dtoverlay=uart3
If you want to enable more or another UART change this line to uart4 or uart 5 or add some additional lines.
Install Libmbus (C++) Library and Utility
Libmbus by Raditex Control is an open-source library for Linux.
Installation:
sudo apt-get install -y cmake
sudo git clone https://github.com/rscada/libmbus.git
cd libmbus
sudo ./build.sh
sudo make install
cd bin
sudo ln -s /usr/local/lib/libmbus.so.0 /usr/lib/libmbus.so.0
Using Libmbus (C++) Library and Utility
list all connected M-Bus slave devices:
./mbus-serial-scan -d -b 2400 /dev/serial0
read out the M-Bus device with address 10:
./mbus-serial-request-data -d -b 2400 /dev/serial0 10
Libmbus only handles the communication on the bus and the coding and decoding of the data. The data received must then be evaluated with a separate program.
As an alternative to libmbus, Python libraries such as pyMeterBus or Node-Red can also be used. But I will create separate tutorials for this.