How to Use the Blynk App on IoT Board(Nucleo)
by bingdo72 in Circuits > Microcontrollers
4251 Views, 23 Favorites, 0 Comments
How to Use the Blynk App on IoT Board(Nucleo)
I know STMicroelectronics Nucleo platform for IoT. Recently W5500 Ethernet shield will be announced by WIZnet.
So I implemented a firmware of Nucleo board by Ethernet SW modification because I can handle a source code easily. You can know the status of equipment even if it is so far. Please refer to the following step.
Prepare Materials
Please refer to the following.
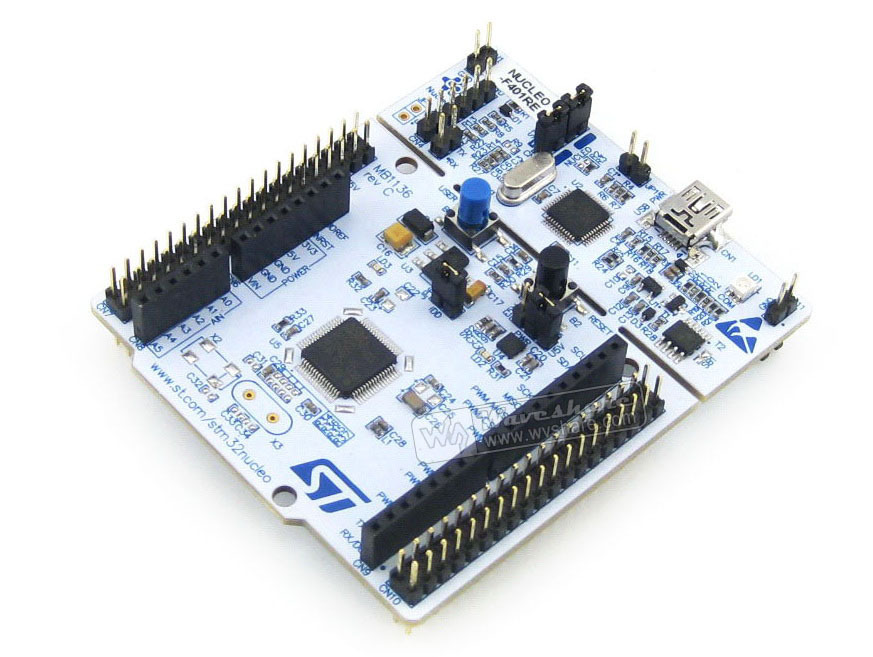
1. Nucleo board
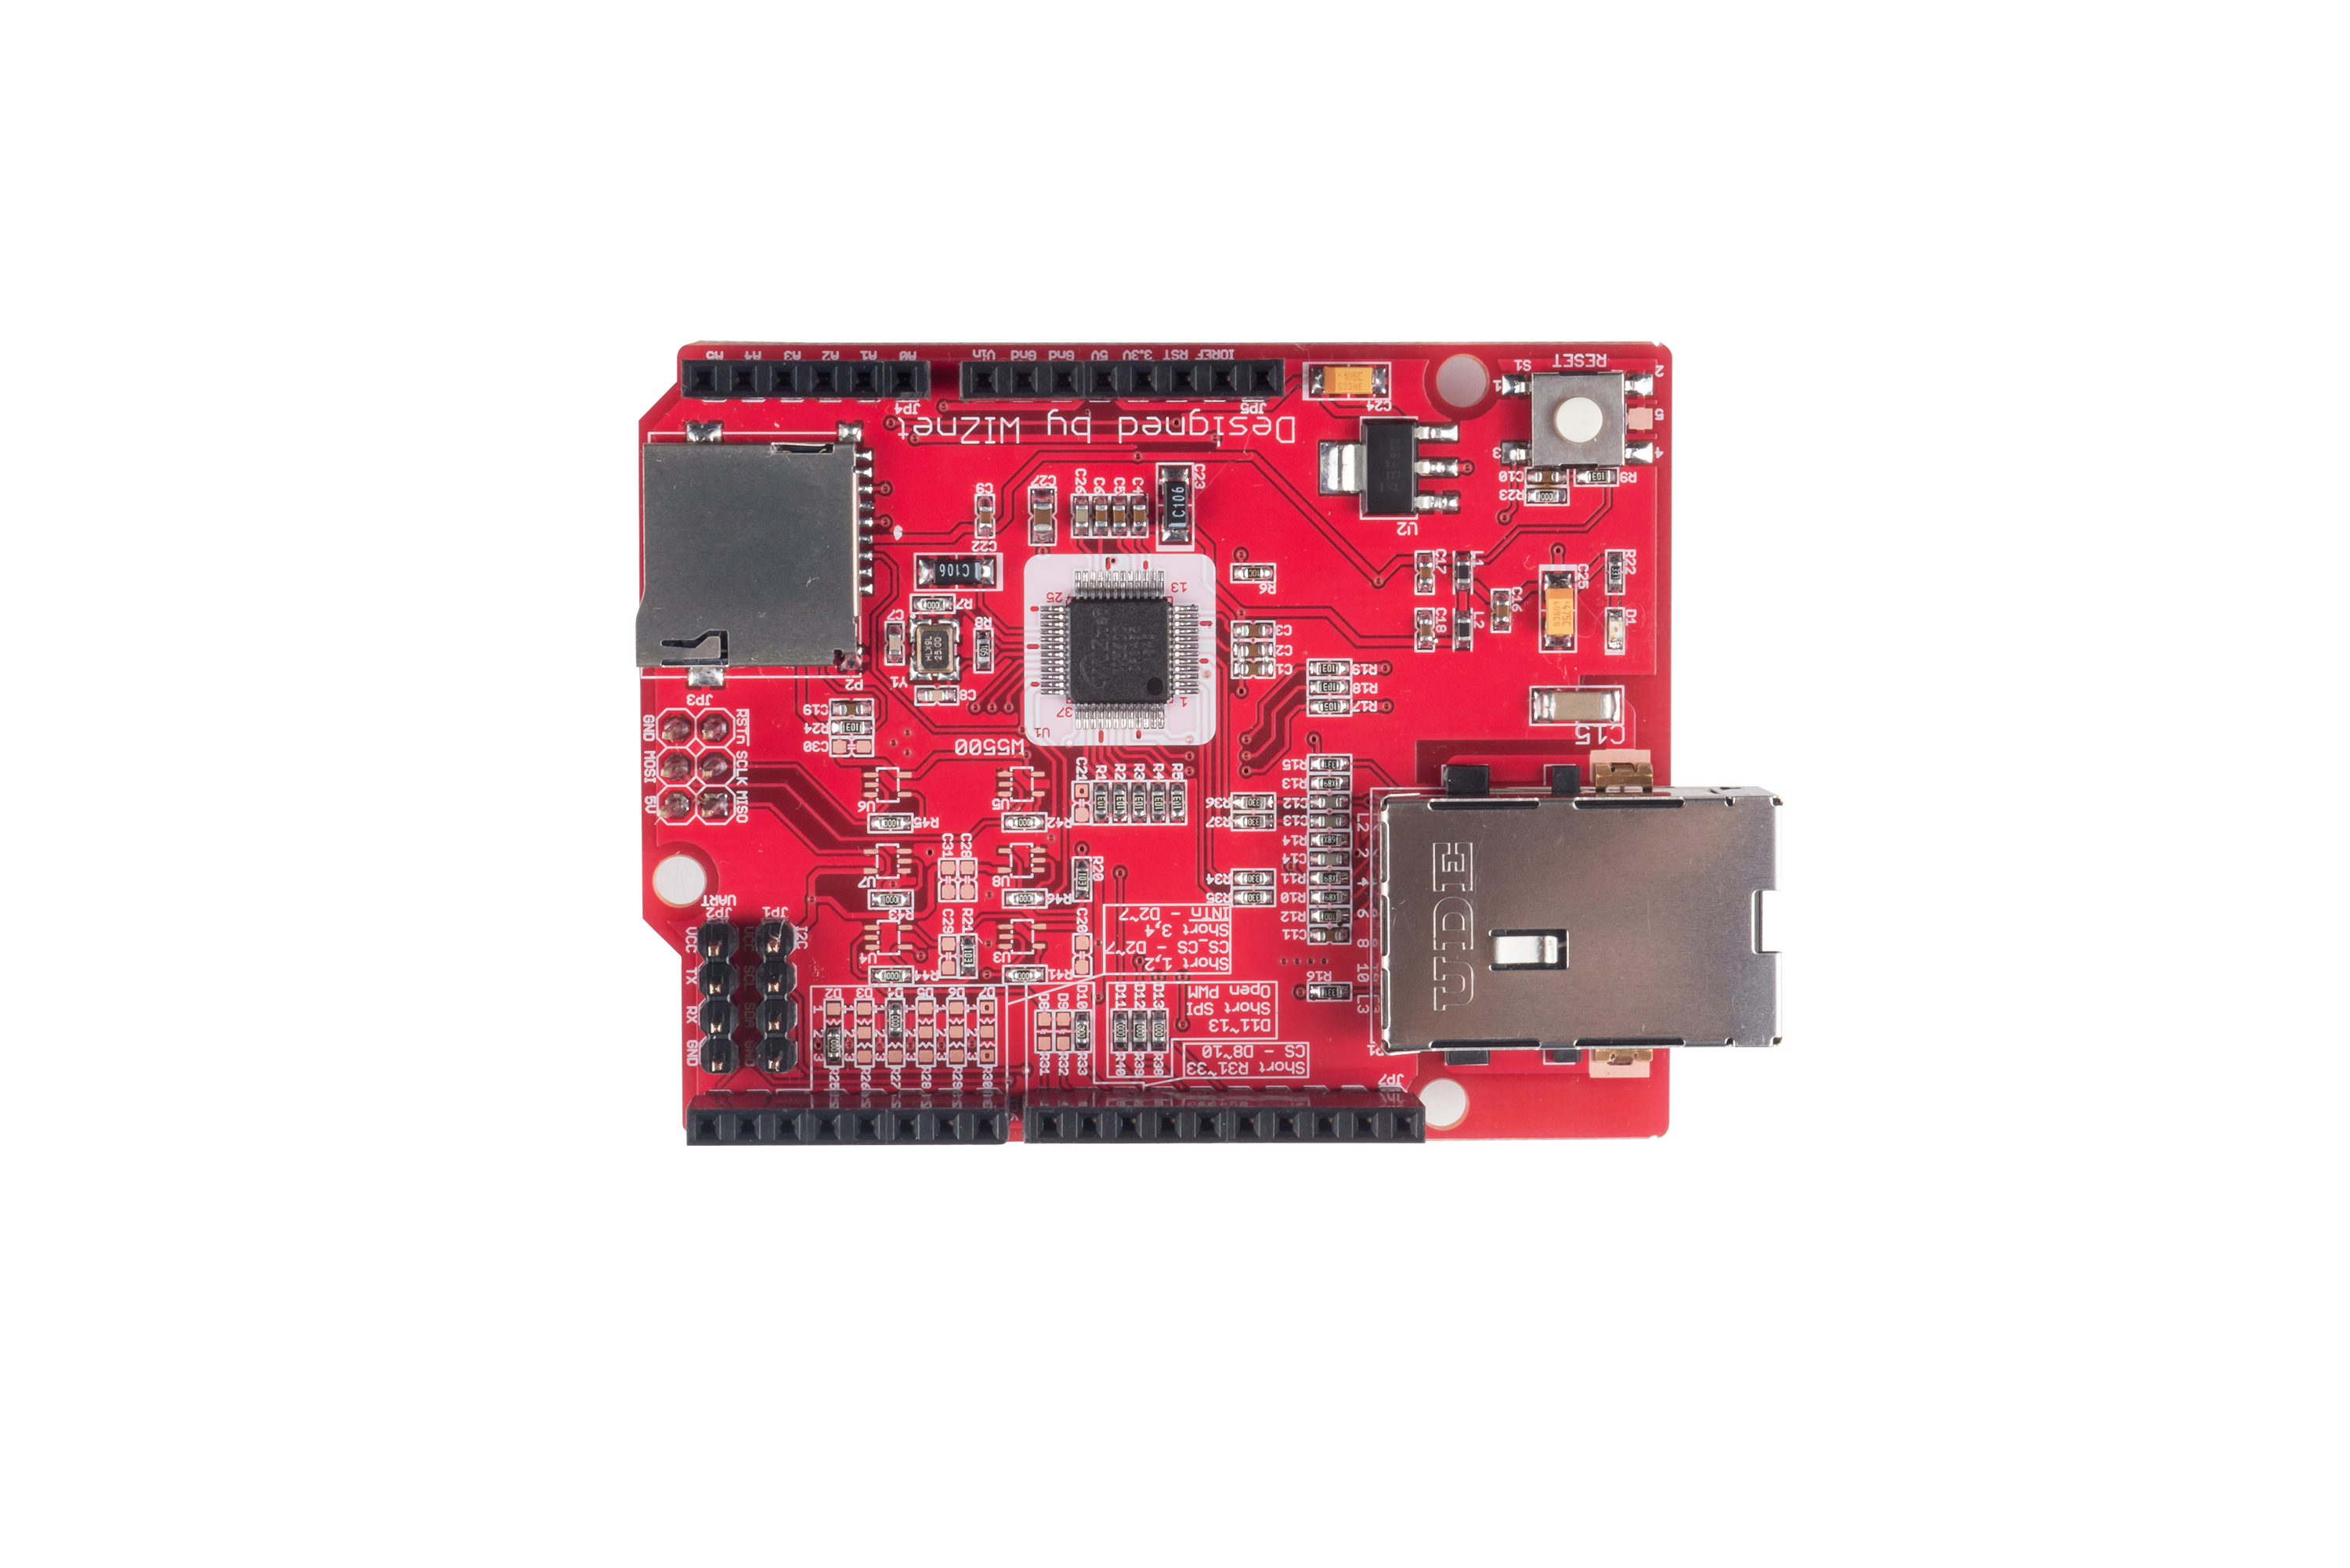
2. W5500 Ethernet shield
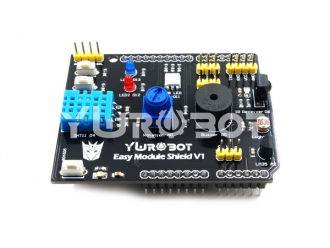
3. Easy Module shield
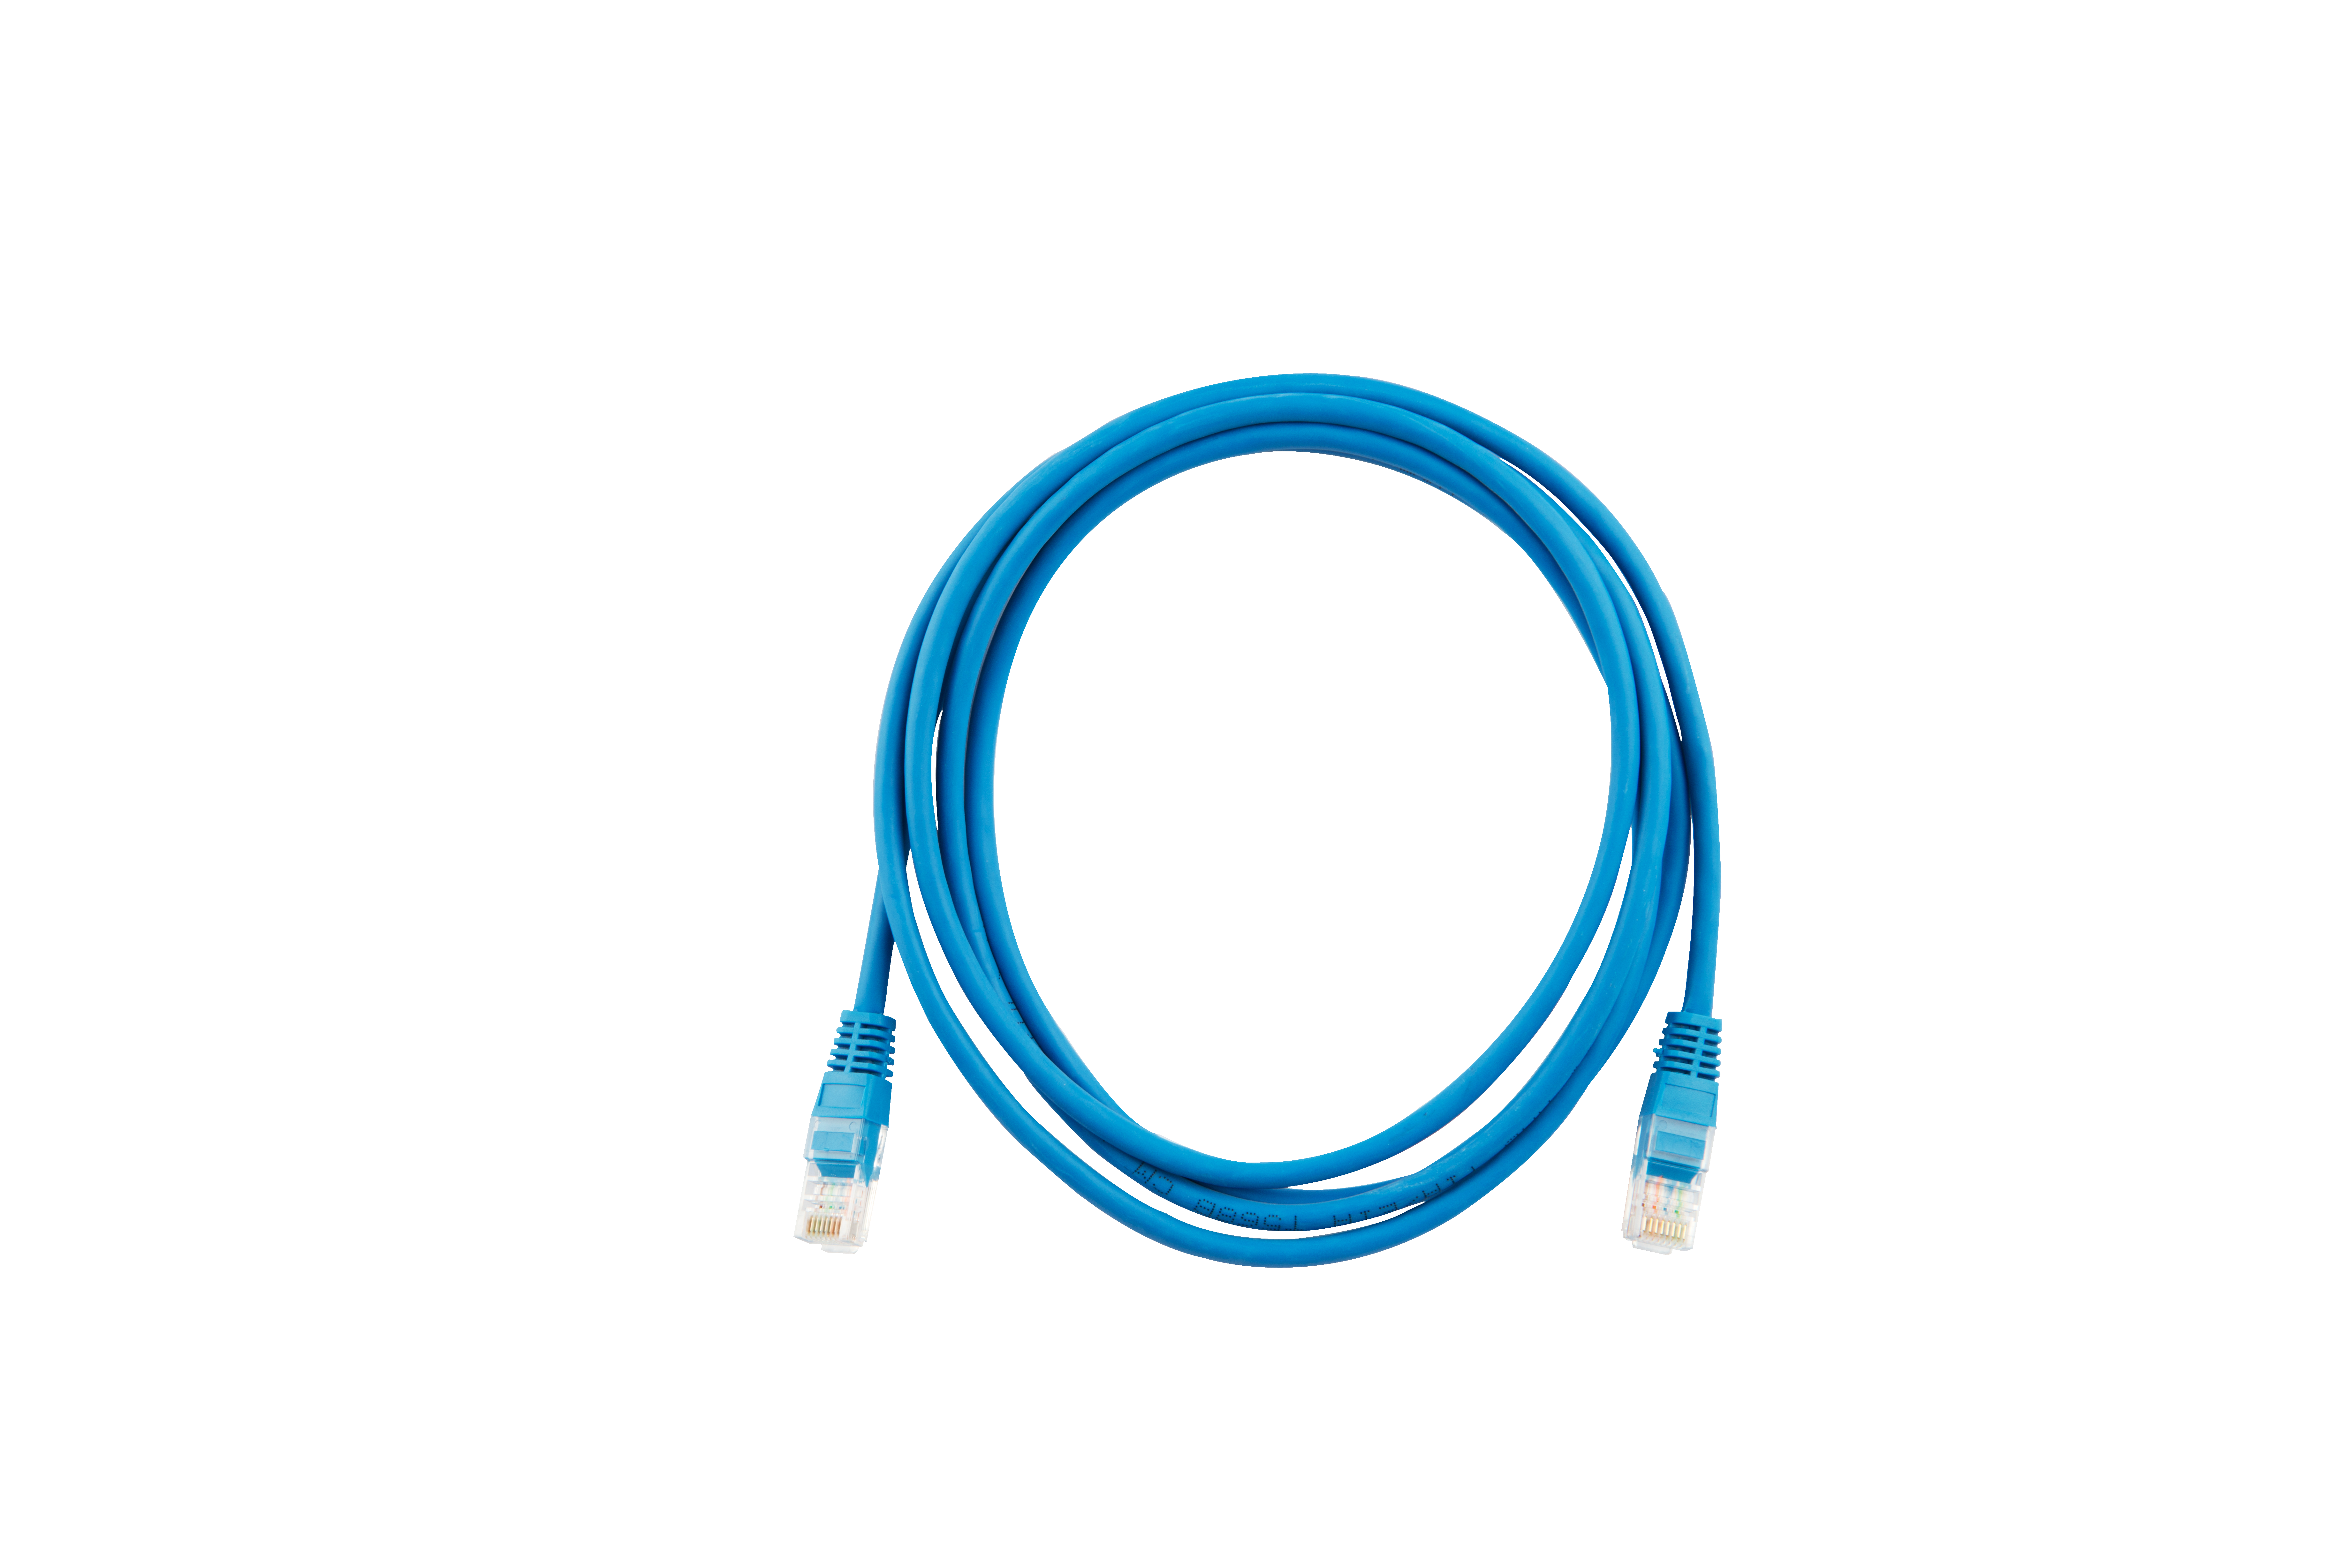
4. LAN cable
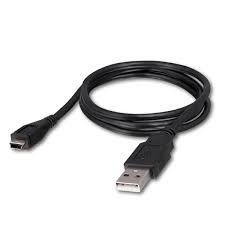
5. USB cable
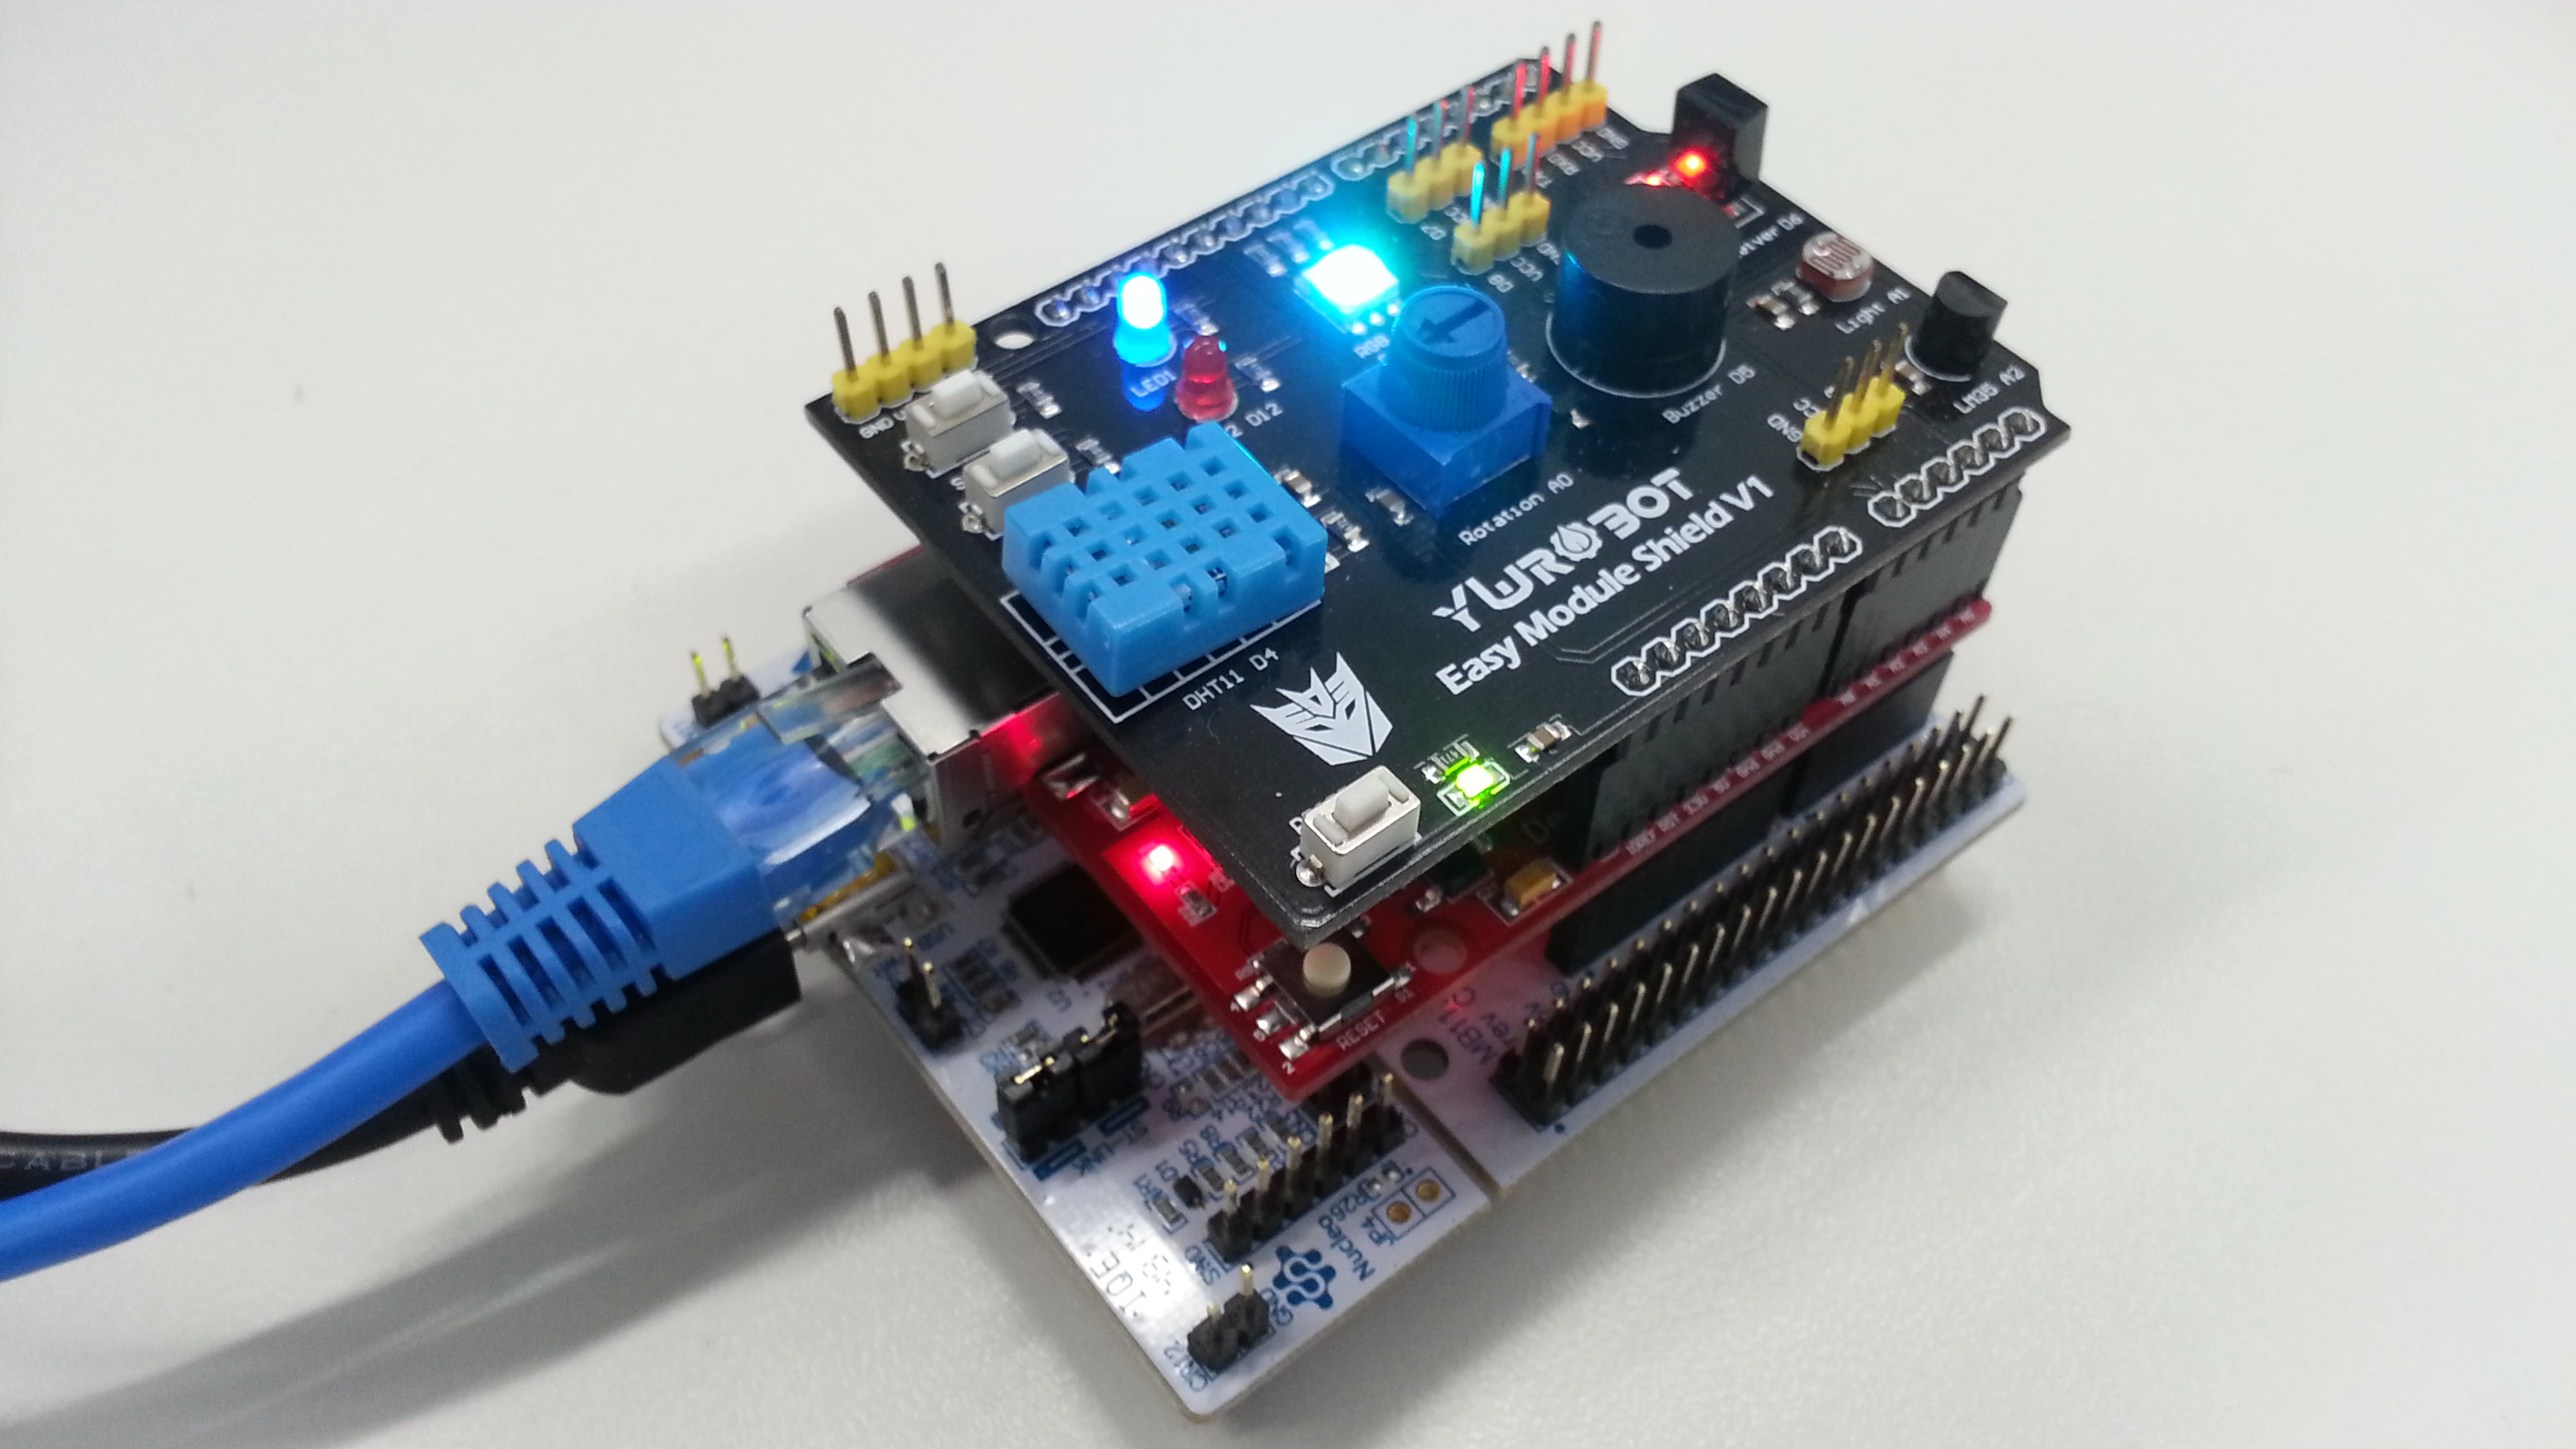
Hardware Connection

Please connect an LAN cable and USB cable
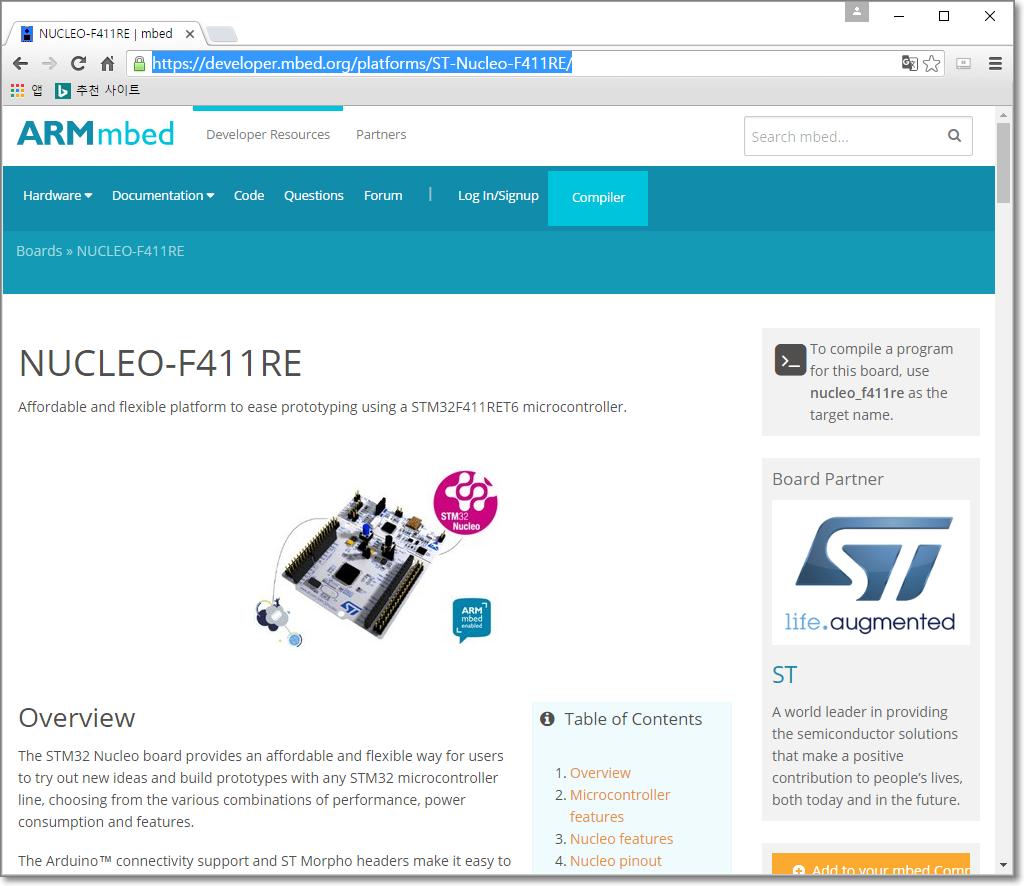
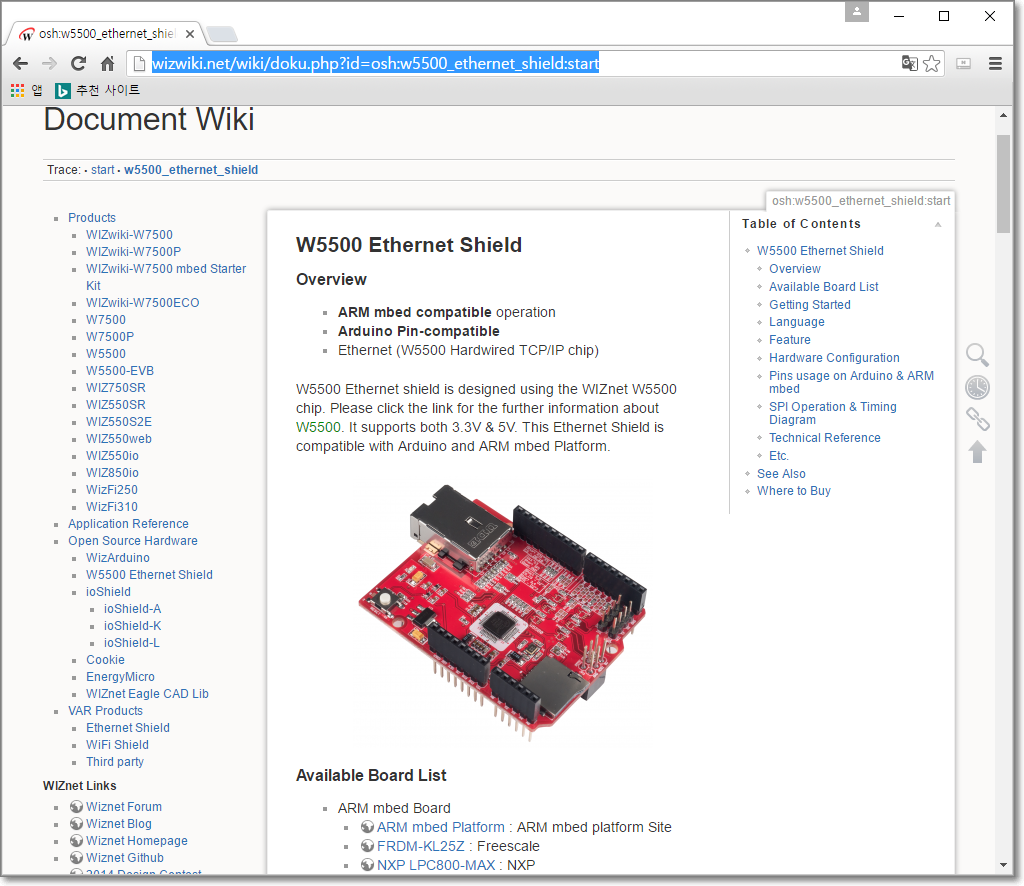
You can get more HW info by the following site.
https://developer.mbed.org/platforms/ST-Nucleo-F411RE/
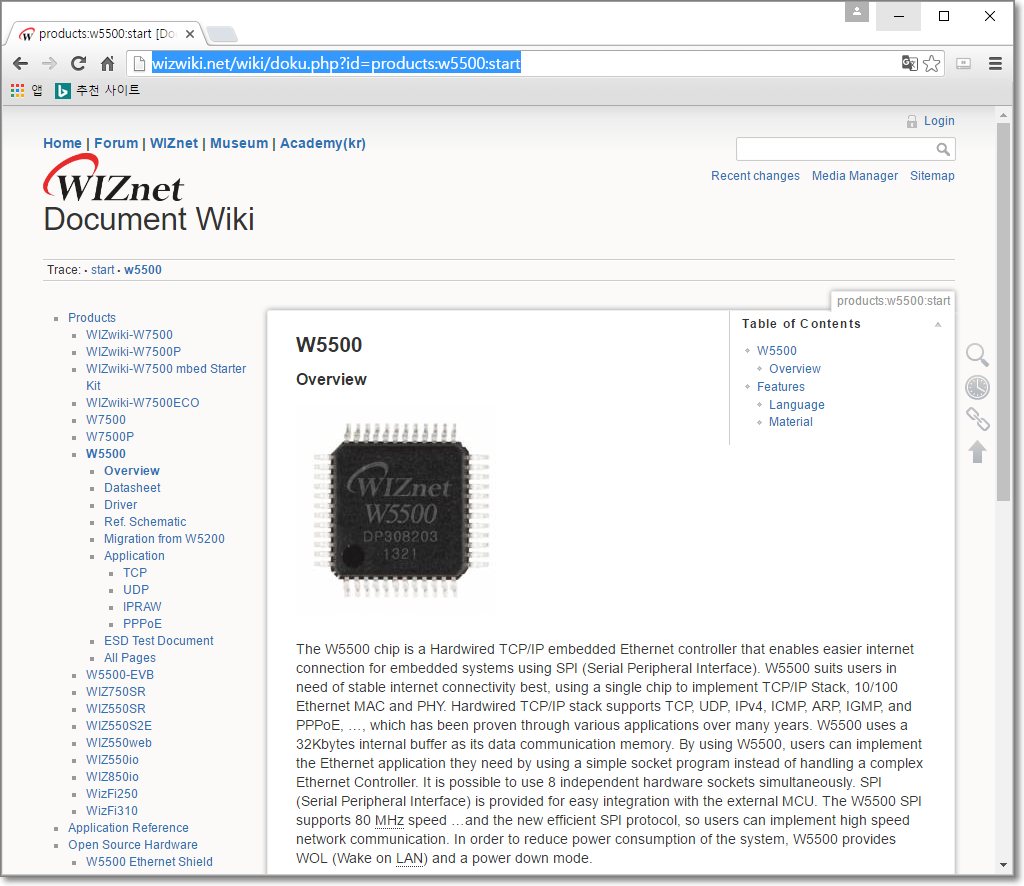
http://wizwiki.net/wiki/doku.php?id=osh:w5500_ethernet_shield:start
Prepare Development Environment
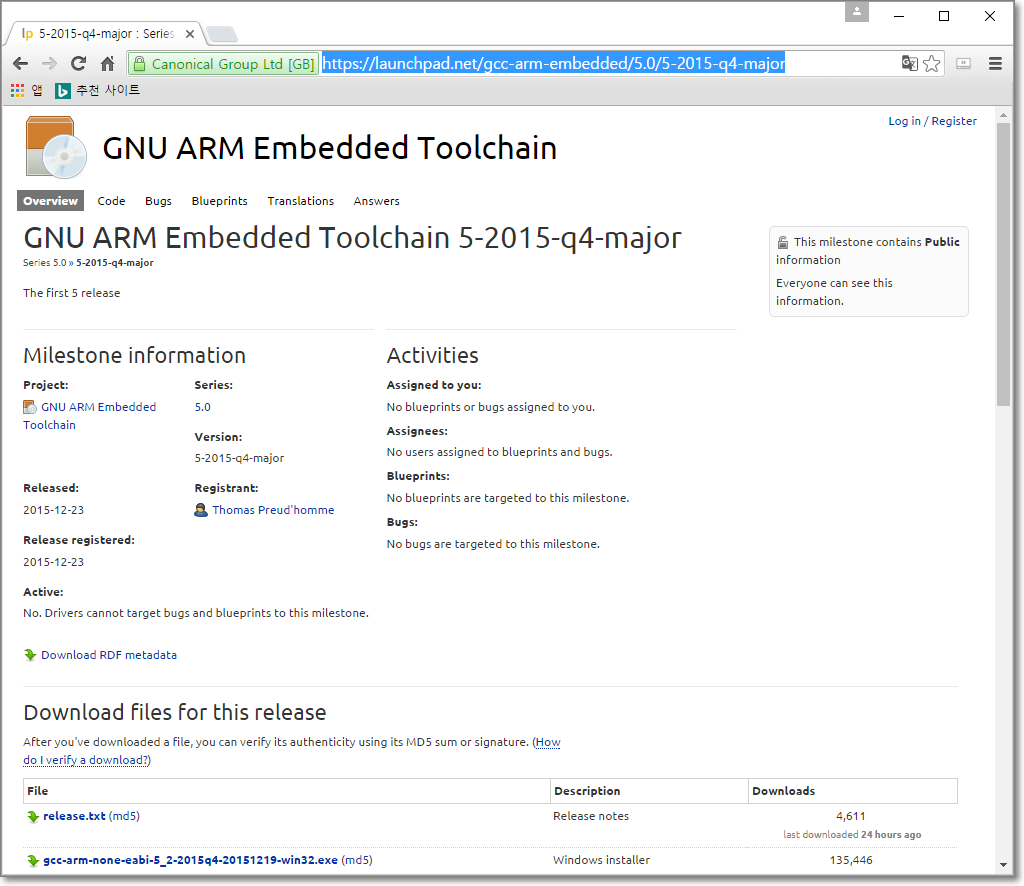
1. Install GNU Toolchain
https://launchpad.net/gcc-arm-embedded/5.0/5-2015-q4-major
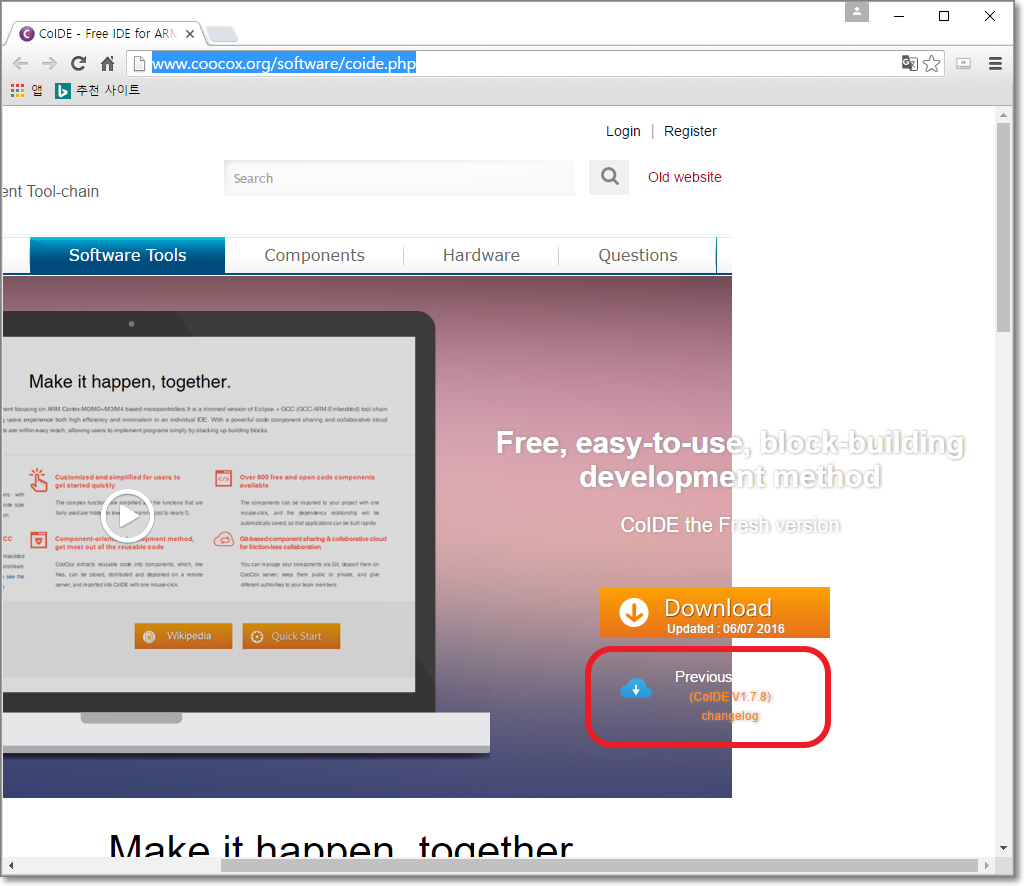
2. Install CoIDE
http://www.coocox.org/software/coide.php
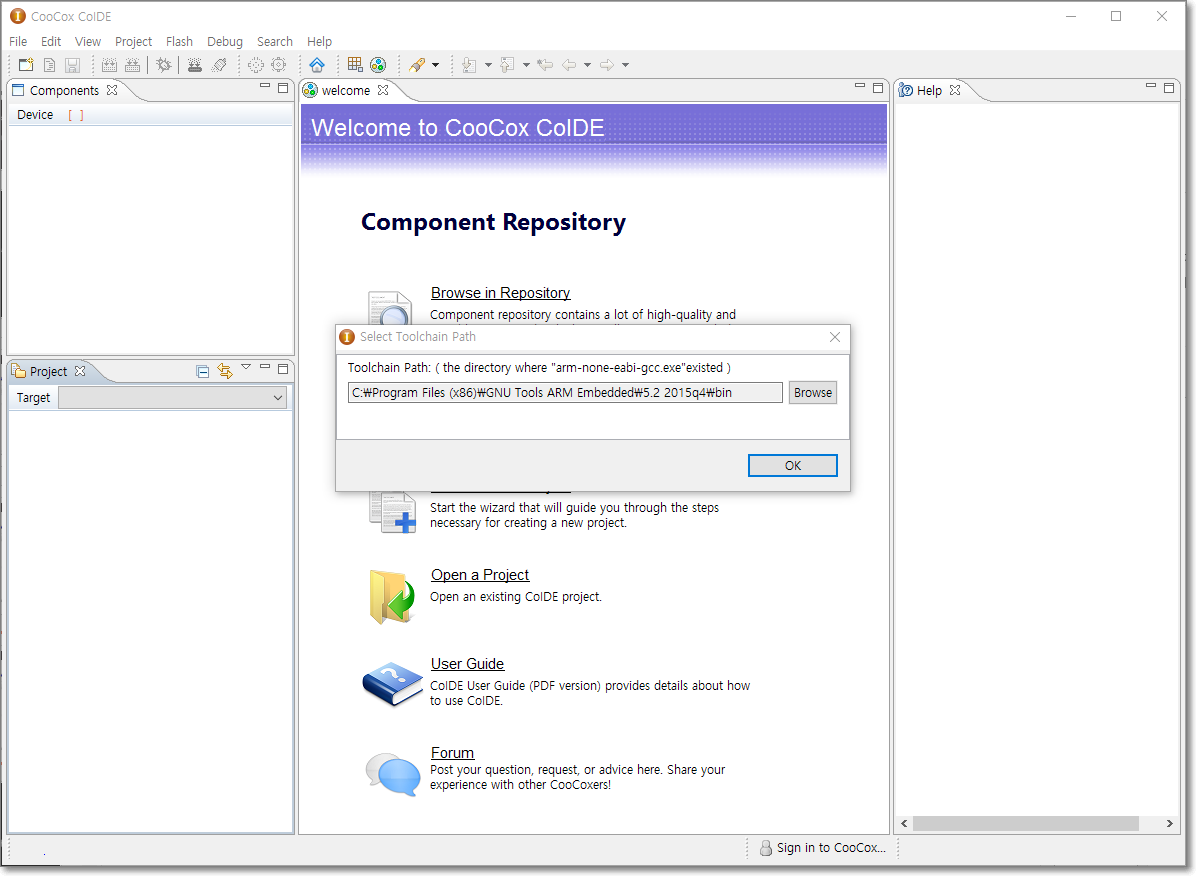
3. Insert your path to Menu->Project->Select Toolchain Path
4. Install ST-Link/V2 Driver
Introduction of W5500 Chip
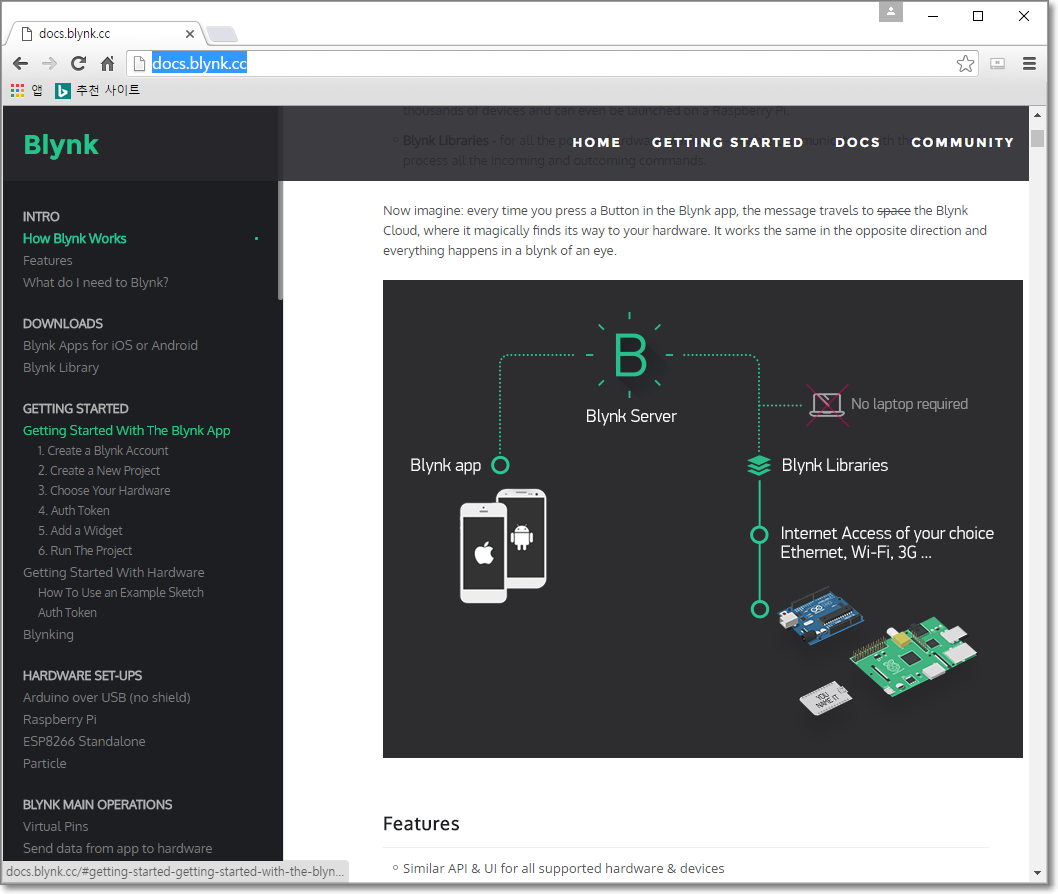
Introduction of Blynk Platform
Software
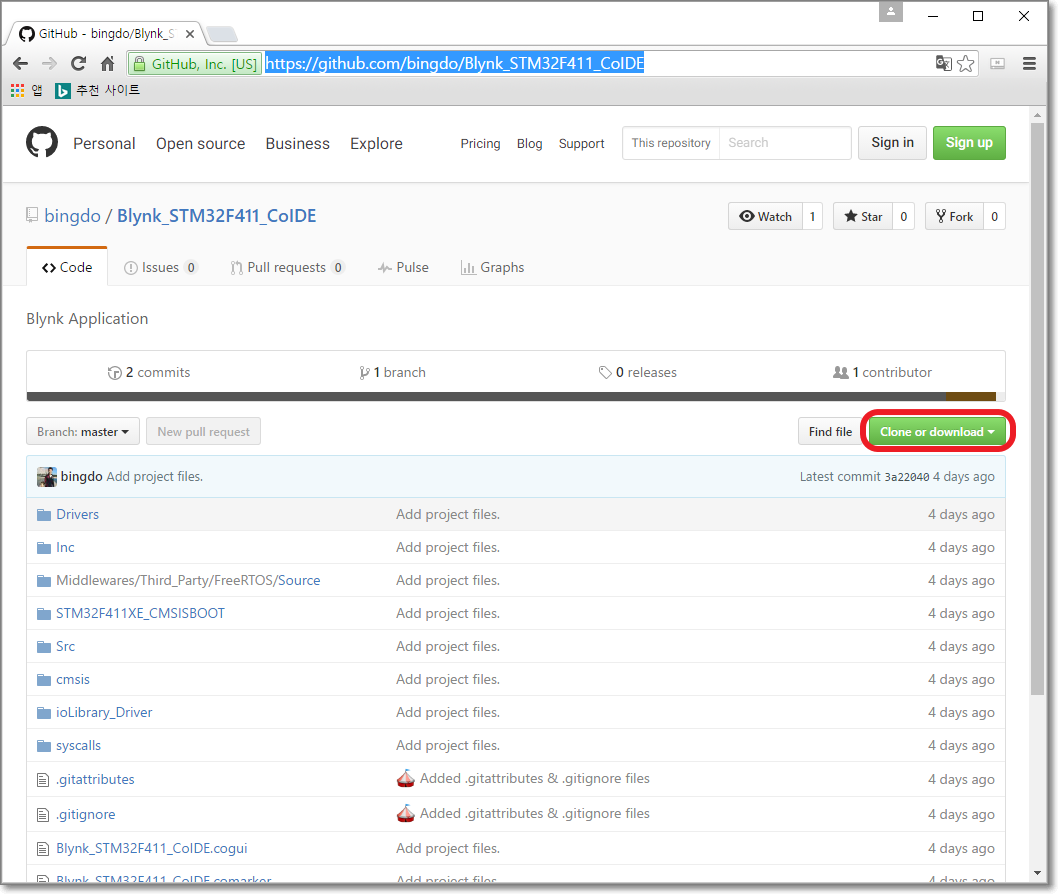
I uploaded CoIDE project.
You can download this project file. And then import project into CoIDE. After compile, you can run control operation through Blynk platform.
How to Run : Test Result


You cannot control D10, D11, D12, D13 pins because those are used for Ethernet SPI.
1. To unzip Blynk_STM32F411_CoIDE project
2. To open Blynk_STM32F411_CoIDE project
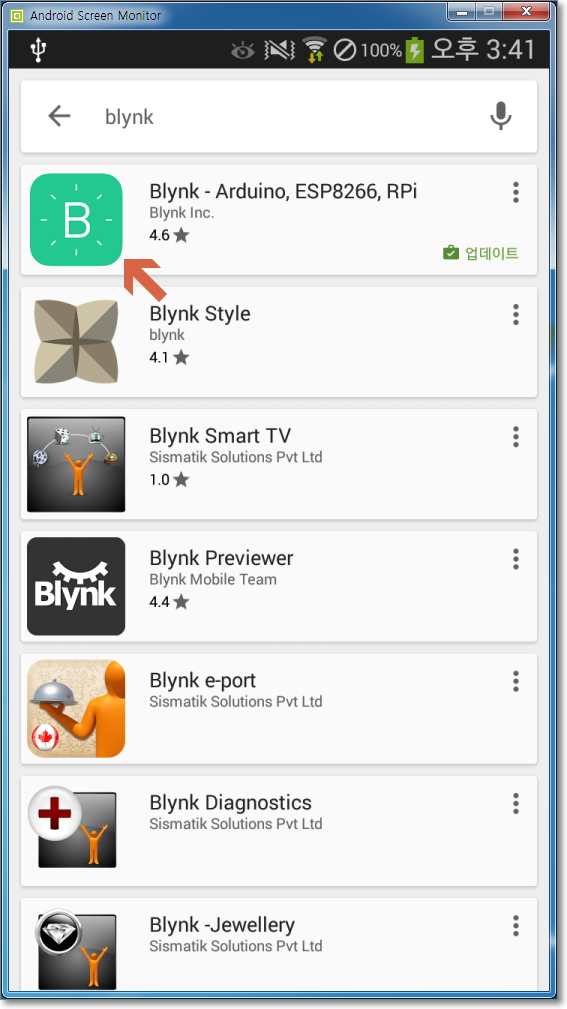
3. To downaload the Blynk App into Smartphone.
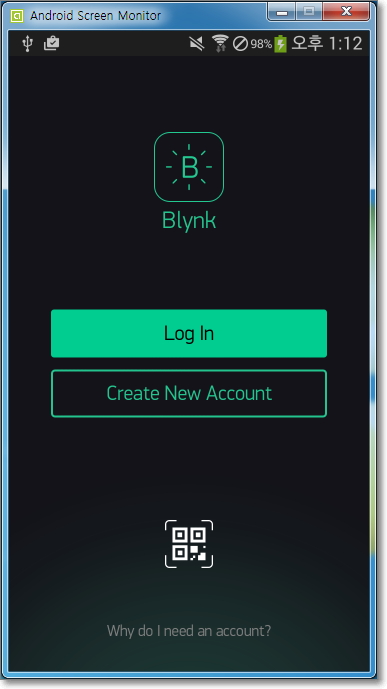
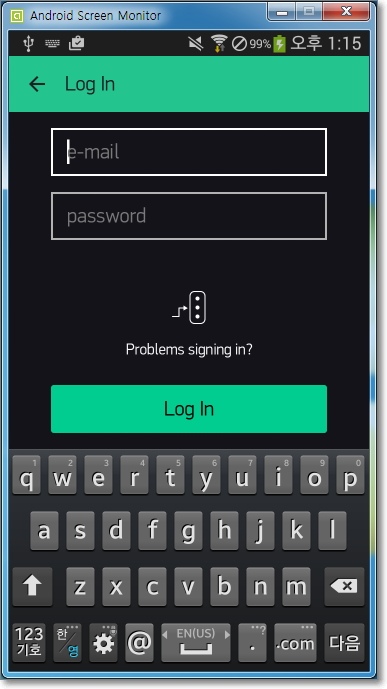
4. To login Blynk App.
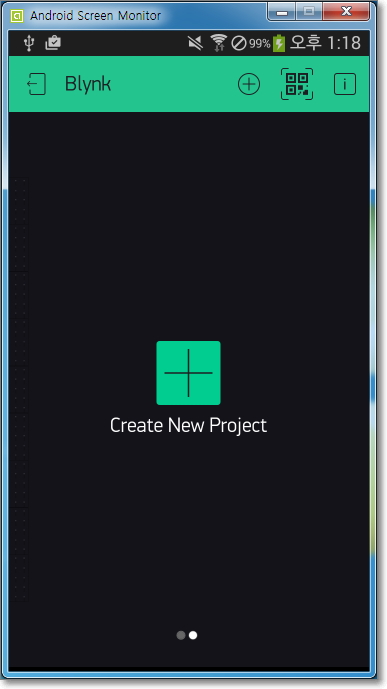
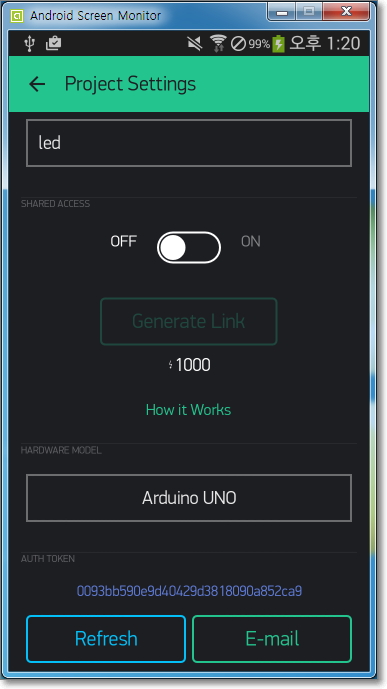
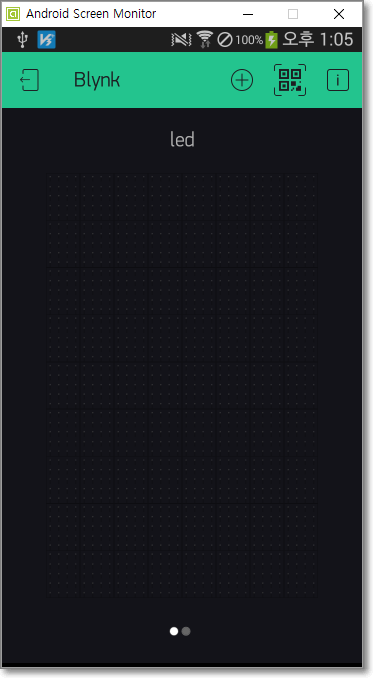
5. To create a new progject on App.
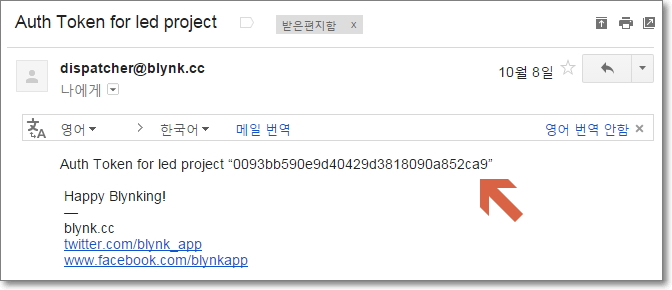
6. To check "Auth Token" by Email.
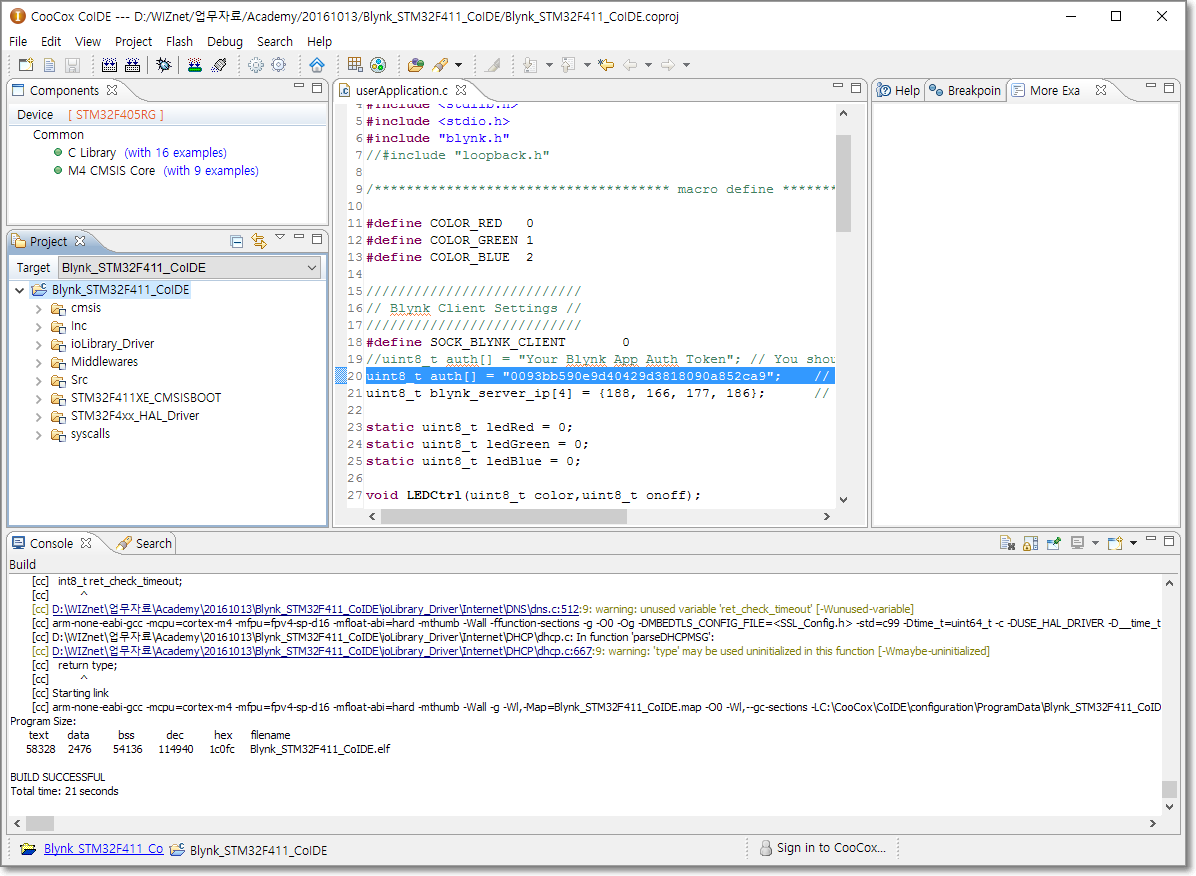
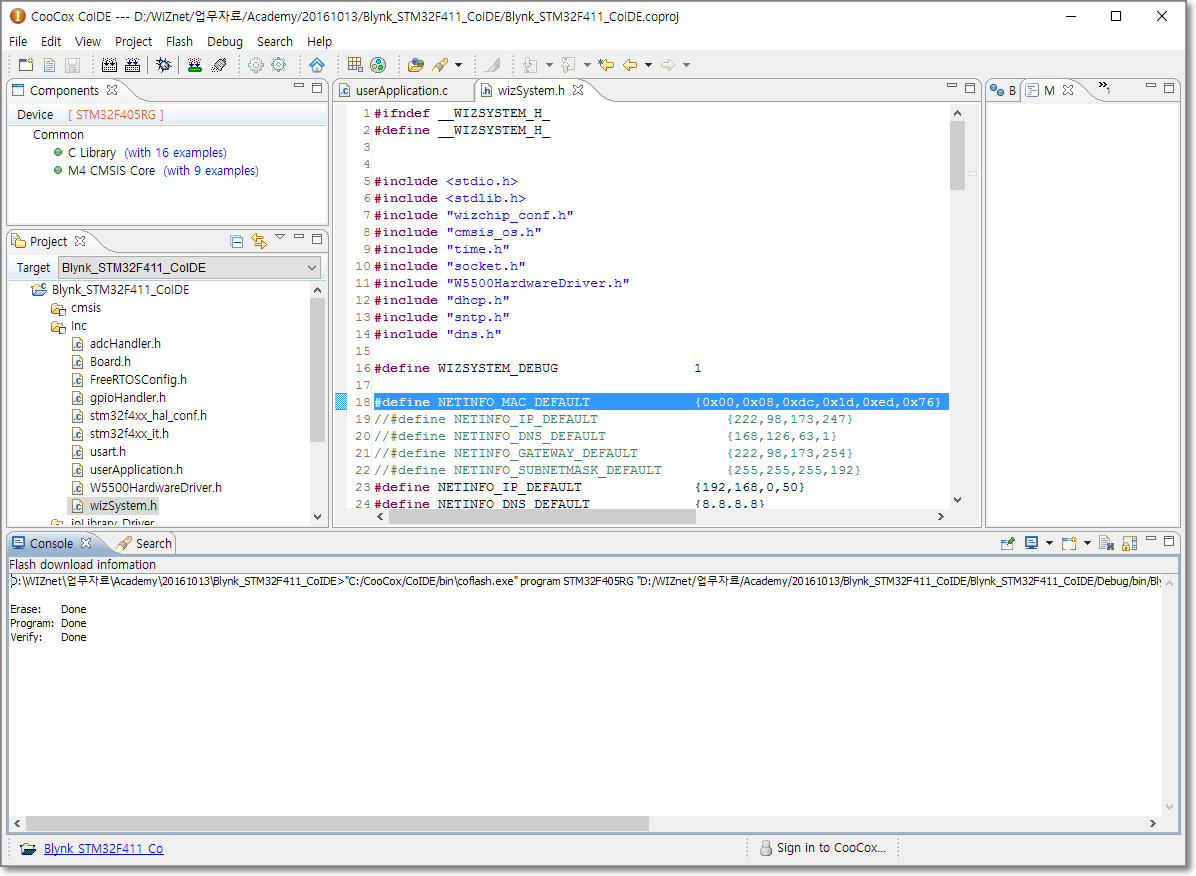
7. To modify "Auth Token", Server IP, MAC address, IP address.
8. To build/rebuild and download to a target.
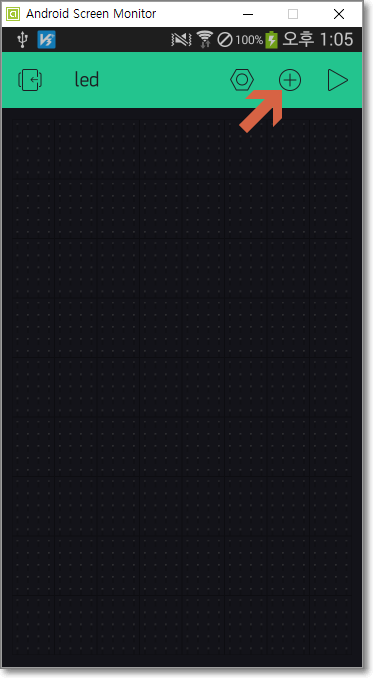
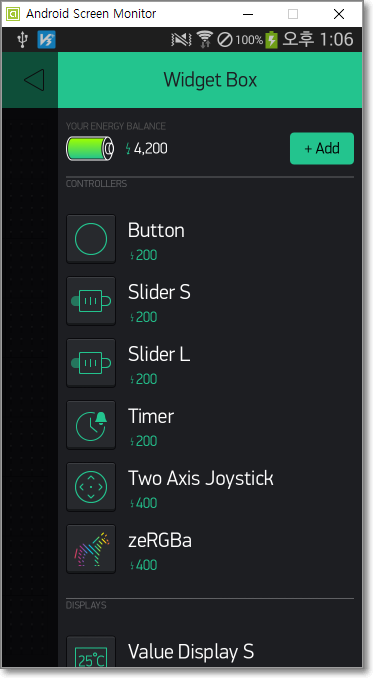
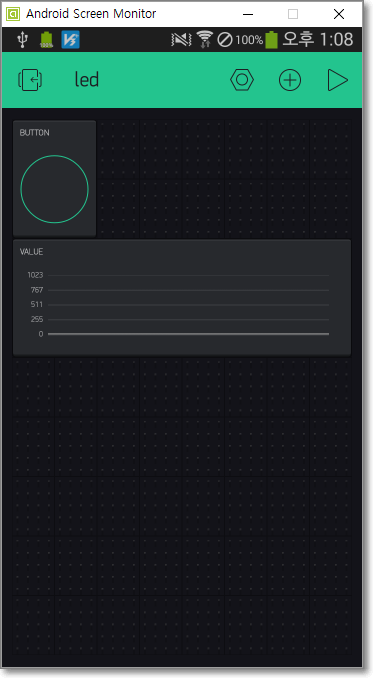
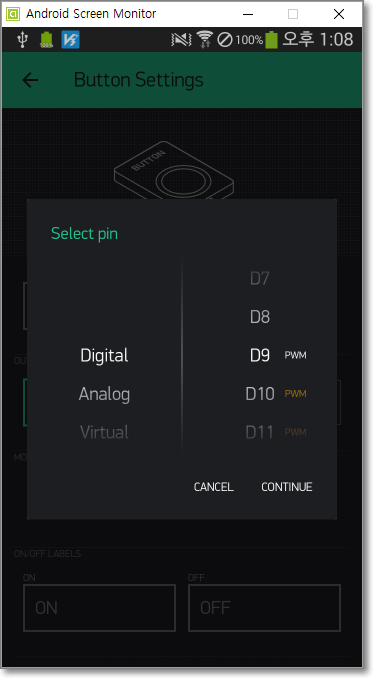
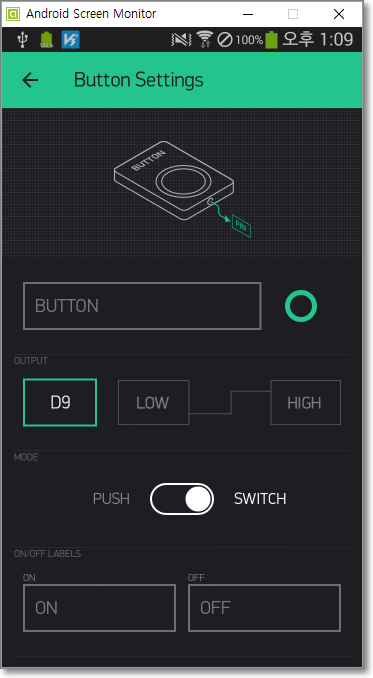
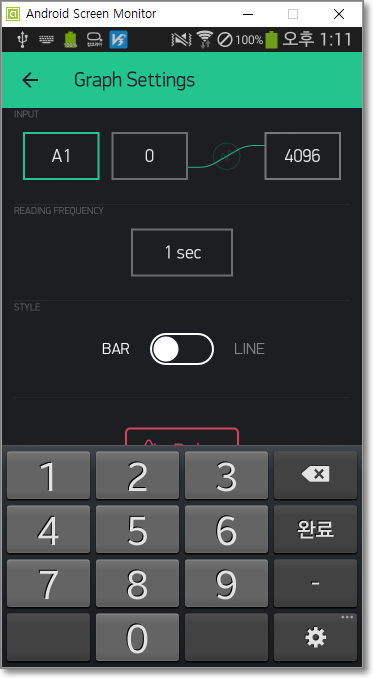
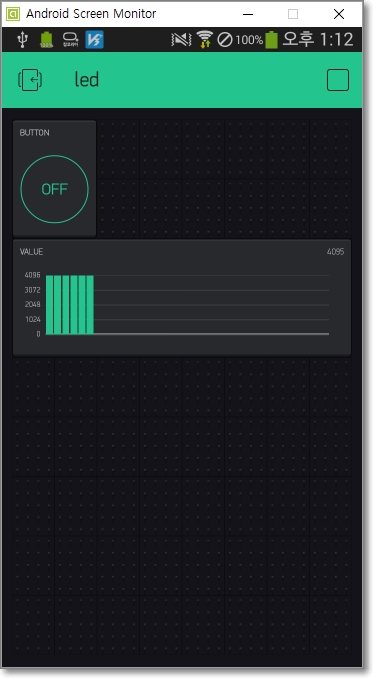
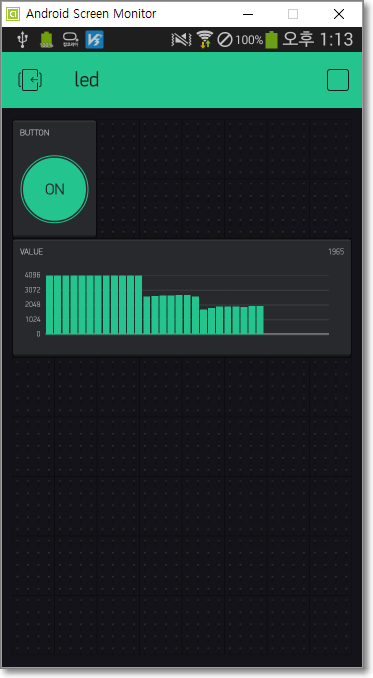
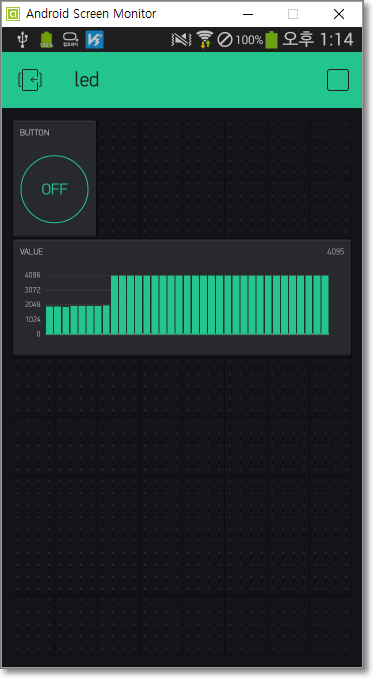
9. To add Widget Box and modify an example project.
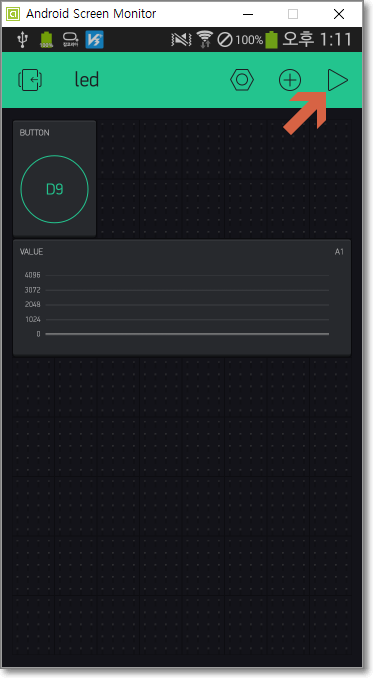
10. To check the result of device control.
Thank you for your attention.