How to Use an Omnipod 5
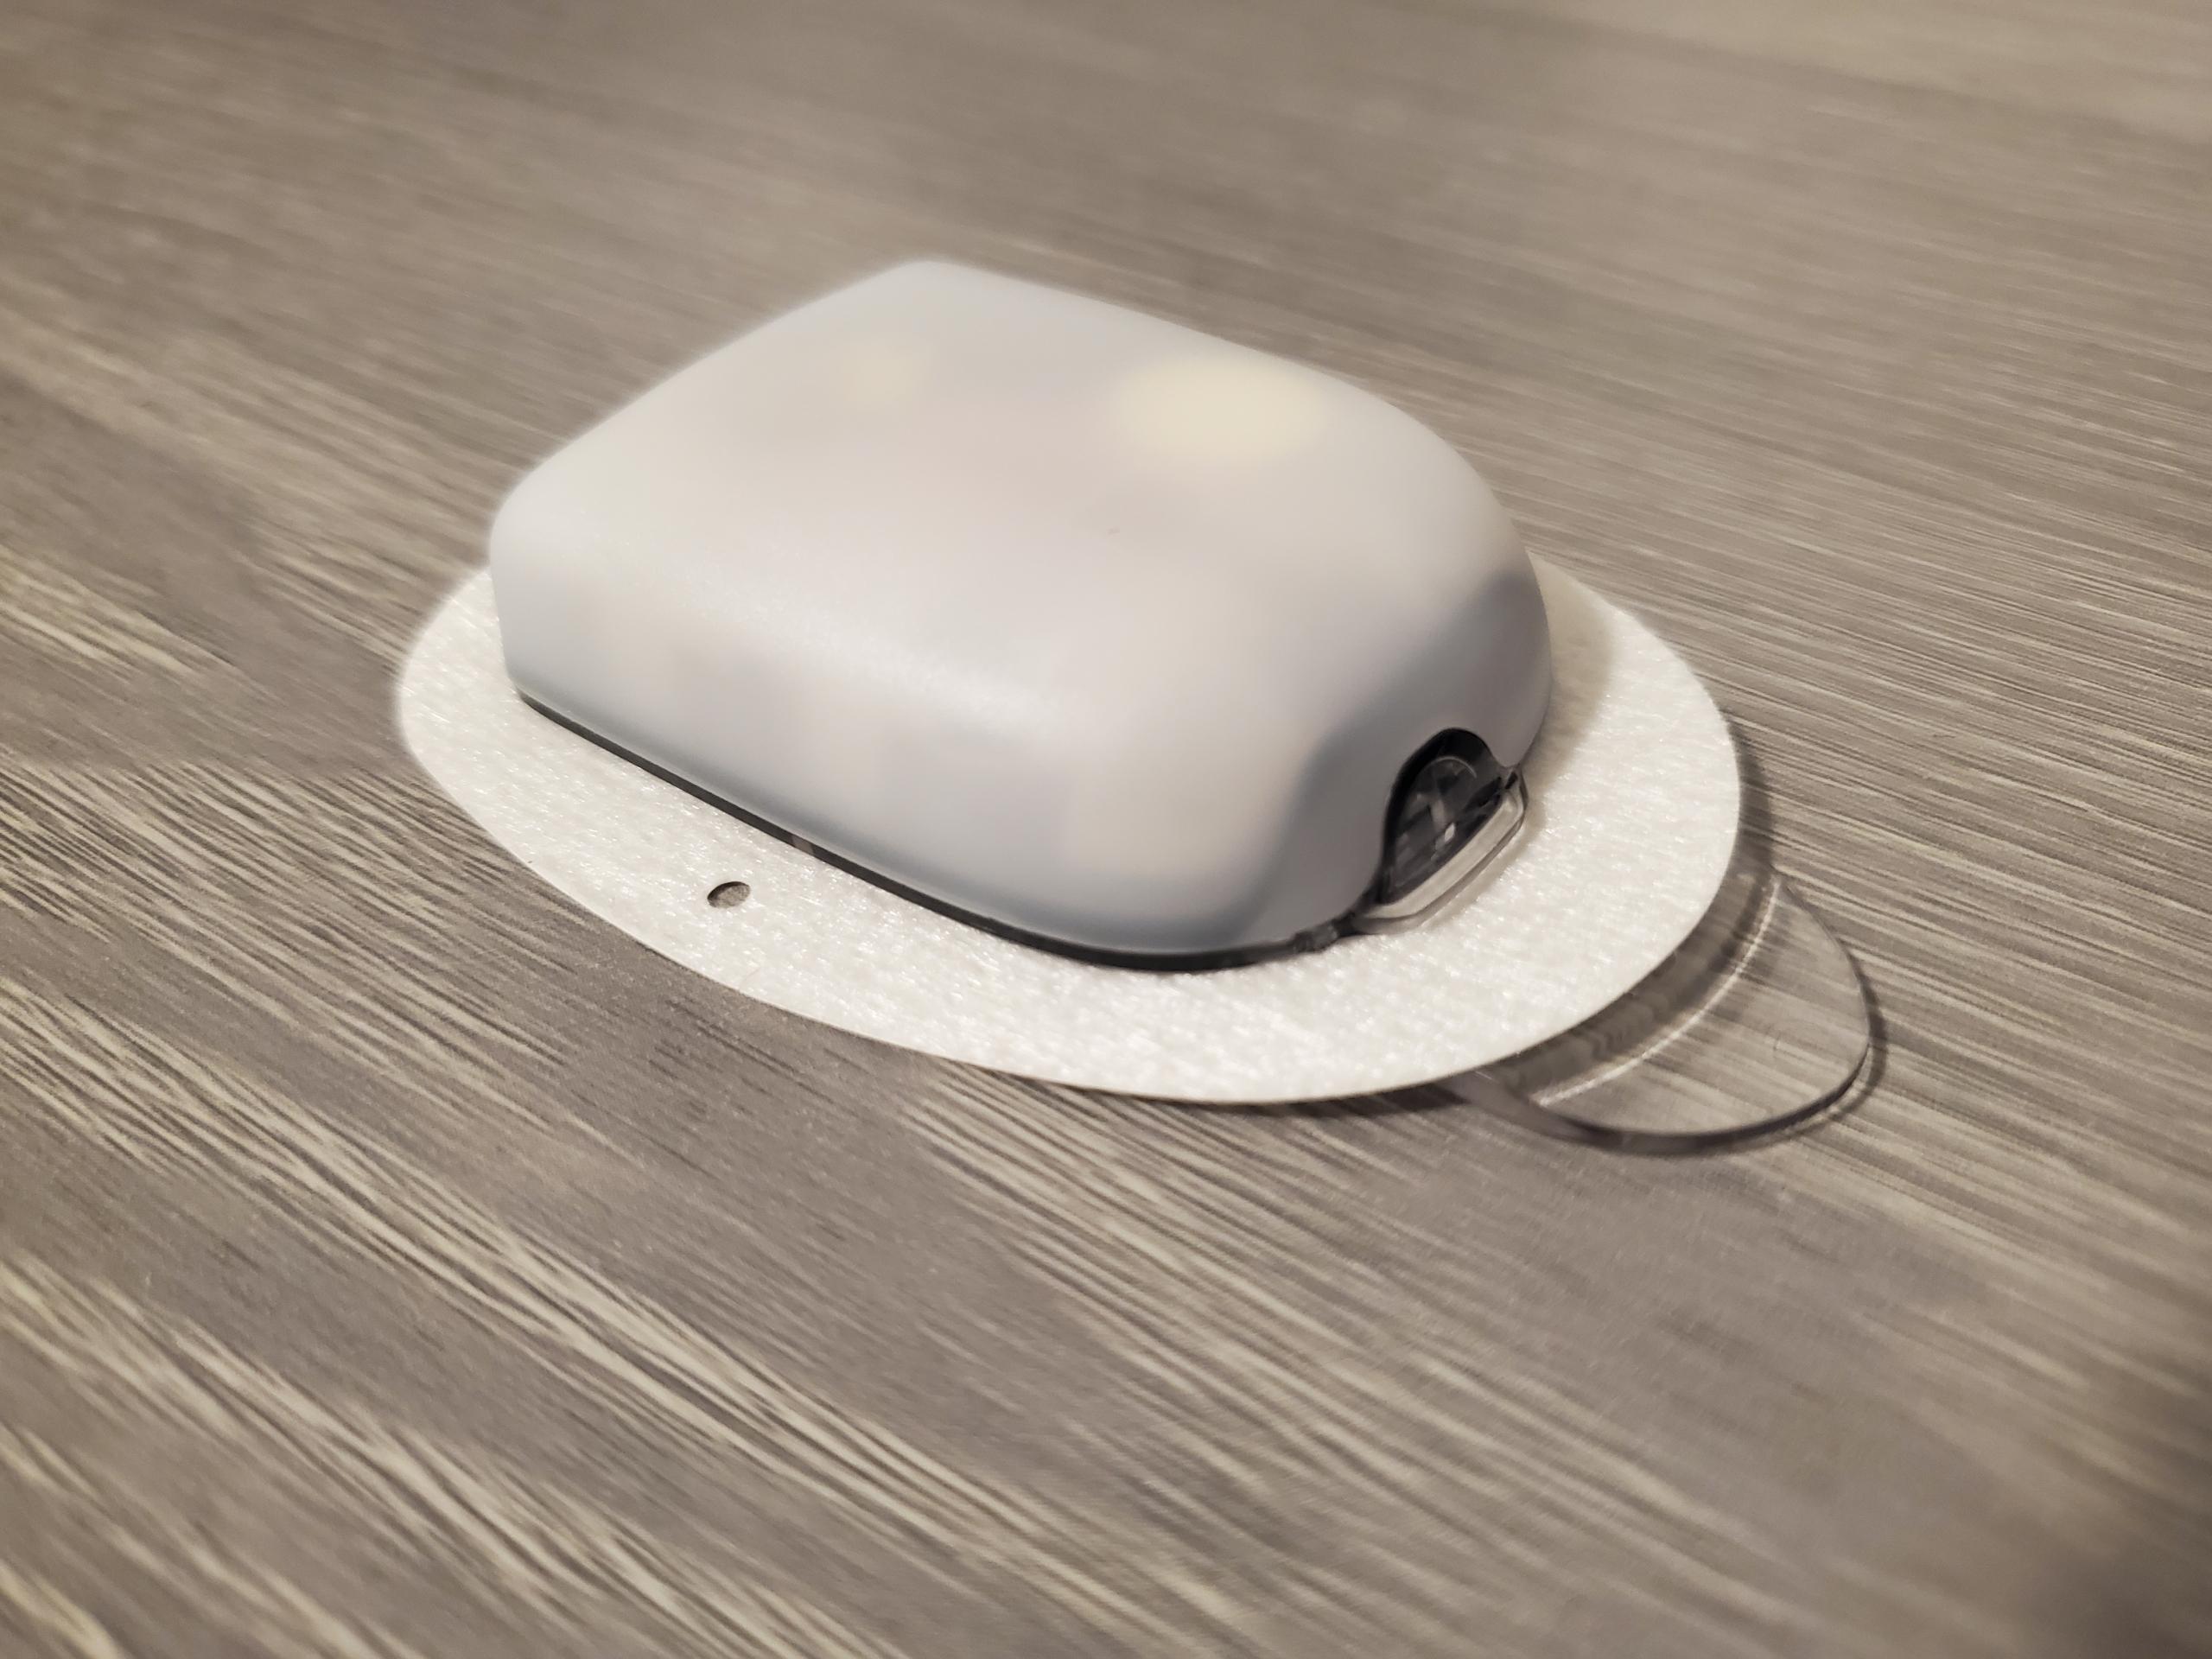
This Instructable is for diabetics and their caretakers to give them a quick reminder on how to do the basics with the new Omnipod 5 pump.
This Instructable is meant for people who already have a solid understanding of diabetes and their own diabetic needs and patterns.
Supplies
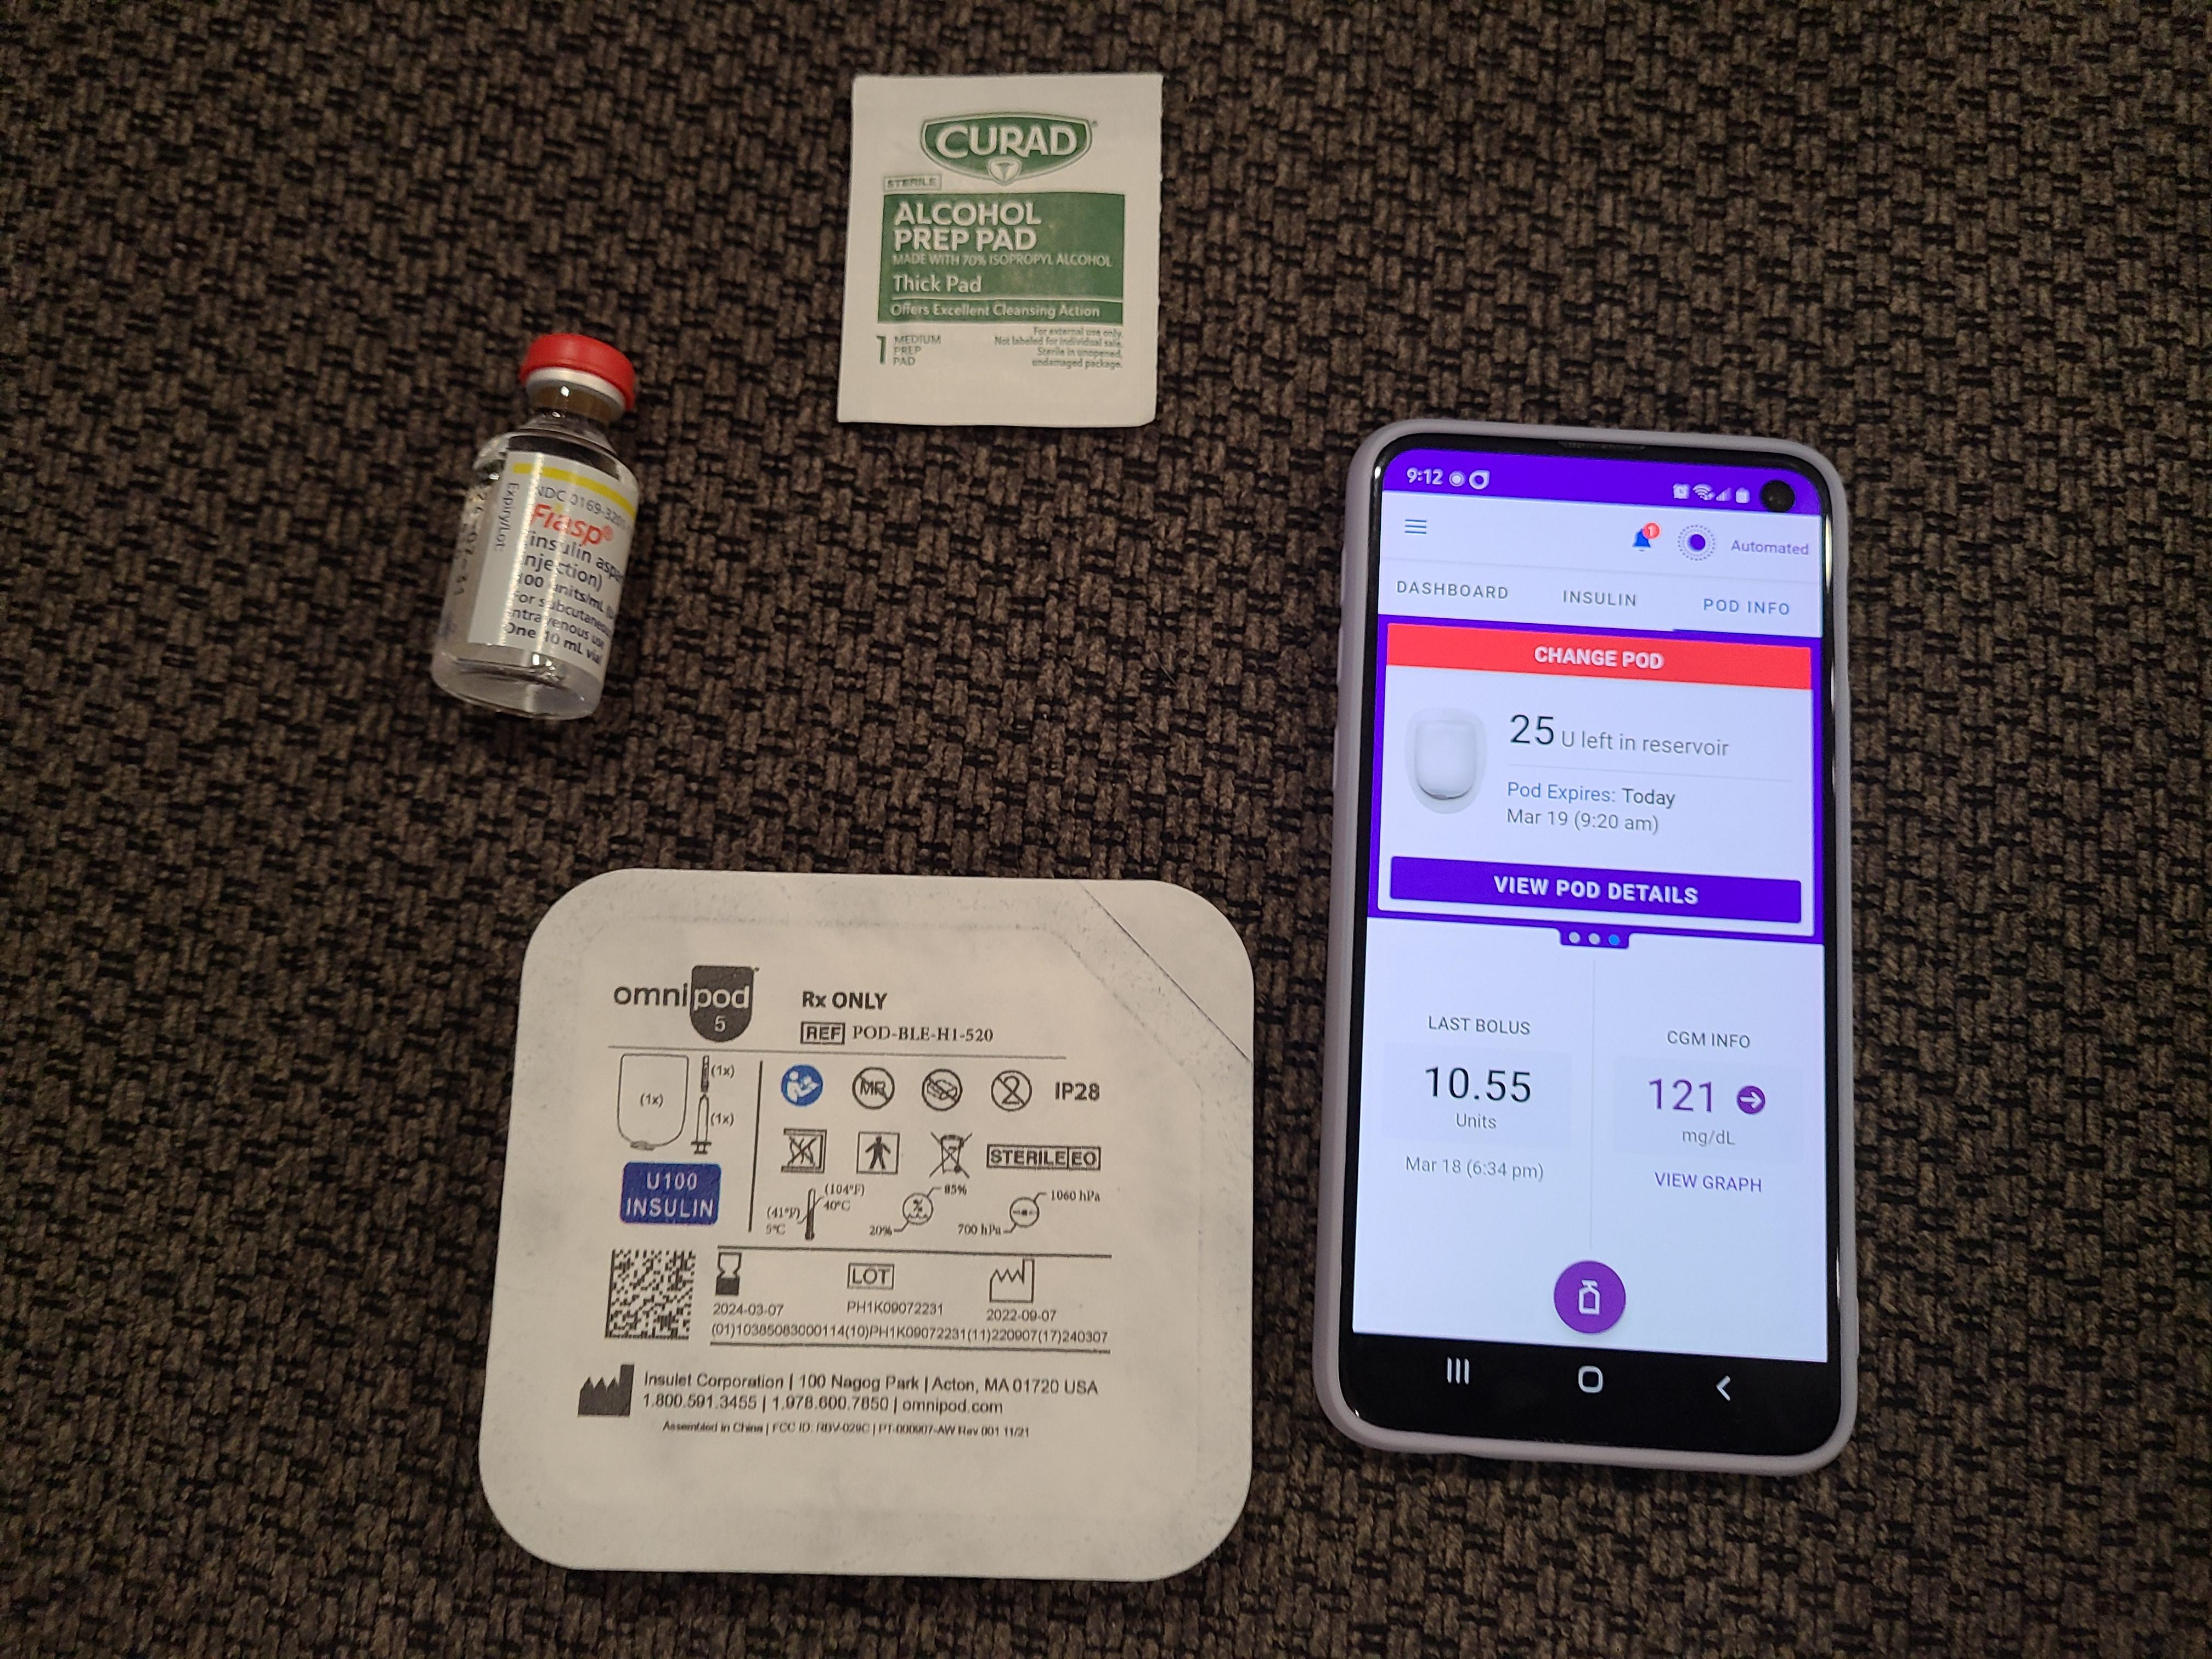
You will need:
Insulin
New pod kit (which includes a new pod and syringe)
Compatible smart phone
Omnipod 5 app
Alcohol wipe
App Prep
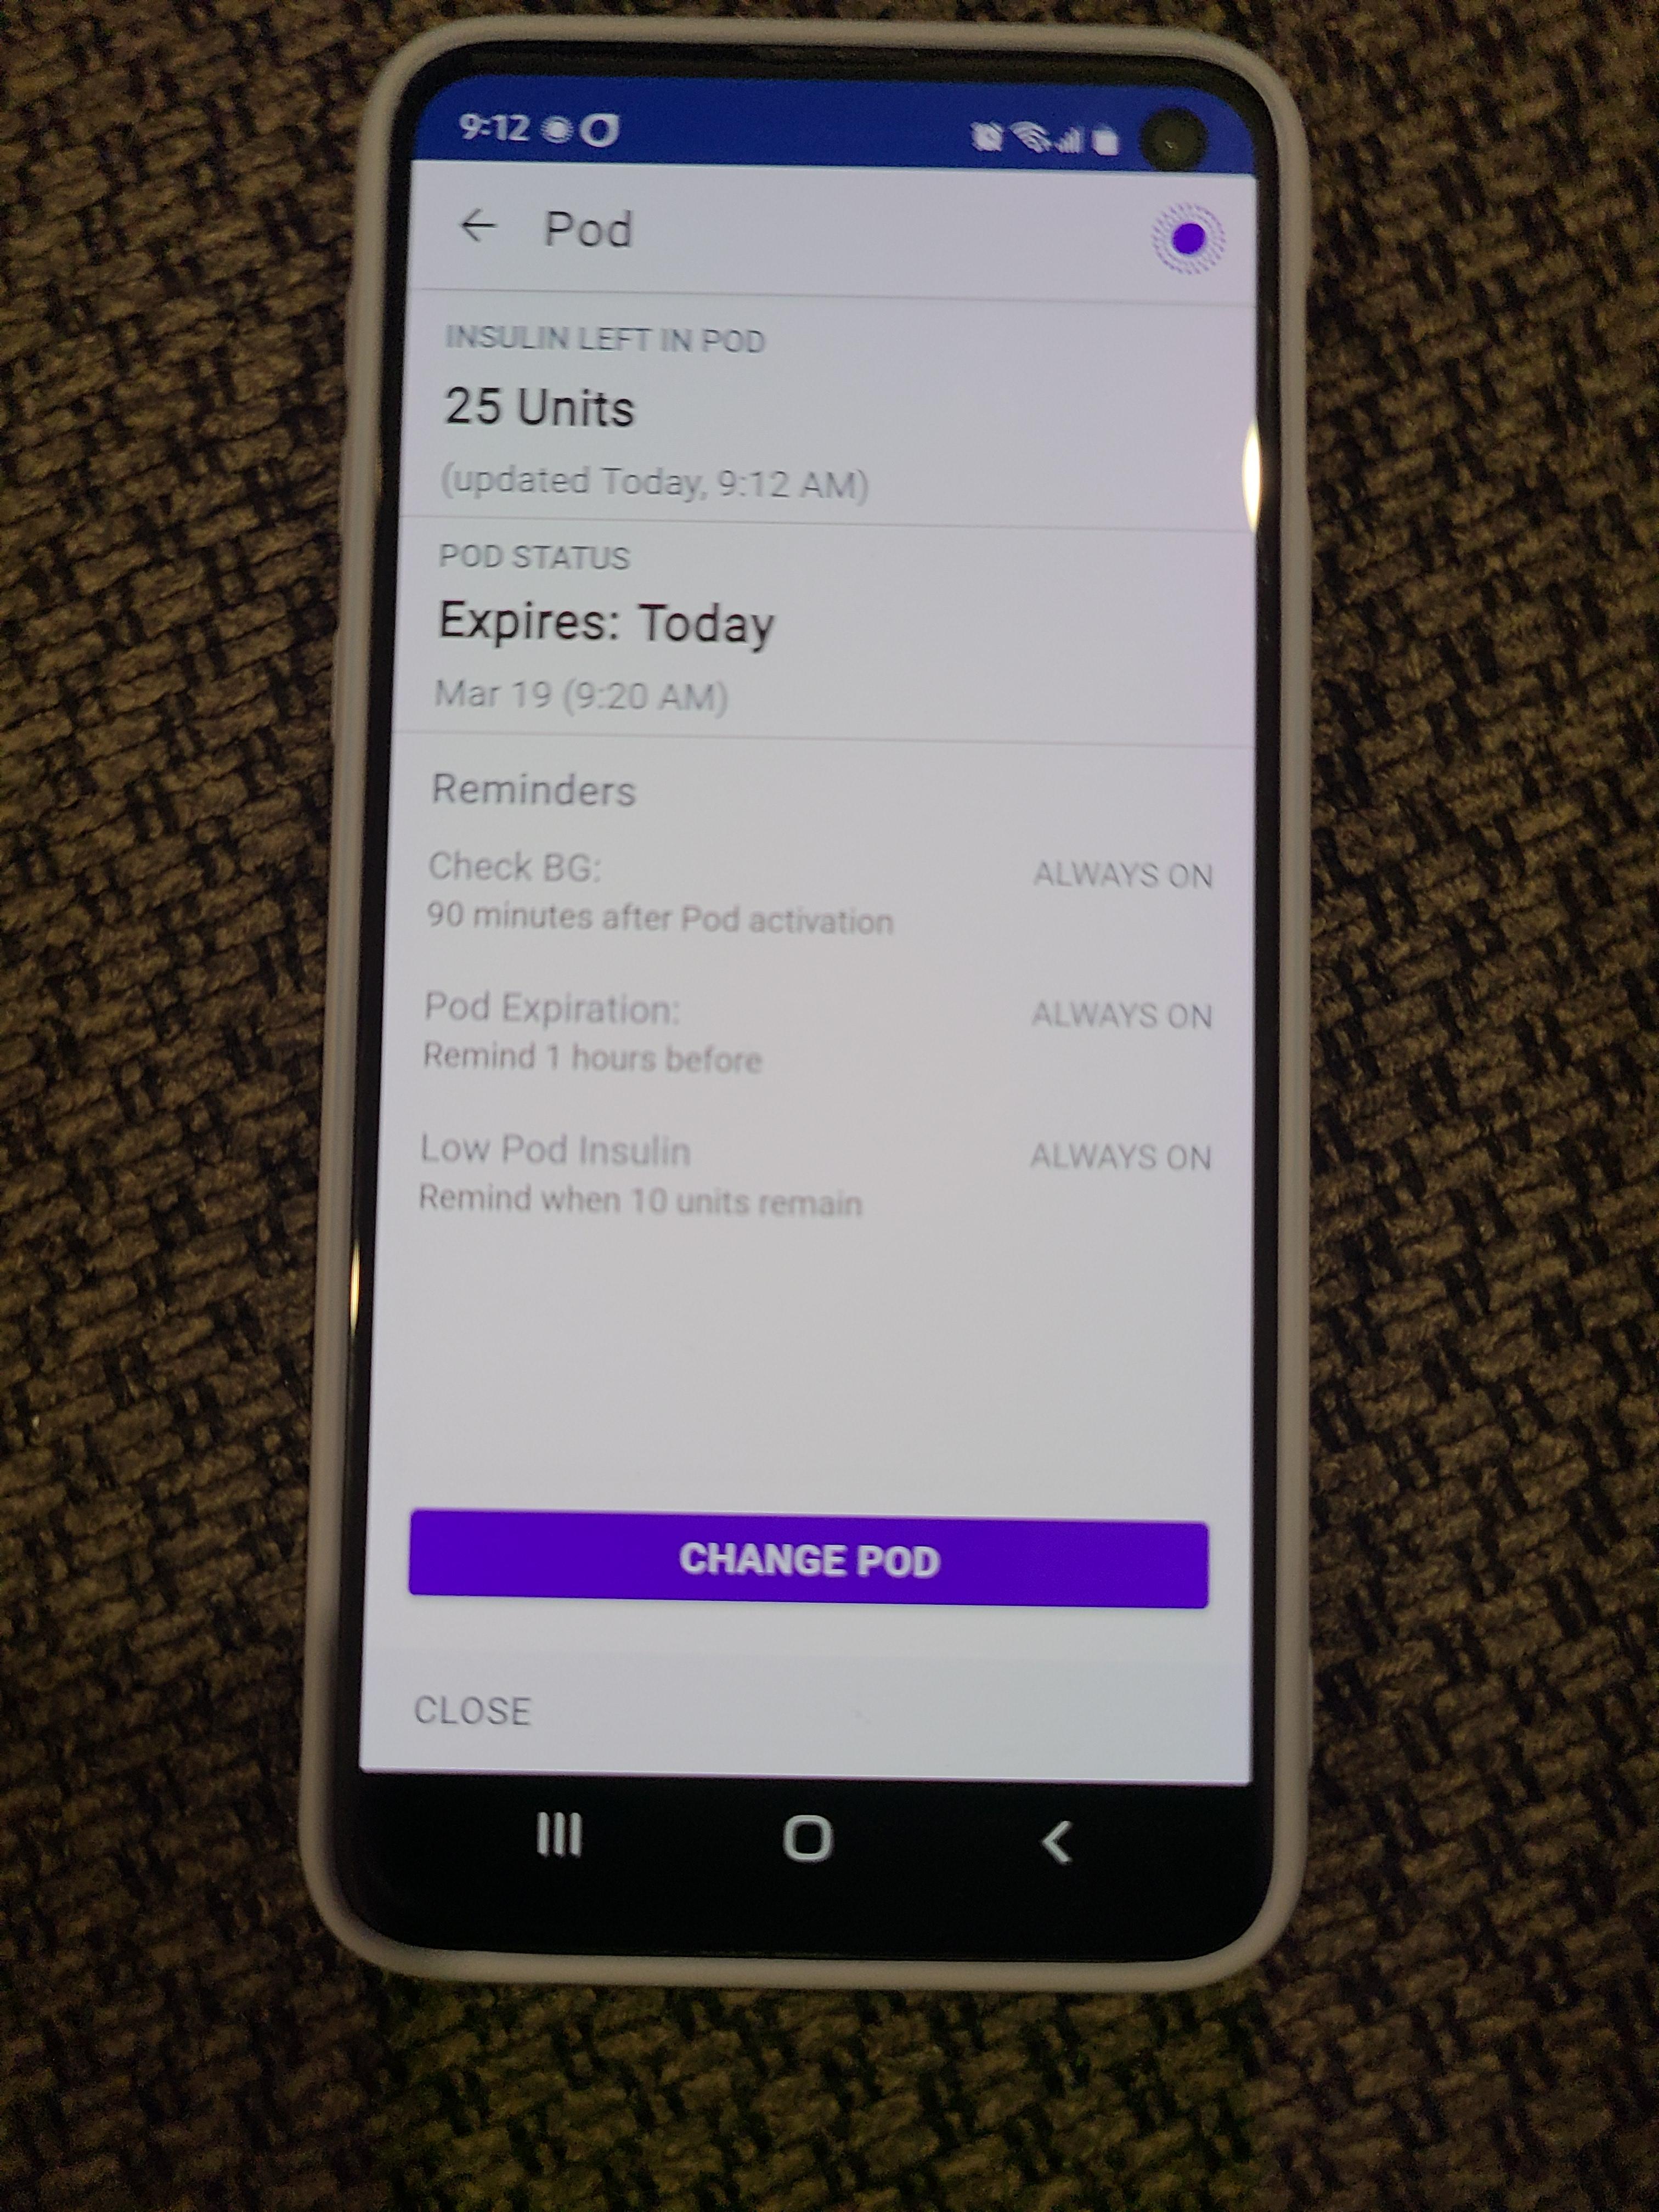
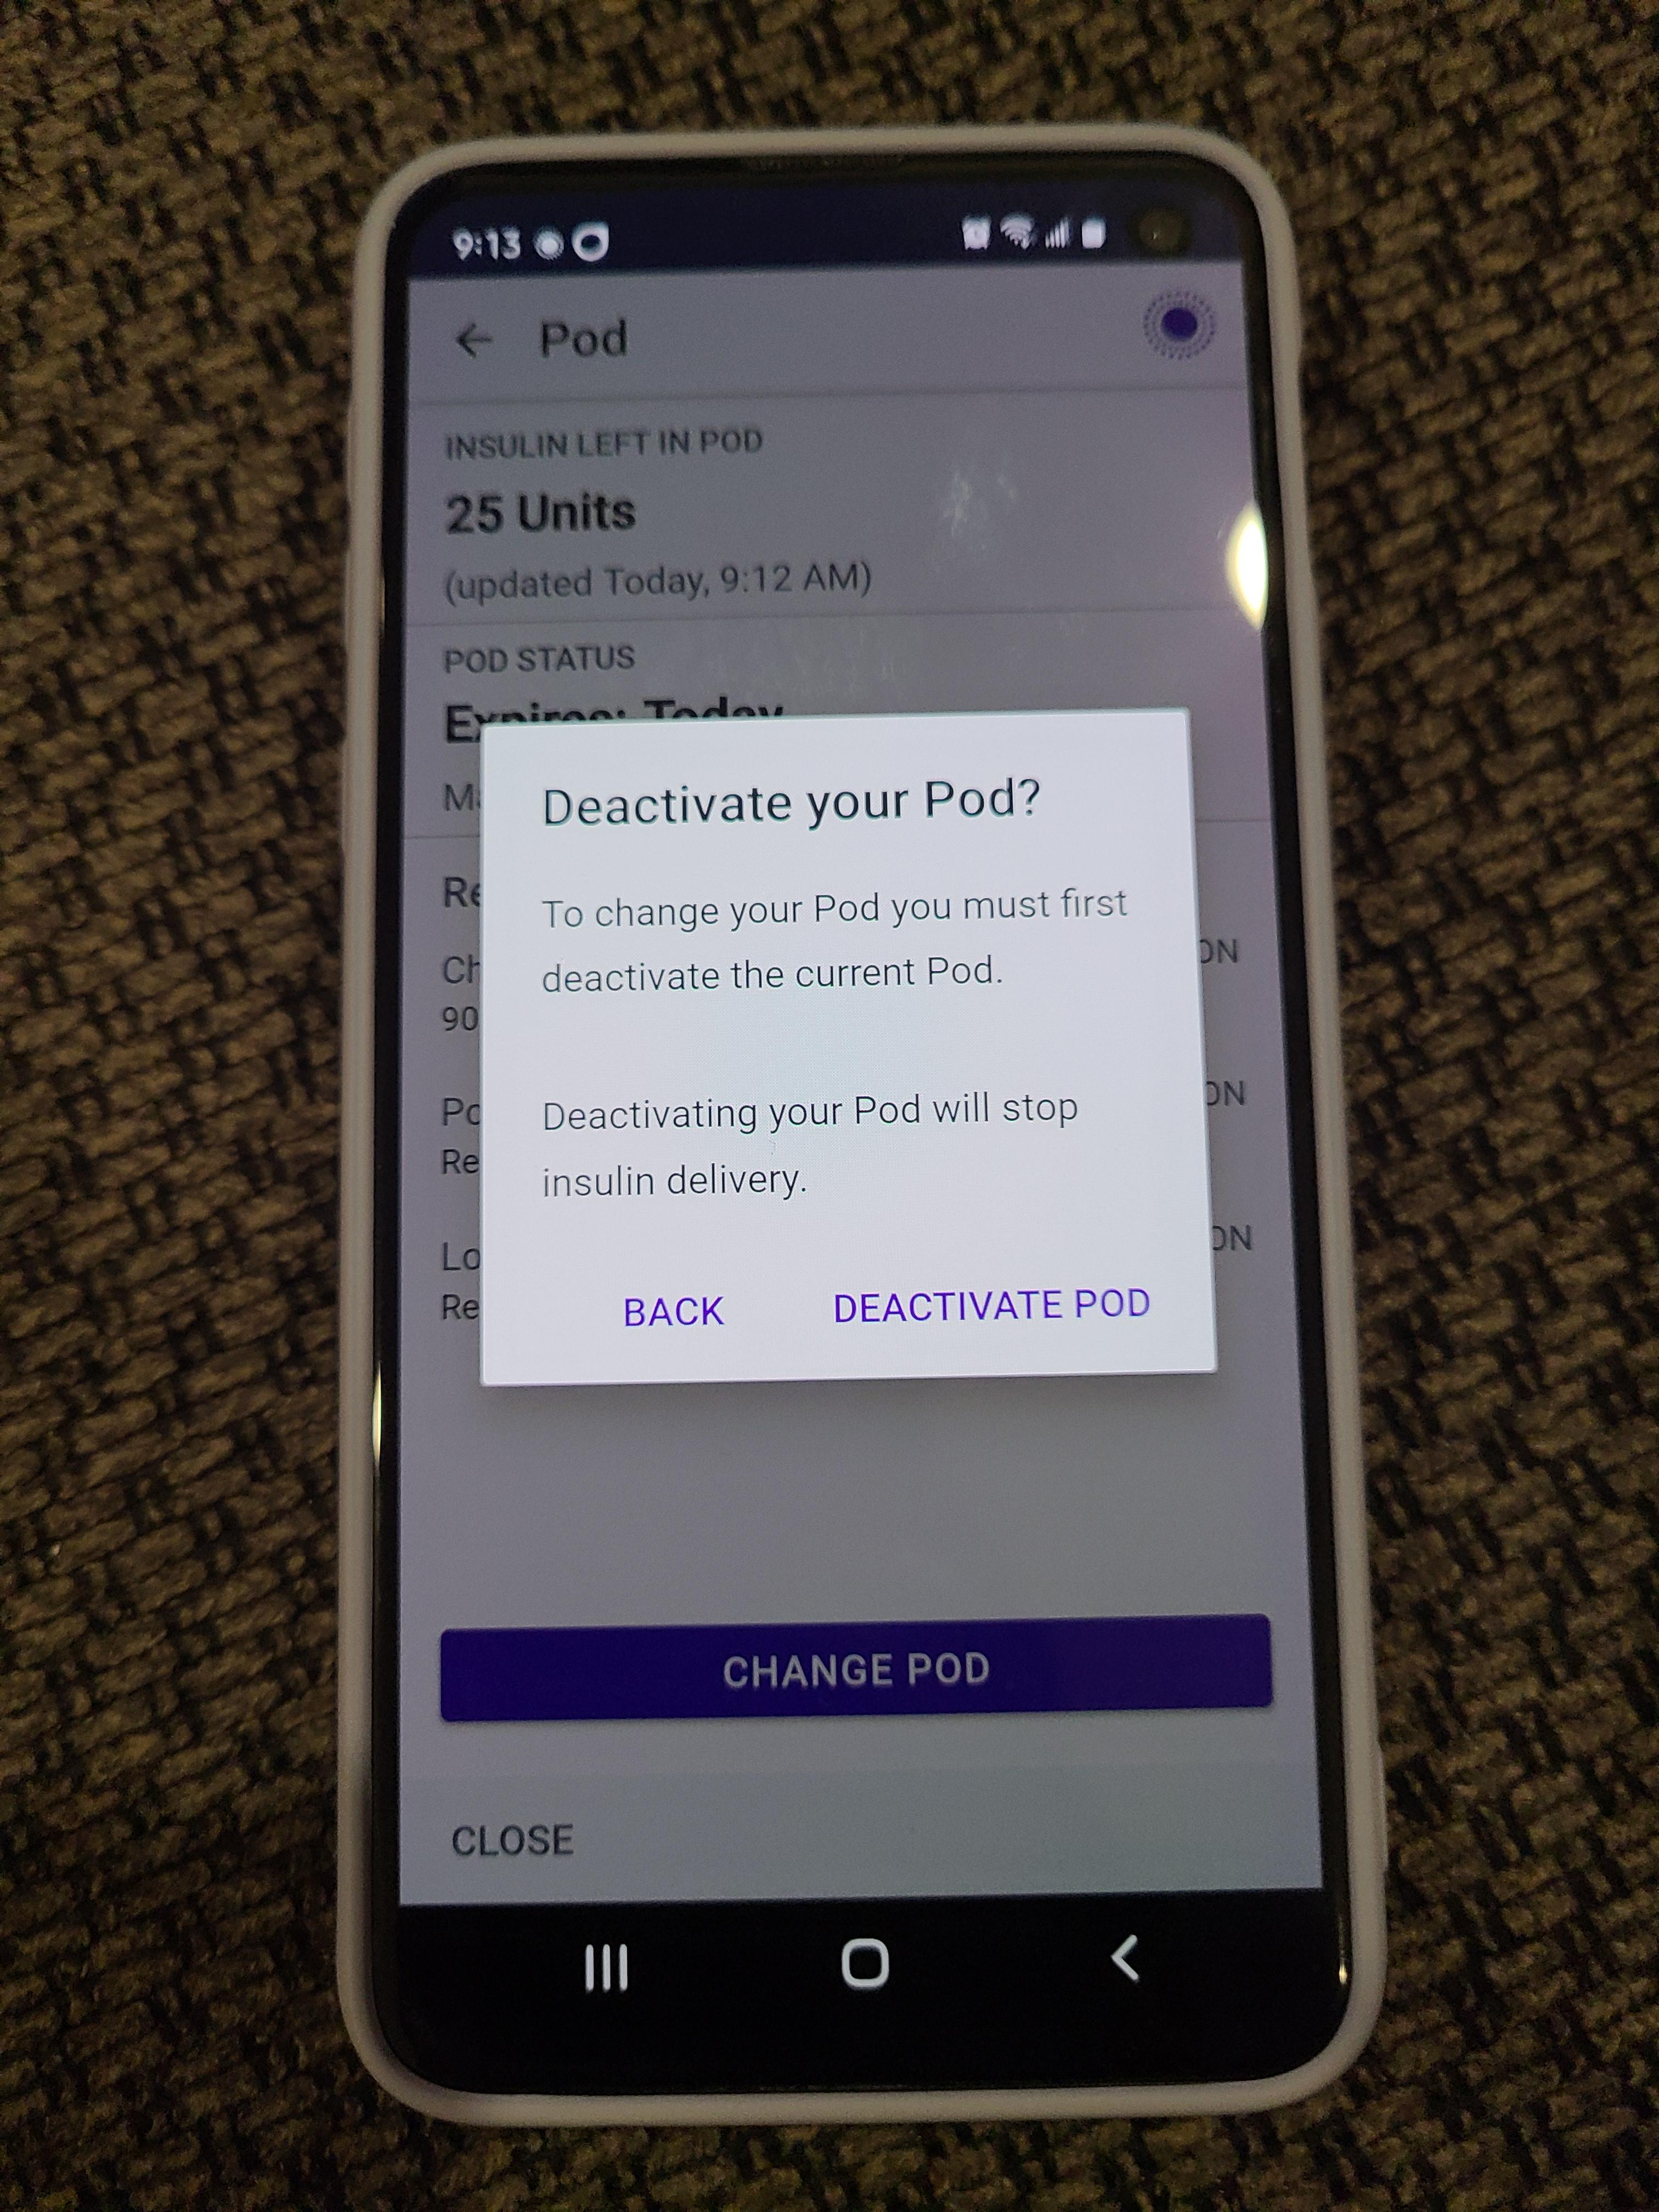
First, you will need to let the app know that you are changing pods and deactivate the old pod.
Insulin
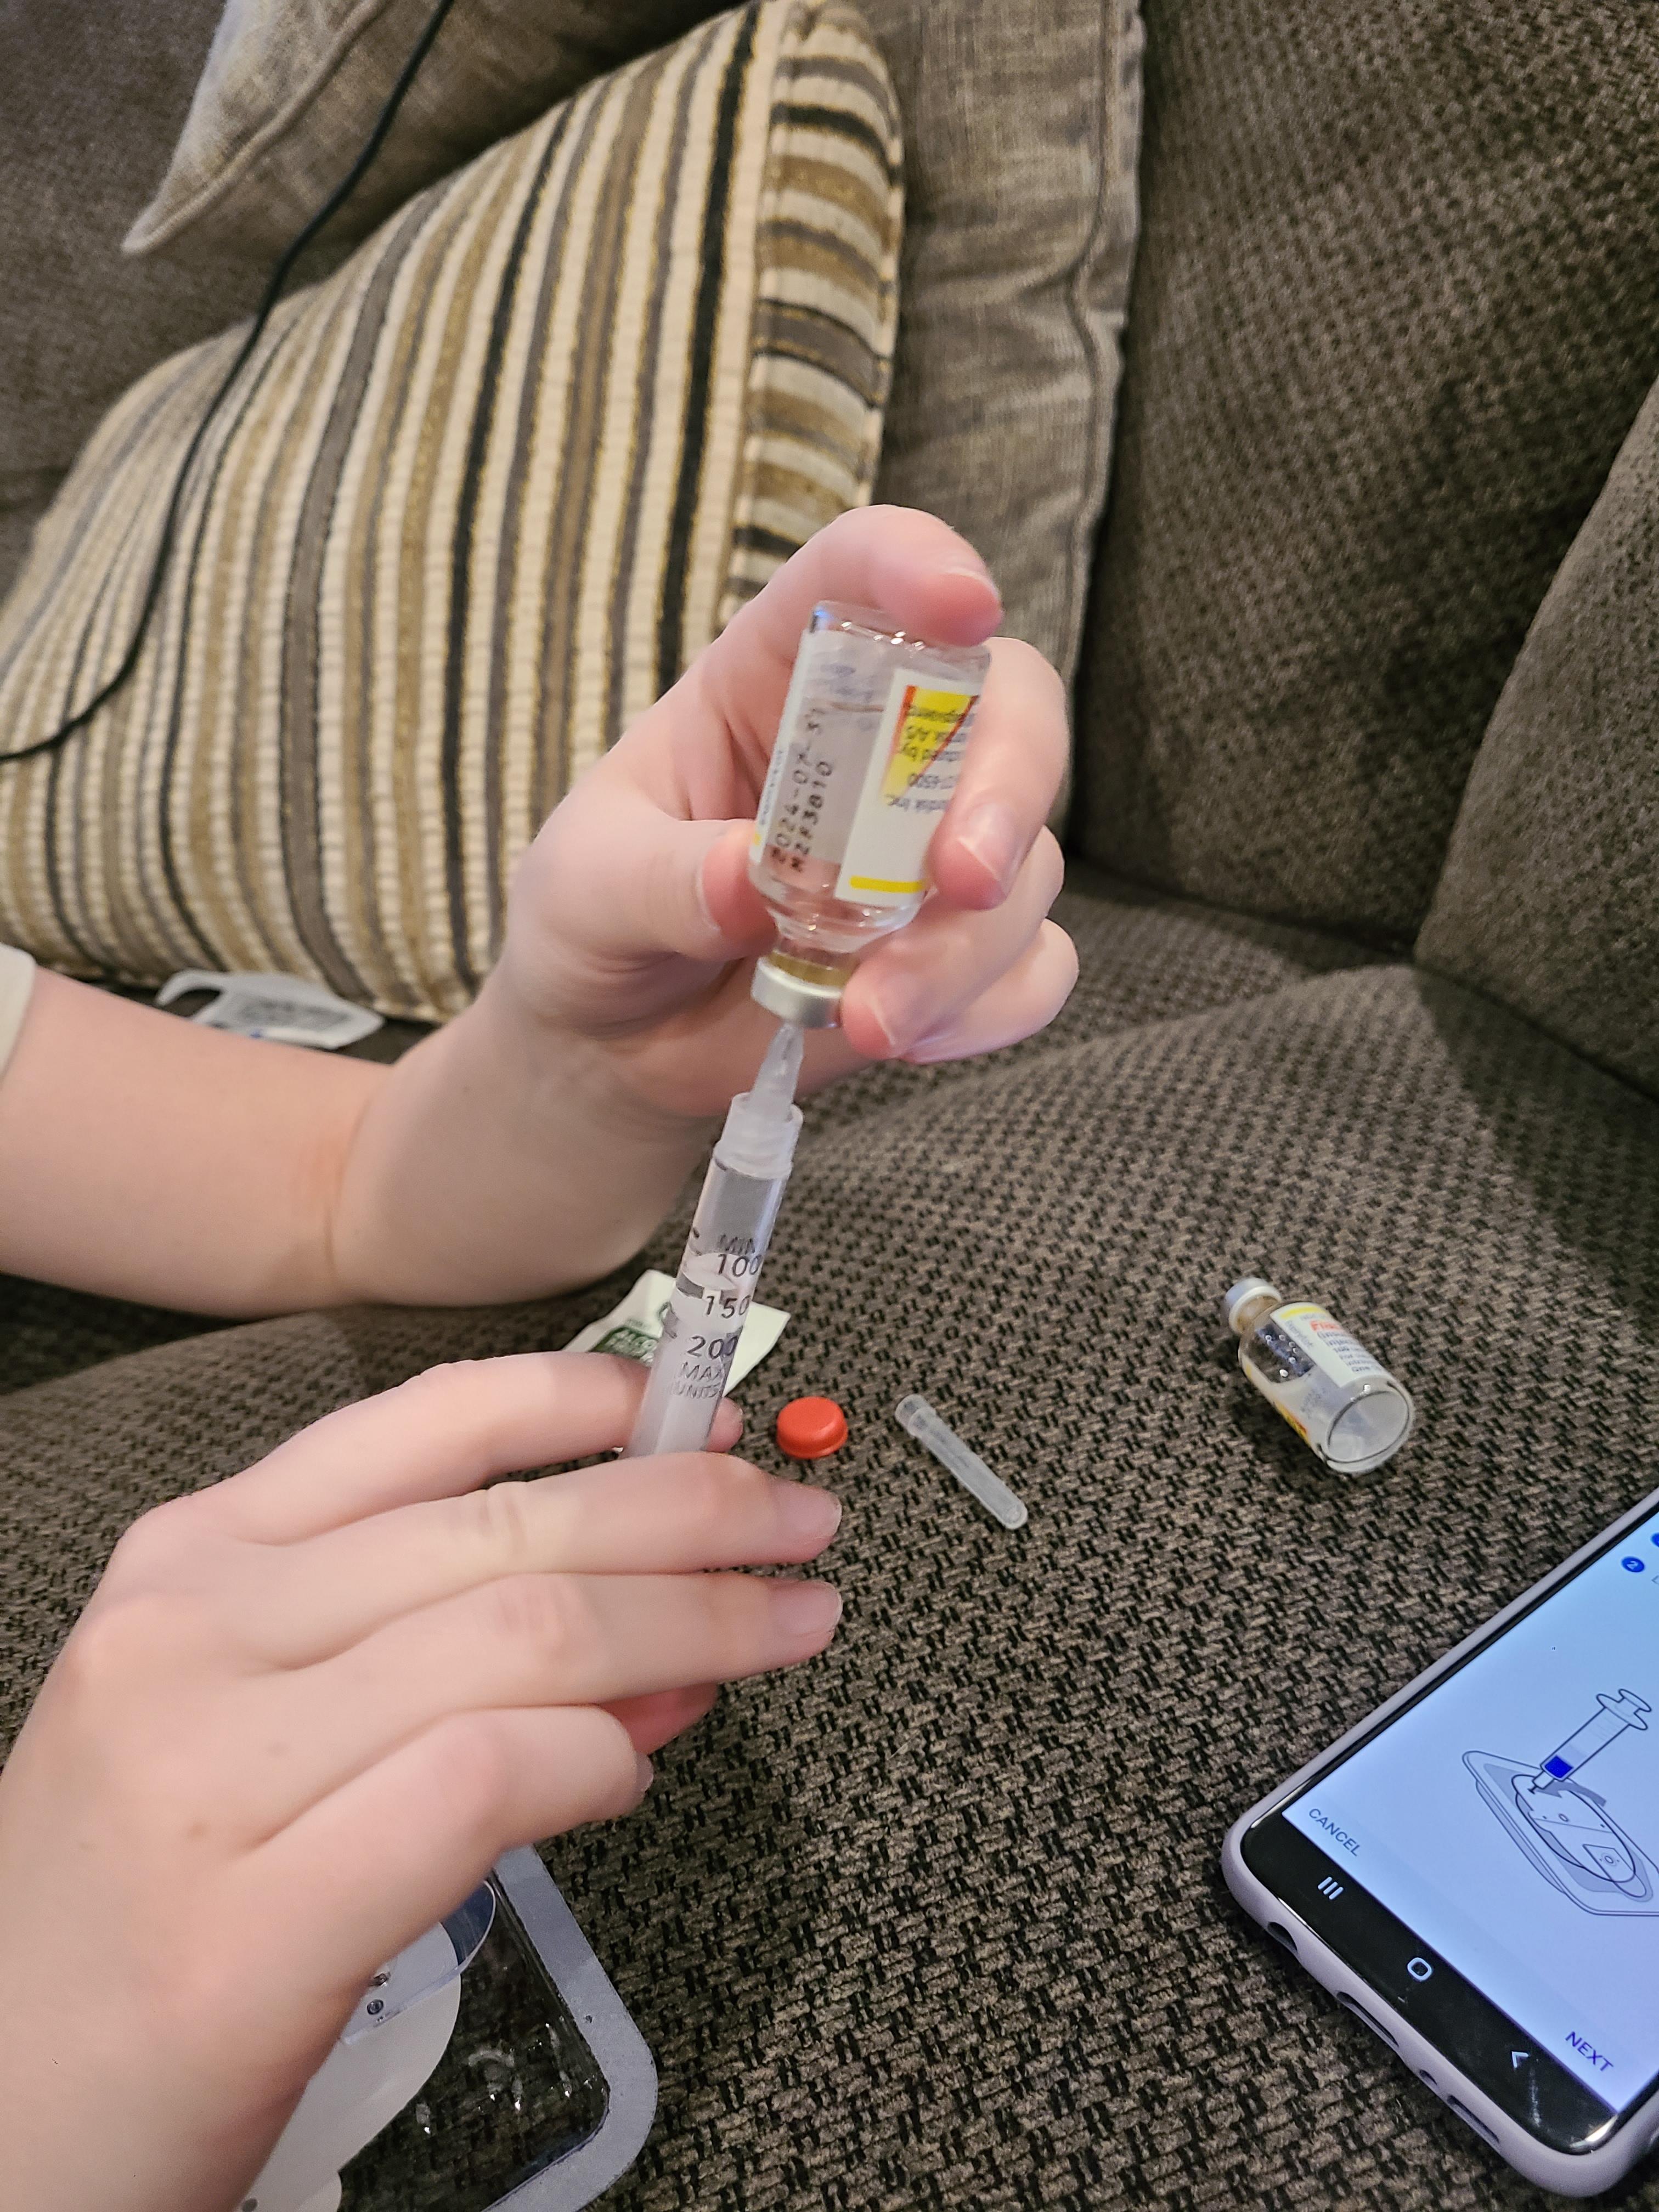
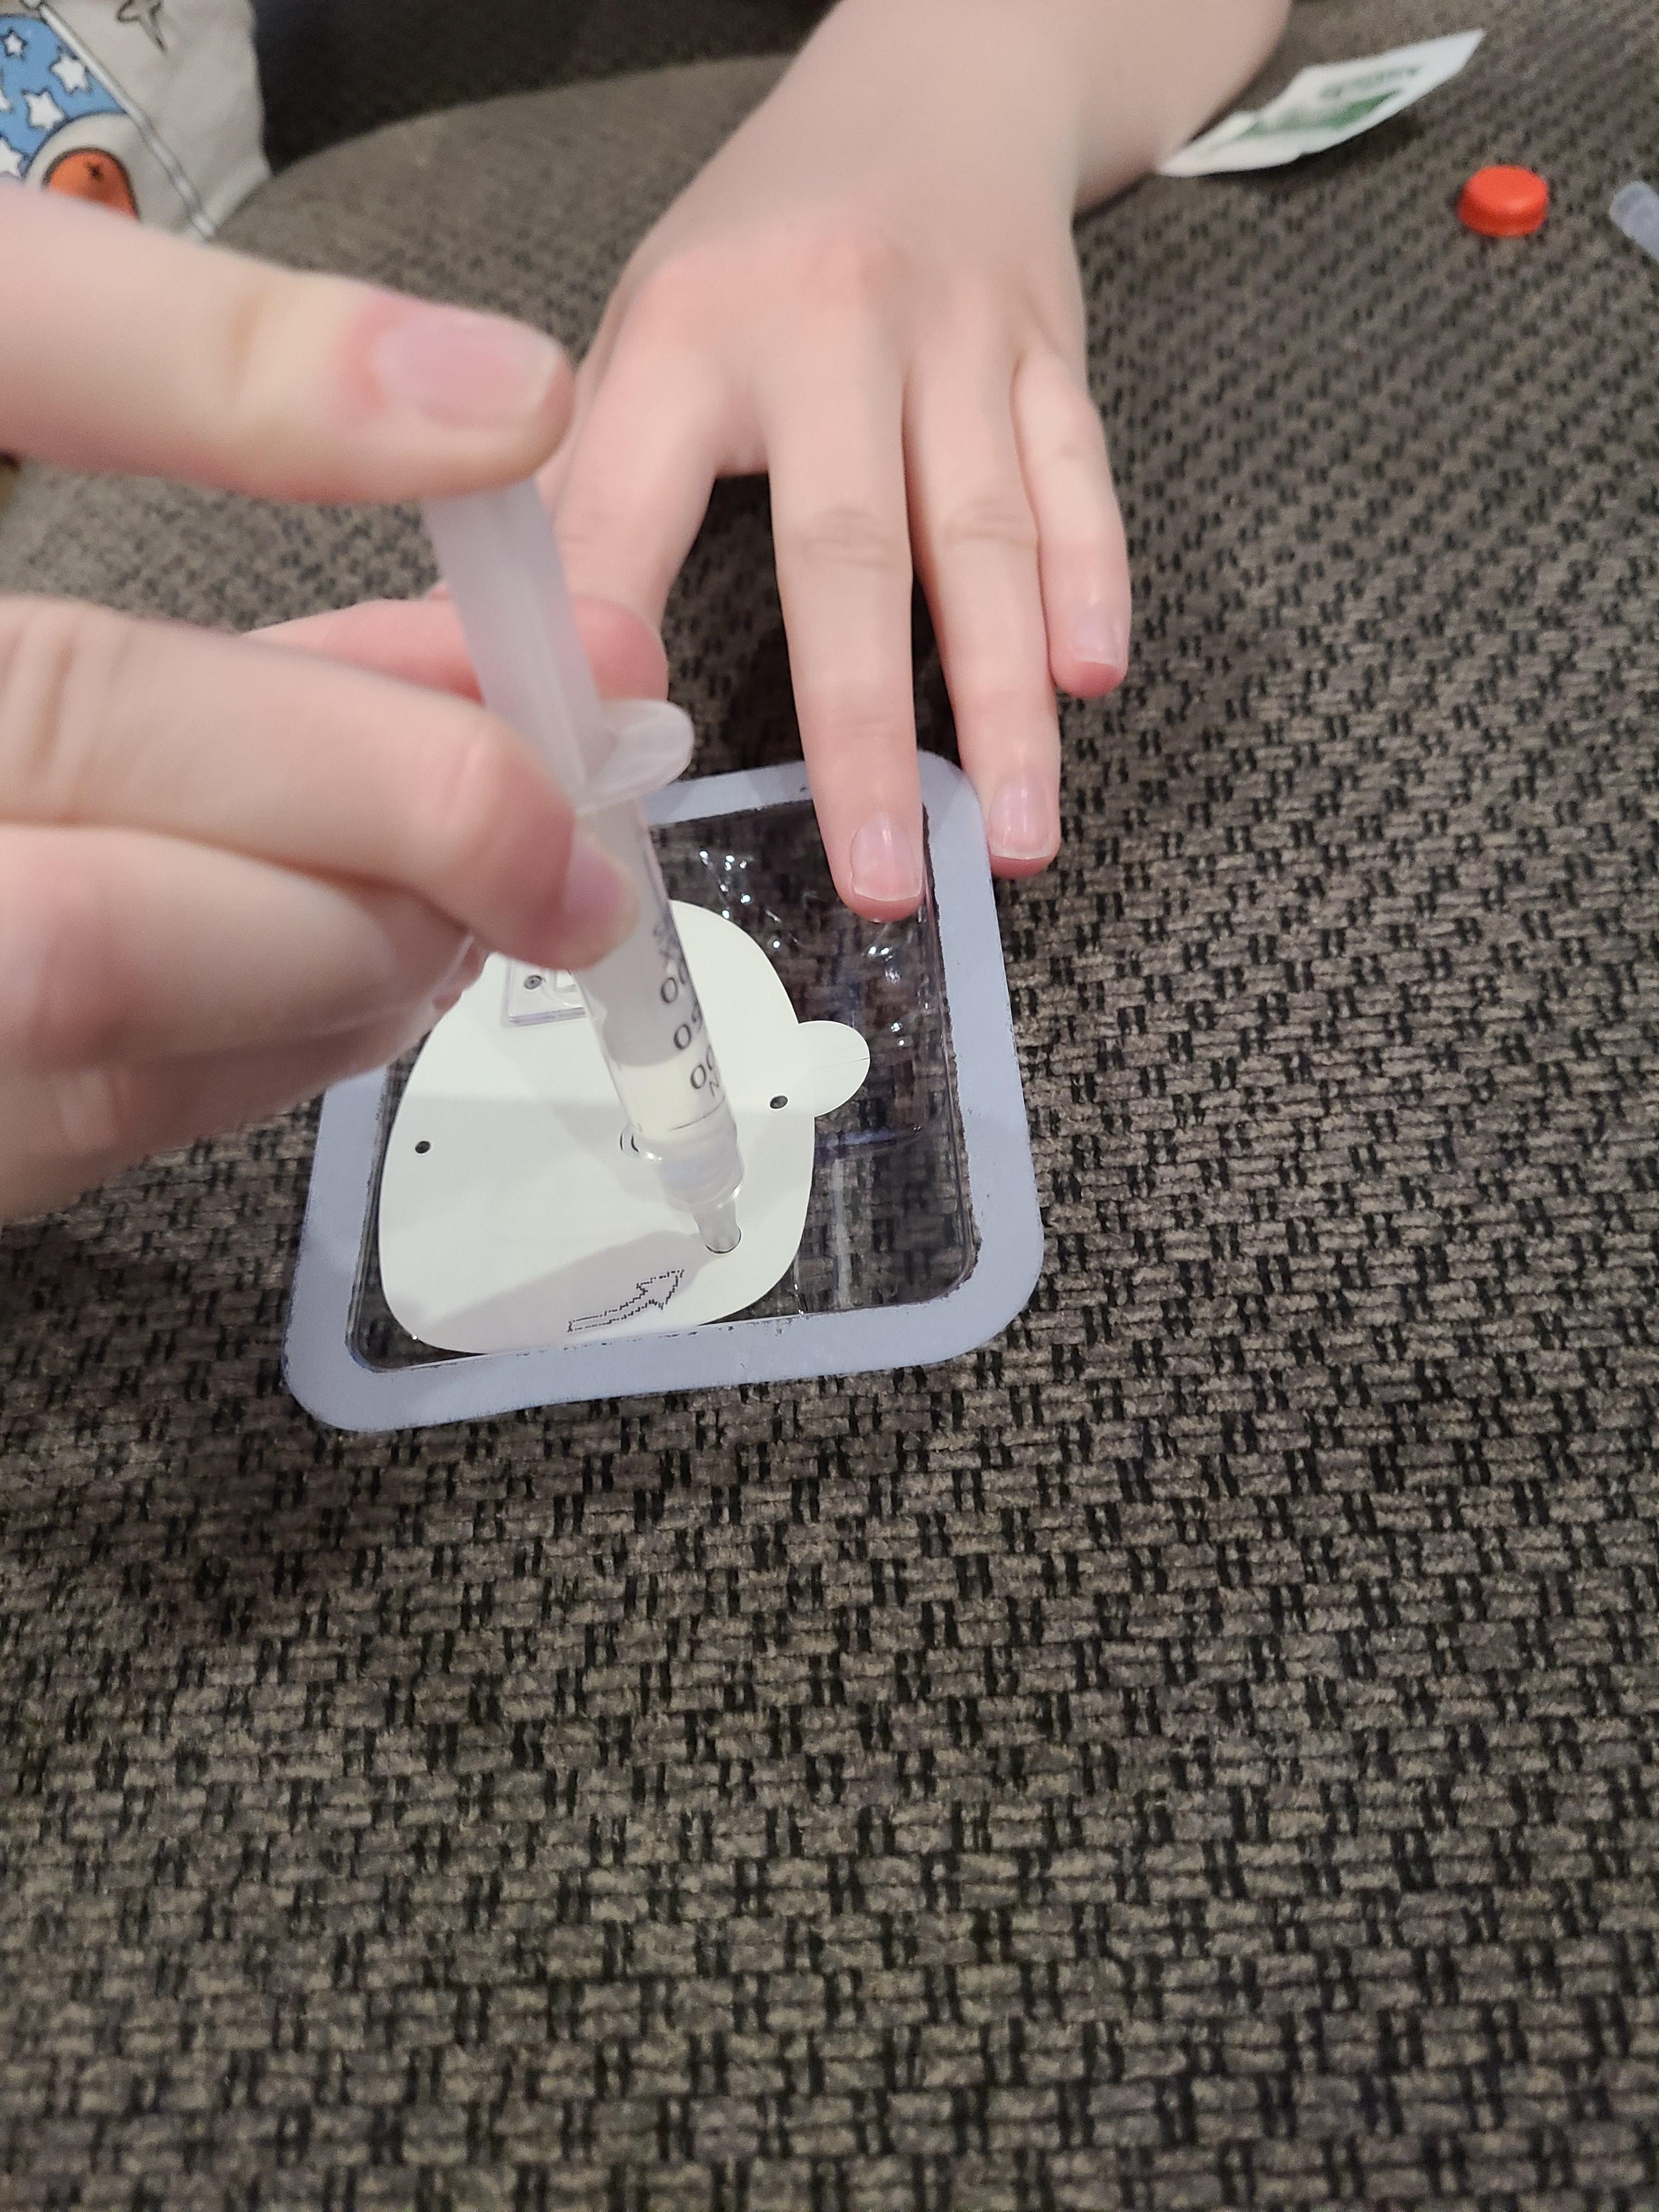
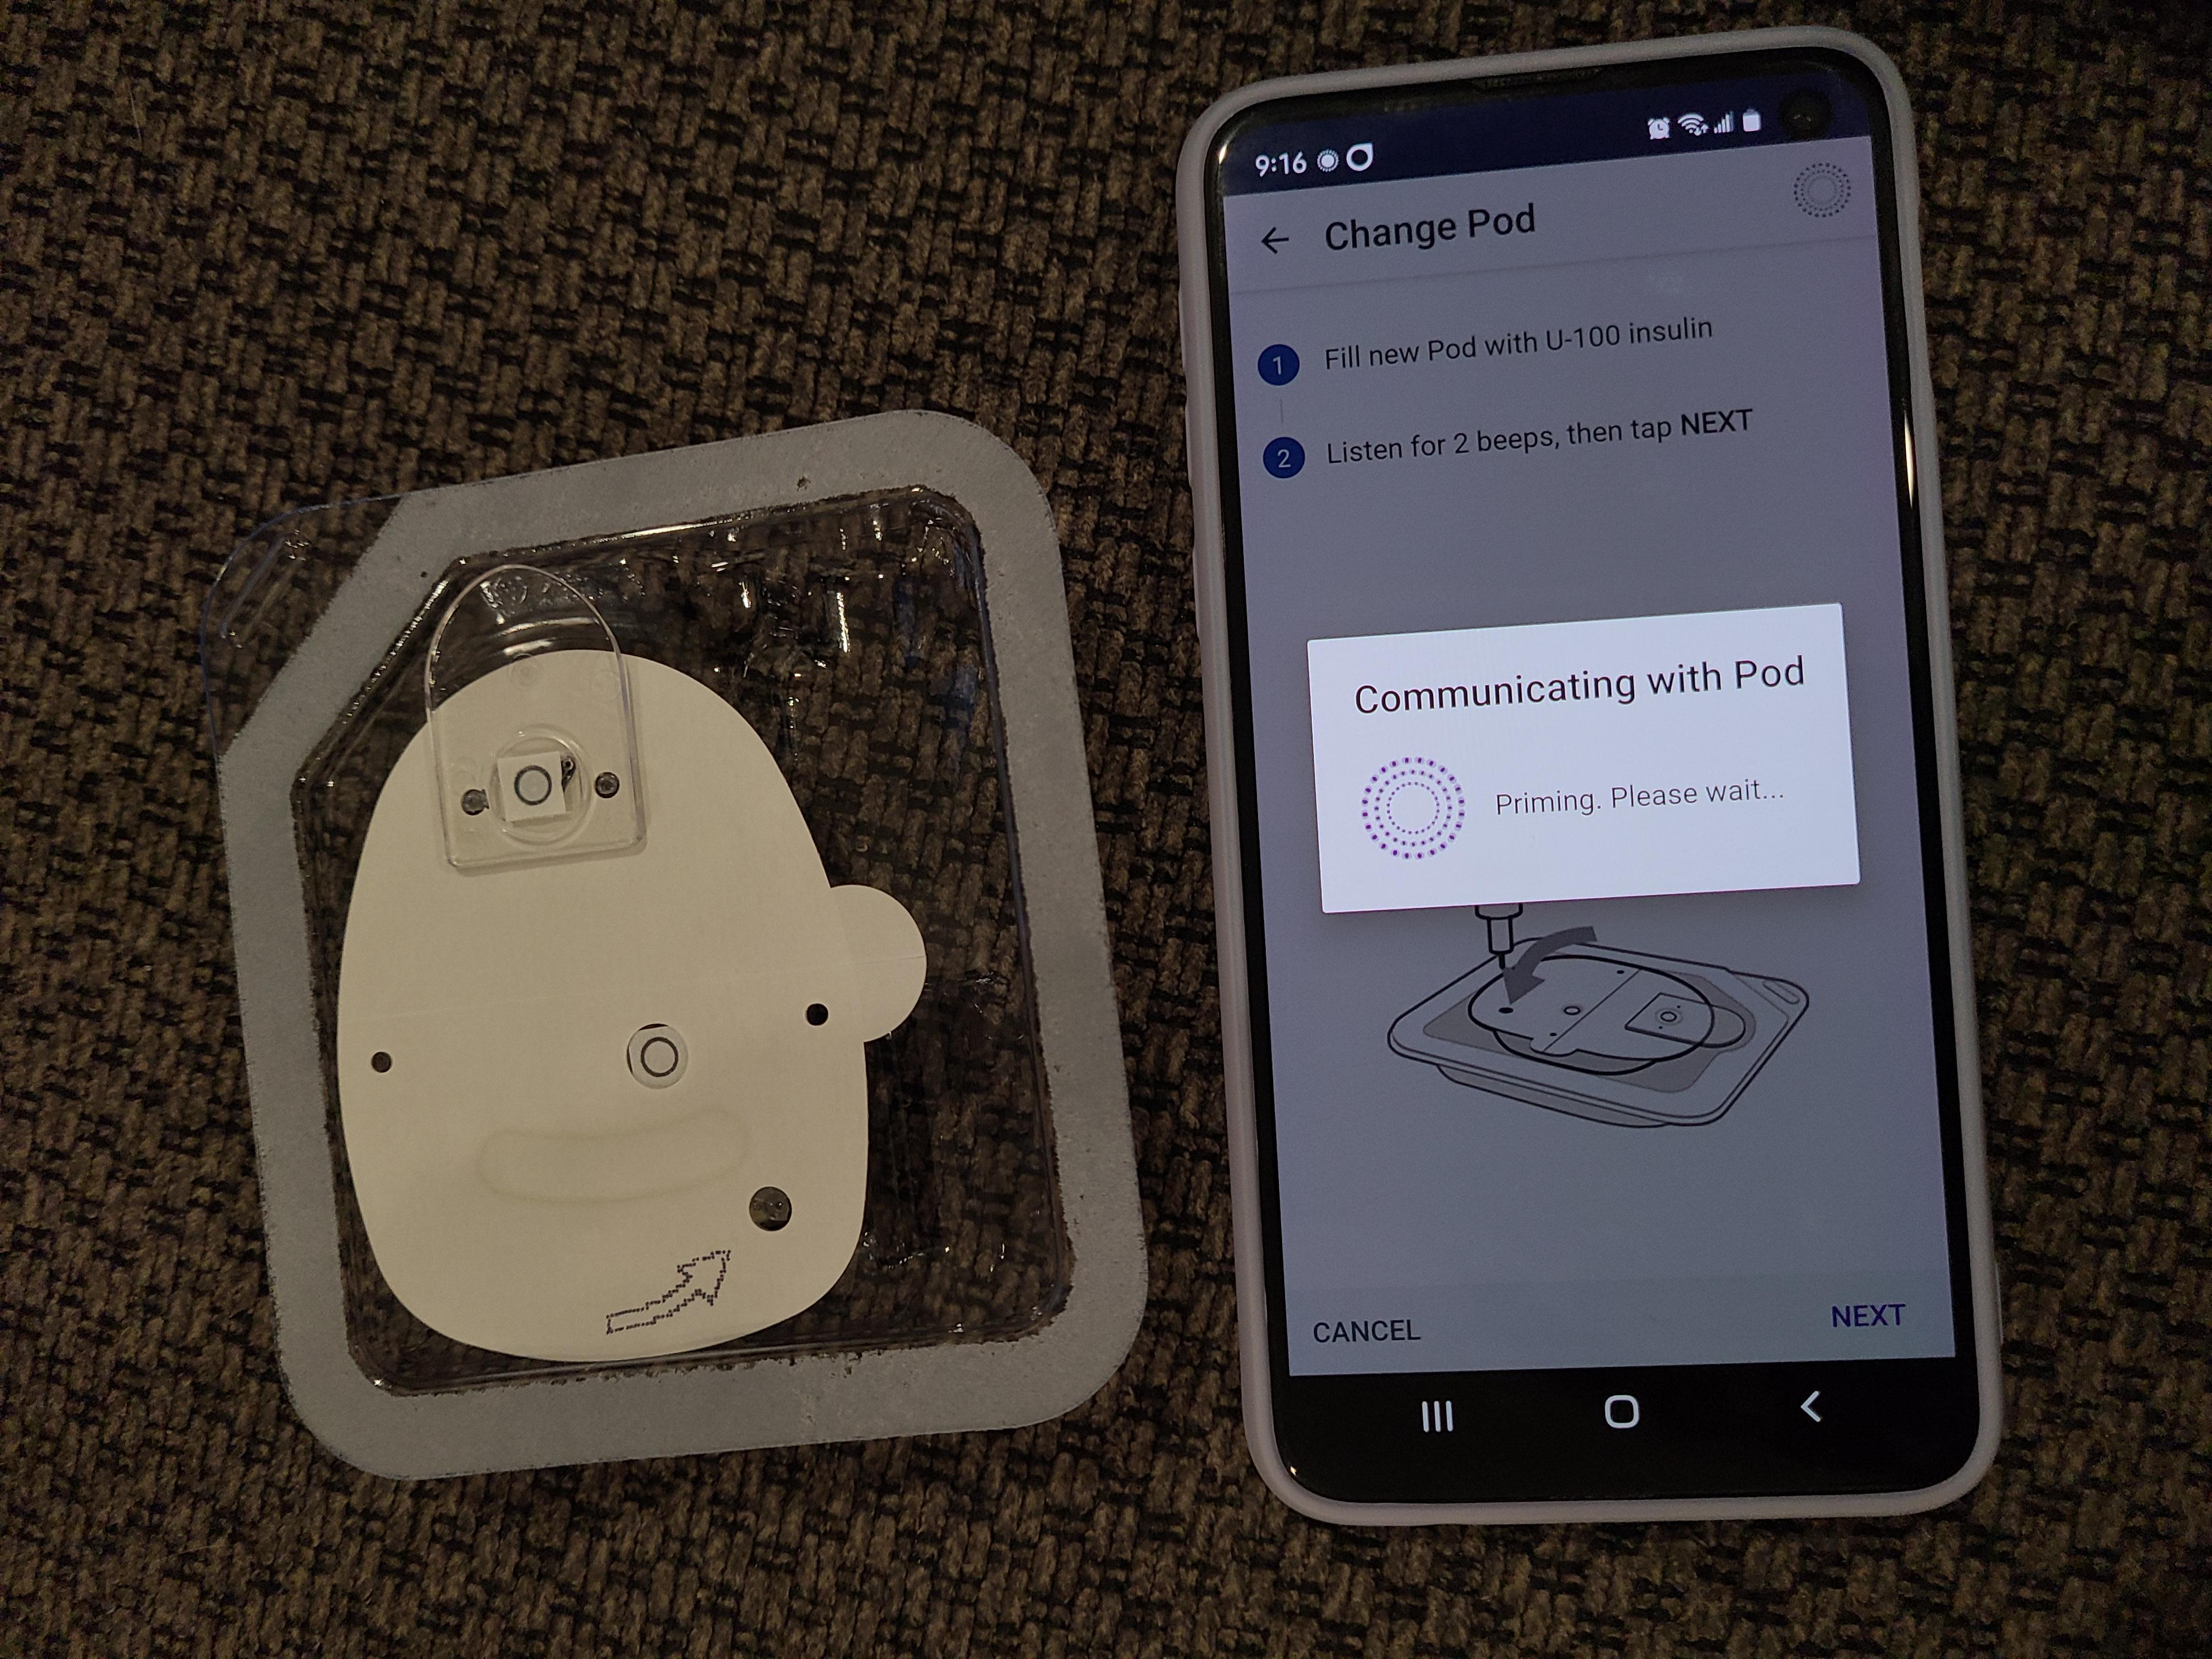.jpg)
Fill up your syringe with the appropriate amount of insulin, then empty the syringe into the pod where the arrow indicates.
Once you've put the insulin in, hit next on the app. The pump will connect and prime (this gets rid of the air bubbles). Follow the instructions on the app after the beep.
Put the Pump On
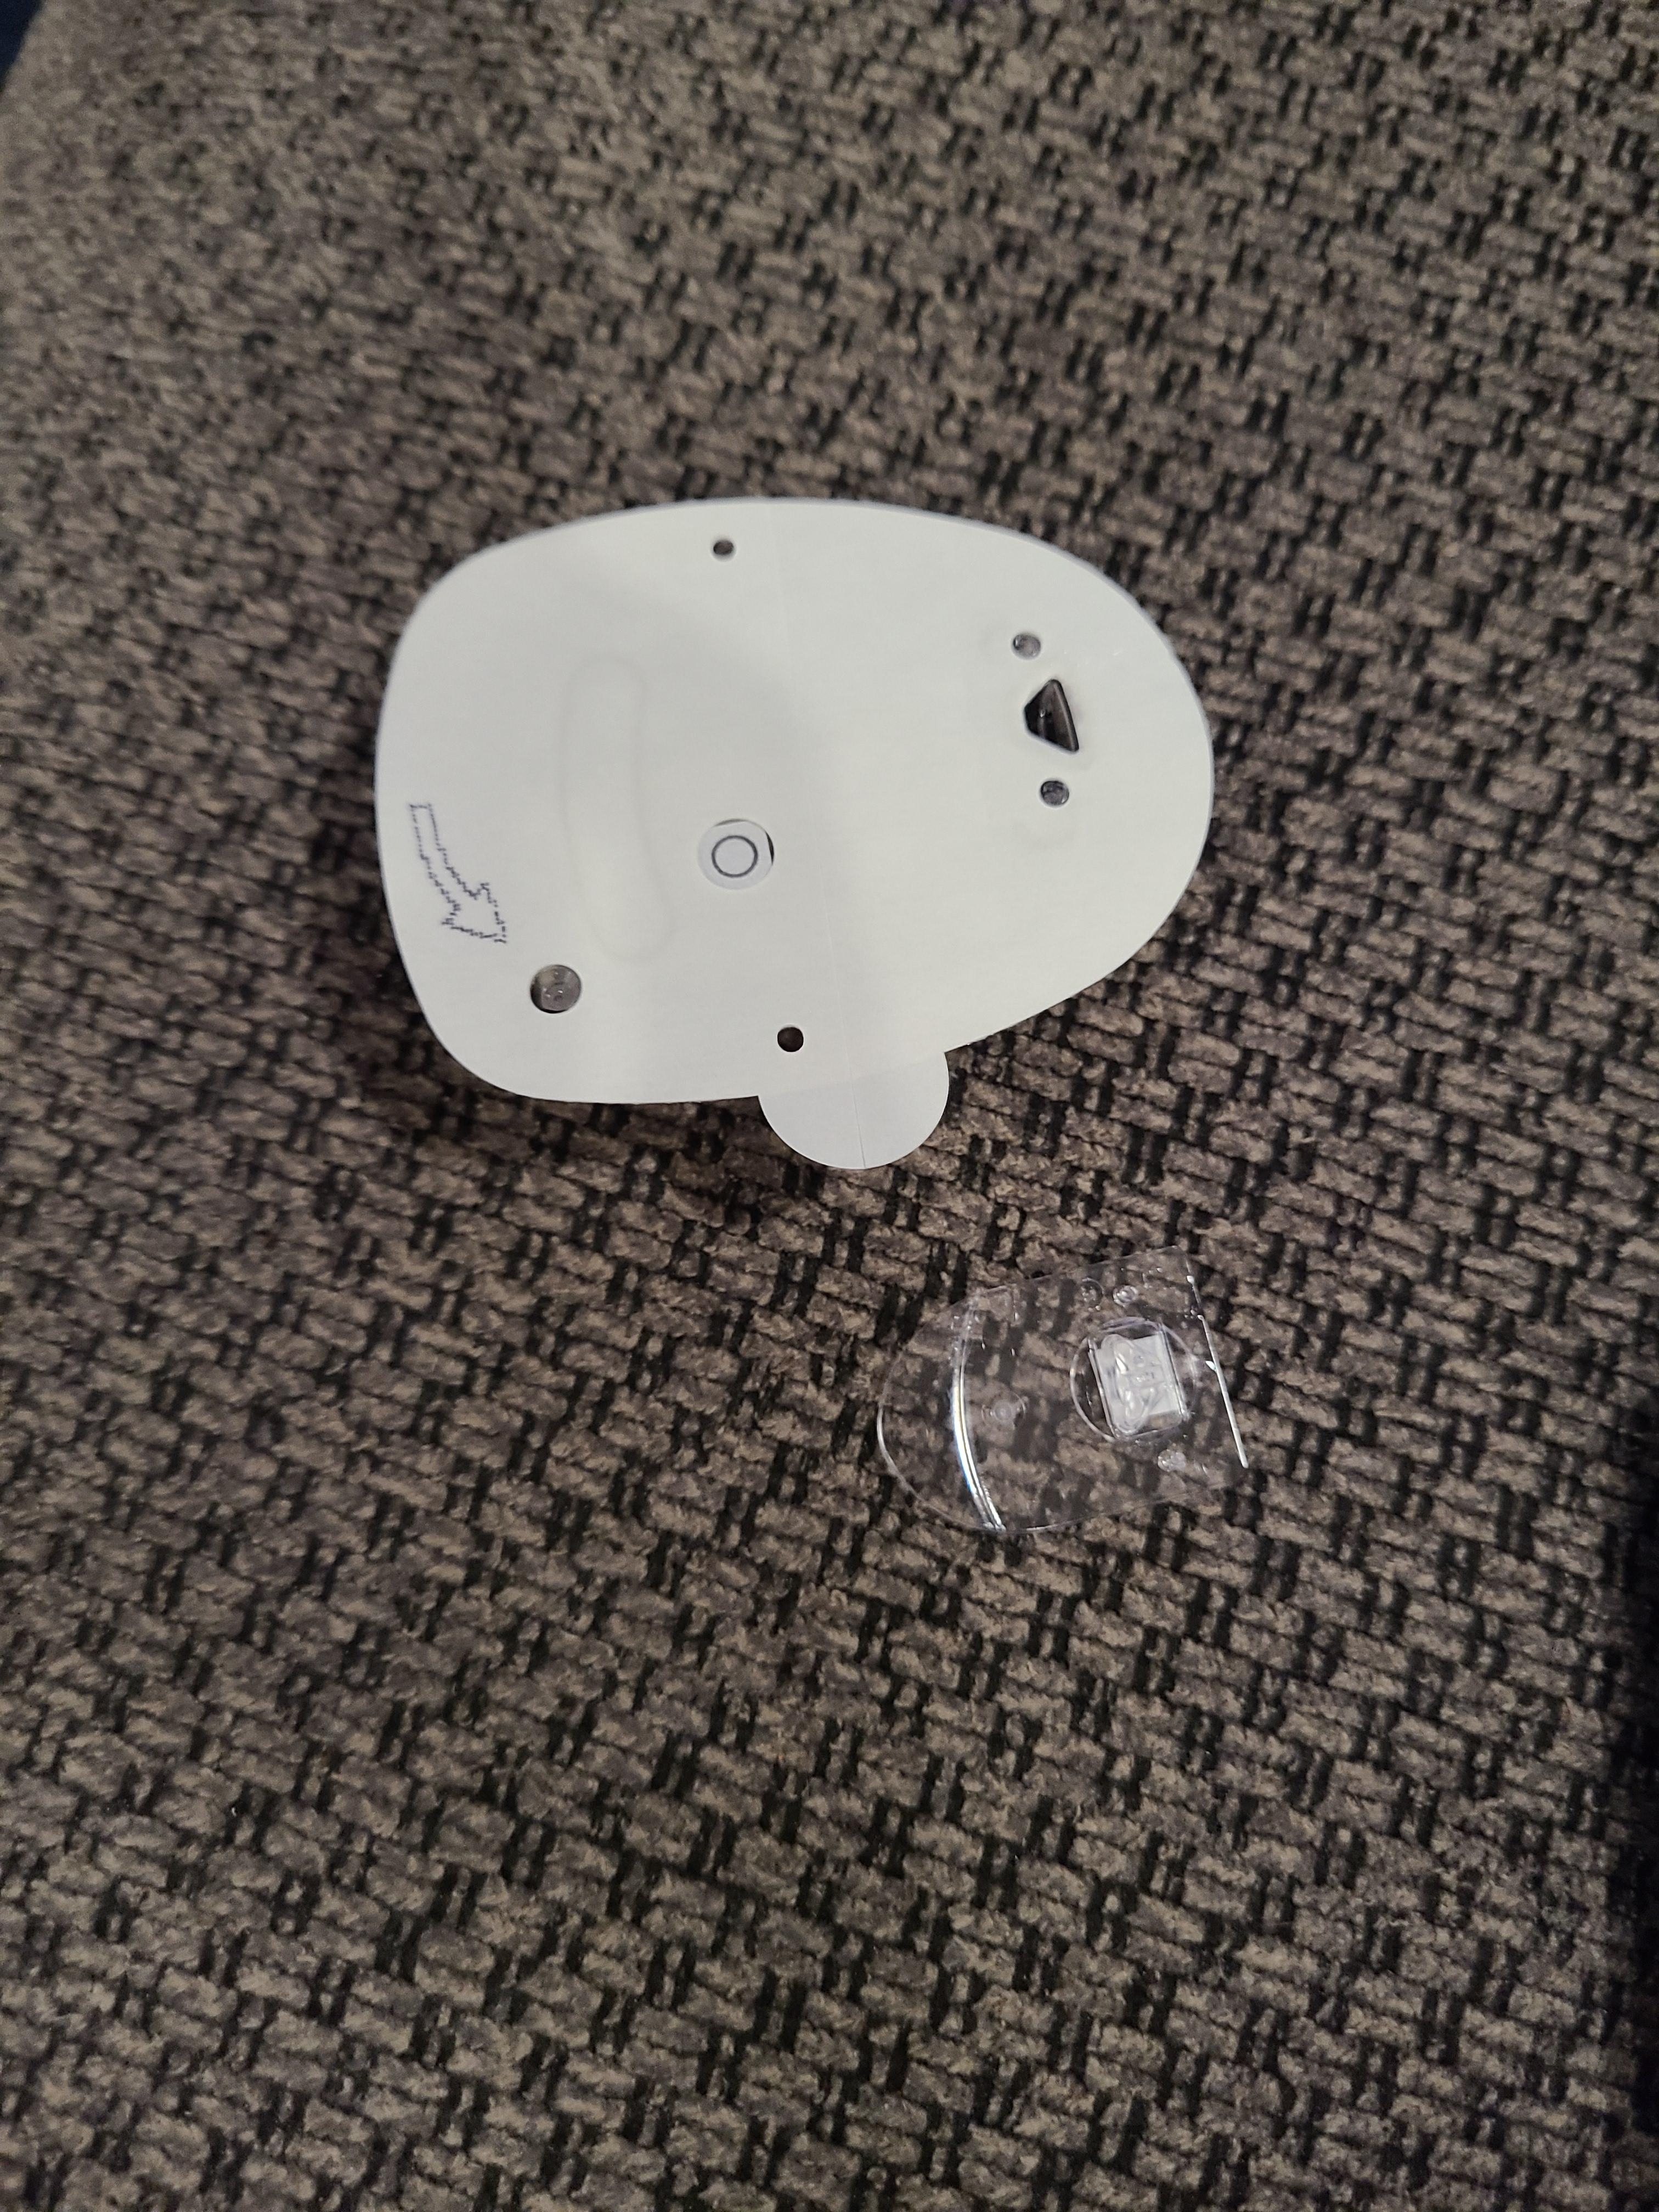
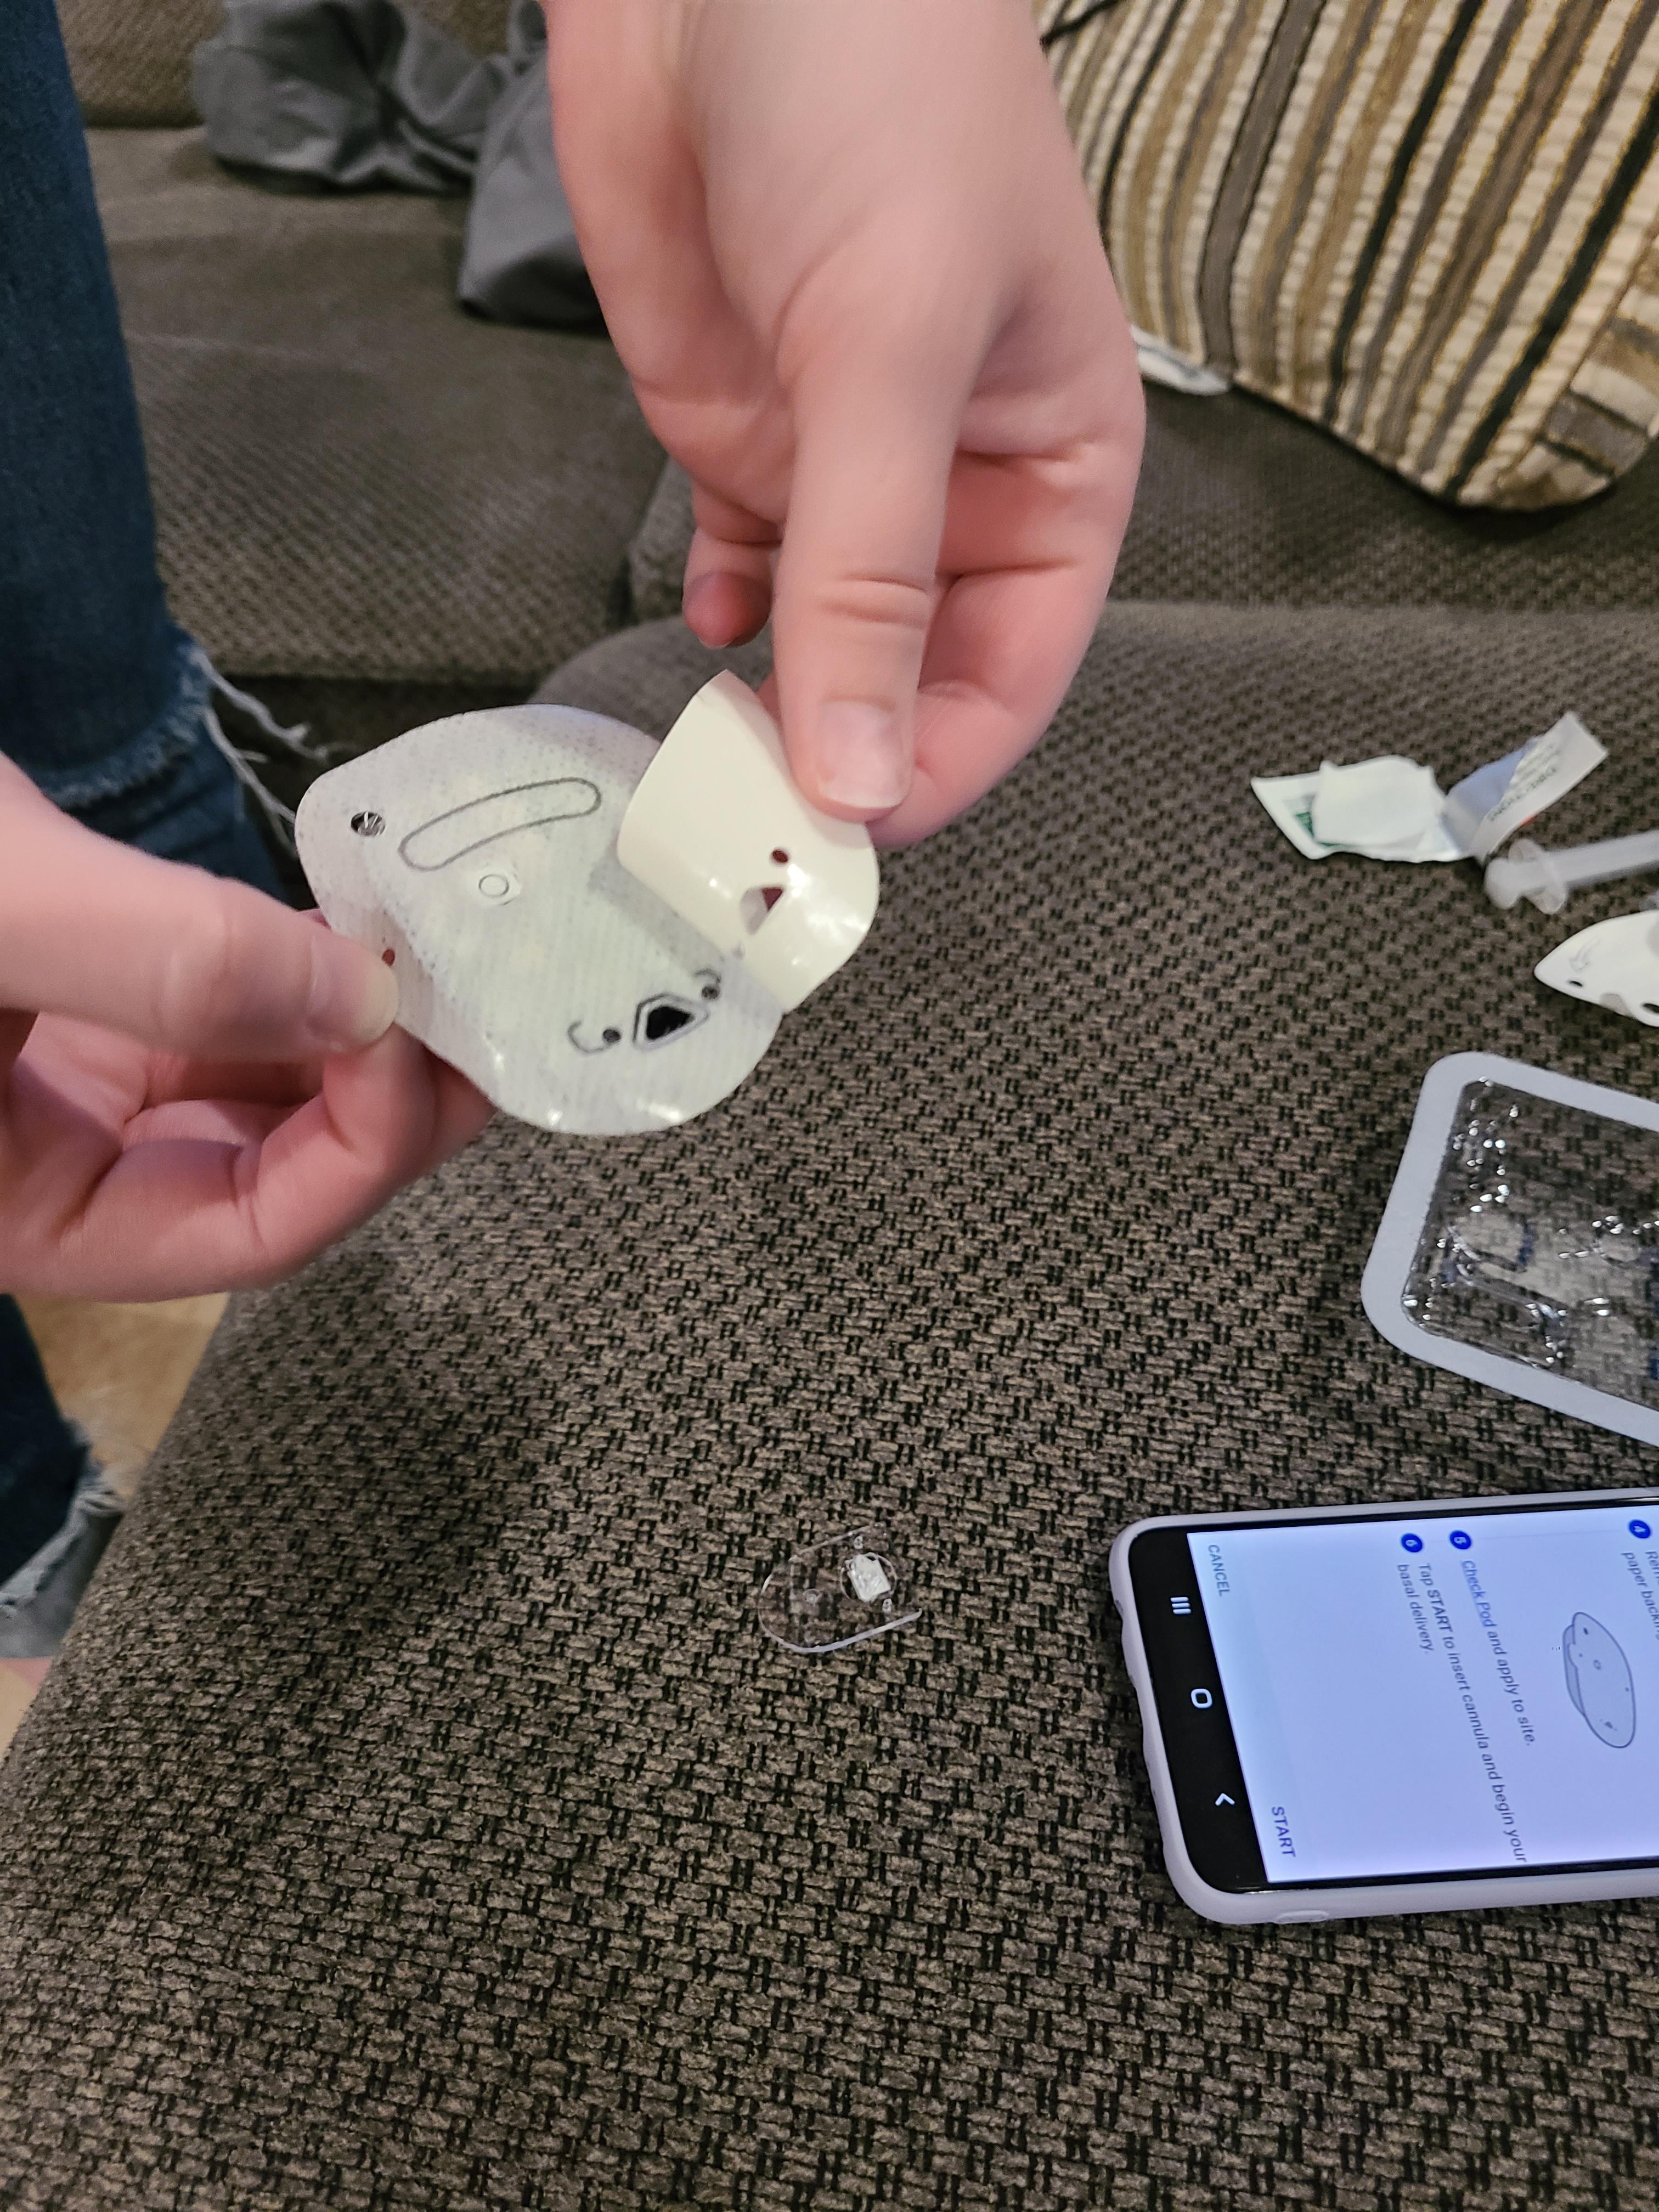
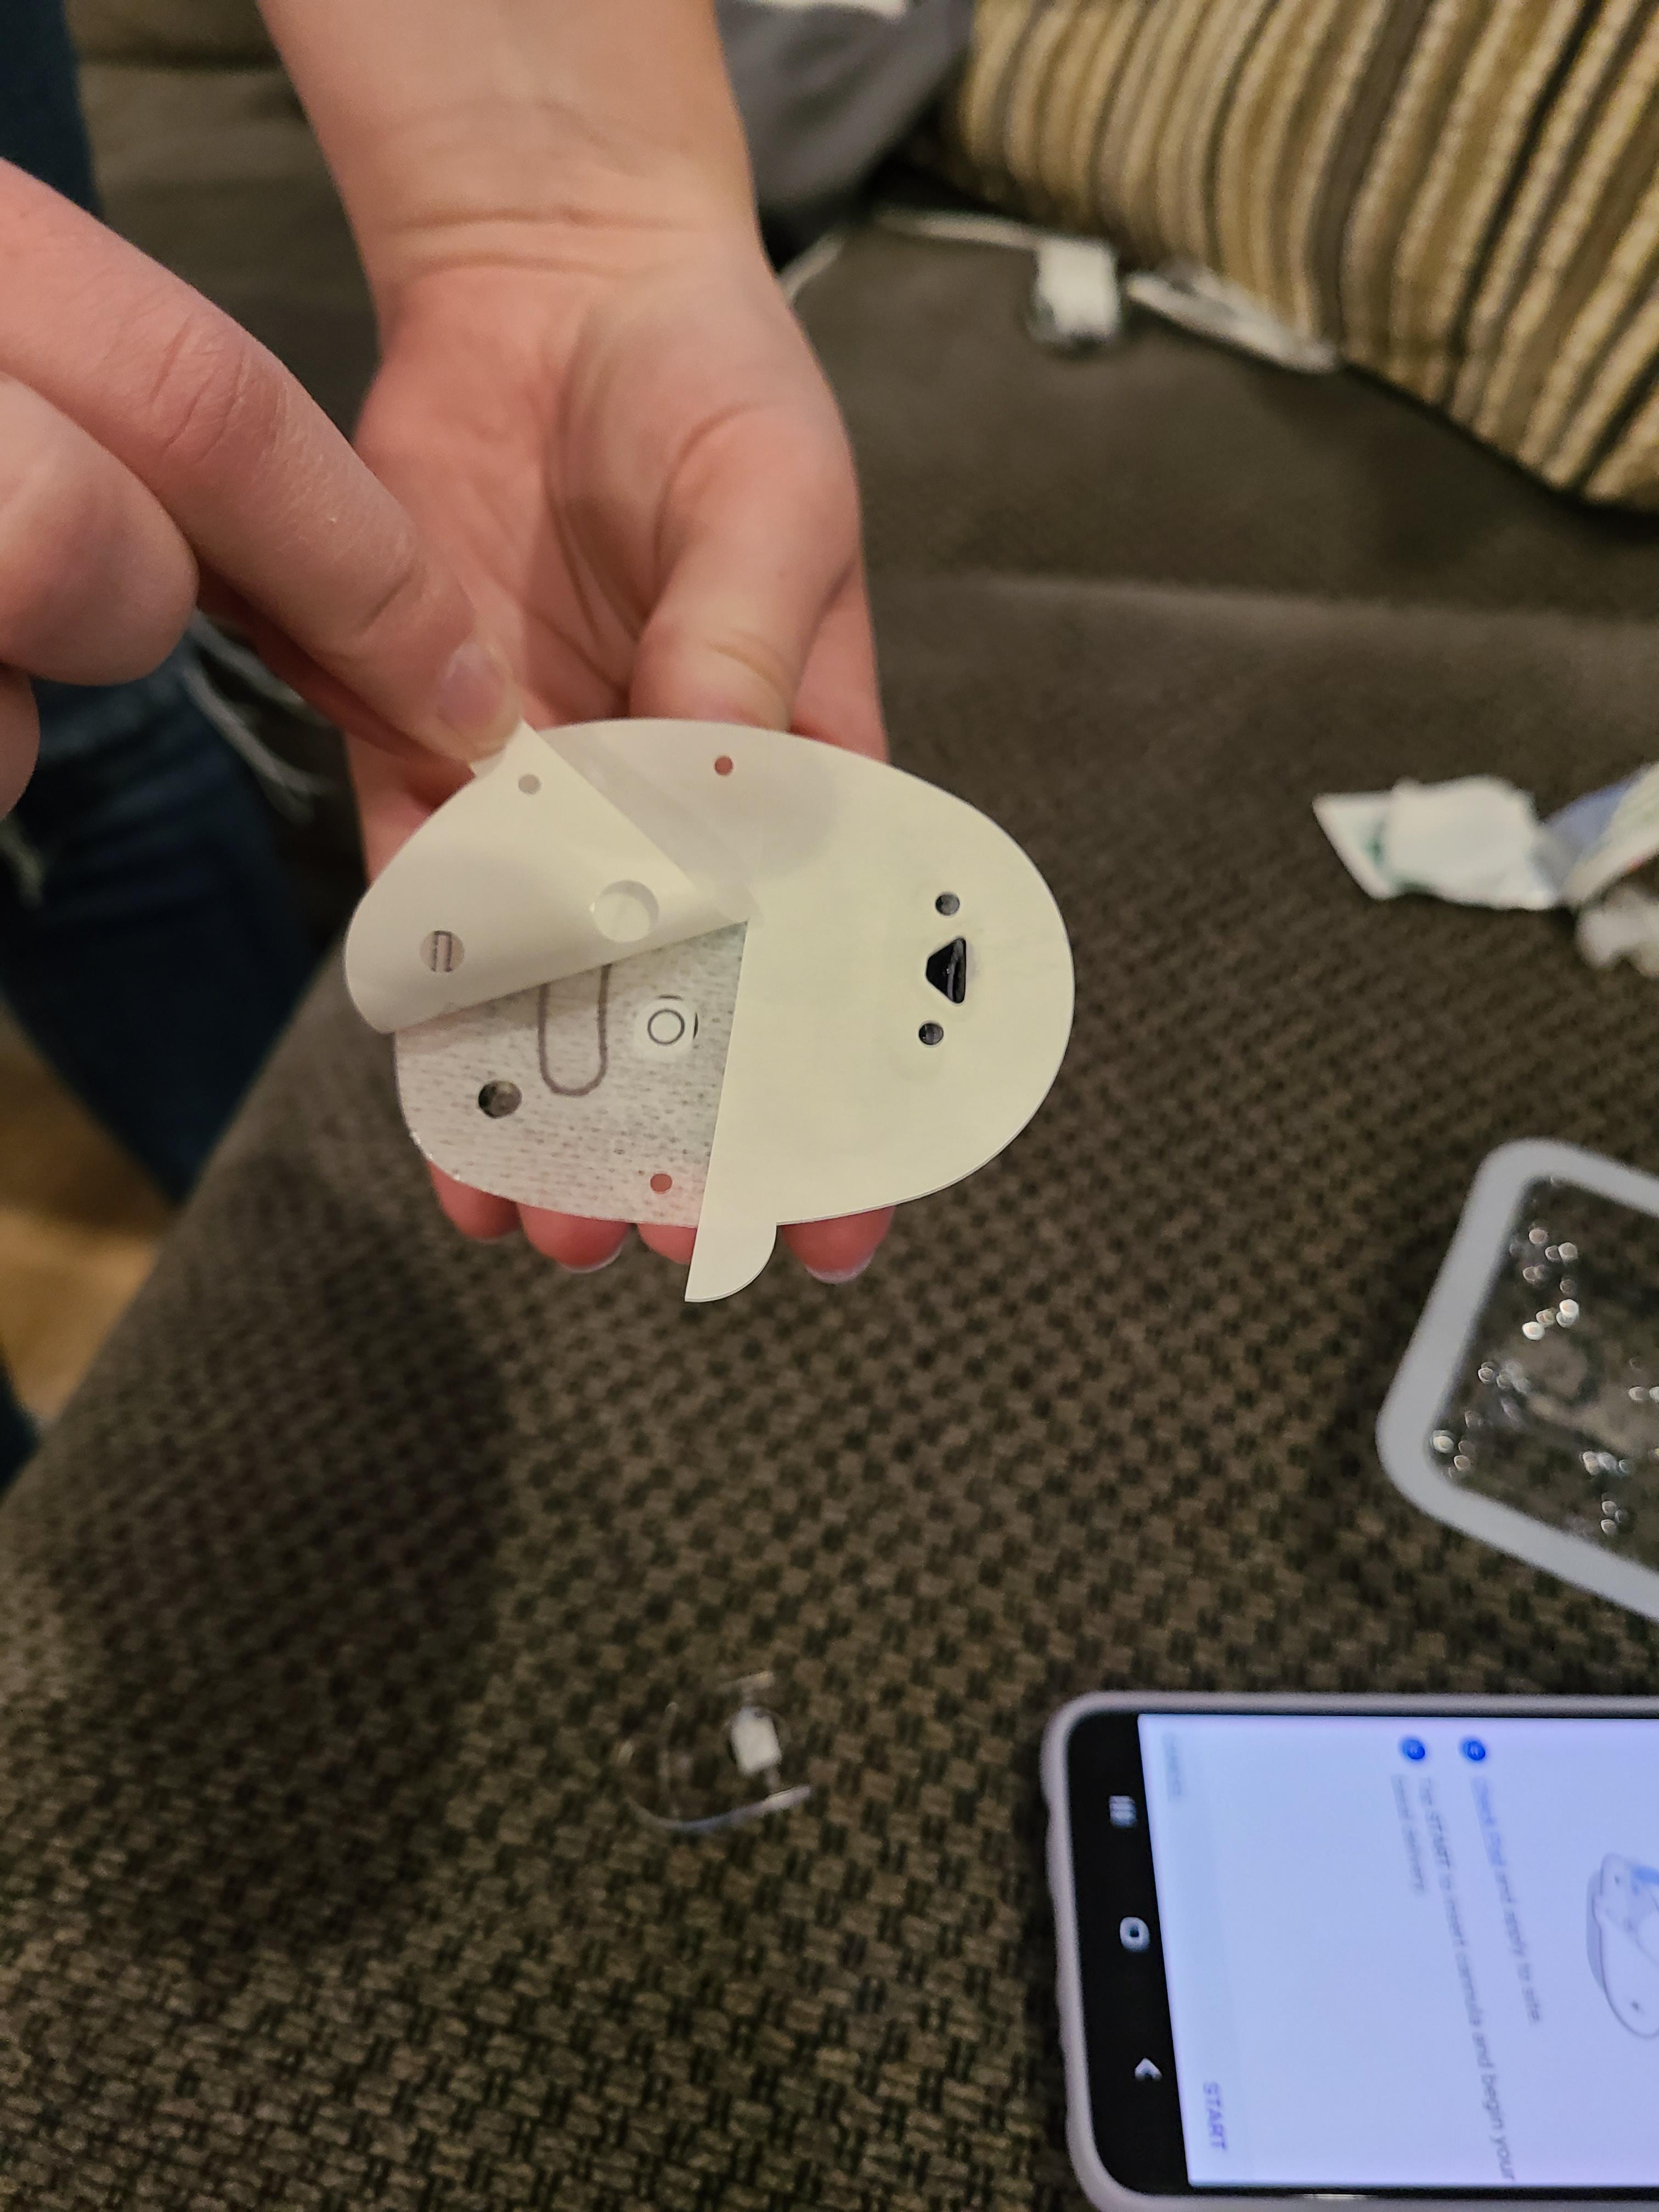
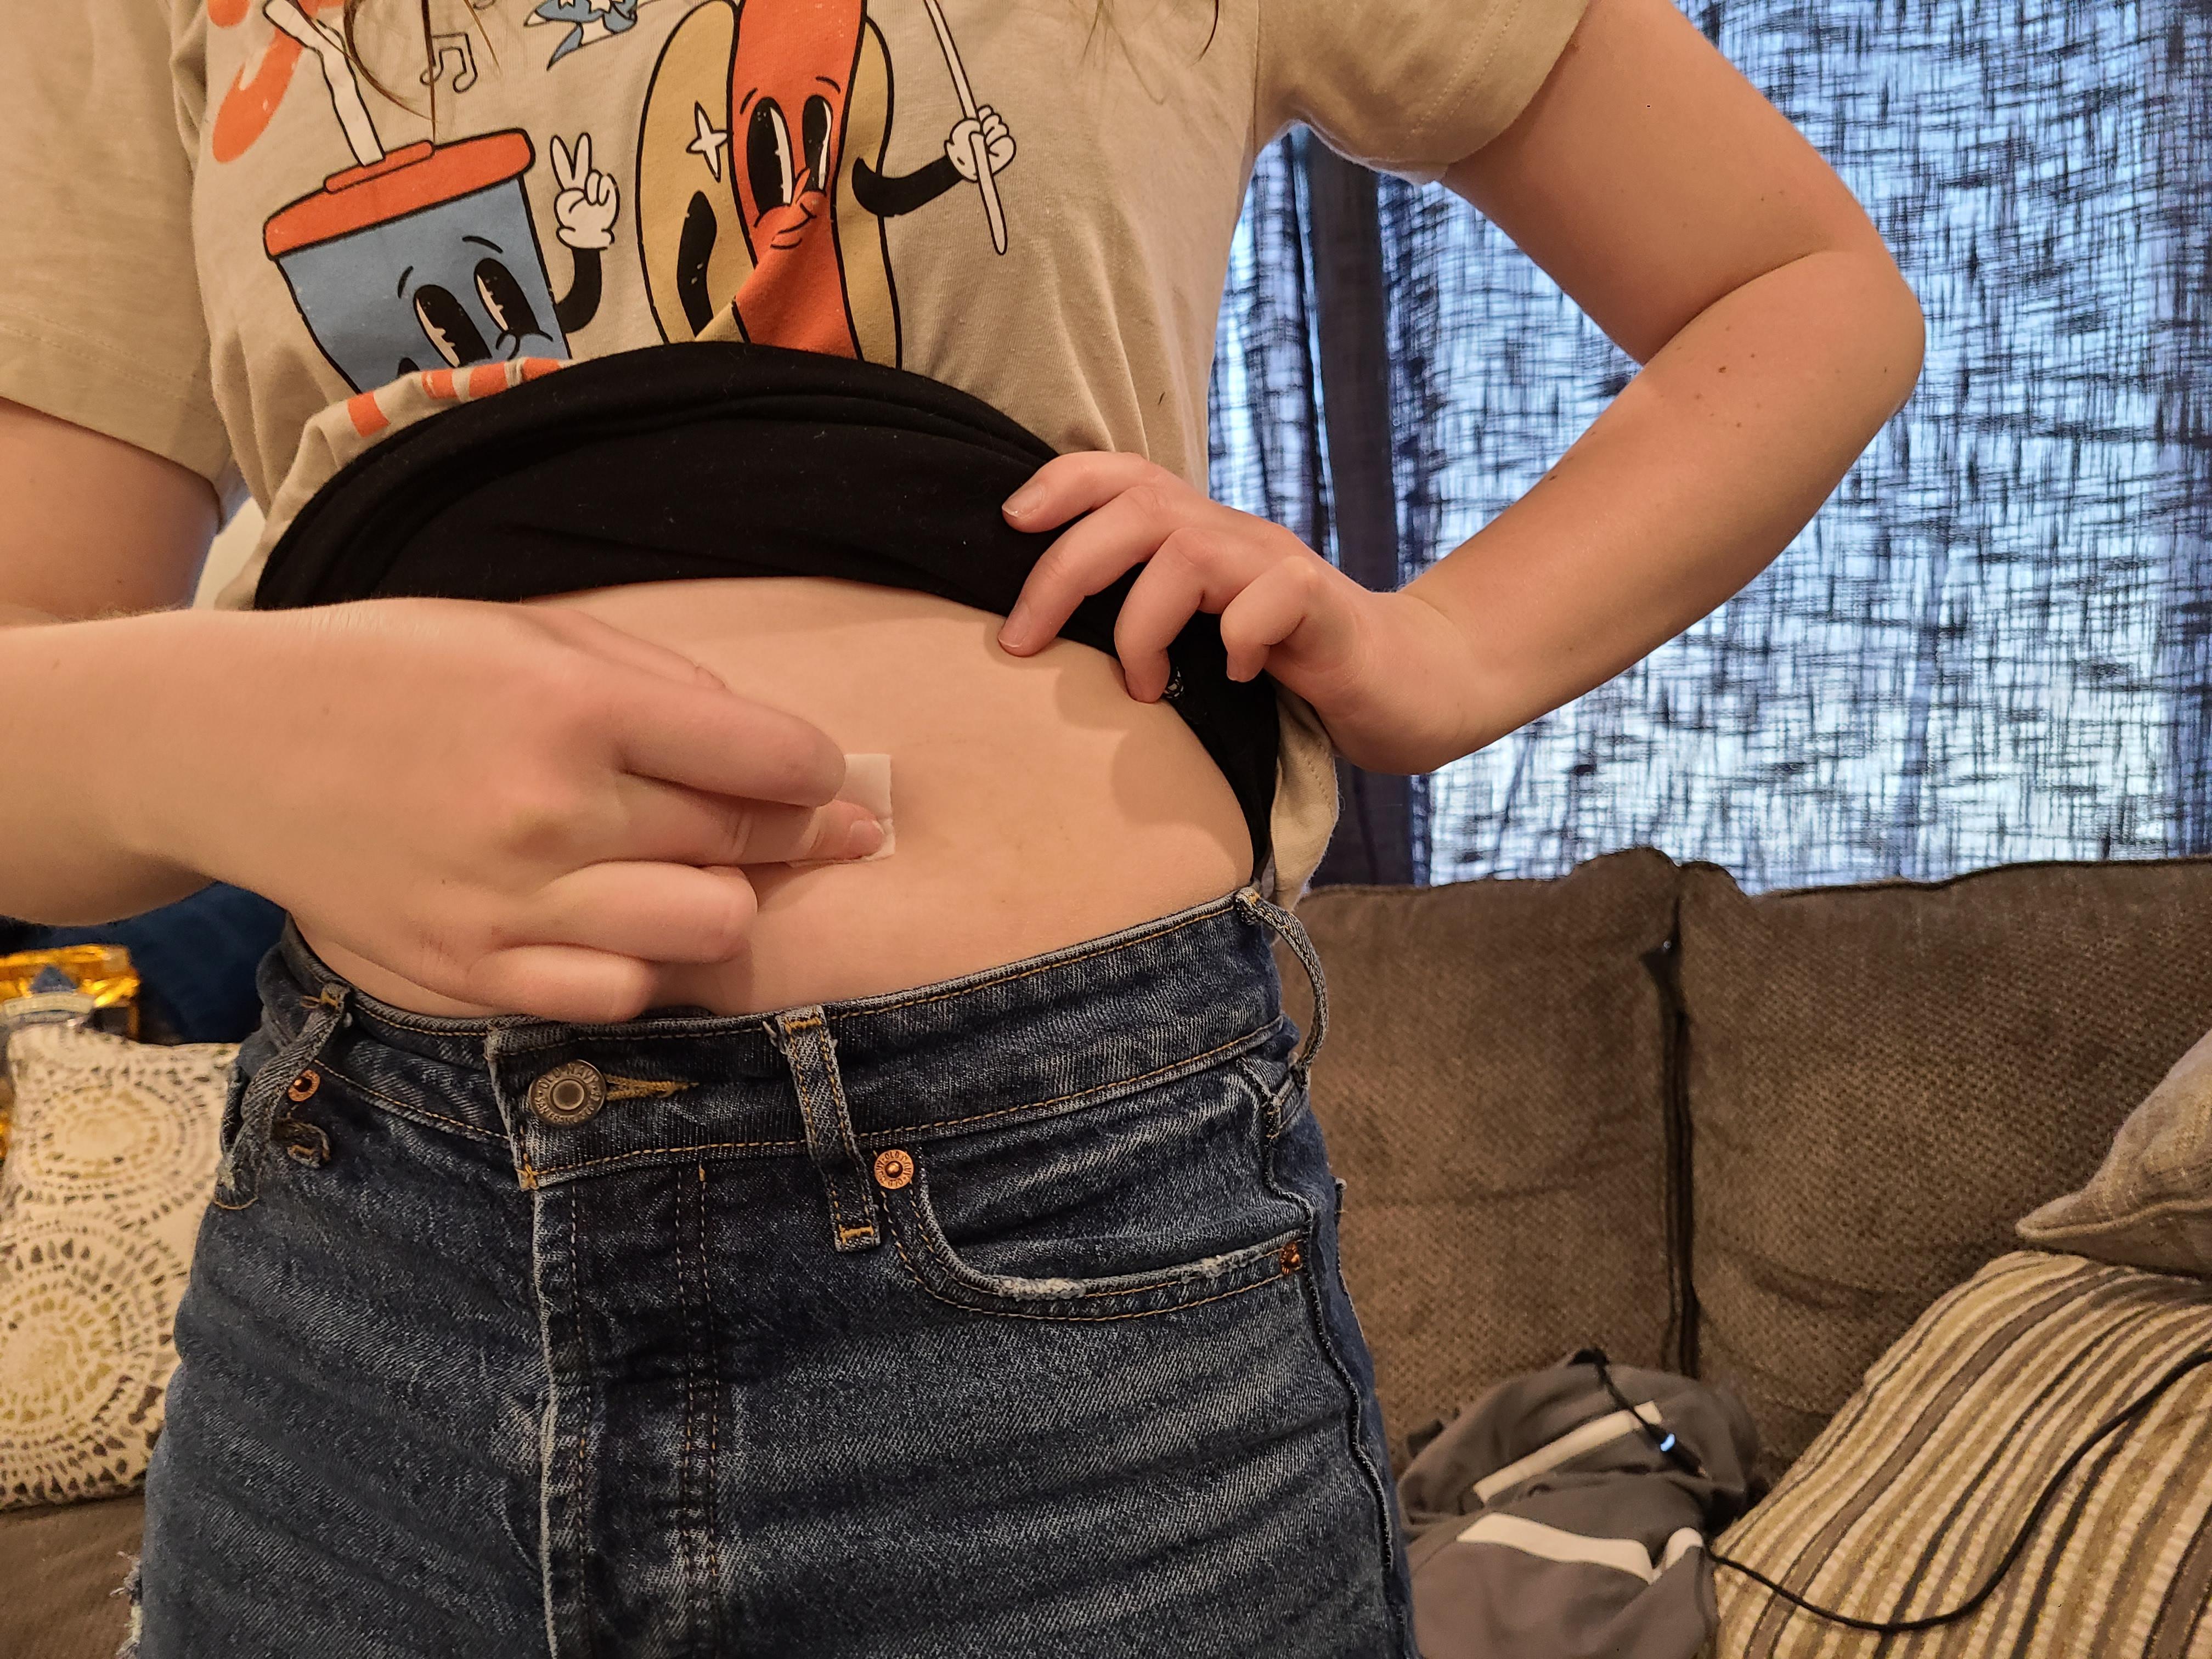
Pull off the plastic tab and the sticker wrappers. Shake off any extra insulin. Wipe the place you want to put the pump with the alcohol wipe.
Insert the Needle
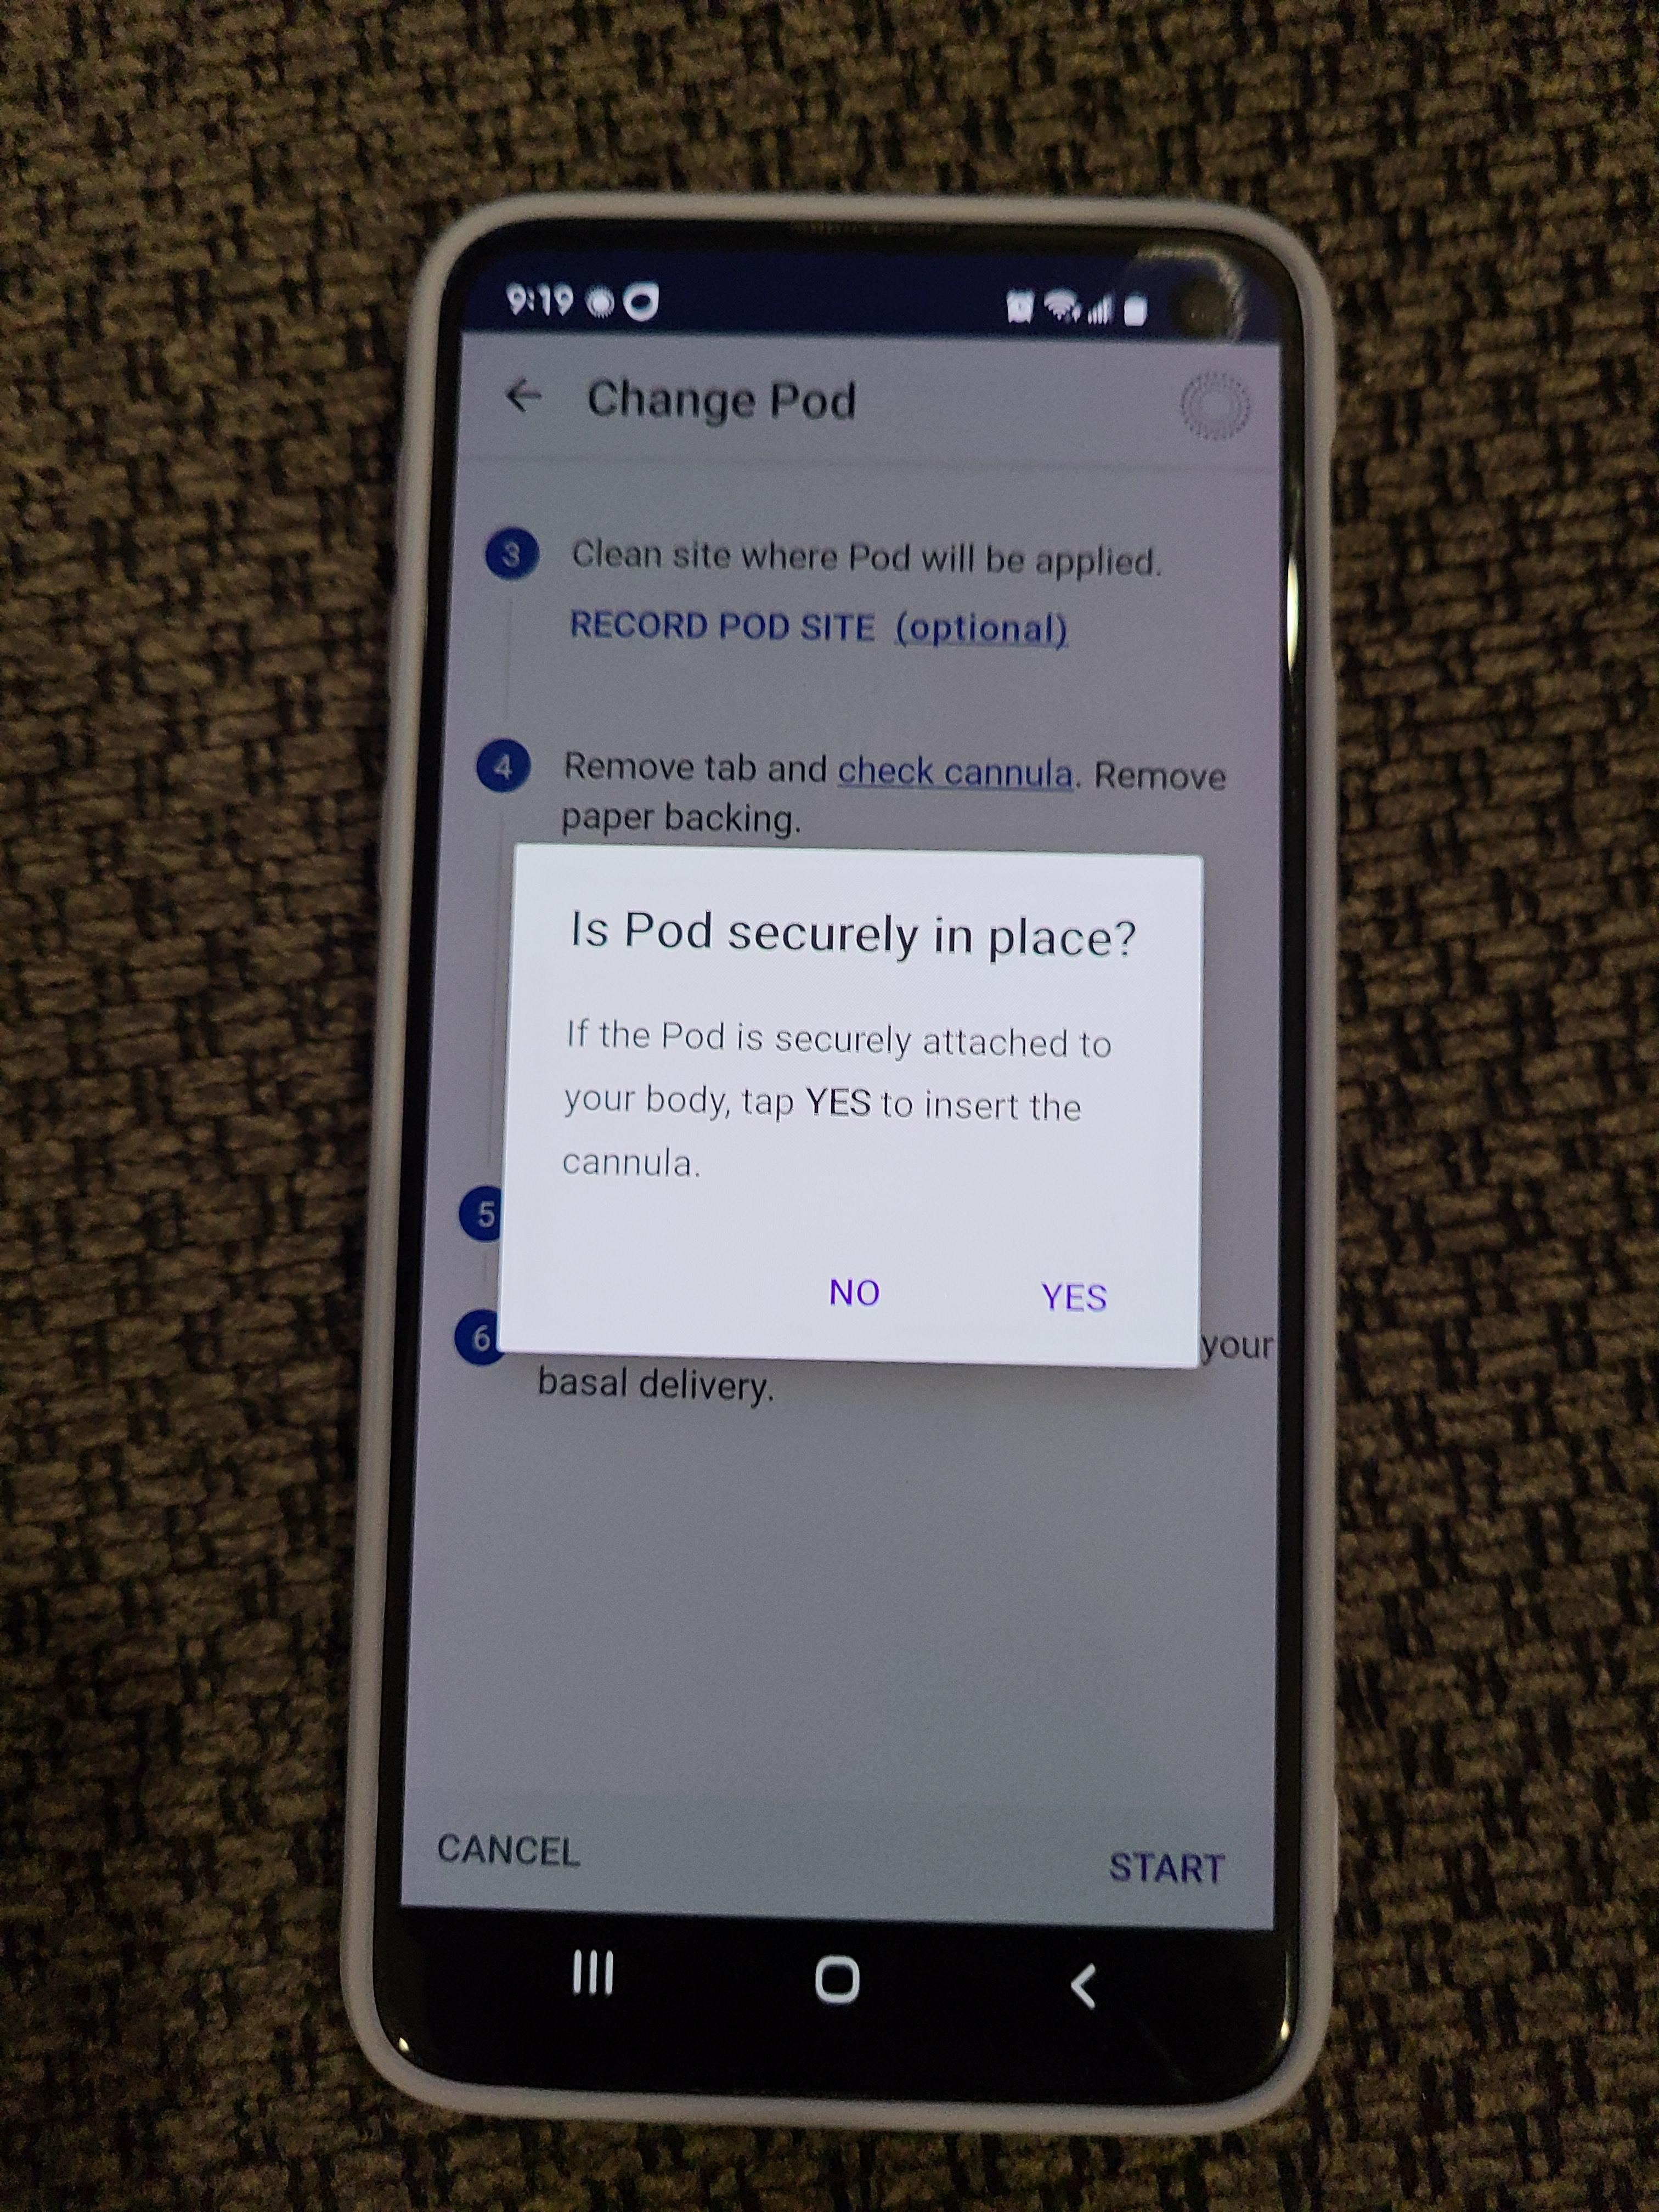
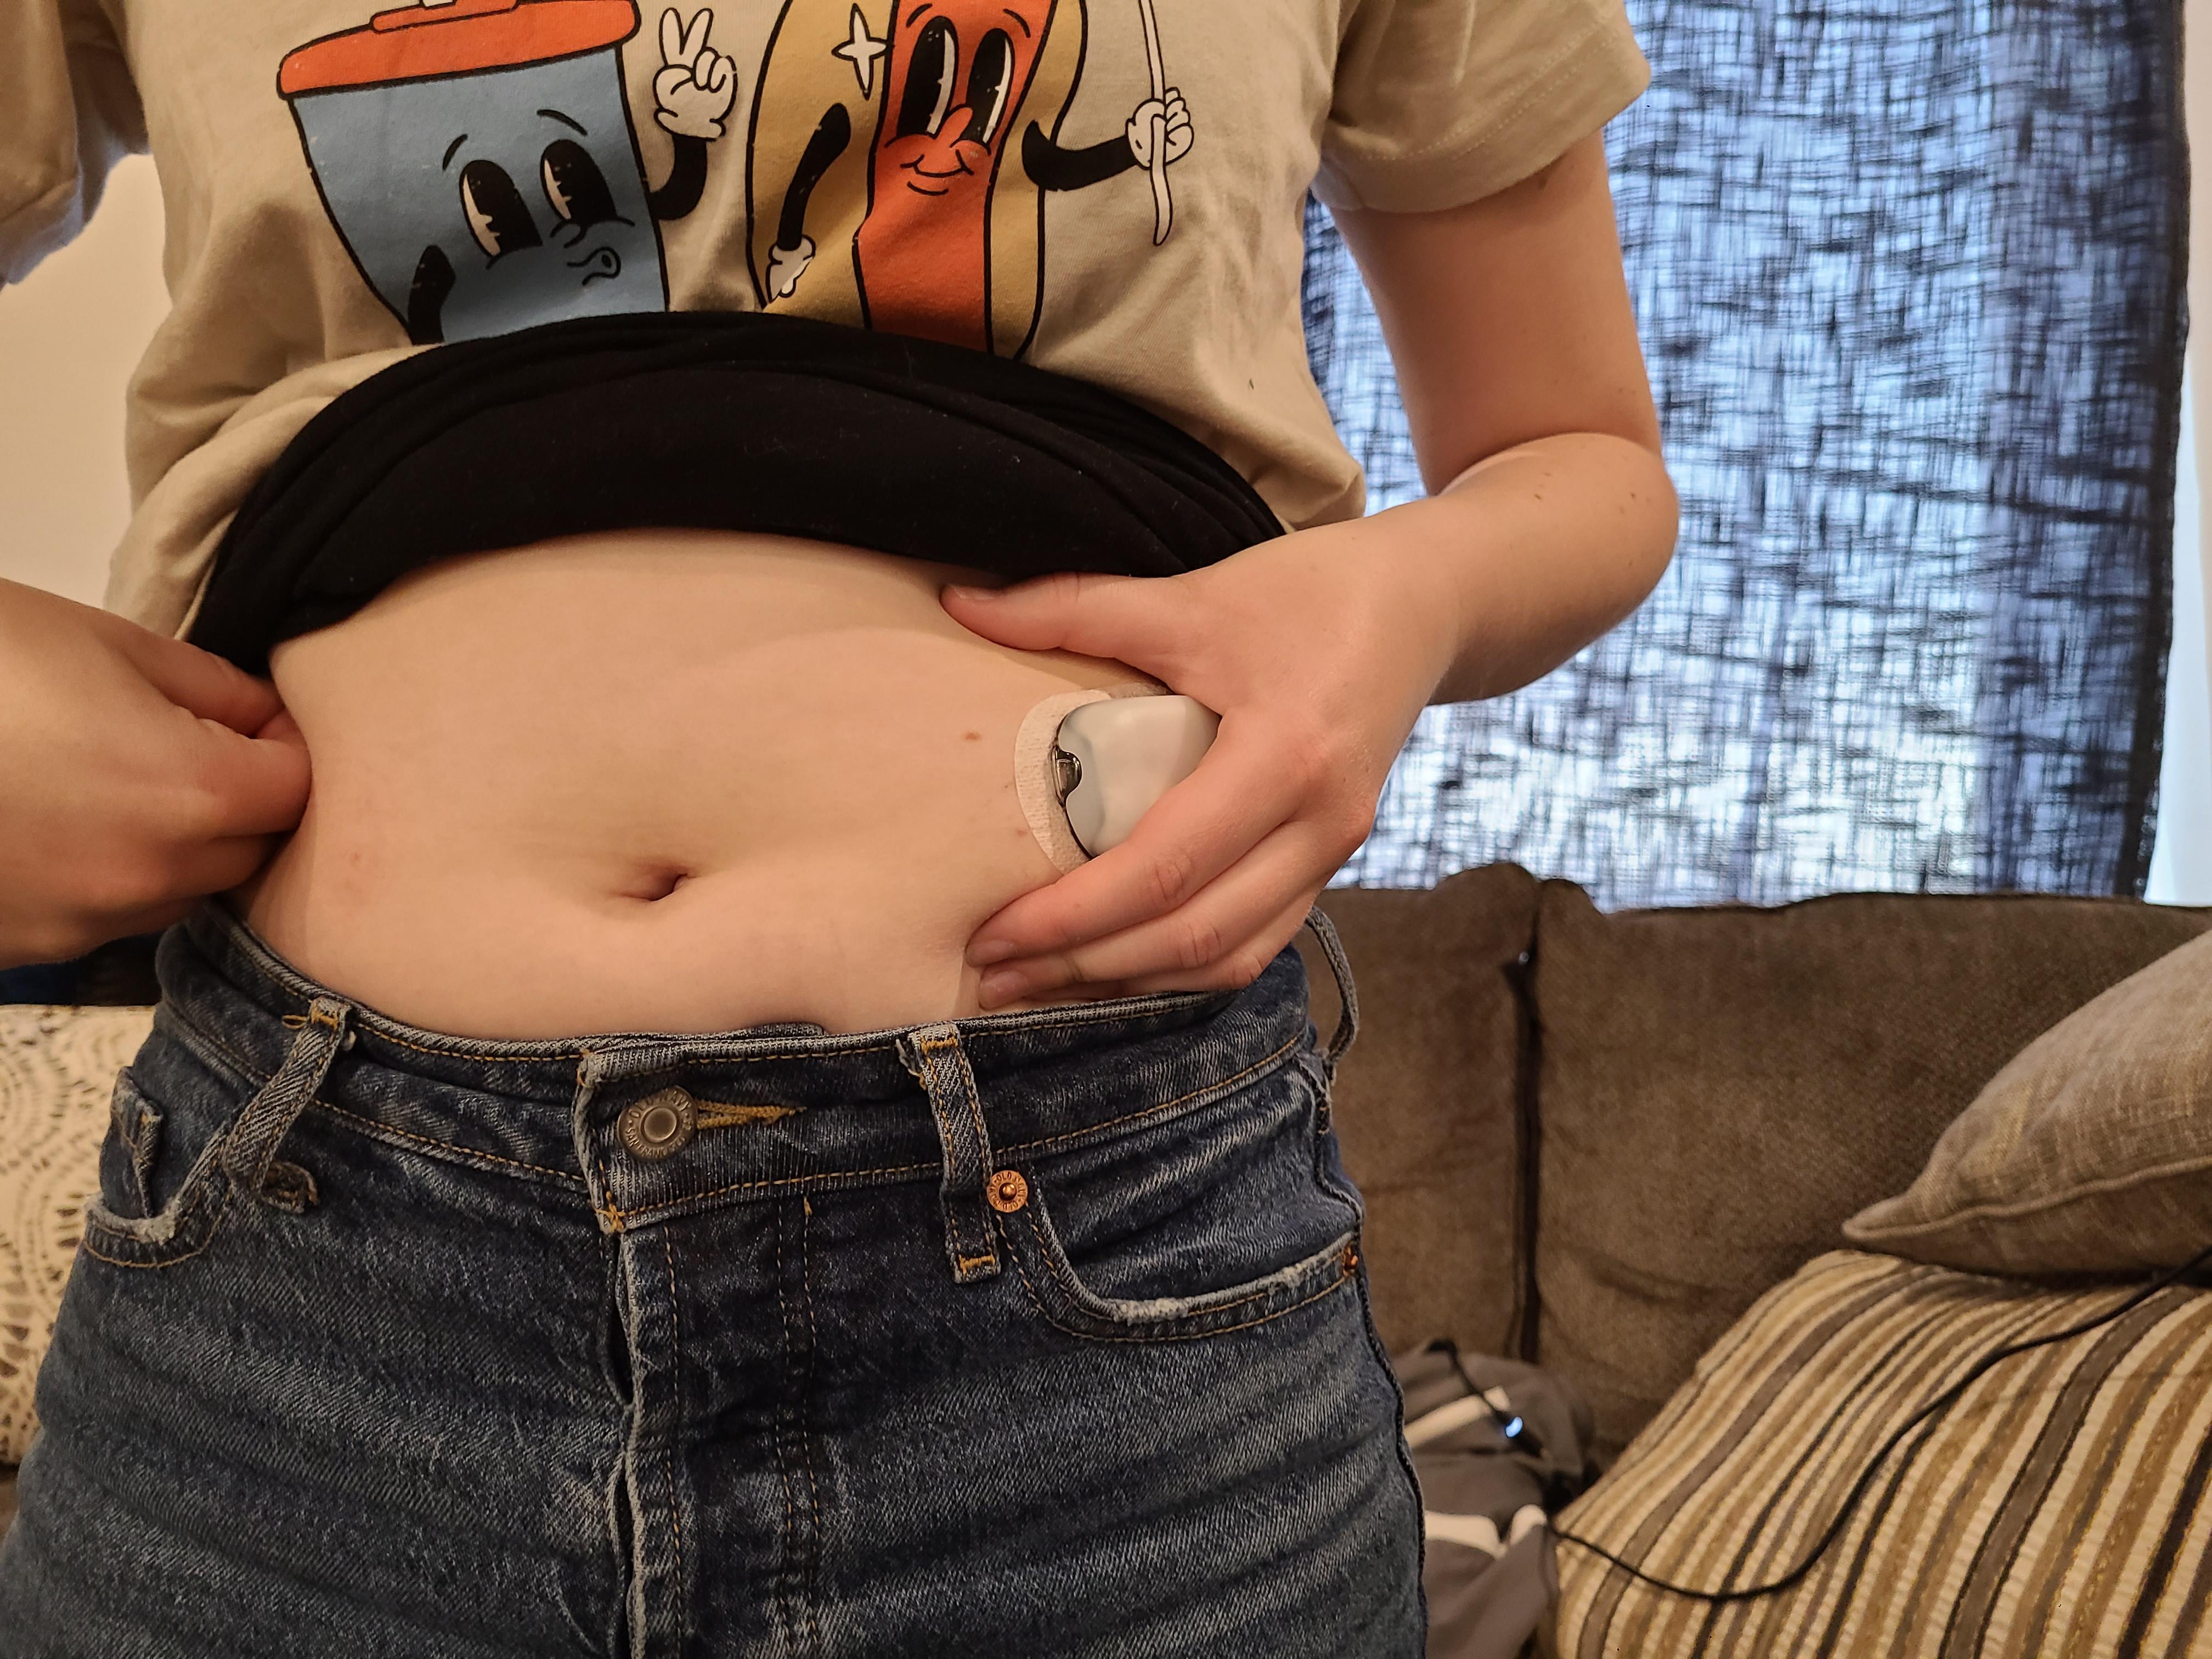
Put the pump in place. Tell the app where the pump is and hit next. After five clicks from the pod, the cannula (tube that holds the needle) in the pump will automatically insert the needle and retract.
Automated Mode
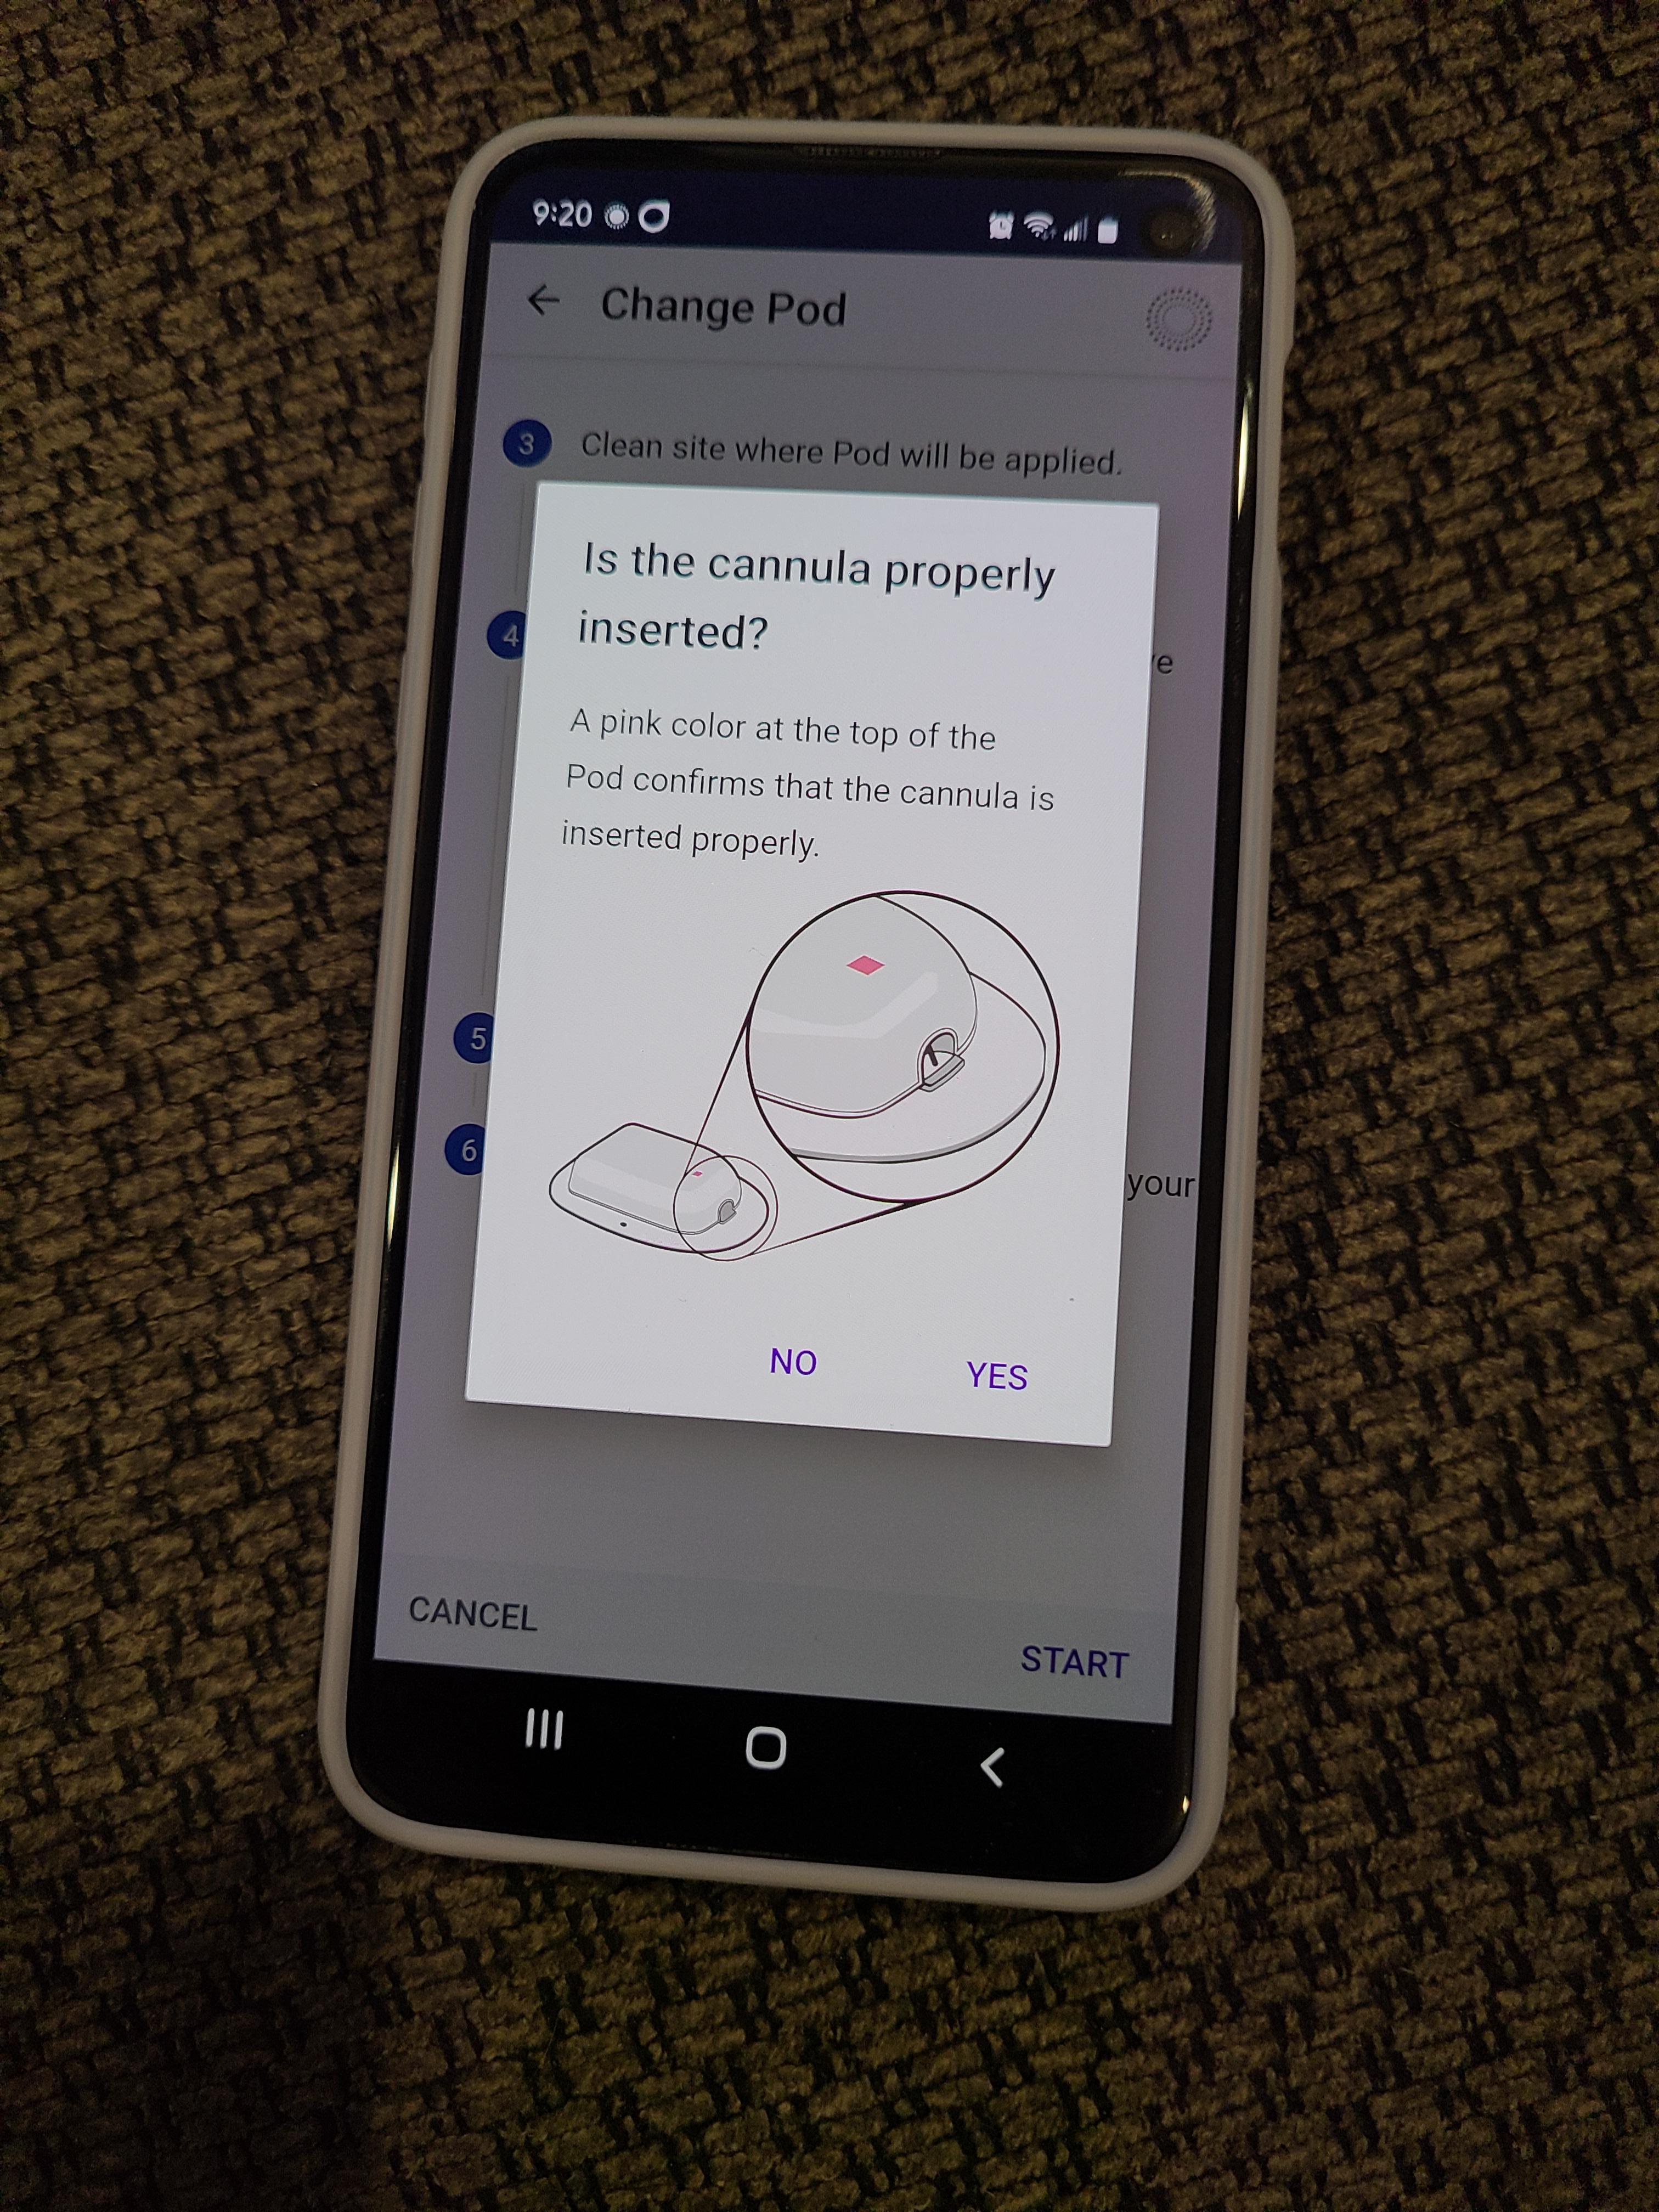
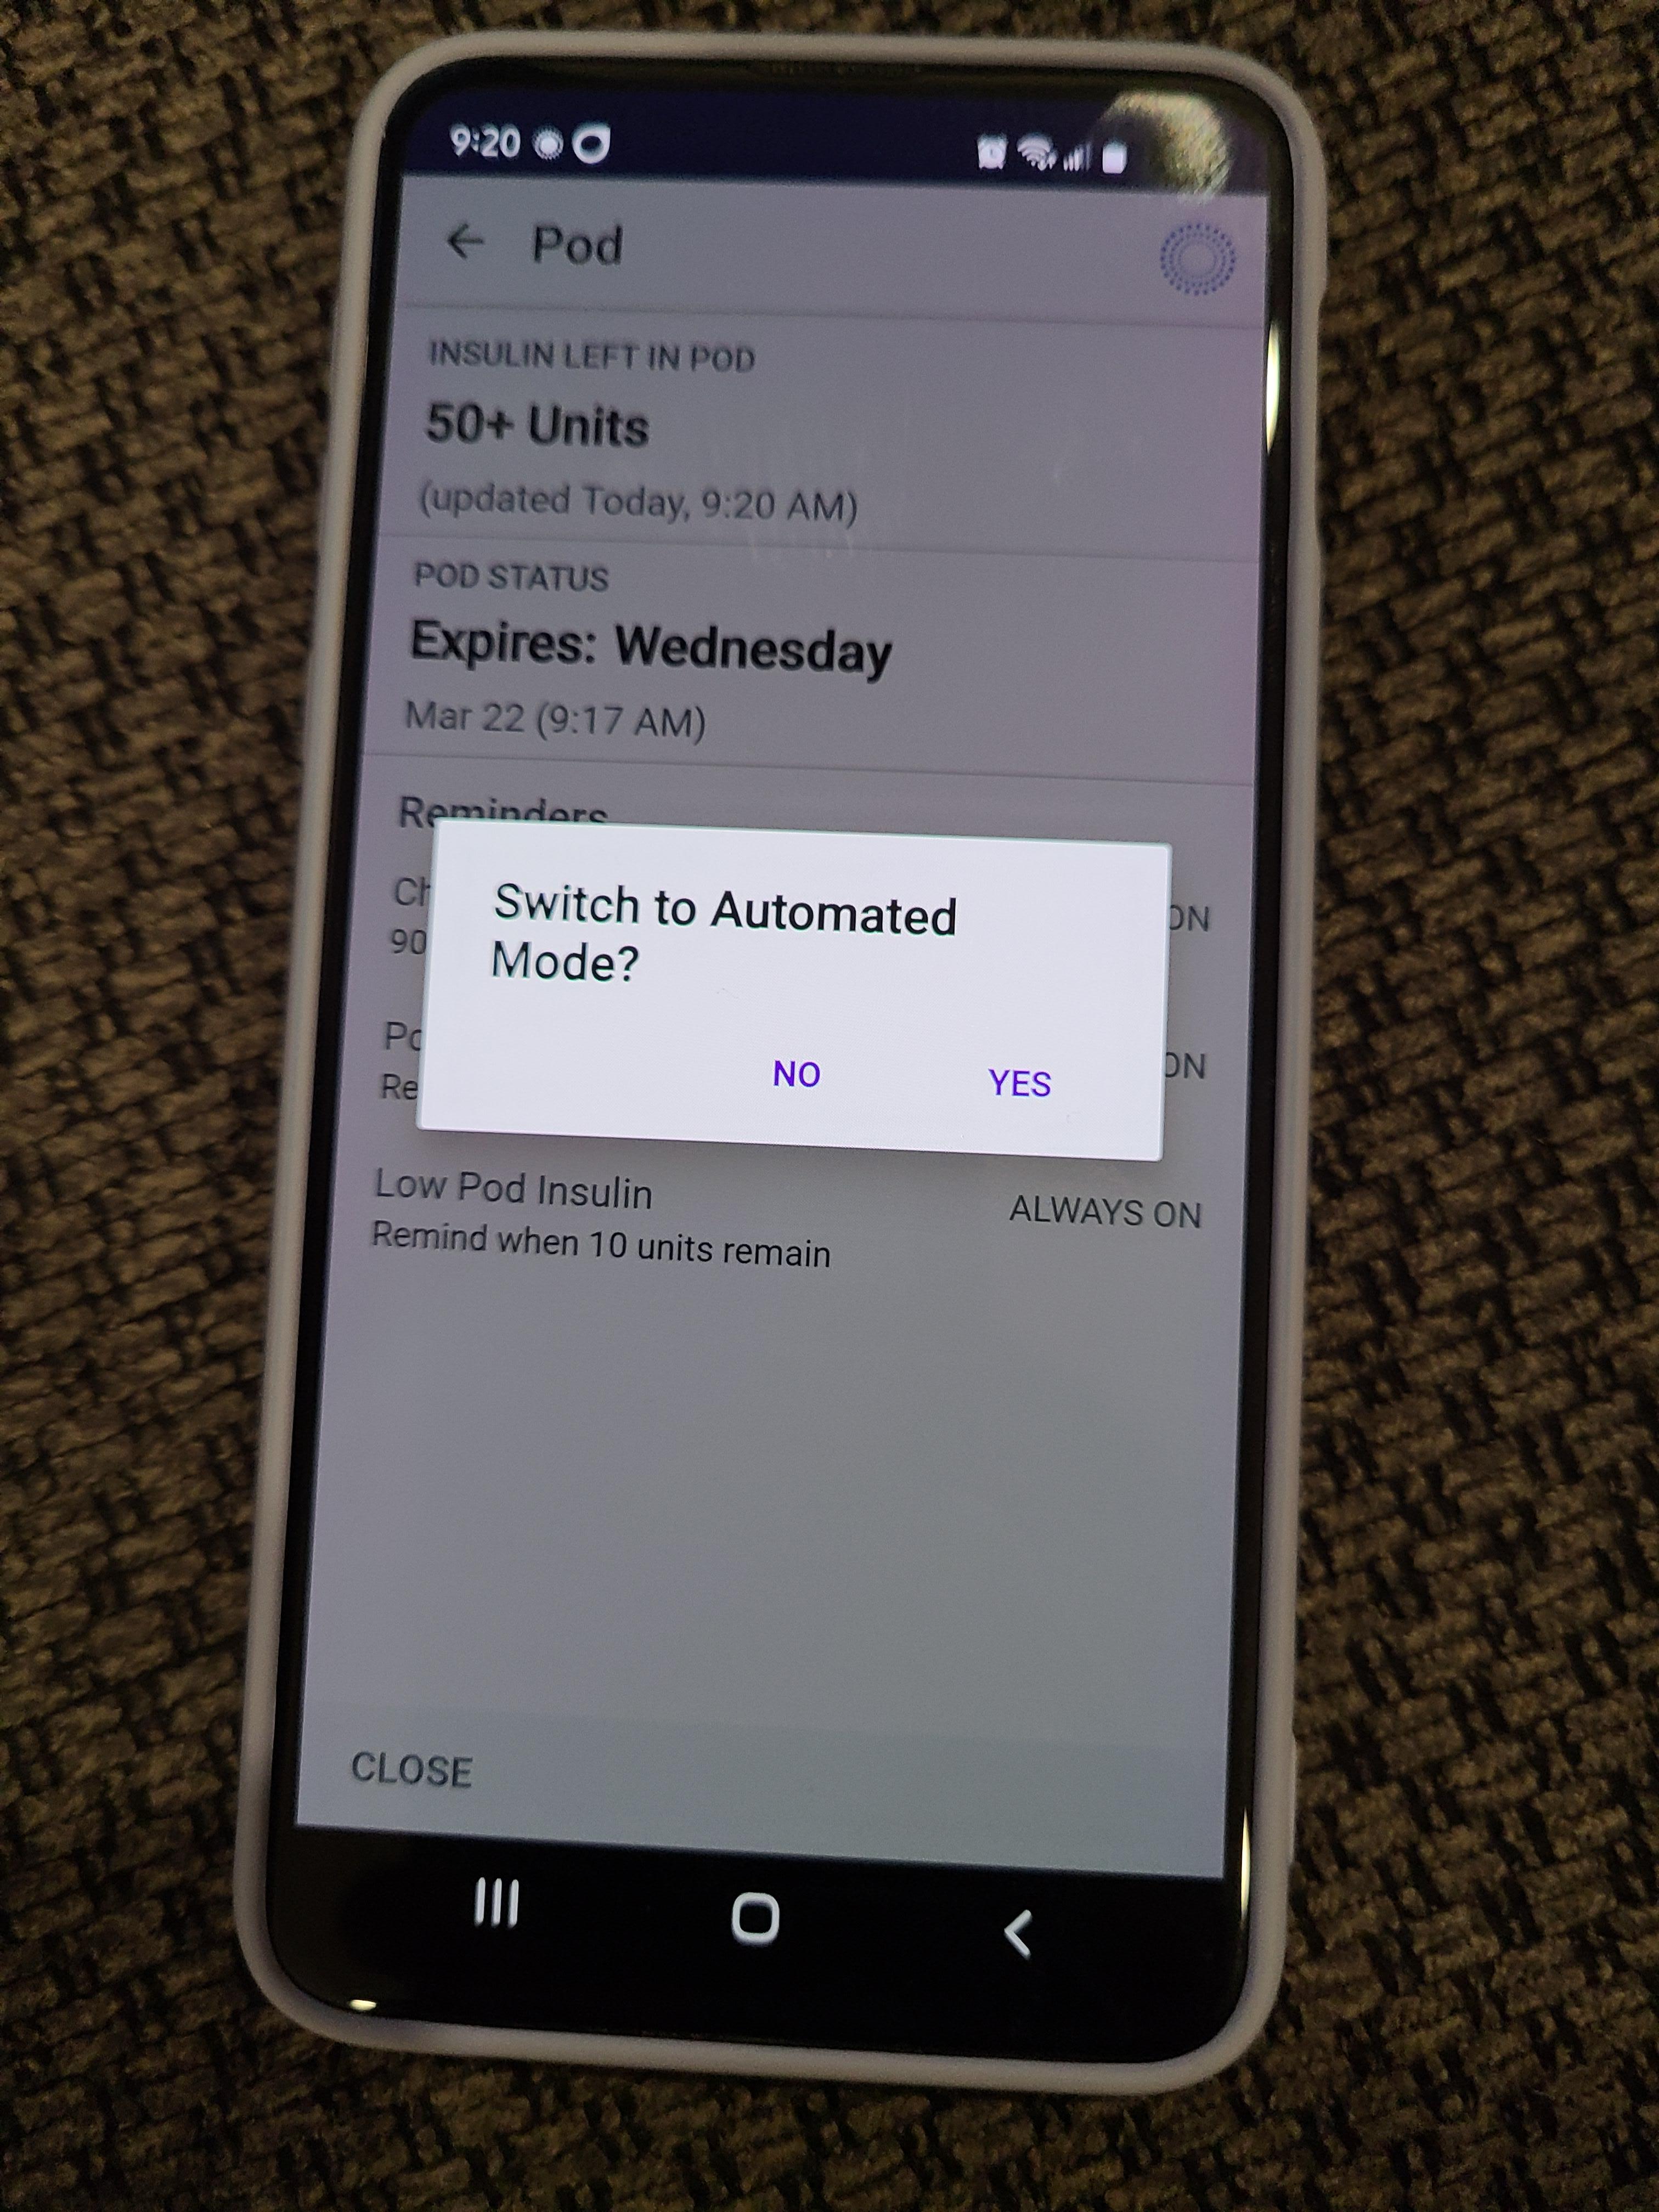
After the cannula is in, it will ask if you want the pump in automated mode or not. Press yes. Automated mode will help you keep your blood sugar in your target levels.
You will know if the cannula is in if a pink box shows up on top of the pump. It will take about twenty minutes for the devices to reboot and reconnect.
To Inject Insulin
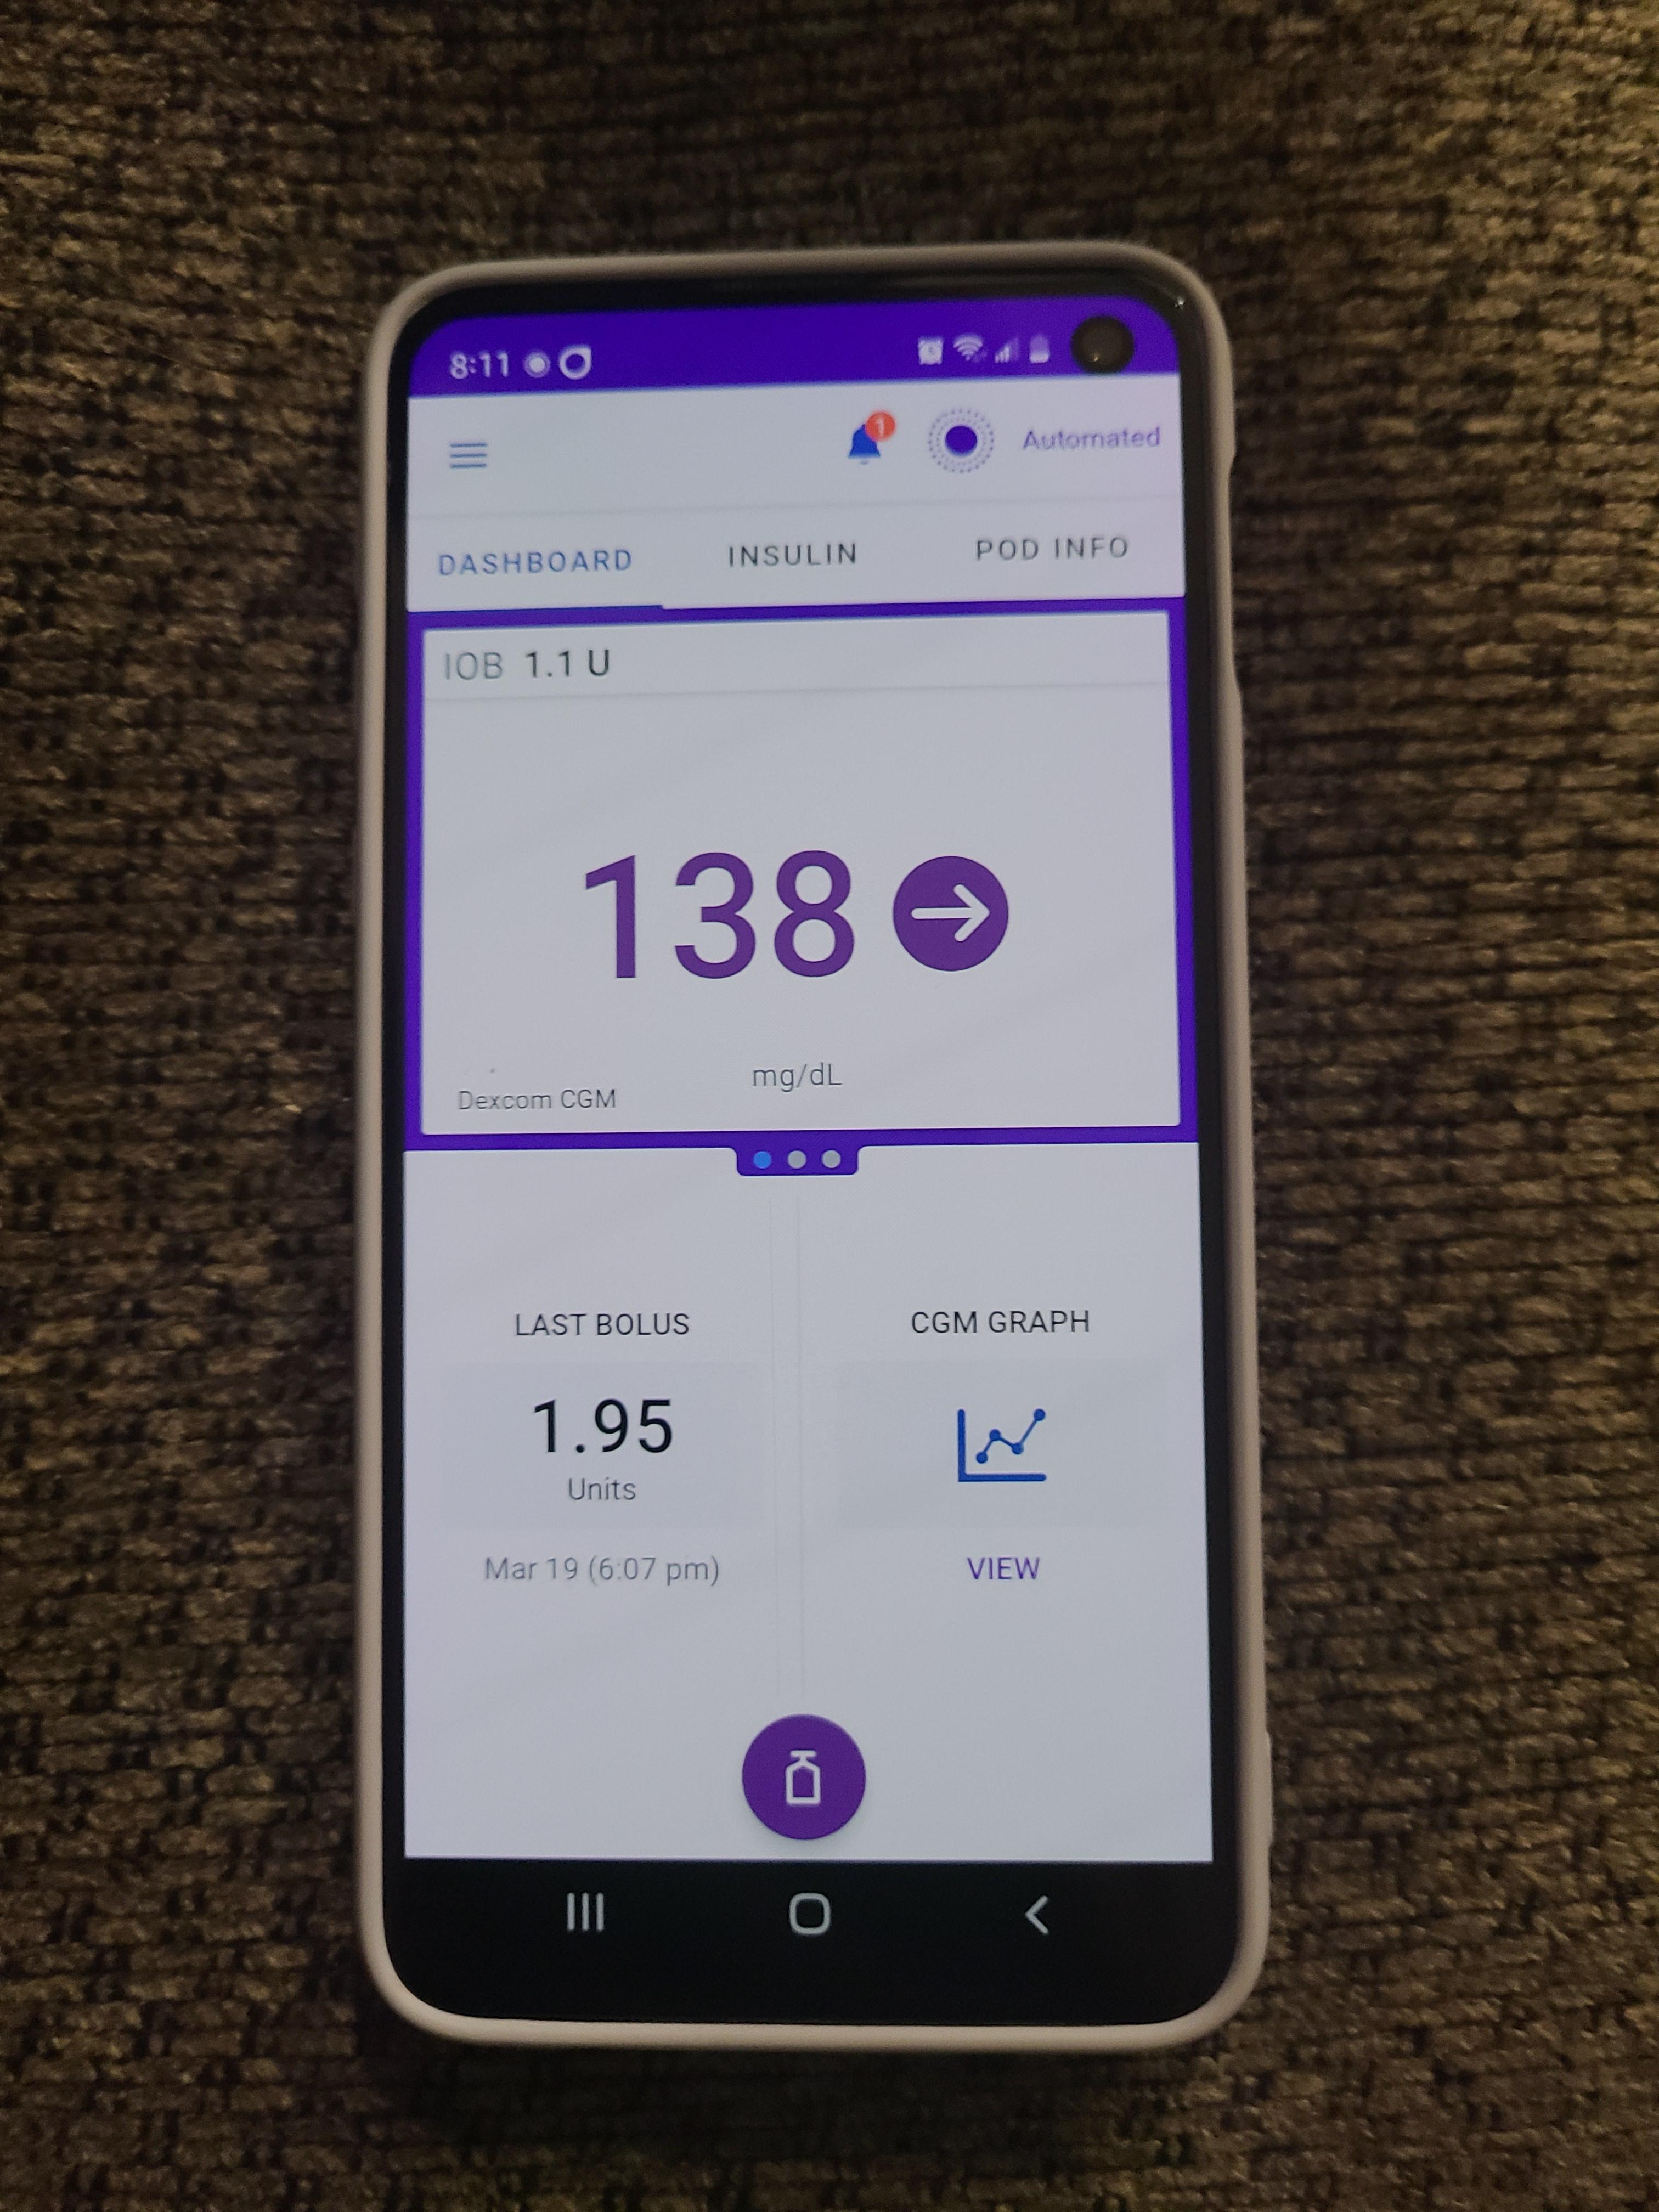
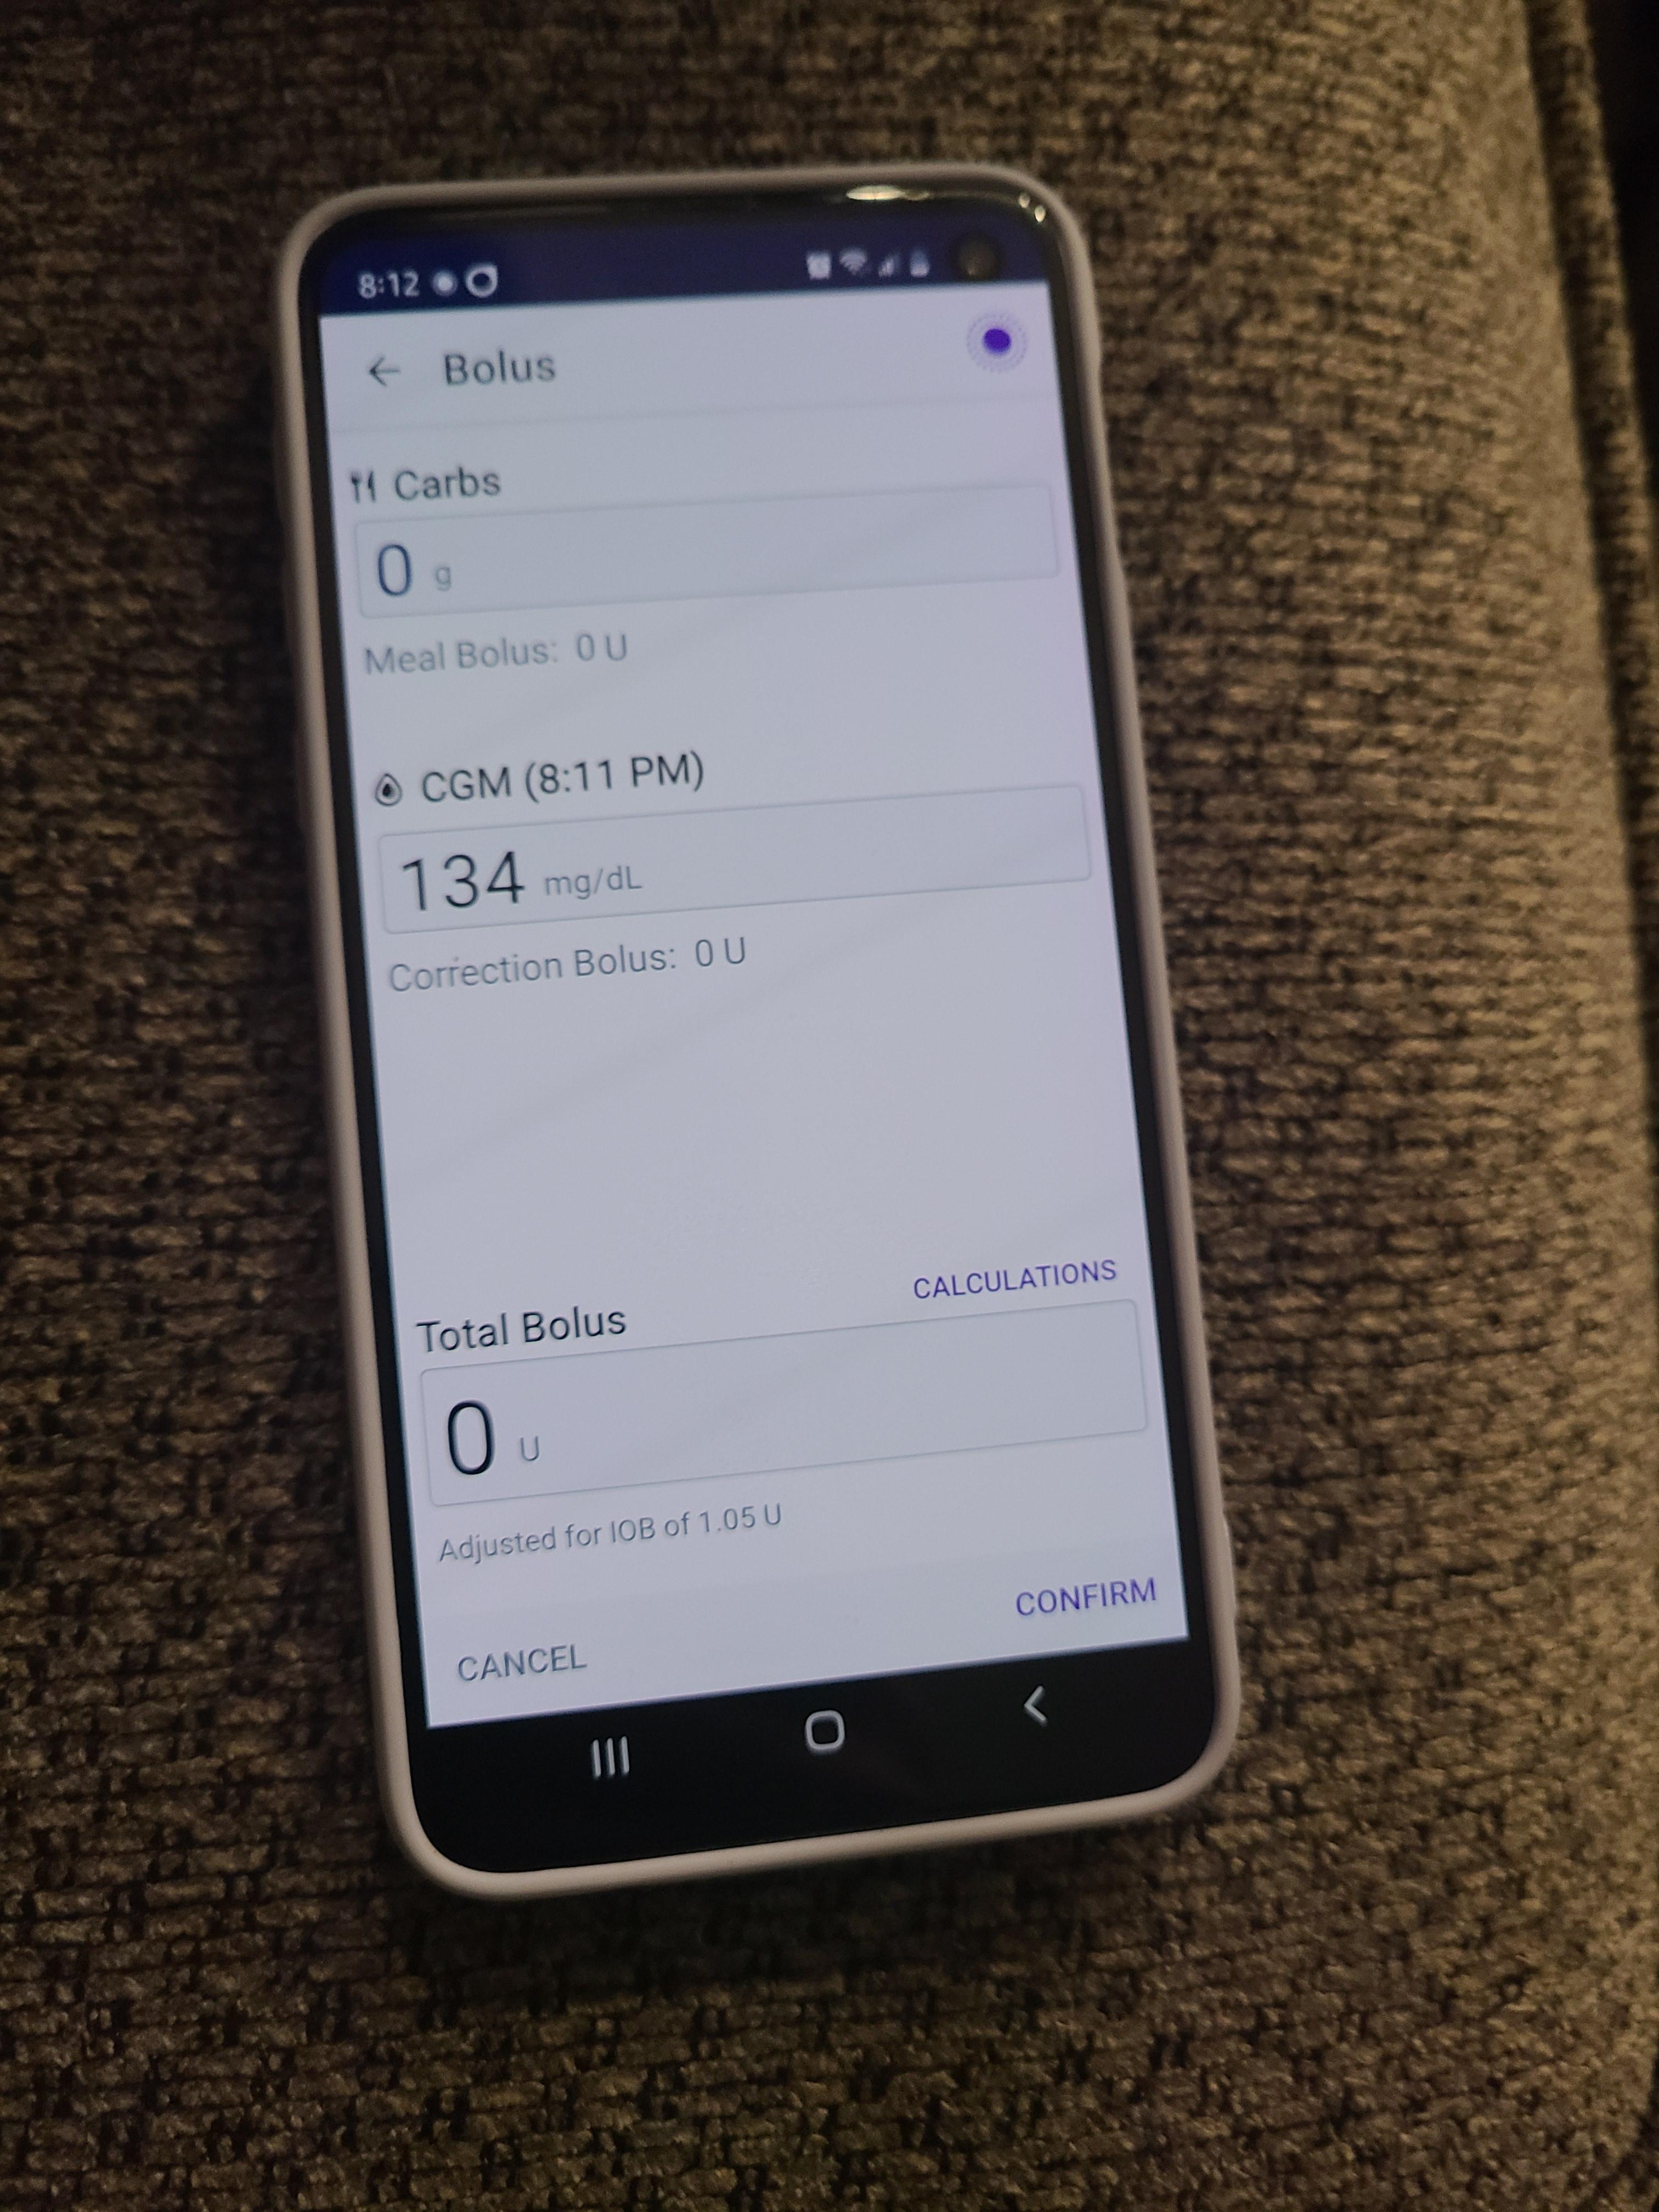
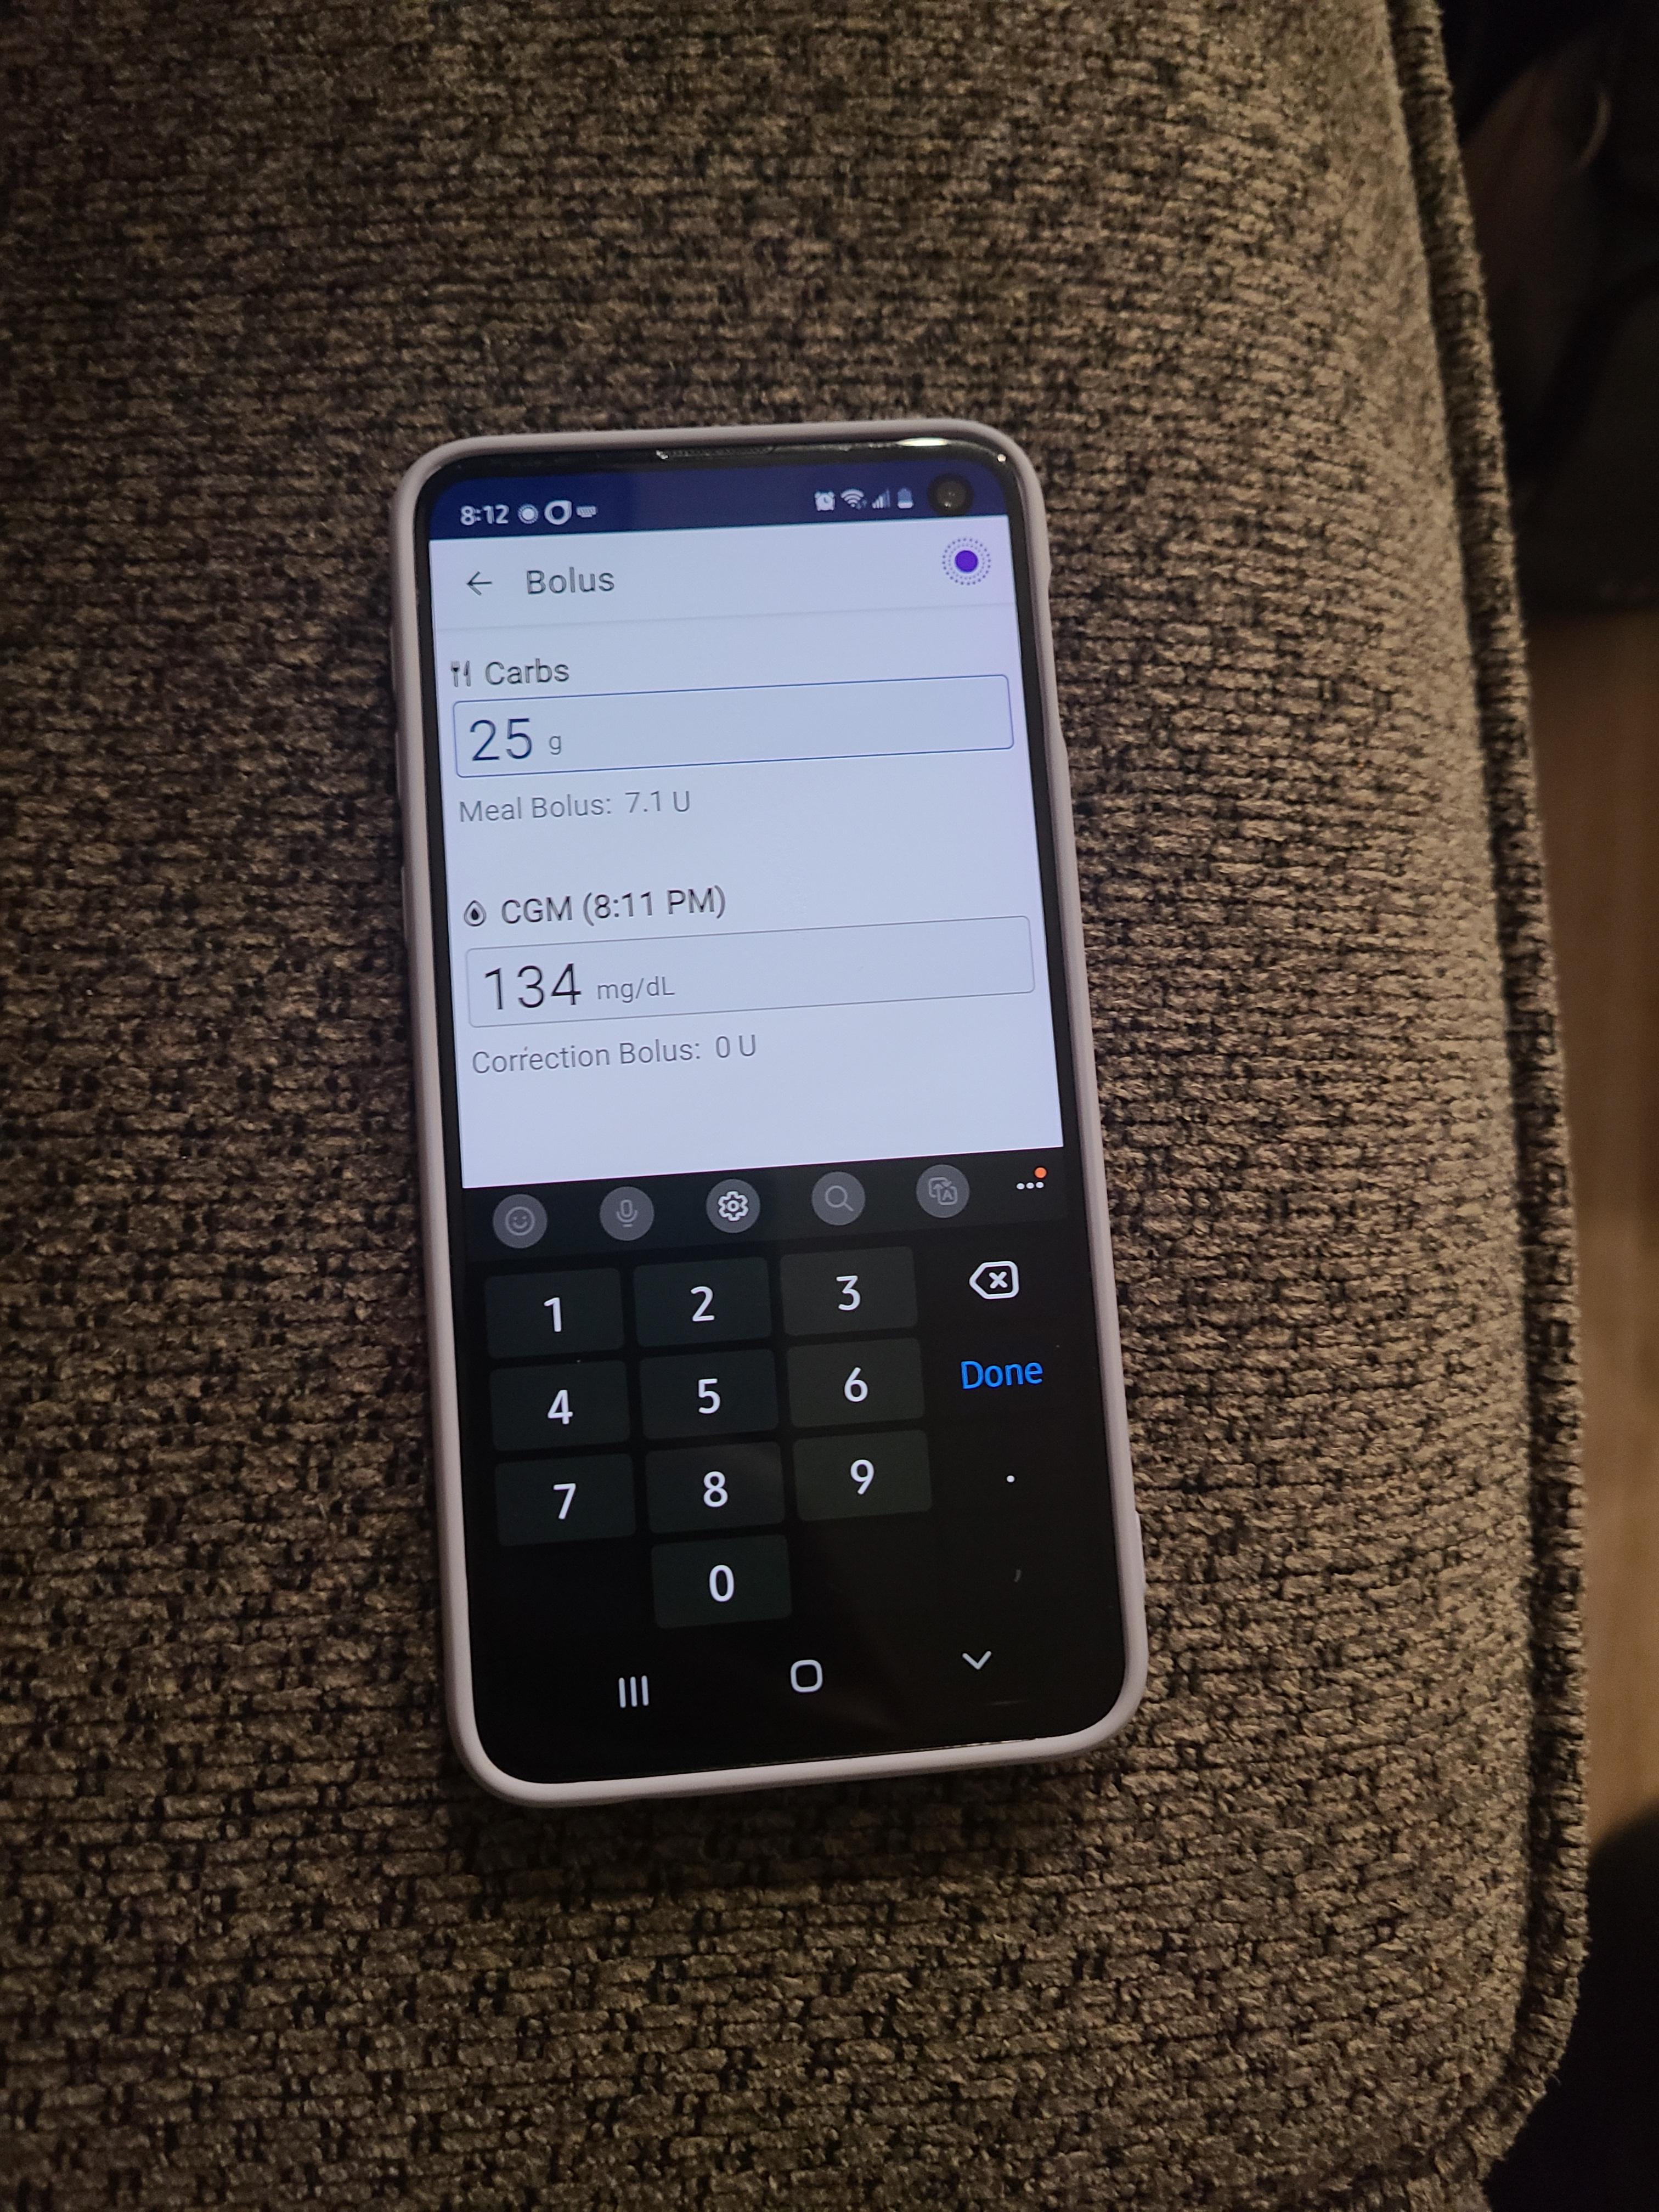
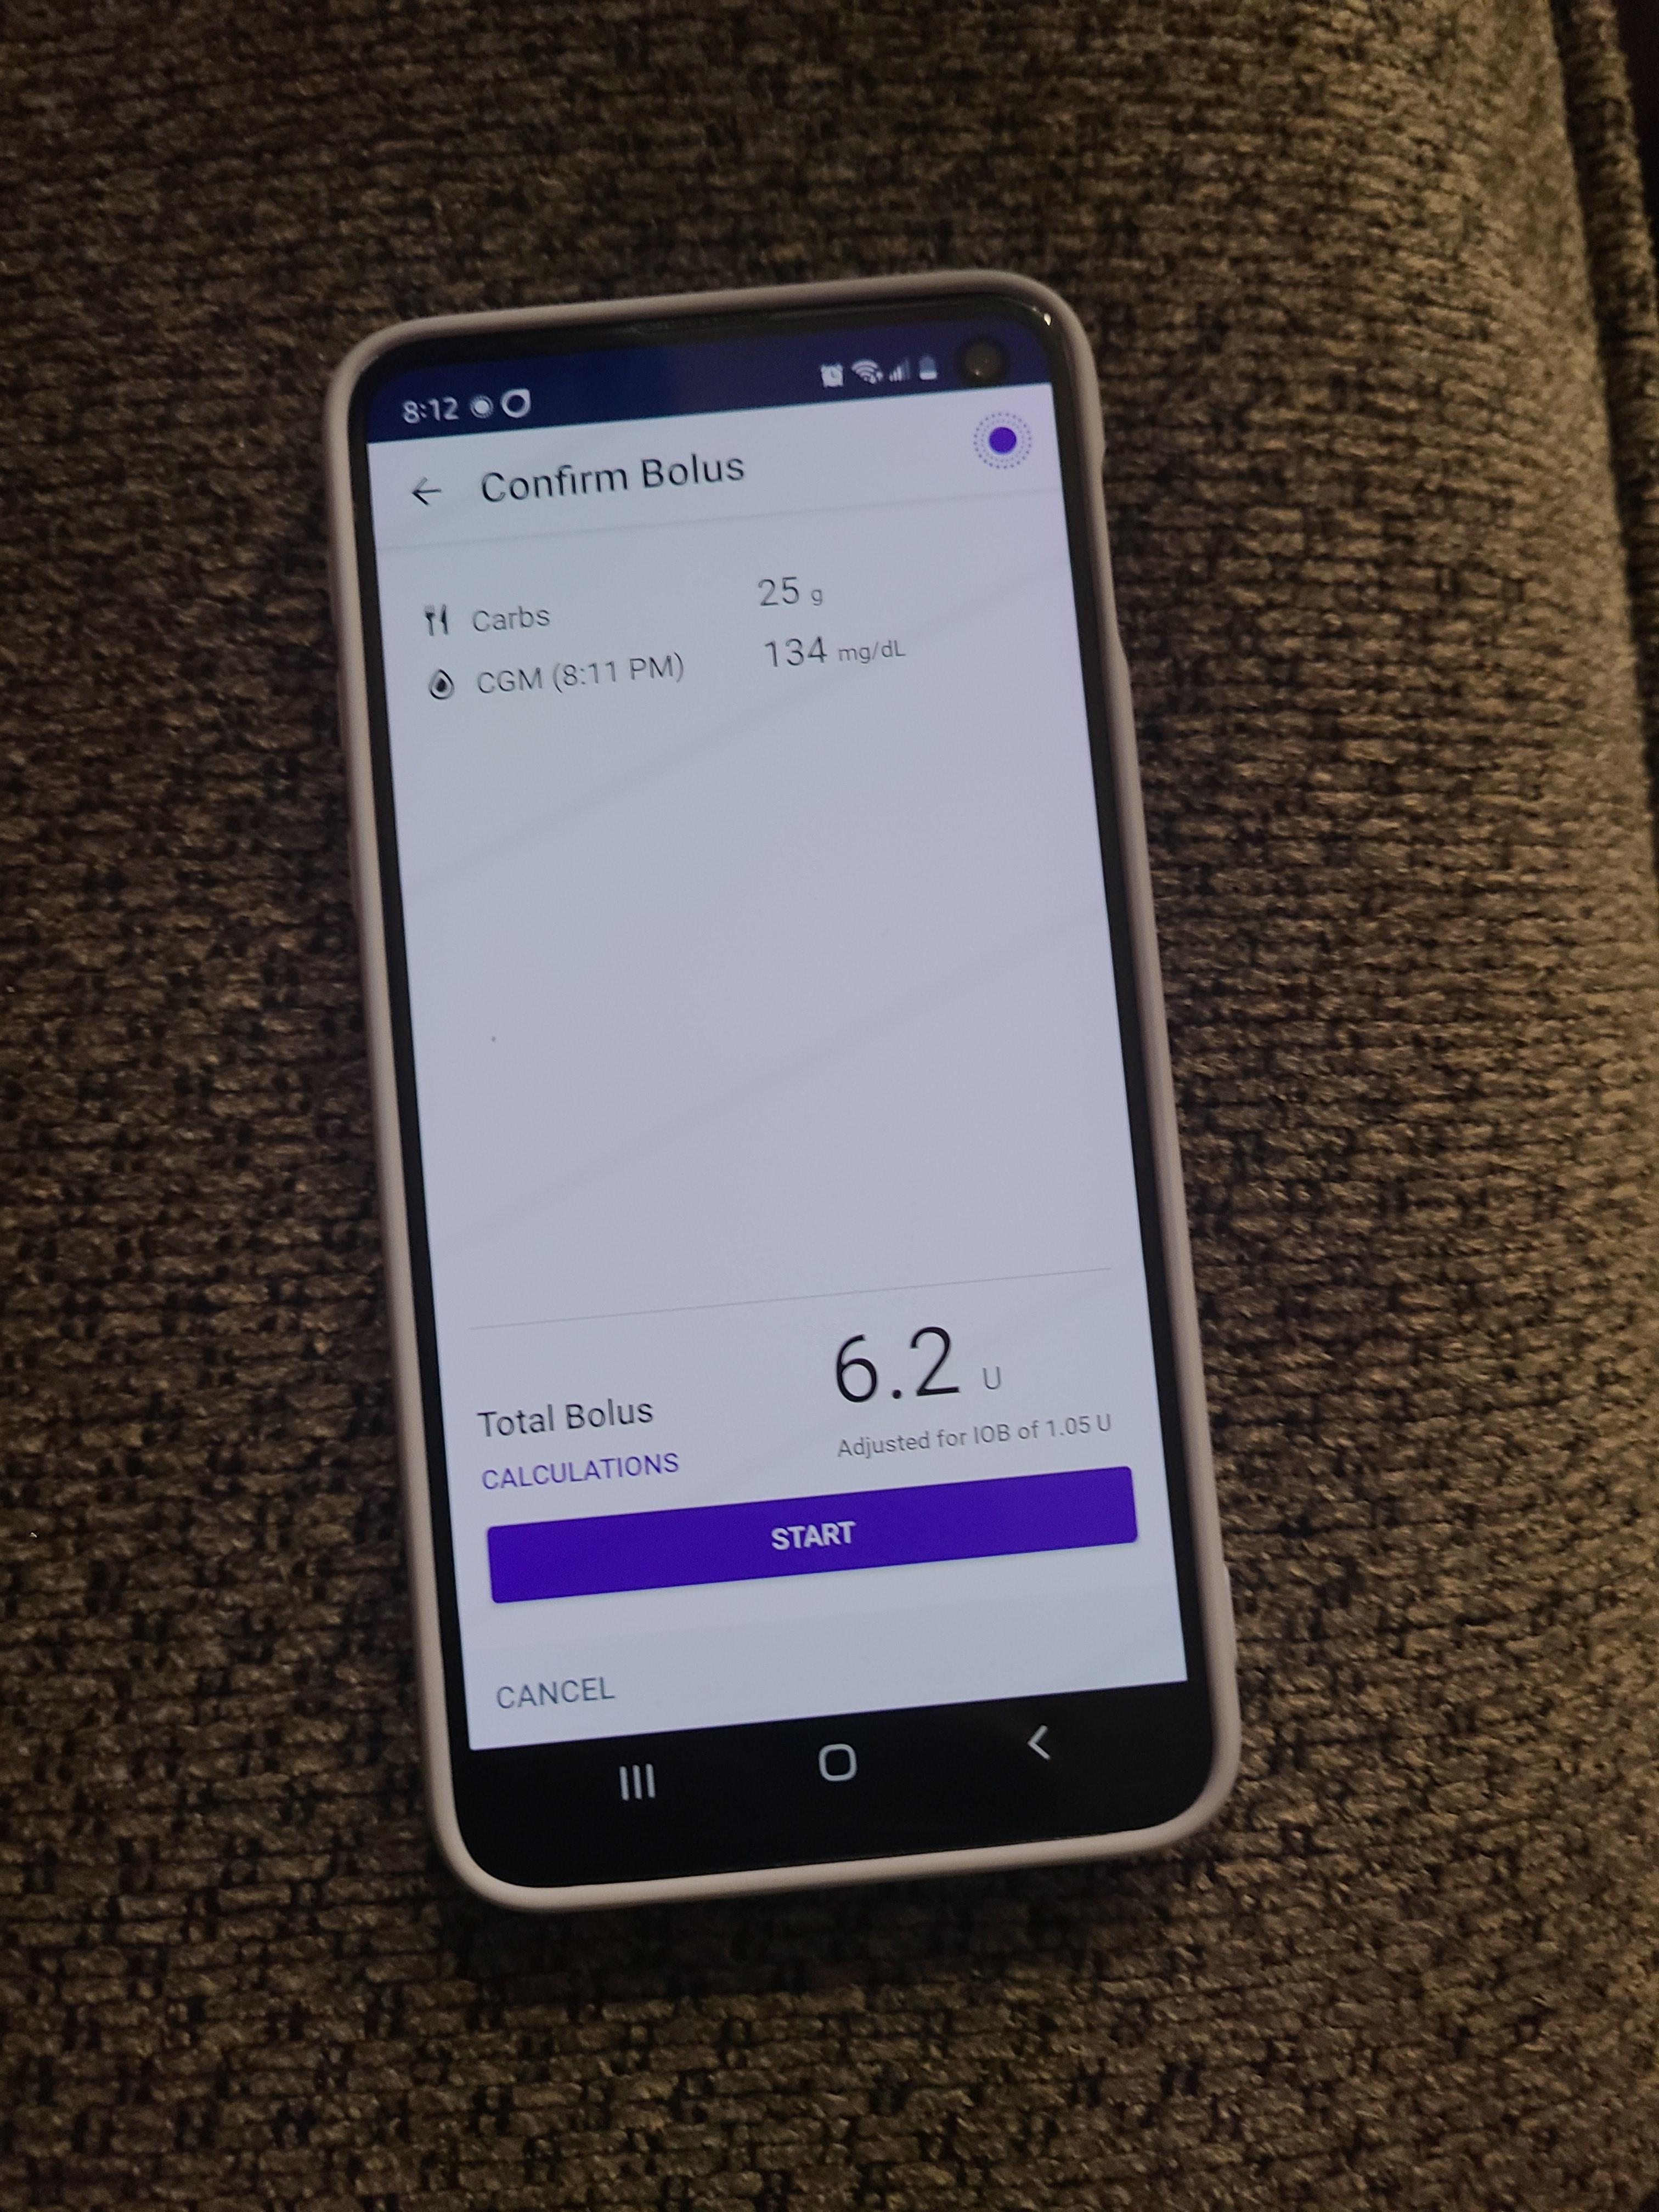
Press on the vial in the app. Enter in the number of carbs and press CGM.
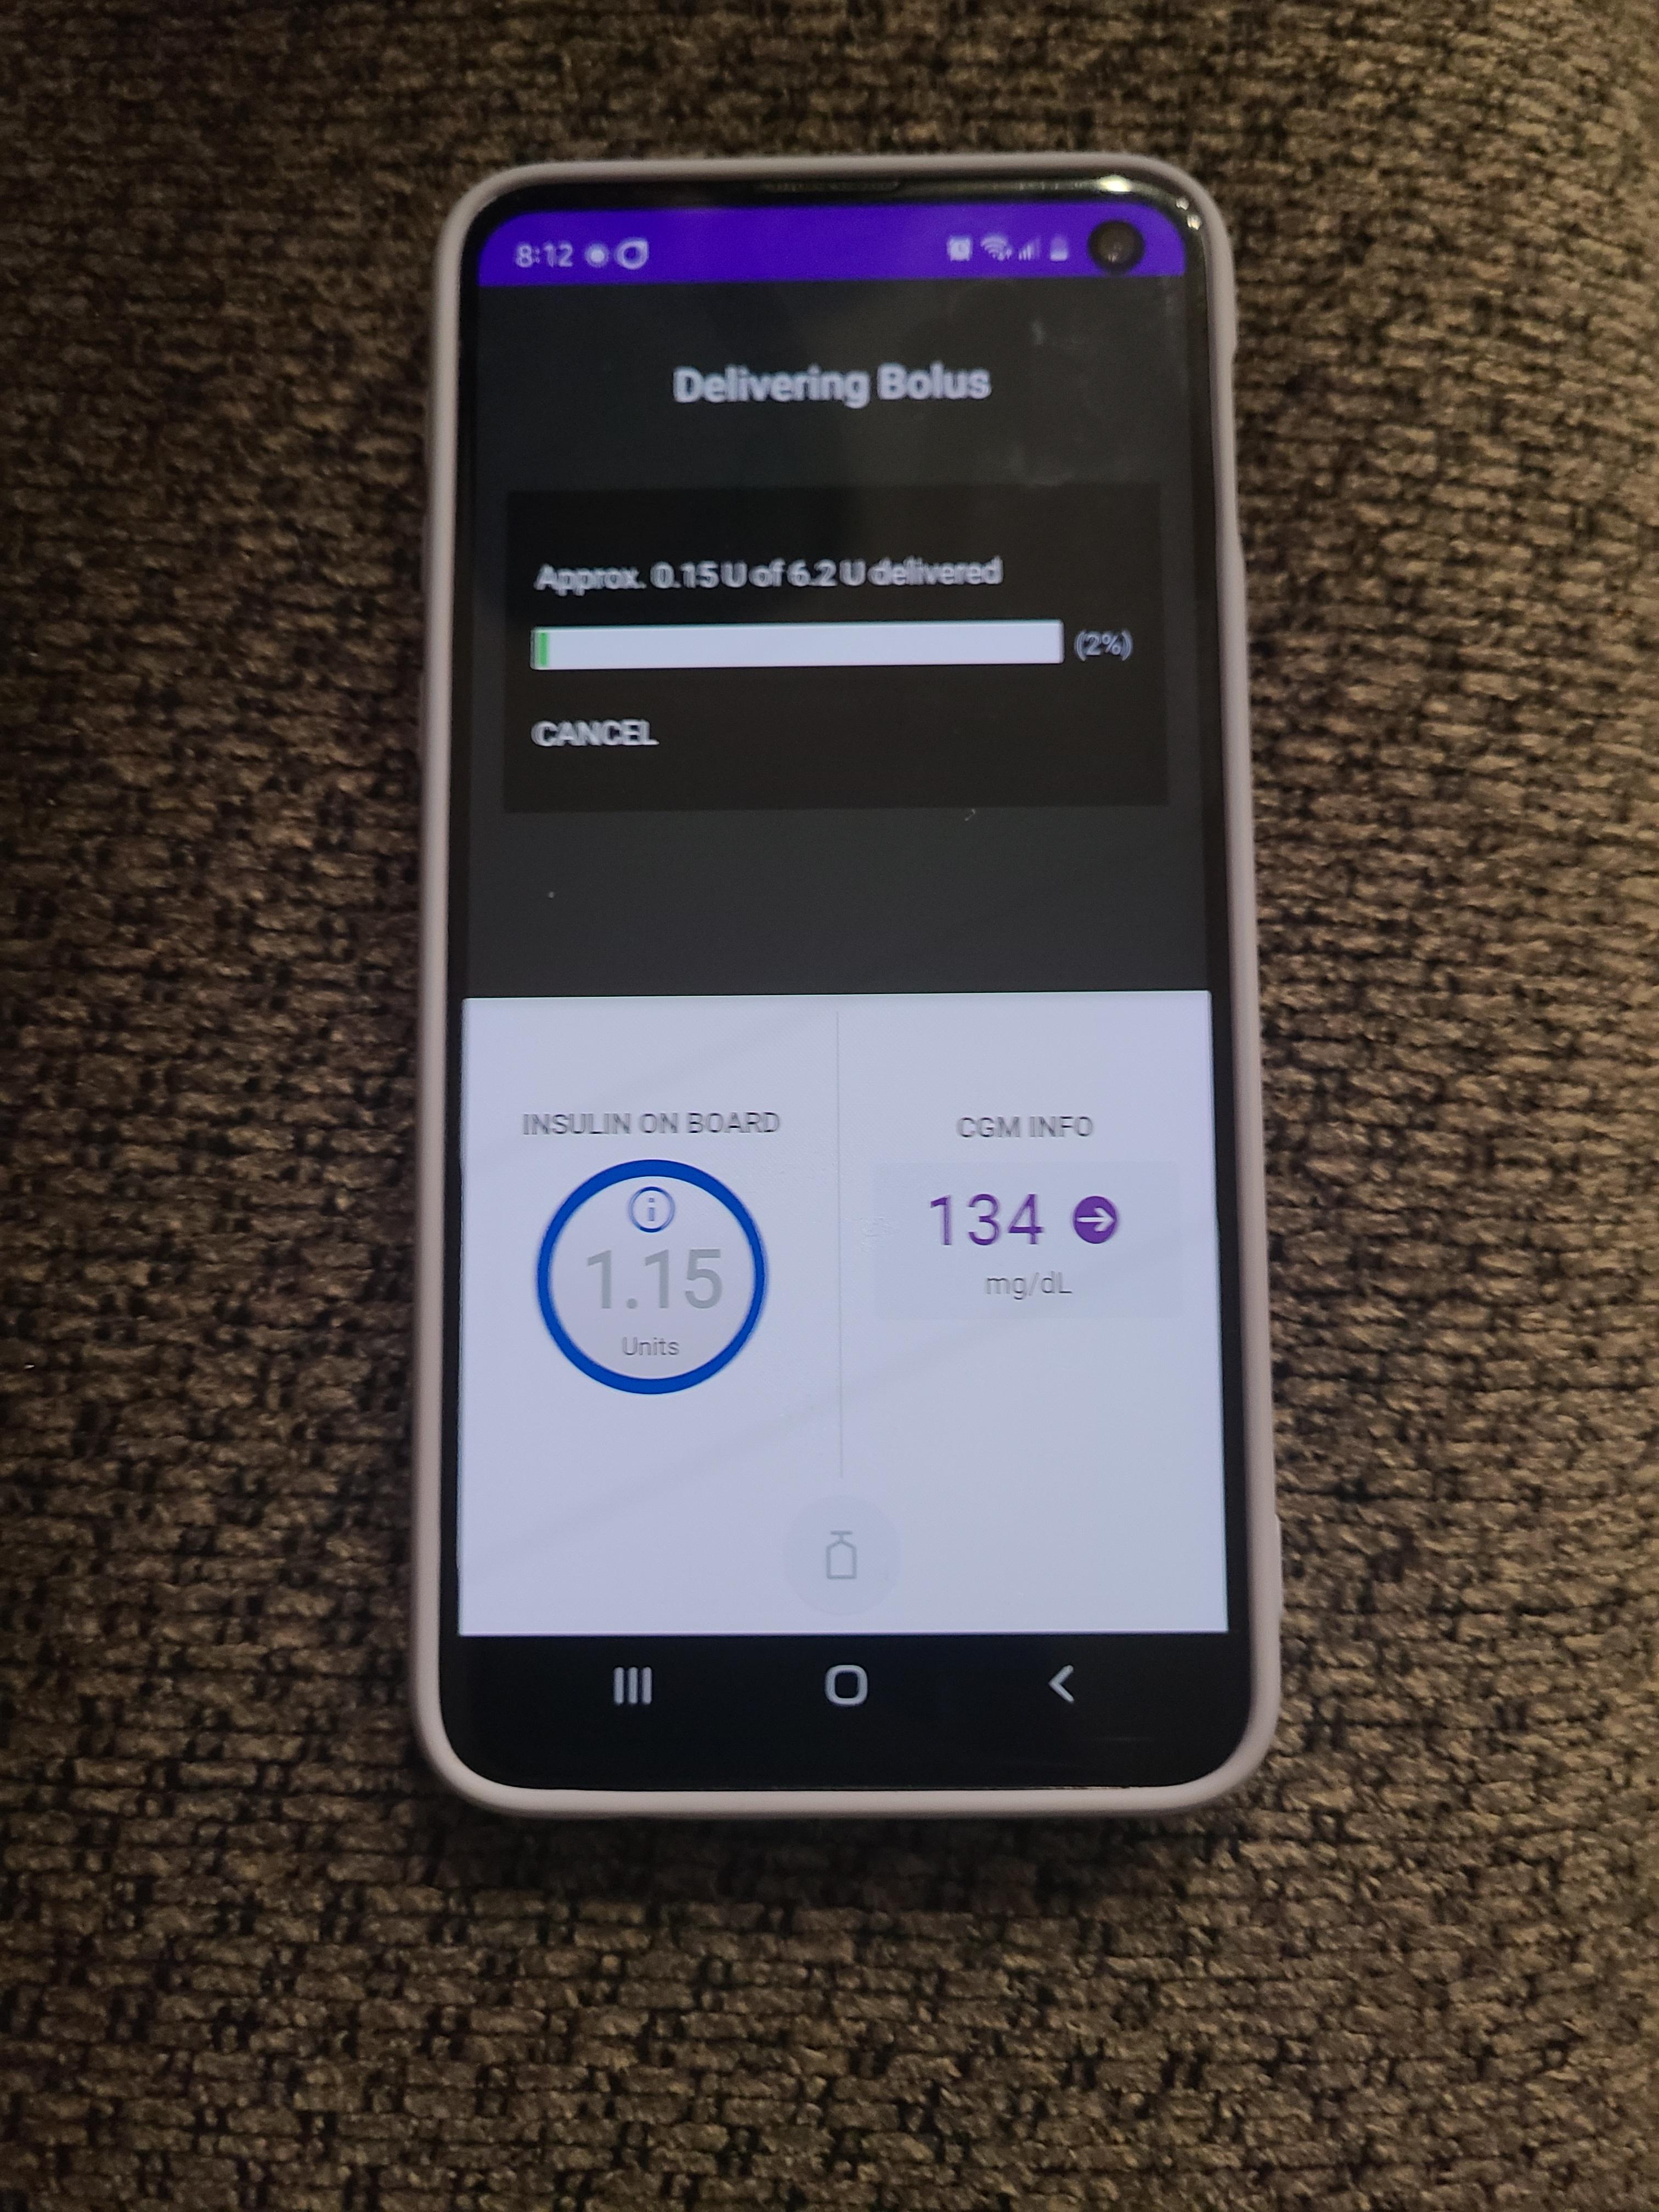
The app will tell you how much insulin to inject based on your current glucose level and the carbs. Press confirm and then press start.
After you press start, the app will make a sound like you accomplished something in a video game and will deliver the bolus.