How to Use a I2C LCD With Arduino UNO
by GizmoWizard in Circuits > Arduino
395 Views, 2 Favorites, 0 Comments
How to Use a I2C LCD With Arduino UNO
This is a tutorial about how to use a I2C LCD with a Arduino UNO.I2C LCDs are pretty popular because they shorten the extremely looooooong interface for 16 pins to only 4.So lets jump into it!
Supplies

Supplies you need to build this project
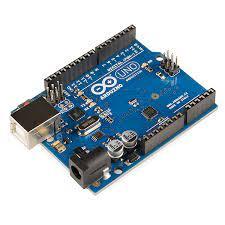
1.Arduino UNO
2.I2C LCD 16x2
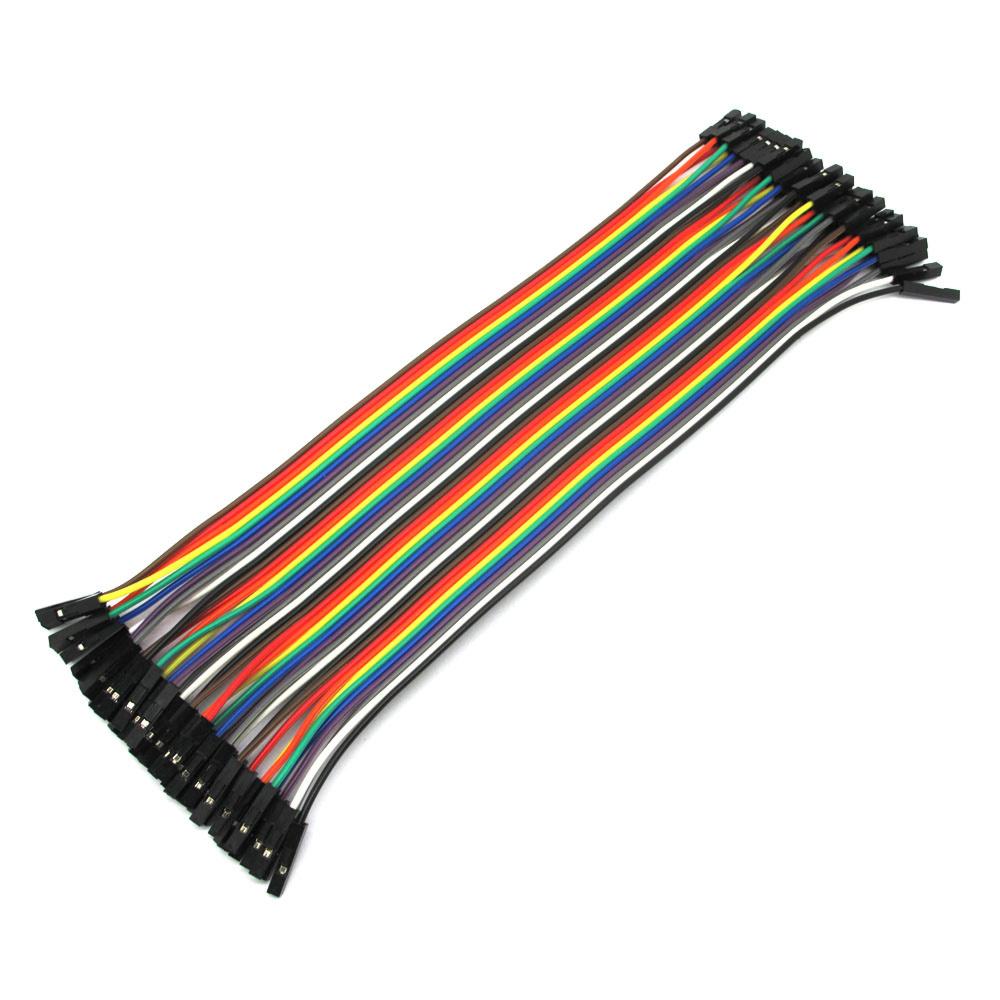
3.Jumper Wires
4 USB A to B wire(for uploading the code)
Software
1.Arduino IDE
Connect the LCD and Arduino
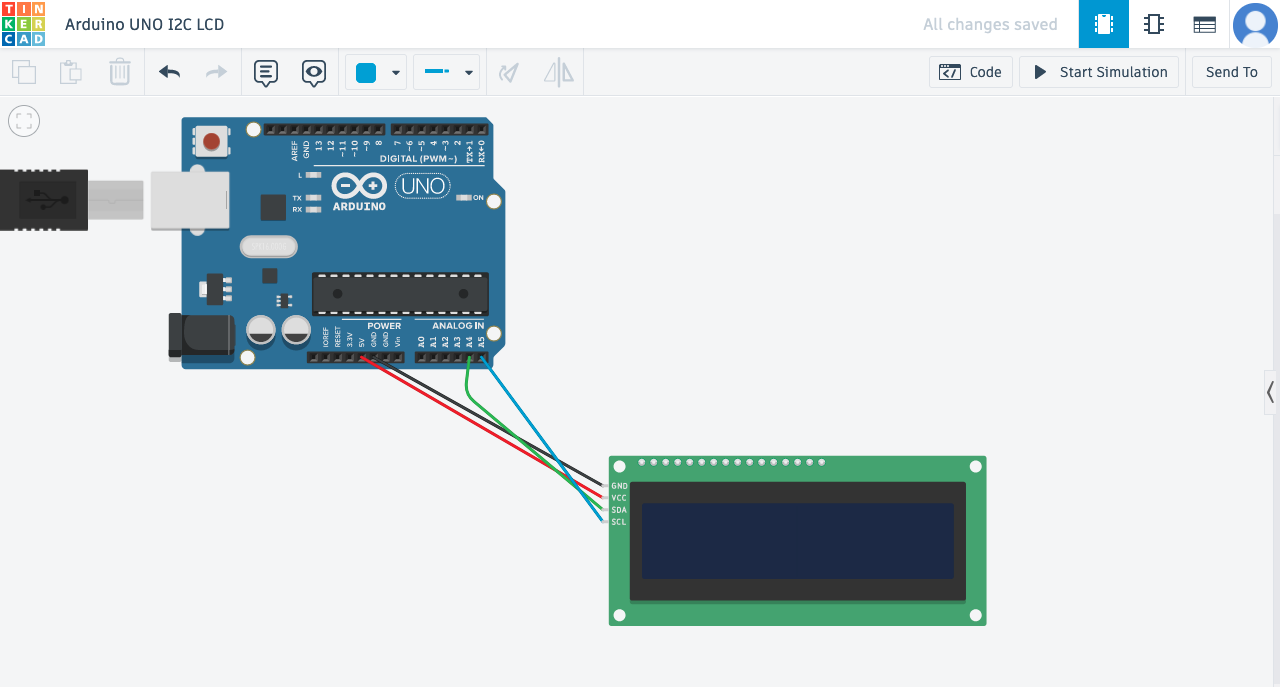
Connect the LCD and Arduino using the circuit diagram.
Determining the LCD Address
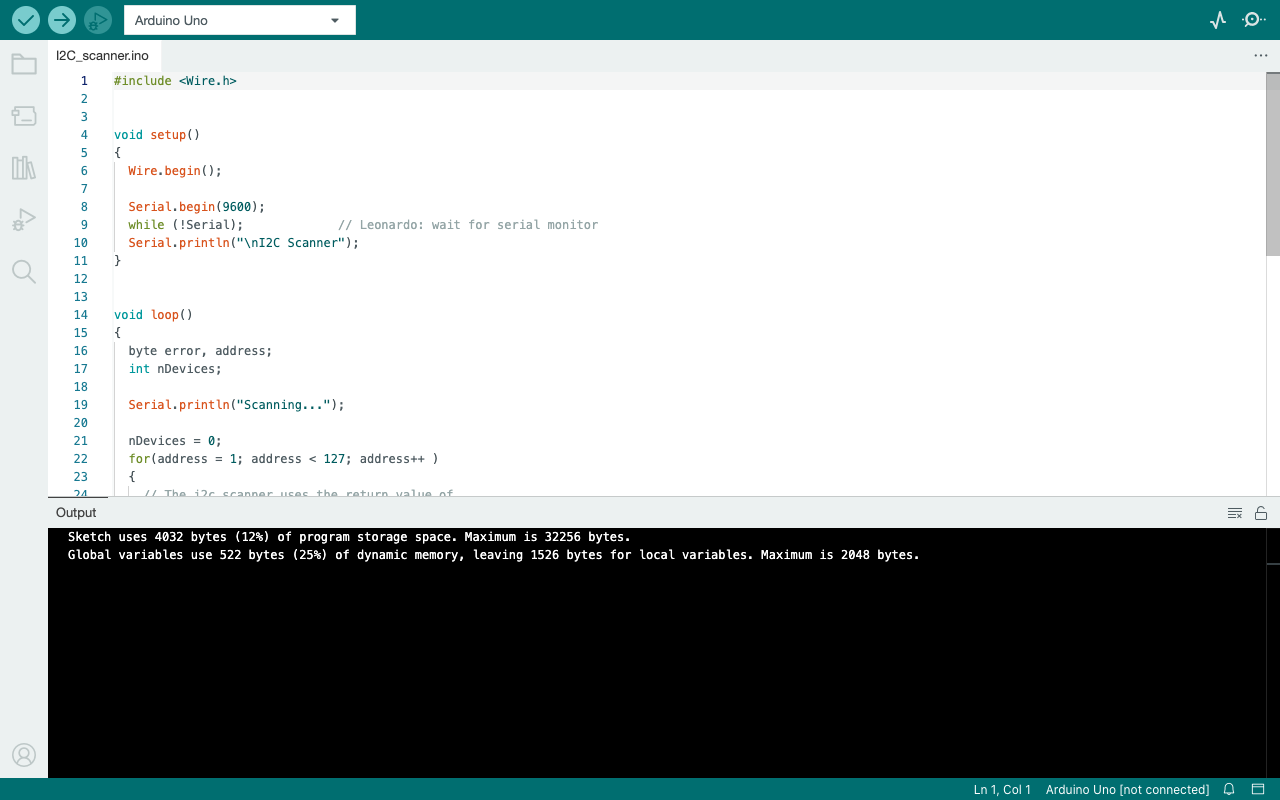
Connect the Arduino UNO with your computer and run the I2C Scanner code.You can get it from downloading the .ino file.Upload it and you should see a a 0x something appear on the Serial Monitor.Note it down.
Downloads
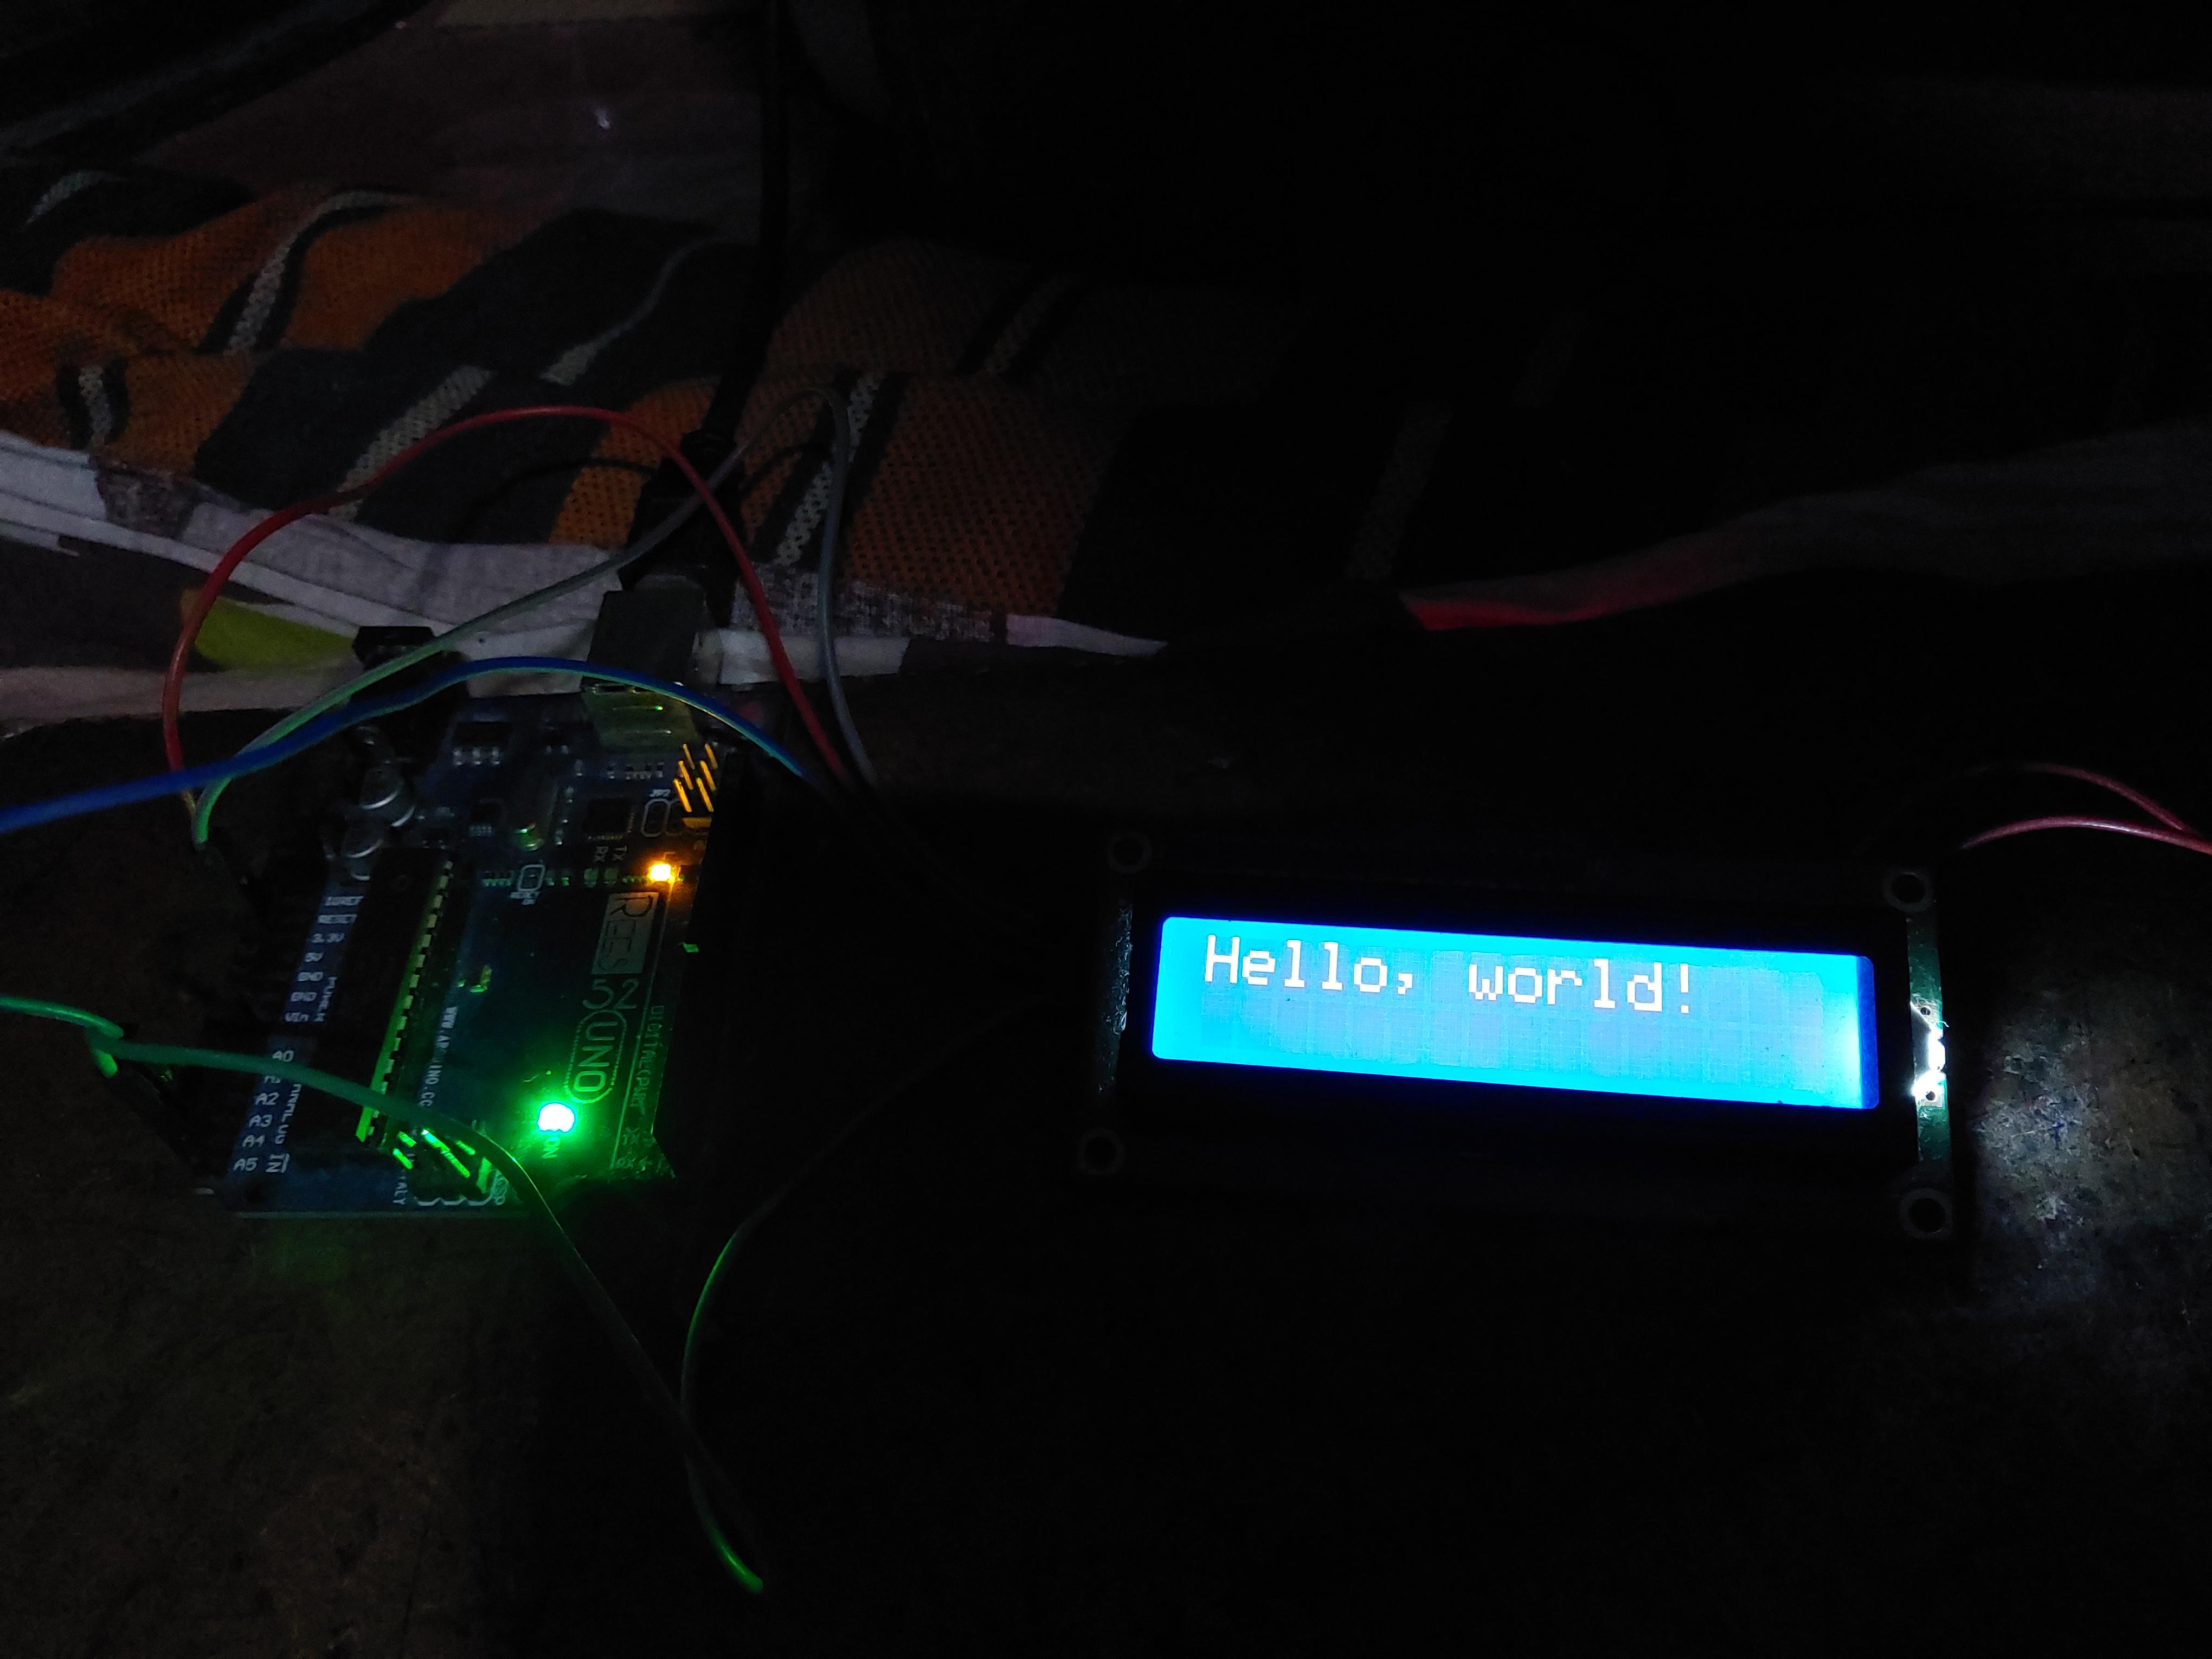
Making the LCD Print Something
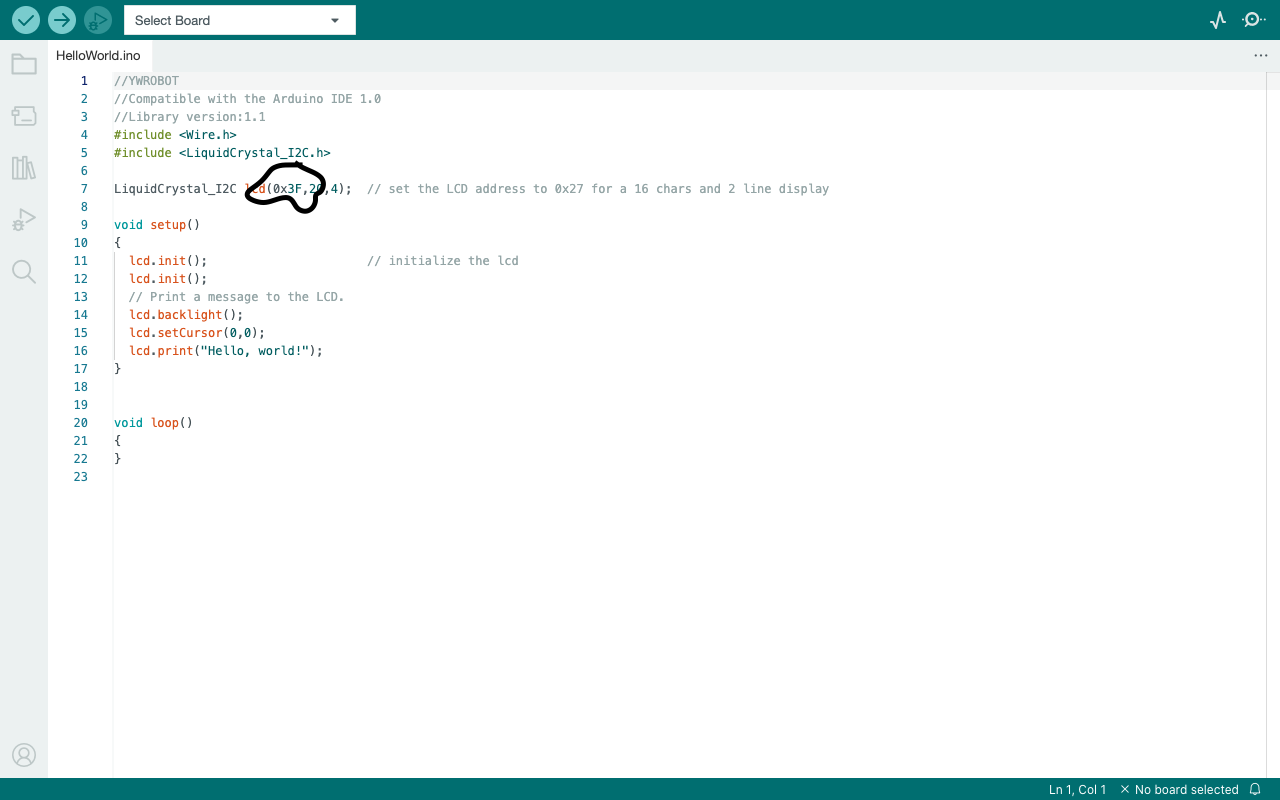
Now, we can start to print characters to the LCD.Upload the sketch linked to this step and make the following change:
1.See the picture.Go to the line where I circled it.
2.If you look closely,you'll see that there is a 0x27 there.See the 0x something you noted earlier.If they are the same, make no change and upload.If different, then make the change.
If you see some folder issues just click OK and continue.
Downloads
Conclusion

You did it!You made your own I2C LCD print something.Thanks for reading my Instructable.