How to Use a Full Spectrum Laser Cutter
by bhernand21 in Workshop > Laser Cutting
725 Views, 1 Favorites, 0 Comments
How to Use a Full Spectrum Laser Cutter
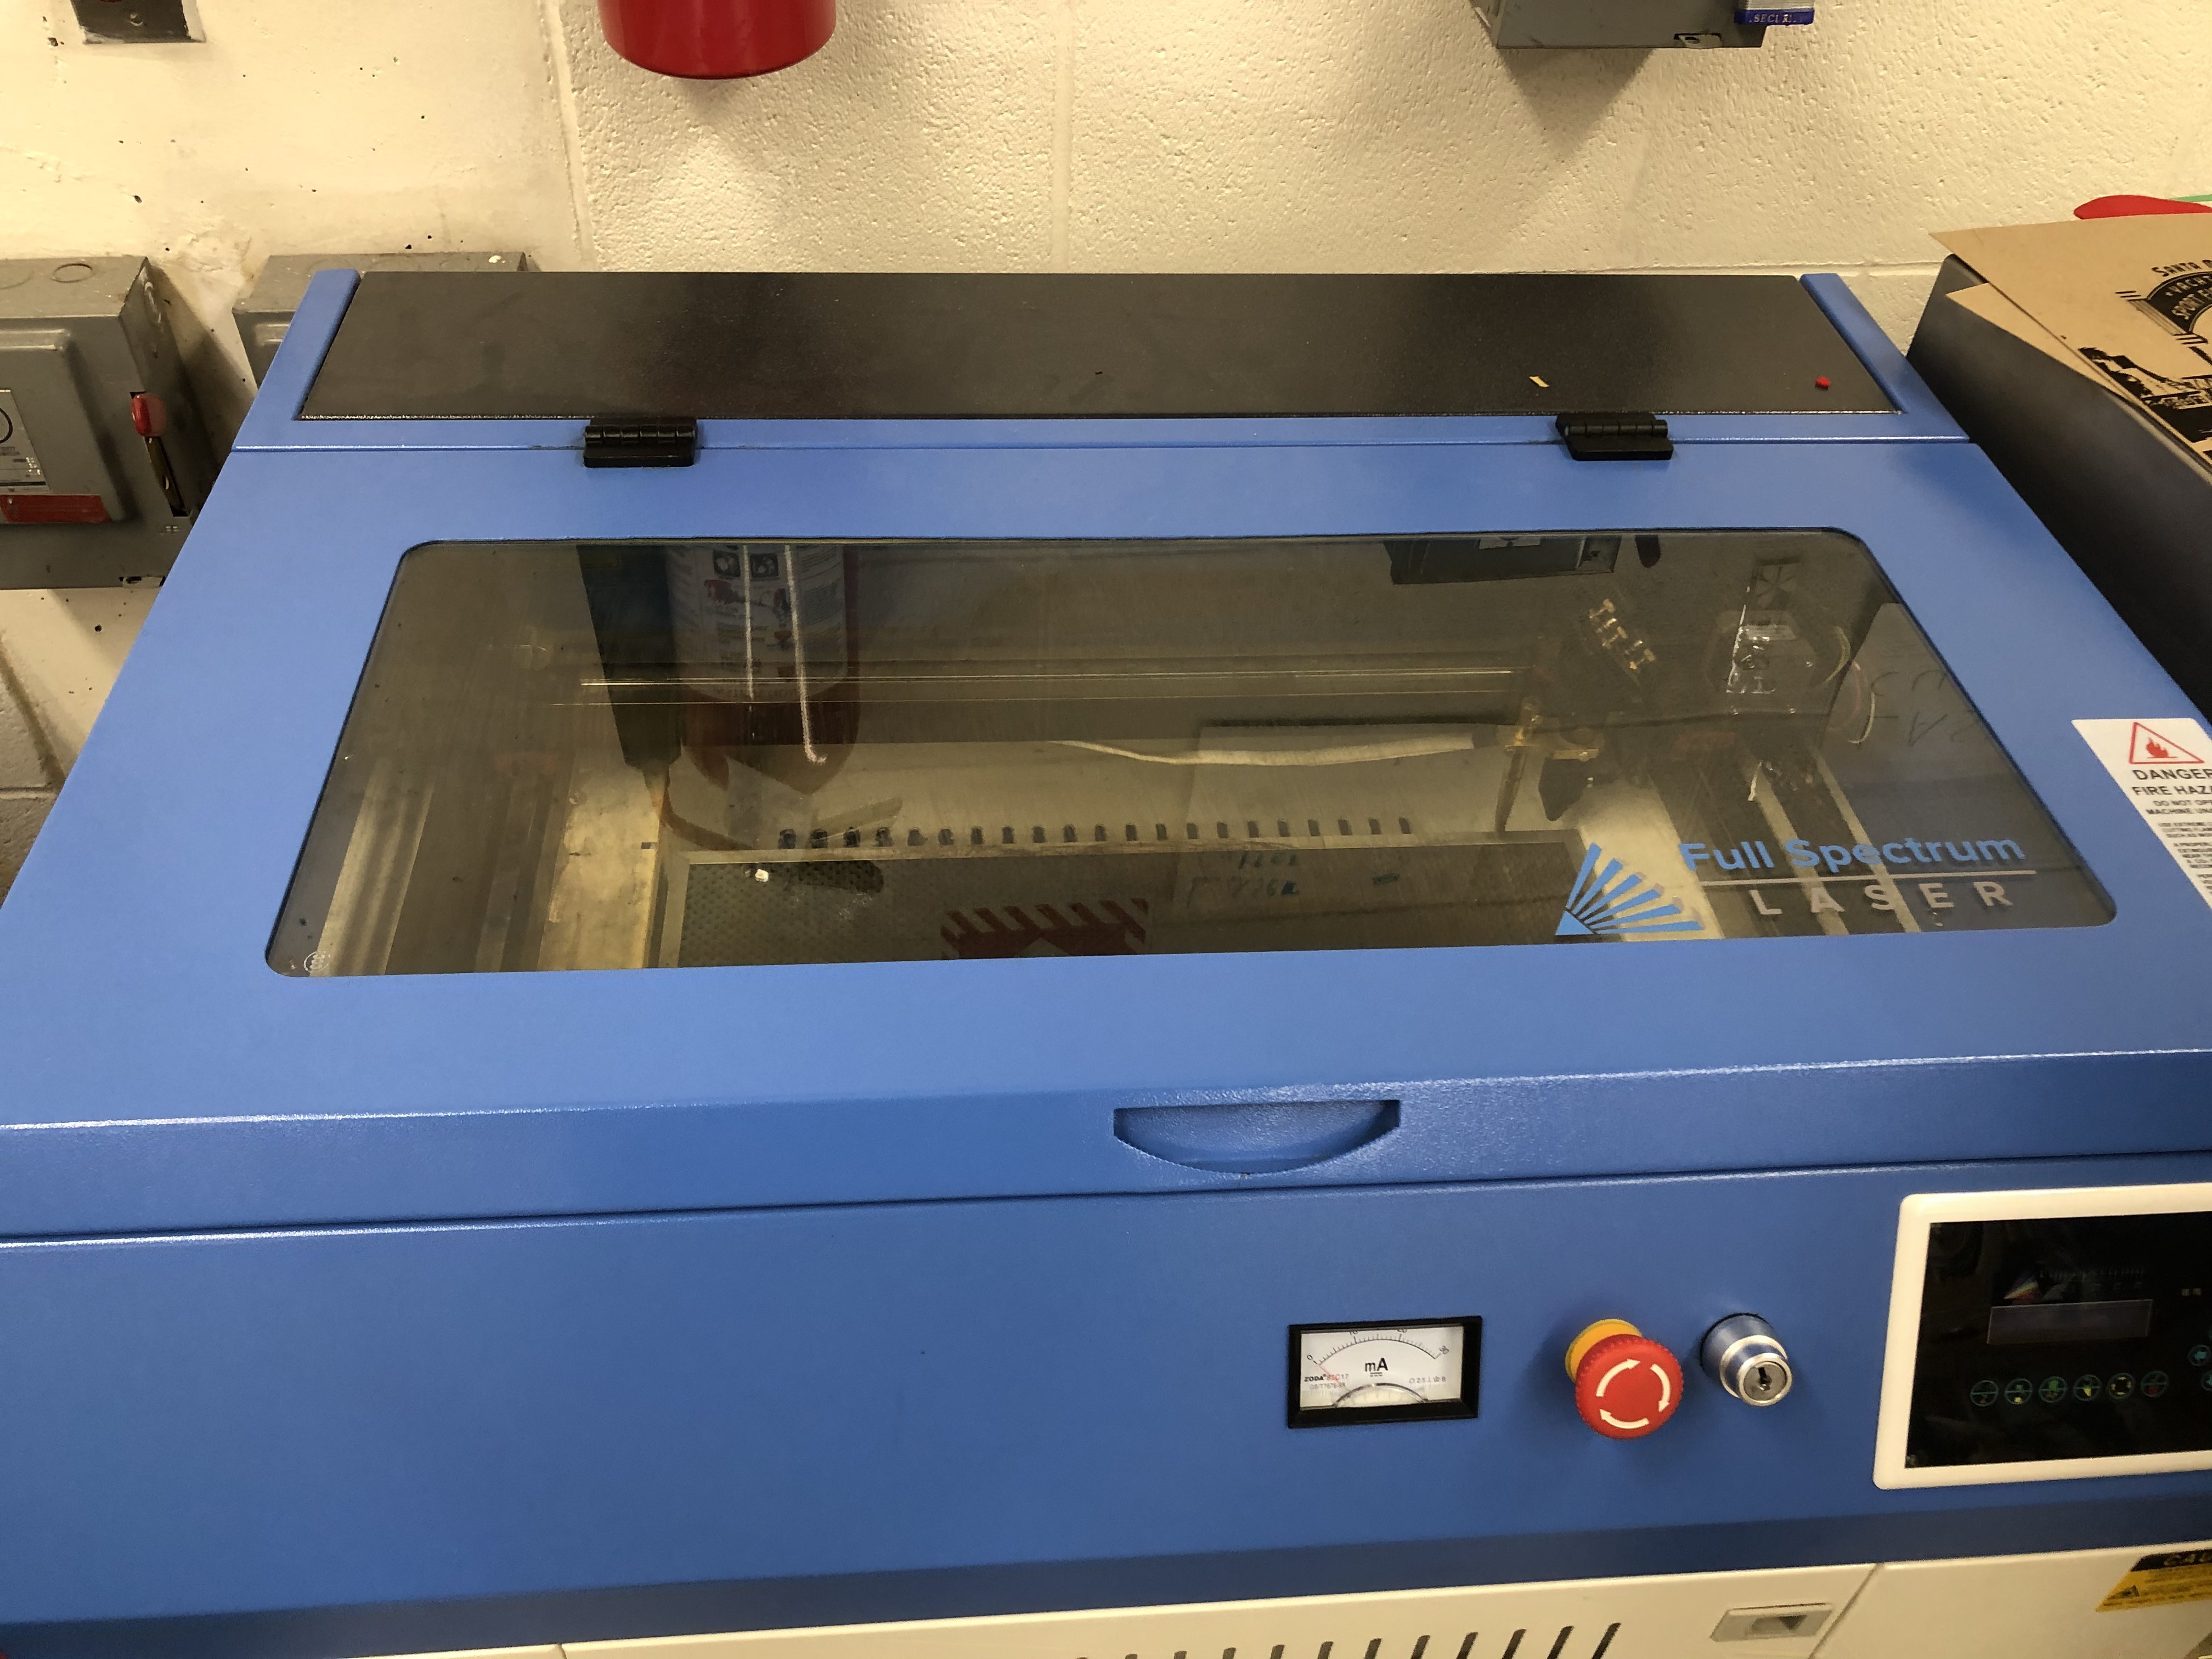
A Laser Cutter
Computer with Inkscape, Internet Access and RetinaEngrave 3D application
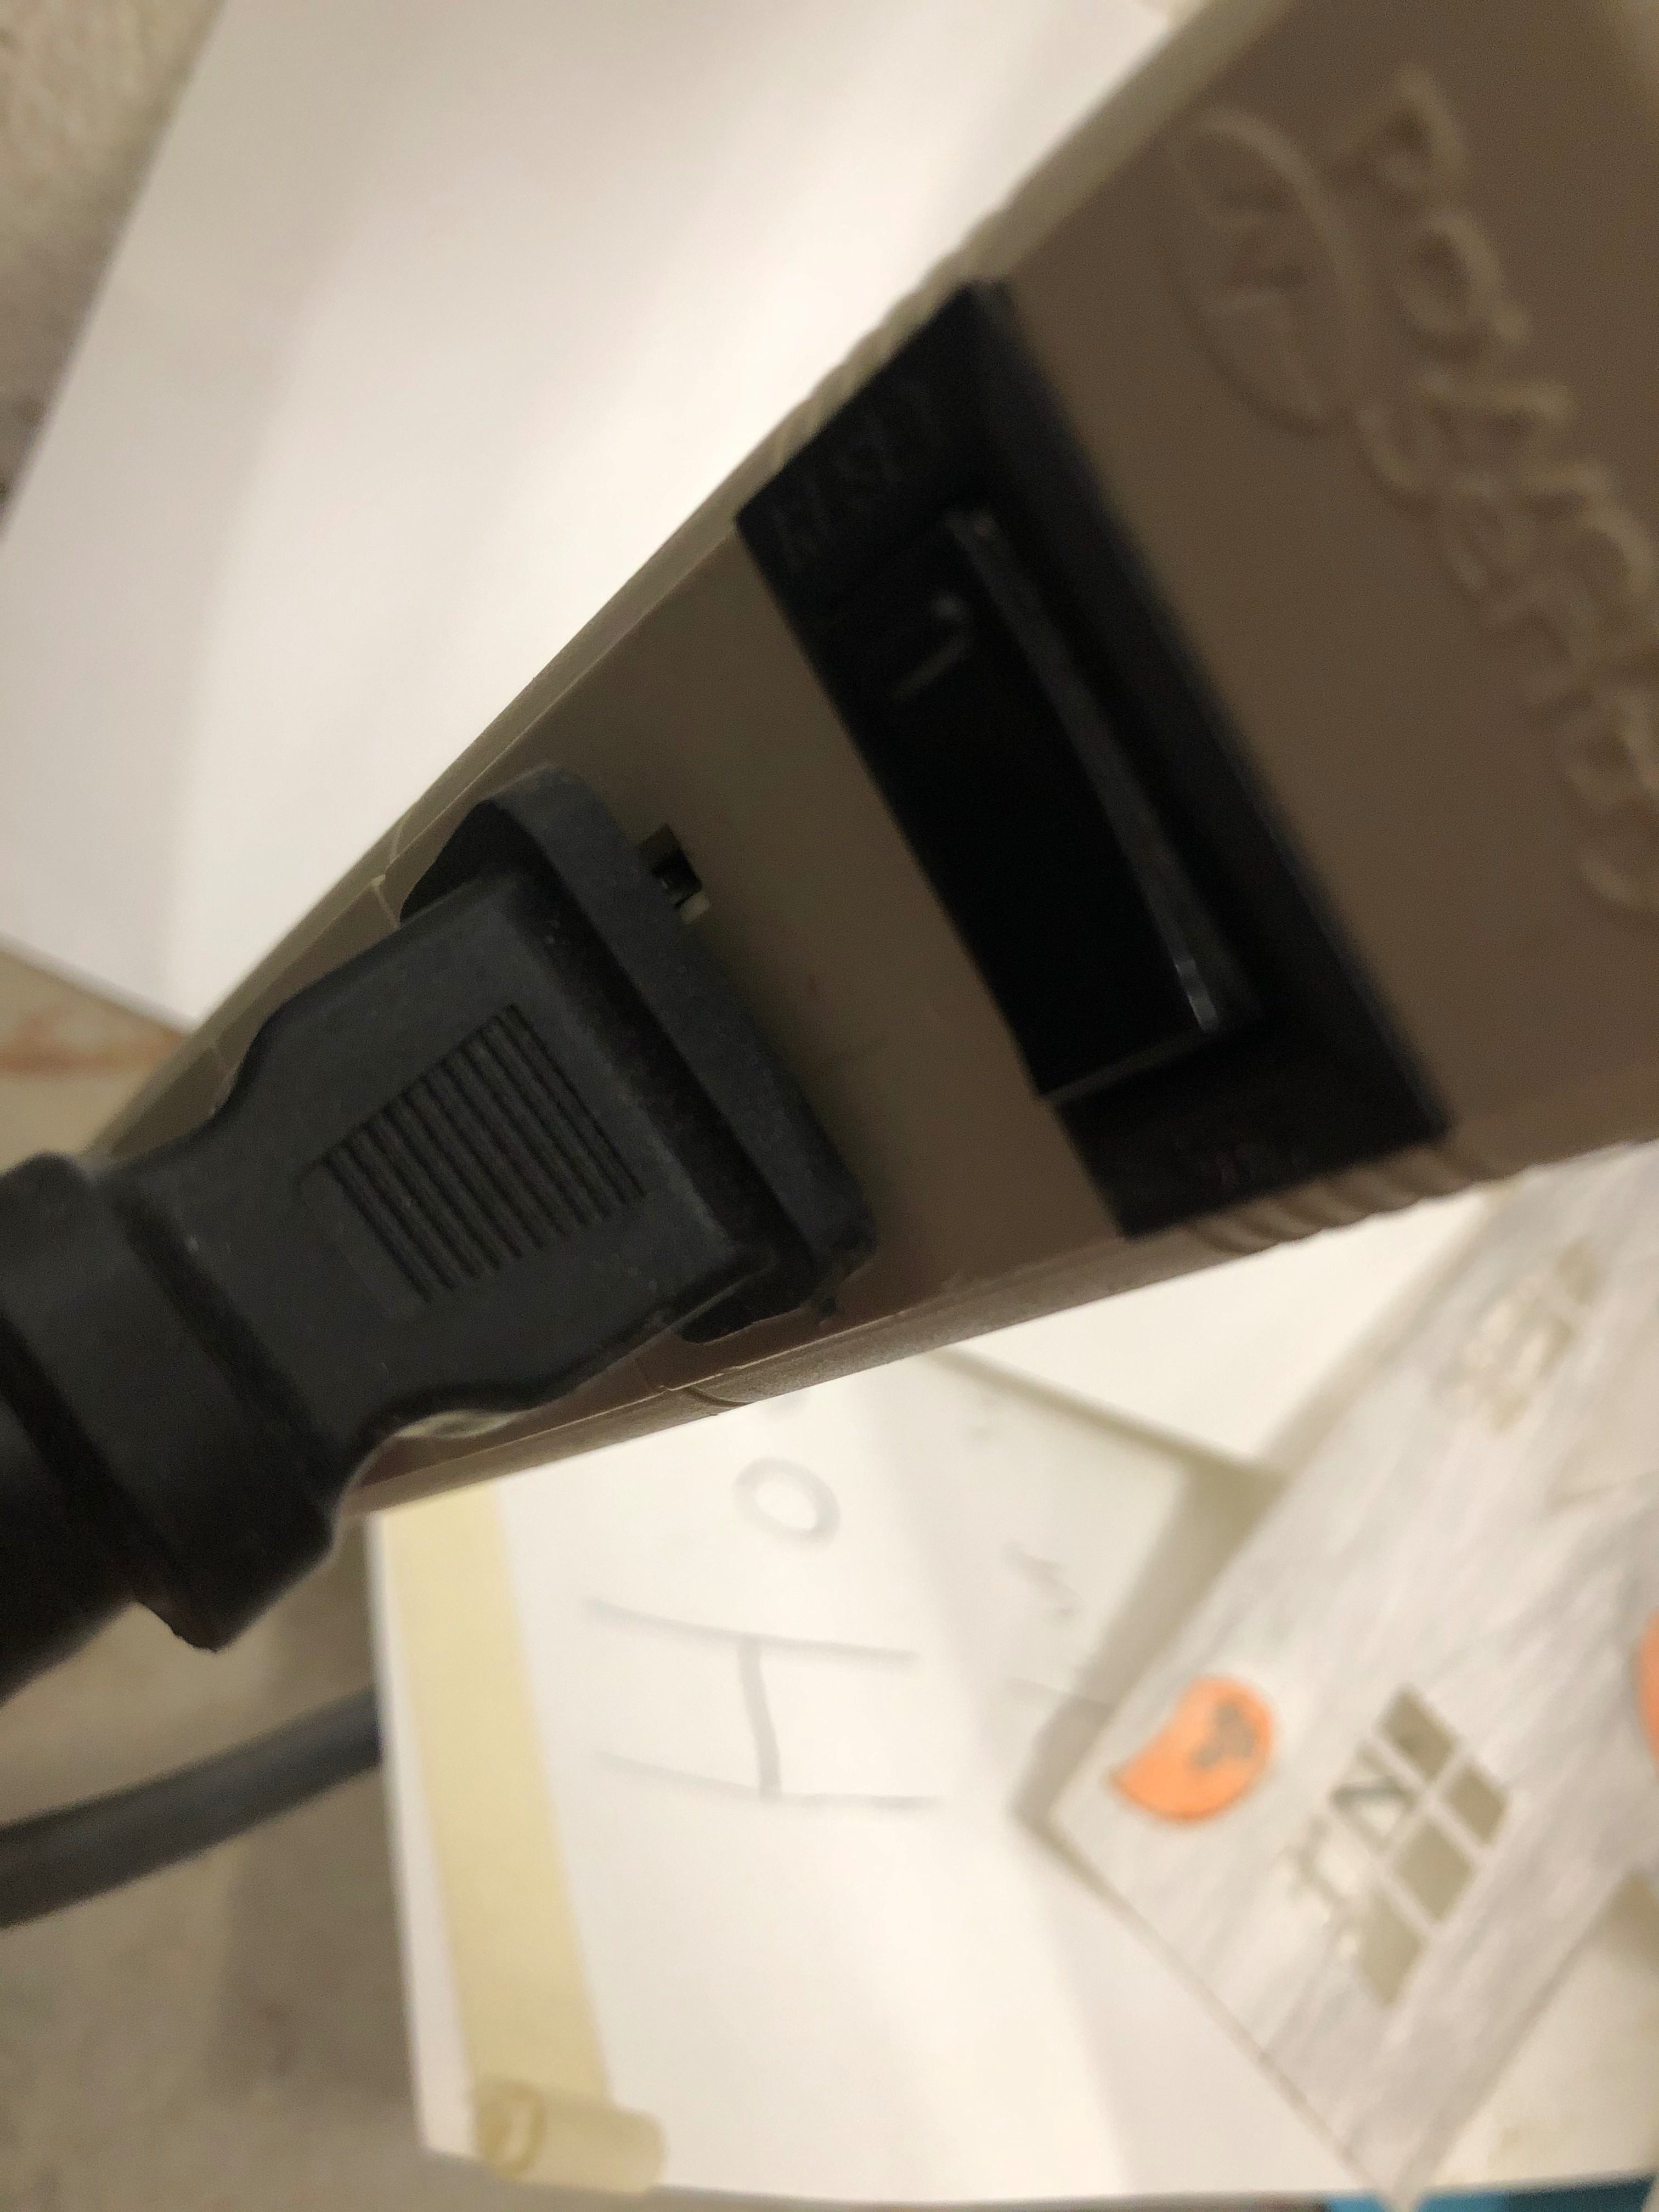
Make Sure the Switch Is Turned on So the Laser Cutter Can Turn On
Ask Mrs. Freeman for the Key to Turn on the Laser Cutter
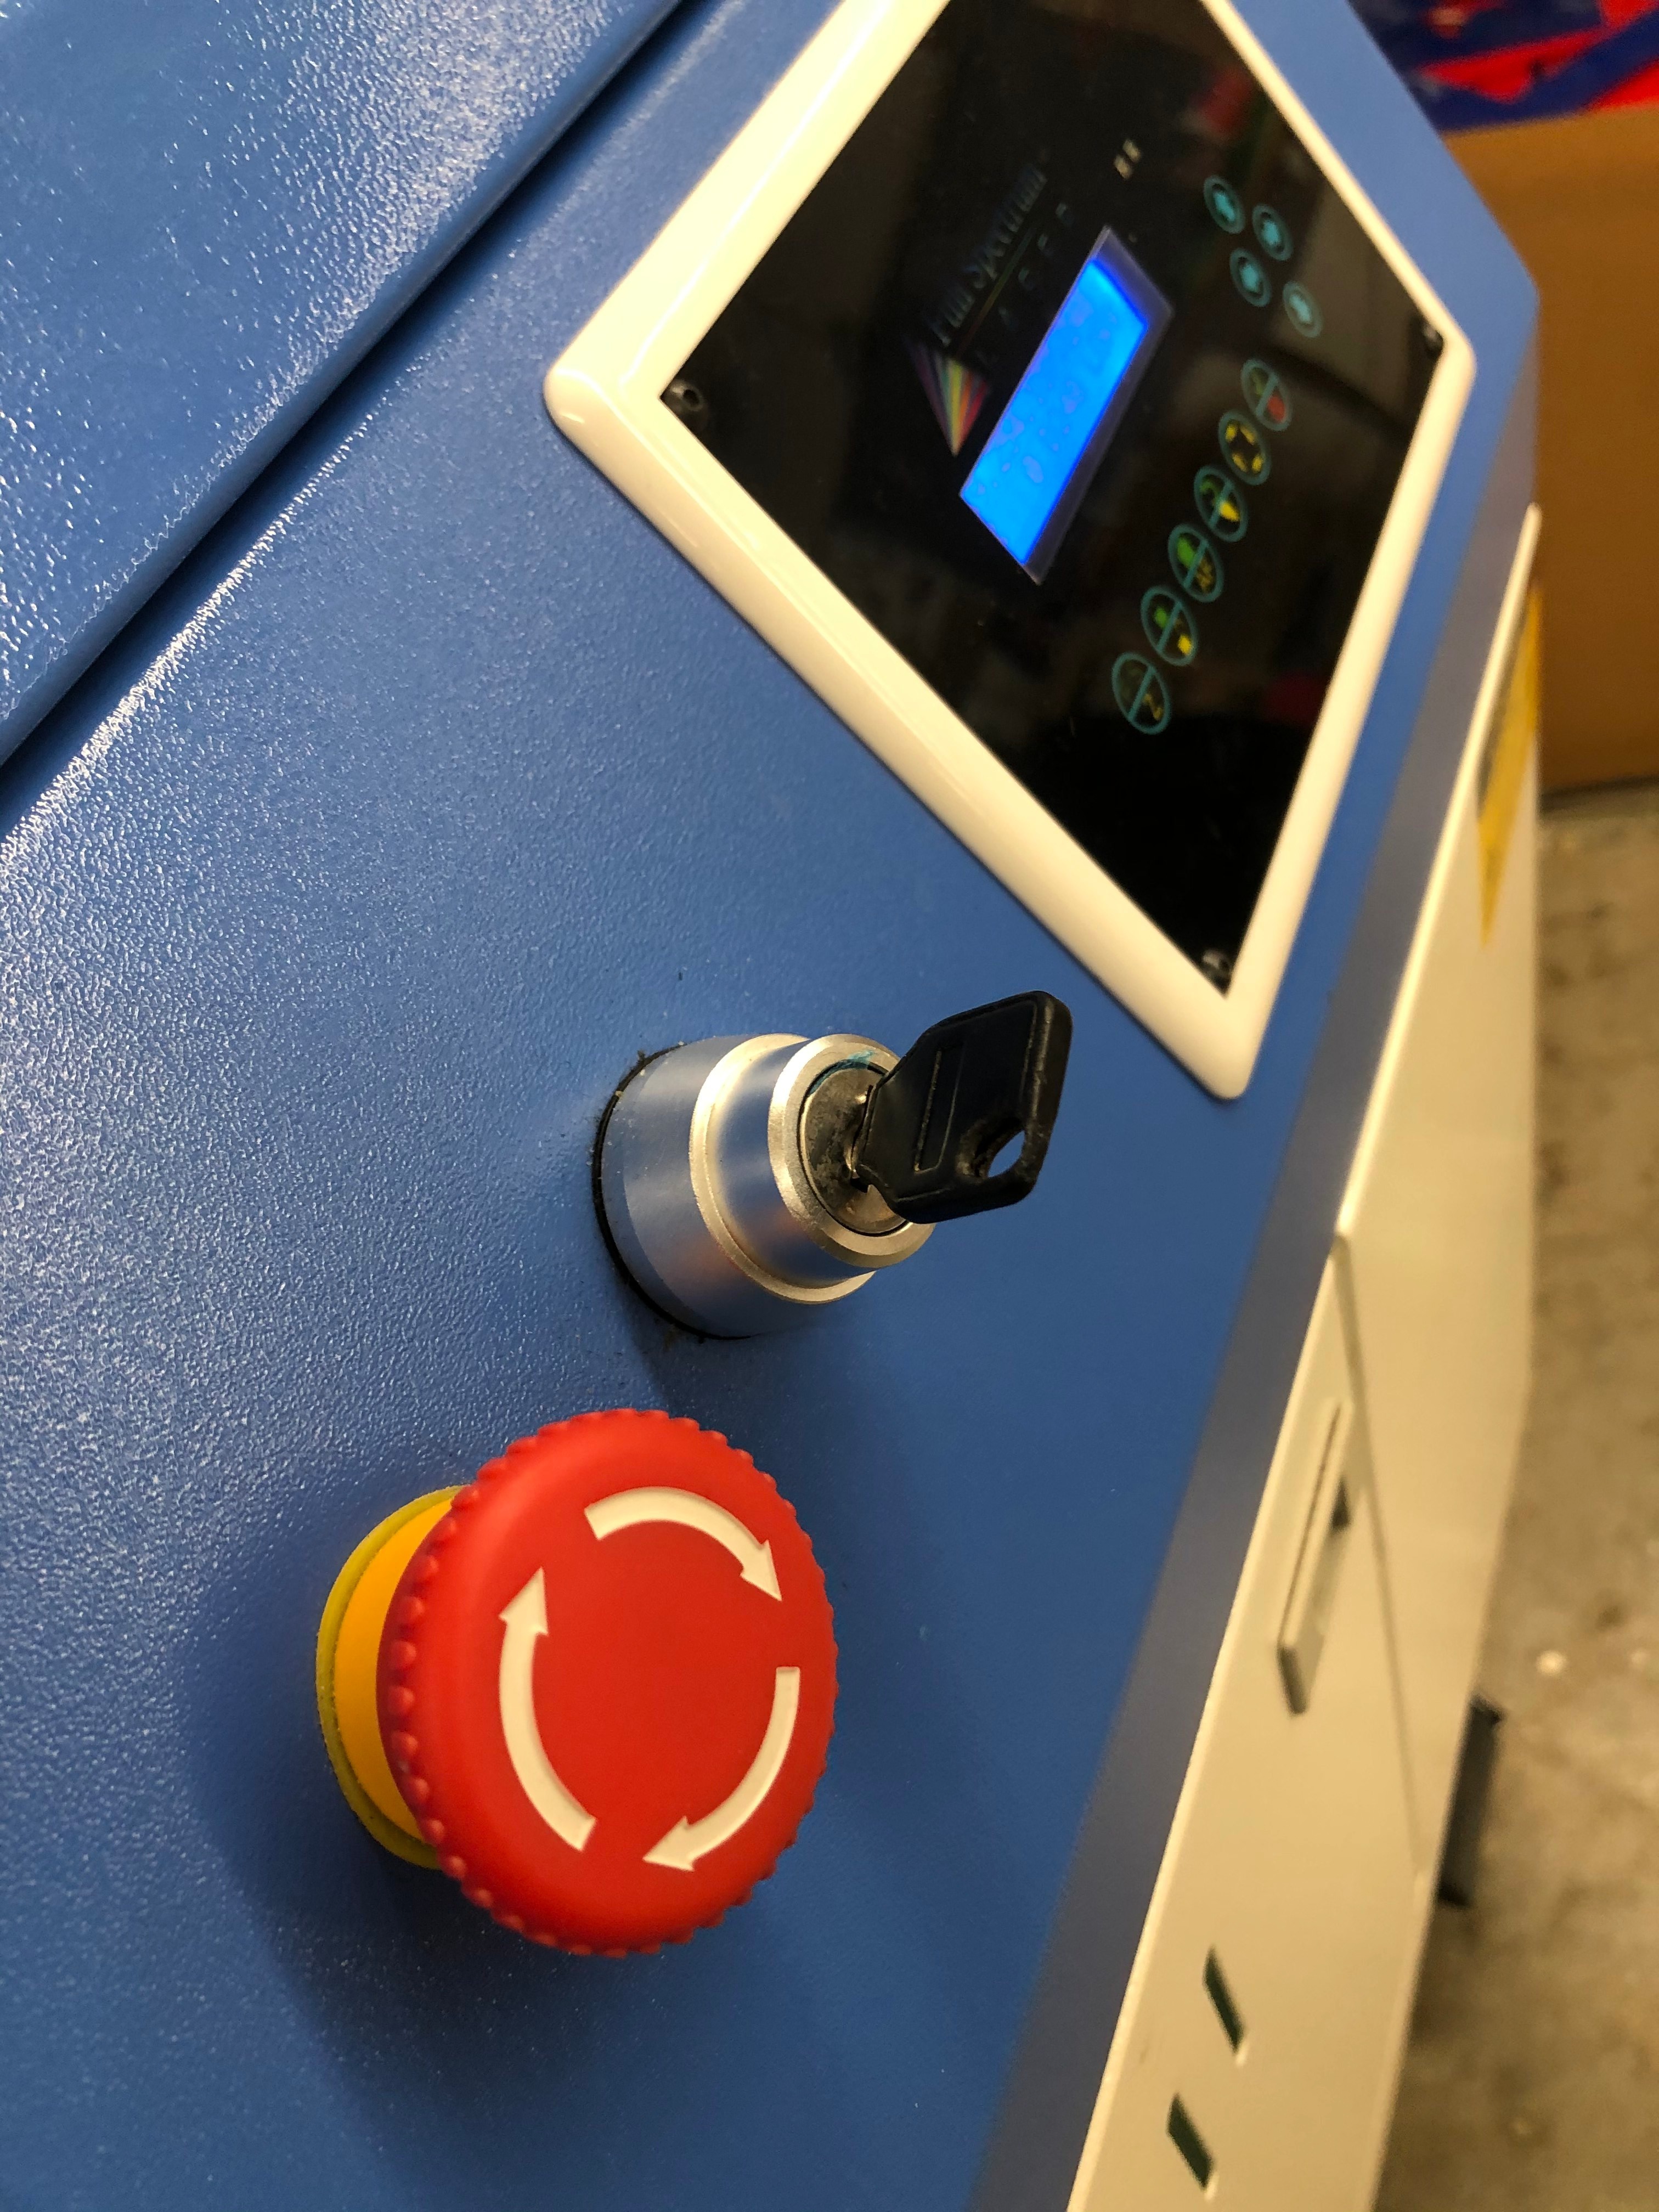
Without this key you cannot operate the laser cutter.
Open Up Google Images and Search for Any Picture/design You Are Interested In
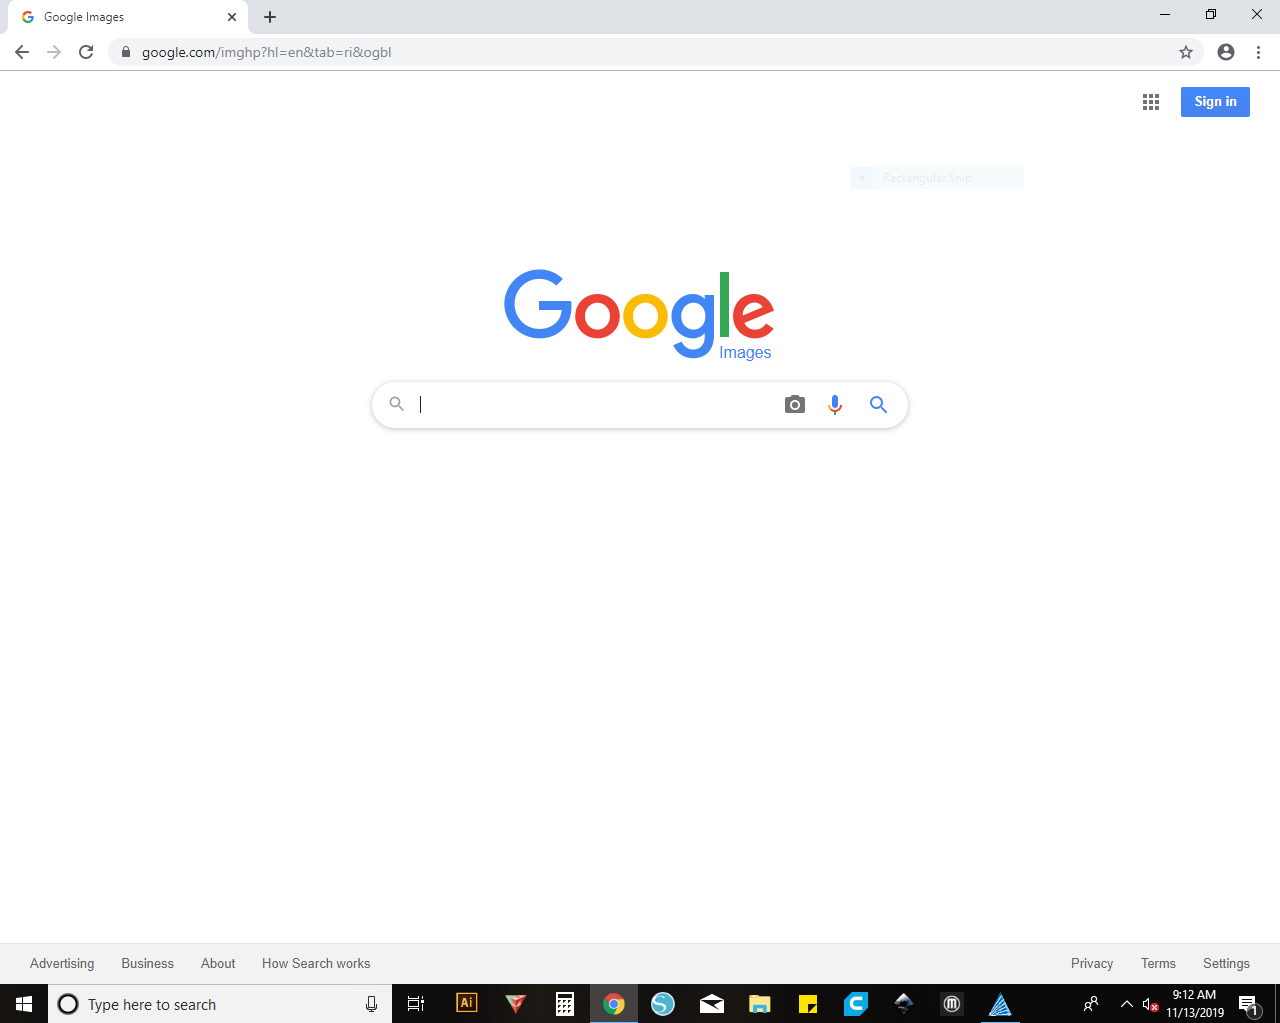
Make sure you COPY the image! Do not SAVE the image
Copy and Paste Your Image Over to Inkscape
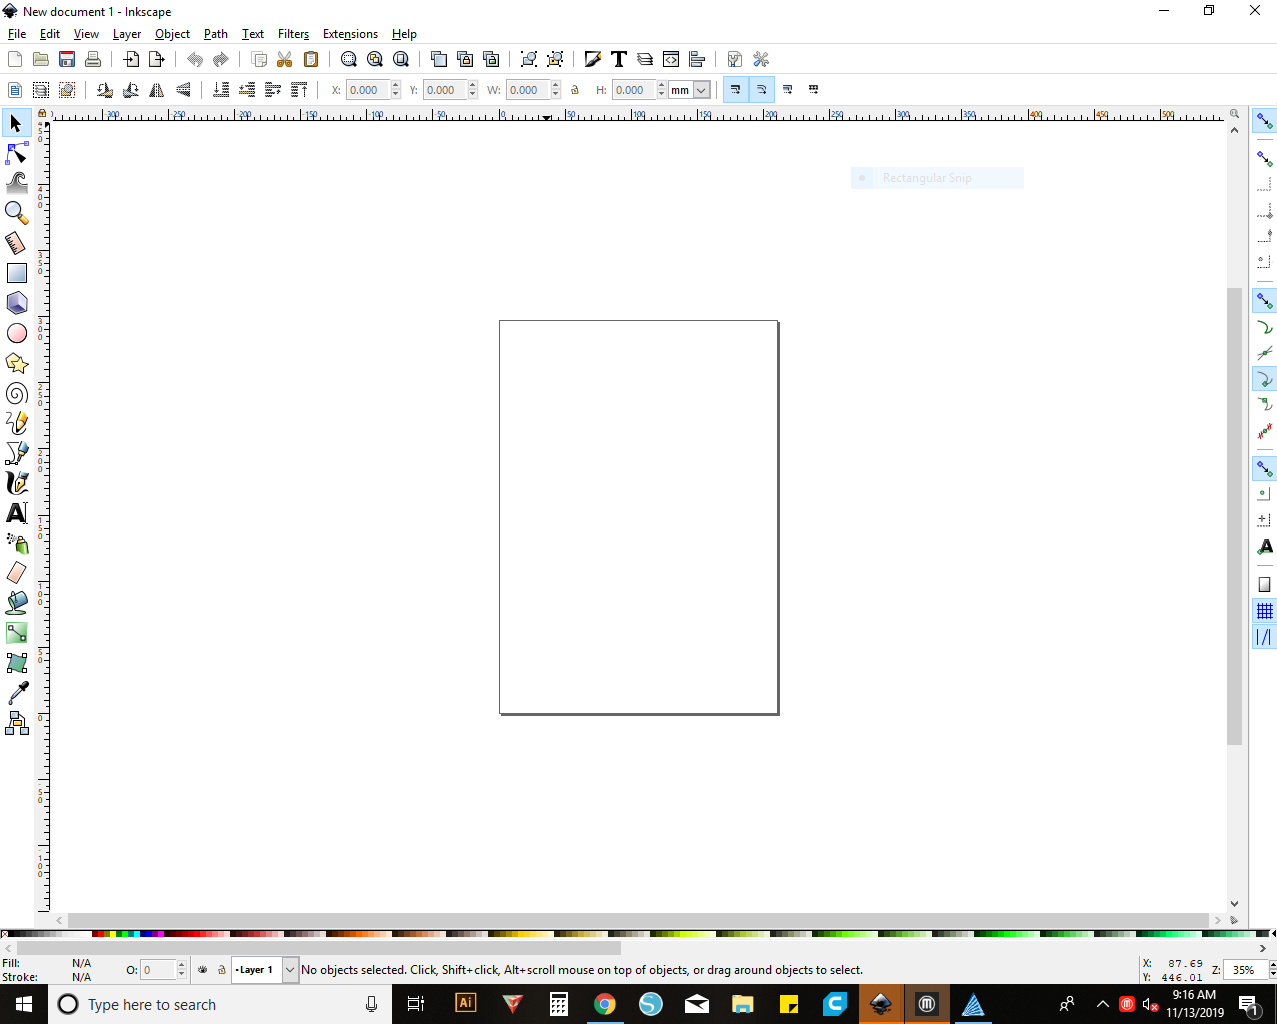
Make sure your square in the middle of Inkscape matches the dimensions of the material you are using
To change the dimensions, go to file, document properties, and change the height and width
Before You Print, Make Sure to Trace Bitmap on Your Image
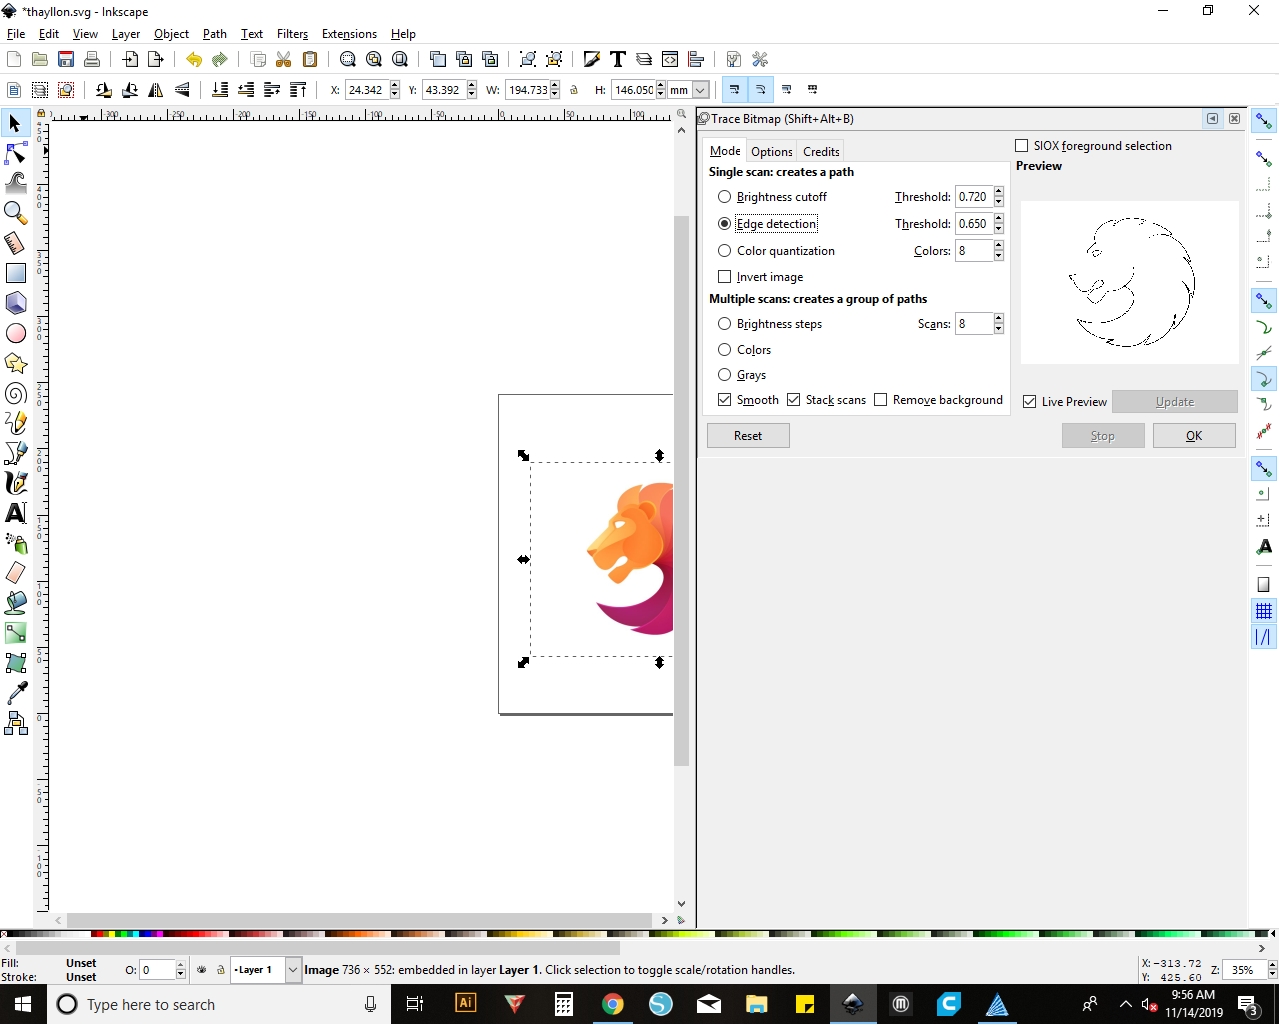
To do this, right click on your image and select "Trace Bitmap"
From there you should get three options on how you want your image to look on your material
To see what they look like before you choose, click the "live preview" box and it will show you how they look
Print Your Traced Image to "Full Spectrum Engineering Driver"
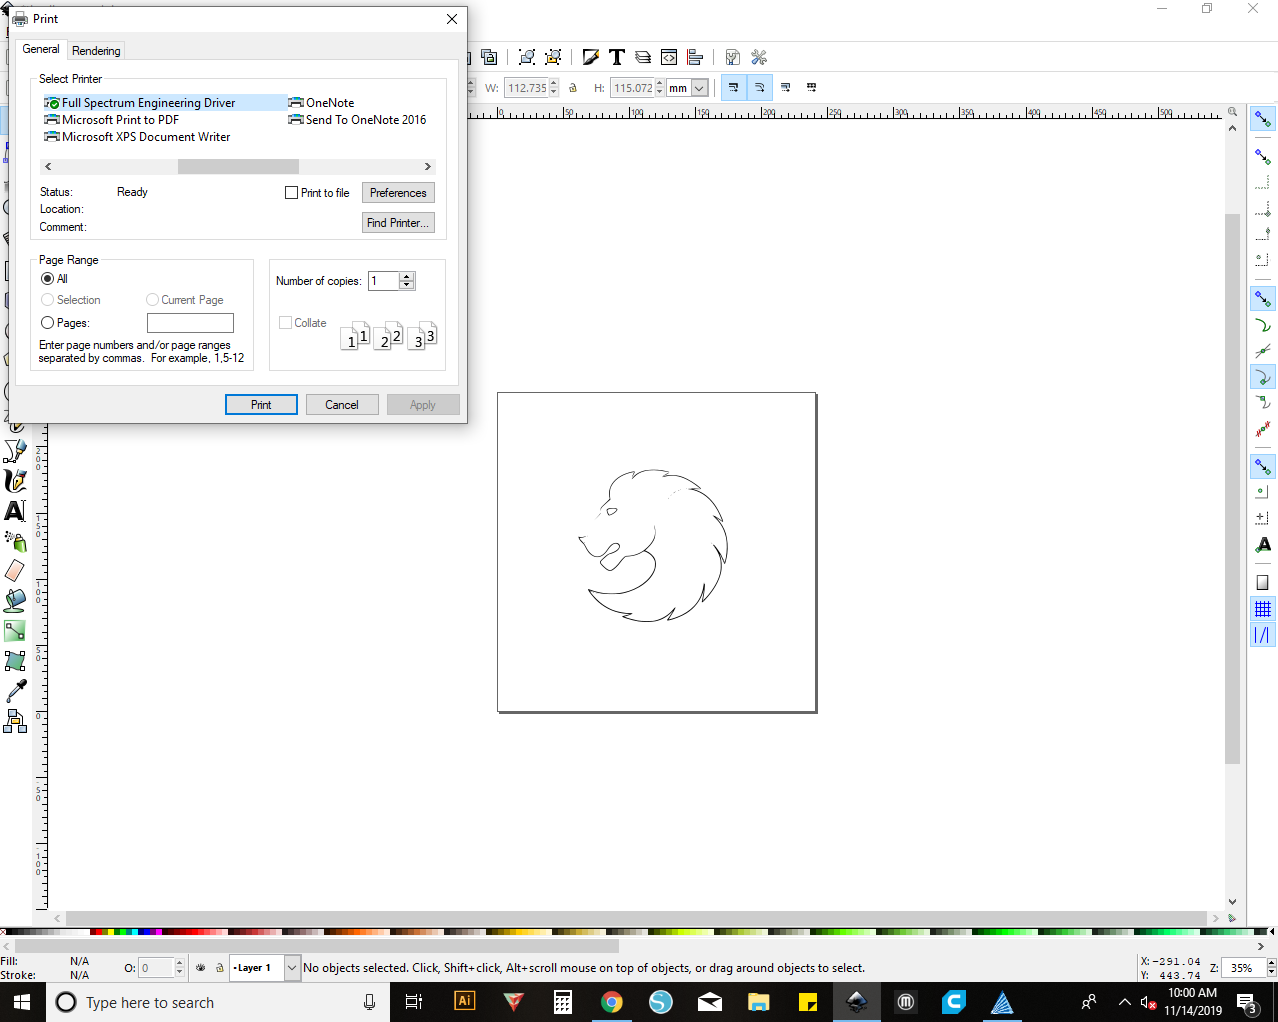
Make sure you have "RetinaEngrave3D" Open and your picture will show up there
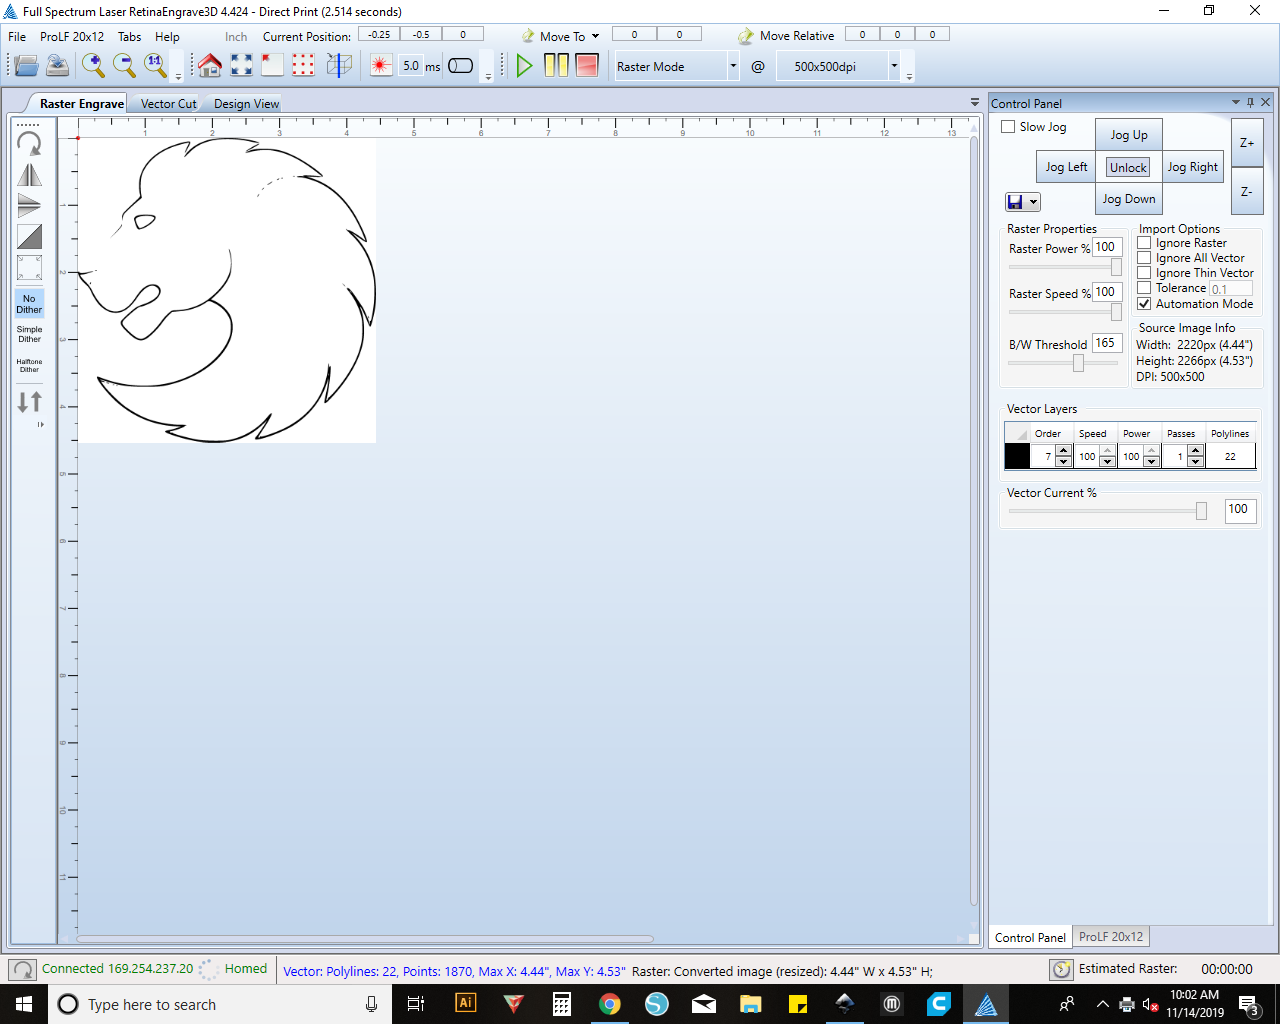
Before You Do ANYTHING! Make Sure the Laser Is Homed First
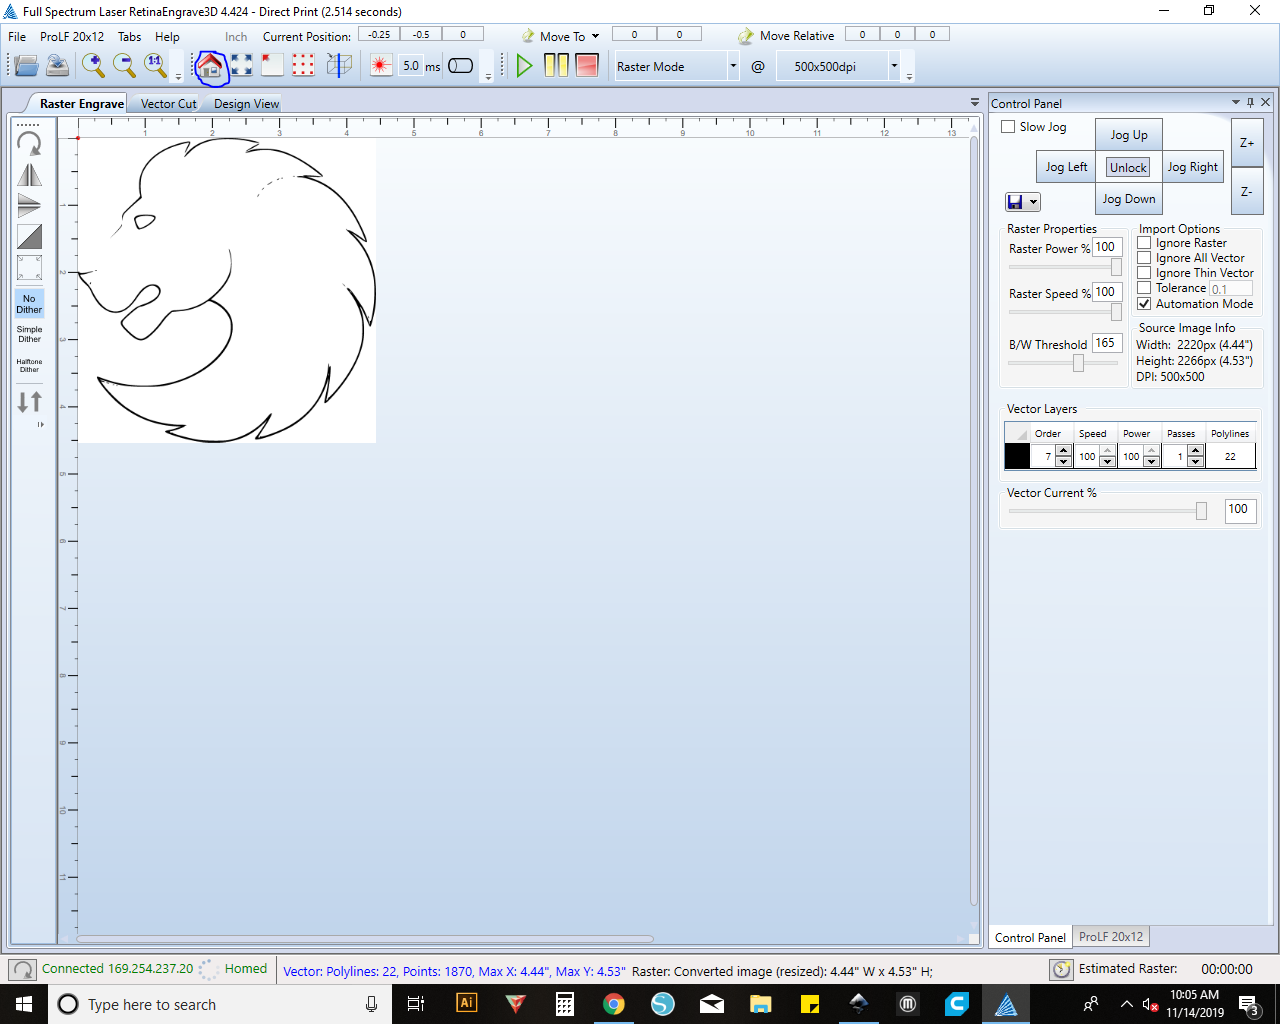
You do this by pressing the home icon (circled in picture above) and watch the laser go to the top right corner
Use the Jog Left/Right/Up/Down Buttons to Center the Gold Part of the Laser Over Your Material. Then Auto-focus the Z-Table
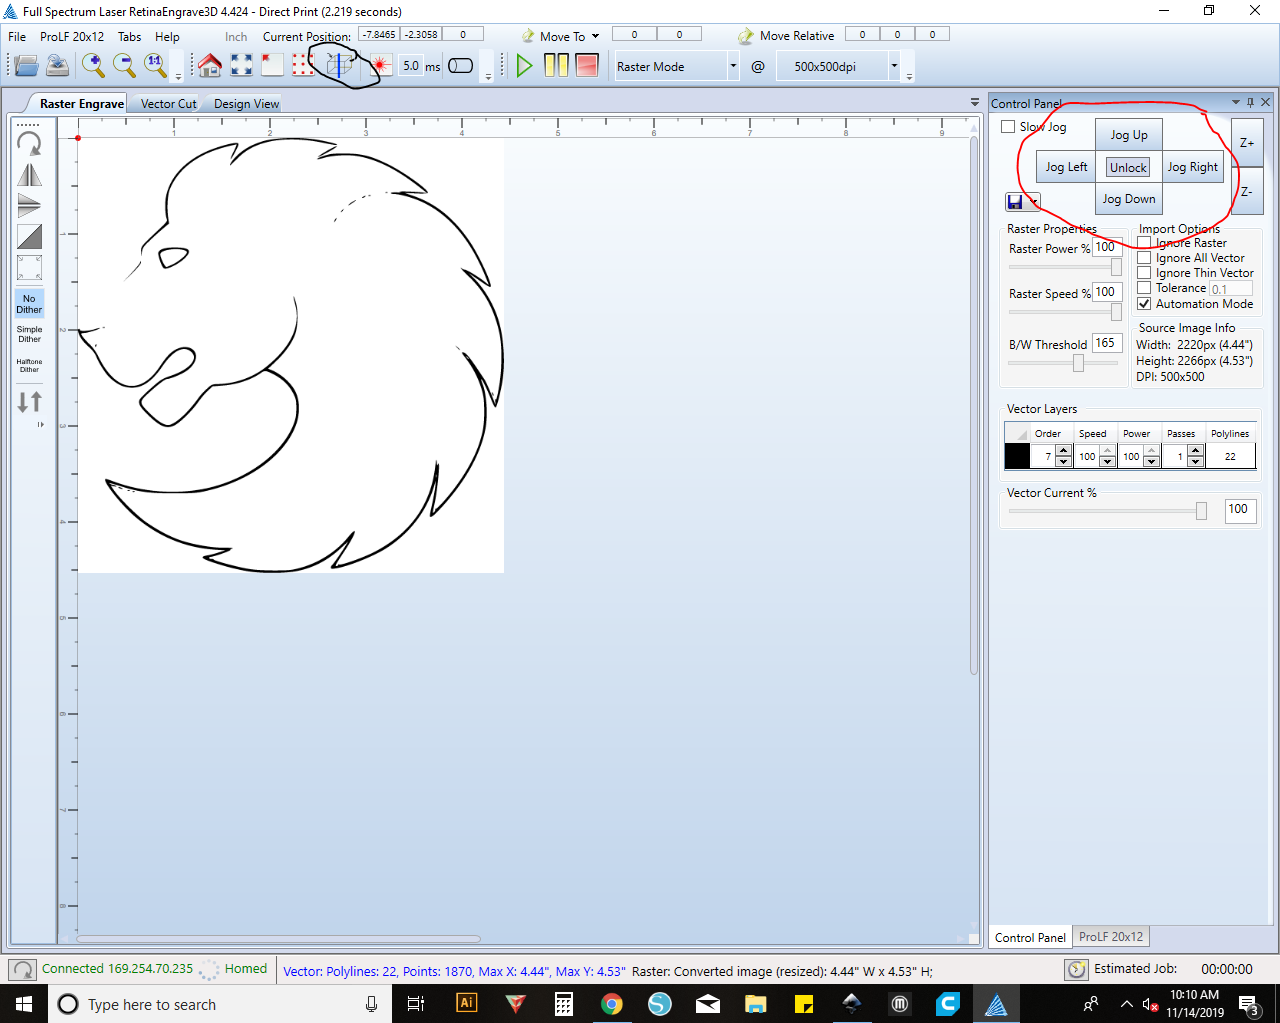
(Jog Button circled in red) (Auto Focus button circled in Black)
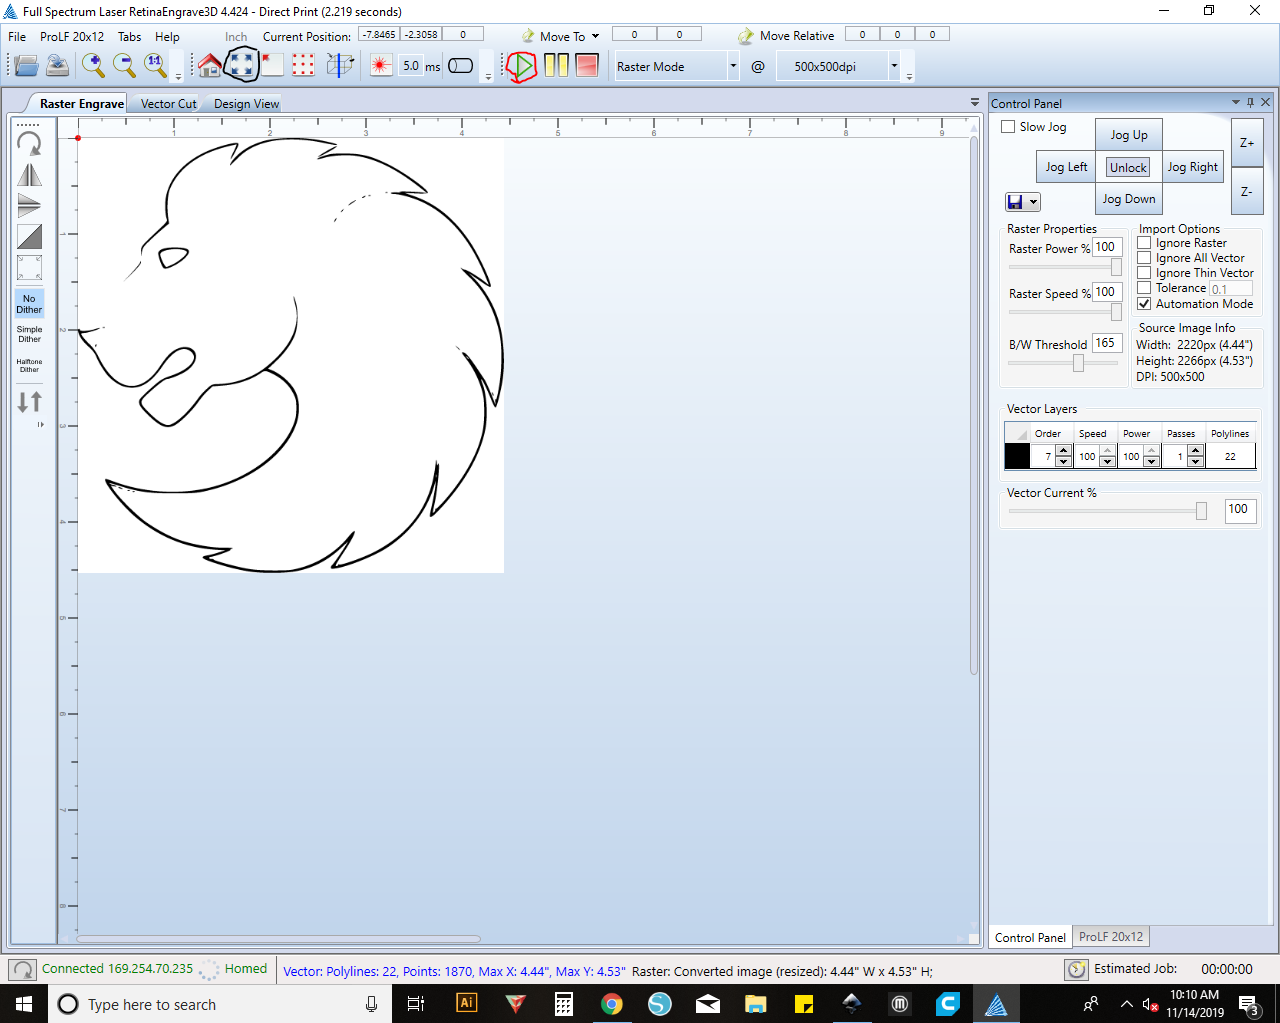
Move the Red Dot of the Laser Over the Top Left Corner of Your Material. Run the Perimeter to See Where It Will Cut on the Material. Once You Have Changed the Power/speed, Press the Play Button to Start the Laser Cutter
Make sure to adjust your power to suit your material. Always ask Mrs. Freeman what is the best power to run your image at
Make sure the lid is closed and no scraps are present in the laser cutter
(Run perimeter button circled in black) (Play button circled in Red)
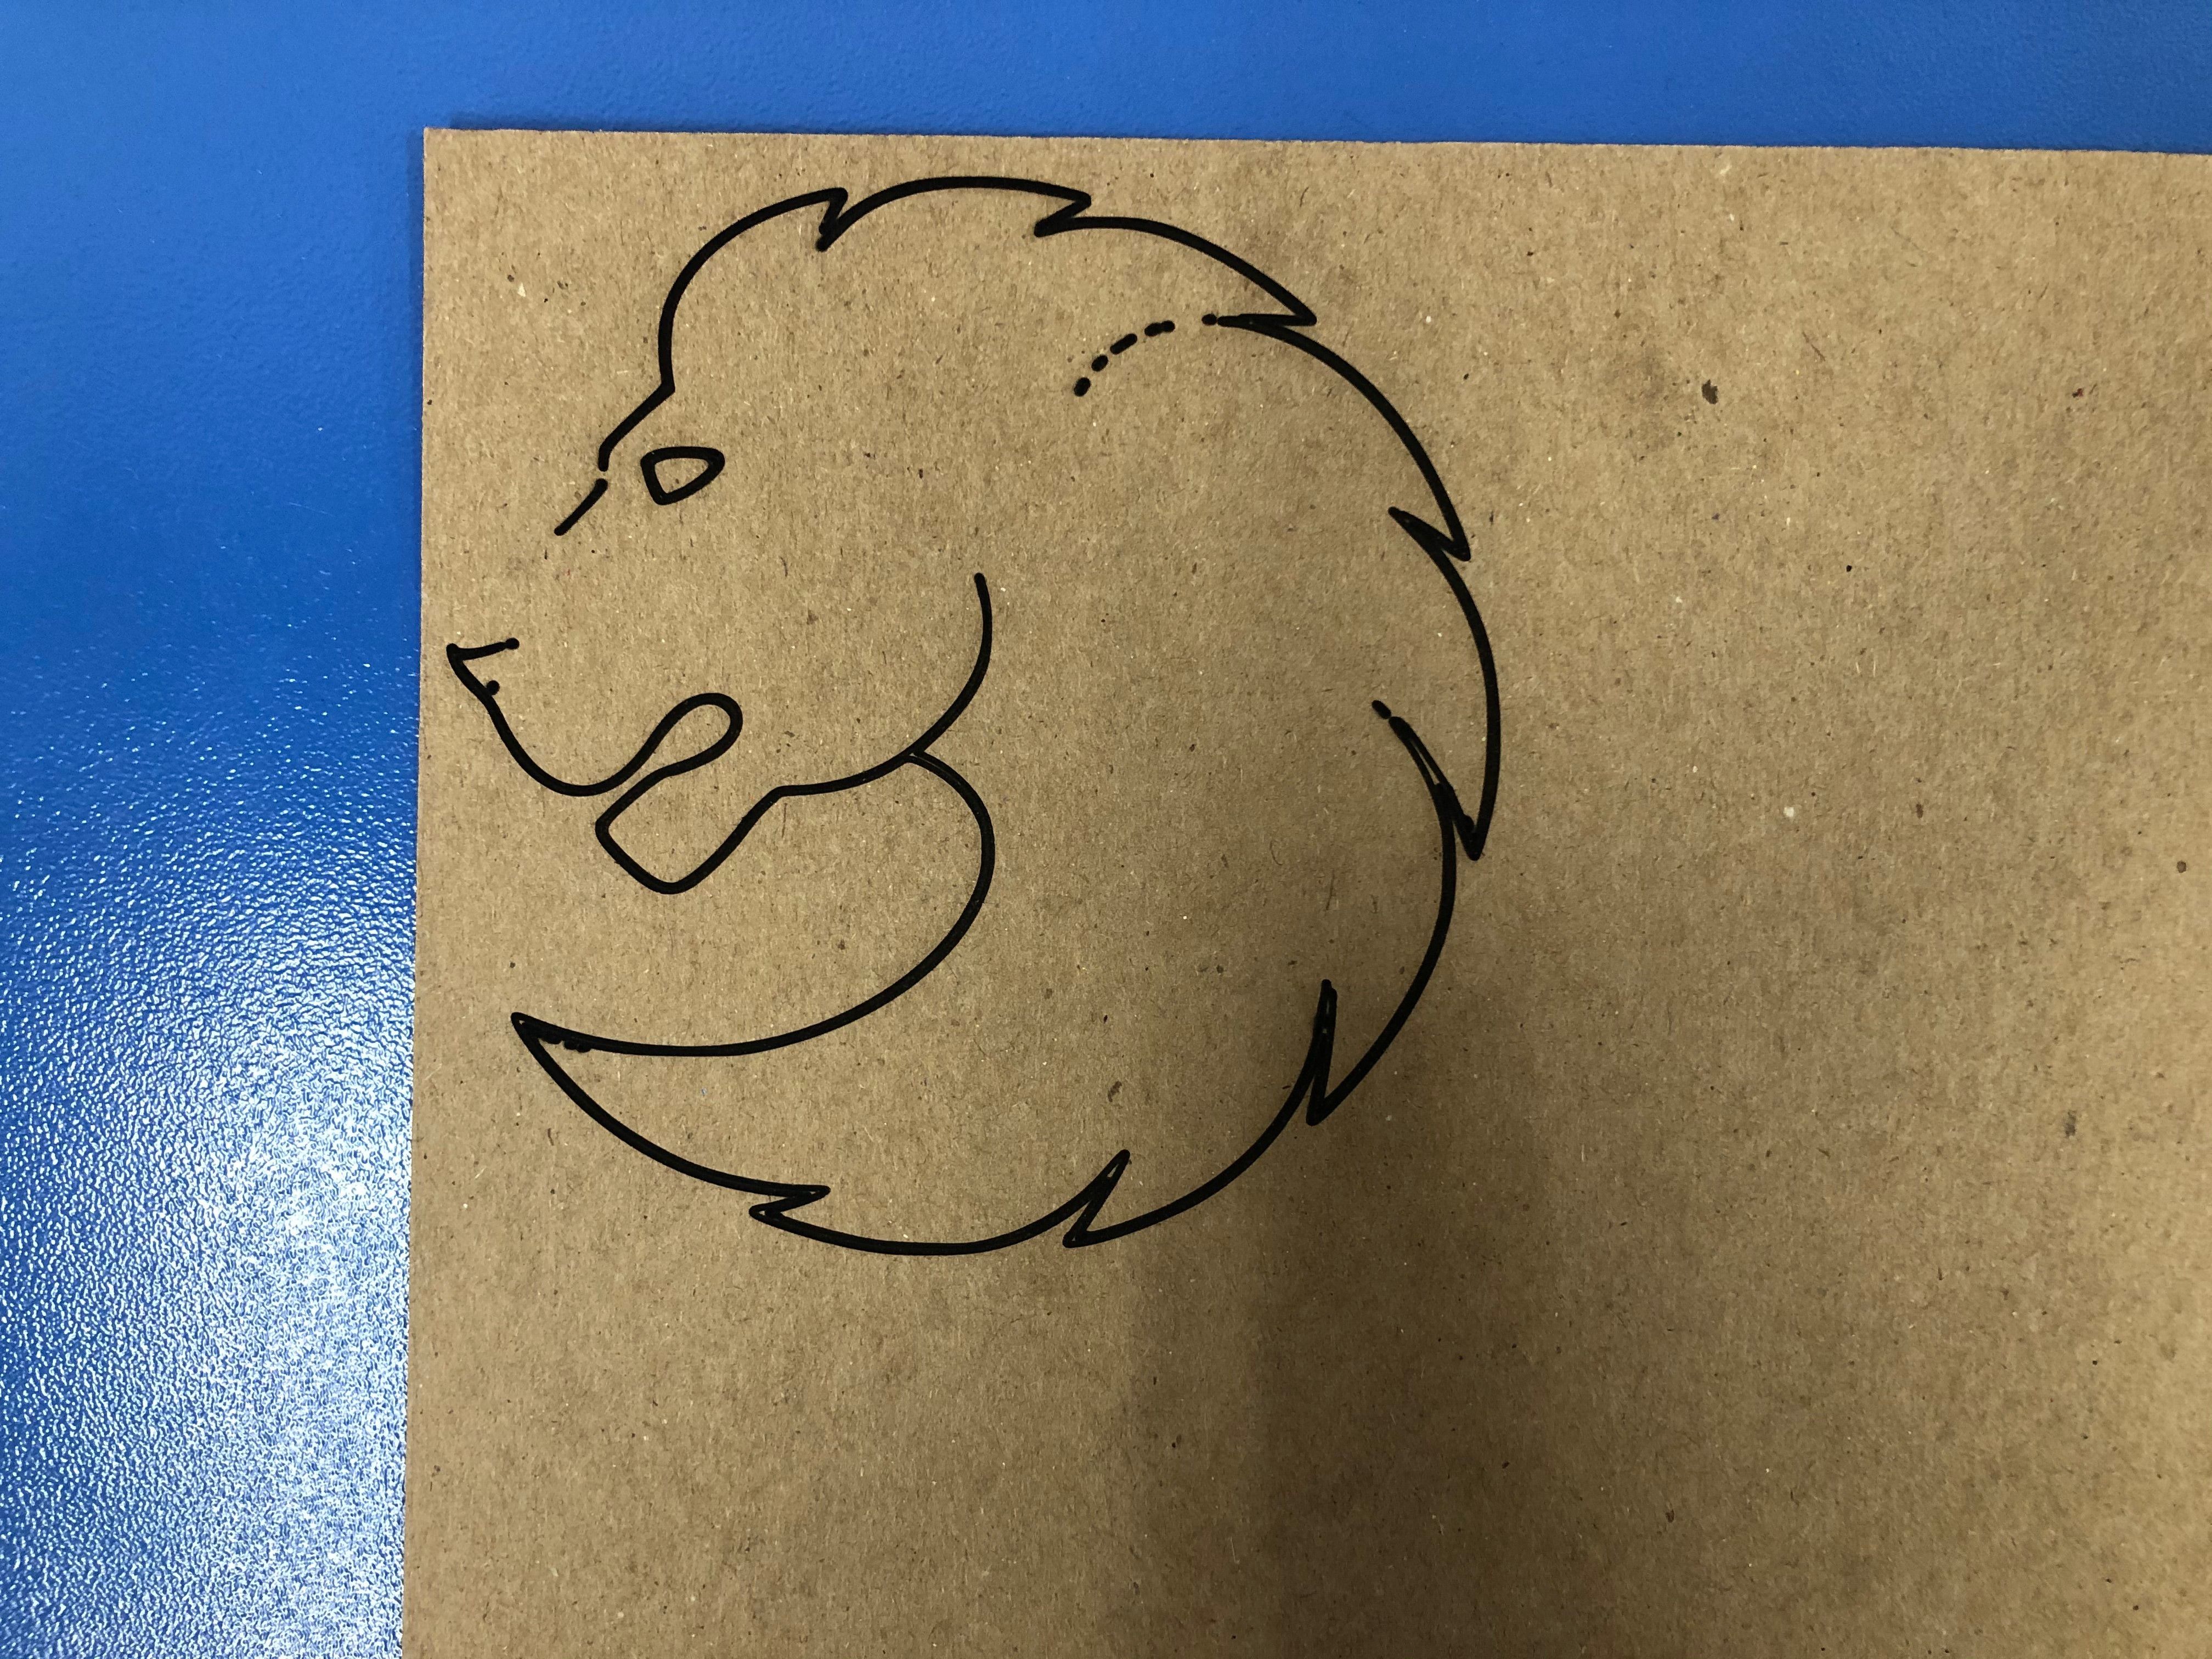
A Timer Should Start in the Bottom Left Corner, Wait for the Timer to Be Done and Your Image Will Be Fully Cut
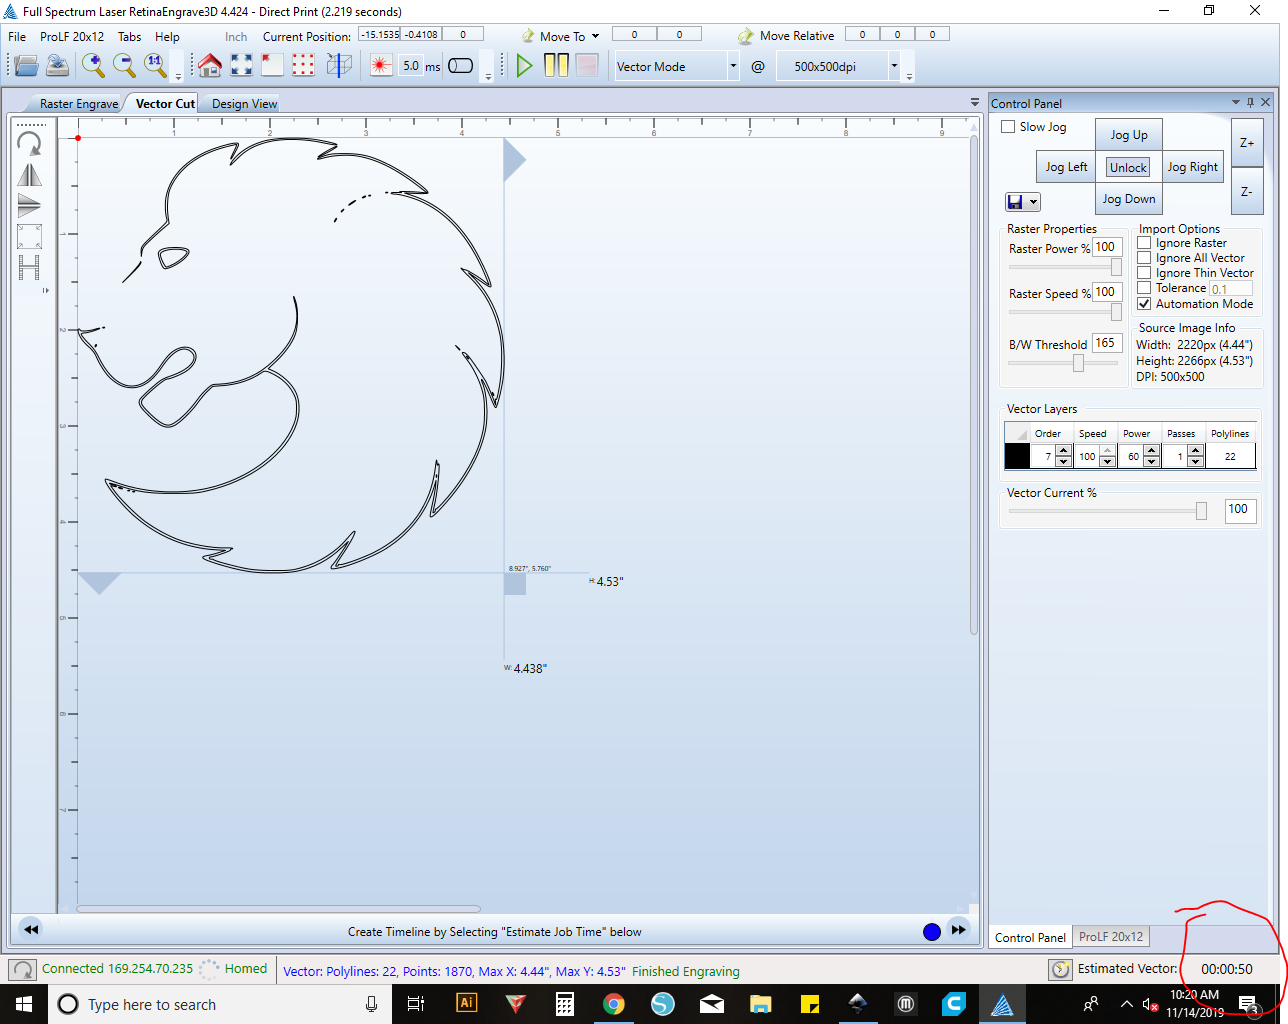
(Timer circled in red)
Some images may take longer. The more detail in the image, the longer it will take to cut
Once Your Timer Has Expired, Home the Laser Again and Take Out Your Project From the Laser Cutter
BE SURE THAT THE LASER CUTTER HAS FULLY STOPPED BEFORE YOU OPEN THE LID
Some images may be charred, so be careful touching the cut parts of the image