How to Use Tinkercad: Simple Design With Geometric Shapes and Holes for 3D Printing
by paigekayla305 in Design > 3D Design
3577 Views, 15 Favorites, 0 Comments
How to Use Tinkercad: Simple Design With Geometric Shapes and Holes for 3D Printing
Tinkercad is a free online 3D modeling tool that allows anyone and everyone to create 3D designs that can then be 3D printed.
To get started, visit www.tinkercad.com and sign in or sign up for an account as a new user.
Create a New Design & Understand the Work Plane
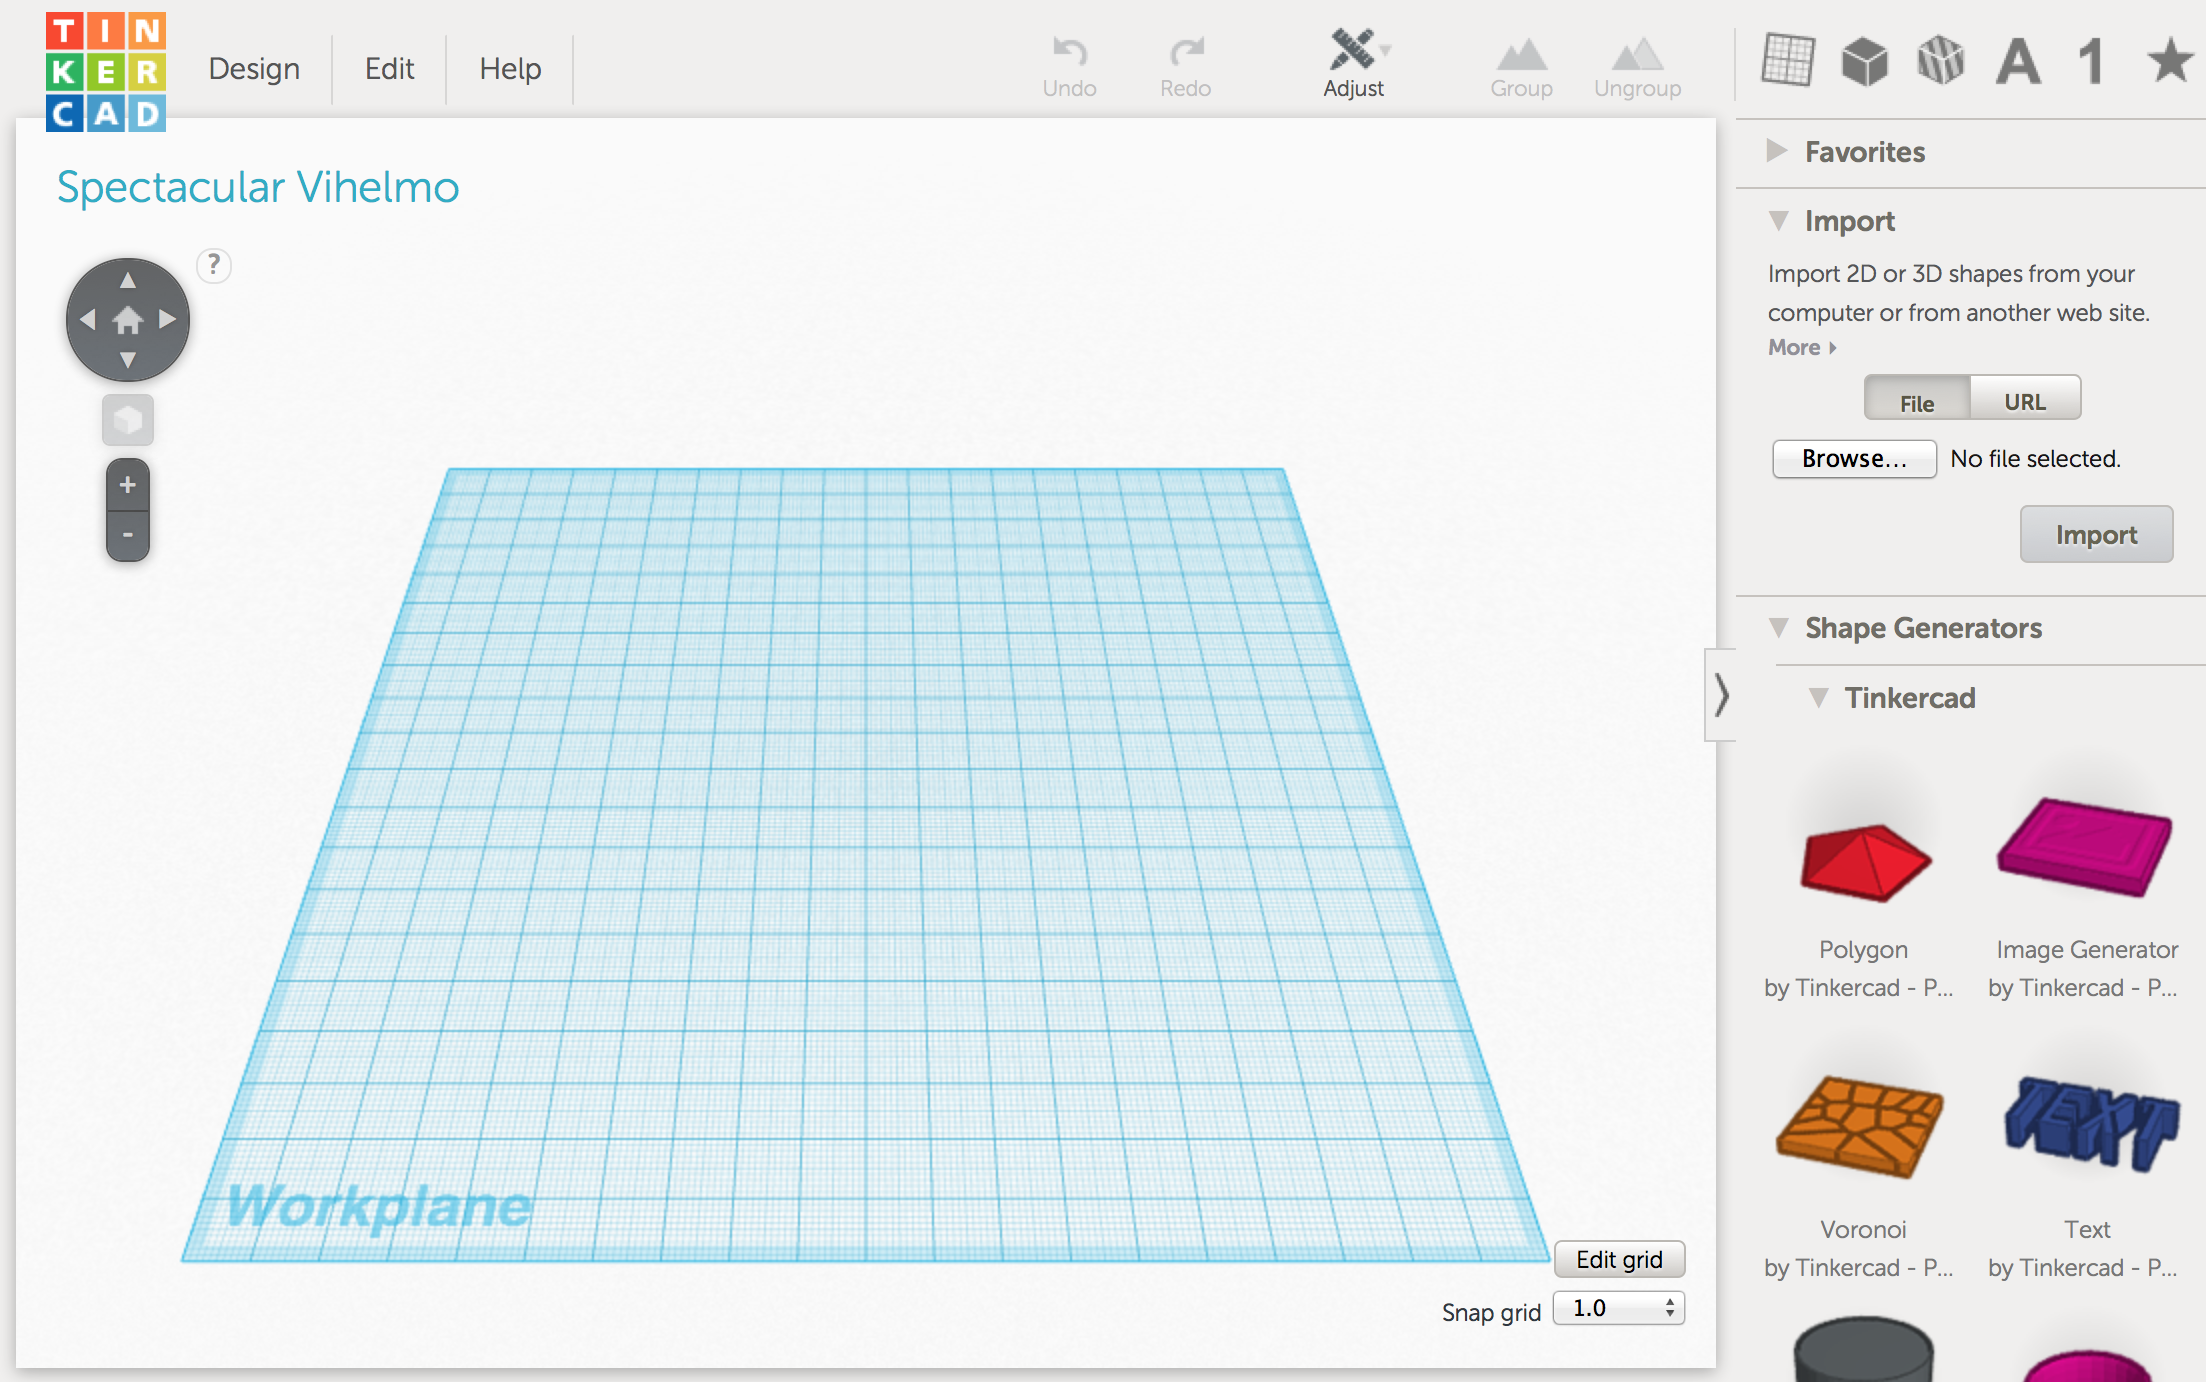
Click on the blue "create new design" button to begin 3D modeling.
You will be taken to a gridded work plane. In the lower right corner, click "Edit grid" and you can alter the grid to be measured in either millimeters or inches. Do not forget to "update grid" after making changes.
In the upper left, there is a tracking pad with a home button and arrows. The arrows and the (+) (-) buttons below help in navigating around the work plane, through rotation and zooming in and out. Also, to zoom in and out of the work plane, use the rotating button on your mouse. The home button will take you back to the original orientation of the work plane. To freely rotate the work plane, right-click on your mouse, hold and drag.
The new design will have a random name assigned to it in the upper left corner, above the tracking pad. To change the name/make it easier to find files, click on the "Design" tab next to the Tinkercad logo. Go to "properties", type in a new name and "save changes".
Design Tabs
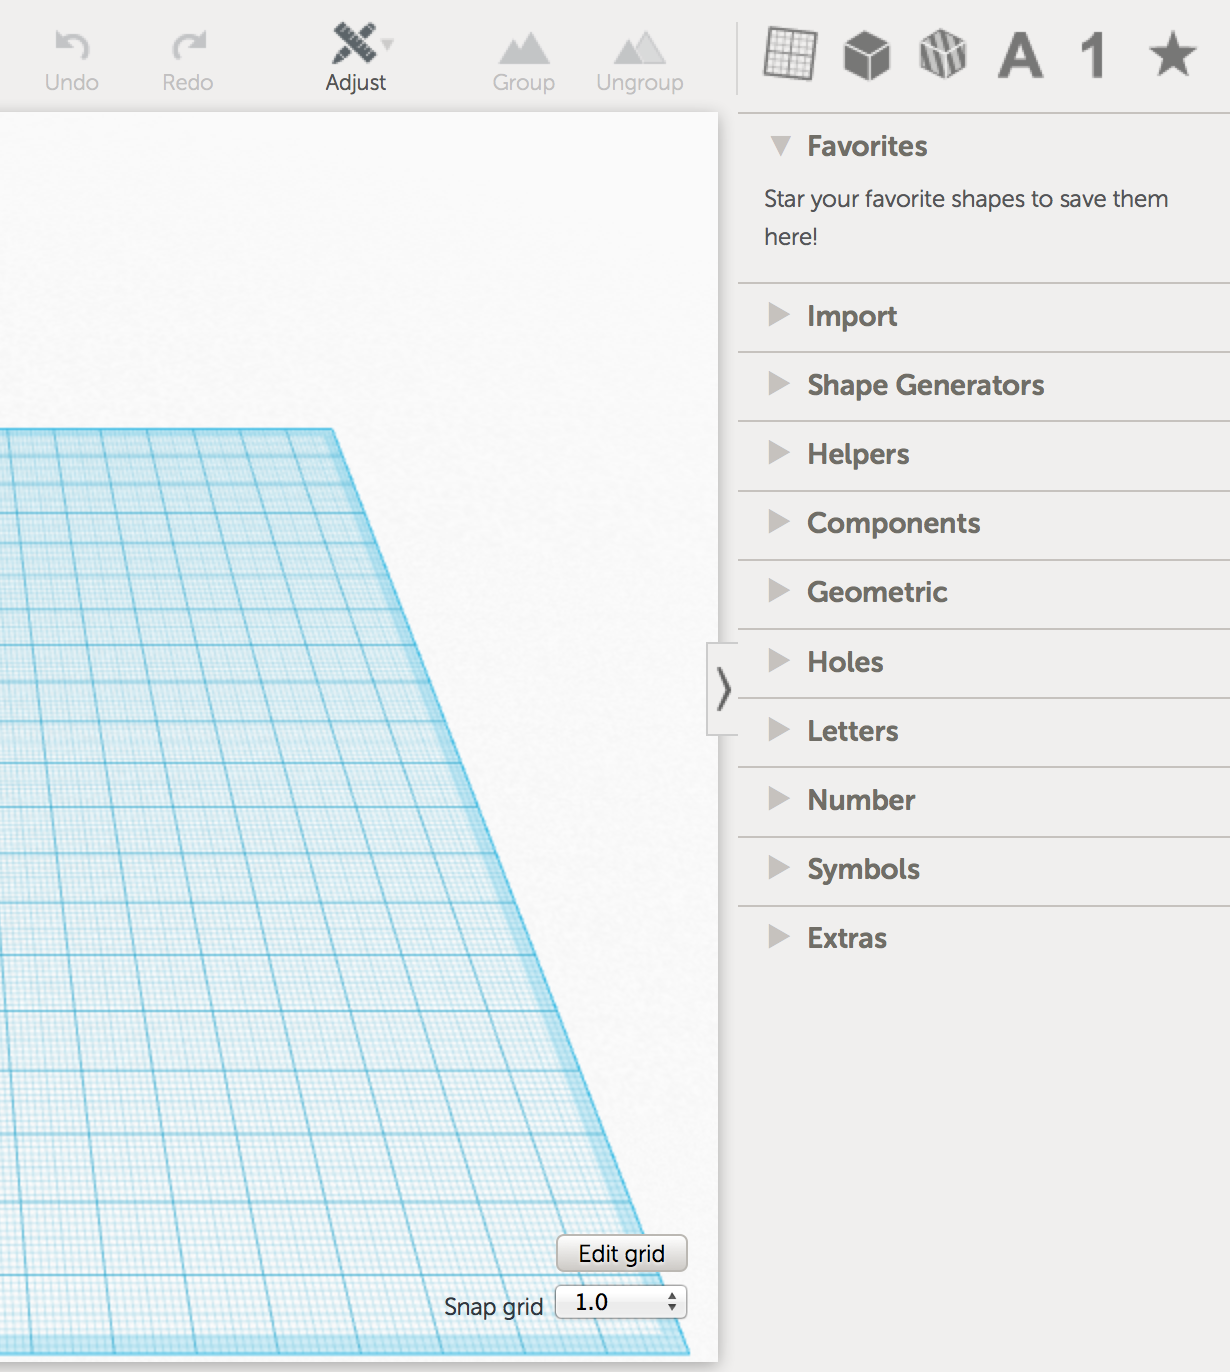
Along the right side are many design tabs, here are a few important ones.
The "Import" tab allows you to import pre-made designs from other websites such as www.thingiverse.com. You can add to these designs or use them as is.
The "Shape Generators" are pre-made designs already on Tinkercad. The "Tinkercad" and "Community" sub-tabs include more complex designs that can be used and altered to your liking.
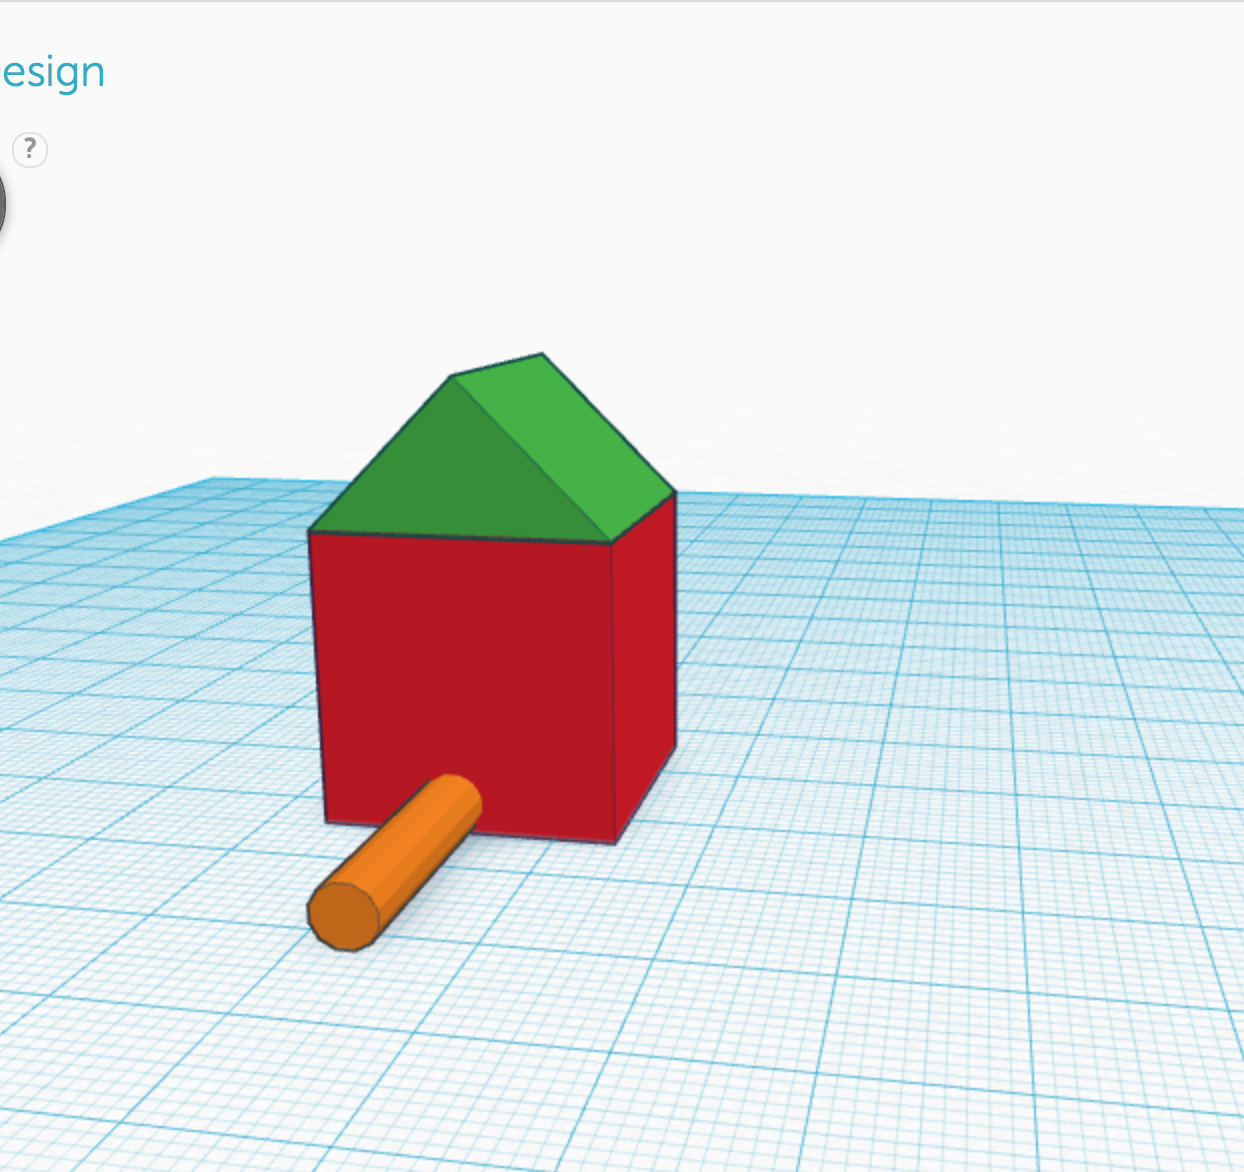
The "Geometric" tab is what beginners will most likely use. These are very basic geometric shapes that can be altered and added together to create larger designs. Designers must break the whole object they are trying to create into simple shapes, thinking about it as an additive process.
Simple Design Using Geometric Shapes
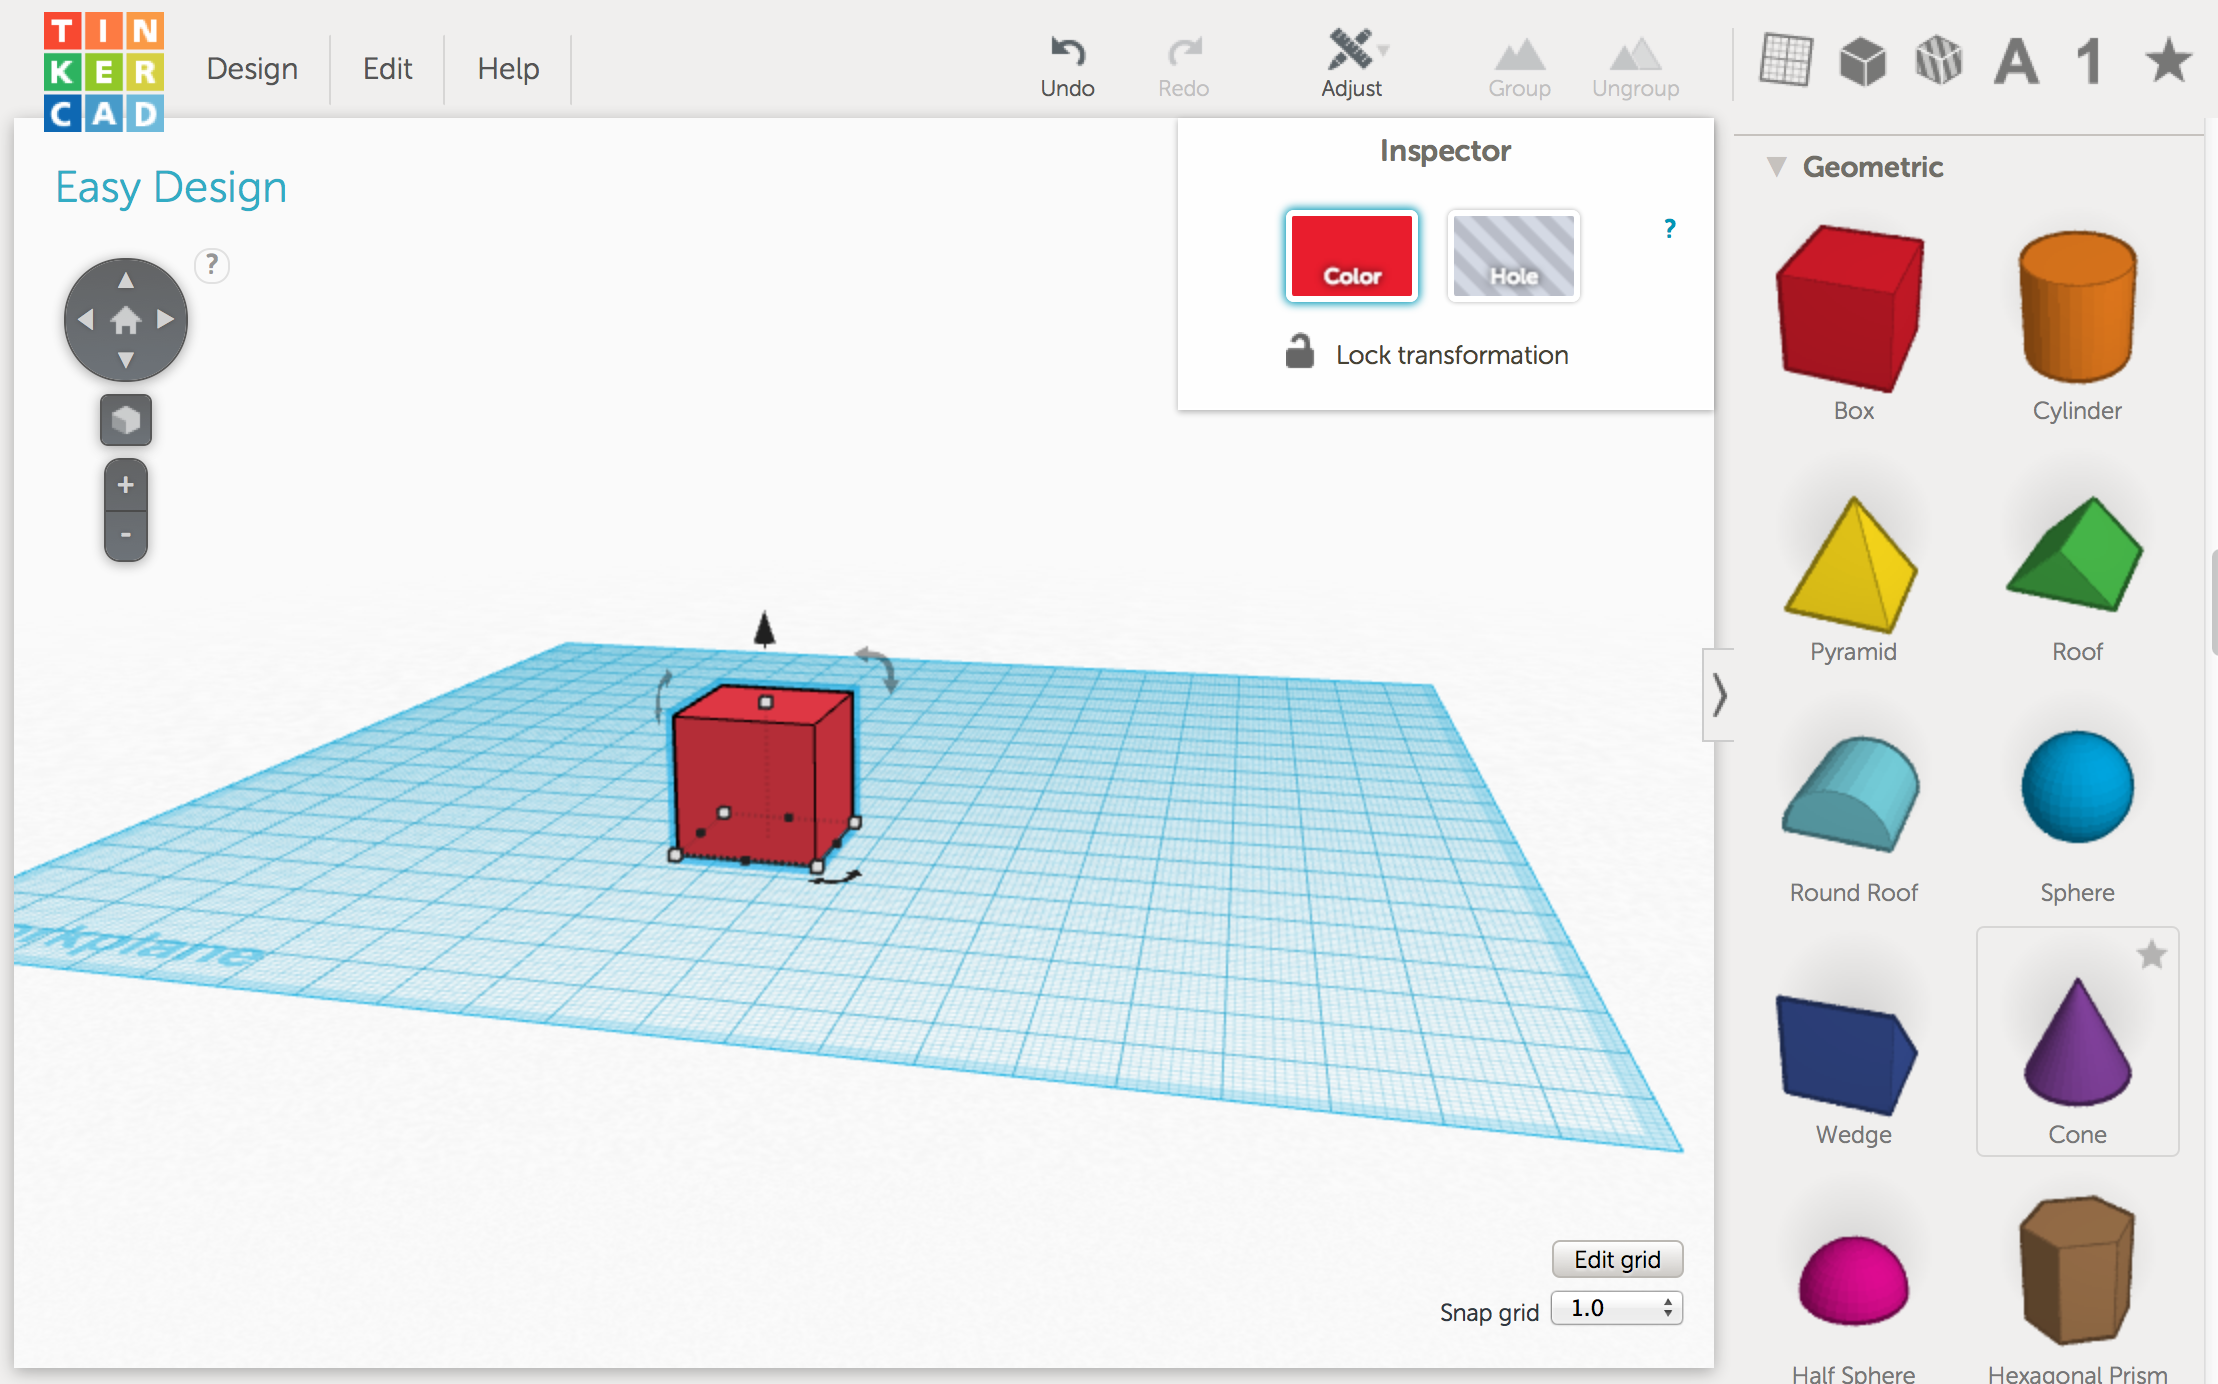
Click on any of the geometric shapes to place it on the work plane.
Rotation: You will notice three curved double-sided arrows. These are used to rotate the shapes in different directions. If you click, hold and drag an arrow, and keep your mouse inside the circle, the rotation will jump degrees. If you move your mouse outside of the circle, you are able to work with individual degrees of rotation.
Shape/Sizing: The black and white small squares around the base of the shape will allow you to freely click and drag the object to change its shape. The white square on top of the shape will allow you to alter the height of the shape. For either, if you would like the shape to keep its form, but just get smaller or bigger, hold down the "shift key" as you drag the small boxes.
Location: The black cone shape above the shape allows you to move the object above and below the work plane. This is helpful when trying to add shapes to other shapes.
Simple Design Using Geometric Shapes and Holes

Holes can be used to cut through shapes or can act as a way to alter or eliminate parts of shapes by acting sort of like an eraser.
Under the "Holes" tab, there is a box and cylinder hole available, but any shape can be turned into a hole shape by clicking on "hole" in the pop-up inspector window.
A hole can be made through a part of a shape or can cut through an entire shape. To make the hole appear, you must "group" the objects. Drag your mouse from outside your entire design to create a dashed line box over the entire design. Once everything is selected (you can individually select objects by holding the "shift key" and clicking on each object) click on "Group" above the work plane. You can also "Ungroup" objects and utilize the "undo" and "redo" buttons if you make mistakes along the way.
You wil notice after the object is grouped, the holes added should appear and everything will be one color.
Colors are fun for modeling, but do not matter when objects are being 3D printed.
Finalize a Design
After you are finished modeling and the object is grouped, click on the "Design" button.
You then have multiple options. If you are looking to 3D print the object, select "Download for 3D Printing".
Most printers use .STL files. Select this and save the file, it will be located in the Downloads folder on your computer. This file can then be used to 3D print.
Happy tinkering!