How to Use TinkerCad: Keychain Edition
by bdautry in Workshop > 3D Printing
25646 Views, 65 Favorites, 0 Comments
How to Use TinkerCad: Keychain Edition
.png)
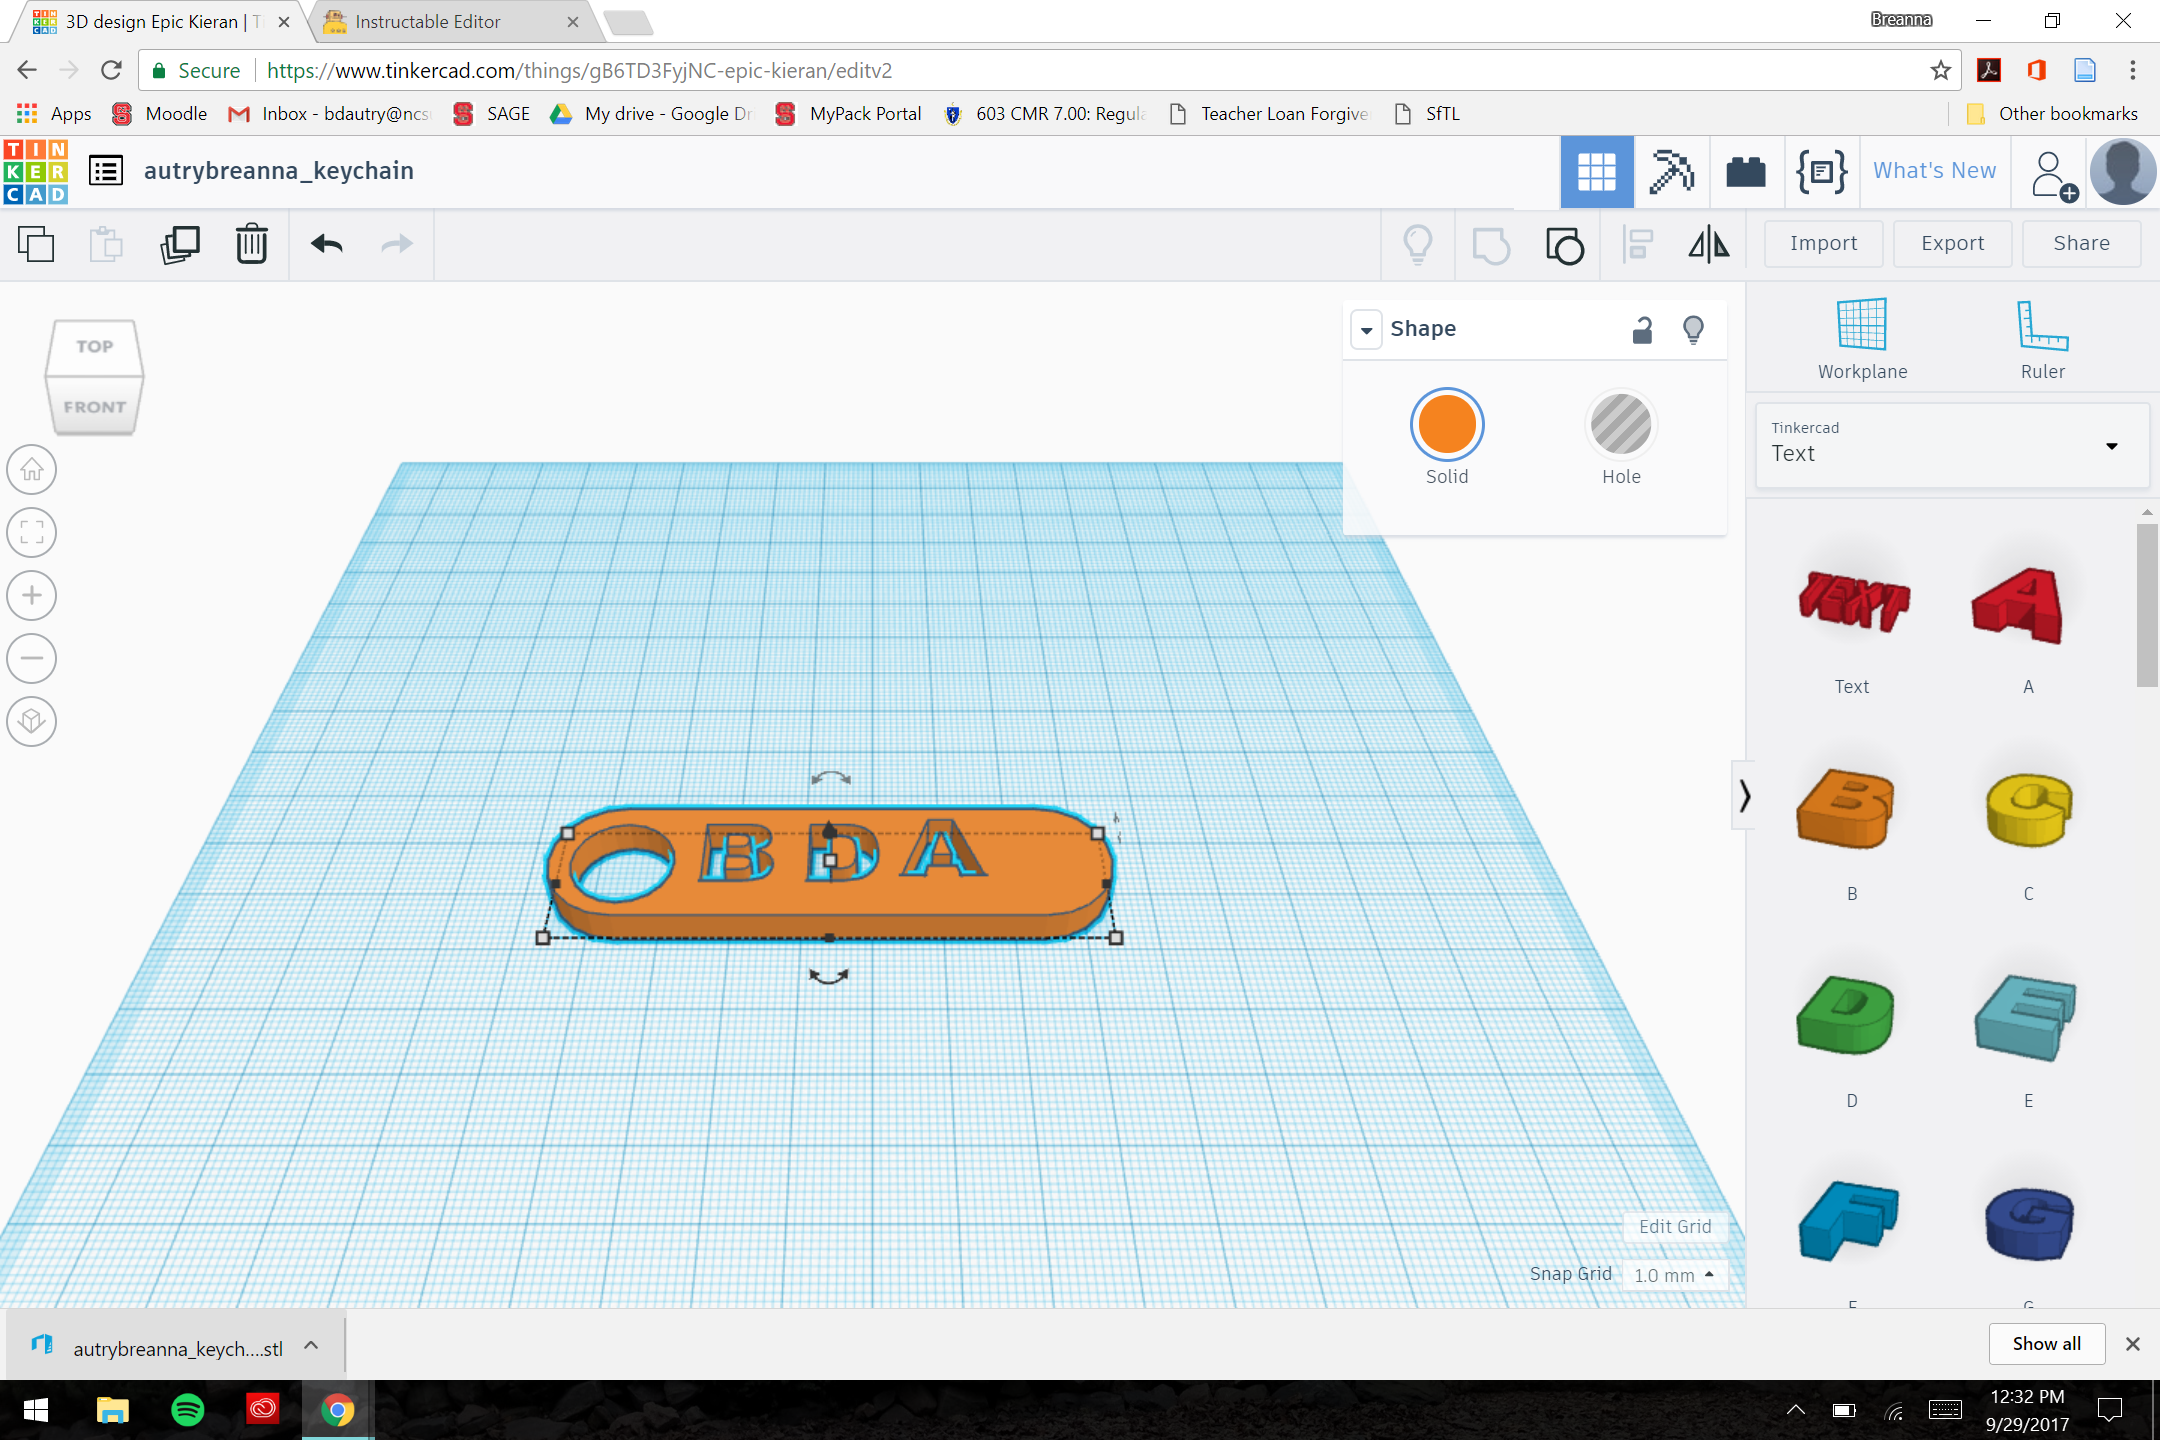
We will learn how to use 3D modeling software to create .STL files. Specifically, we will be using TinkerCad to create a name keychain and learning how to get the file ready for 3D printing.
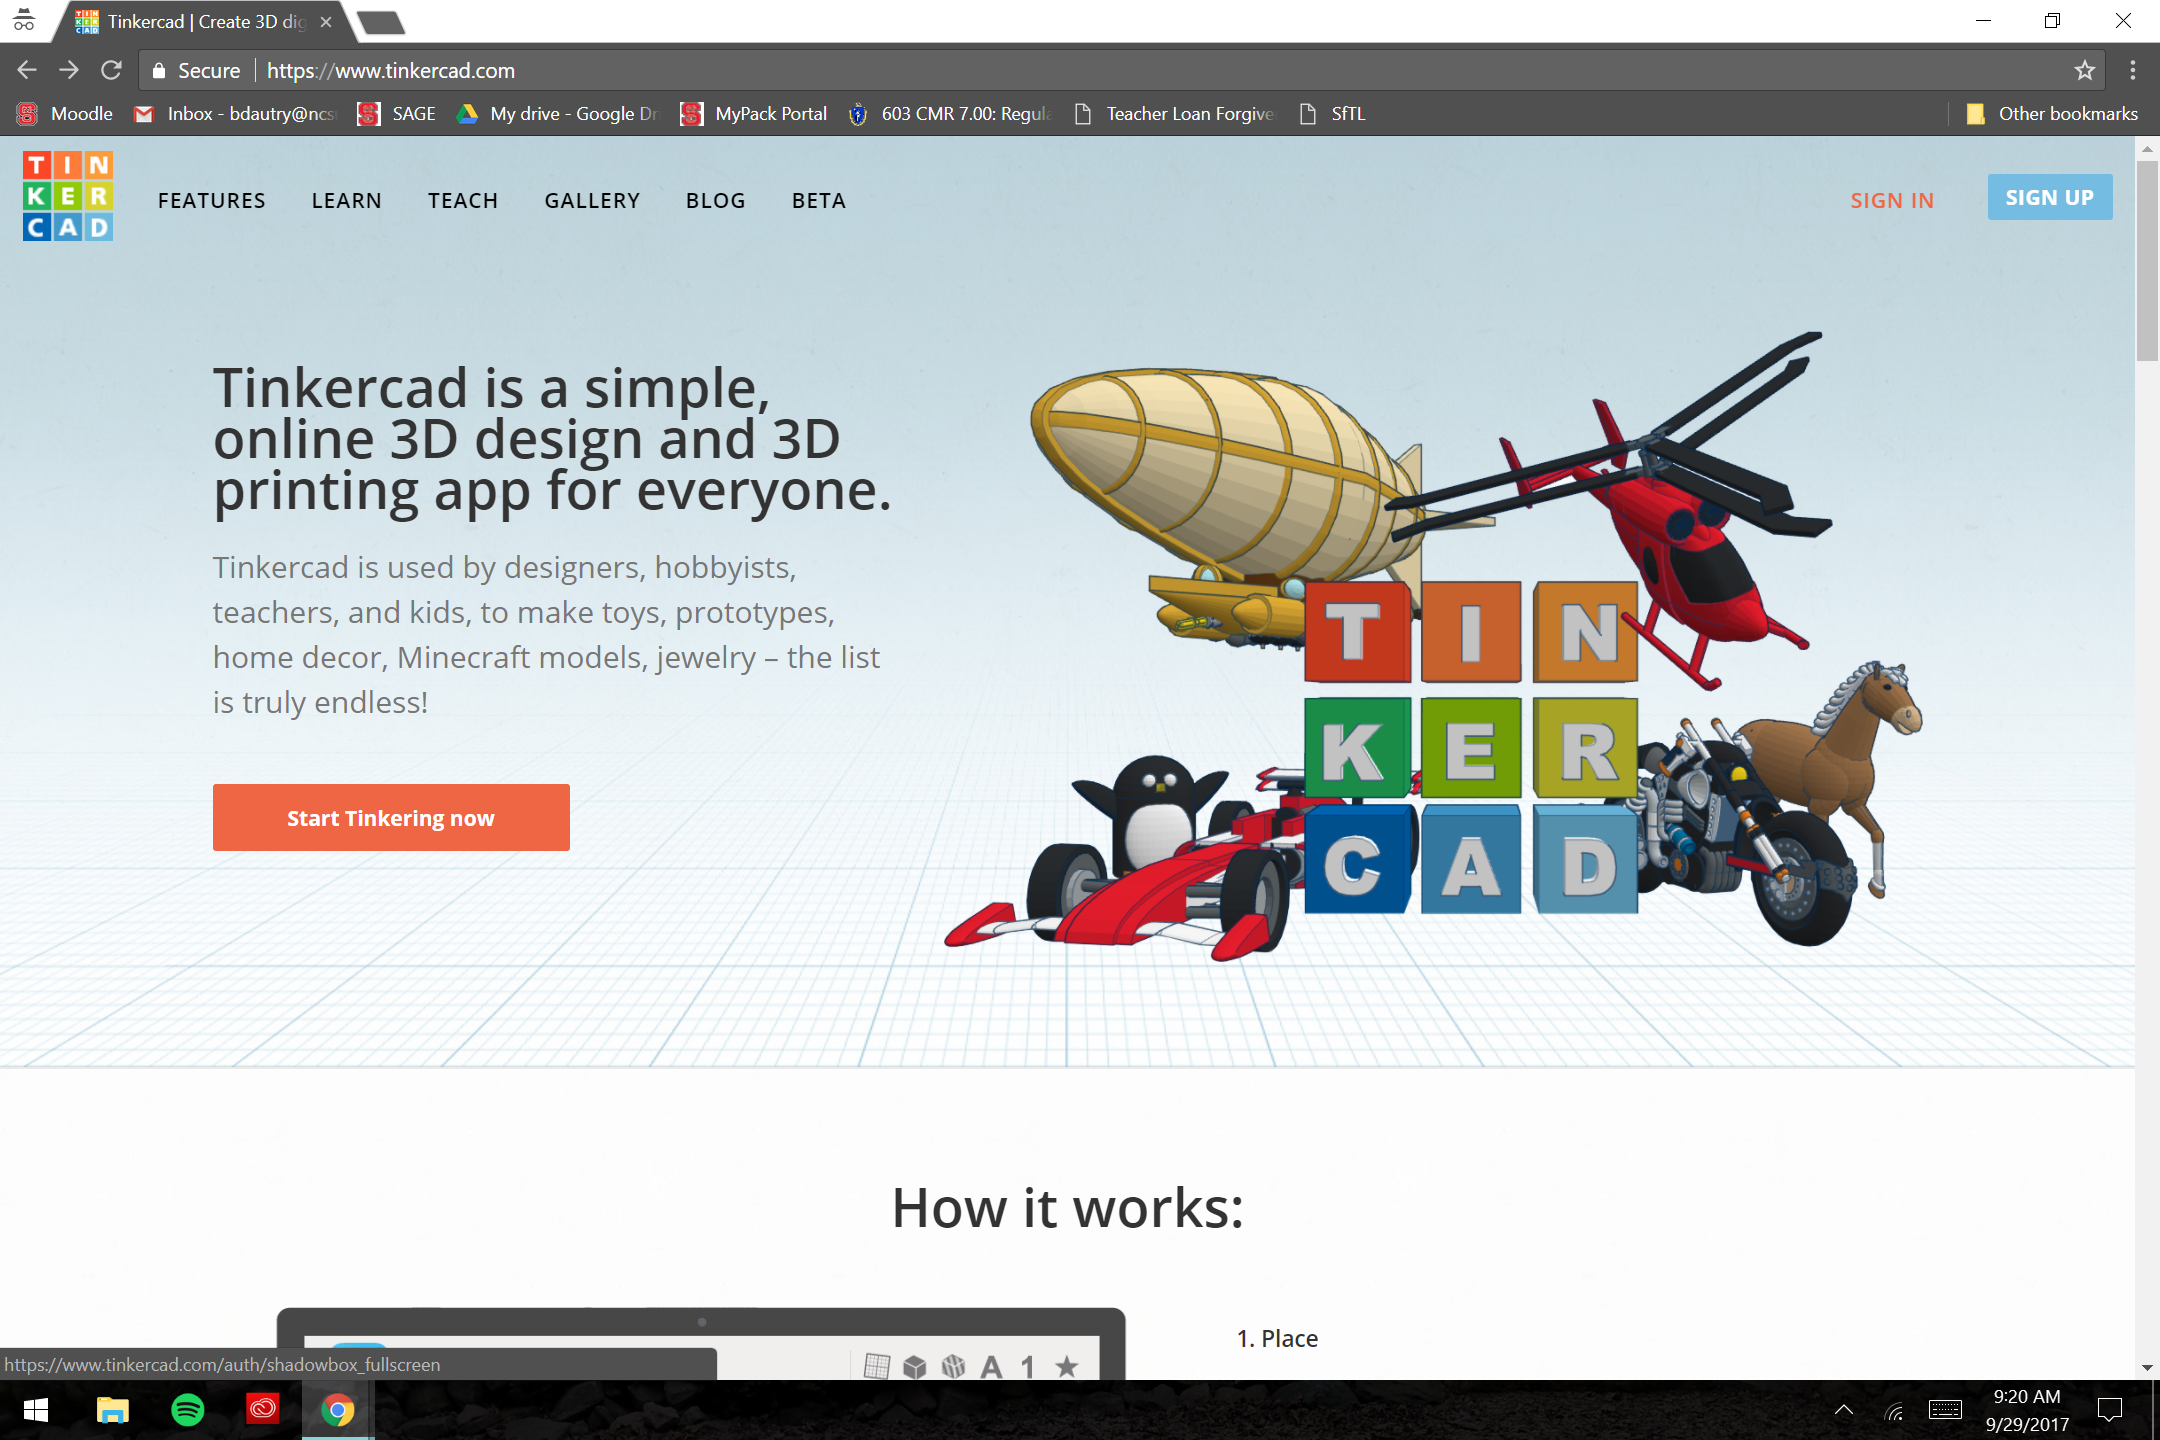
Go to the Website and Login.
.png)
.png)
Once you get to TinkerCad, sign-in.
I will give you a username and password to use.
Create a New Design and Name It Properly.
.png)
.png)
.png)
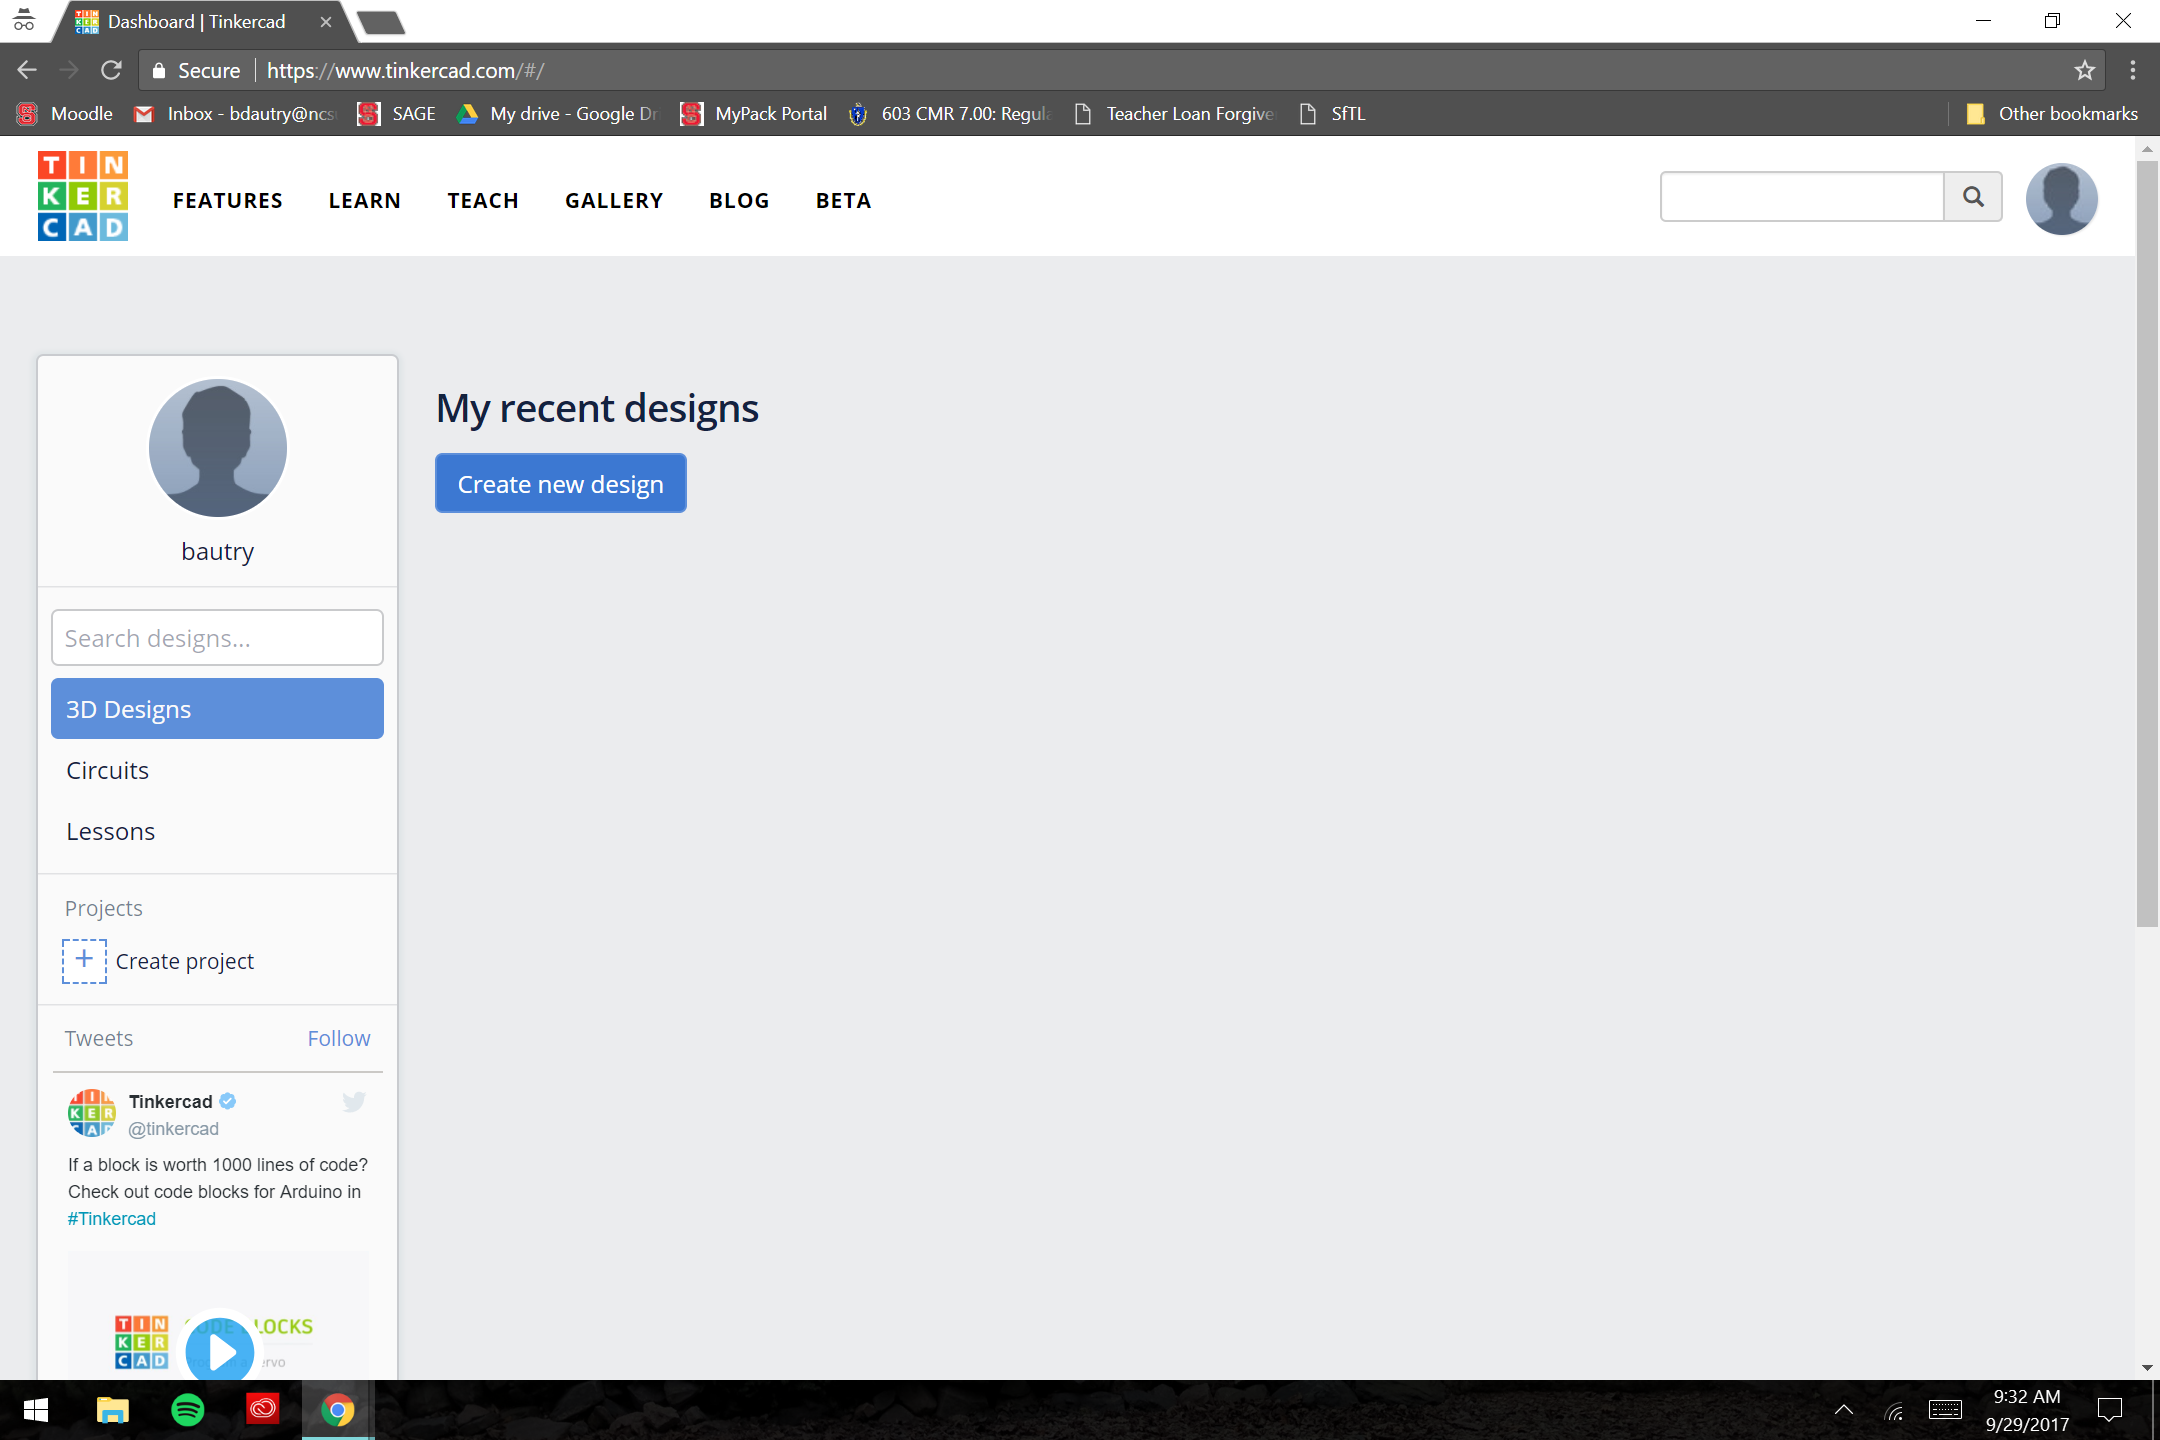
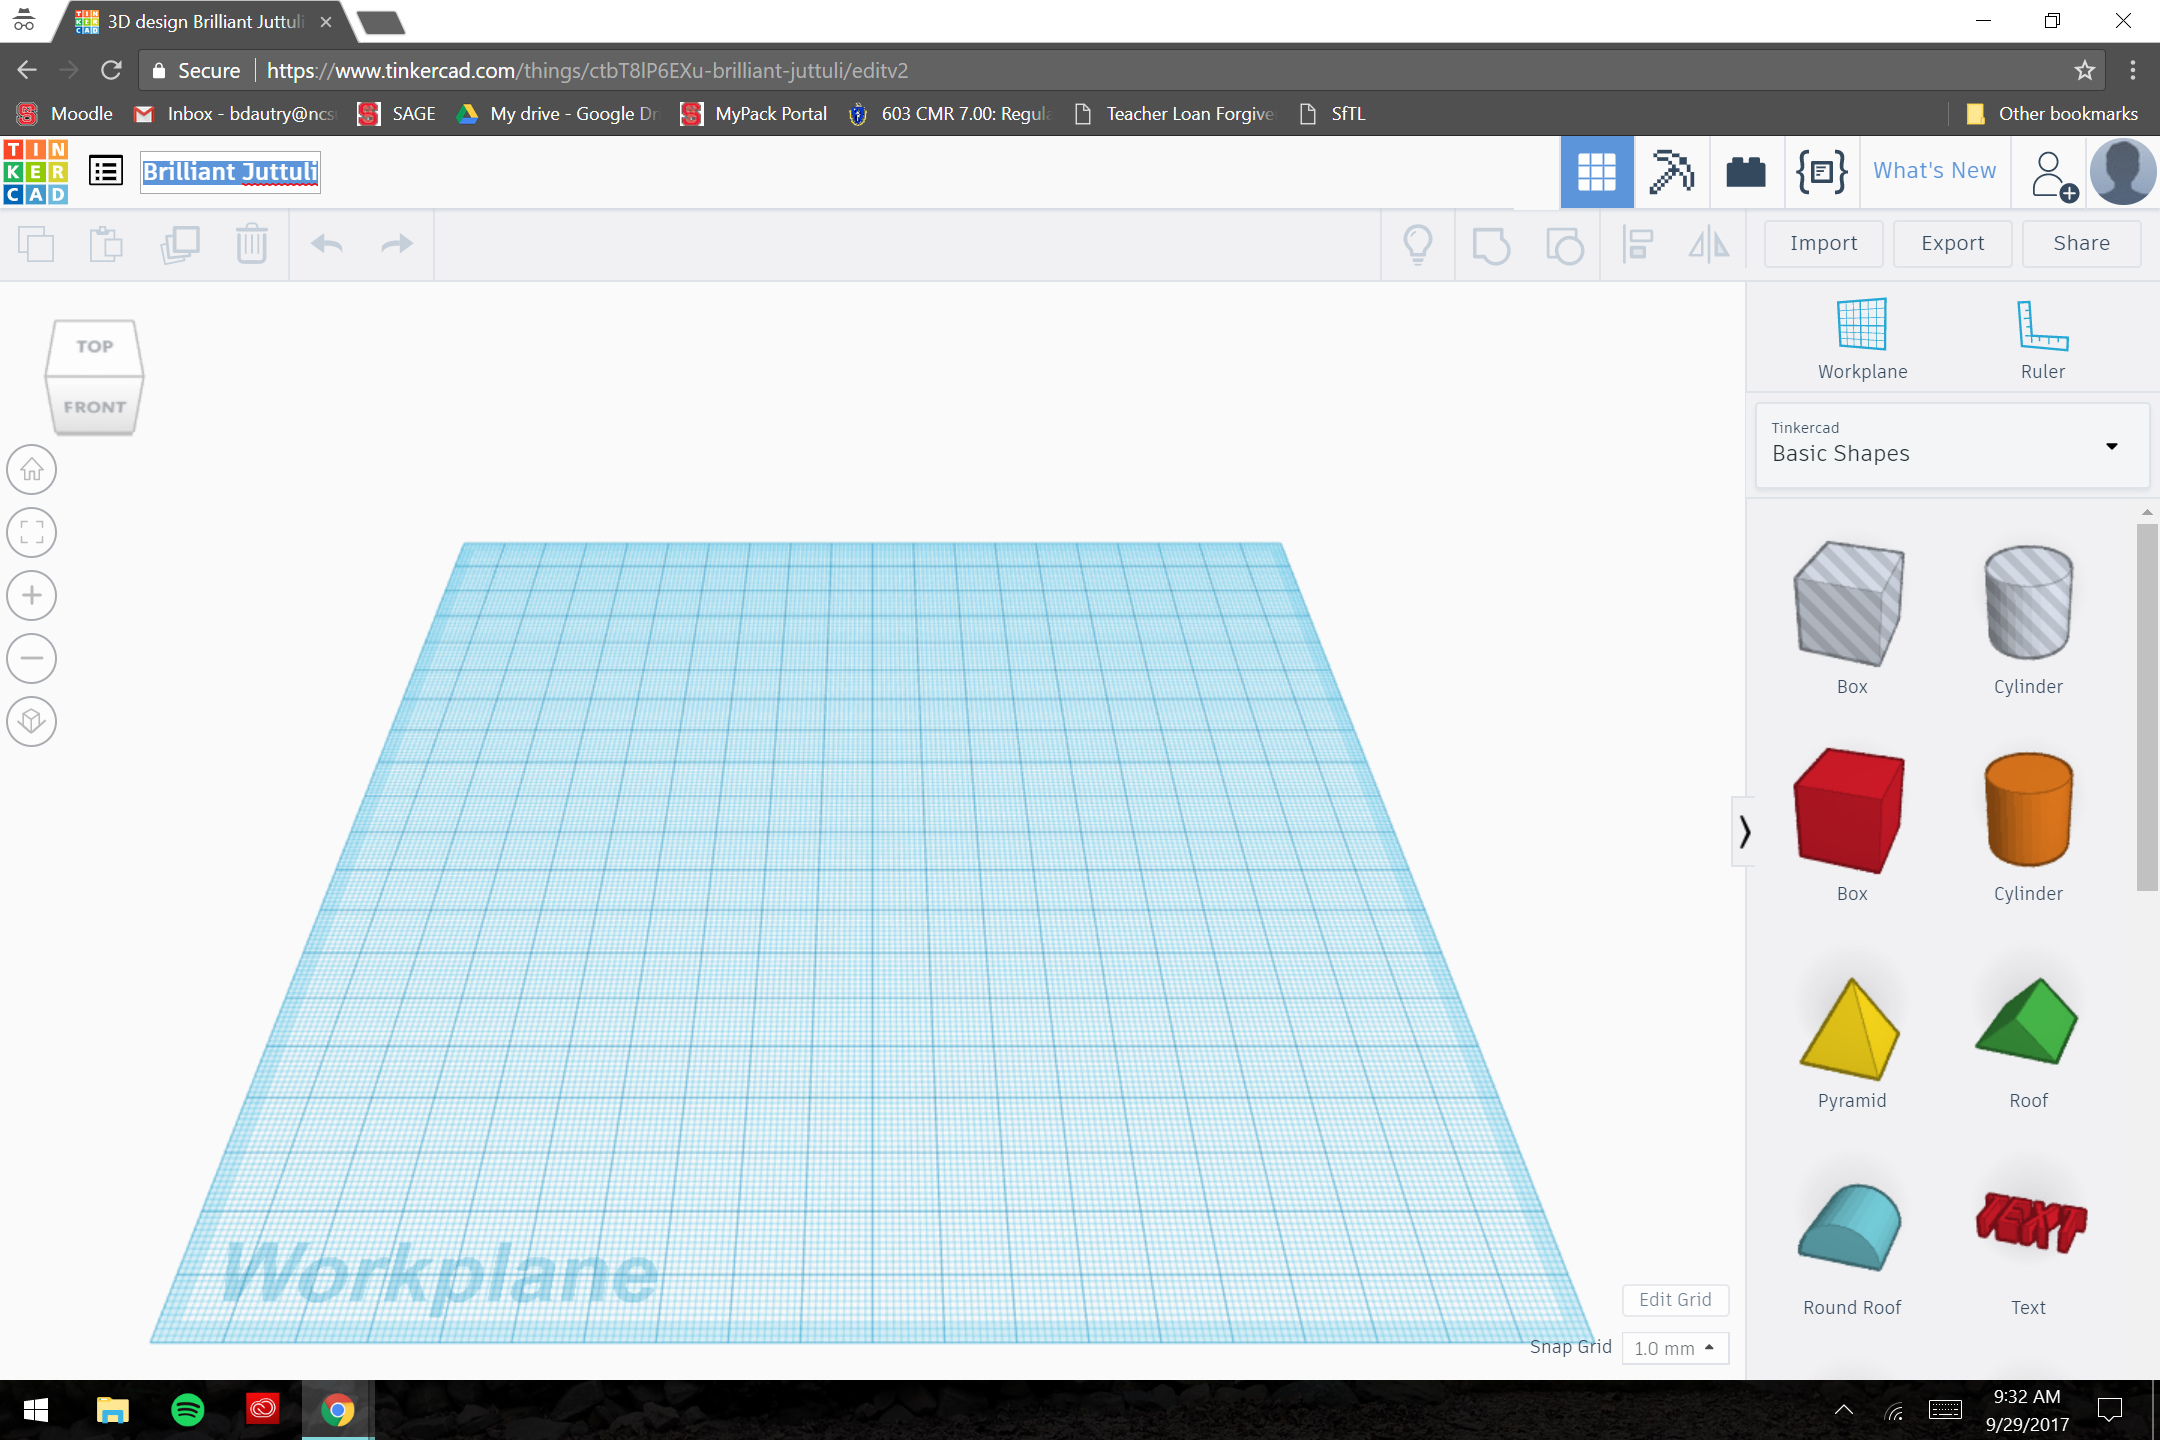
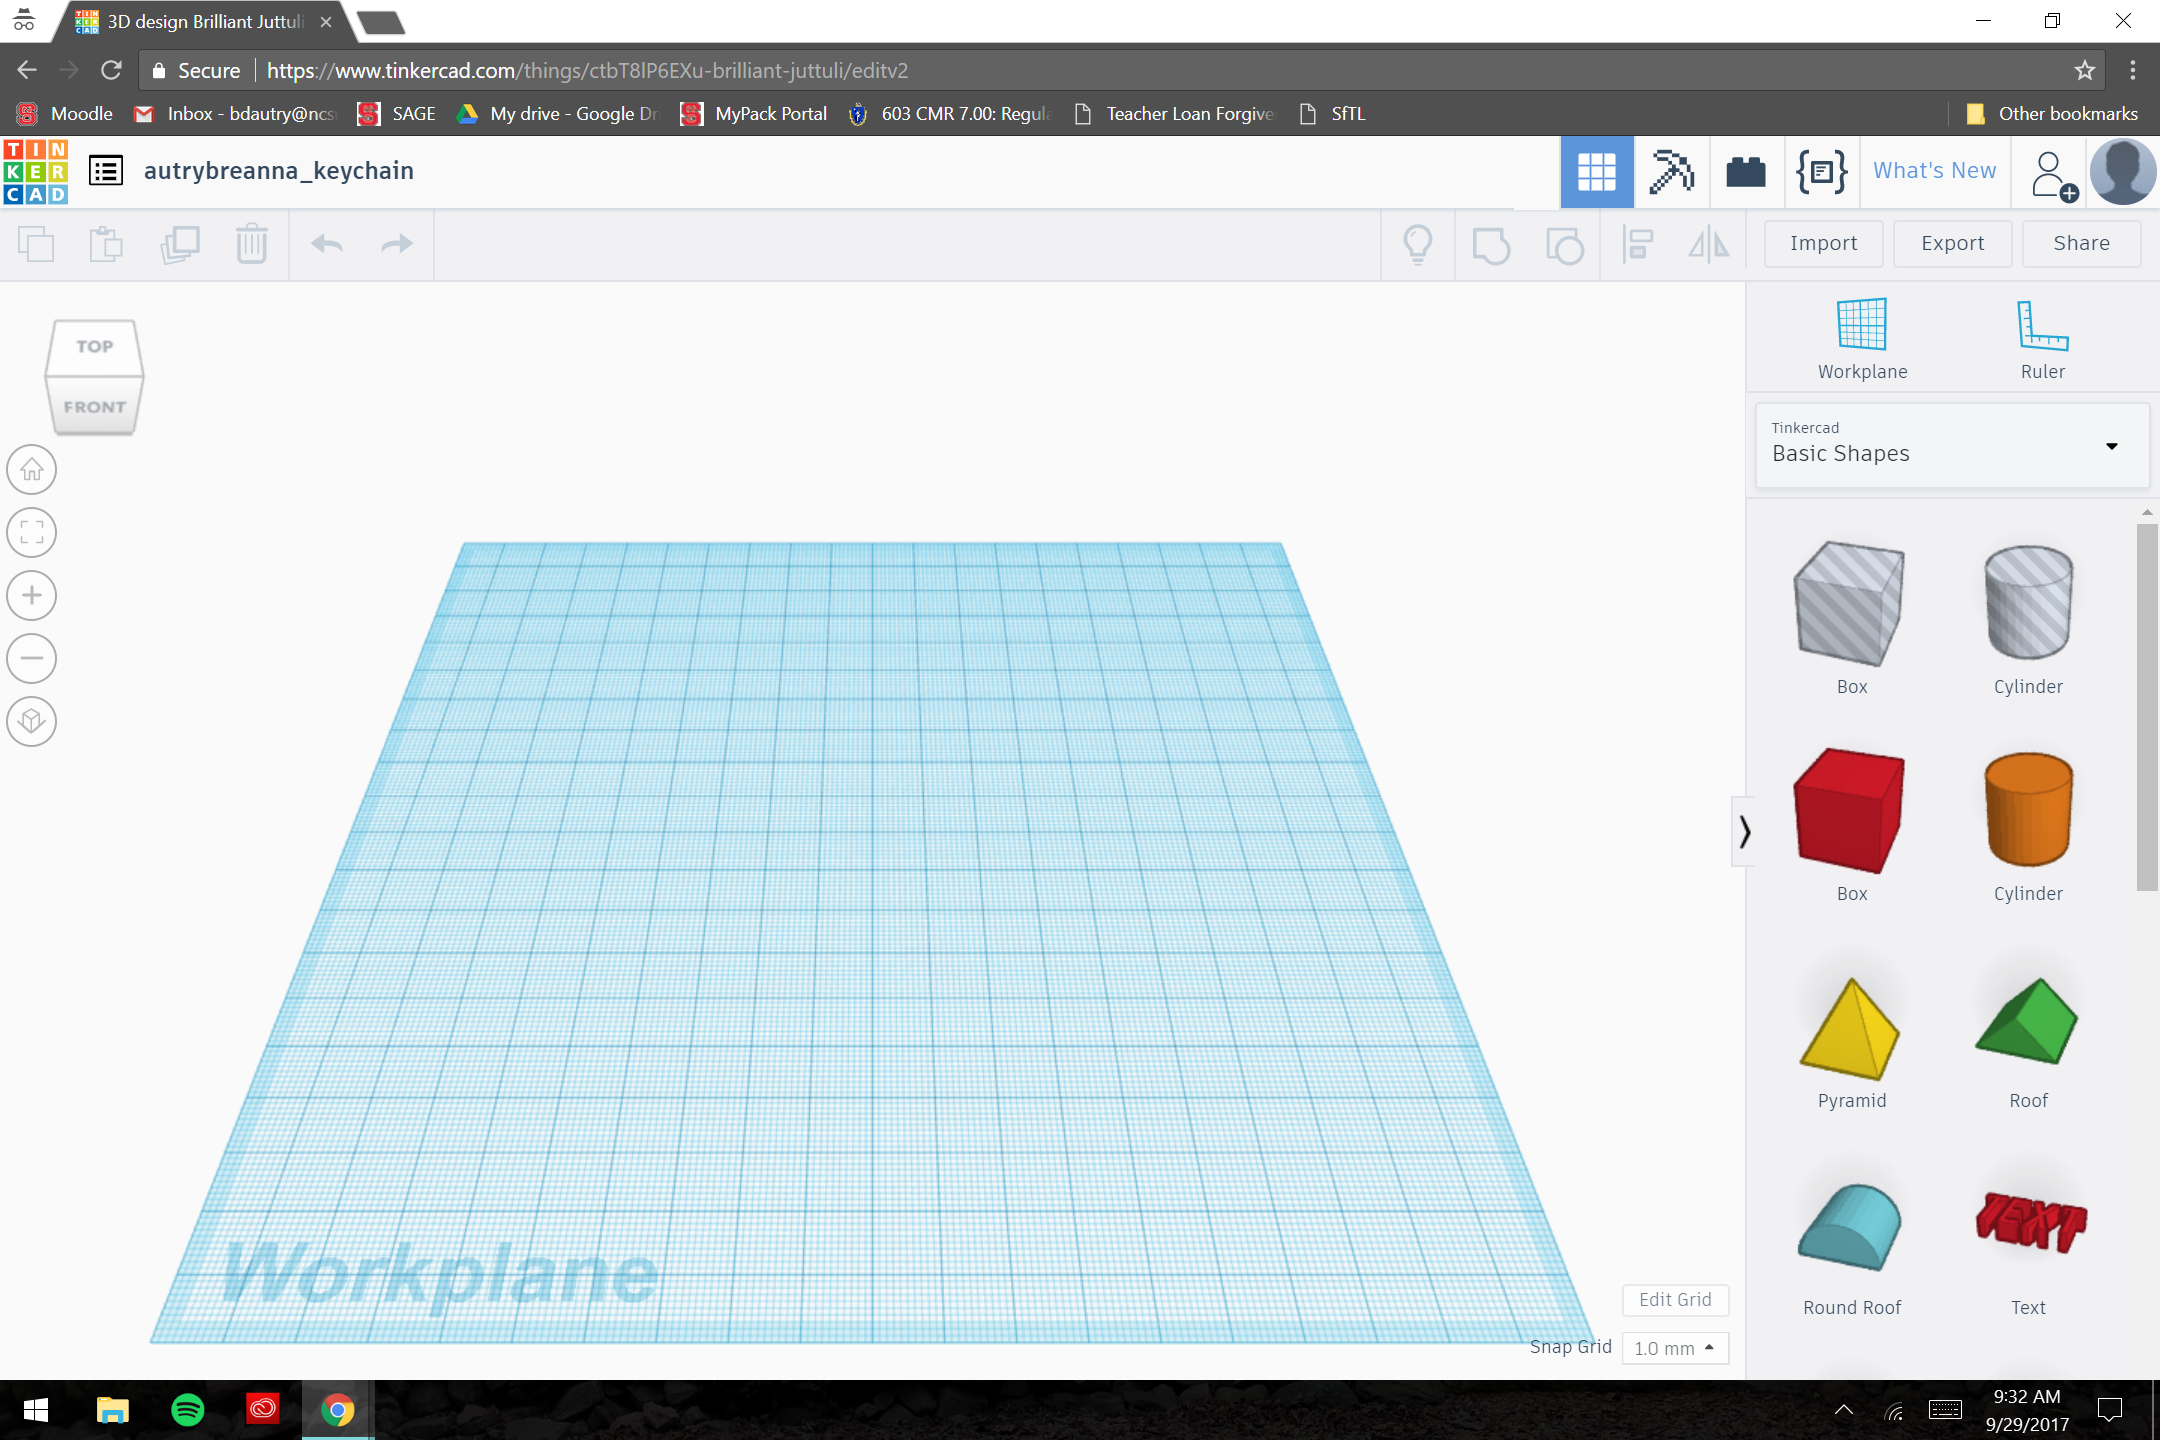
Click on Create new design and once in the working space rename the file.
You should rename the file lastnamefirstname_keychain.
Create the Base of the Key Chain.
.png)
.png)
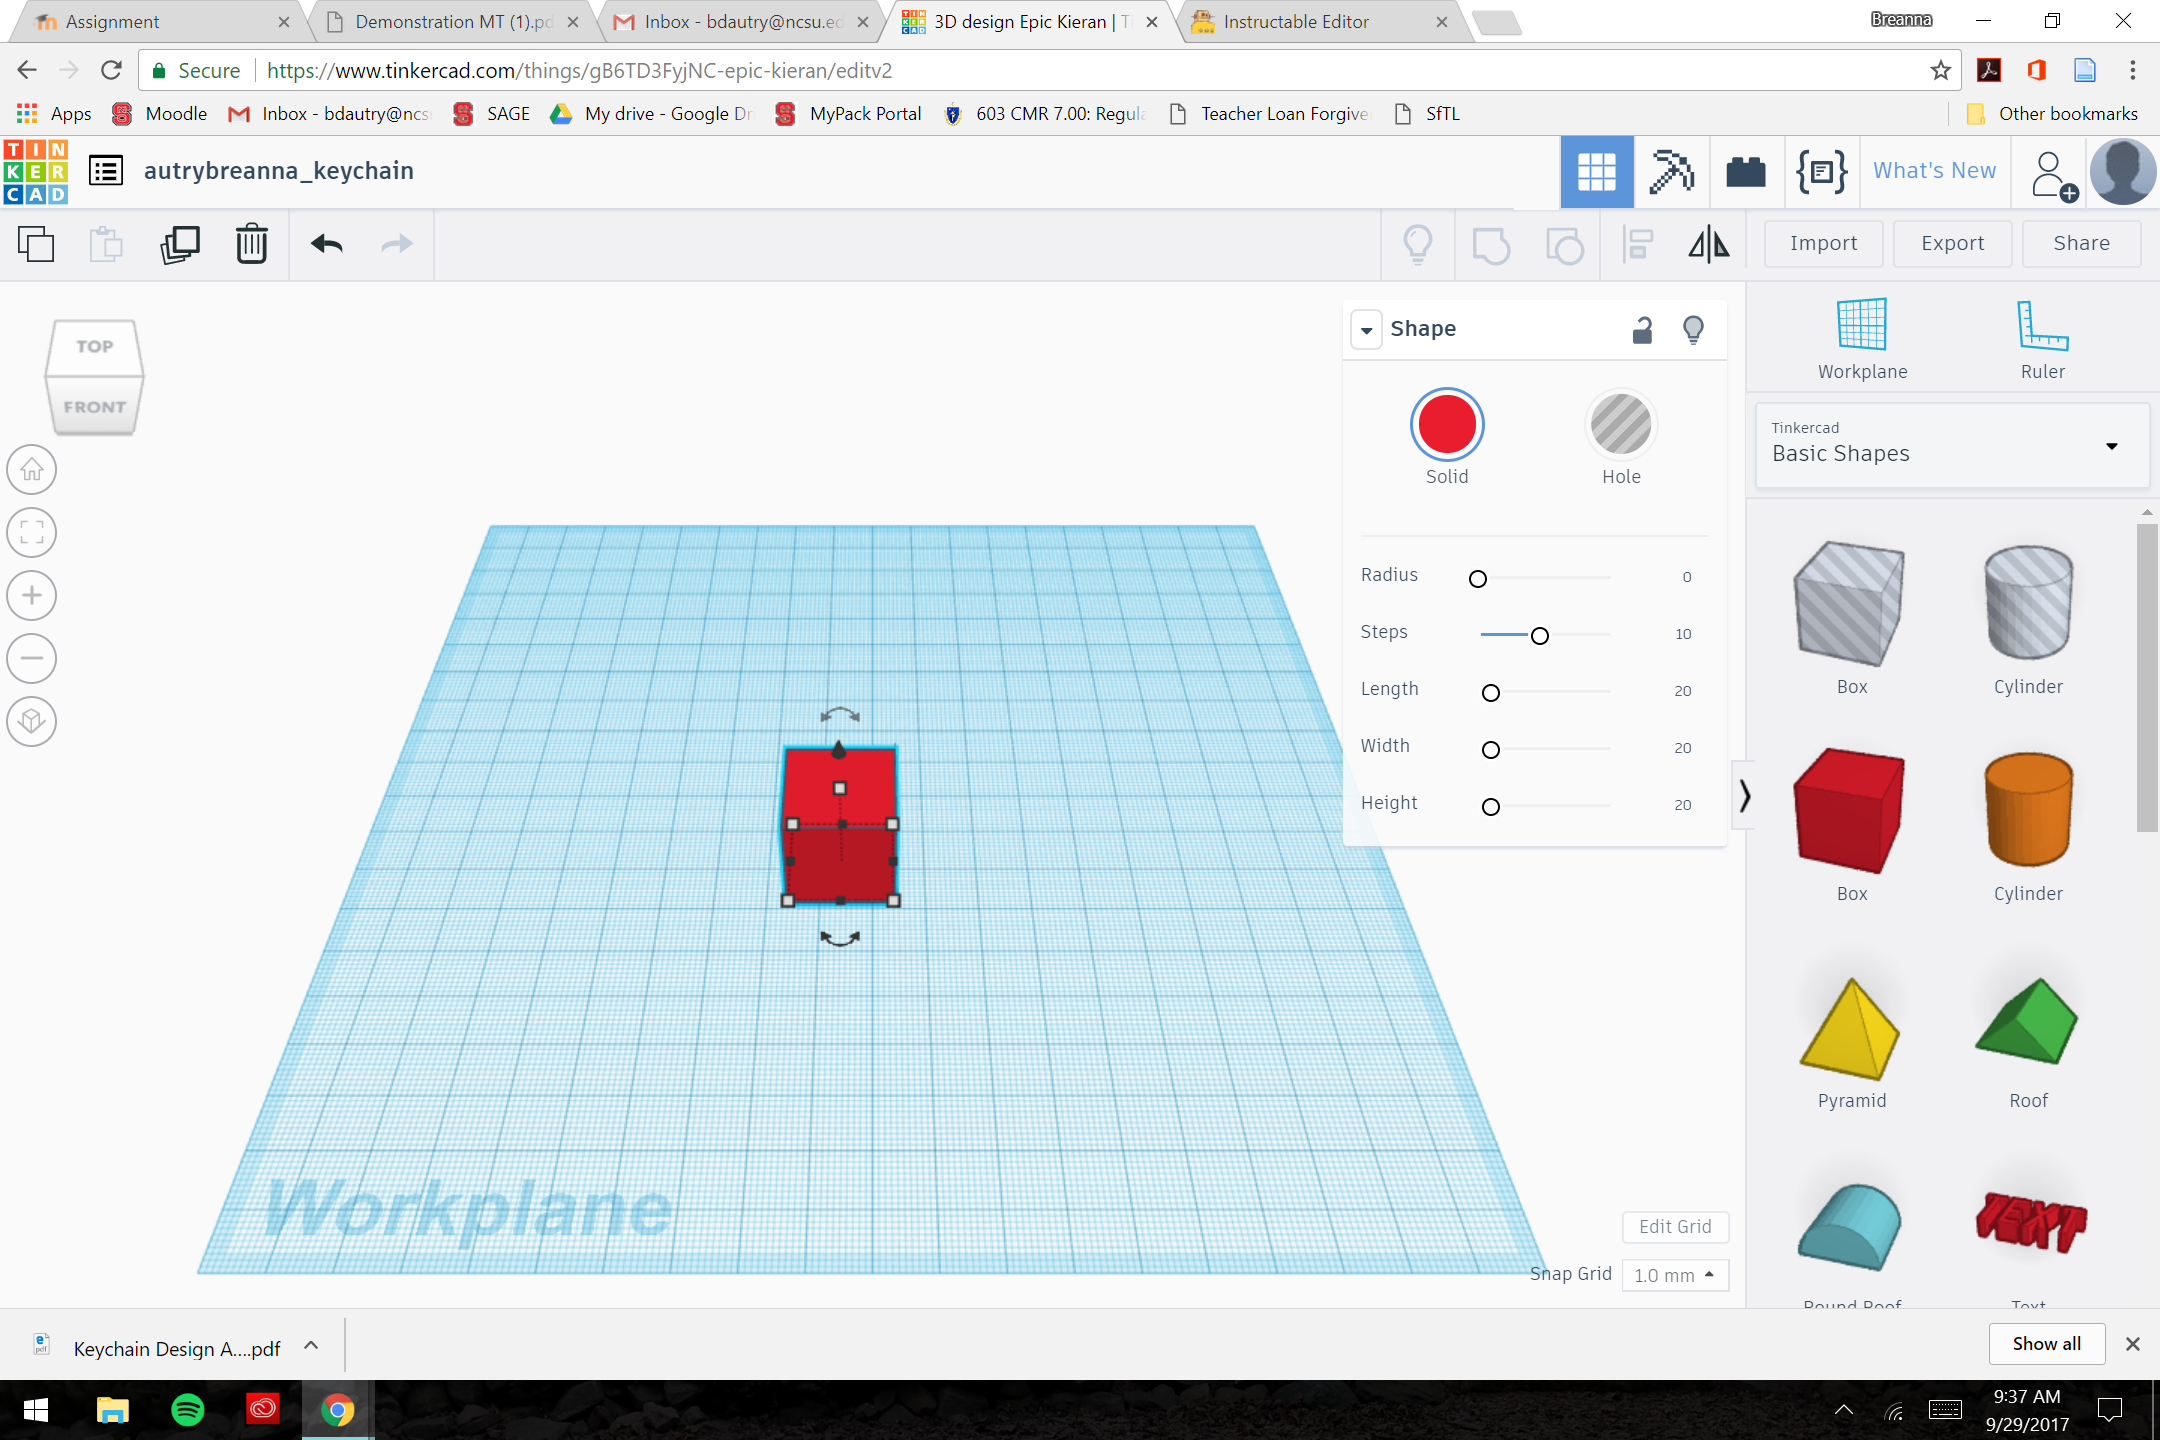
Click and drag a Box to the working space.
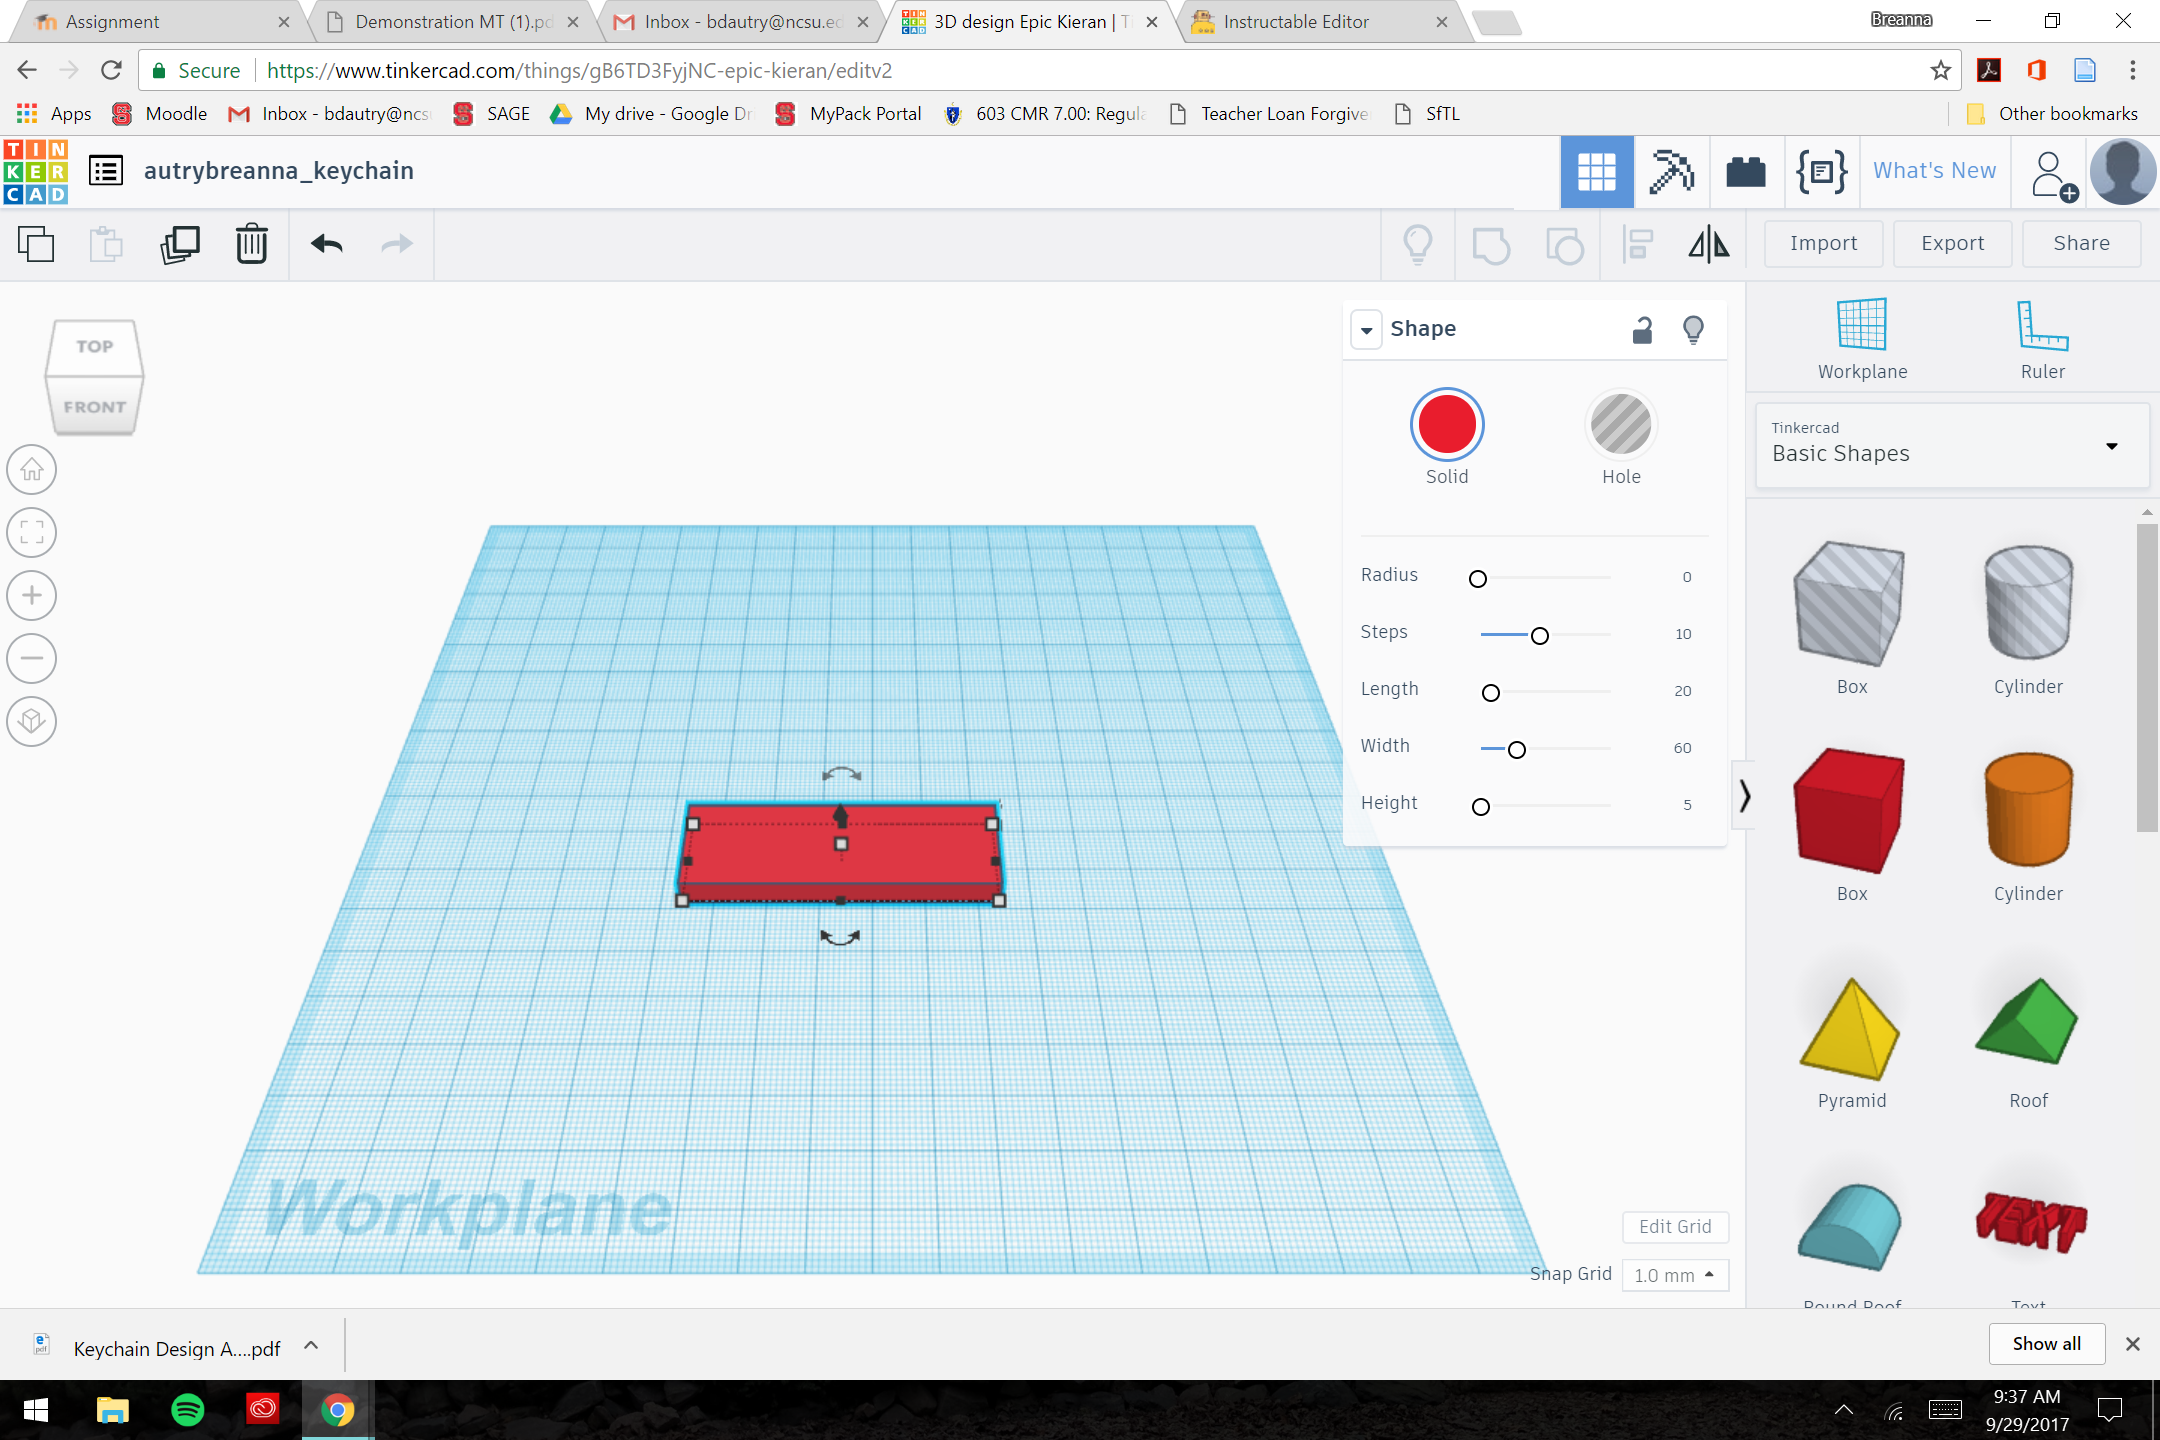
Adjust the dimensions of the rectangle by clicking on the numbers next to the separate dimensions.
Change the Width to 60 and the Height to 5.
Round the Edges of the Key Chain.
.png)
.png)
.png)
.png)
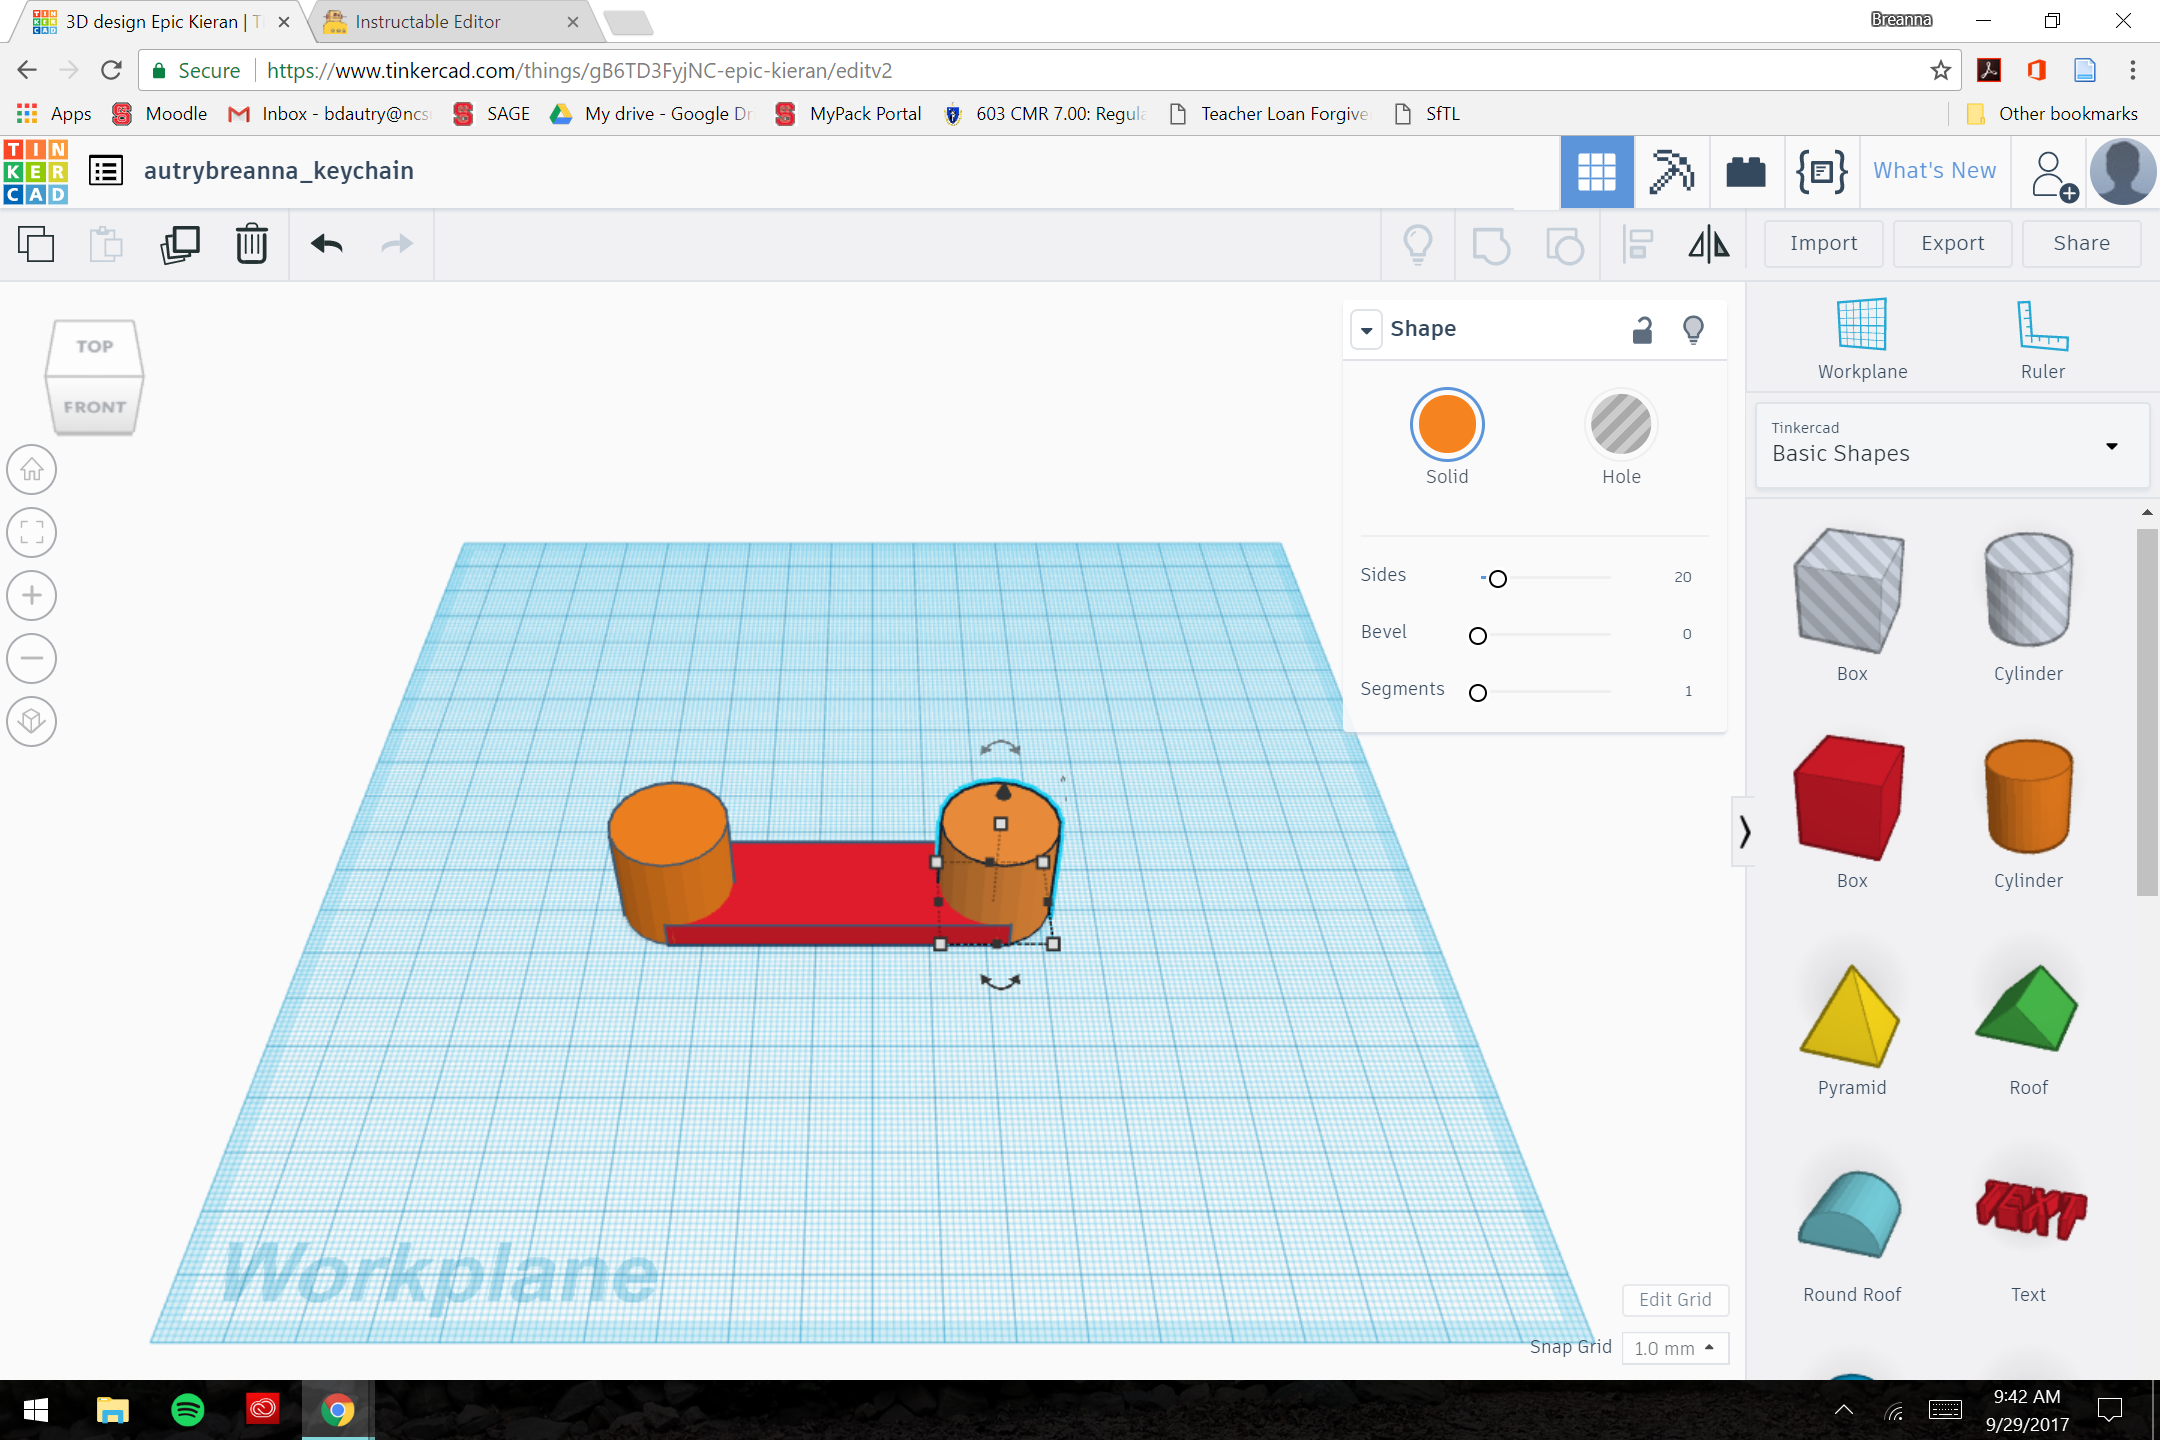
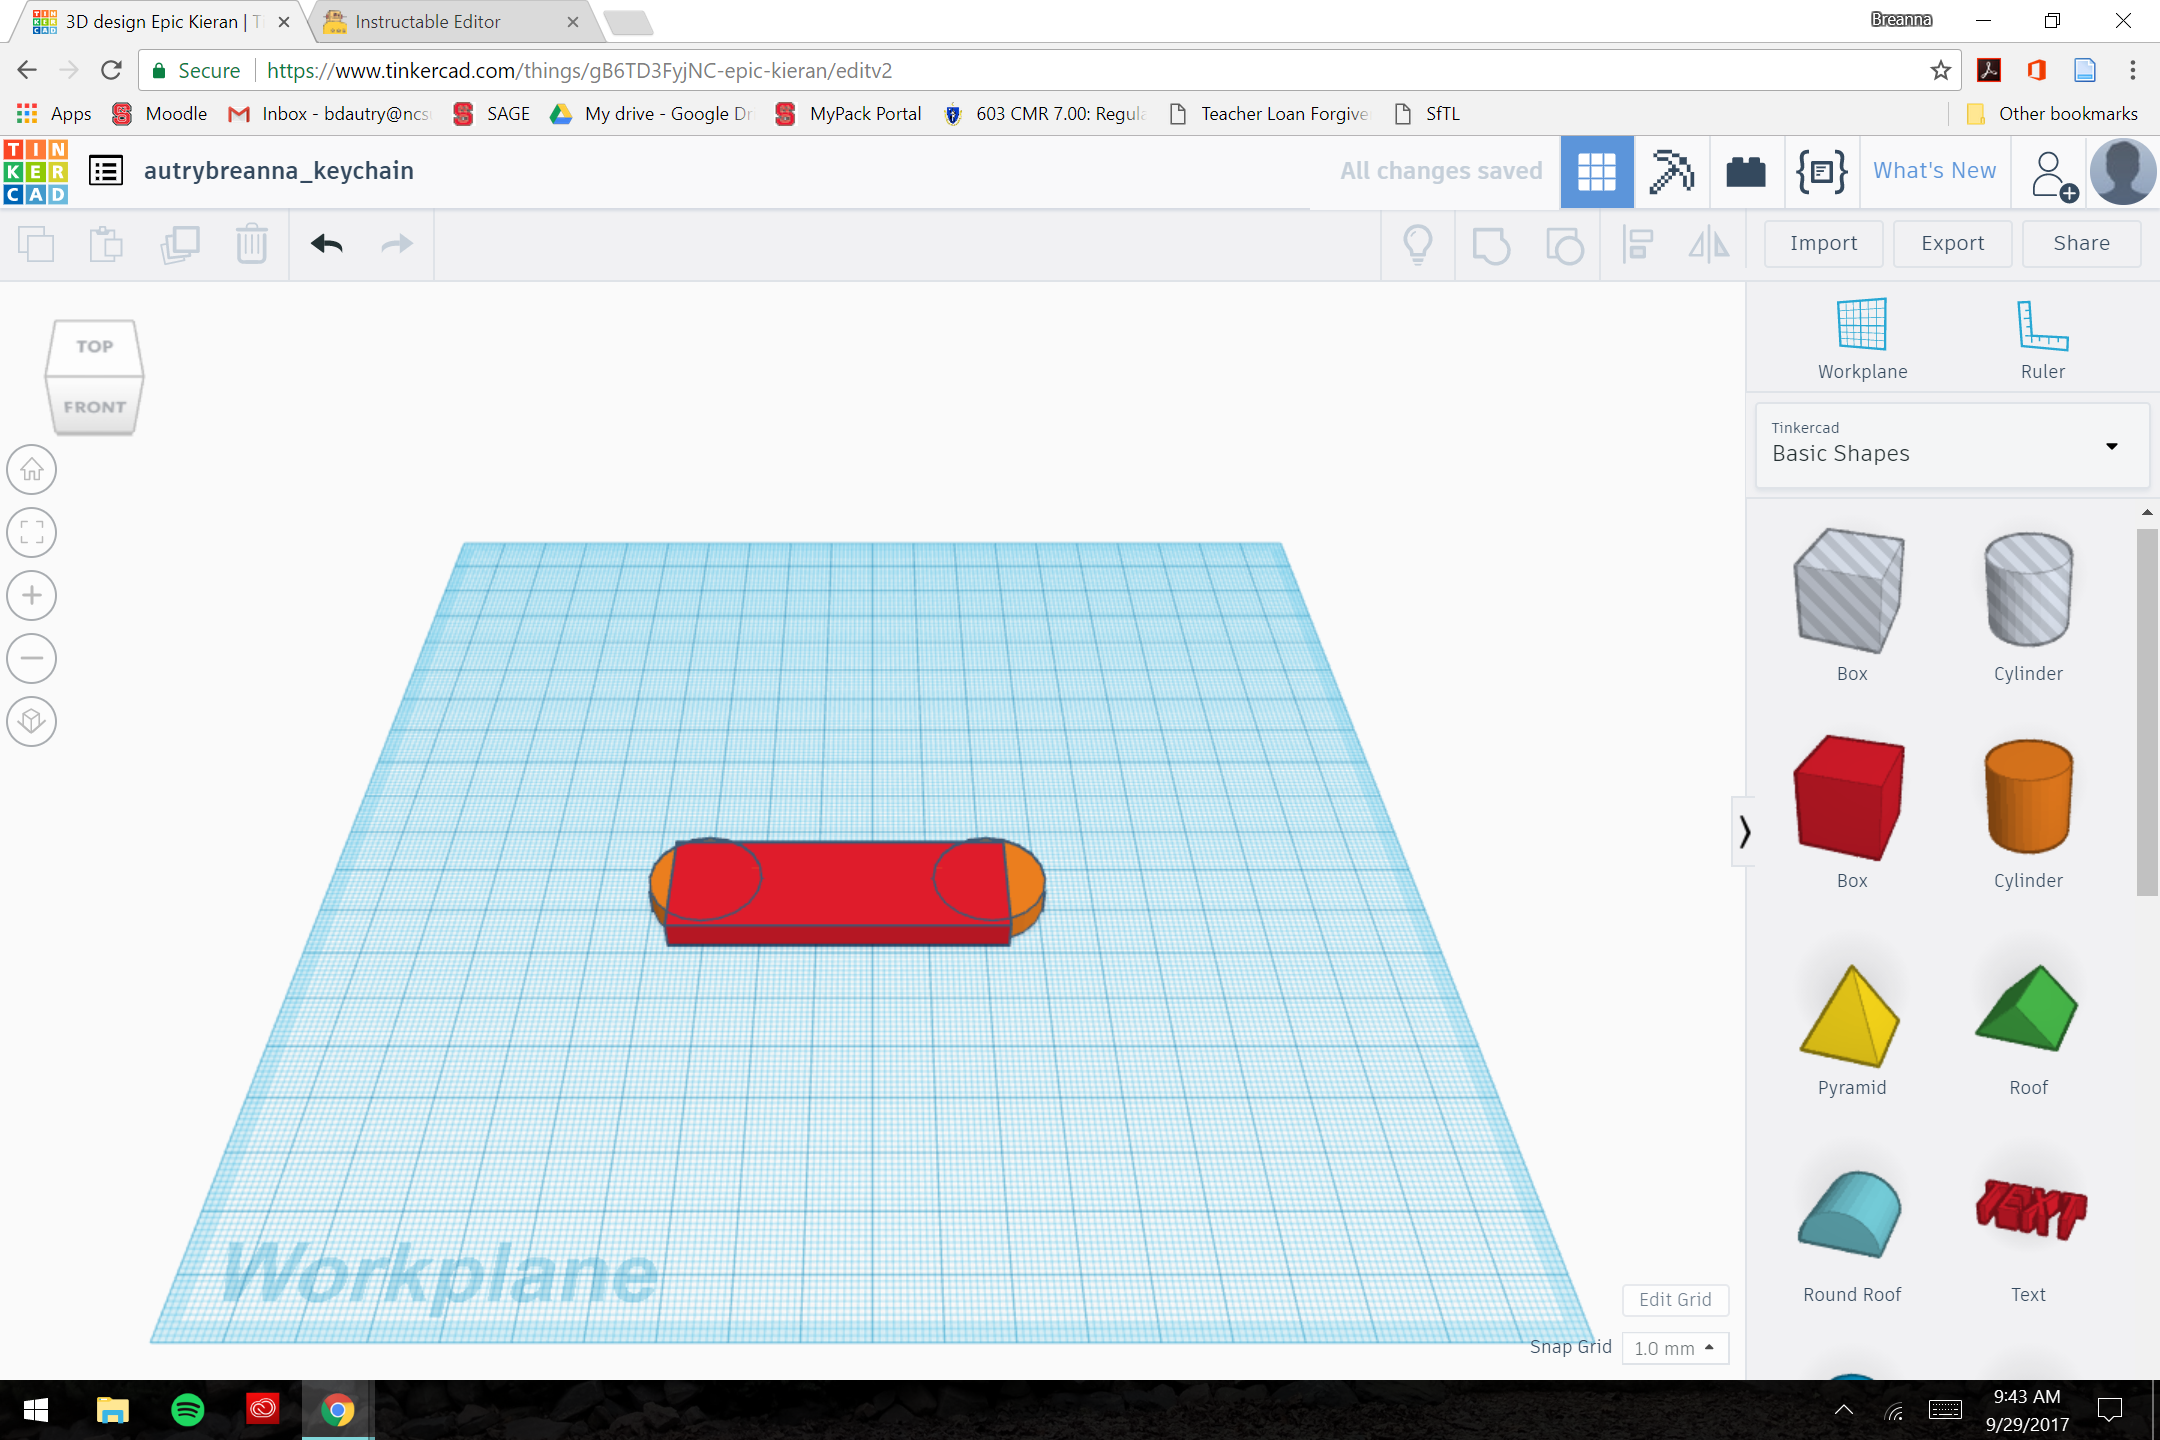
Drag in 2 Cylinders to opposite edges of the rectangle.
On the Cylinder click the height dimensions lines to change the dimension to 5, to match the base.
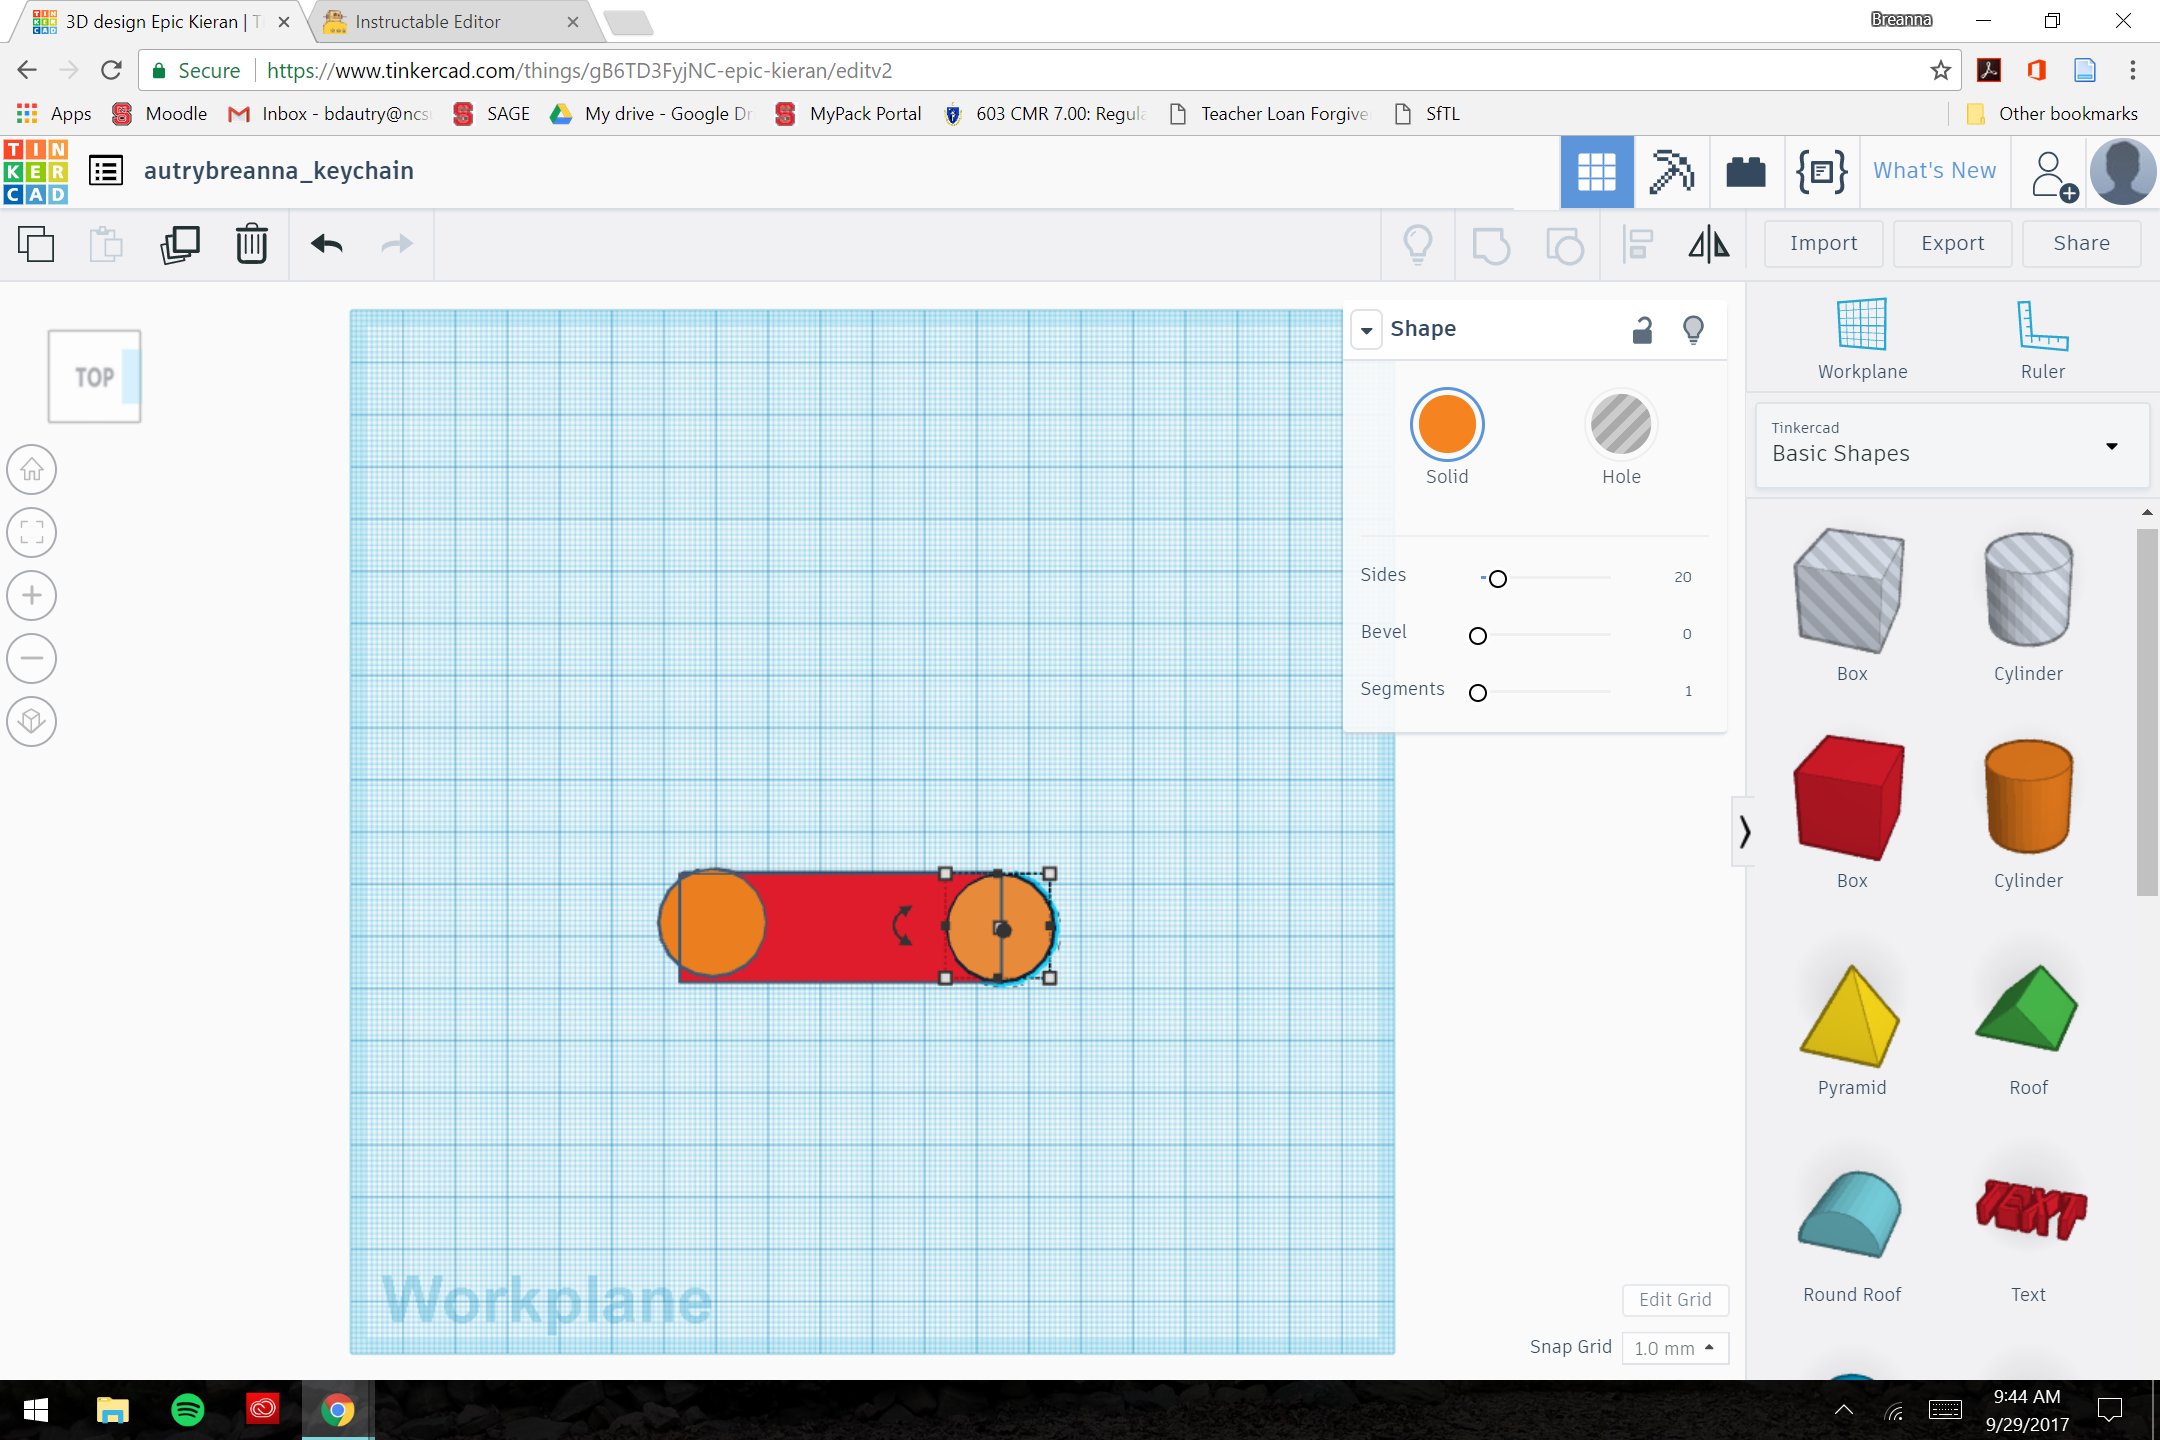
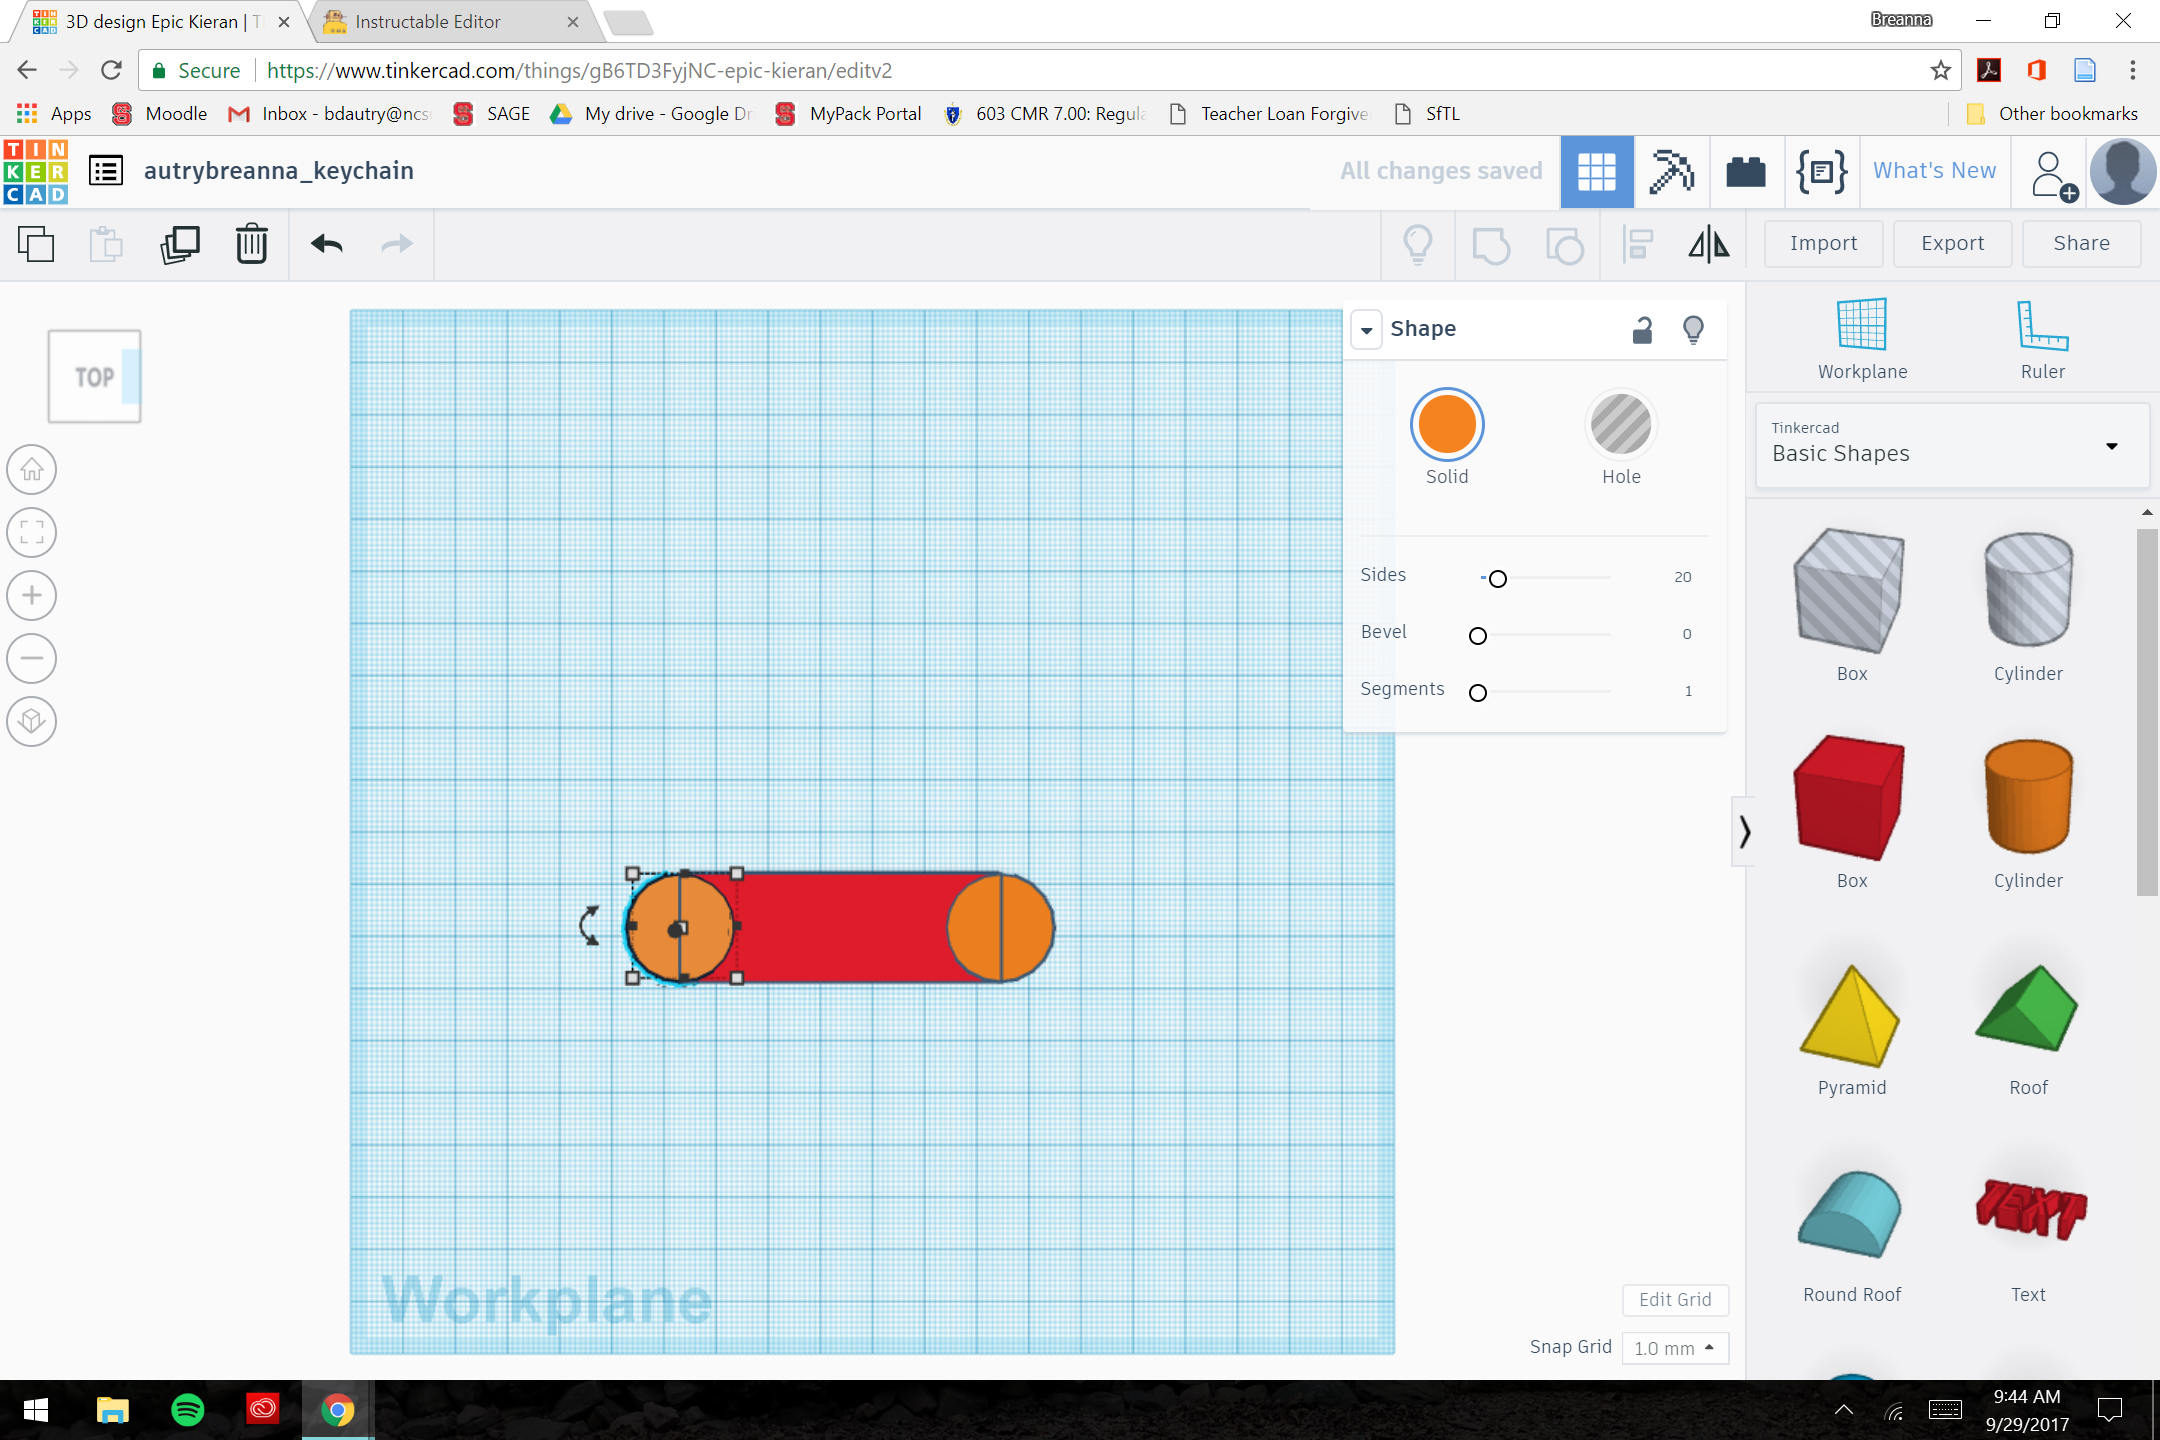
In the top left corner click on the box to go to the Top View.
From there adjust the cylinders to match up the Top, Center, and Bottom of the circles to the edges of the rectangle.
Create a Hole at the End of the Key Chain.
.png)
.png)
.png)
.png)
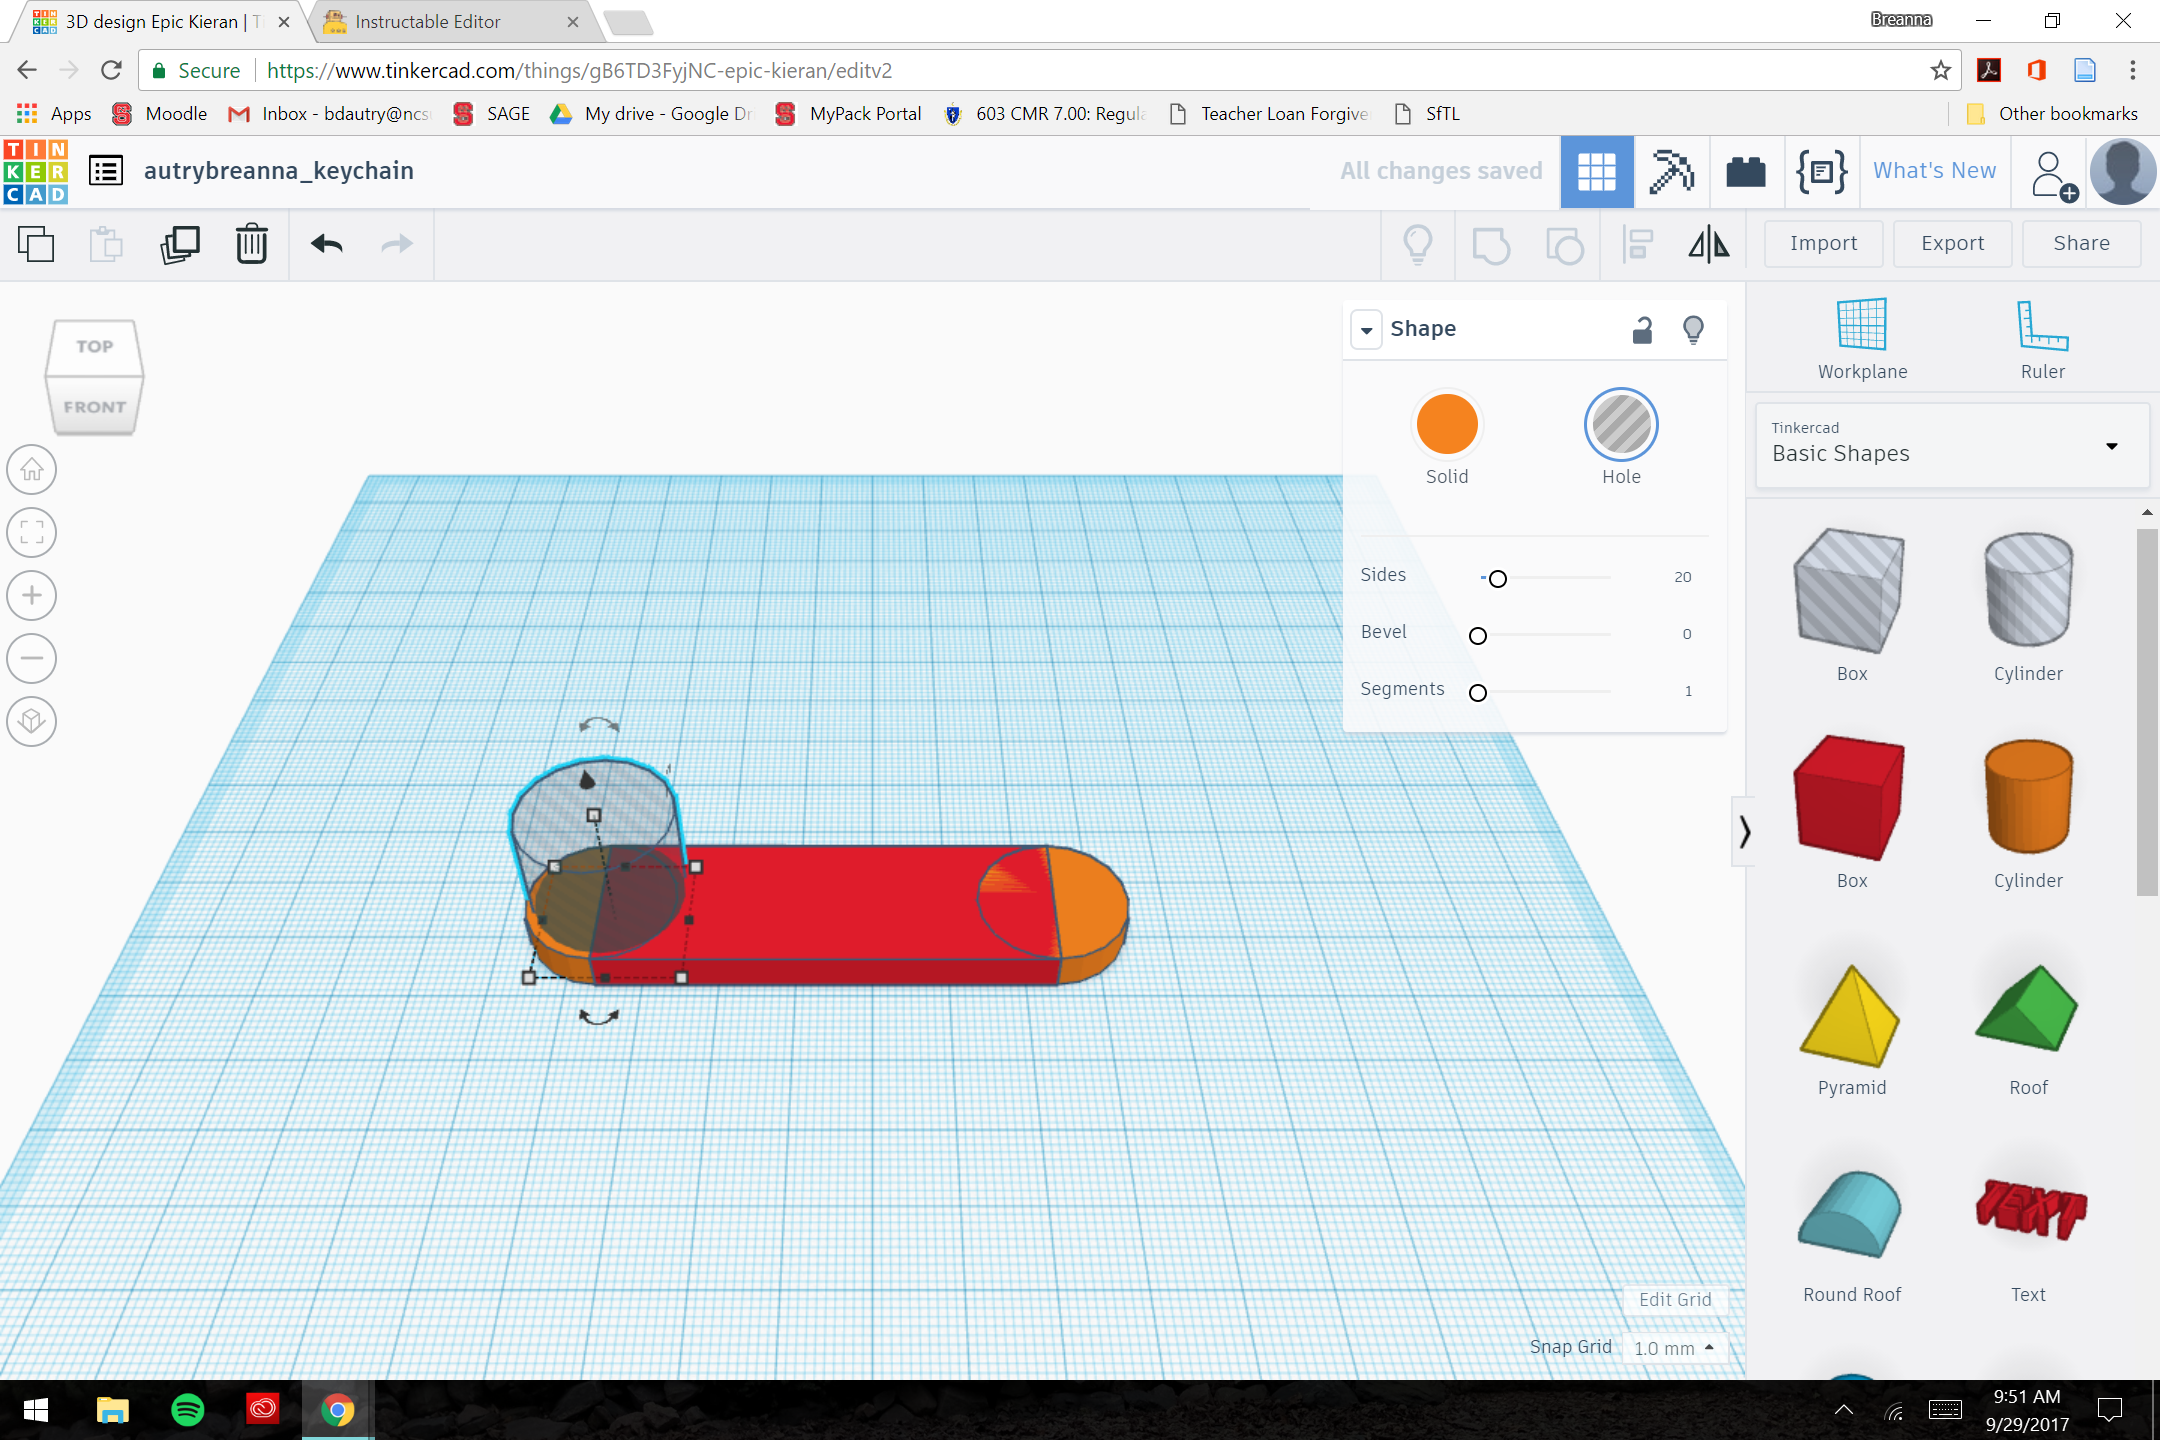
Click on the grayed-out cylinder on the Shape Menu and drag to the working space.
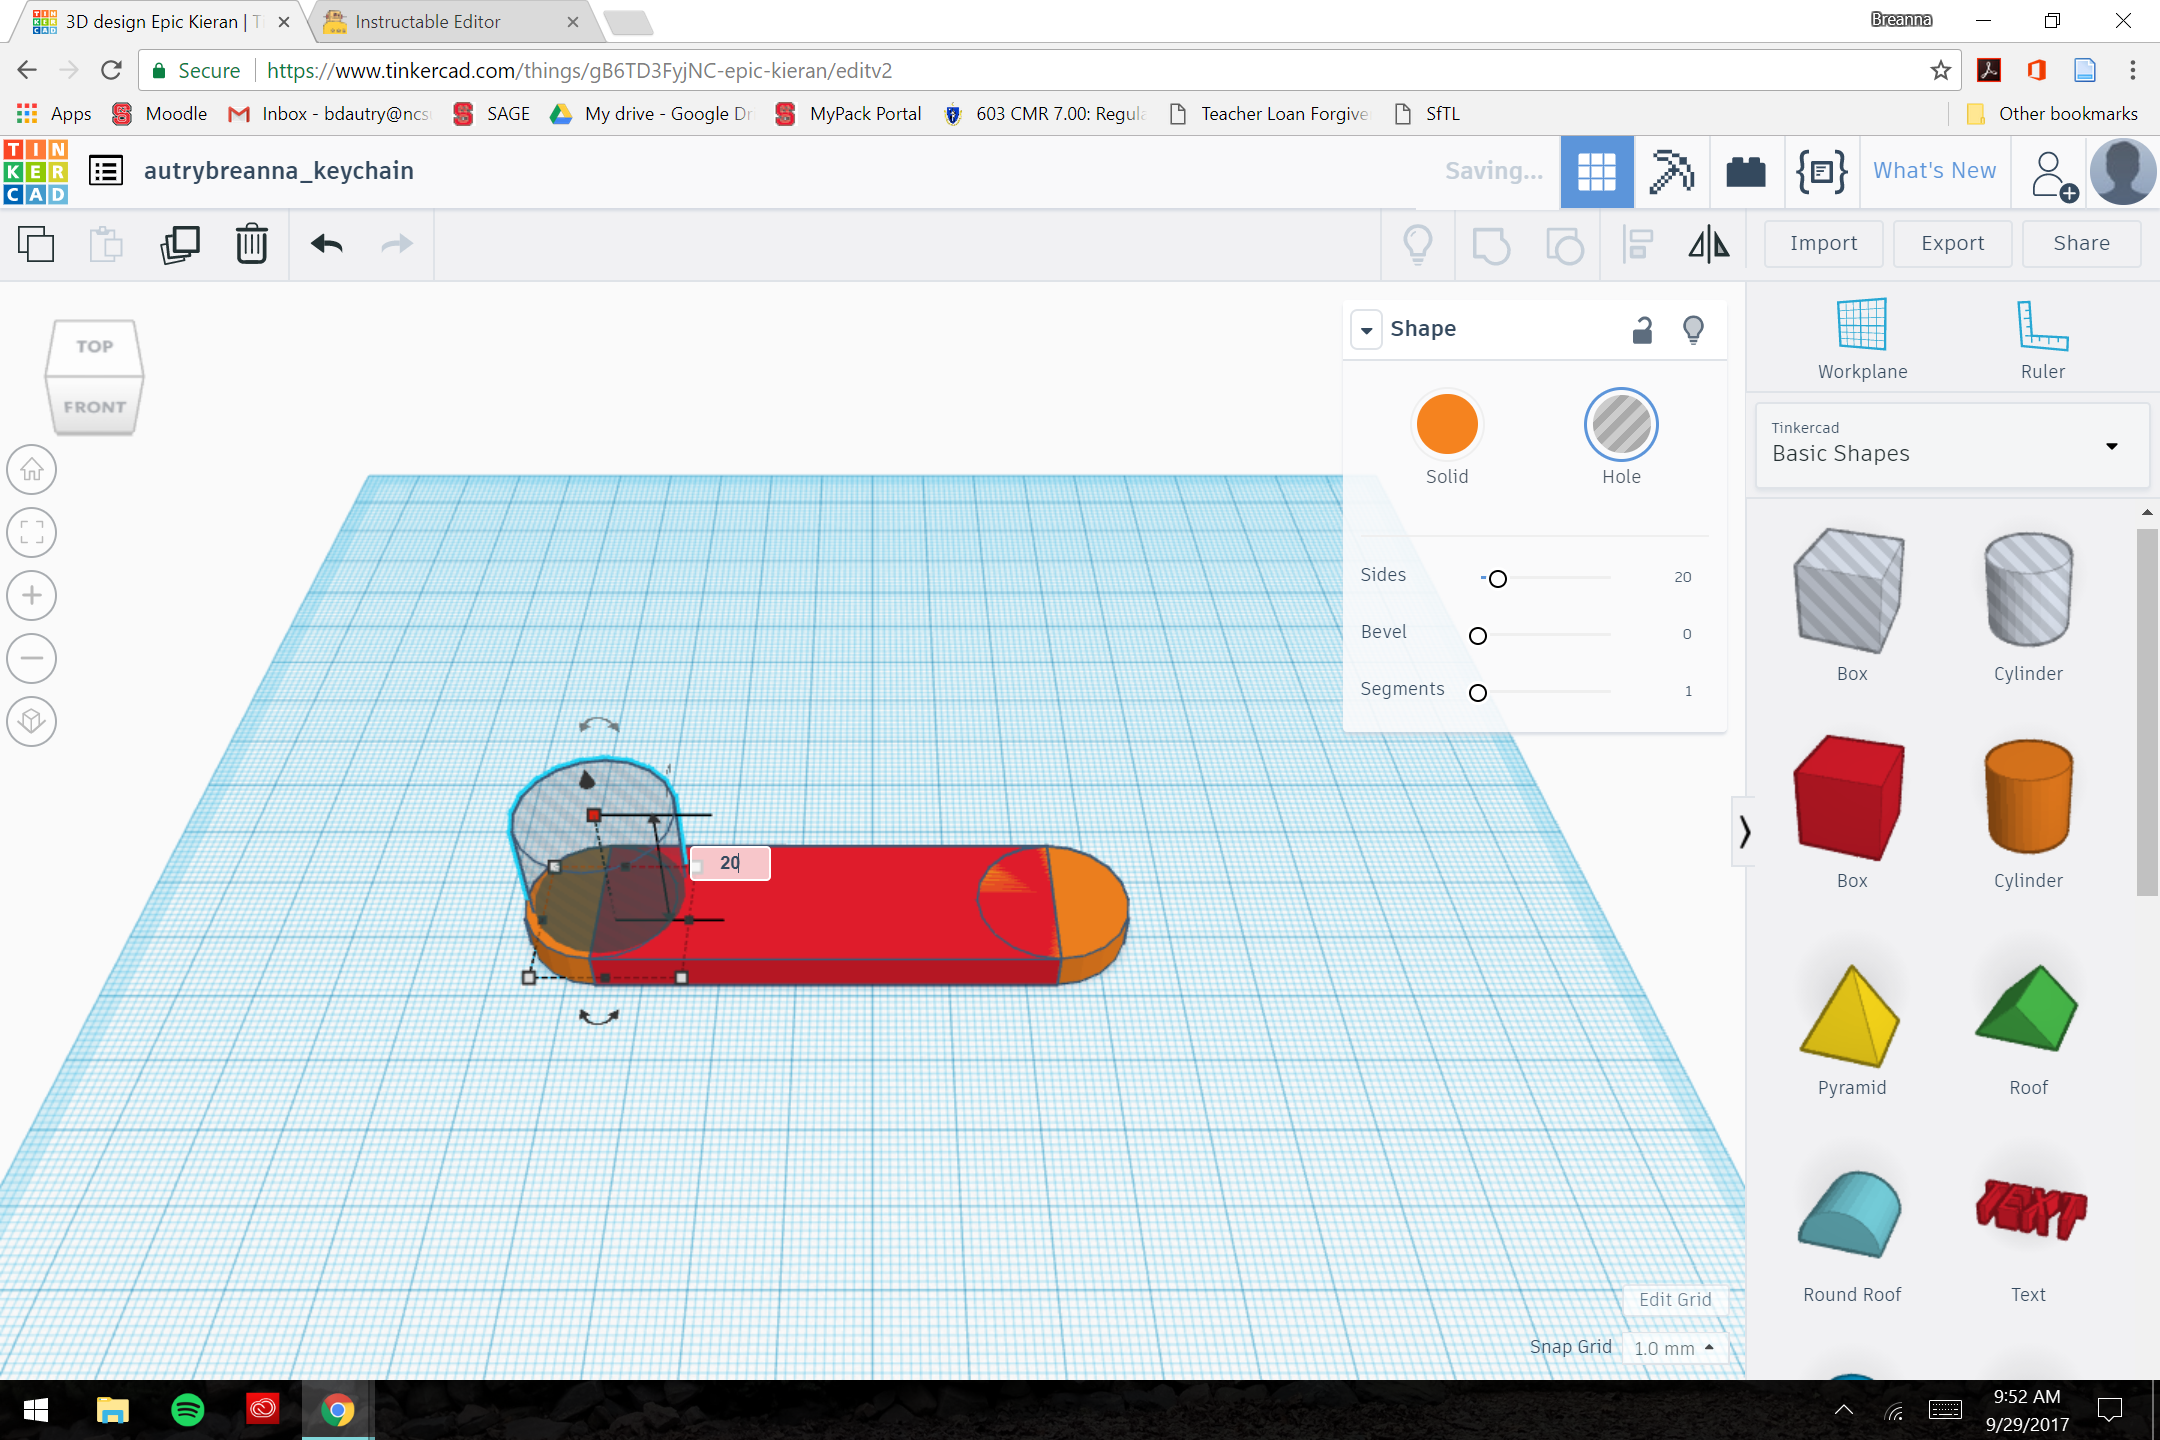
Like previously done, adjust the height of the gray cylinder to 5.
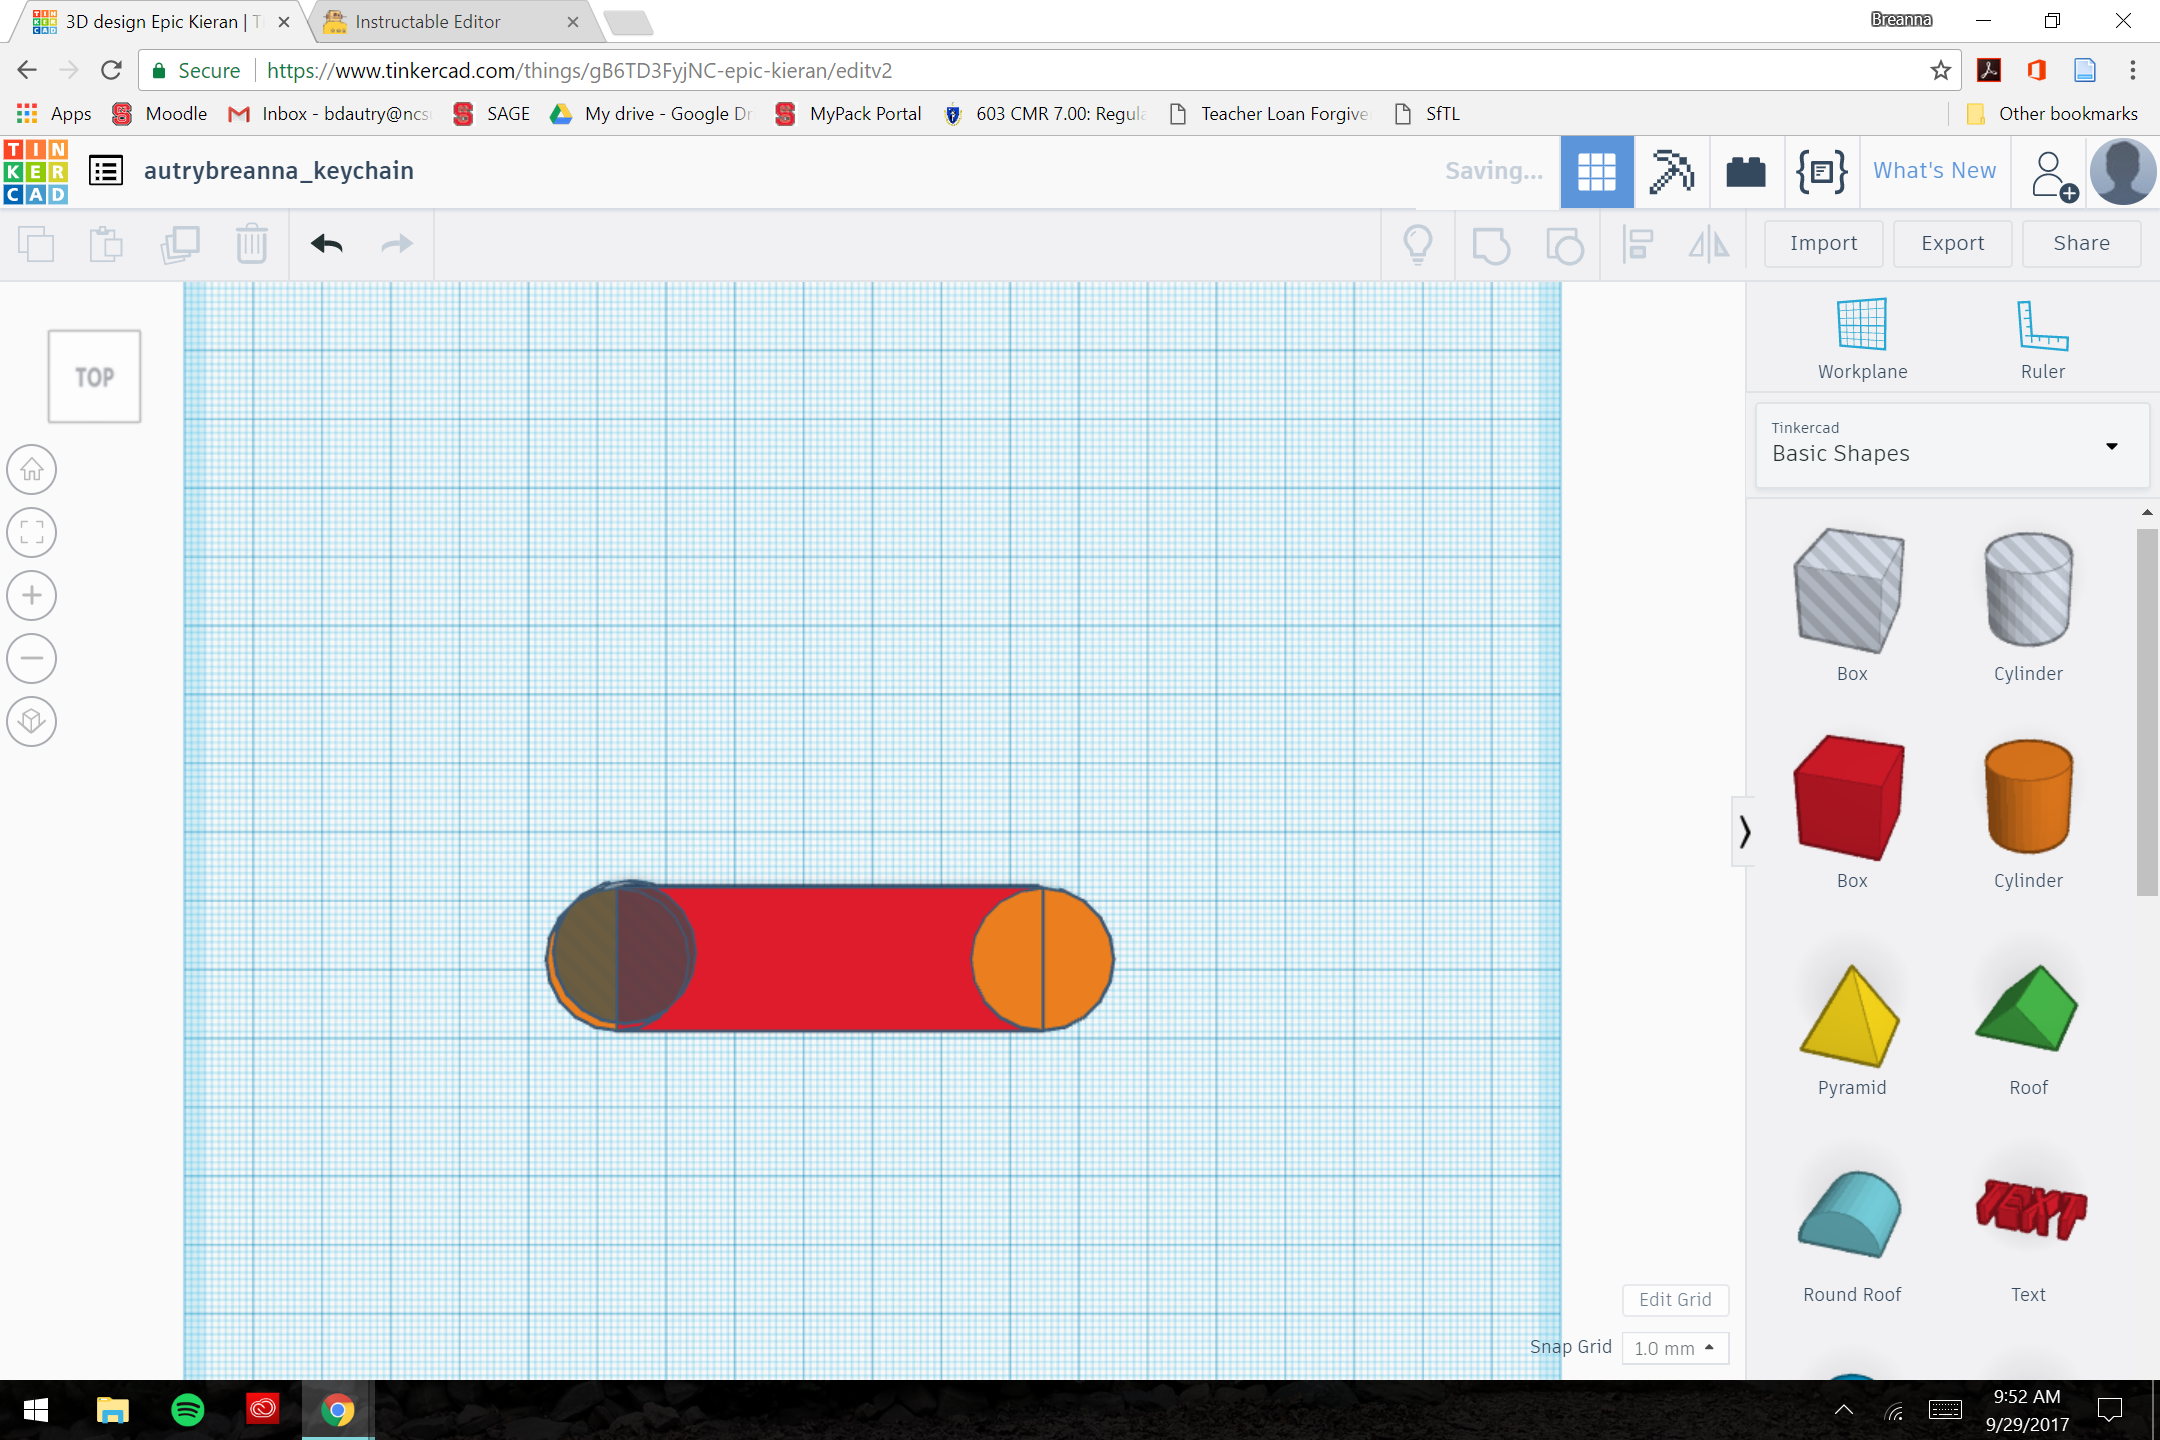
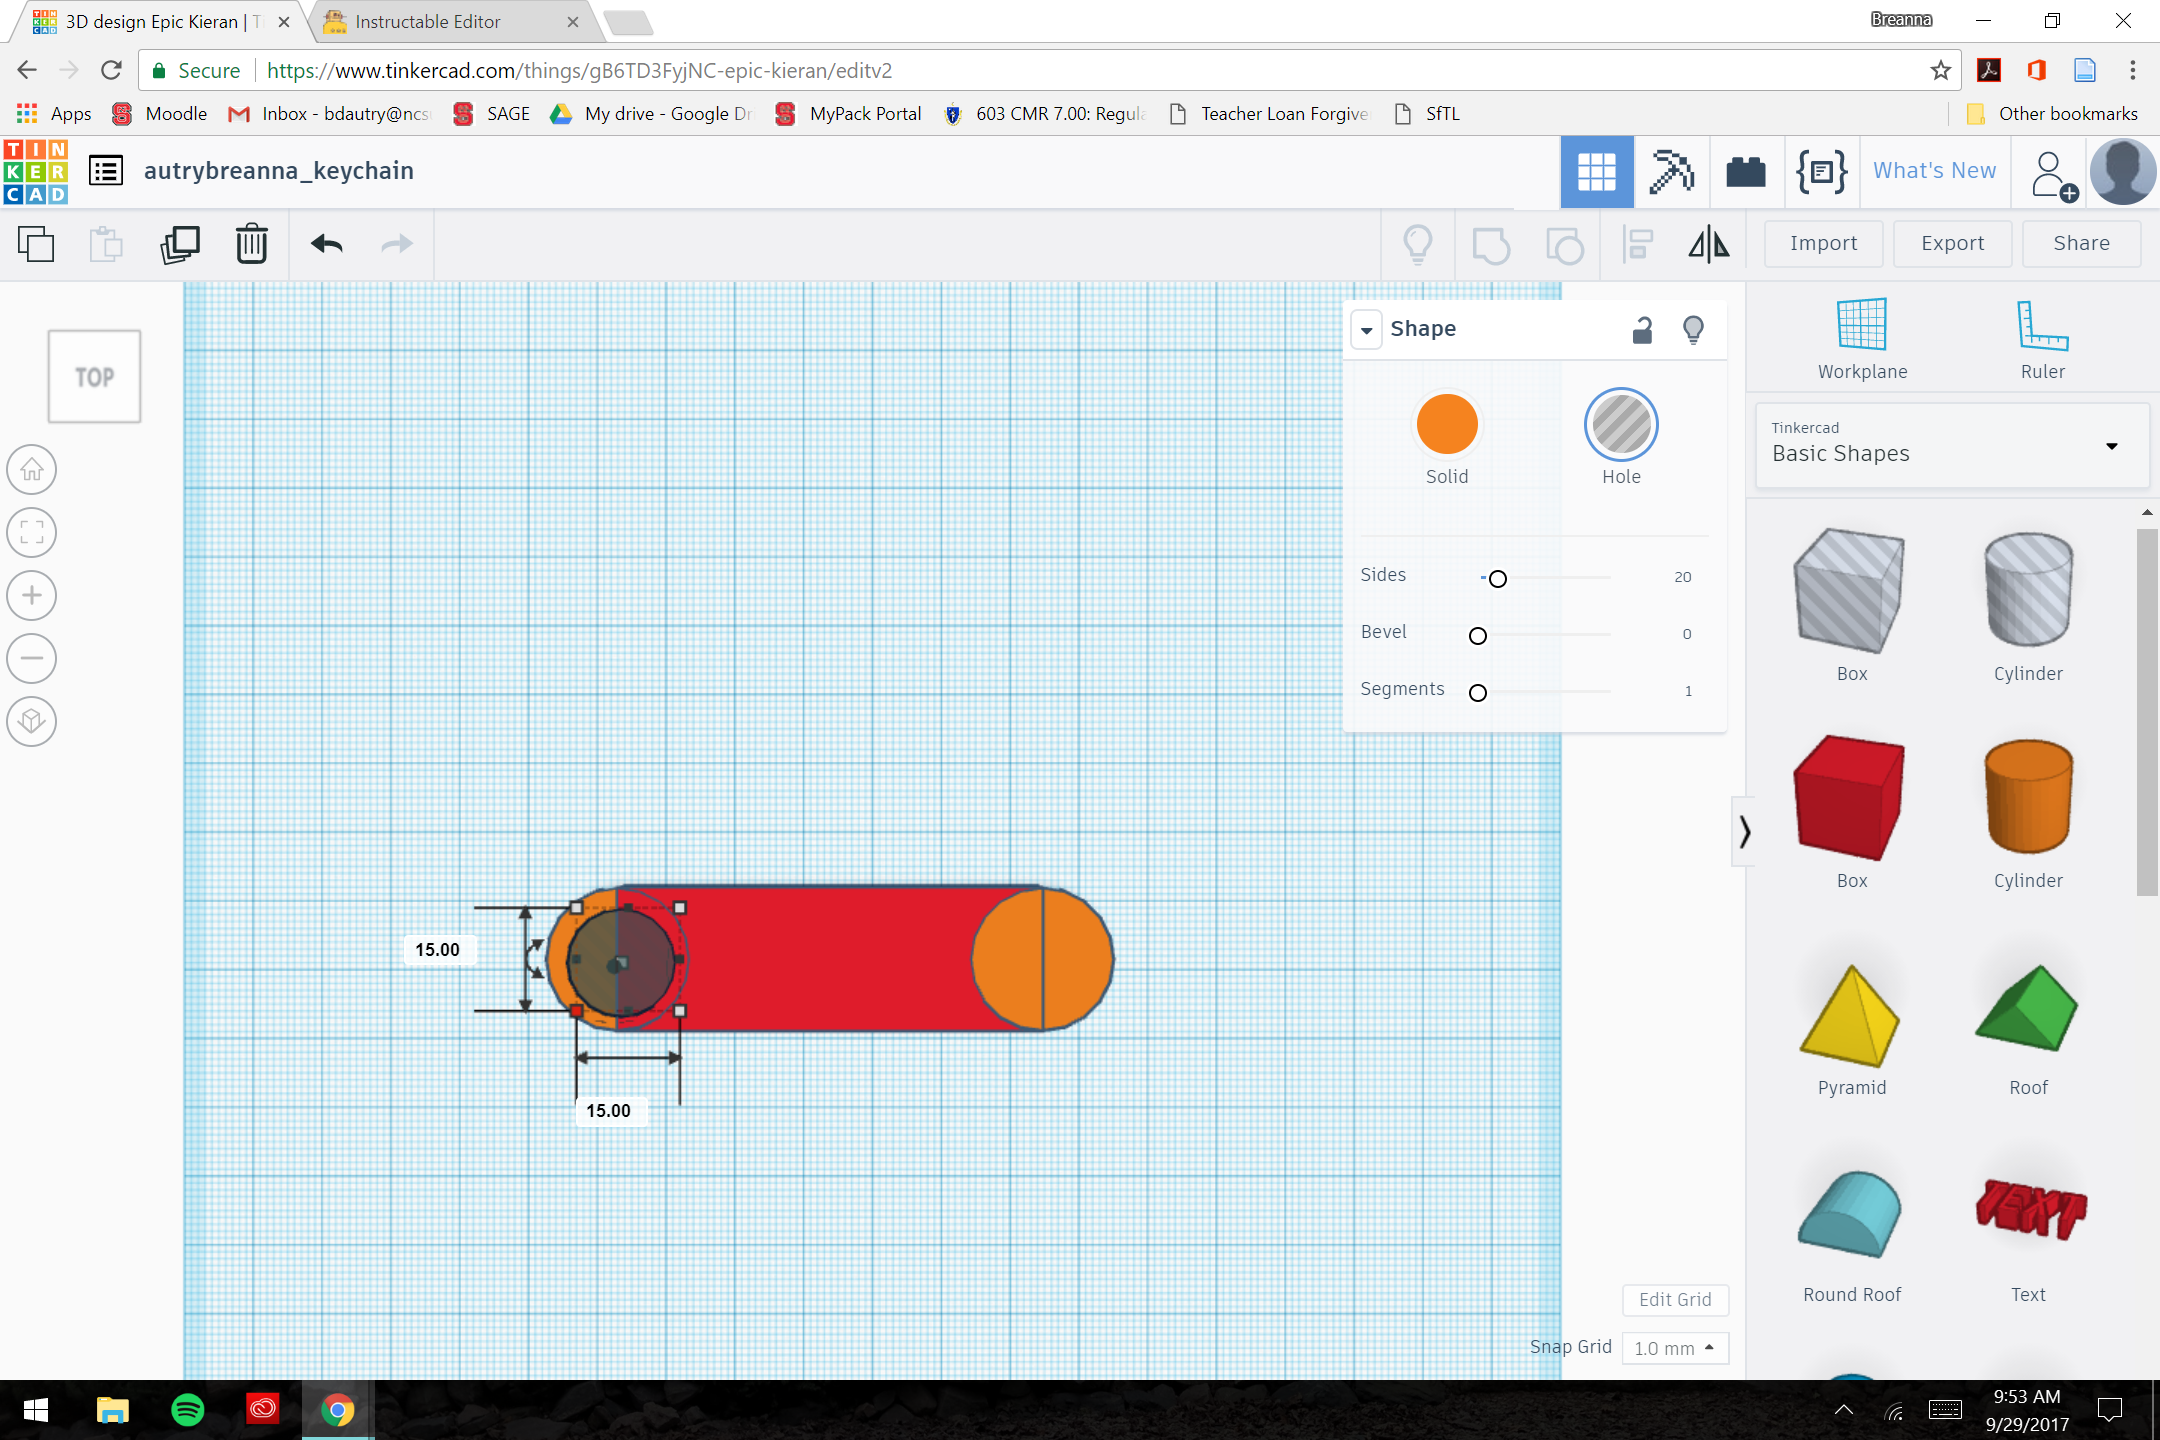
Move to the top view and adjust the circle's length and width dimensions to 15.
Center the smaller circle inside the larger circle.
Add Letters to Your Key Chain.
.png)
.png)
.png)
.png)
.png)
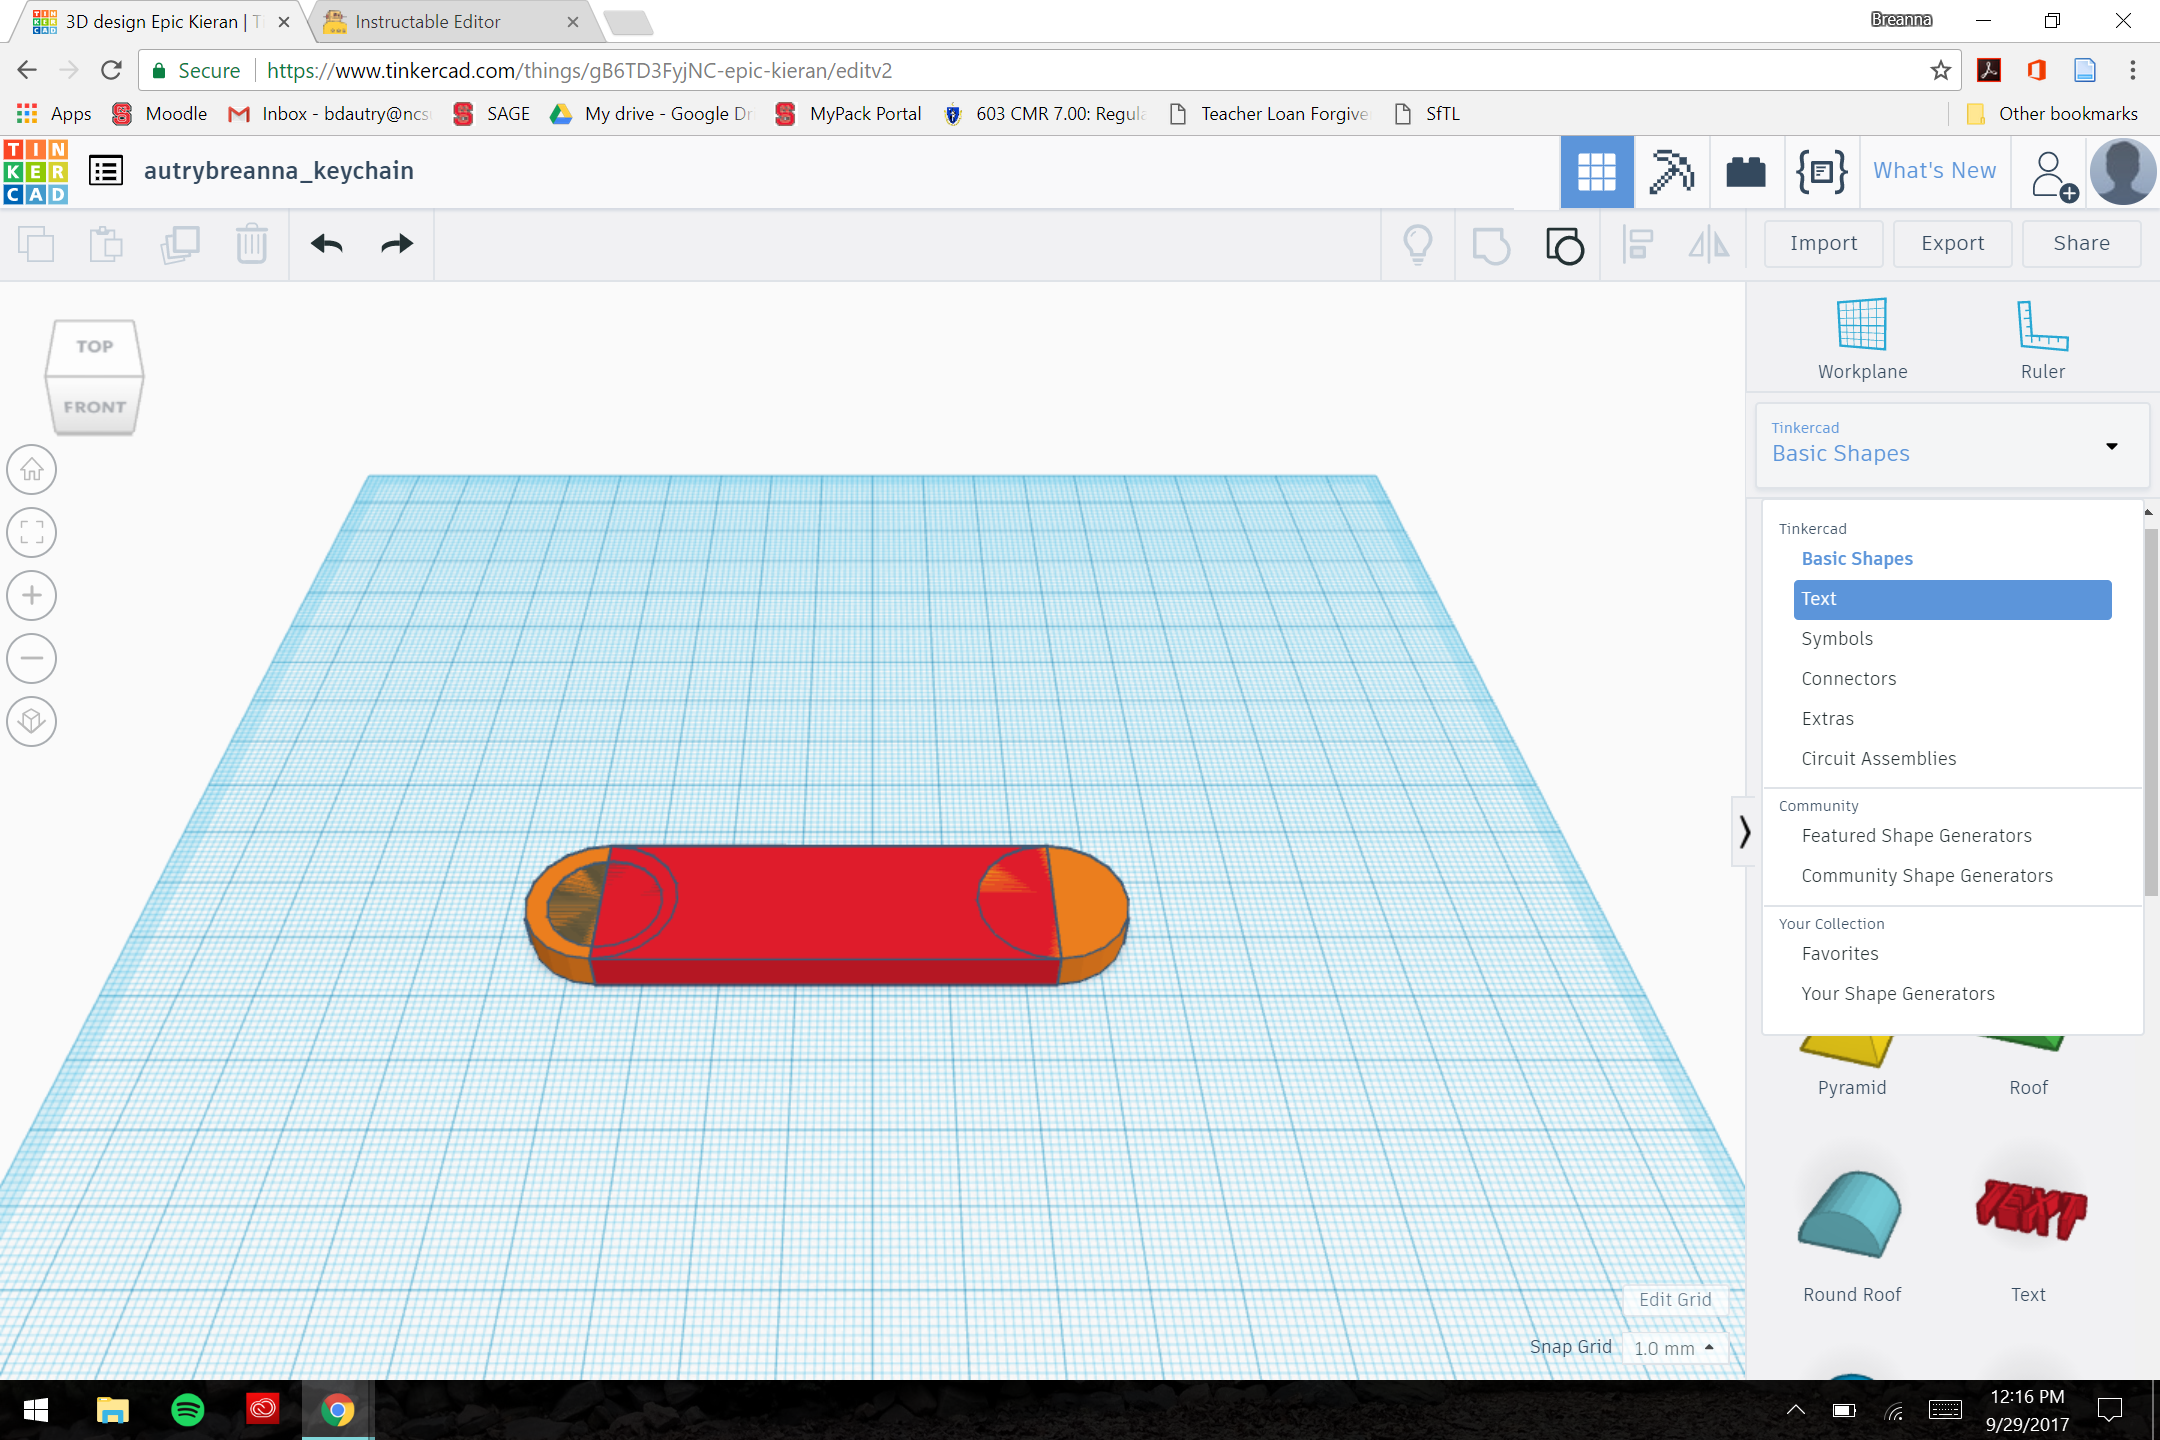
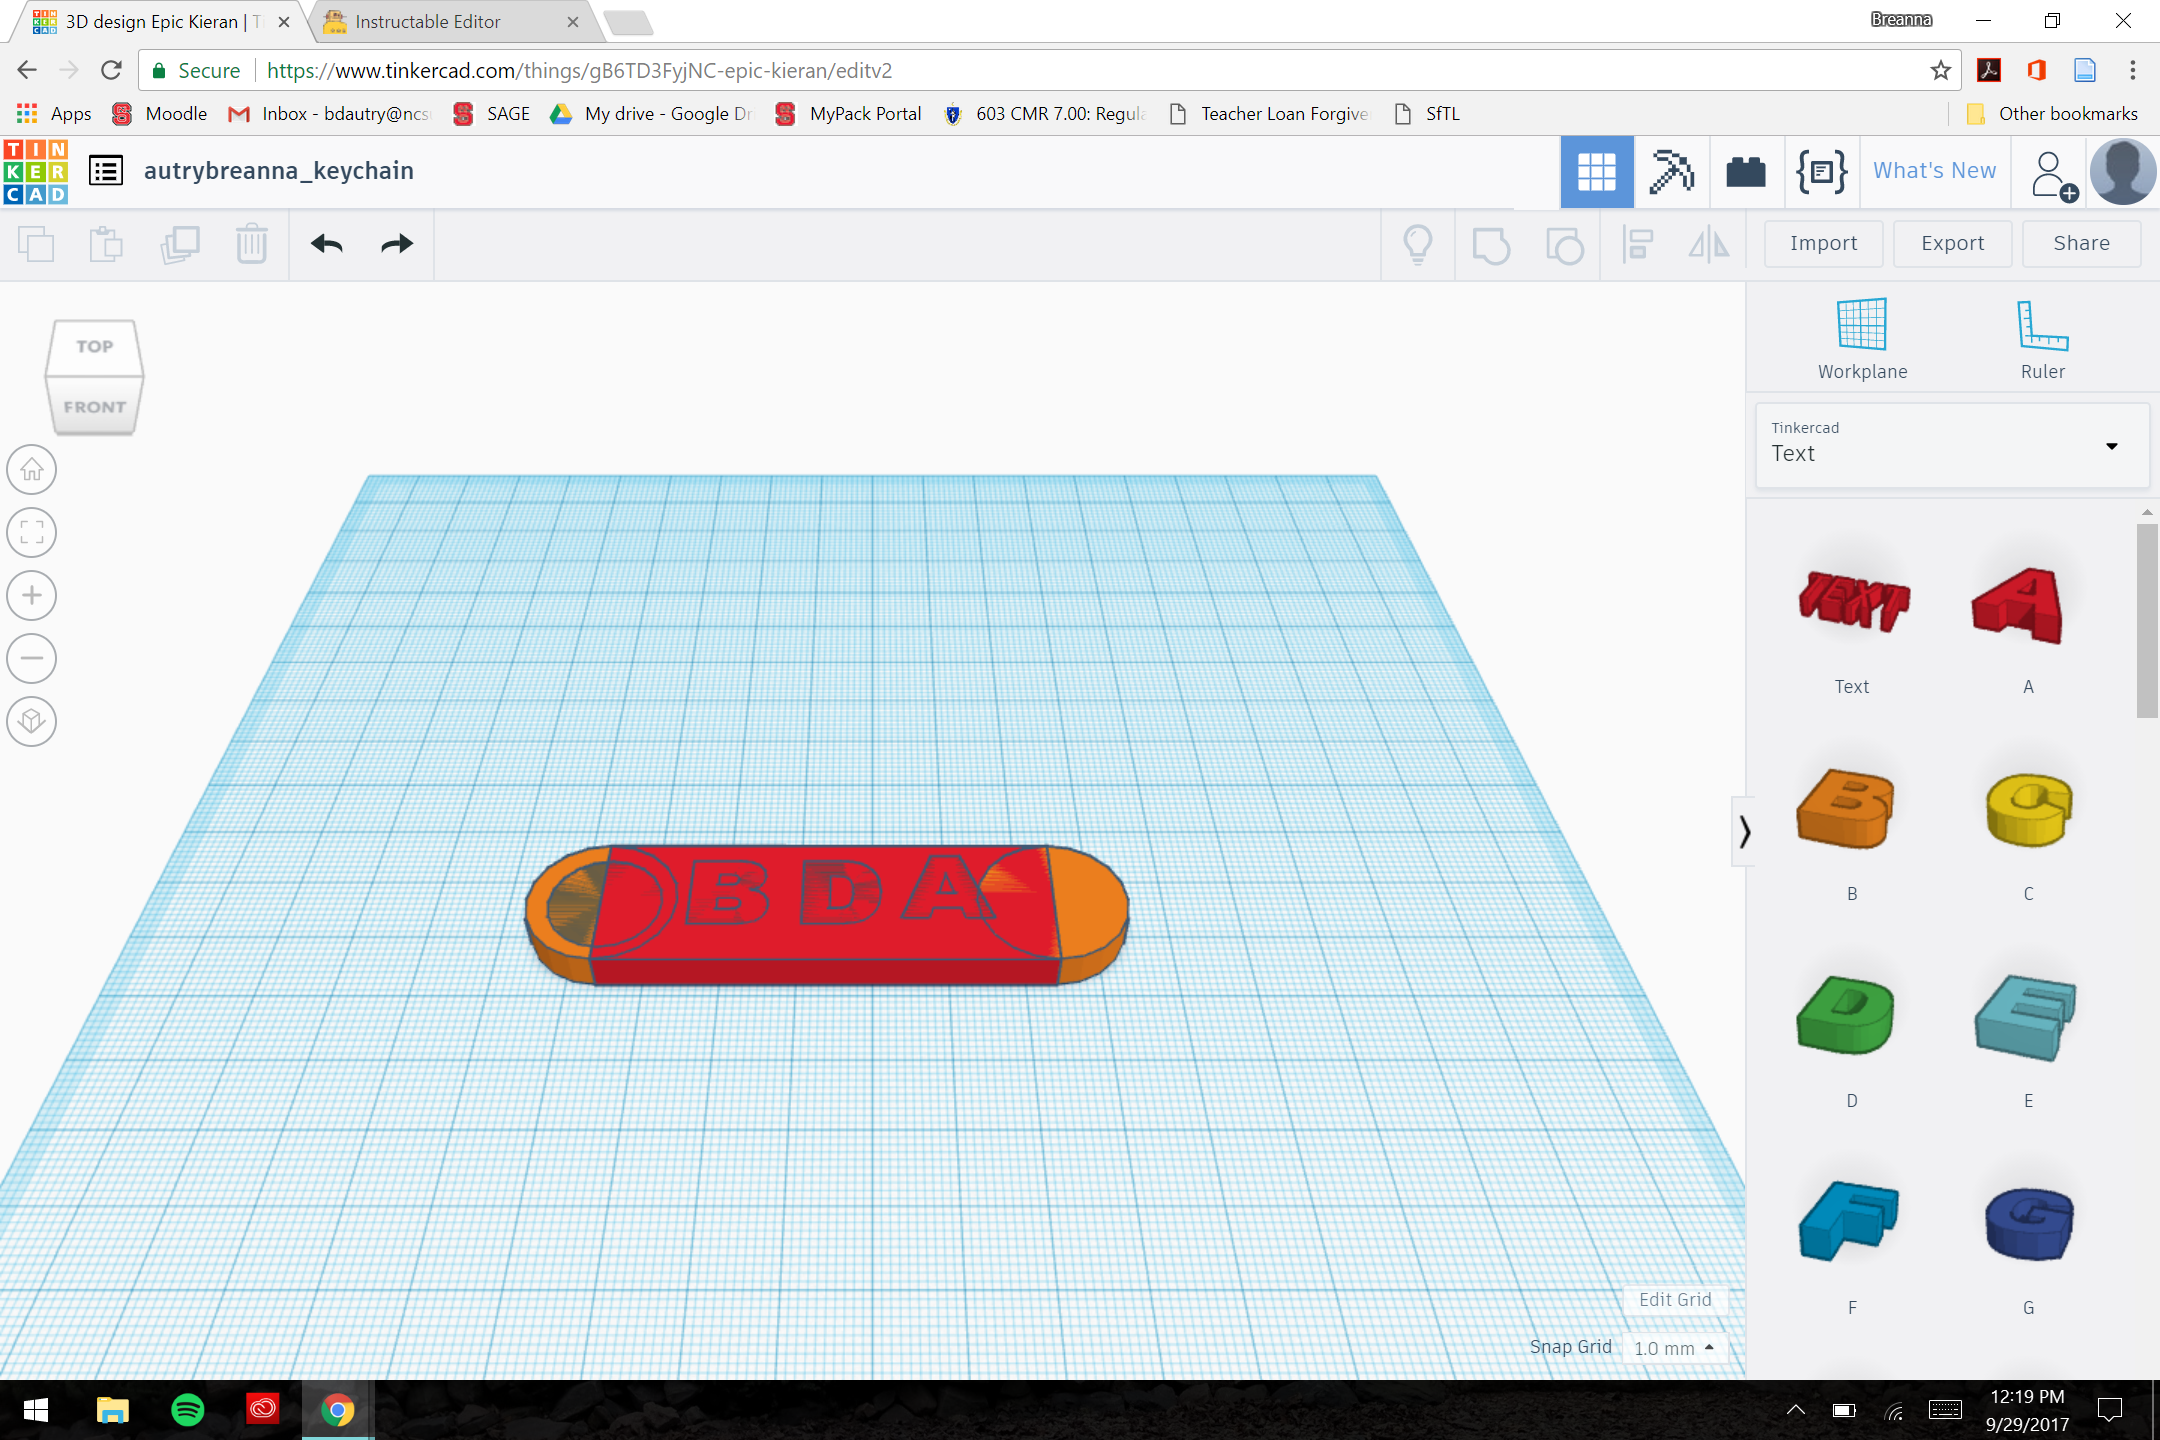
On the right side of the screen click on the button that says Basic Shapes.
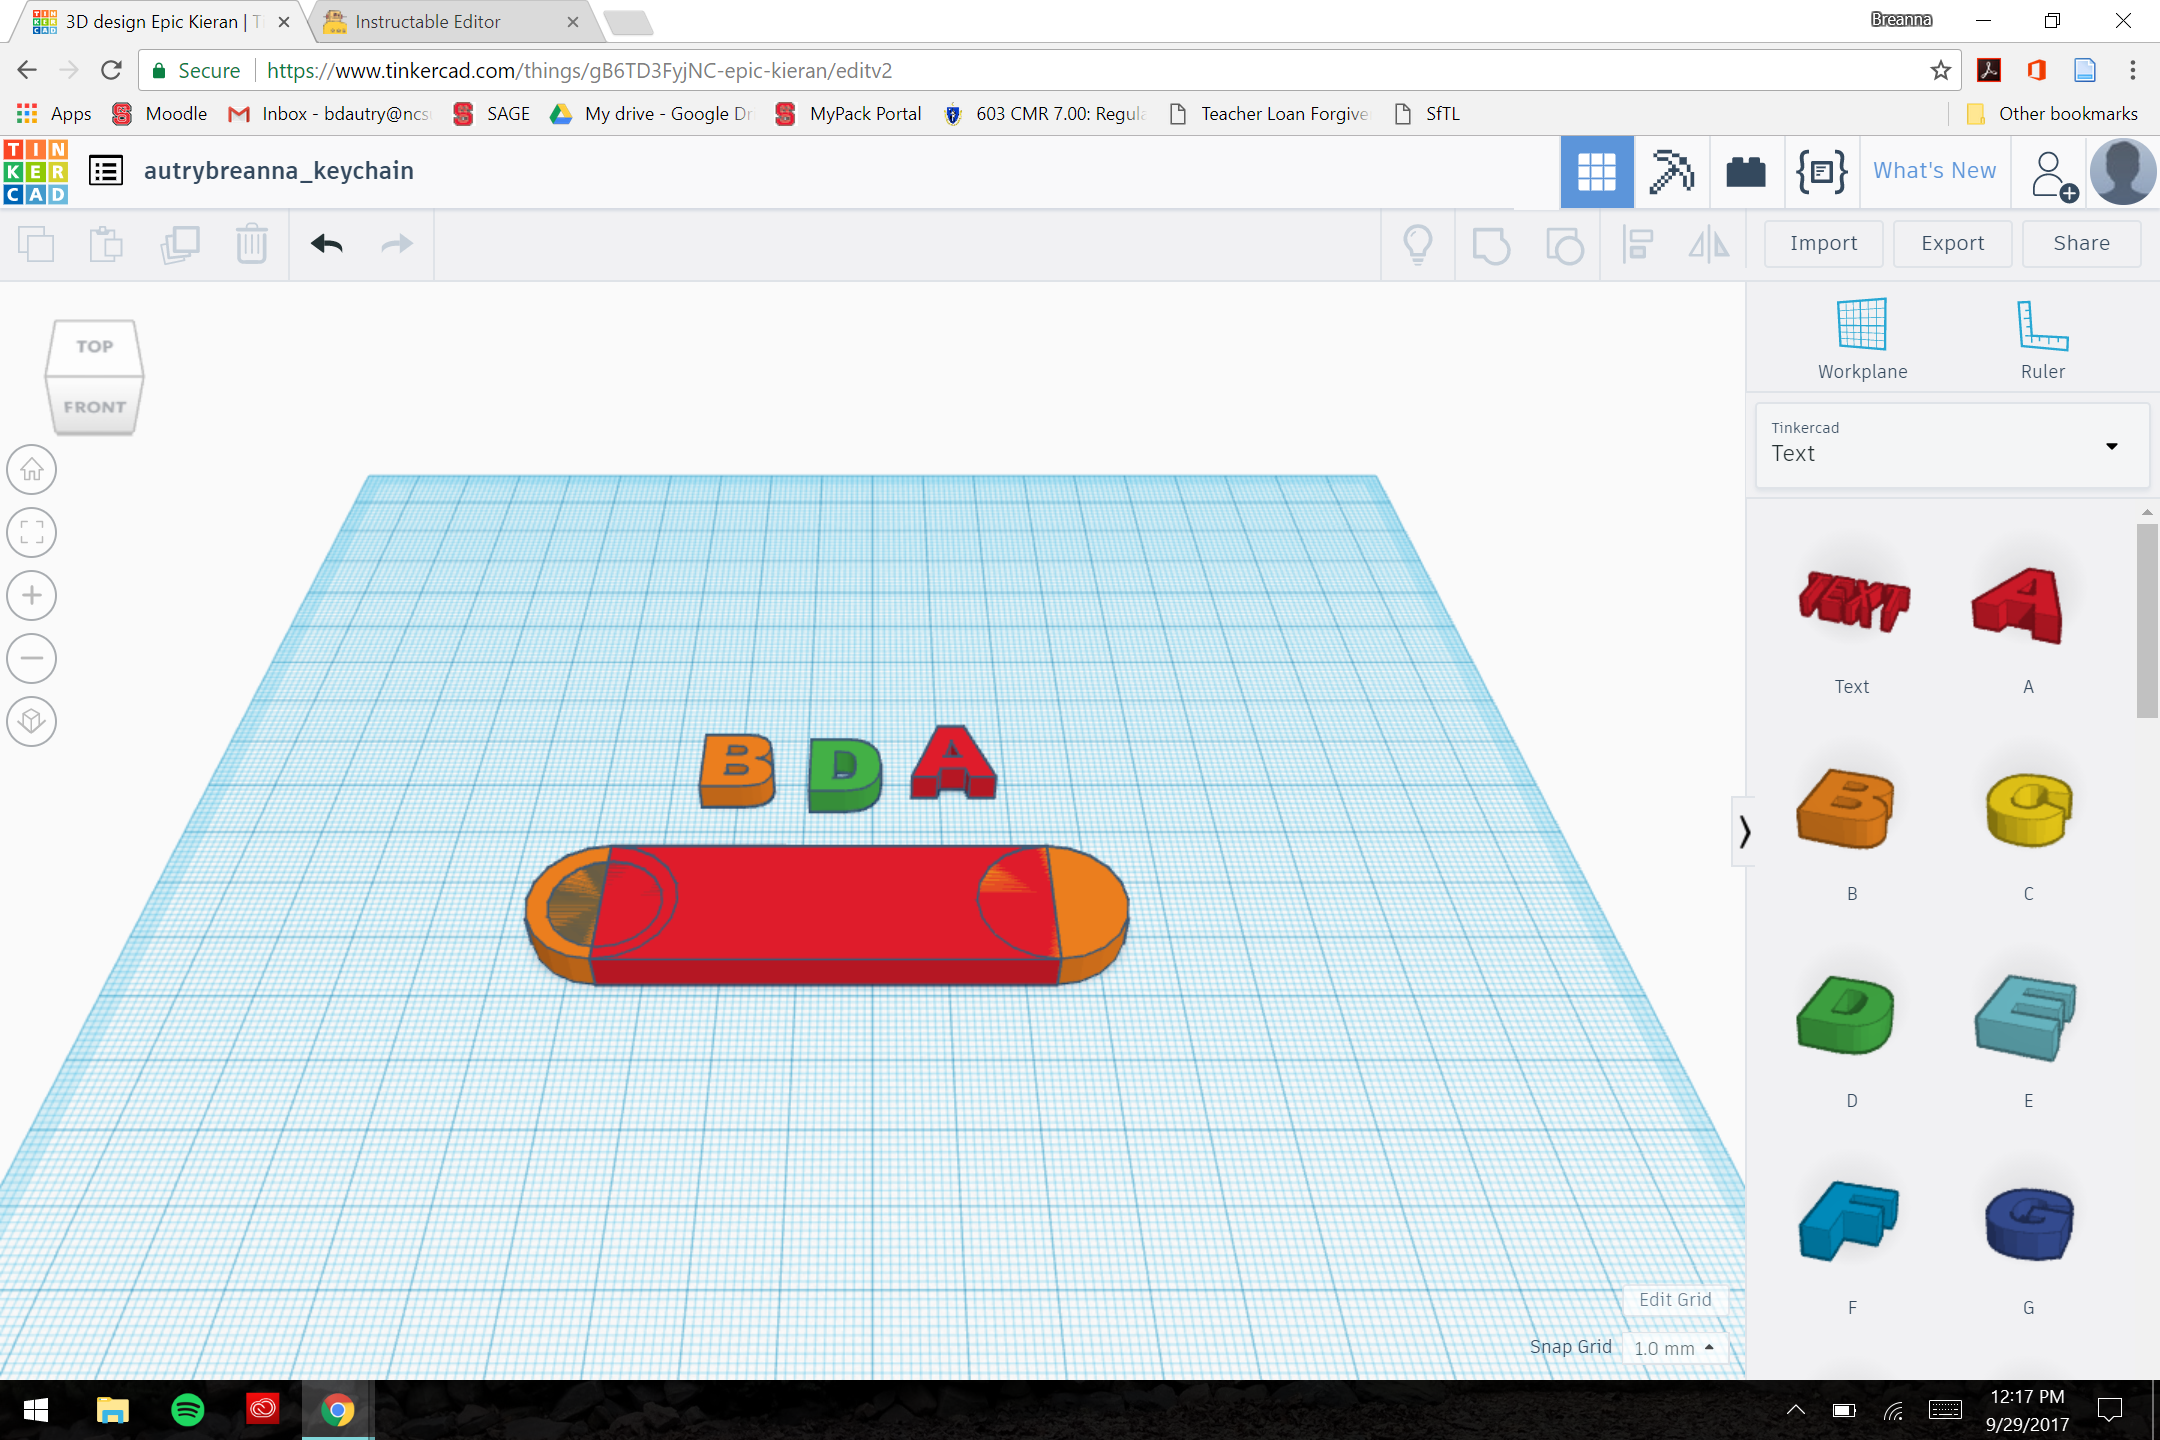
When the menu drops down choose Text.
Drag the letters that make up your name or your initials, whichever you prefer.
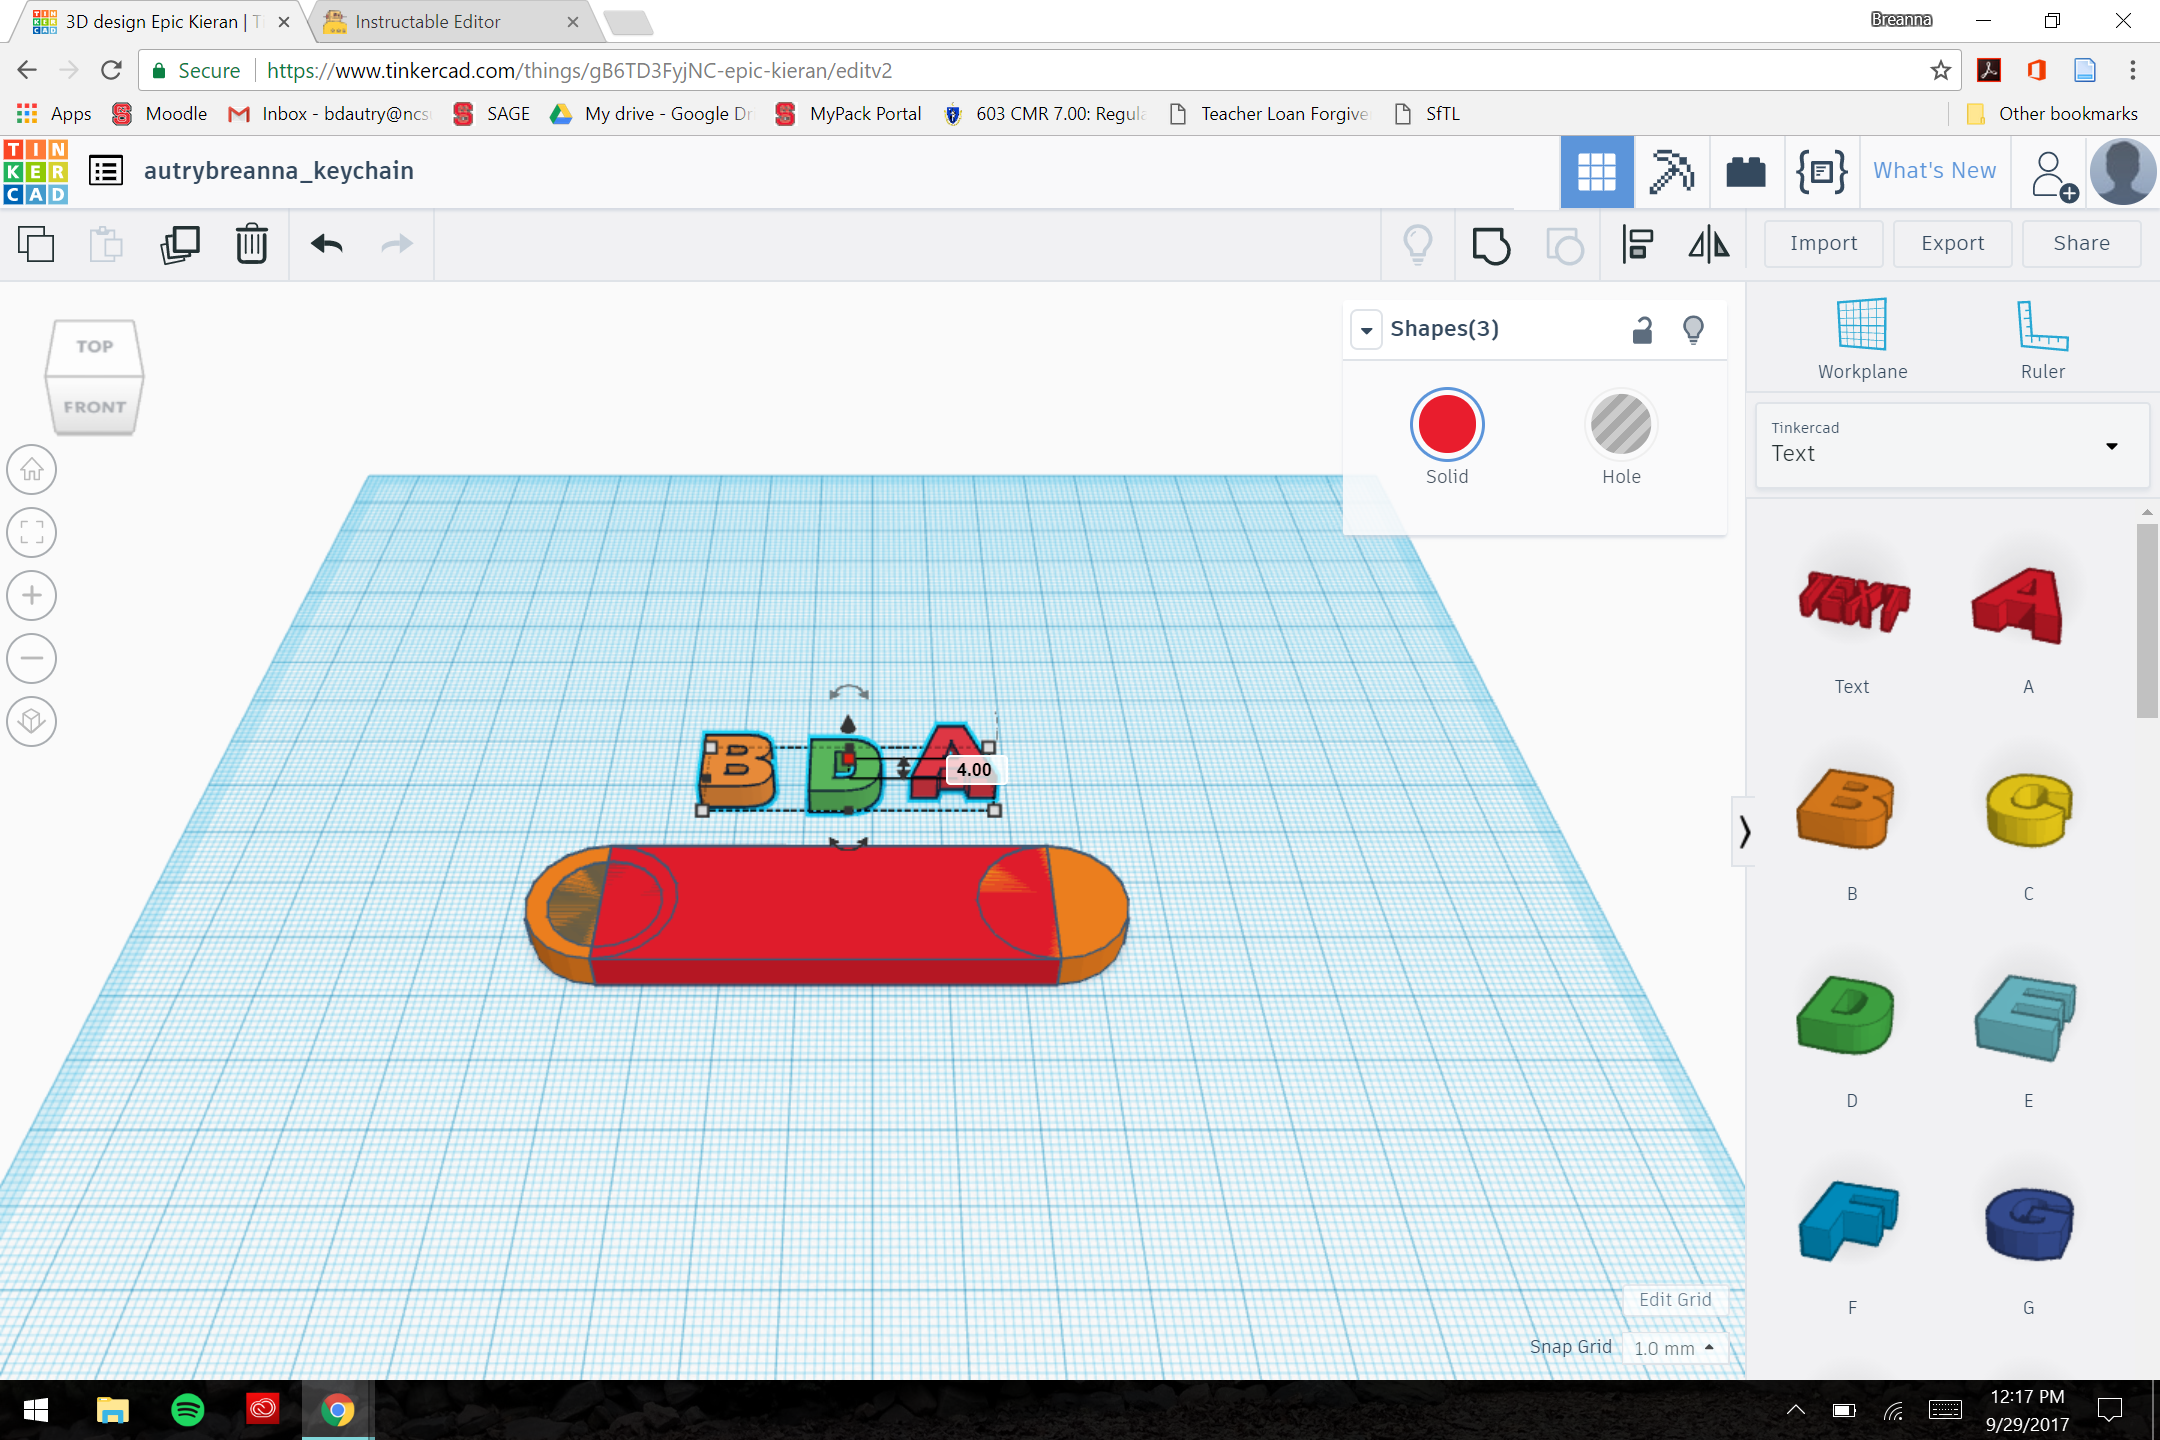
Once you have your letters lined up above the keychain base, select all of the letters at once.
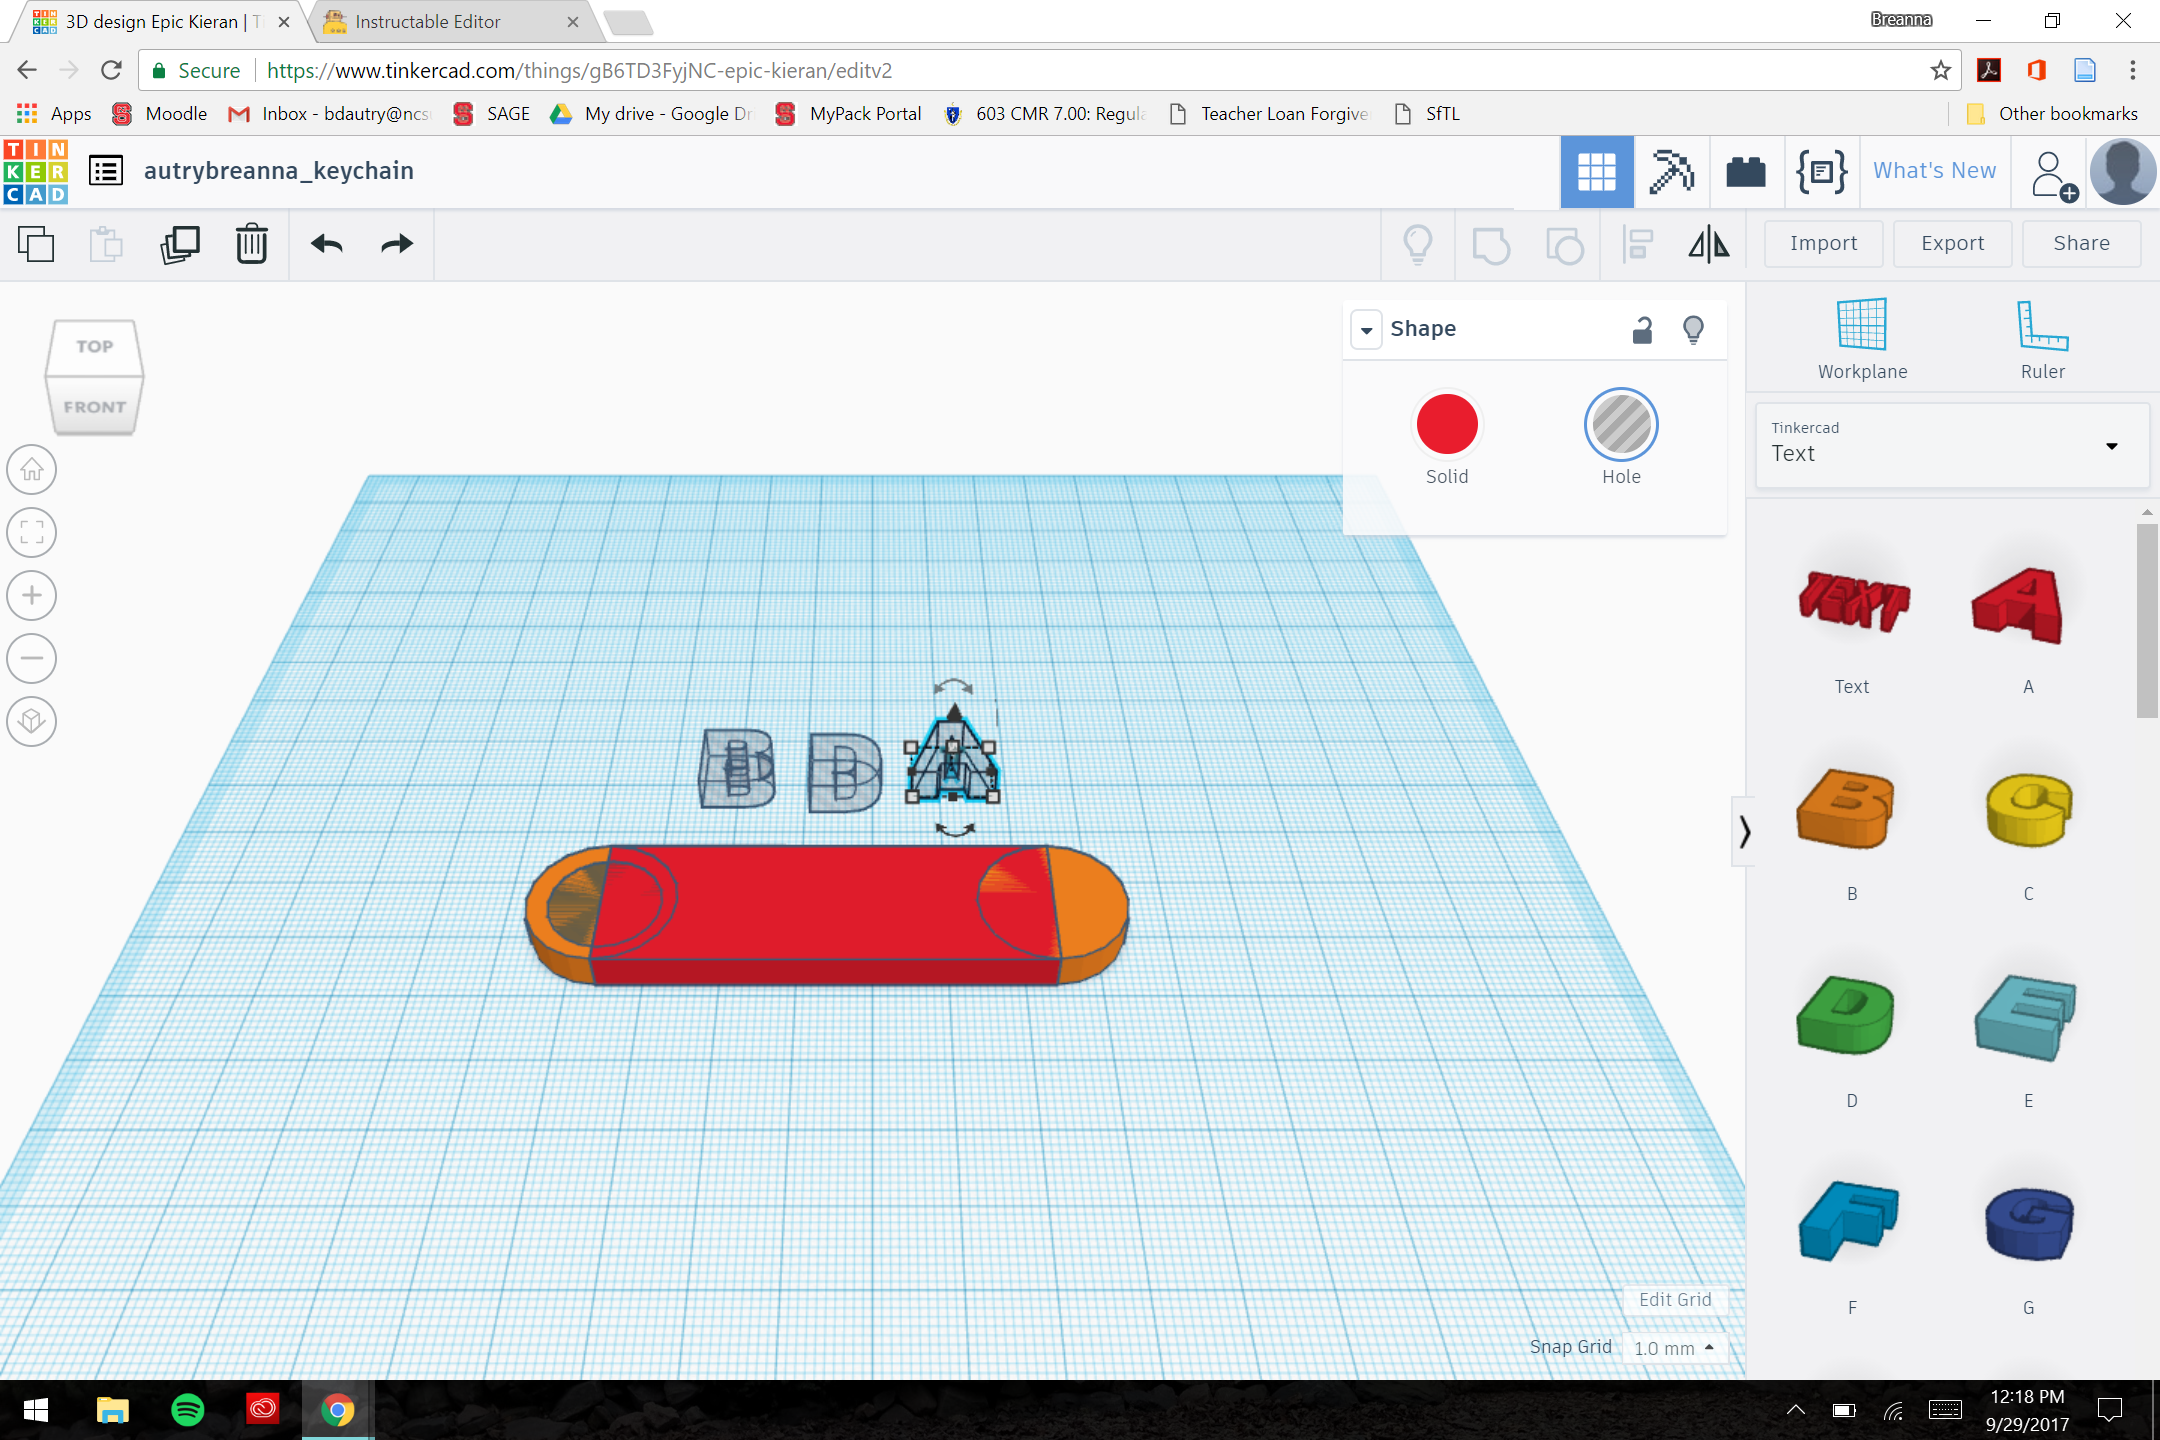
Adjust the height of all the letters to 5 and on the right side of the screen select the button that says Hole.
You should notice all of the letters turn gray, you can then adjust them inside of your base.
Finalize Your Key Chain.
.png)
.png)
.png)
.png)
.png)
.png)
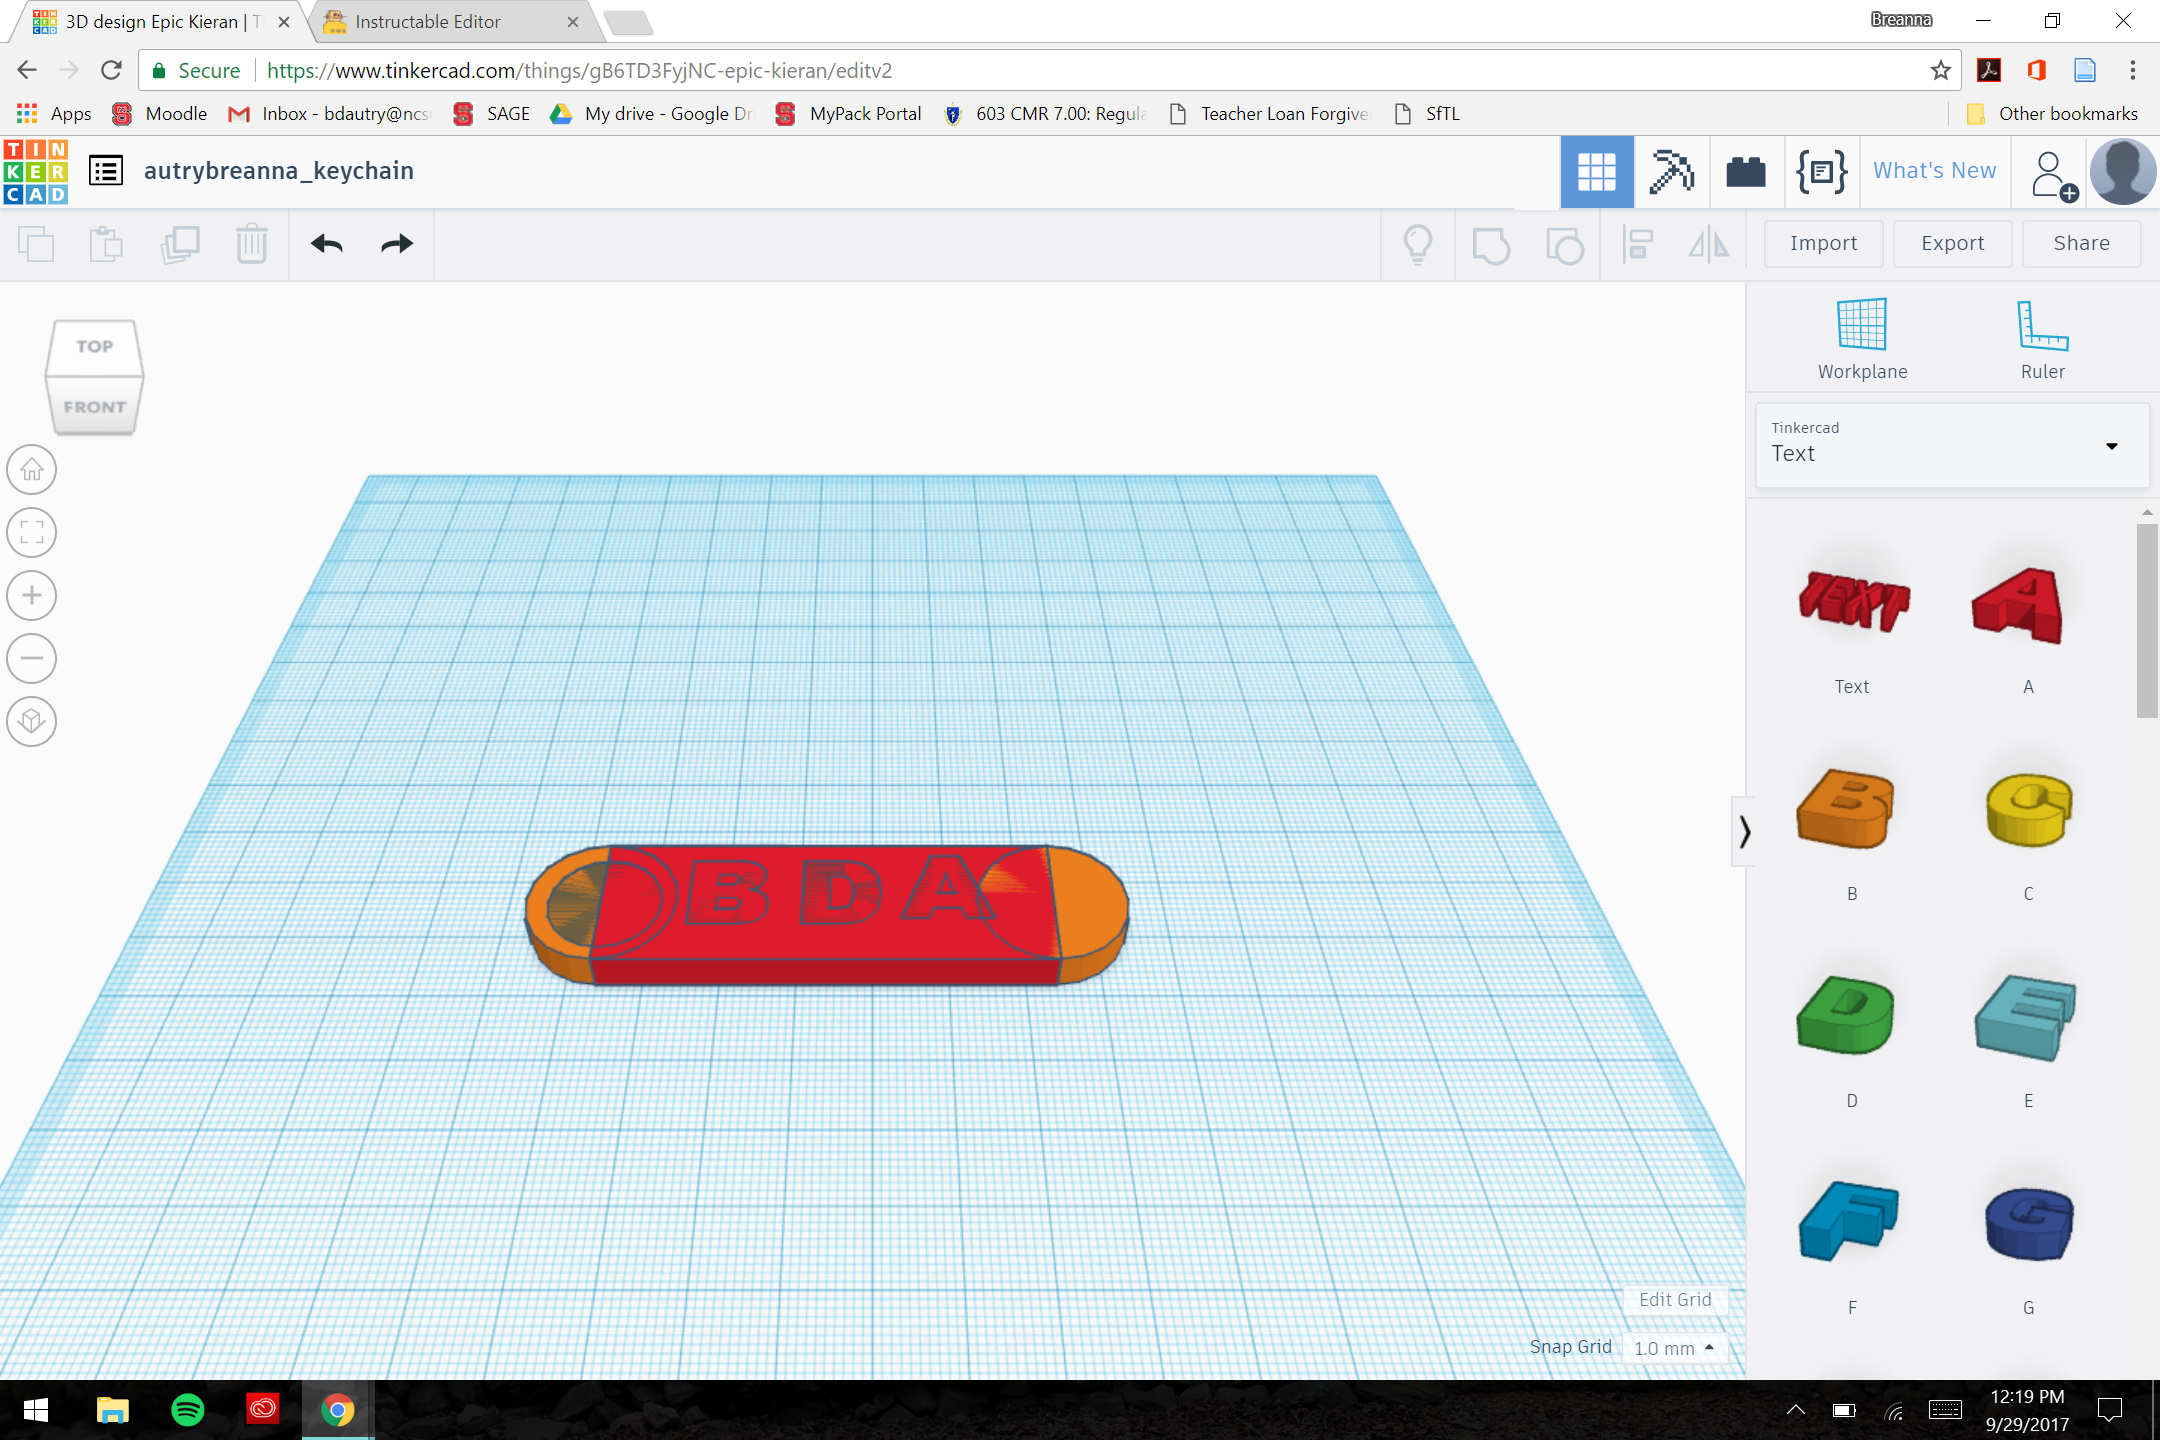
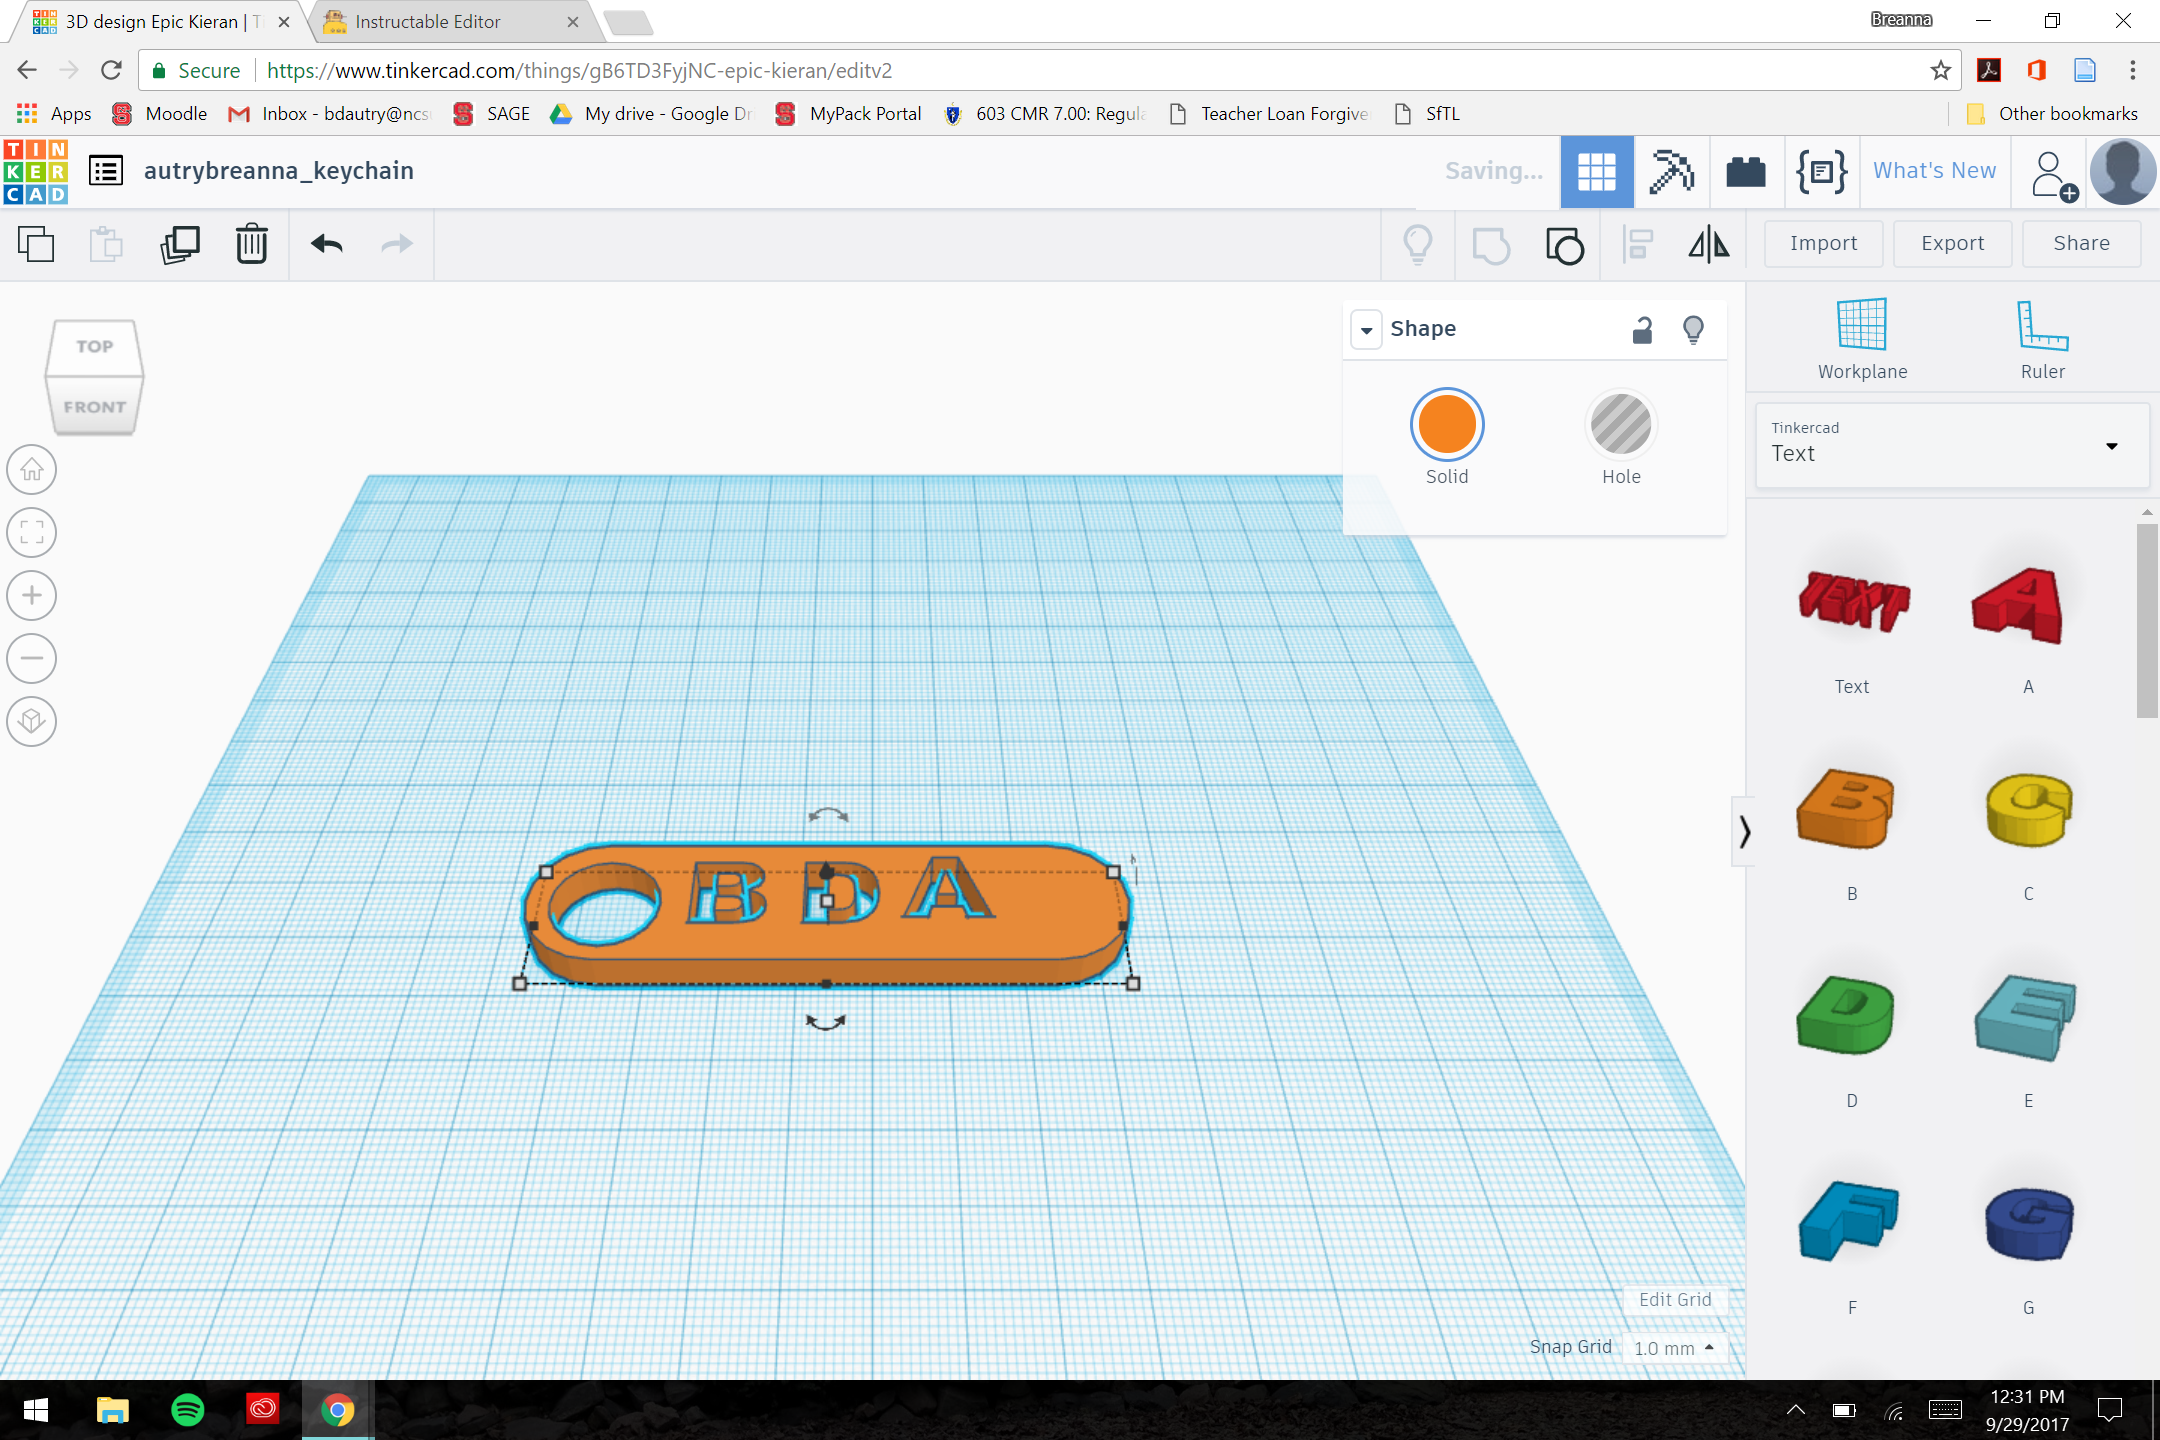
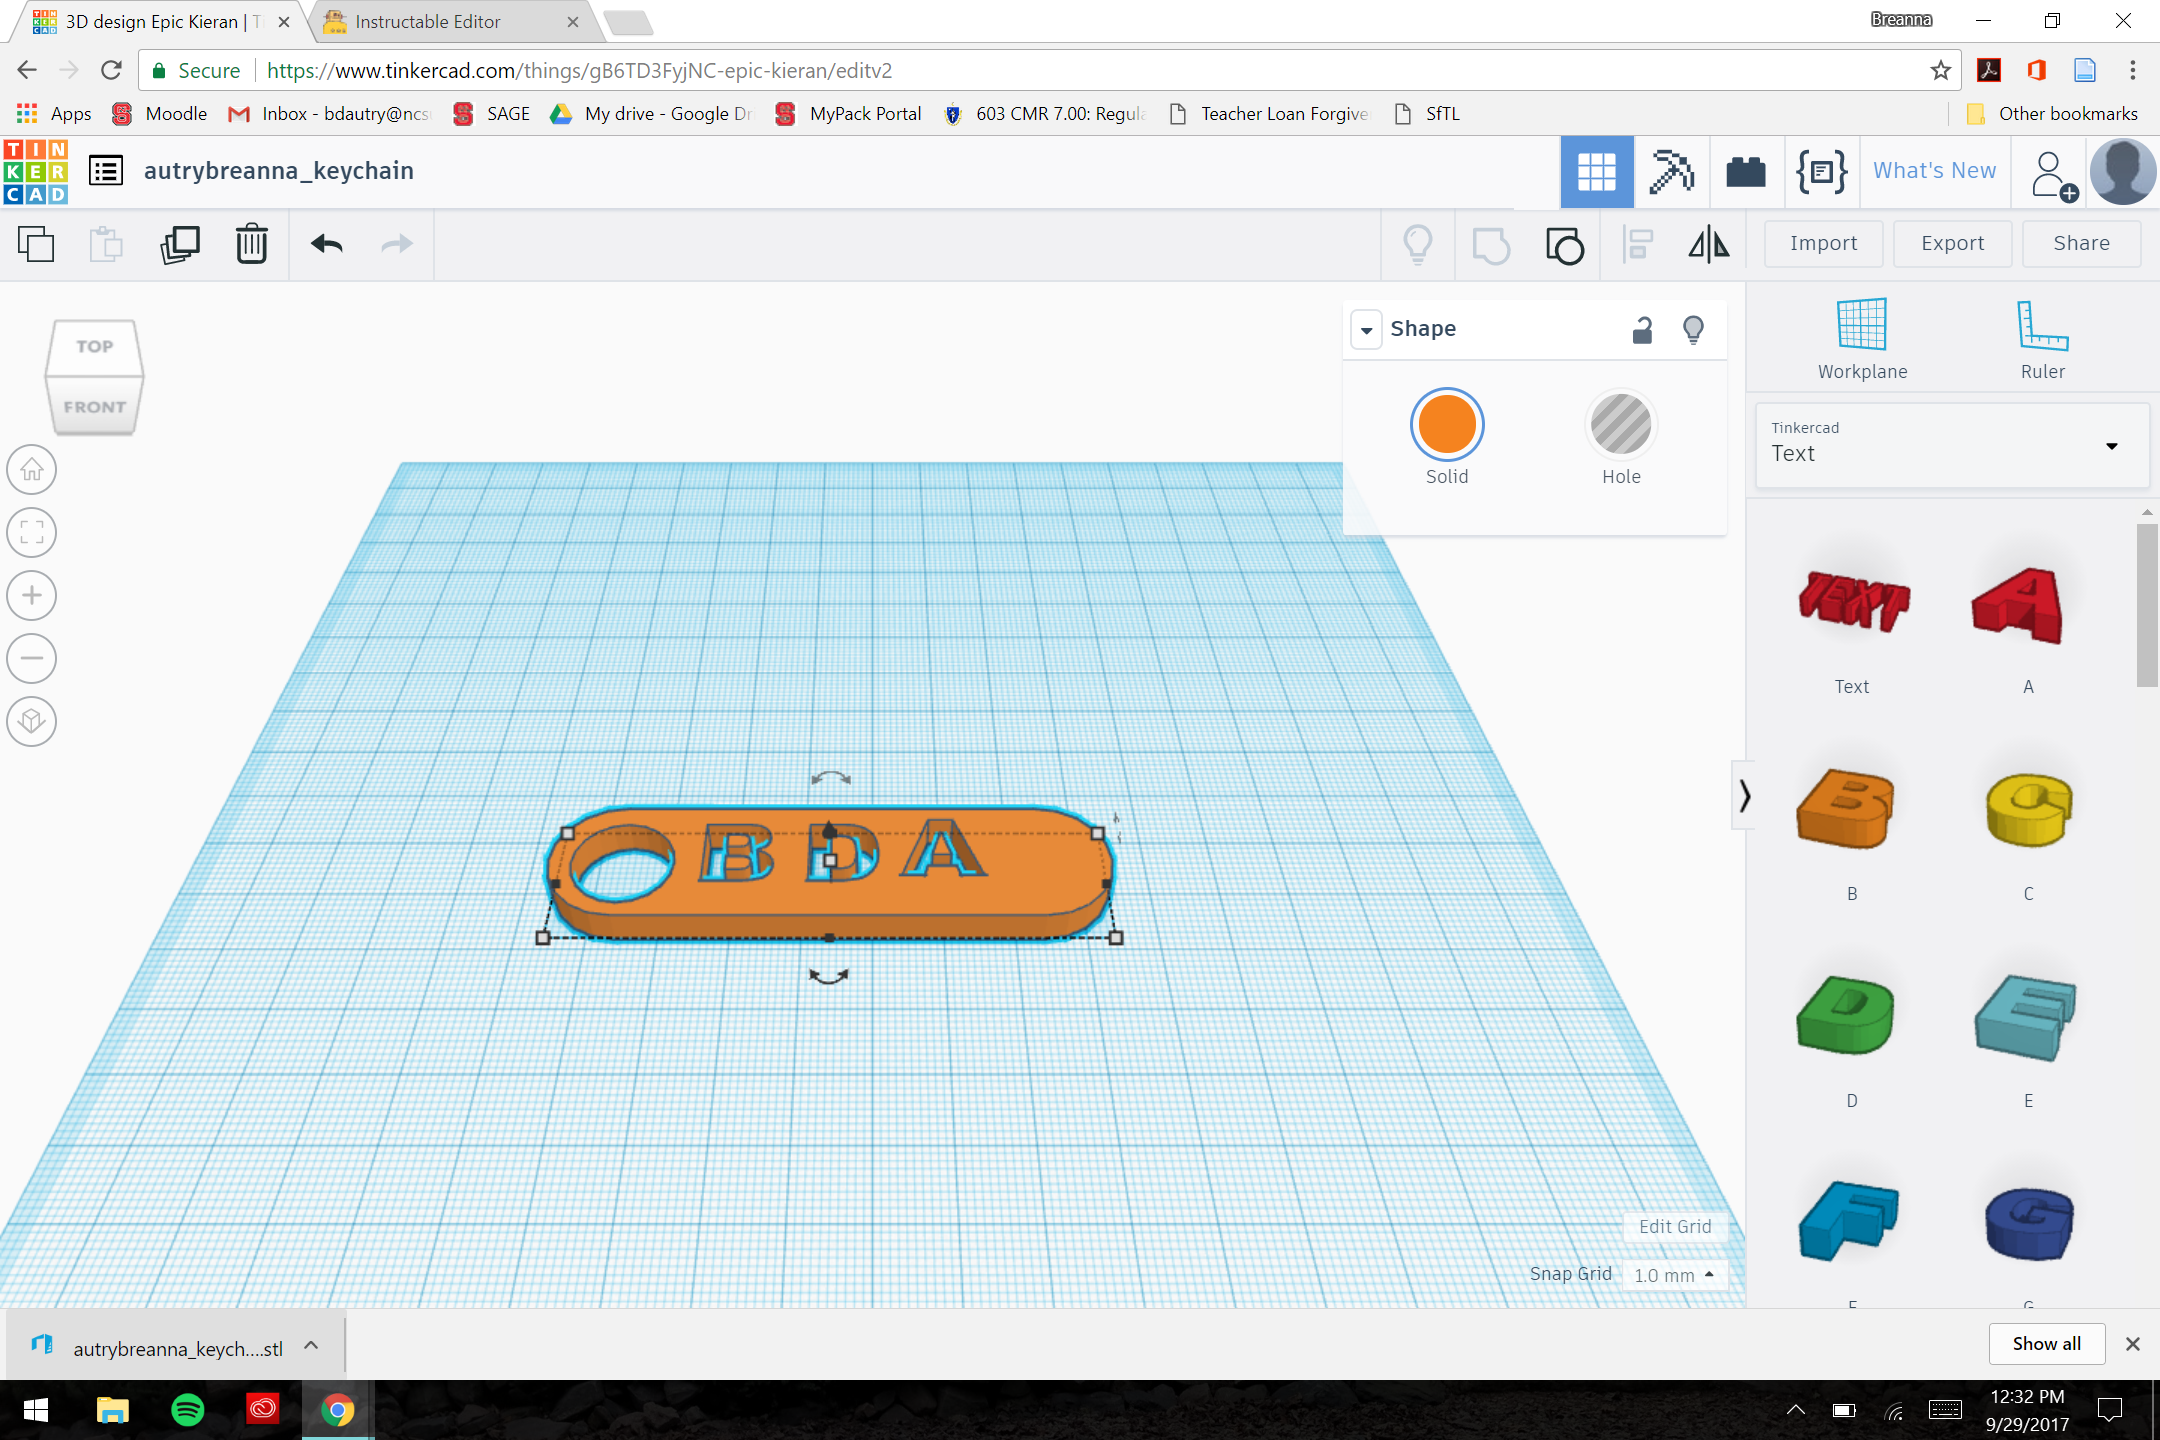
First, select your entire keychain, then on your keyboard hit CTRL + G to group your objects.
Your keychain should then appear to be one color and one piece if you try to move it around.
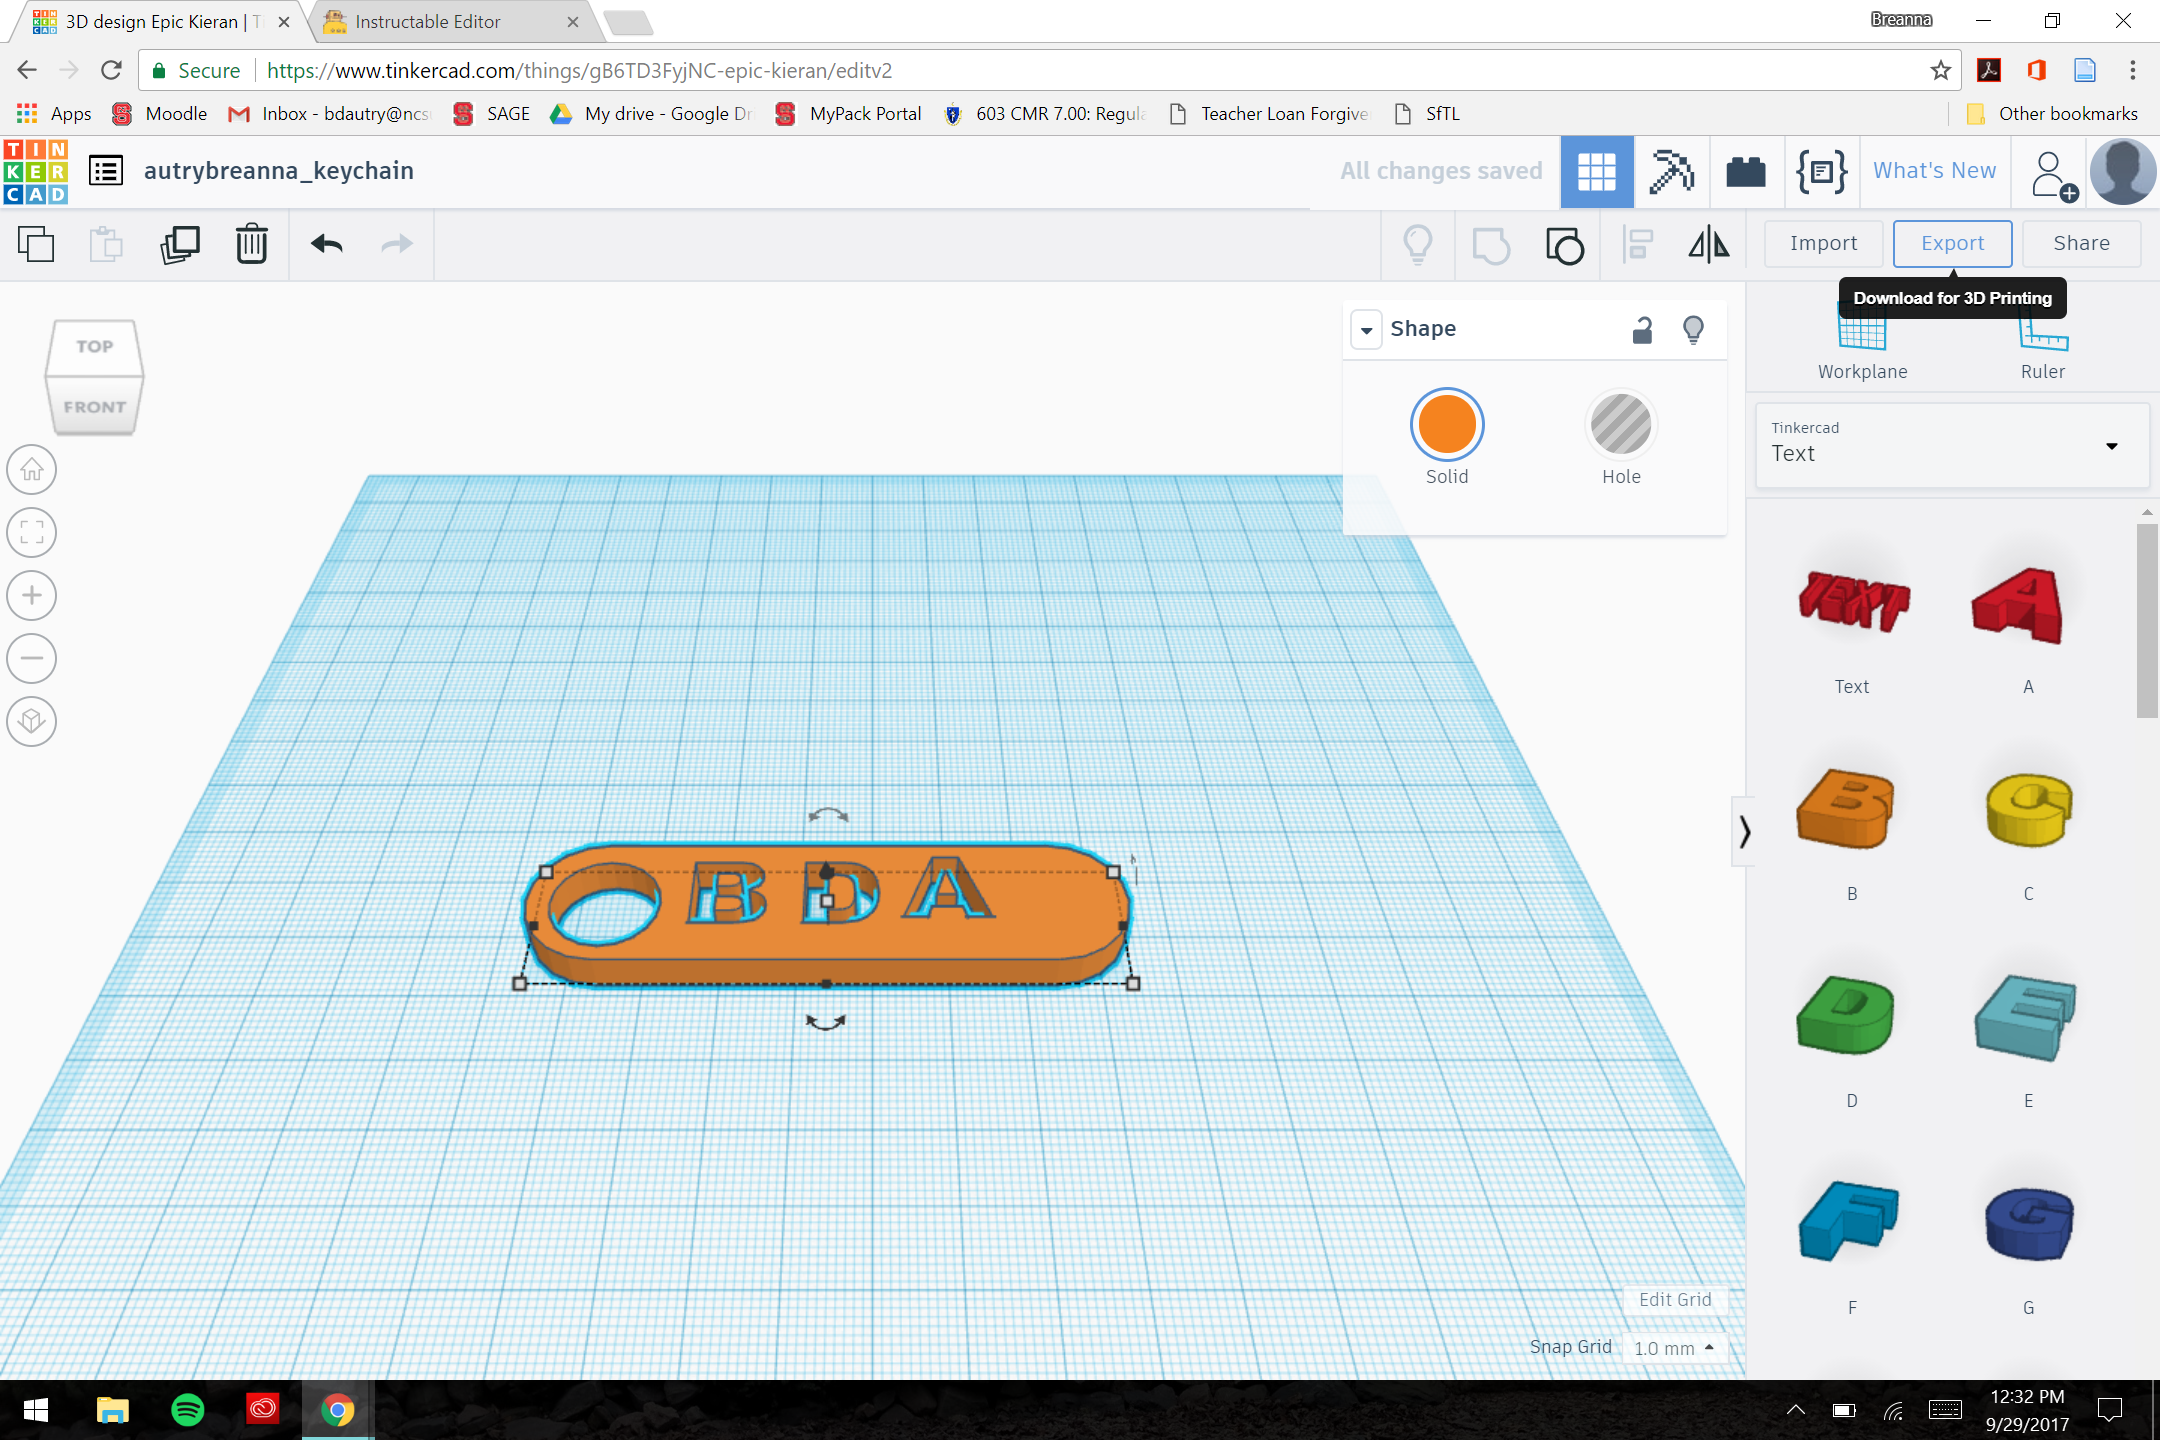
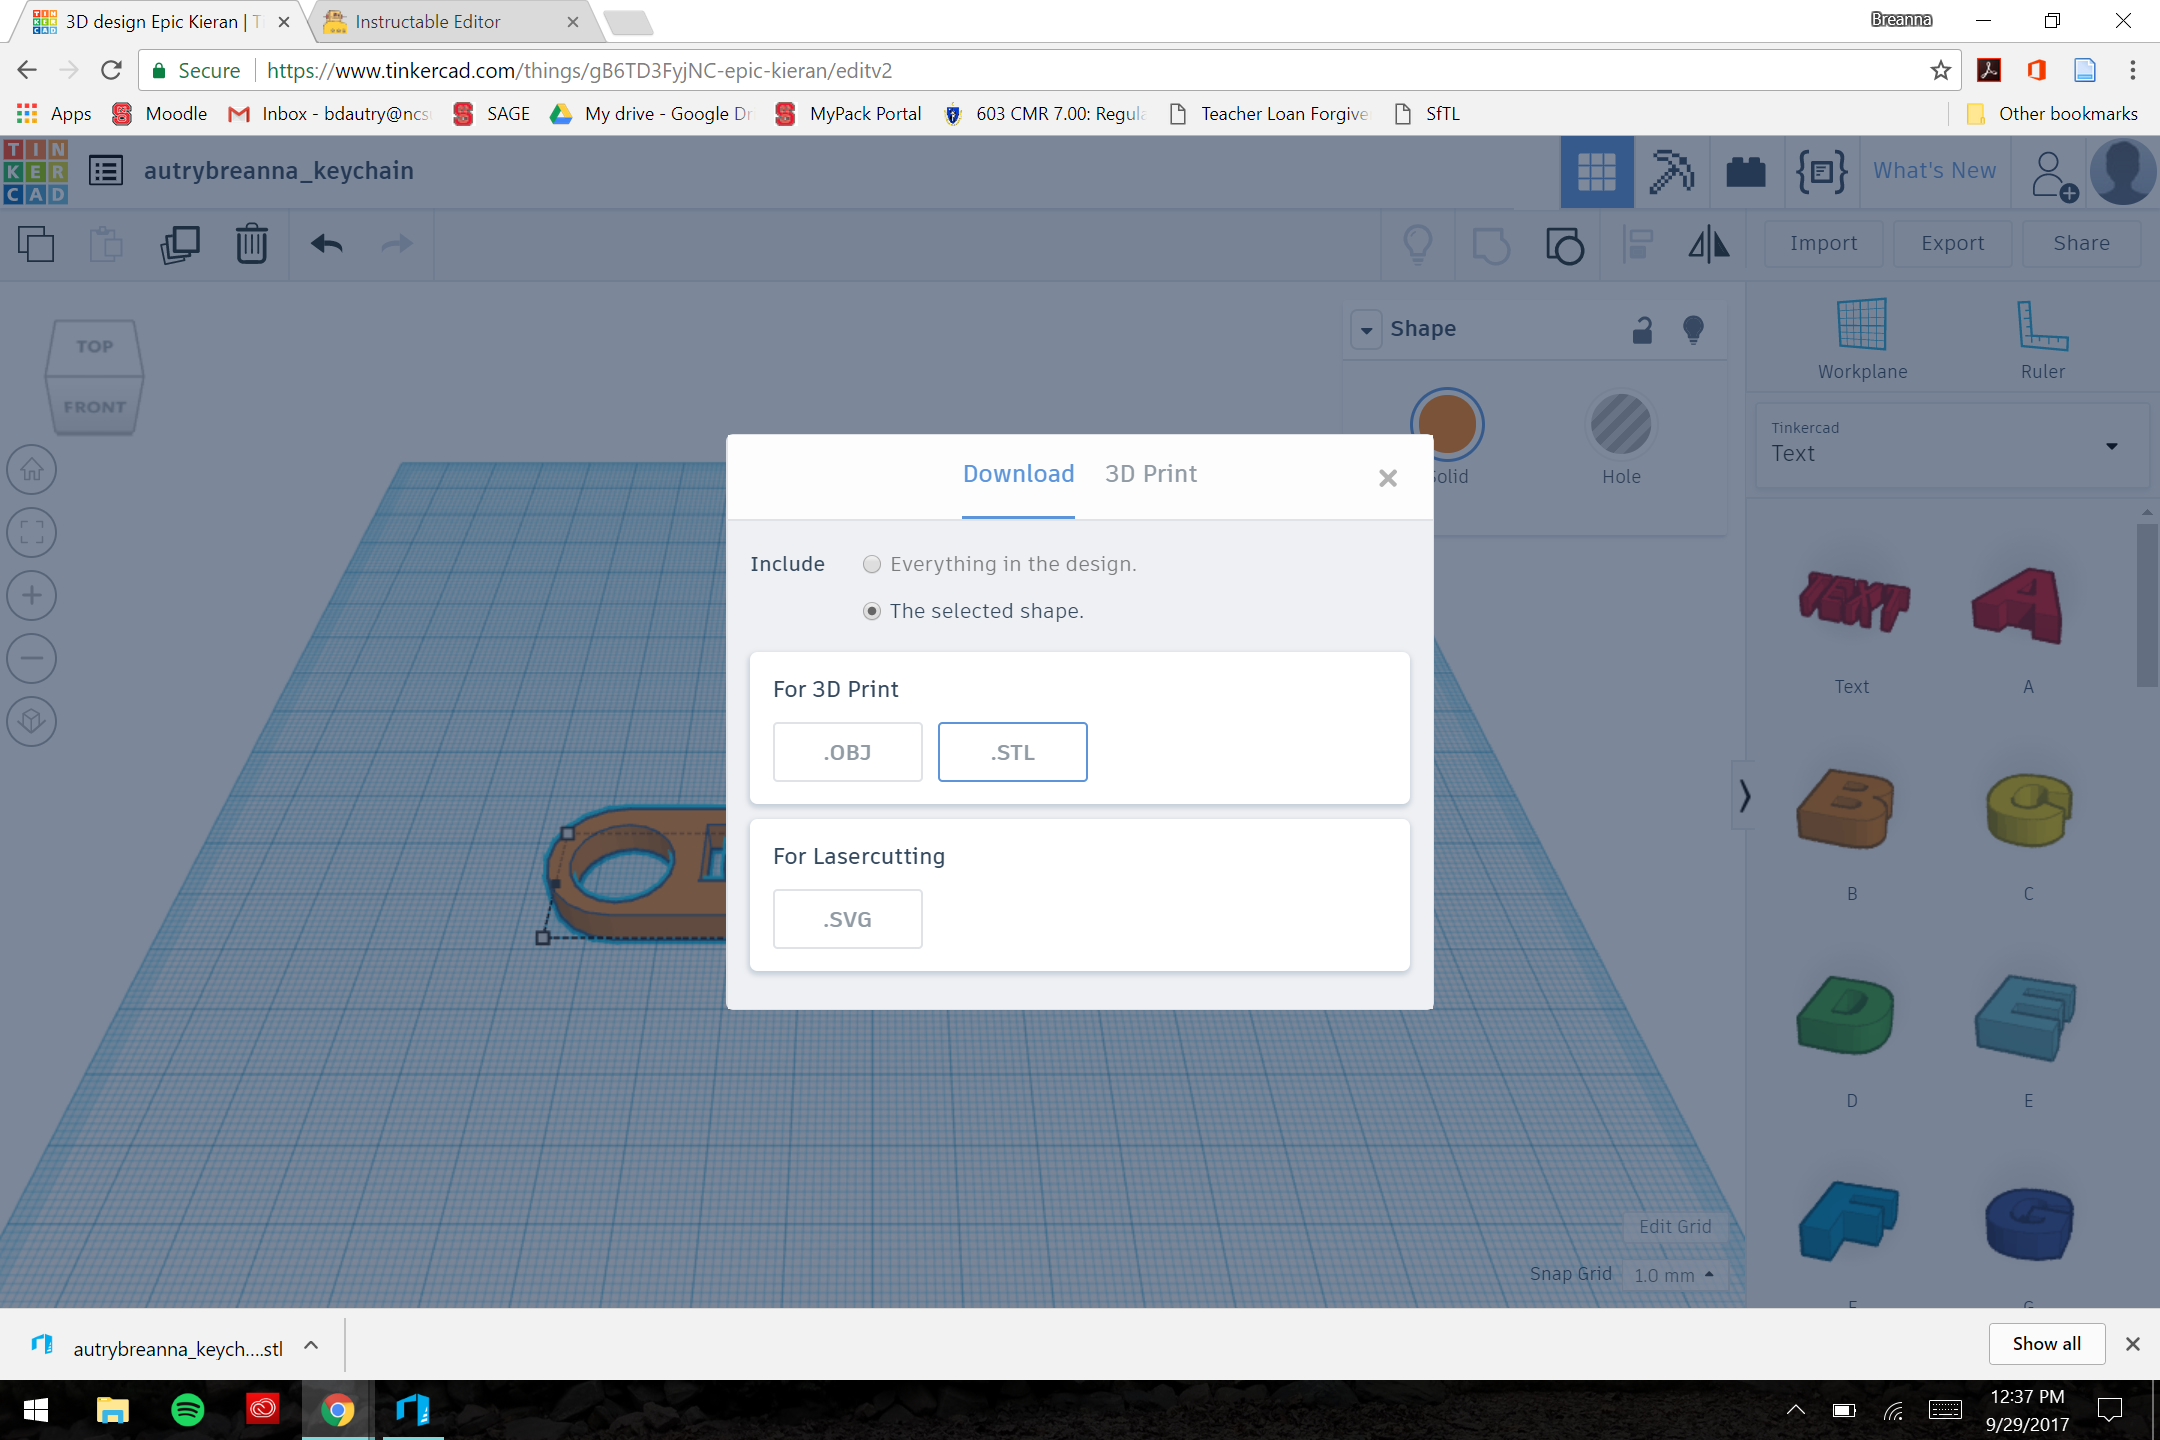
Next, you will need to go to the right side of your screen and click the Export button.
A menu should appear and you will simply click the .STL button.
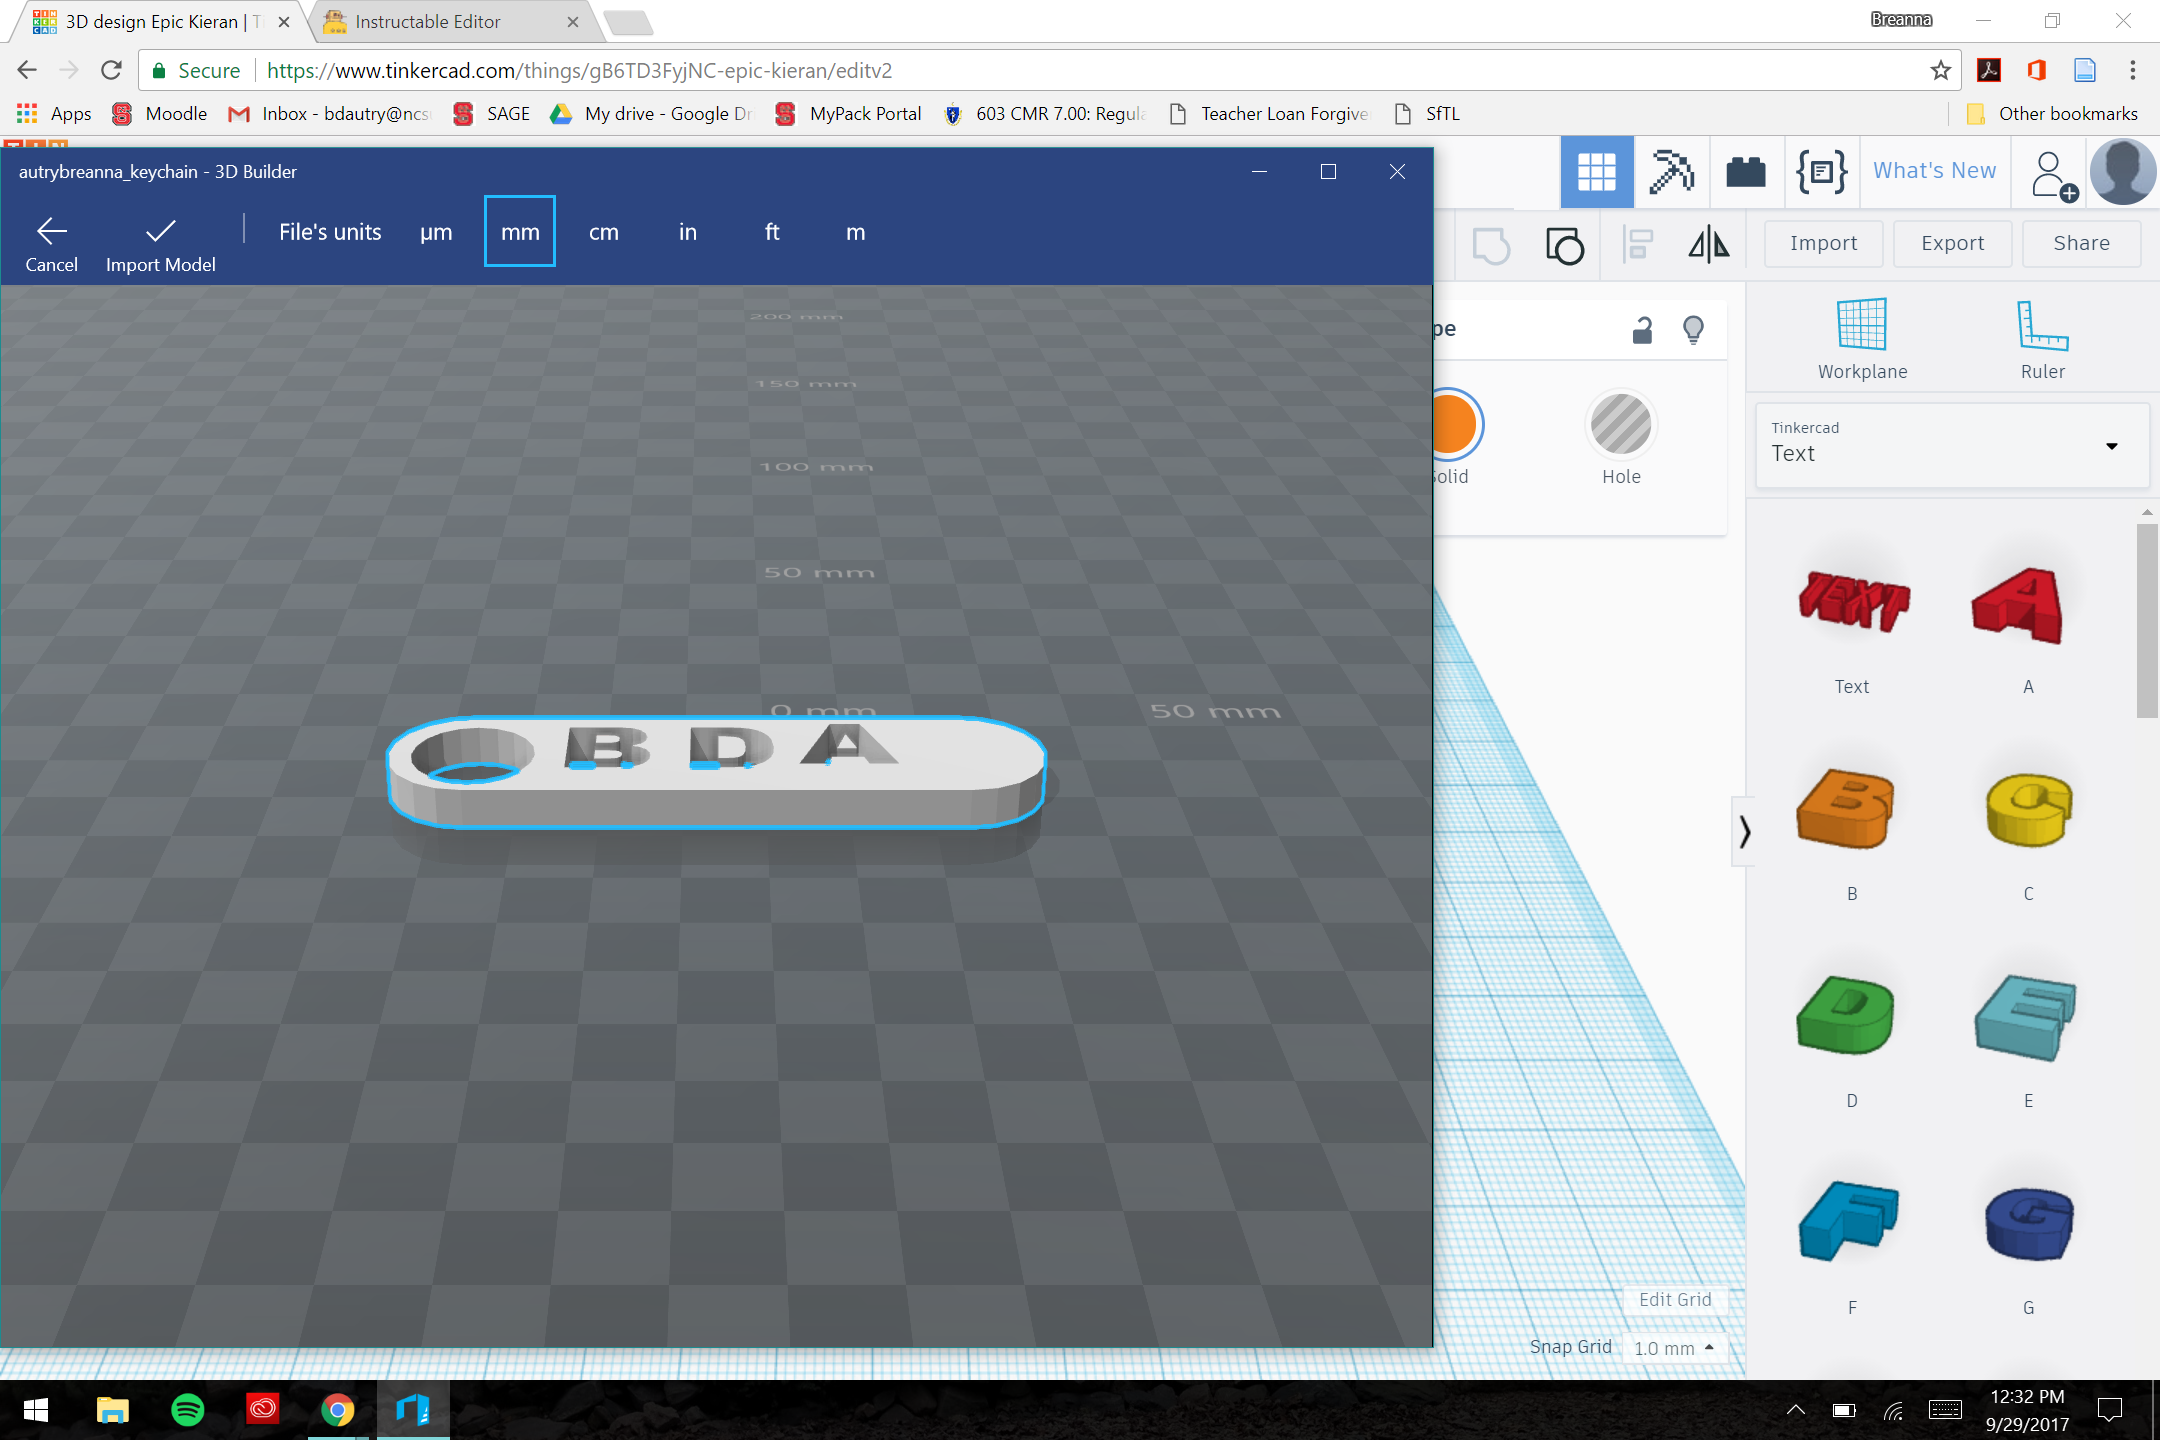
This creates a file that can be 3D printed and if you open the file you will see your complete object.
And there you have it!