How to Use Neopixel Ws2812 LED or LED STRIP or Led Ring With Arduino
by Utsource in Circuits > Arduino
3739 Views, 3 Favorites, 0 Comments
How to Use Neopixel Ws2812 LED or LED STRIP or Led Ring With Arduino
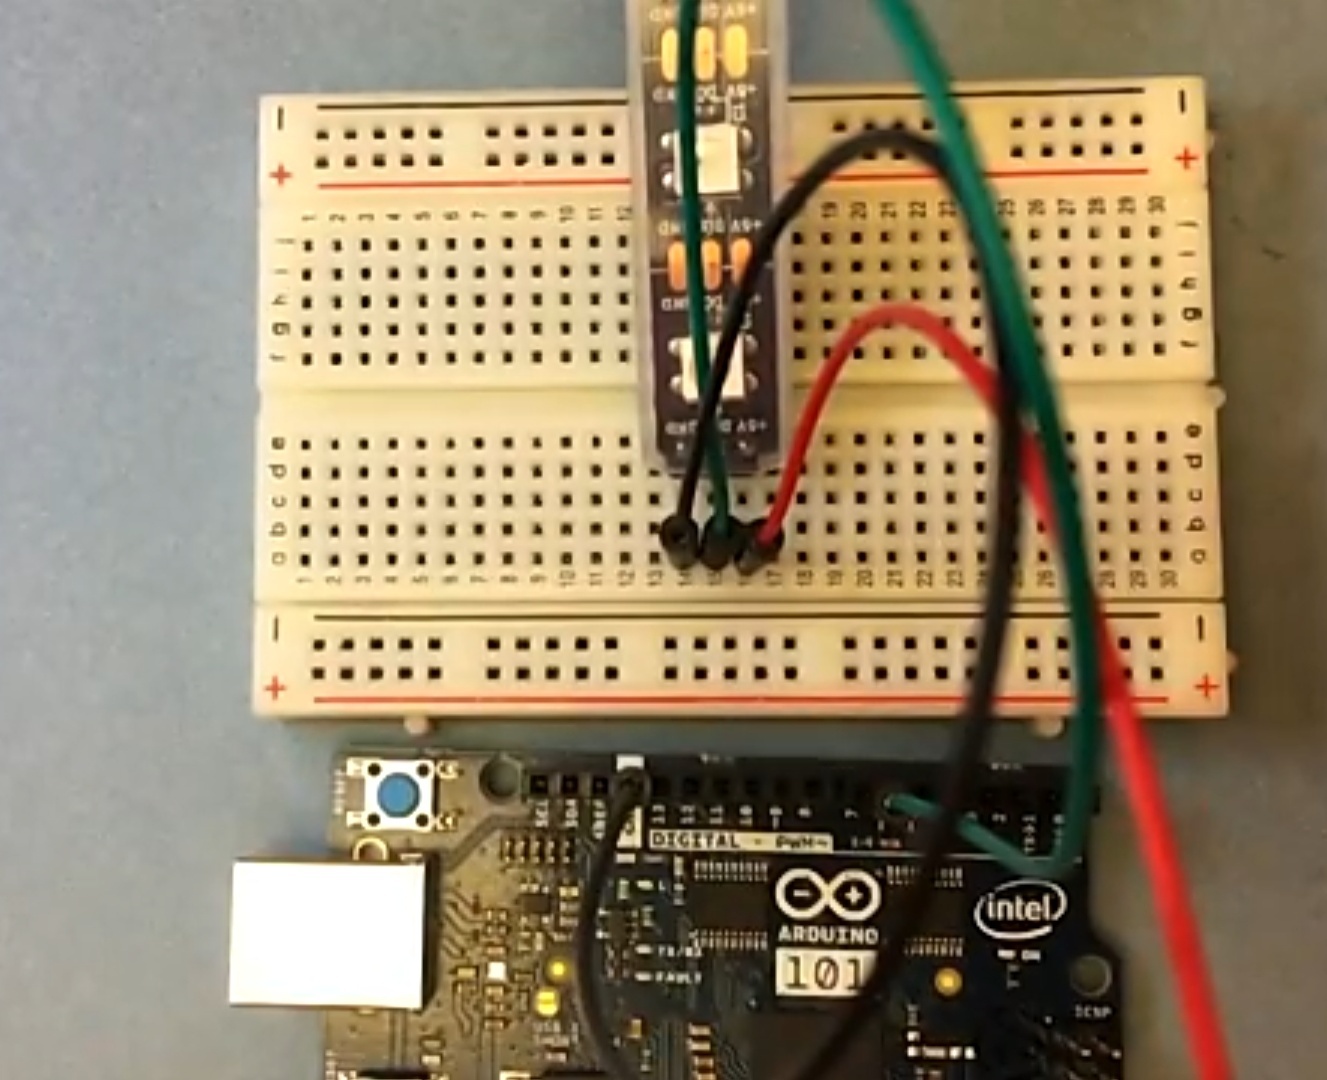
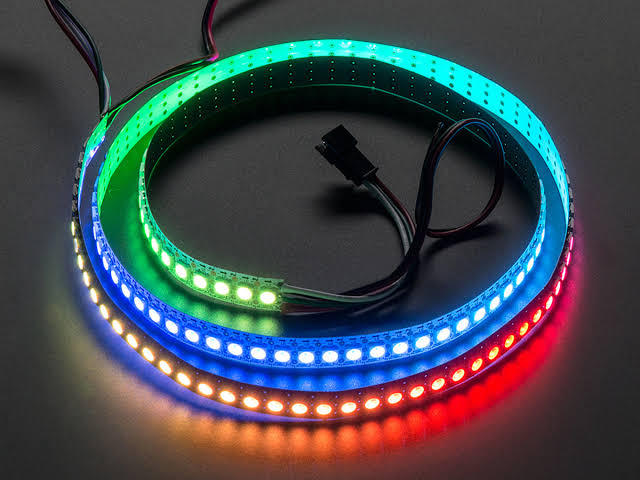
Hi guys since Neopixel led Strip are very popular and it is also called as ws2812 led strip as well. They are very popular because in these led strip we can address each and every led separately which means if you want few leds to glow in one color, few in another color & few in some other different color then it can do that. Even you can make each and every led glow in whatever color you want at the same time. This is the reason of their popularity.
So in this instructables we will learn how to use these ws2812 or neopixel led strip with arduino.
Things You Need
.jpg)
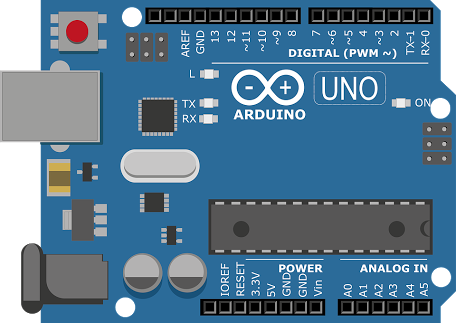
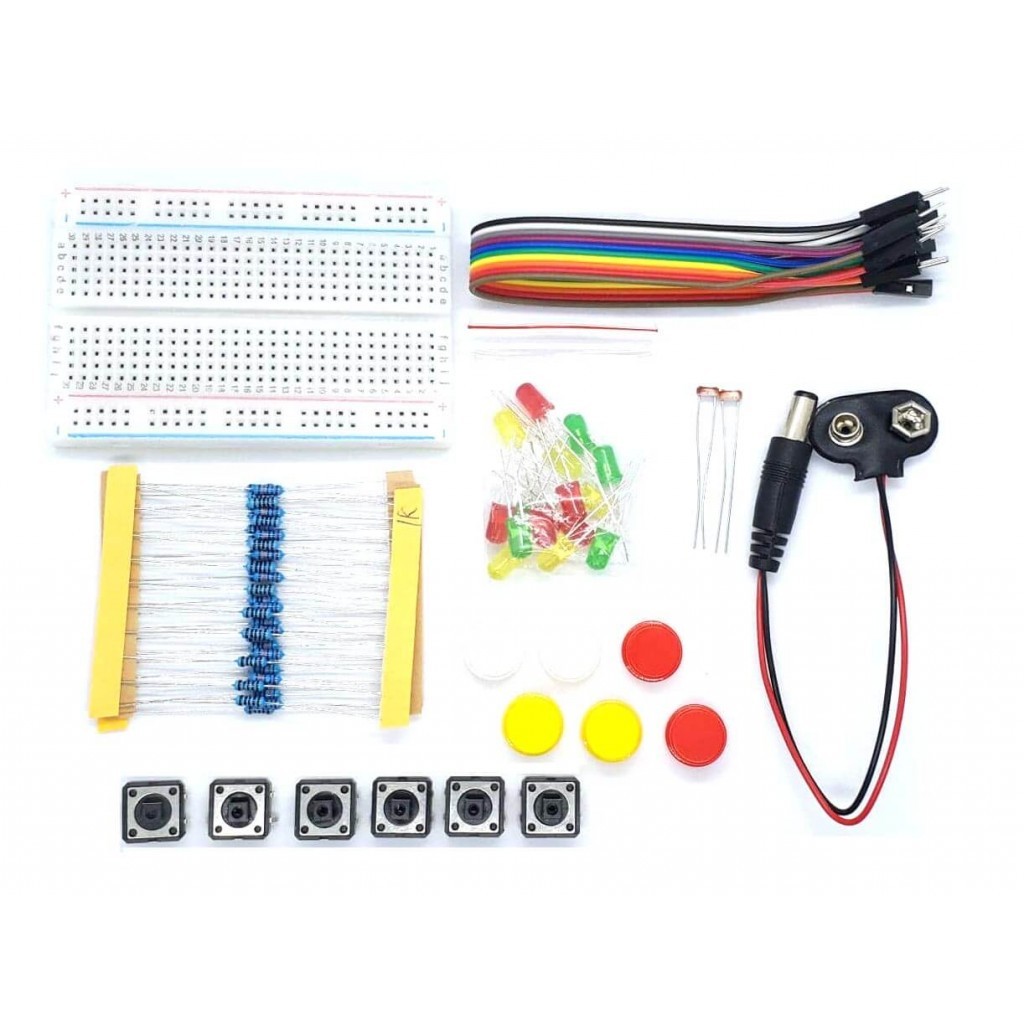
for this instructables you will need following things :
Adafruit NeoPixel strips
Resistor 10k ohm
Connections
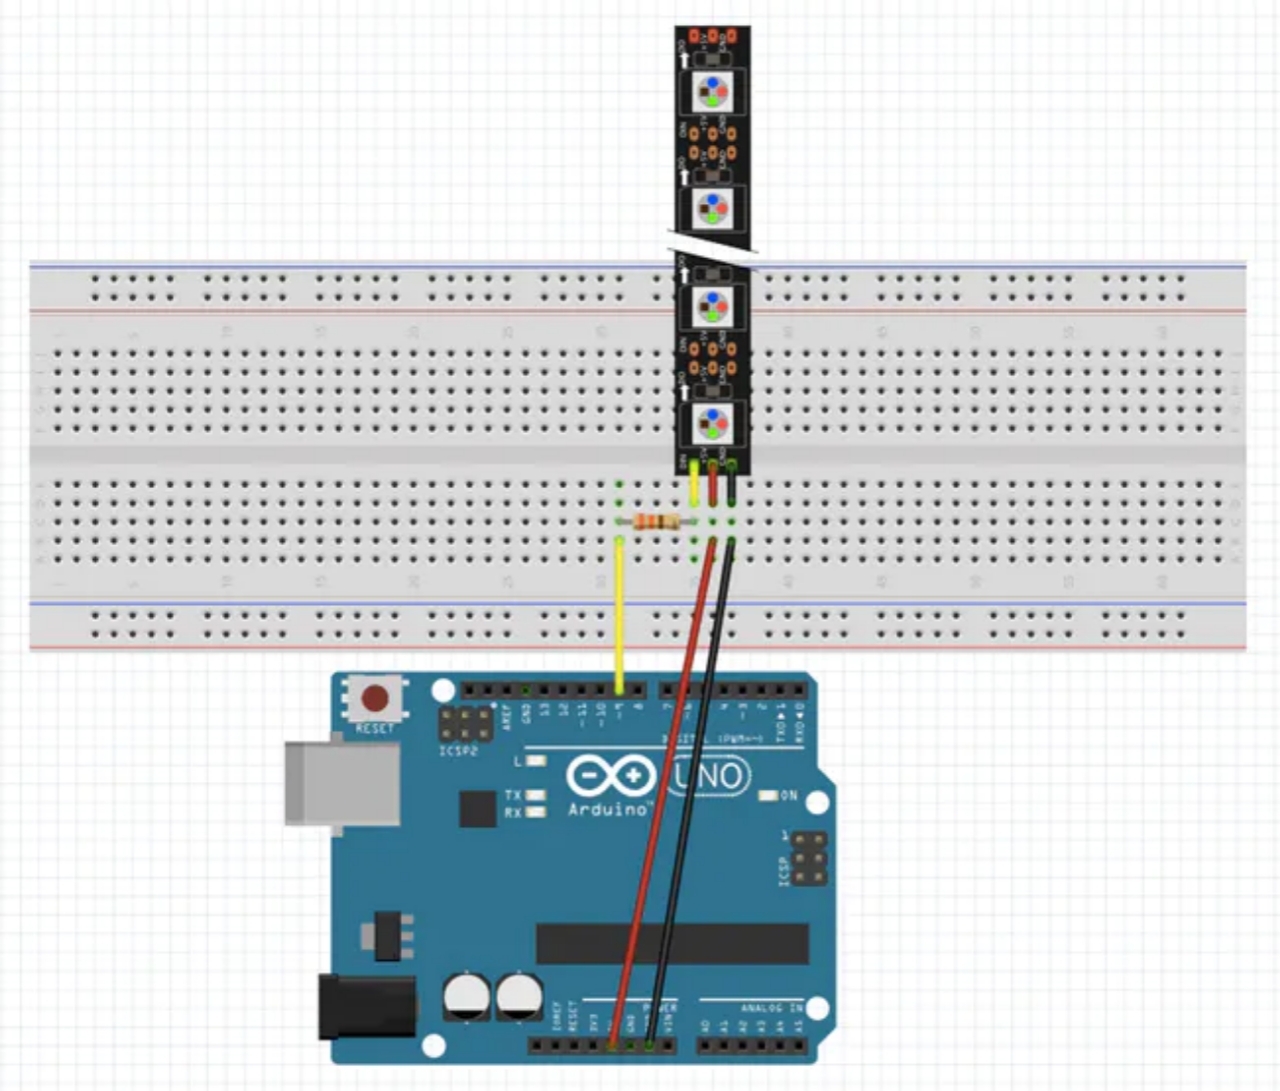

For the connections please follow the shown image and connect everything According to the shown schmatics.
Code
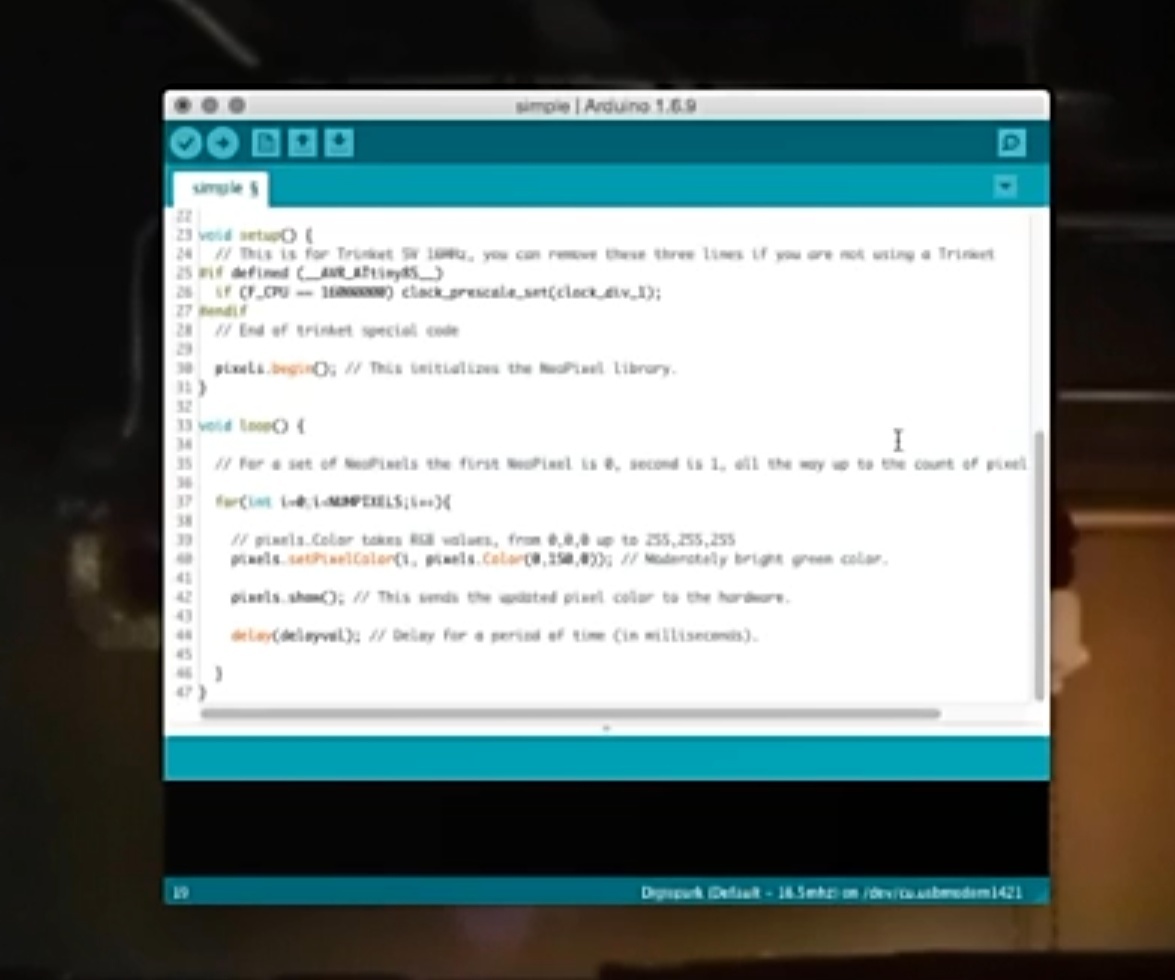
Go download Adafruit's NeoPixel library :
https://github.com/adafruit/Adafruit_NeoPixel
to get started. You can just download the .zip file with the library, unzip it on your computer, and drag the contents into your Arduino libraries folder. (The "libraries" folder is usually created in the same "Arduino" folder where you save your sketches. If you don't have one yet, go ahead and create it.) Also, restart the Arduino IDE if you already had it open.
Once it's up again, you'll have some new example sketches. Let's take a look!
File > Examples > Adafruit NeoPixel > simple
This guy will light up your LEDs green, one at a time.
Or you can copy the below code & test it as well.
// NeoPixel Ring simple sketch (c) 2013 Shae Erisson
// released under the GPLv3 license to match the rest of the AdaFruit NeoPixel library
#include "Adafruit_NeoPixel.h" #ifdef __AVR__ #include "avr/power.h" #endif
// Which pin on the Arduino is connected to the NeoPixels? // On a Trinket or Gemma we suggest changing this to 1 #define PIN 6
// How many NeoPixels are attached to the Arduino? #define NUMPIXELS 16
// When we setup the NeoPixel library, we tell it how many pixels, and which pin to use to send signals. // Note that for older NeoPixel strips you might need to change the third parameter--see the strandtest // example for more information on possible values. Adafruit_NeoPixel pixels = Adafruit_NeoPixel(NUMPIXELS, PIN, NEO_GRB + NEO_KHZ800);
int delayval = 500; // delay for half a second
void setup() { // This is for Trinket 5V 16MHz, you can remove these three lines if you are not using a Trinket #if defined (__AVR_ATtiny85__) if (F_CPU == 16000000) clock_prescale_set(clock_div_1); #endif // End of trinket special code
pixels.begin(); // This initializes the NeoPixel library. }
void loop() {
// For a set of NeoPixels the first NeoPixel is 0, second is 1, all the way up to the count of pixels minus one.
for(int i=0;i
// pixels.Color takes RGB values, from 0,0,0 up to 255,255,255 pixels.setPixelColor(i, pixels.Color(0,150,0)); // Moderately bright green color.
pixels.show(); // This sends the updated pixel color to the hardware.
delay(delayval); // Delay for a period of time (in milliseconds).
} }
Making It Light
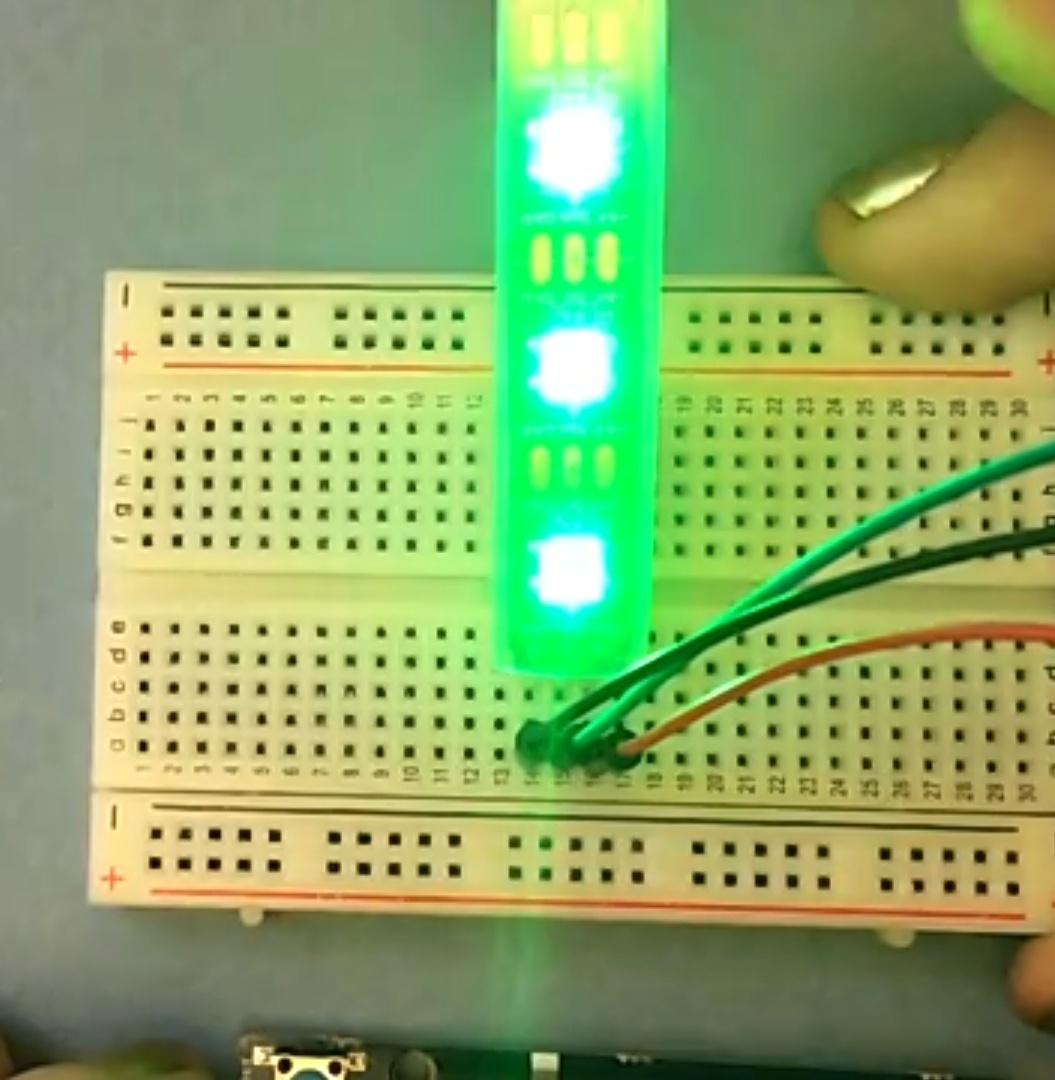
After uploading the code your neopixel led strip will light up similarly as mine and you can even change the above code to light it up in different colors and you can try other examples from the above neopixel library and have fun with your neopixel led strip.