How to Use Delta WPL Soft Simulator Software? (Beginners)
by Smart Thinkers in Circuits > Software
17809 Views, 7 Favorites, 0 Comments
How to Use Delta WPL Soft Simulator Software? (Beginners)

Smart Thinkers will provide tutorials for those who wants to learn PLC programming using Delta PLC simulating by WPLSoft 2.41 Software.
Install WPLSoft Simulator Version 2.41

Make Project File
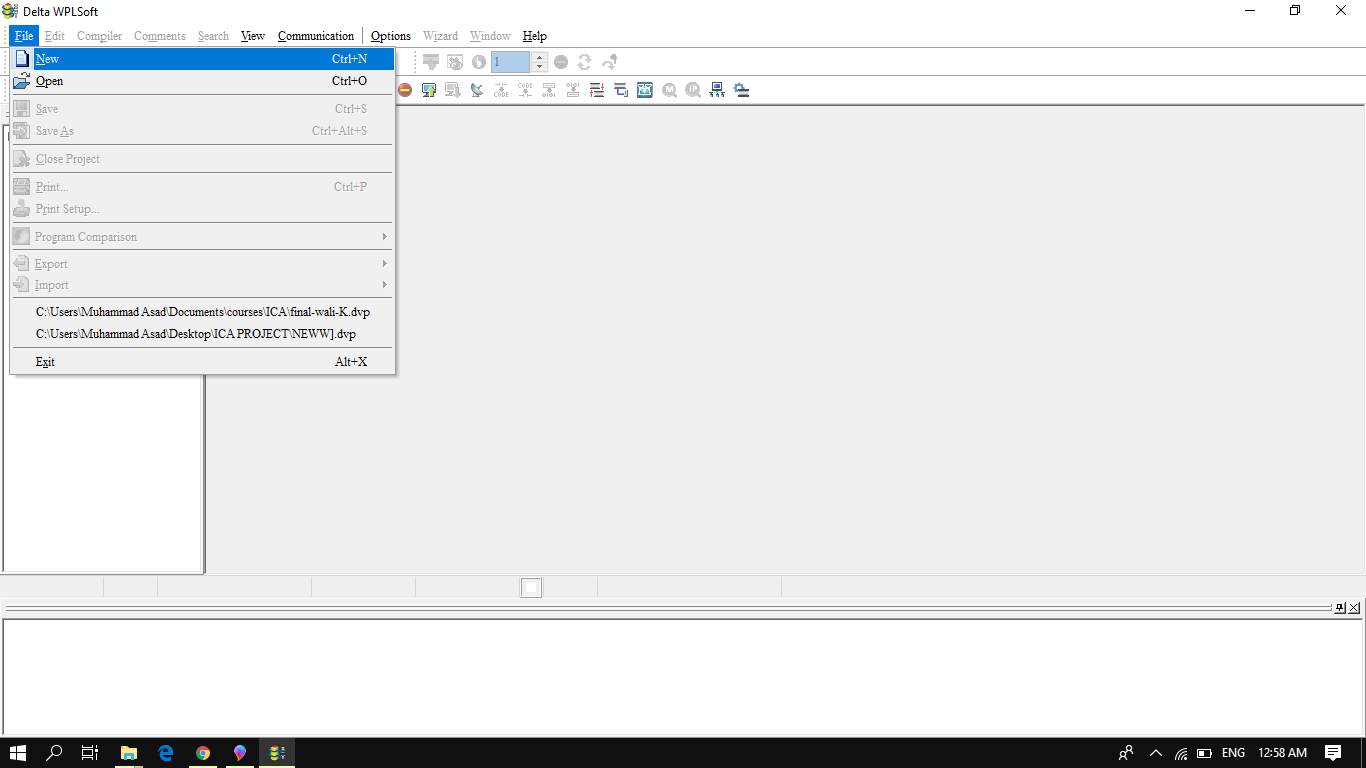
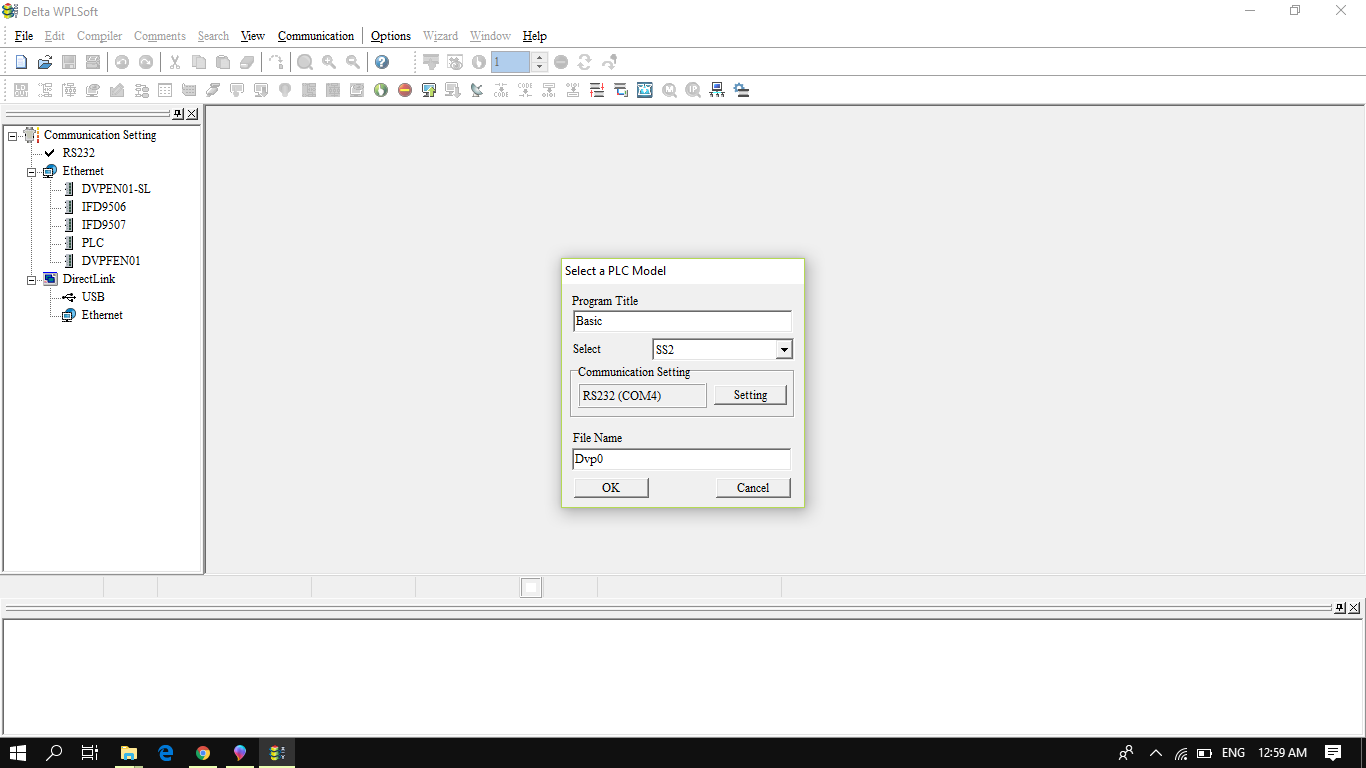
Start Your Project

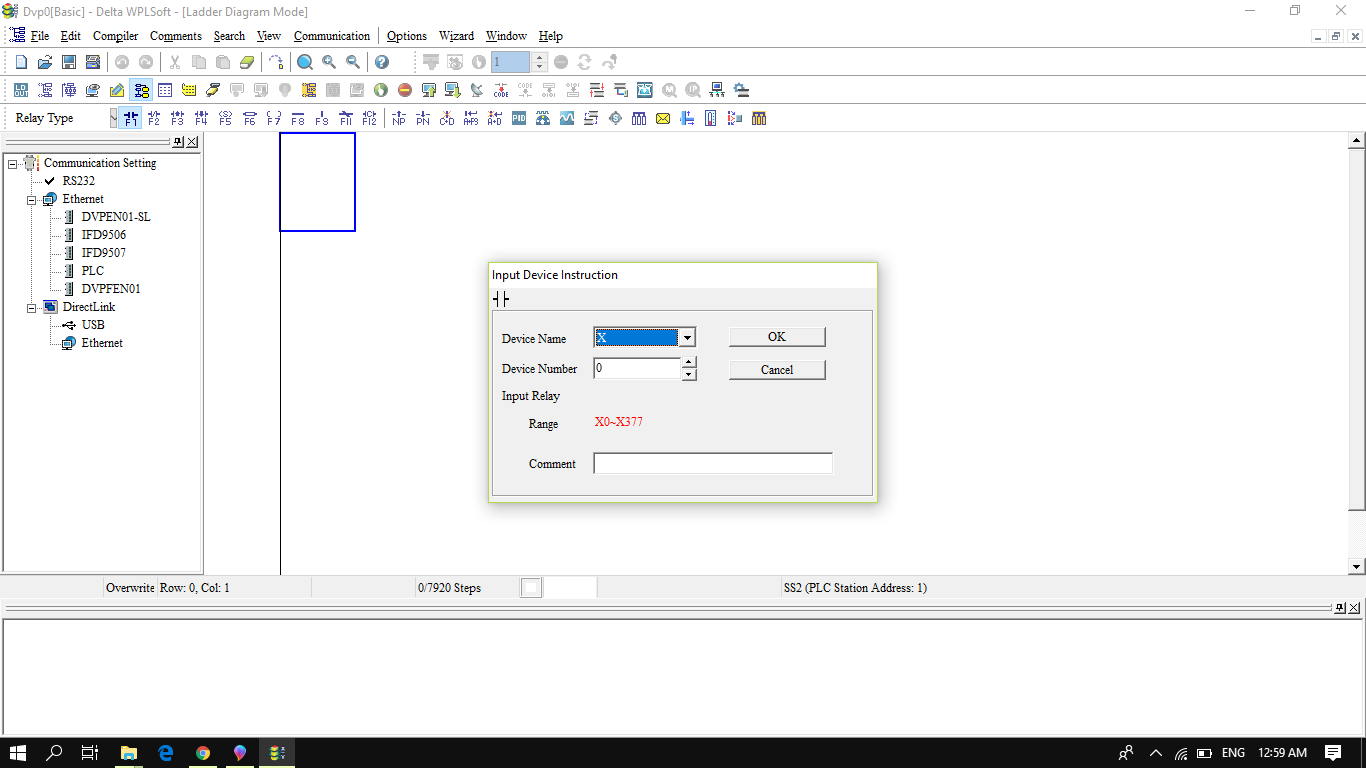
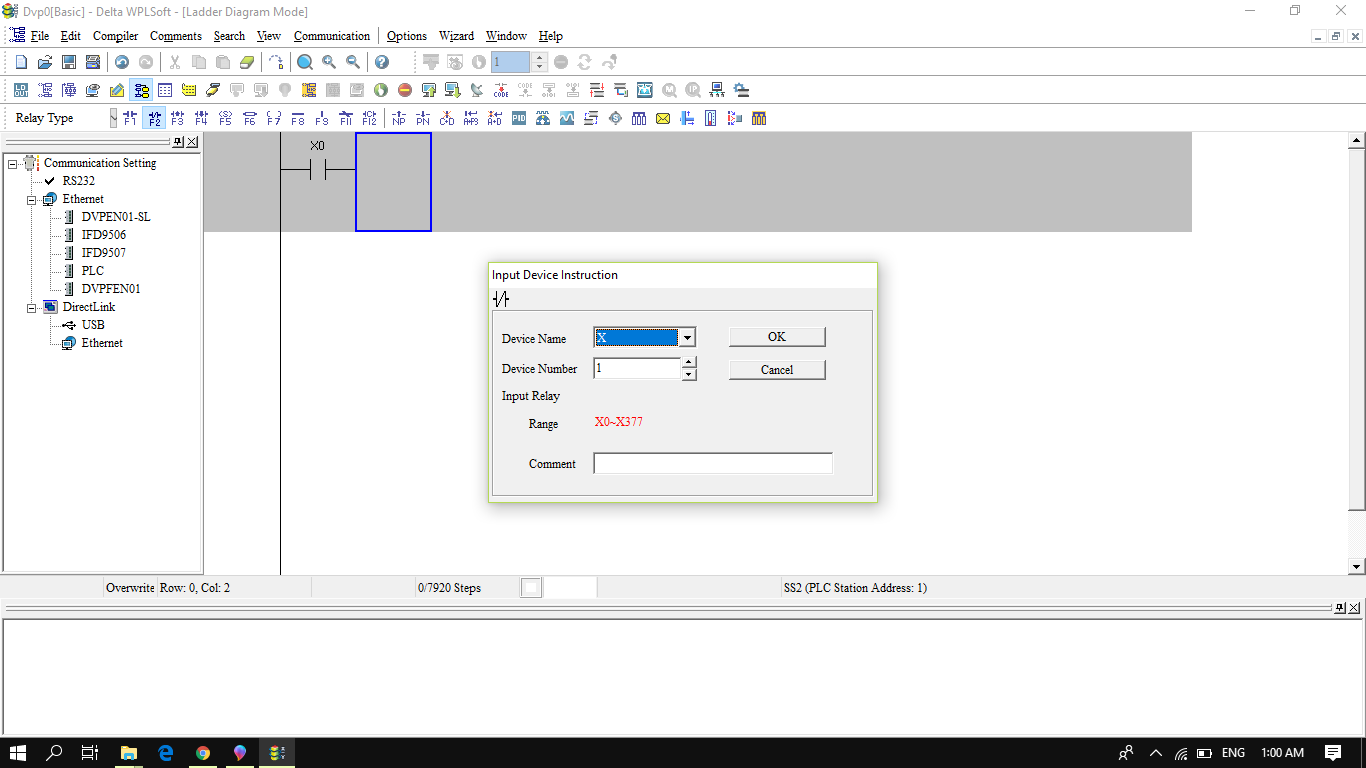
Select NO (Normally Open Switch)
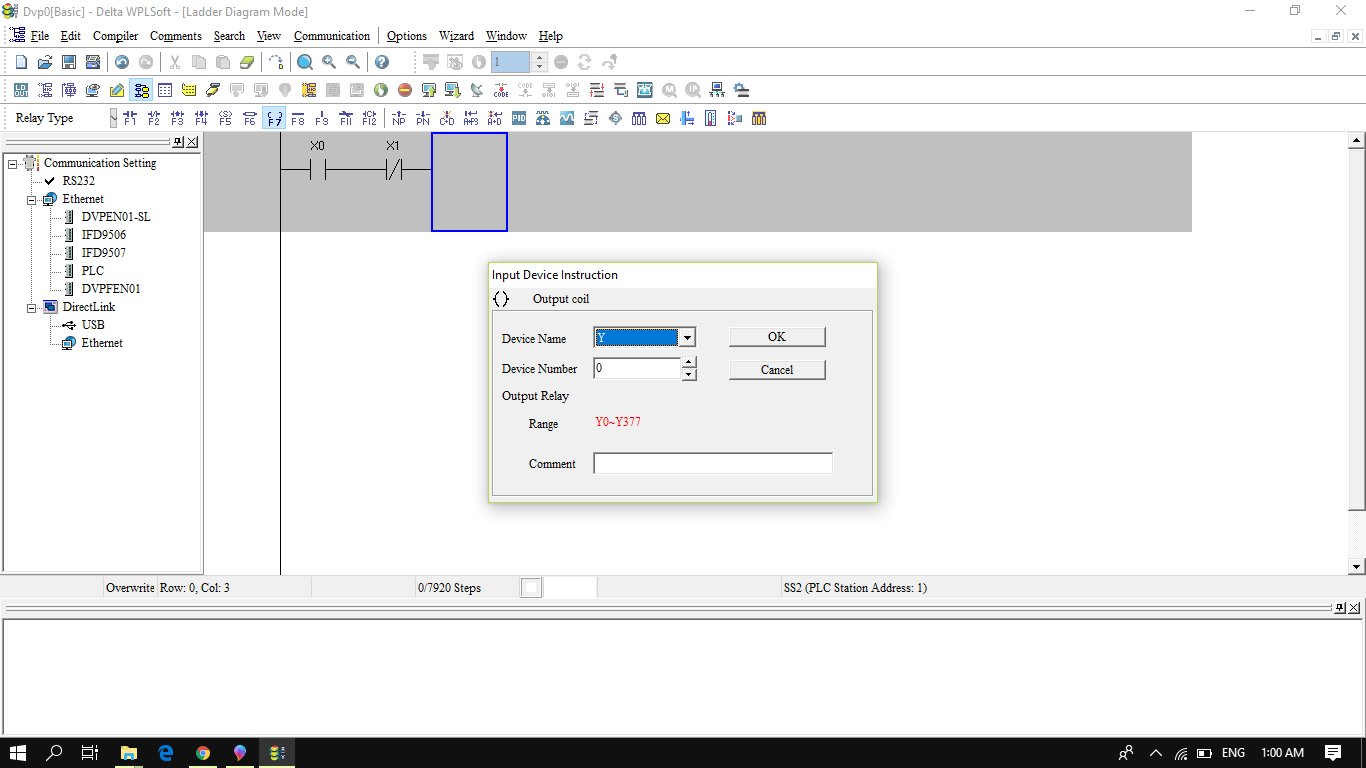
Then Add NC (Normally Close) Switch
Add Output Coil (Y0)
Now Add TMR (Timer)
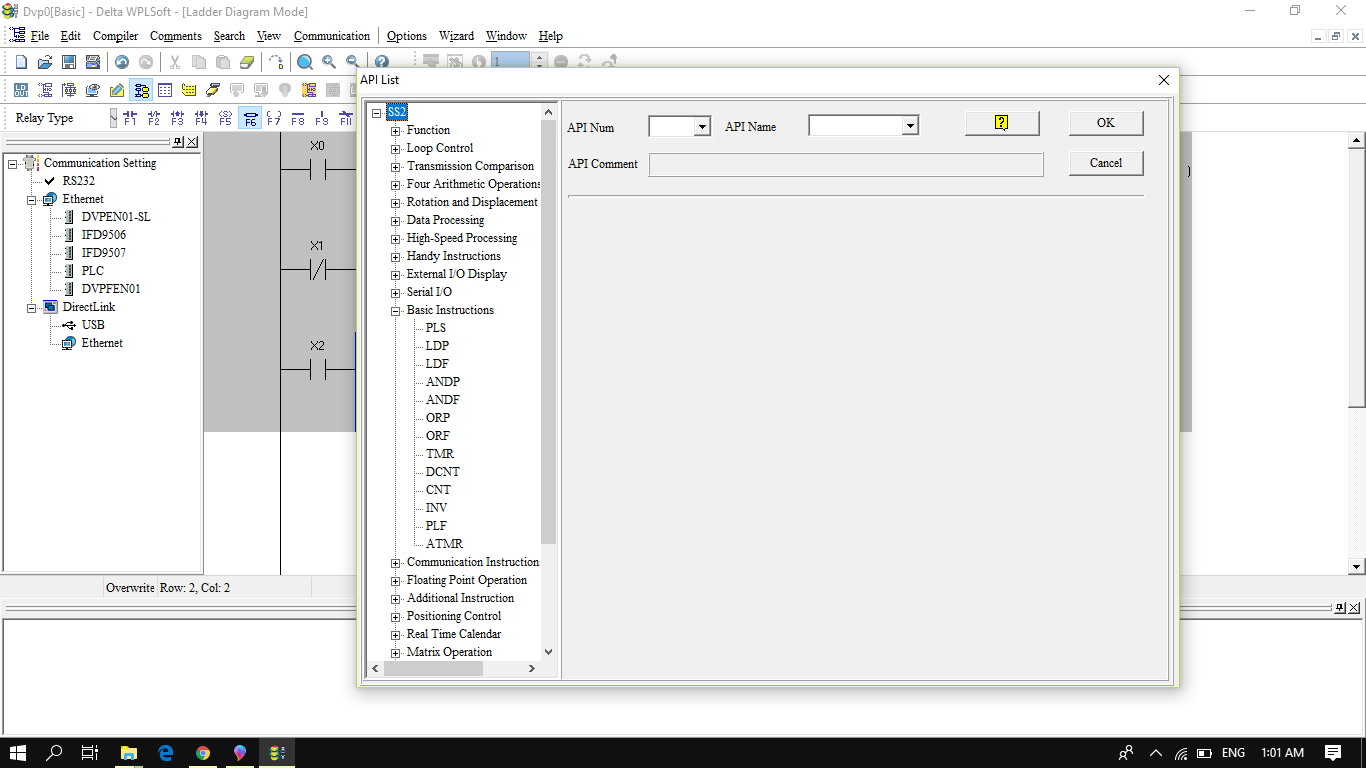
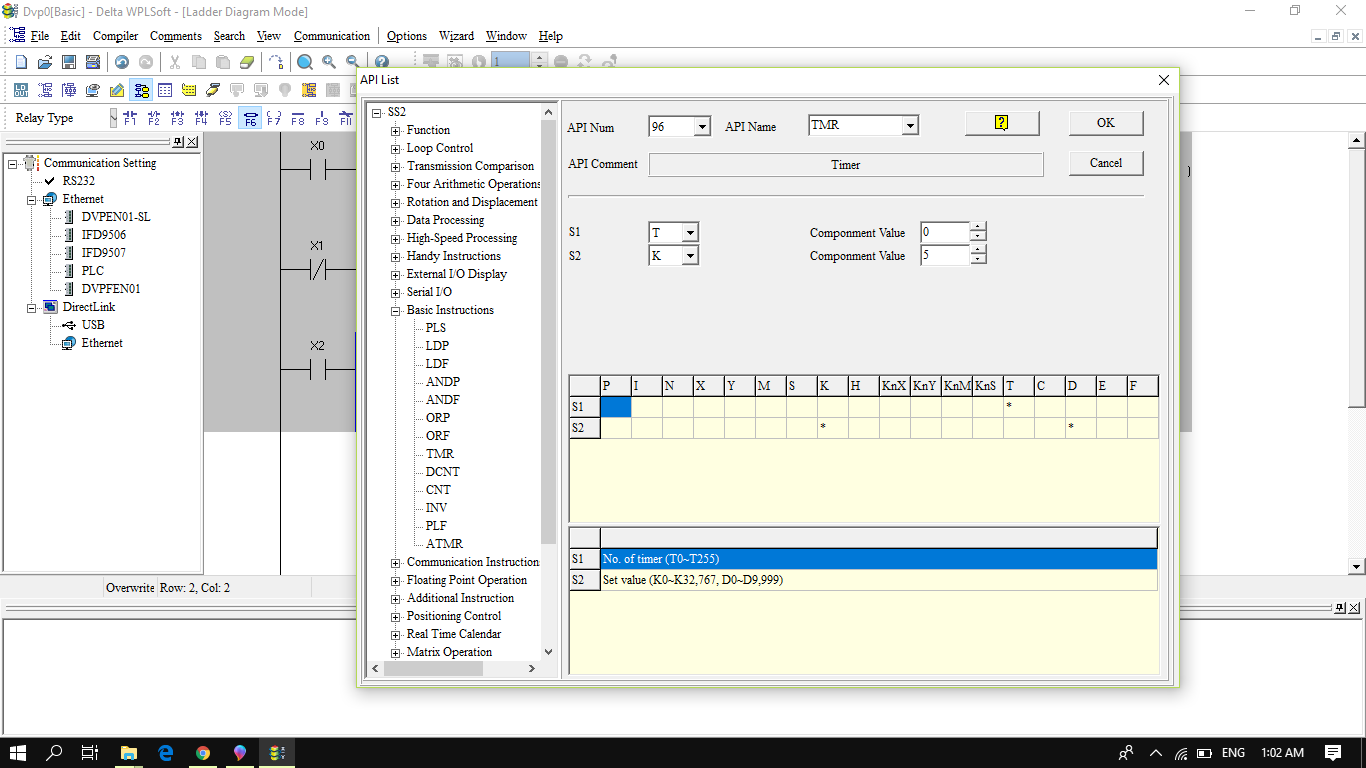
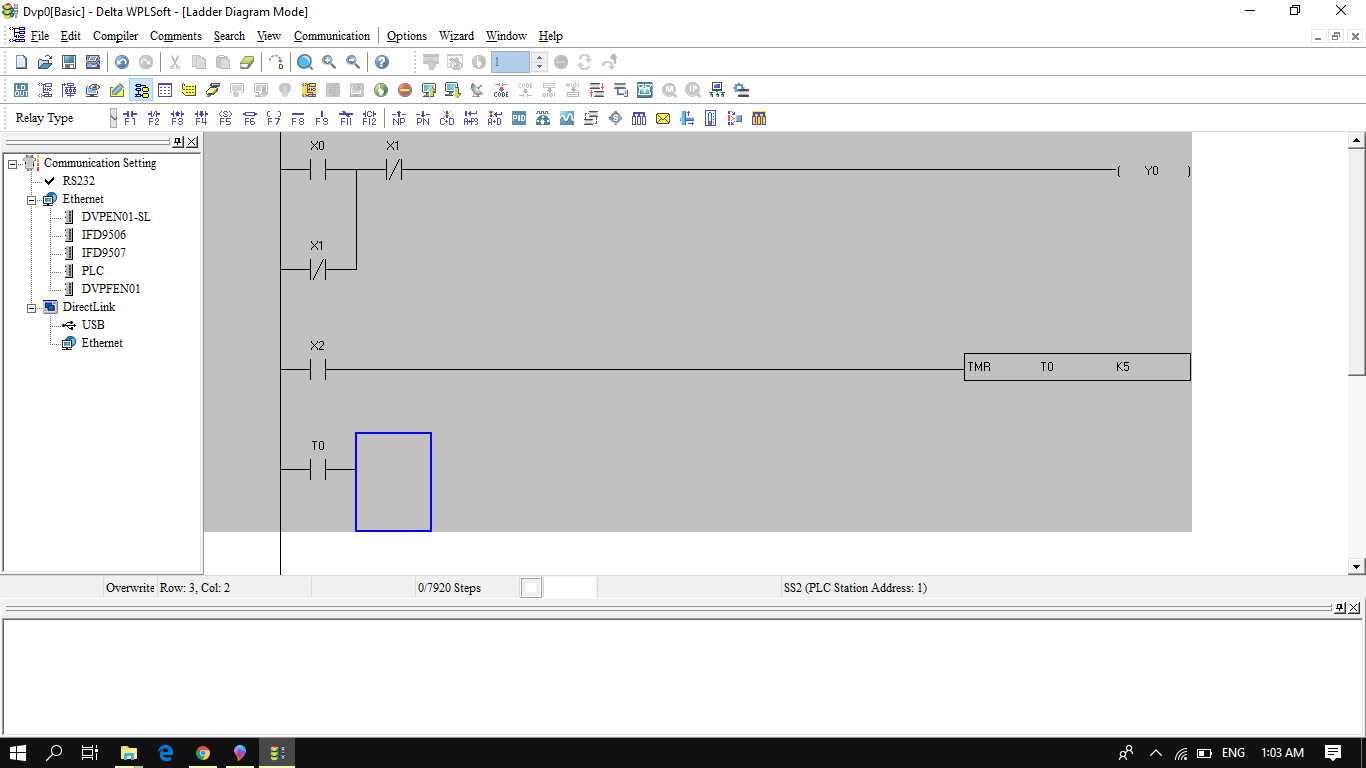
You can add TMR (timer) from F6 appilication instruction tool. Set (T0-T255) and value of K in seconds.
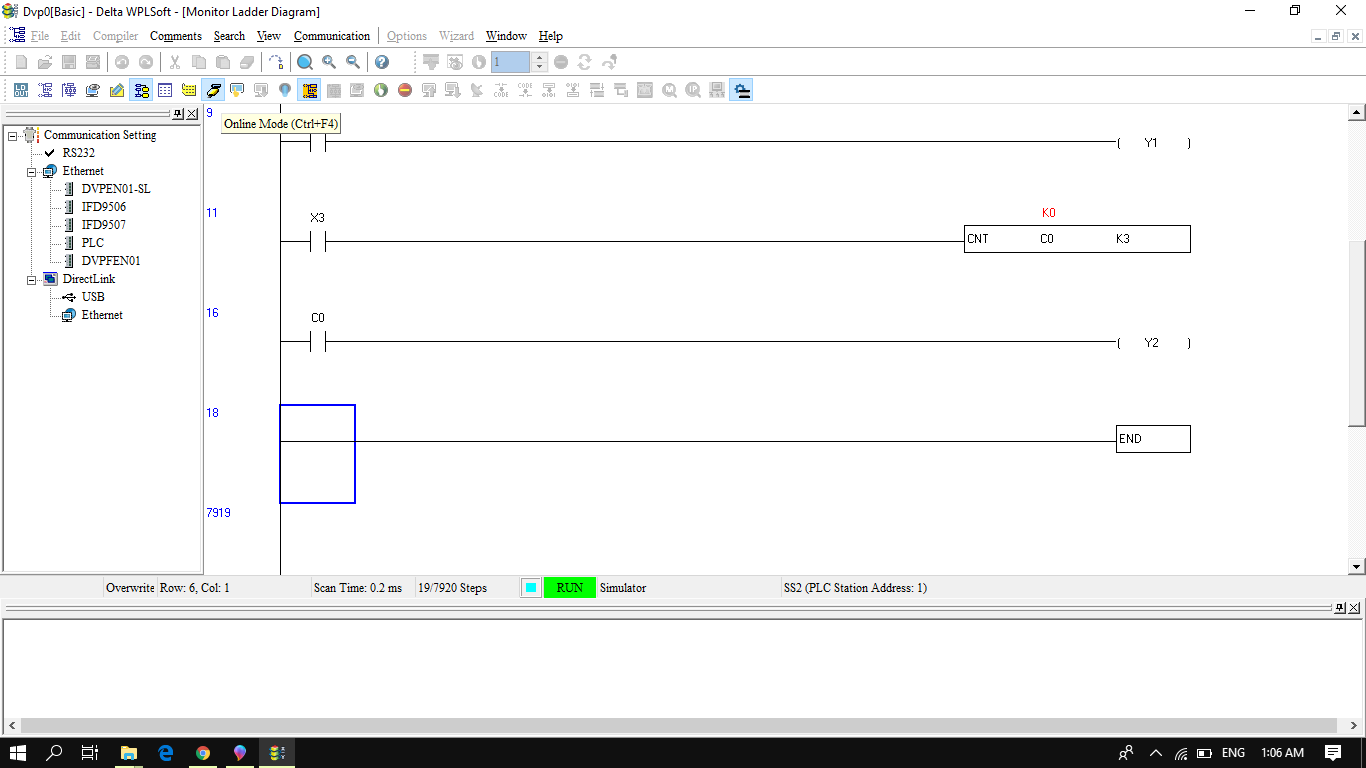
Add CNT (Counter)
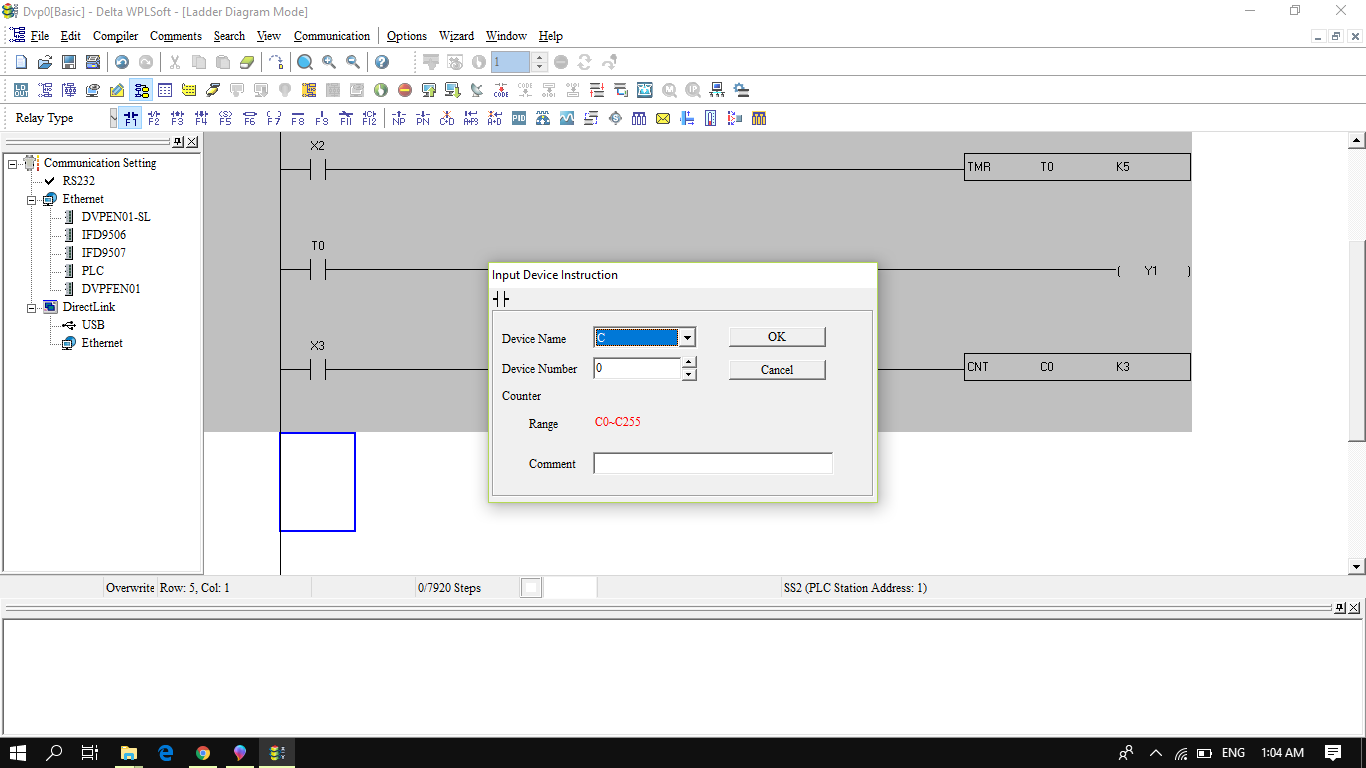
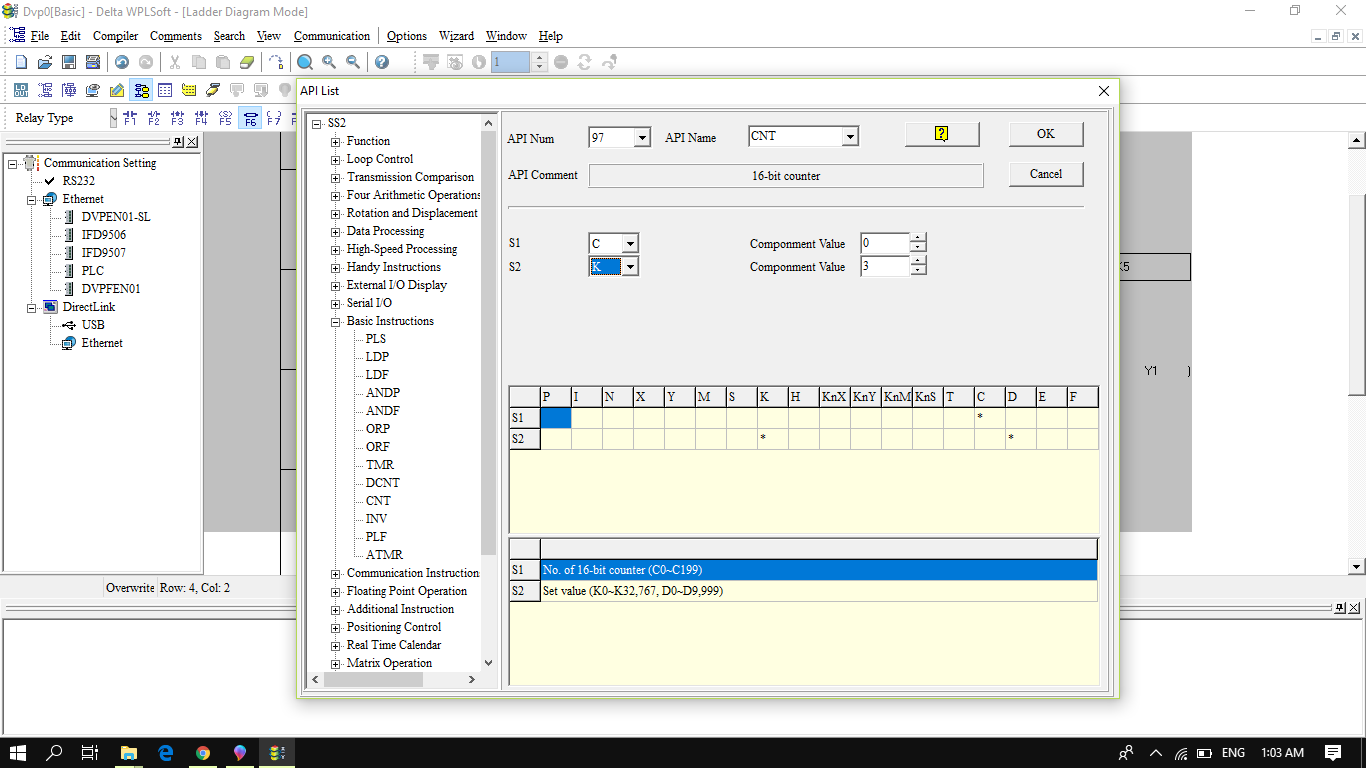

You can add CNT (counter) from F6 appilication instruction tool > Basic tools. Set (C0-C255) and value of K in how many counts you want.
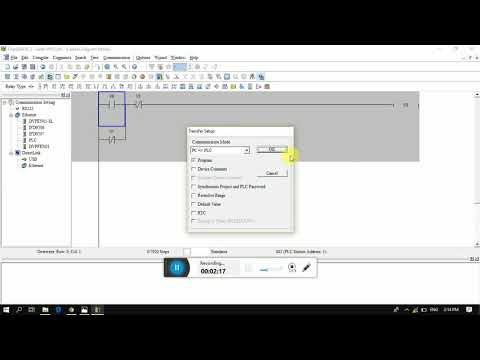
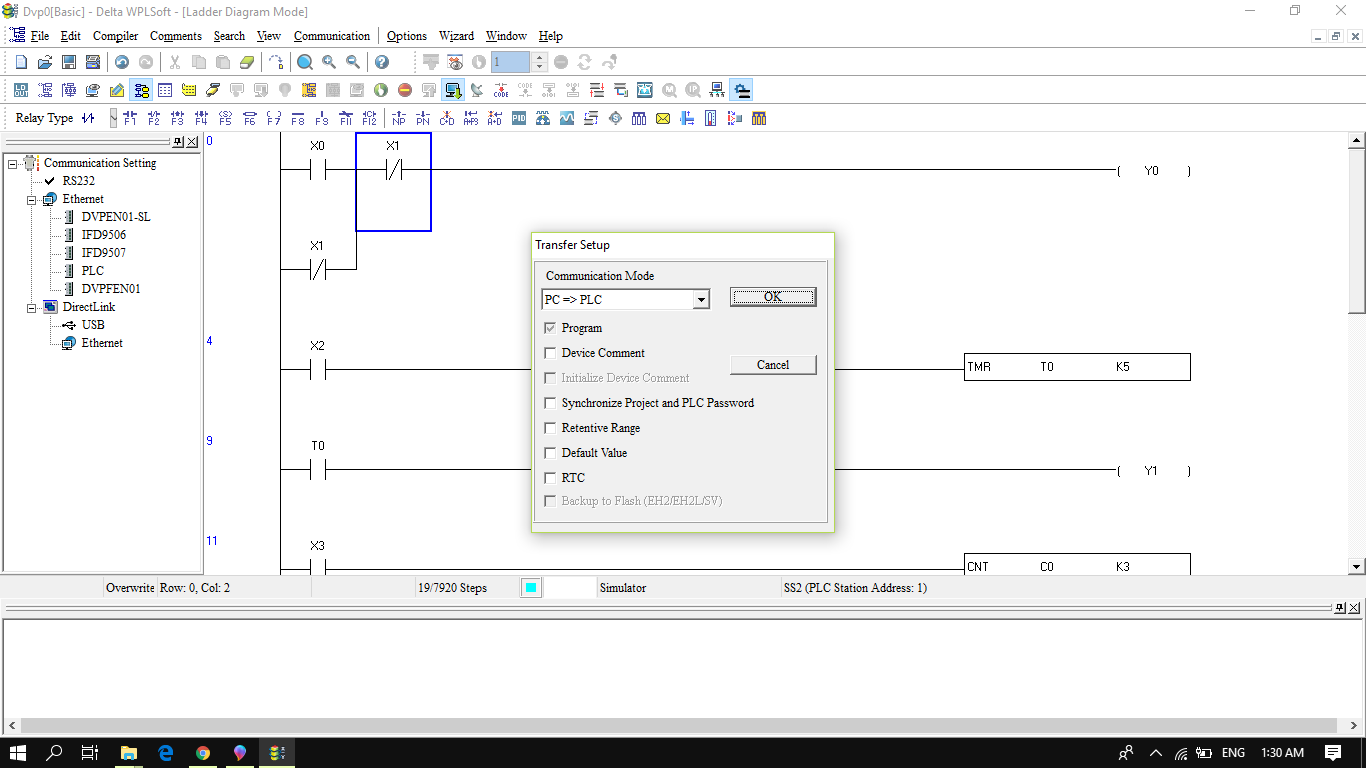
Start Simulator to RUN
Then Write to PLC Button
Then Run Button
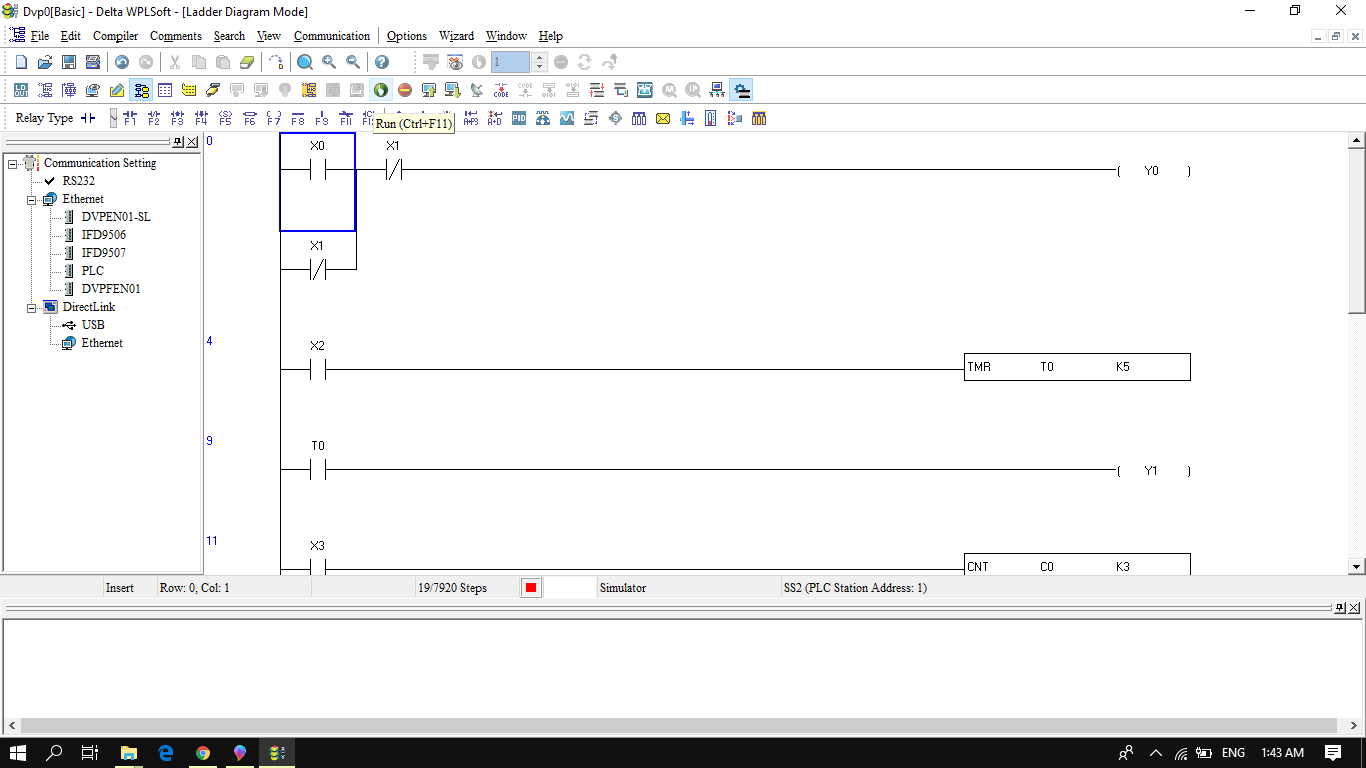
And Last Online Button
Now Check Your Project
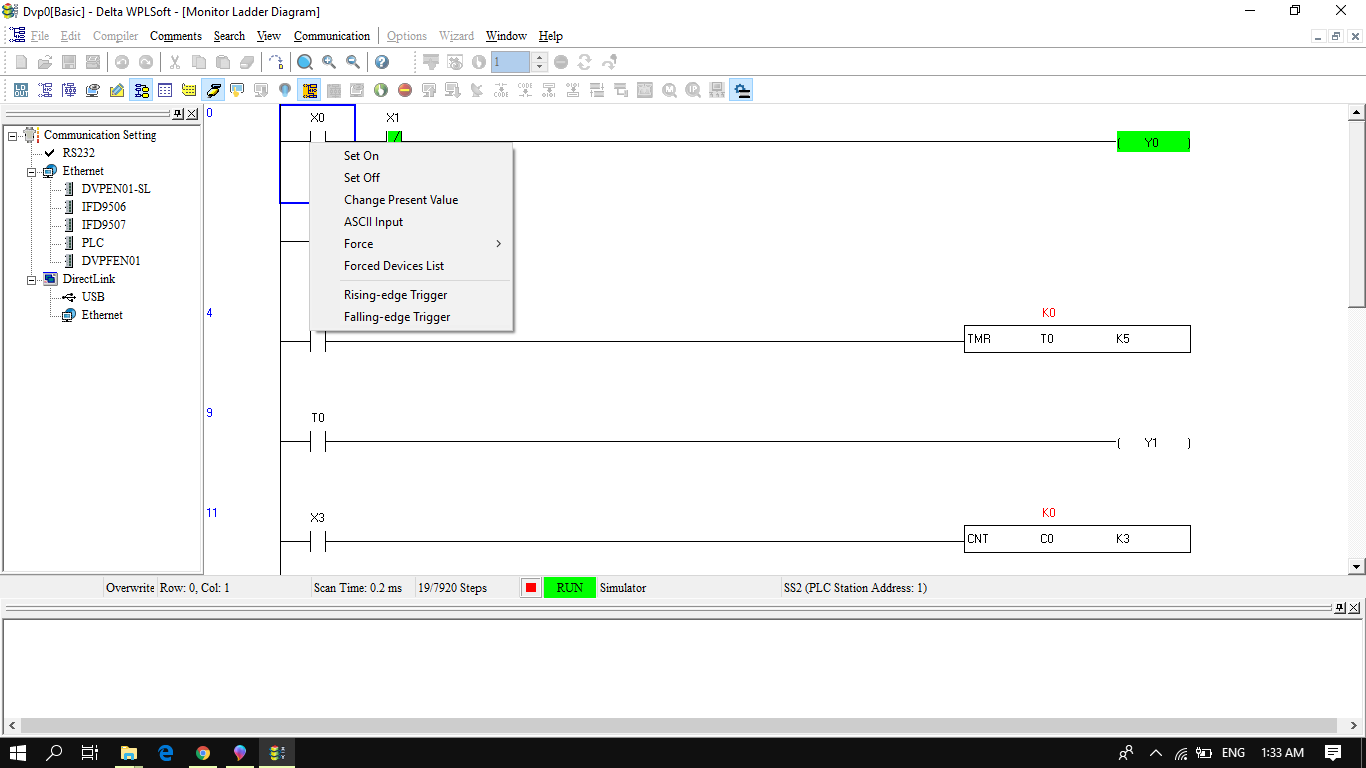
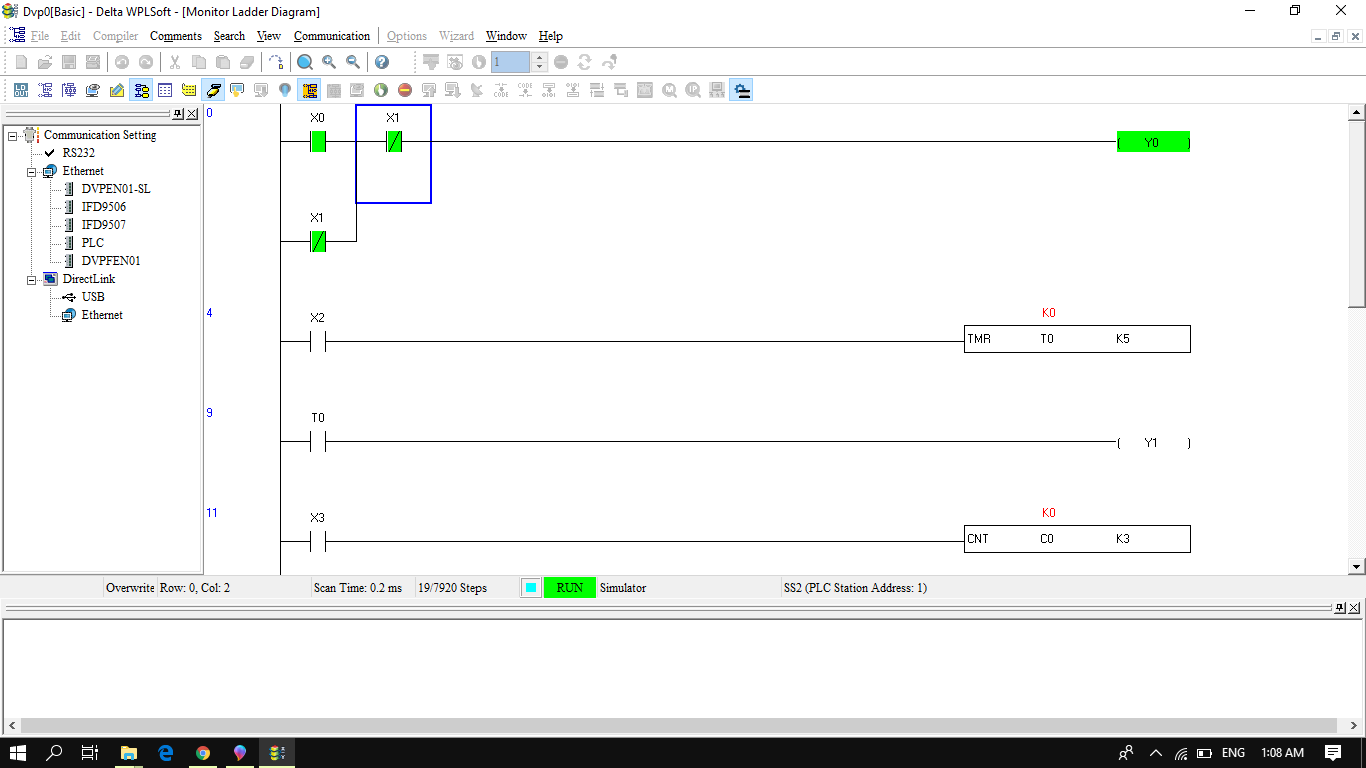
When X0 Sets ON, output Y0 will HIGH because of latching state due to X1.
Check Timer and Counter
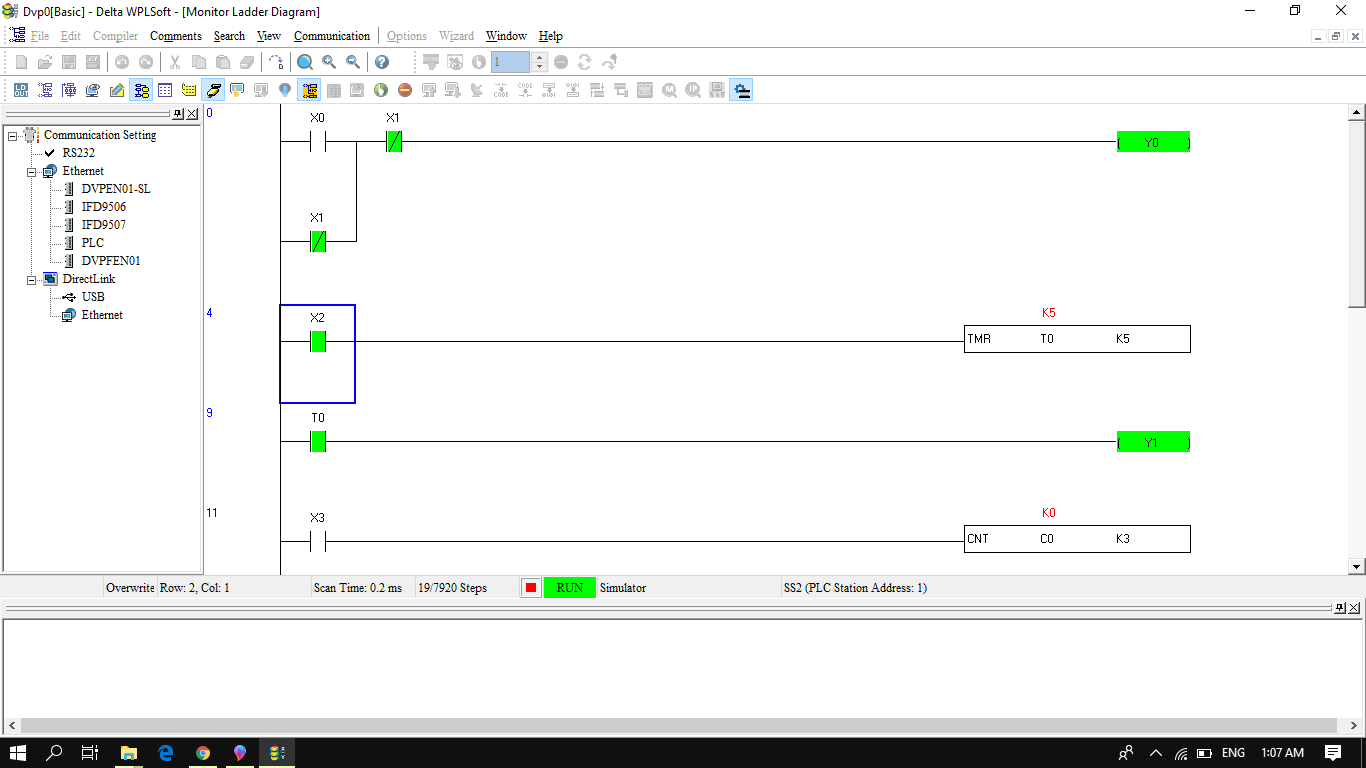
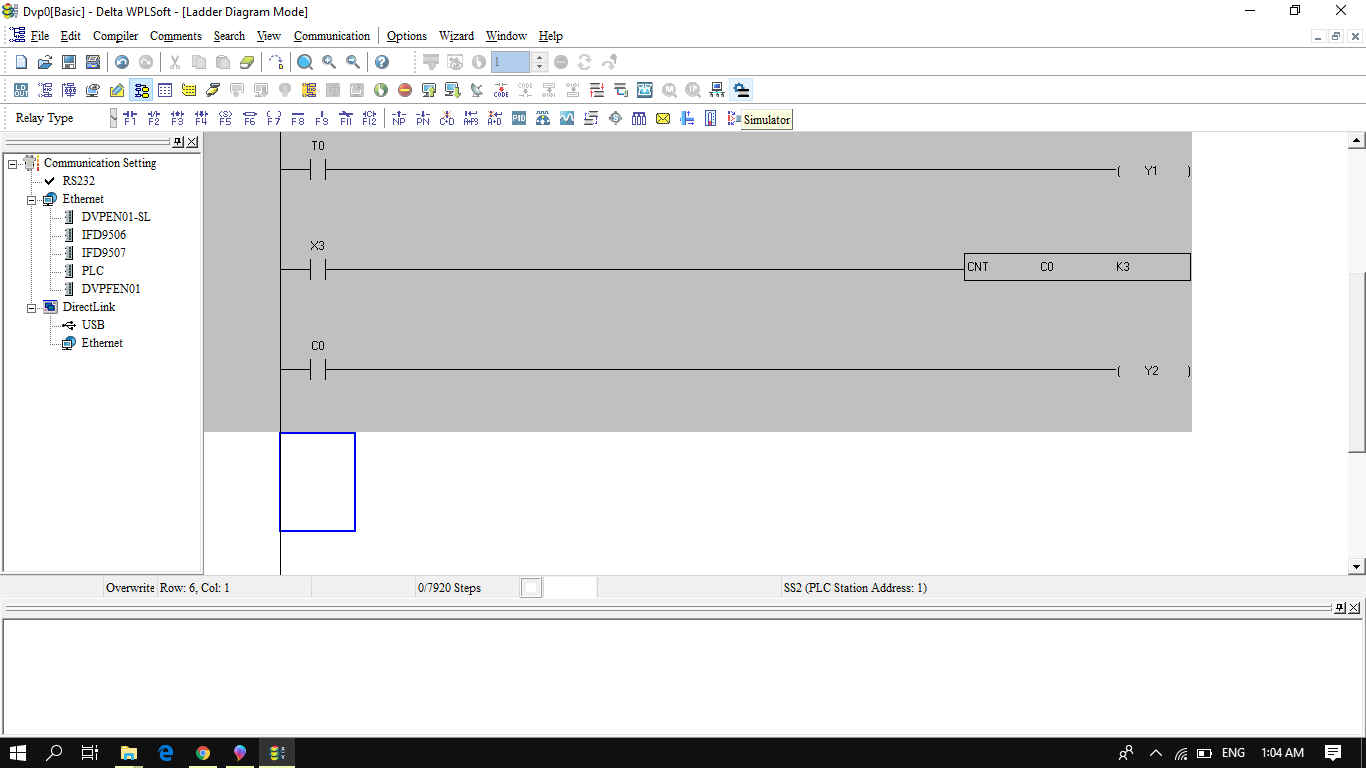
When X2 Sets ON, Timer start and will stop after 5 seconds and makes output Y1 HIGH. Timer will reset when you Set OFF X2.
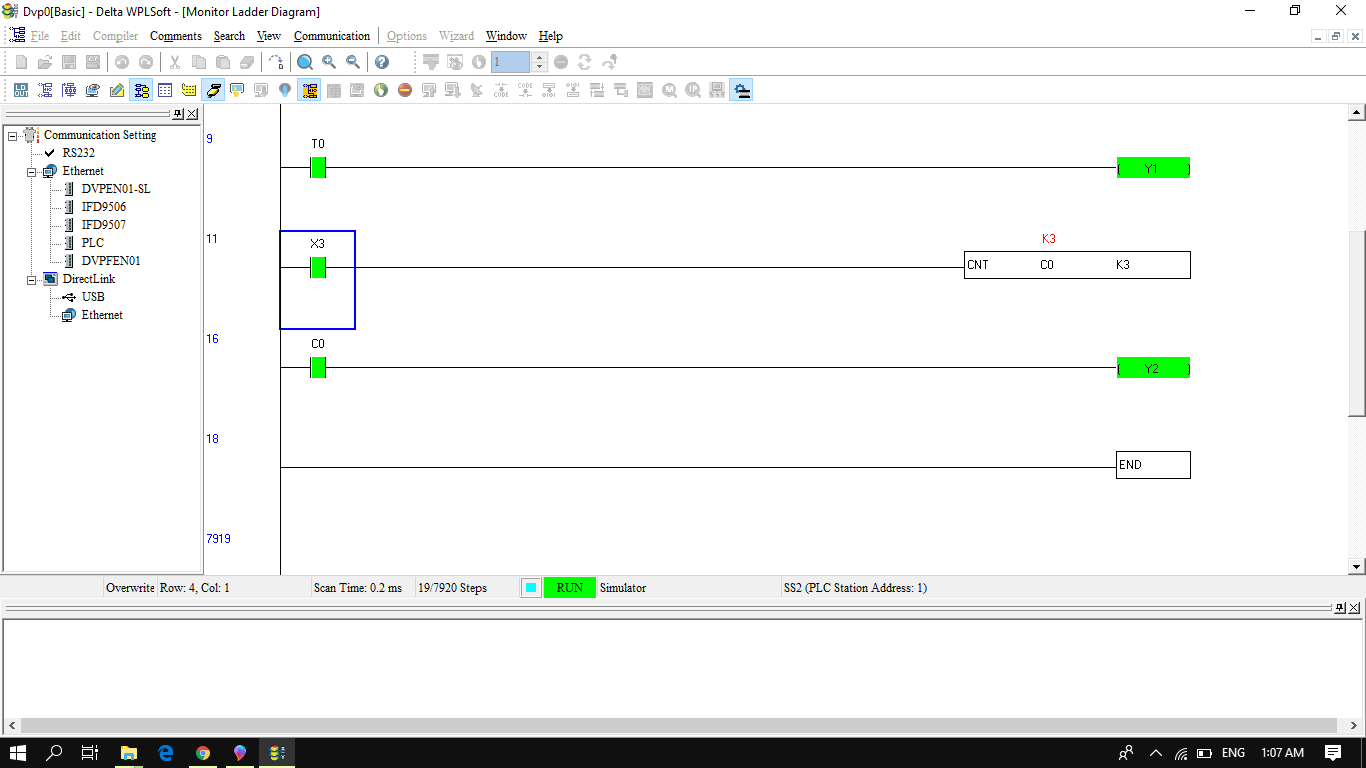
When X3 Sets ON, Counter starts to count and will stop after 3 counts and makes output Y2 HIGH.
Full Video of Tutorial