How to Use Arduino GSM Shield SIM900
by ahmedebeed555 in Circuits > Arduino
23505 Views, 13 Favorites, 0 Comments
How to Use Arduino GSM Shield SIM900
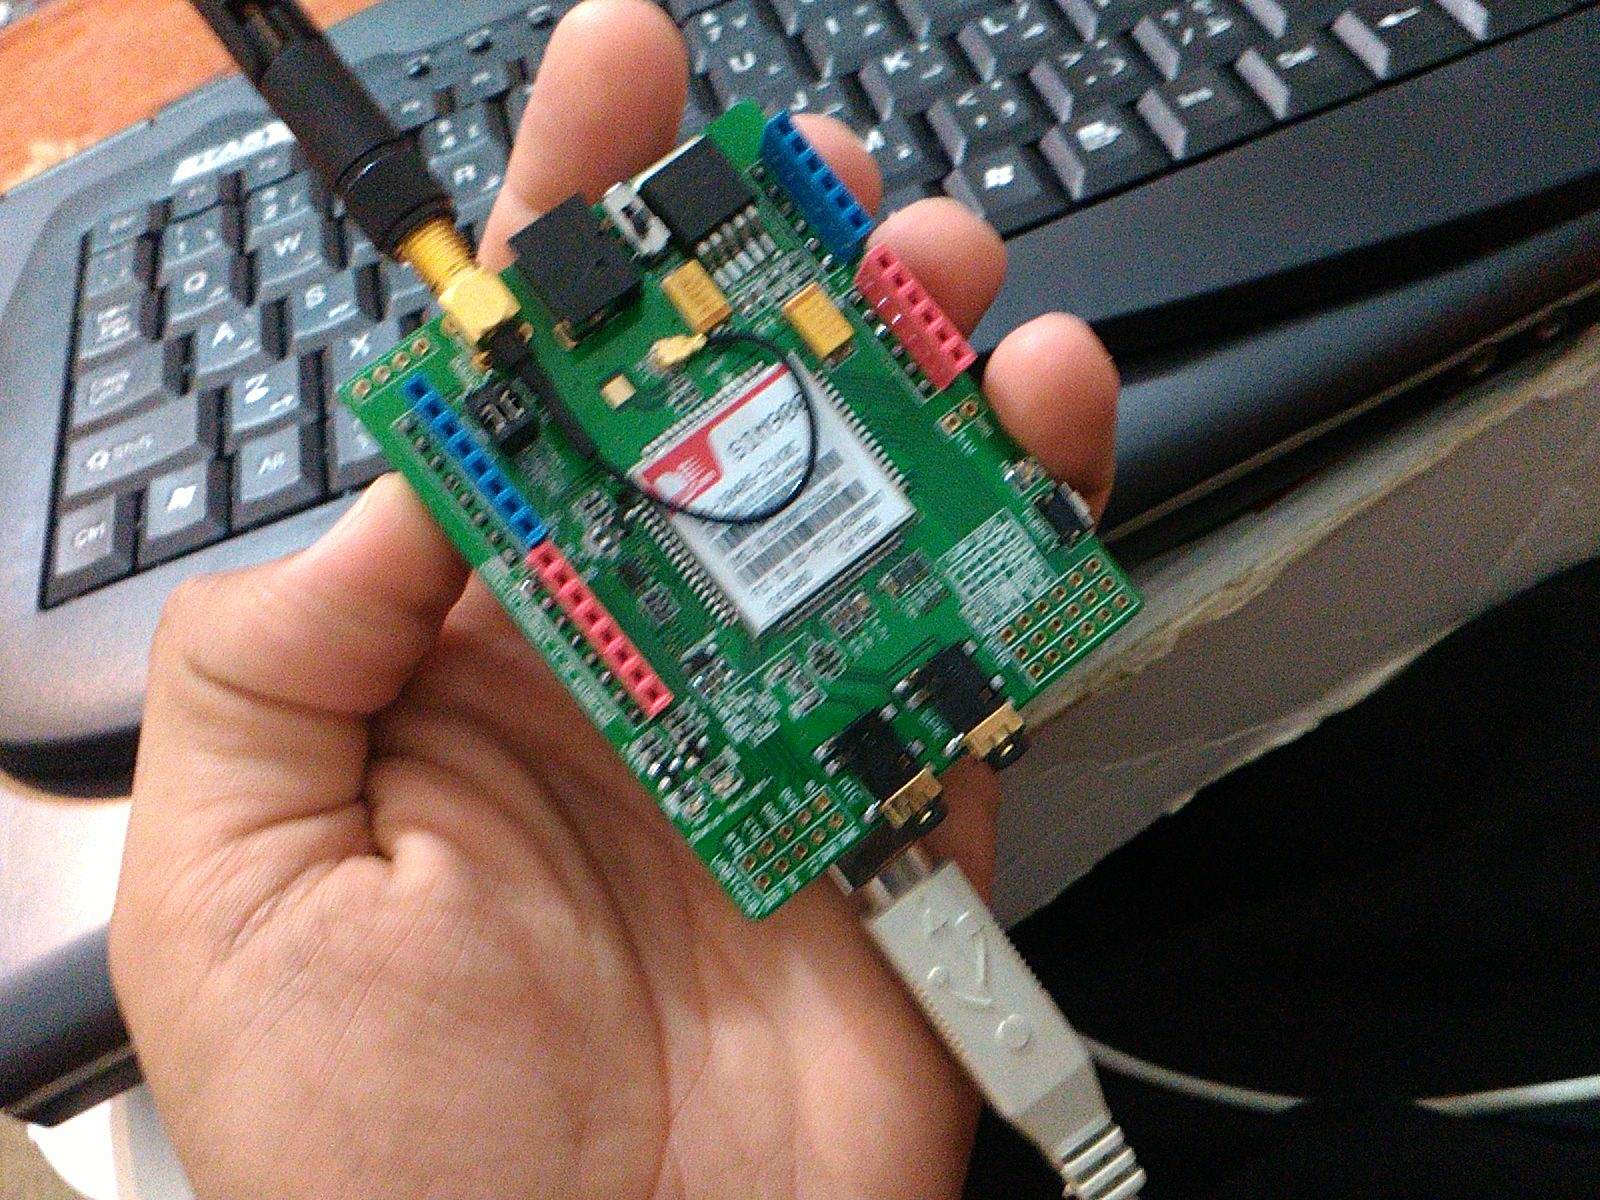
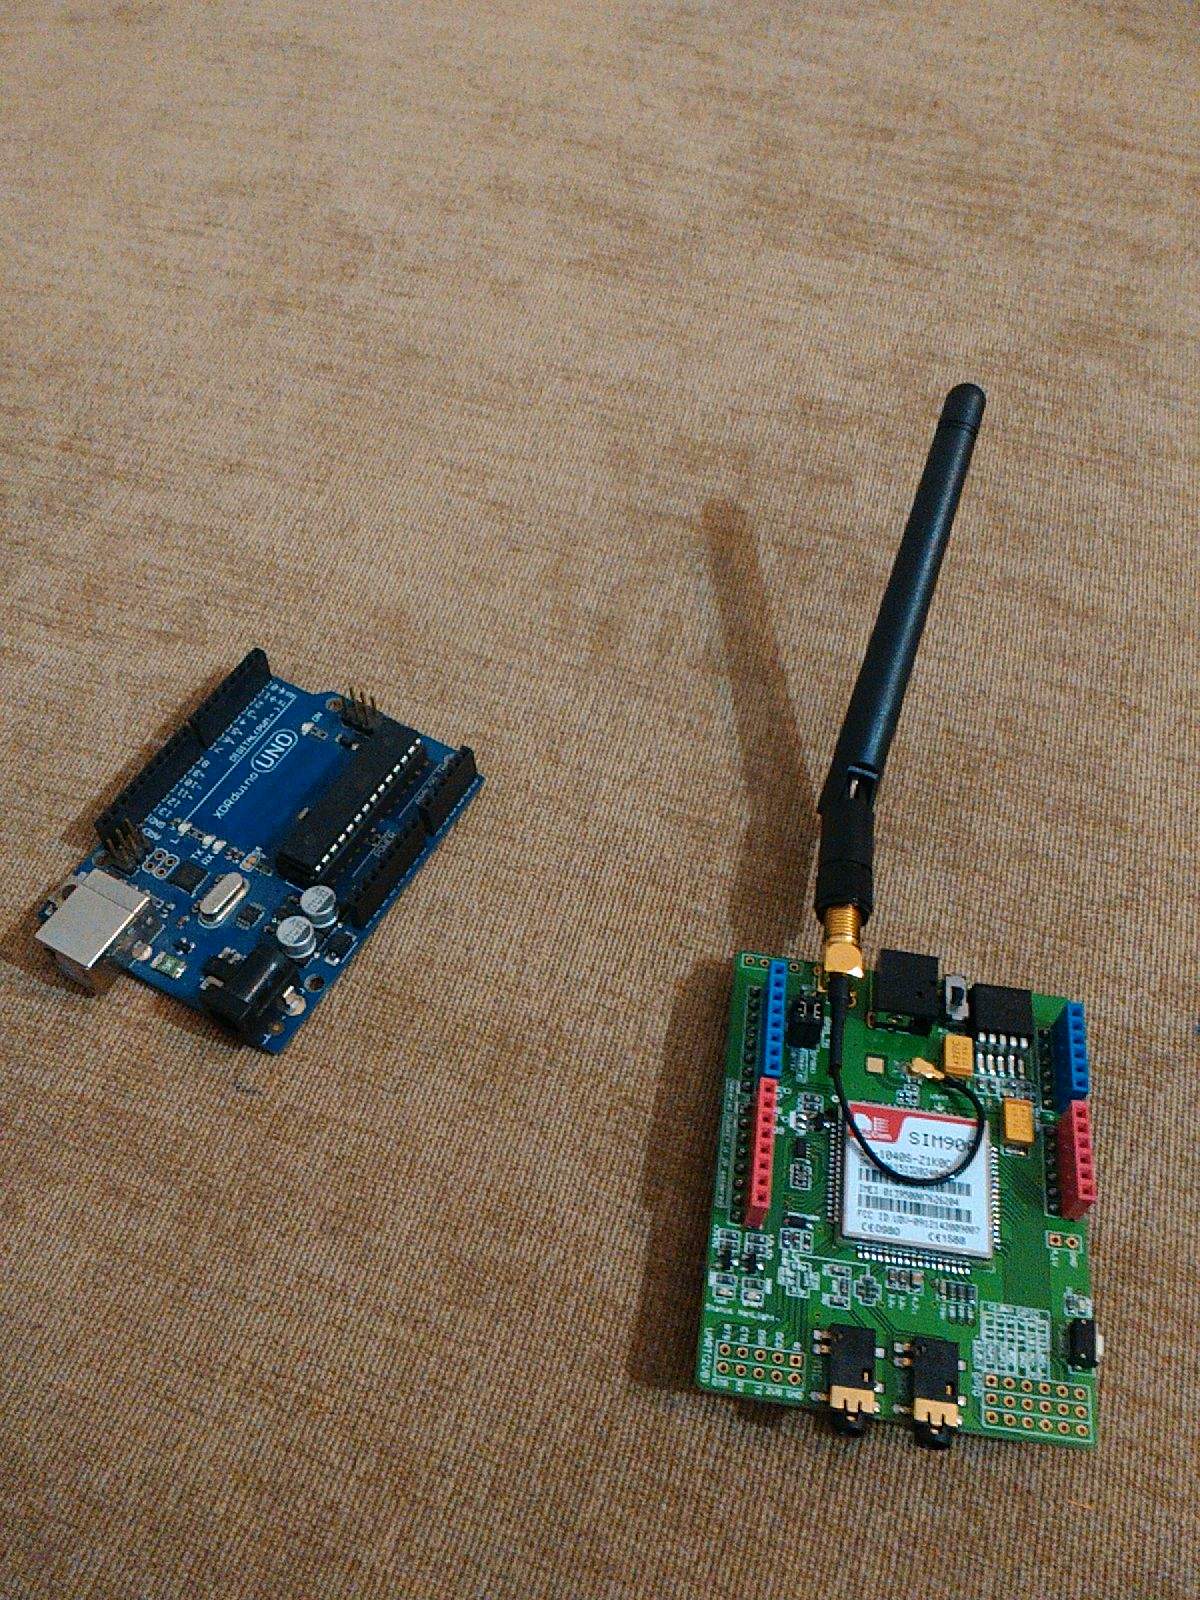
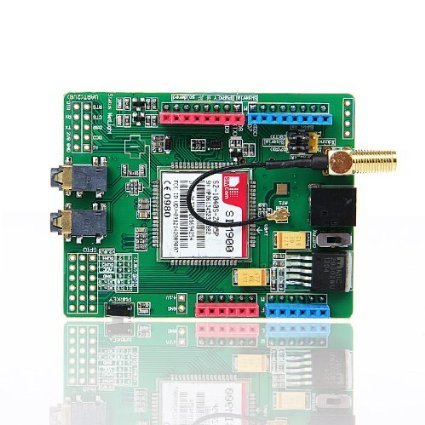
Hello and welcome to instructable, I really want to share those new projects I make even they were not so unique but sharing what I make keeps me feeling alive.
So, if you like this instructable please
Vote for me,
Leave a comment,
Share with your friends,
Favorite the instructable,
Follow me to see new instructables,
Visit my website and
Click the affiliate links
( even if you don't buy any thing - don't worry. I'm not selling any thing - No spam. Only useful stuff )
That's a long To-Do list. Choose what you want. And thanks again for reading my instructable.
So Let's get started.
I love using Arduino platform as an embedded system that you can make anything easily.
I got this GSM Arduino shield and decided to use it and share the experiment and knowledge with you.
This is a complete beginner guide to this GSM Shield. Soon I'll be sharing some useful projects I make with this module. But in this instructable I'm only sharing my experiments for getting started with this module.
Here is my Channel on Youtube:
AeroArduino
Supplies
Choosing Power Supply Source
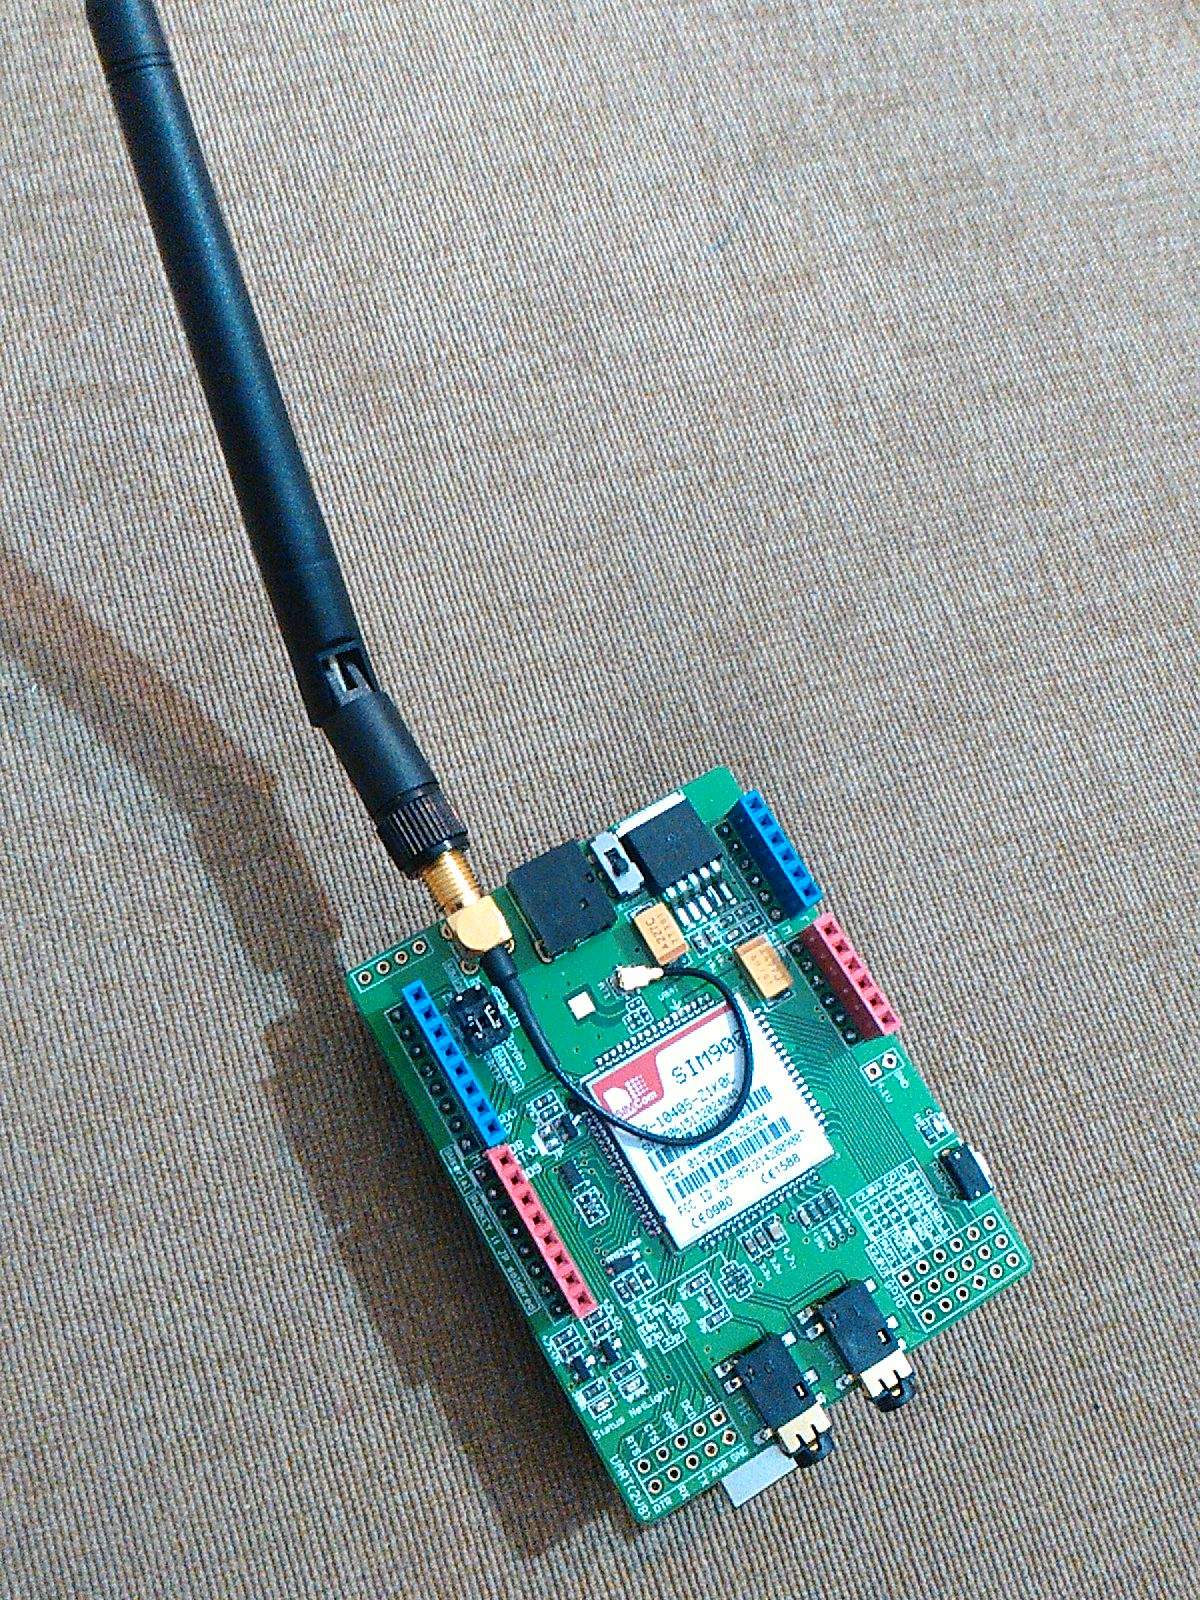
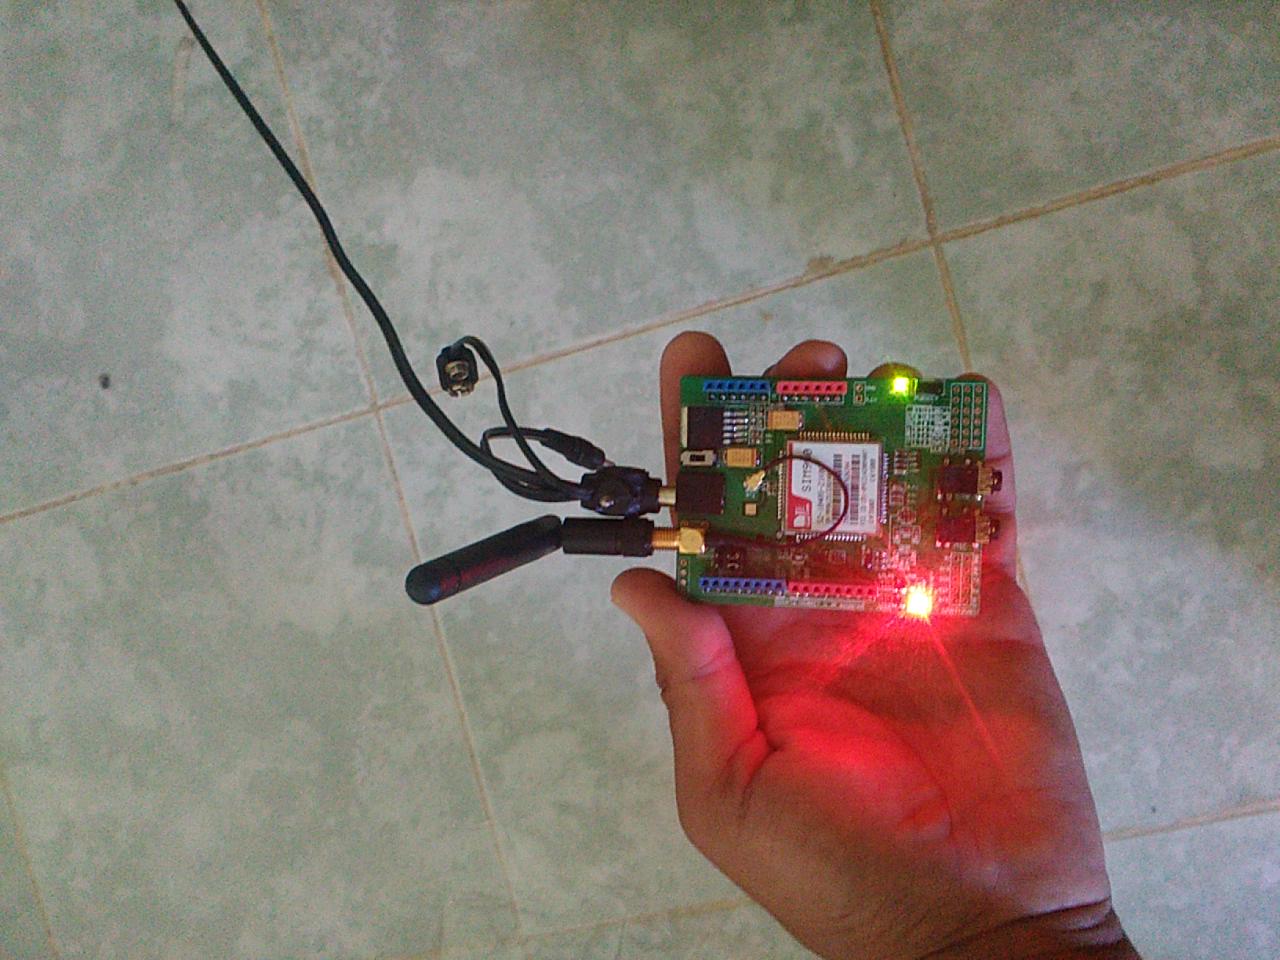
The module can be powered by one of two ways:
- Separate power source.
- Power from Arduino.
You can choose the power source from the DIP switch beside the Antenna.
Typically, the module has its own power socket. So you can power it from a separate power supply of about 12V/1A or 5V/2A.
This may be the maximum power rating or the maximum input power to support the module at its maximum power demand periods - at making calls.
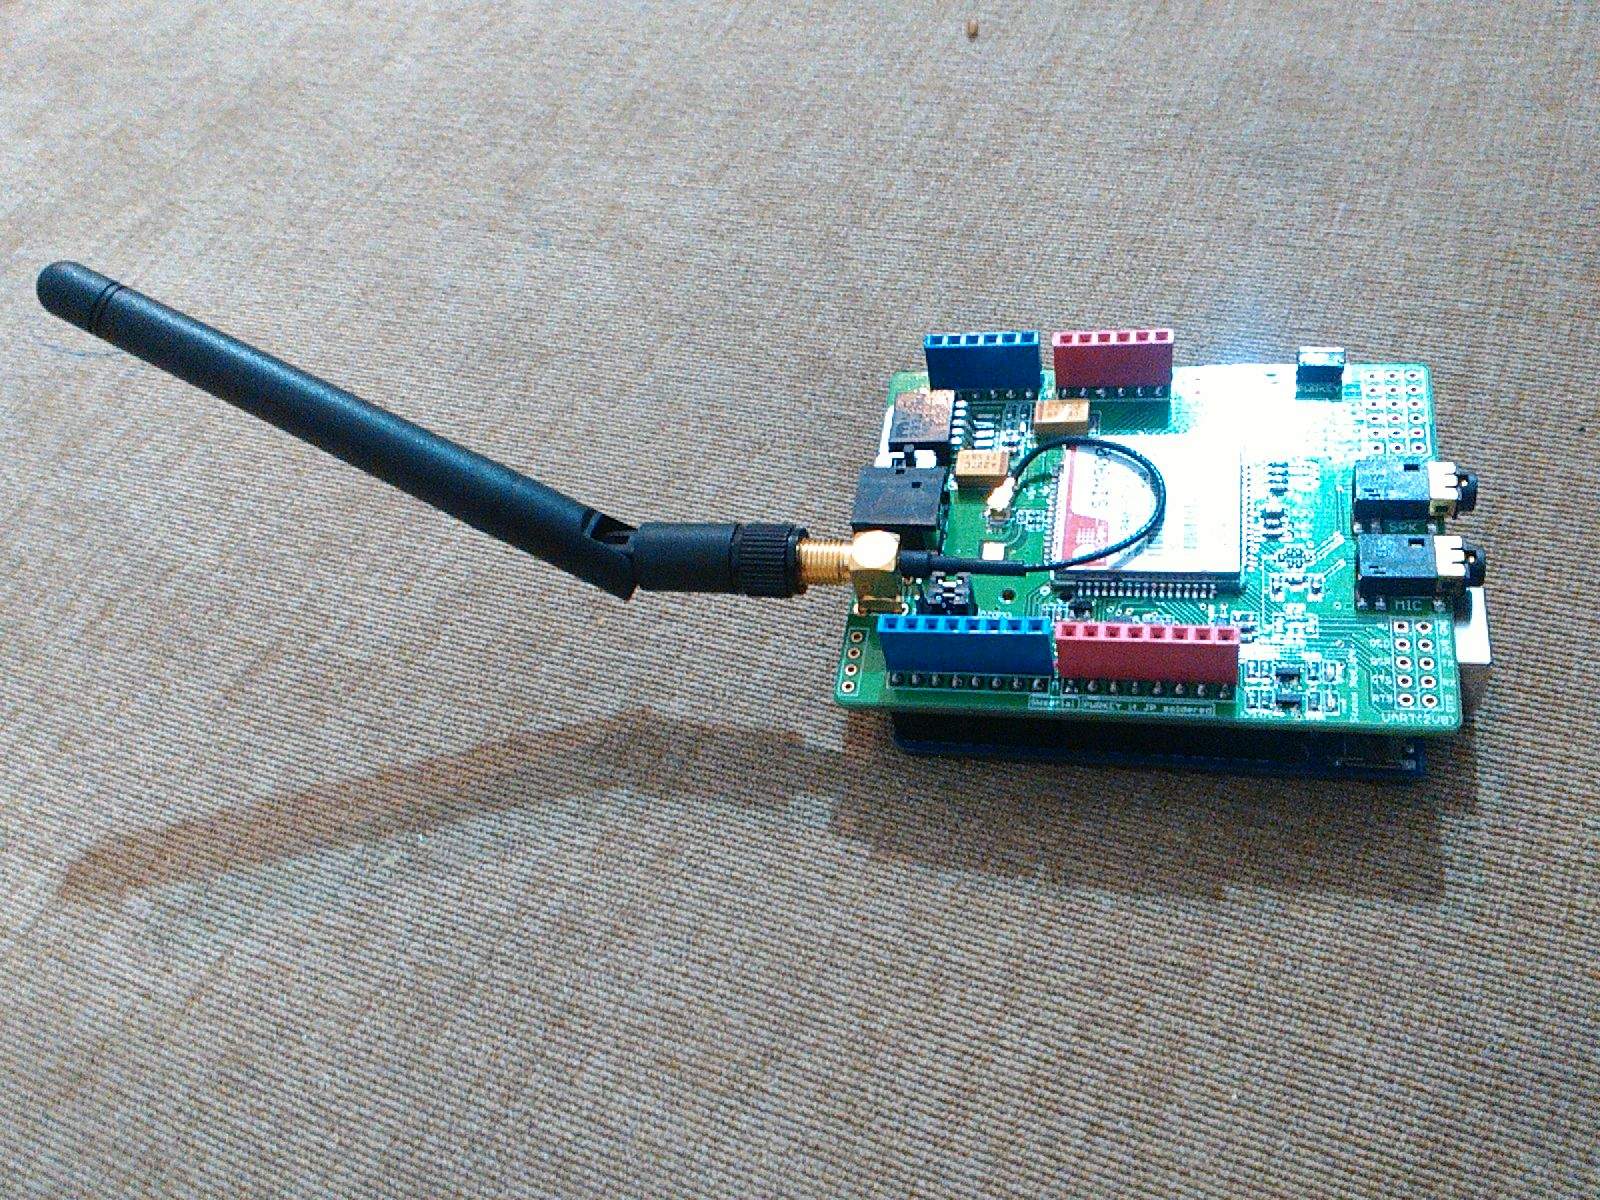
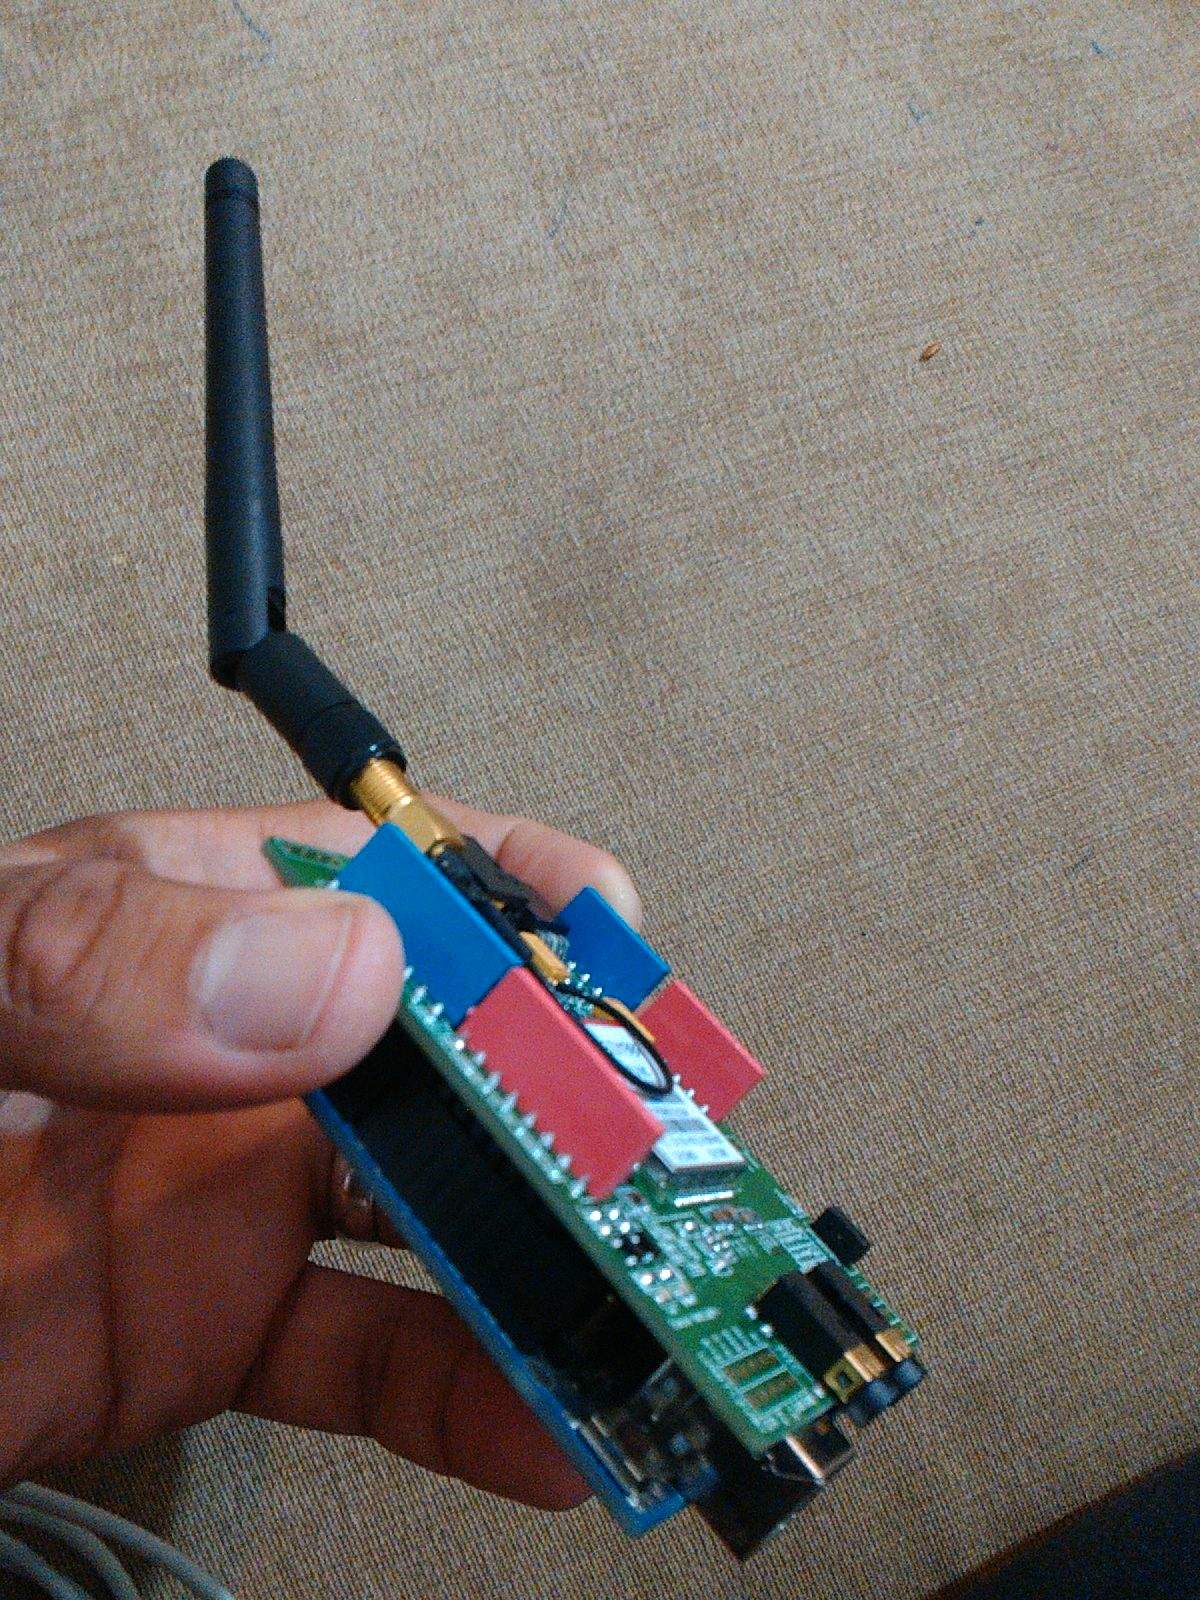
But you can also power the module directly from Arduino only by connecting the shield on top of Arduino like any other shield. This will make Vcc and GND of the module connected to Vcc and GND of Arduino board.
At the beginning of my experiments, I made this connection without any problems. Yes you can power this high demanding module directly from Arduino board but this is not recommended because this module requires high power at transmission mode.
While I have been trying to try all types of code with this module I had no problem with power from Arduino.
But after a while I found that when I move the module and Arduino in different place I noticed that the power LED on the module started to faint and eventually it powers down.
At the beginning I thought there were something wrong with the module. And I even tried another SIM card from another service provider.
And then I remembered the power demand of this module so I went to another place with an open setup just as you go with your mobile phone to get a better signal for clearer voice.
So at the end of my trials with software, I decided to make my project as reliable as possible by giving the module its highest power demand from a dedicated power source.
I used a 12V/1A power adapter to power the module.
Note:
When you power the module from an external power source Arduino cannot be powered from the module. So you also need a separate power source for Arduino.
Power ON the Module and Automatic Powering
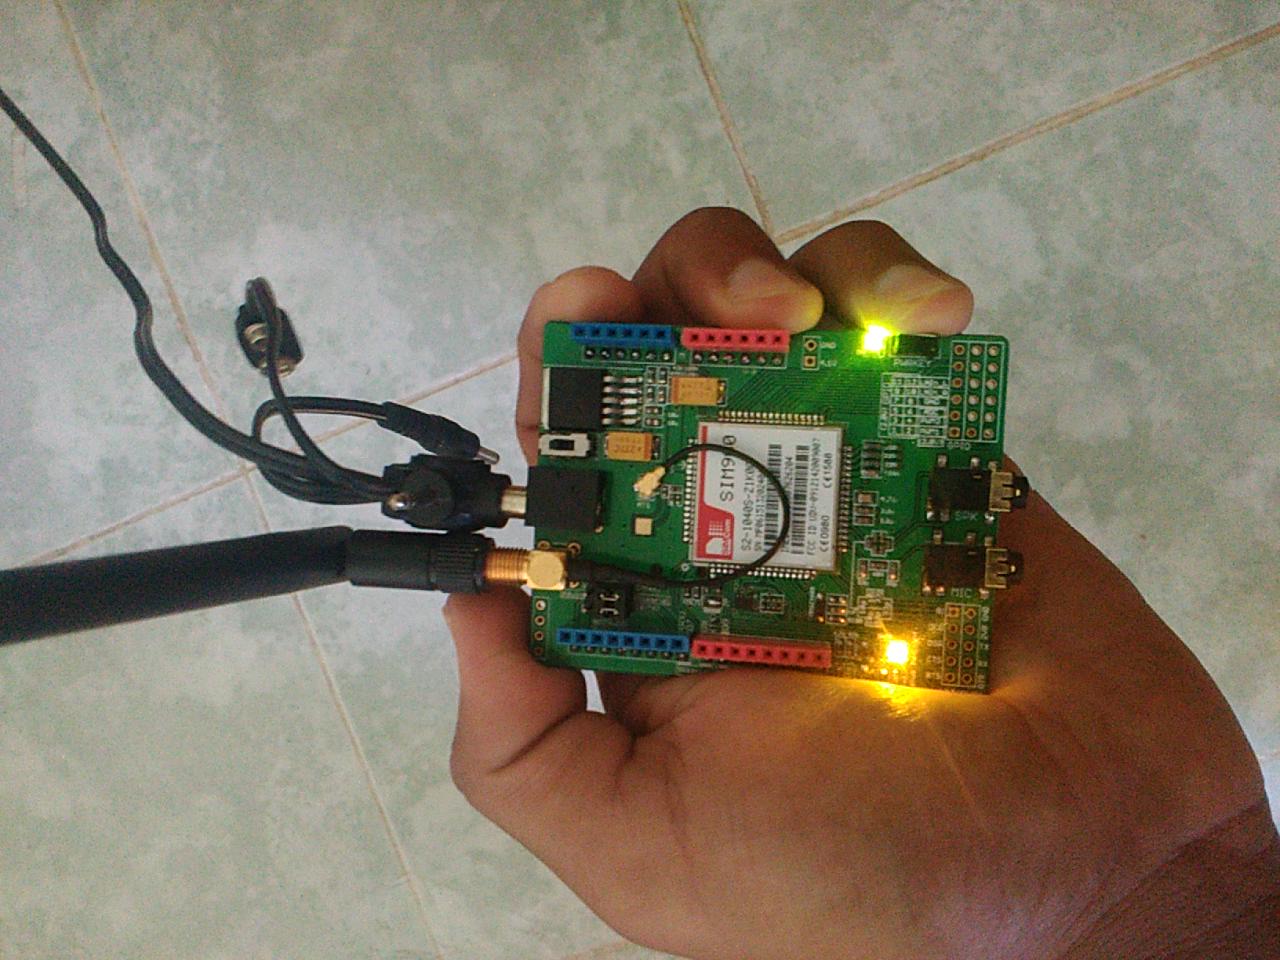
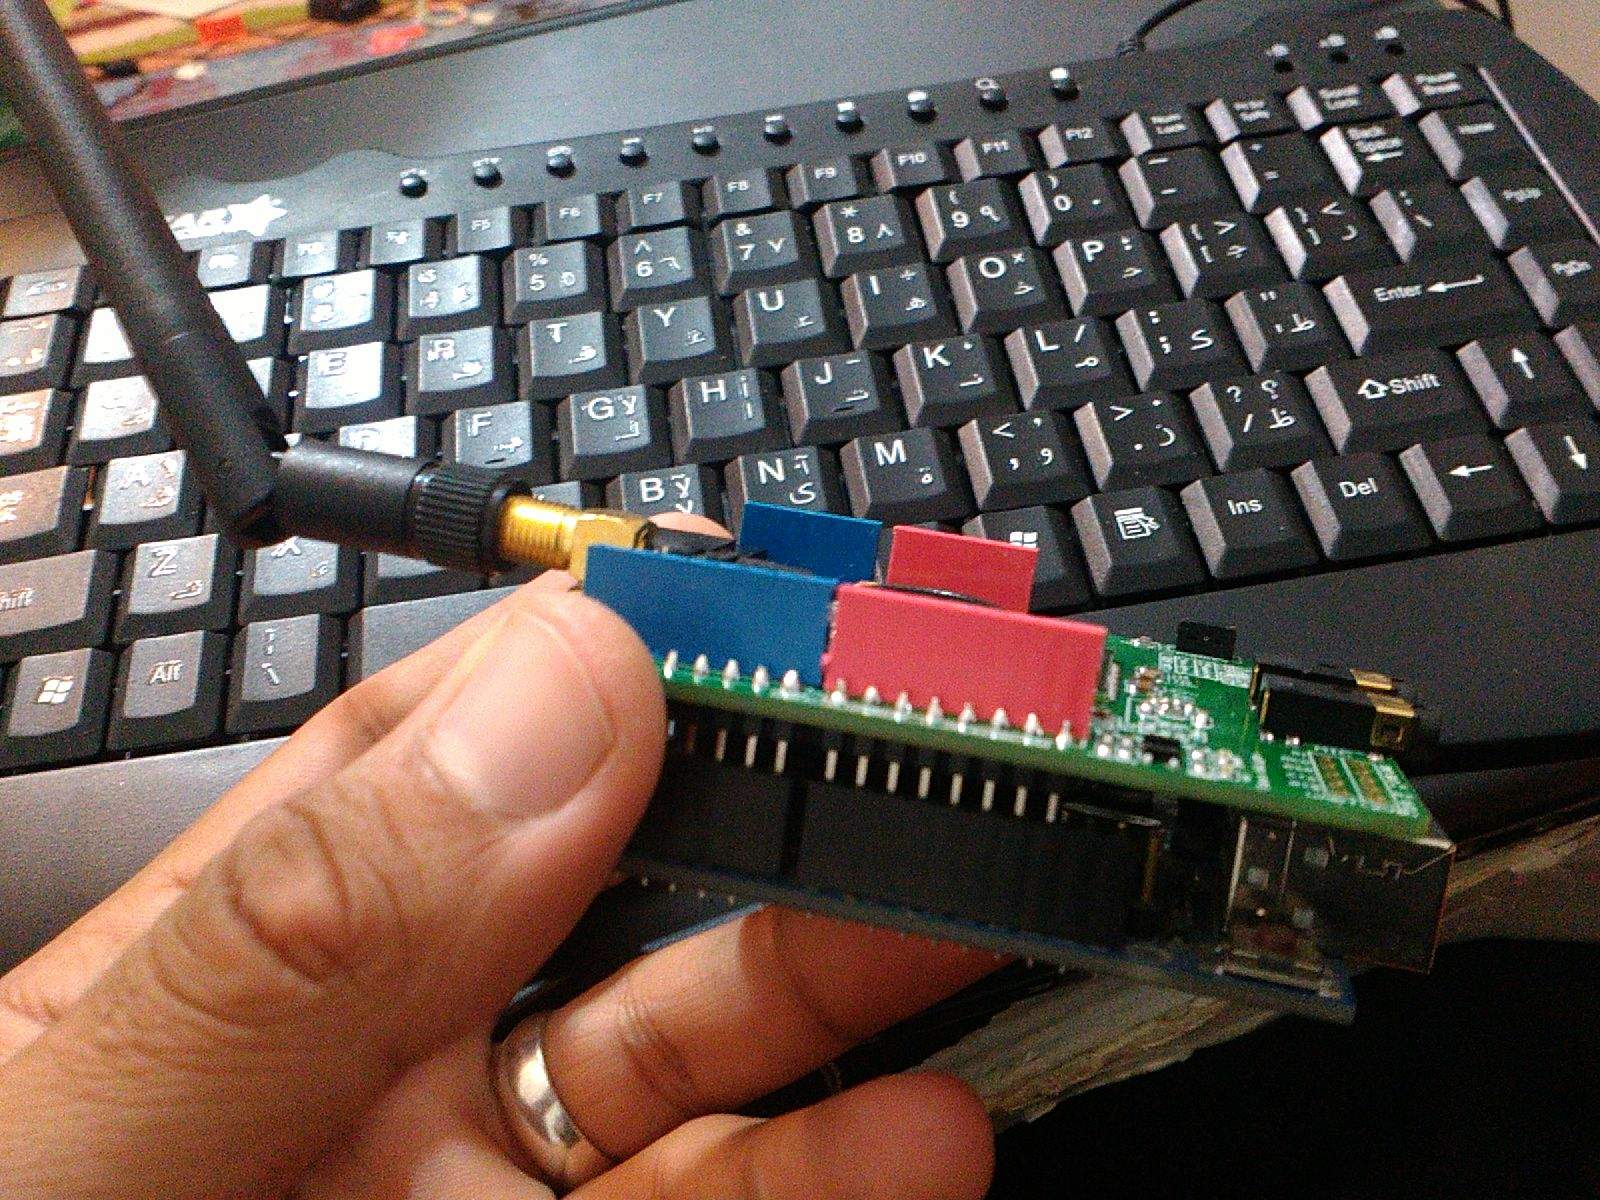
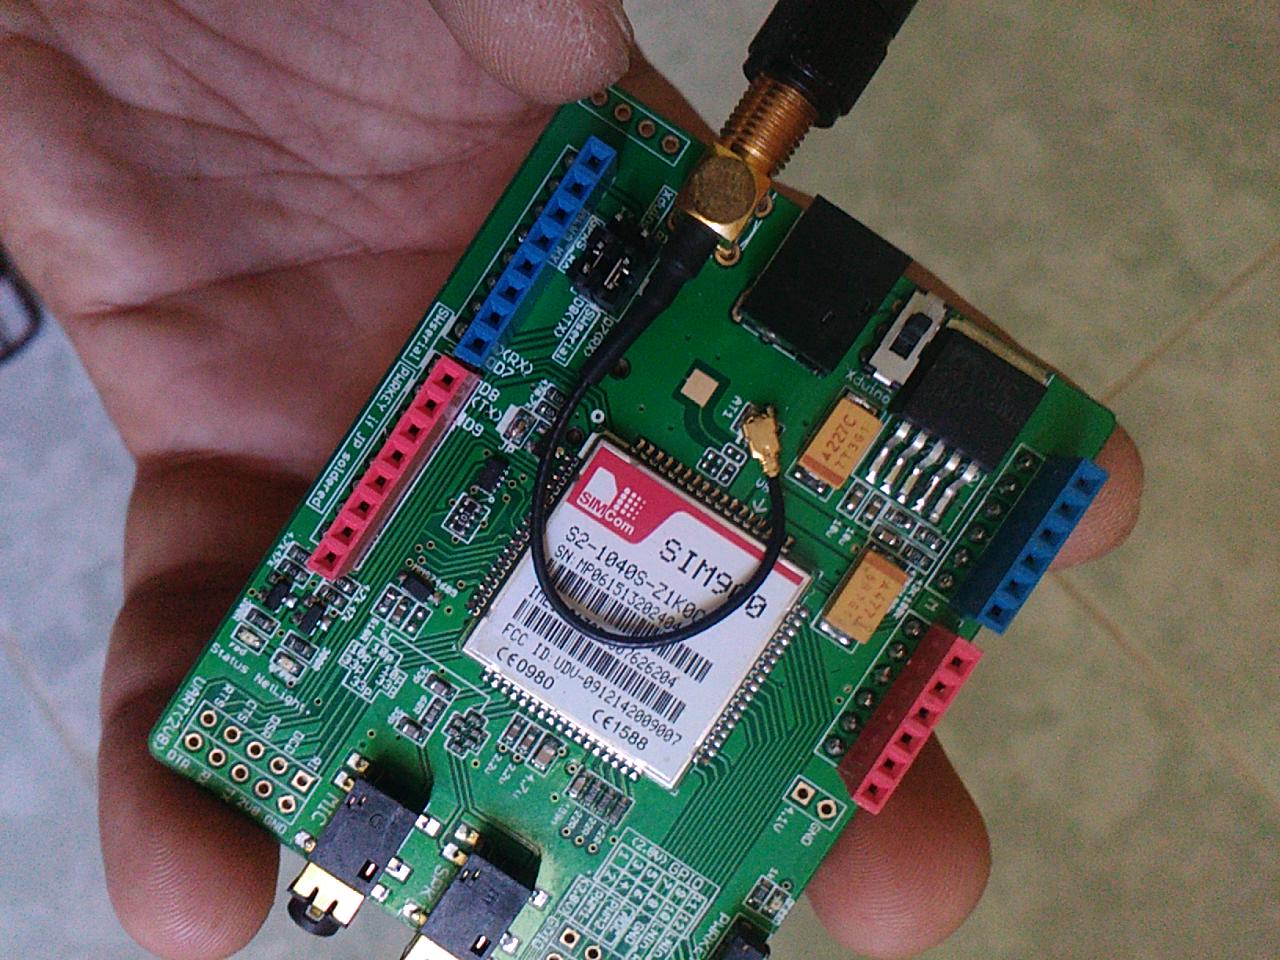
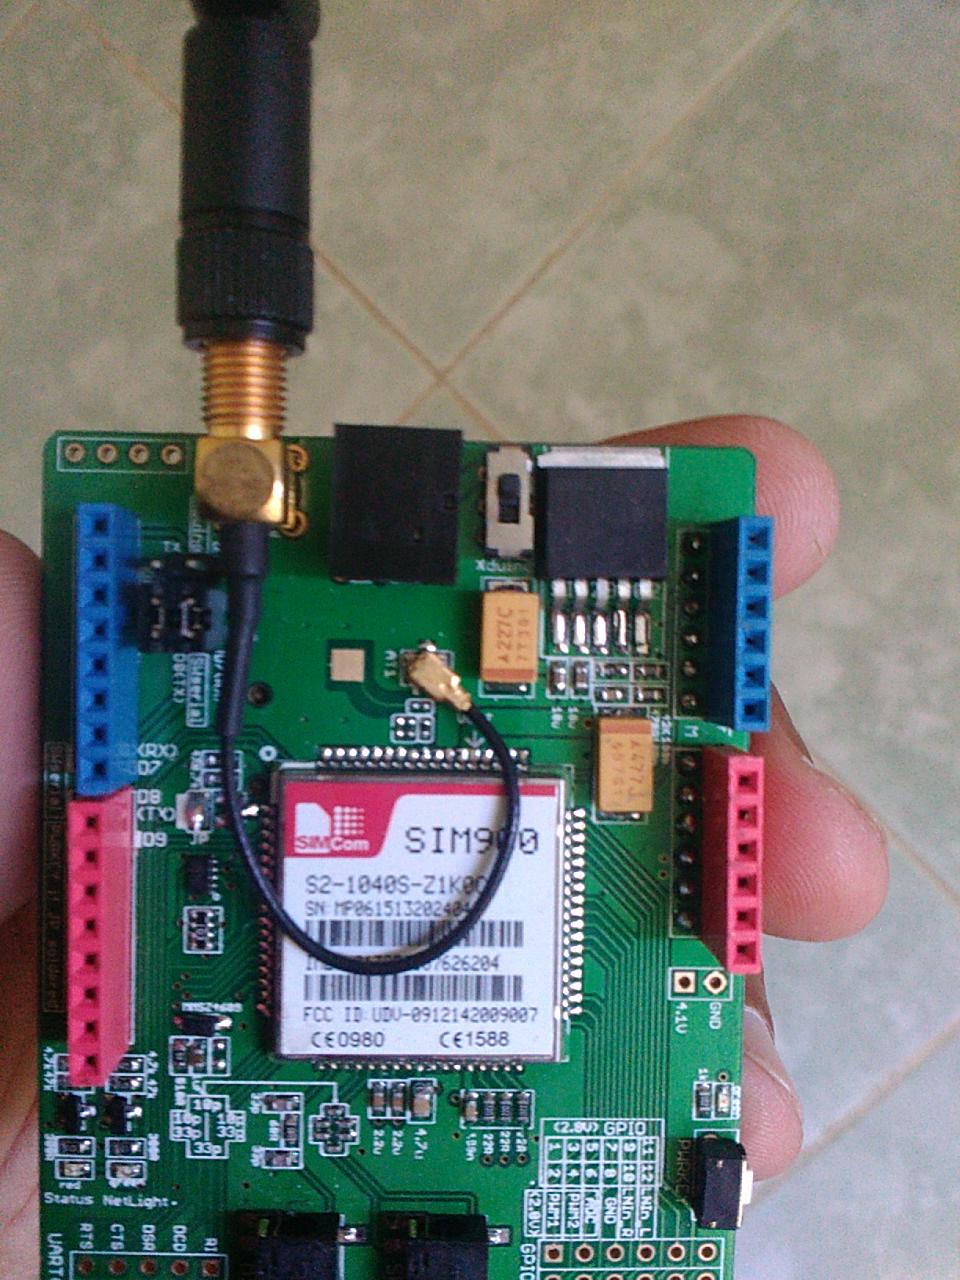
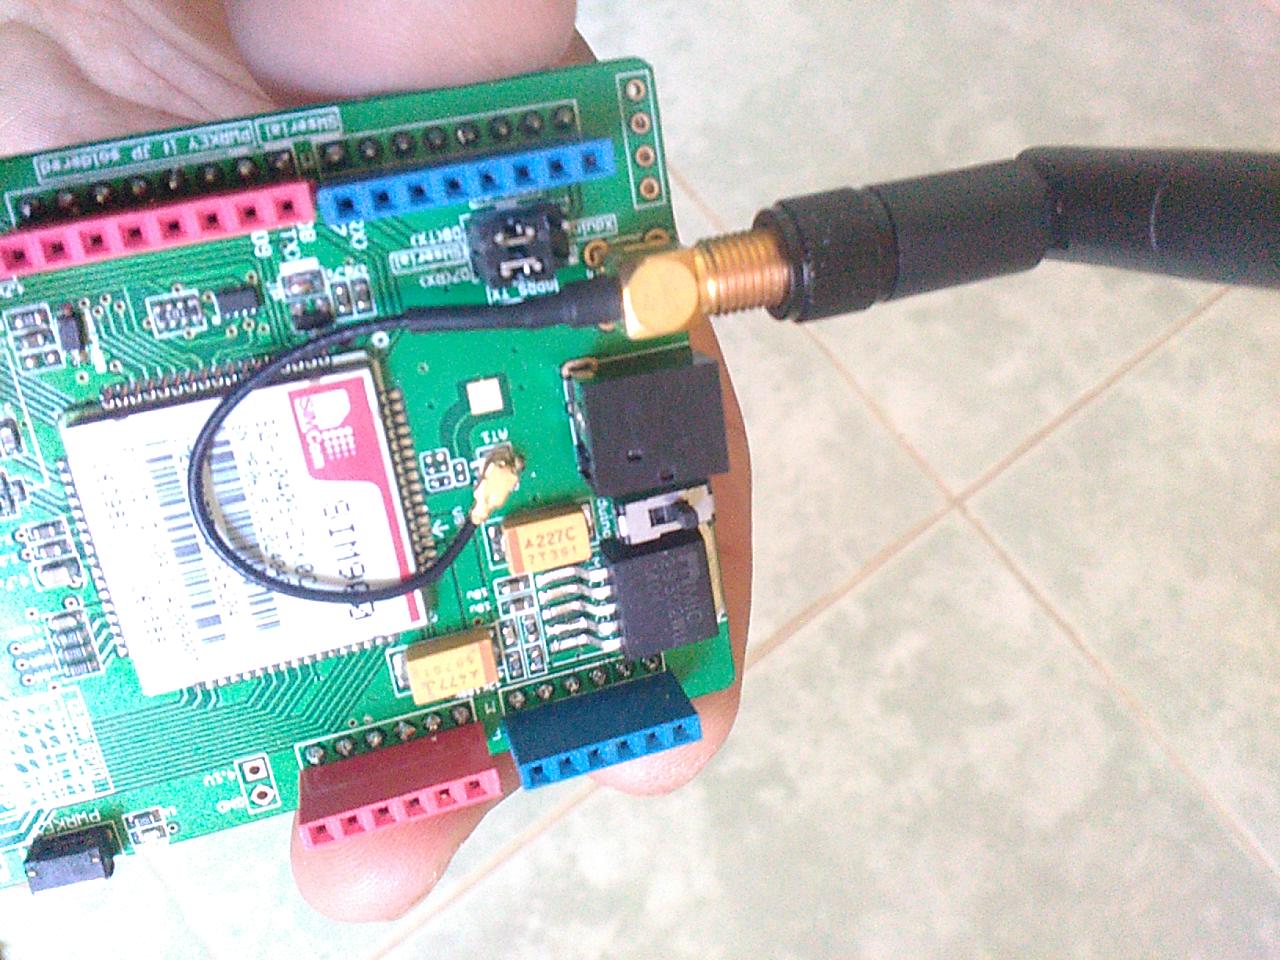
You can Power On and Power OFF the module by pressing the Power push button for one second.
You can do this easily every time you need to use you module.
But what if you need to have your module running in a remote area and you had Arduino restarted. Then you need to automatically Power ON the module using Software Power ON feature.
You only need three things to use this feature:
1- You need to solder the JP Jumper on the module. This jumper enable the feature from the module hardware.
2- You need to connect Arduino PIN 9 to PIN 9 on the module and this PIN will be dedicated to that purpose exclusively.
3- You need to run the code snippet that power on the module. This code typically simulates pressing the Power push button for one second.
digitalWrite(9,HIGH);
delay(1000);
digitalWrite(9,LOW);
delay(5000);
AT Commands
You can communicate and control SIM900 GSM Module using AT commands using either Serial() or SoftSerial() functions.
There are so many useful AT commands that you can commonly use.
For Example:
- Answer incoming call GPRS.println("ATA;");
- Hang up a call: GPRS.println("ATH;");
I uploaded the AT command guide.
Downloads
Receiving a Call
void ListenToCall()
{
// Display any text that the GSM shield sends out on the serial monitor
if(GPRS.available() >0) {
// Get the character from the cellular serial port
// With an incomming call, a "RING" message is sent out
incoming_char=GPRS.read();
// Check if the shield is sending a "RING" message
if (incoming_char=='R') {
delay(10);
Serial.print(incoming_char);
incoming_char=GPRS.read();
if (incoming_char =='I') {
delay(10);
Serial.print(incoming_char);
incoming_char=GPRS.read();
if (incoming_char=='N') {
delay(10);
Serial.print(incoming_char);
incoming_char=GPRS.read();
if (incoming_char=='G') {
delay(10);
Serial.print(incoming_char);
// If the message received from the shield is RING
Called = Called + 1 ;
delay (1000);
}
}
}
}
}
}
Making a Call
Supply Power to Arduino
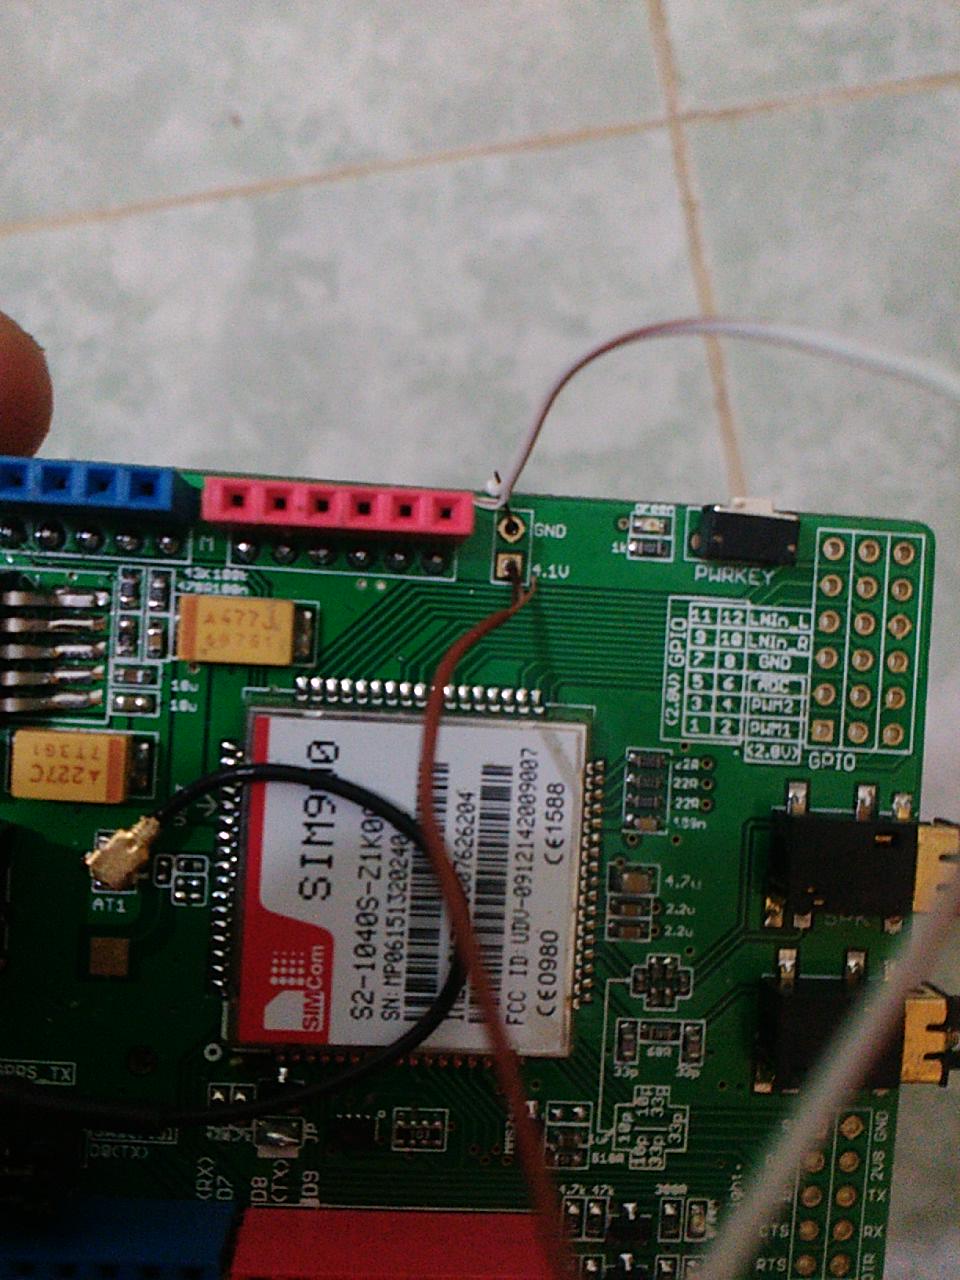
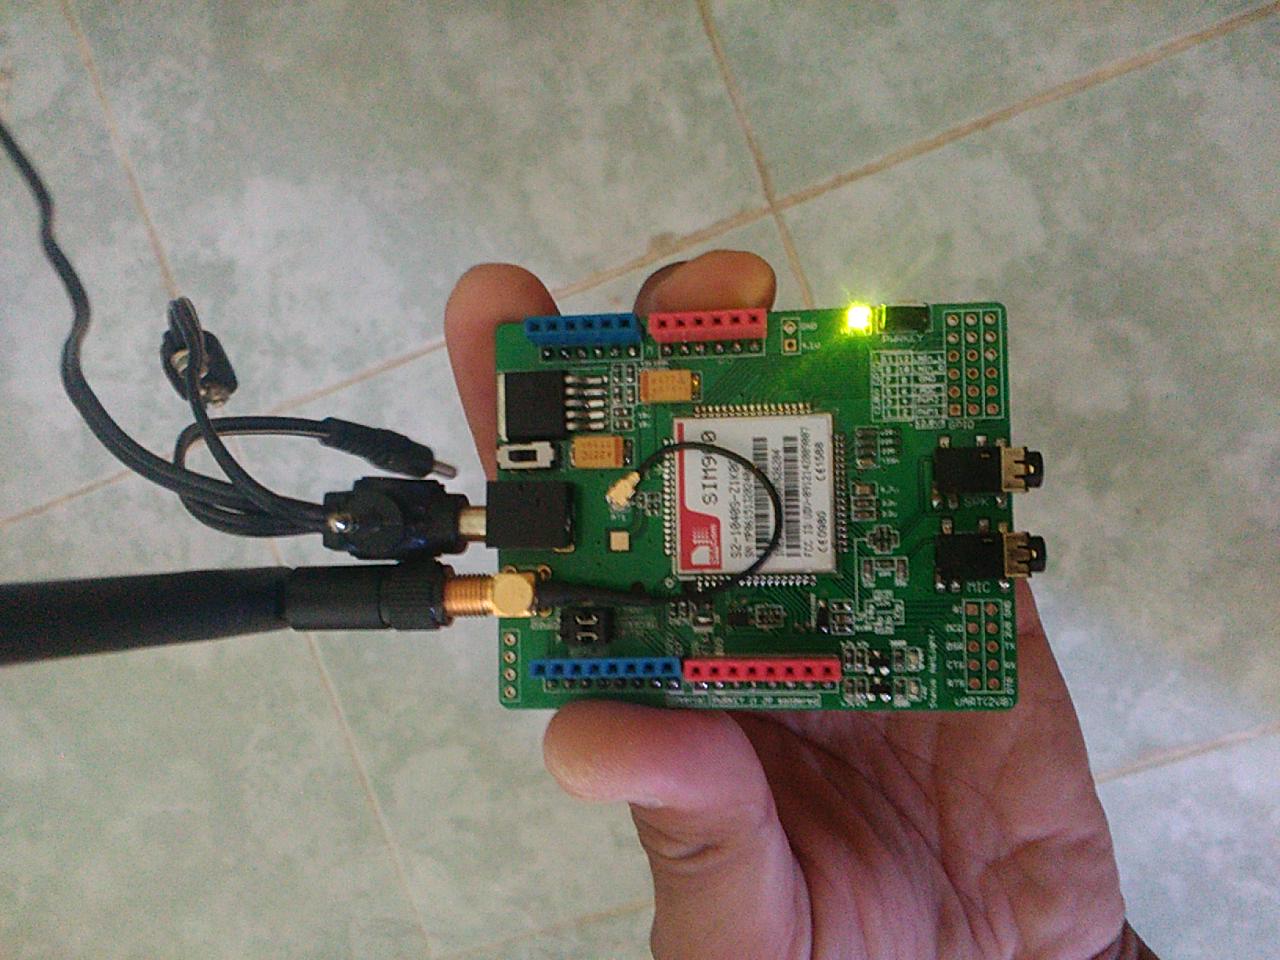
In this step we'll discuss a useful feature in this GSM Module. While you can supply it from Arduino, it's recommended to supply it from an external source of power.
Then as we've seen that's a more reliable approach.
So you can supply the GSM Module from a 12 V power supply but you still need to supply your Arduino Board or your main Microcontroller.
In this case you may need an extra 5V power supply. Here comes that useful feature from SIM900 Module in which it can supply Arduino or Microcontroller with 4.1V and even when it still in the OFF state.
That means it can still supply Arduino or Microcontroller as long as it's connected to its power source.
I've connected a couple of wires to the two pins indicating 4.1V and GND as shown in the image.
You can find 4.1V regulated and supplied from the shield in both OFF and ON states.
After you supply Arduino or Microcontroller from your GSM Module, Arduino or Microcontroller can power ON the Module as described in Step 3. Then you can start using the Module normally.
Read on Embedded Egypt Blog :
https://embedded-egypt.blogspot.com/2019/09/how-to-use-arduino-gsm-shield-sim900.html
Read on My Website: