How to Use Adobe Illustrator to Create Design Motifs for a Vinyl Cutter
by greylightmay in Craft > Digital Graphics
8663 Views, 45 Favorites, 0 Comments
How to Use Adobe Illustrator to Create Design Motifs for a Vinyl Cutter
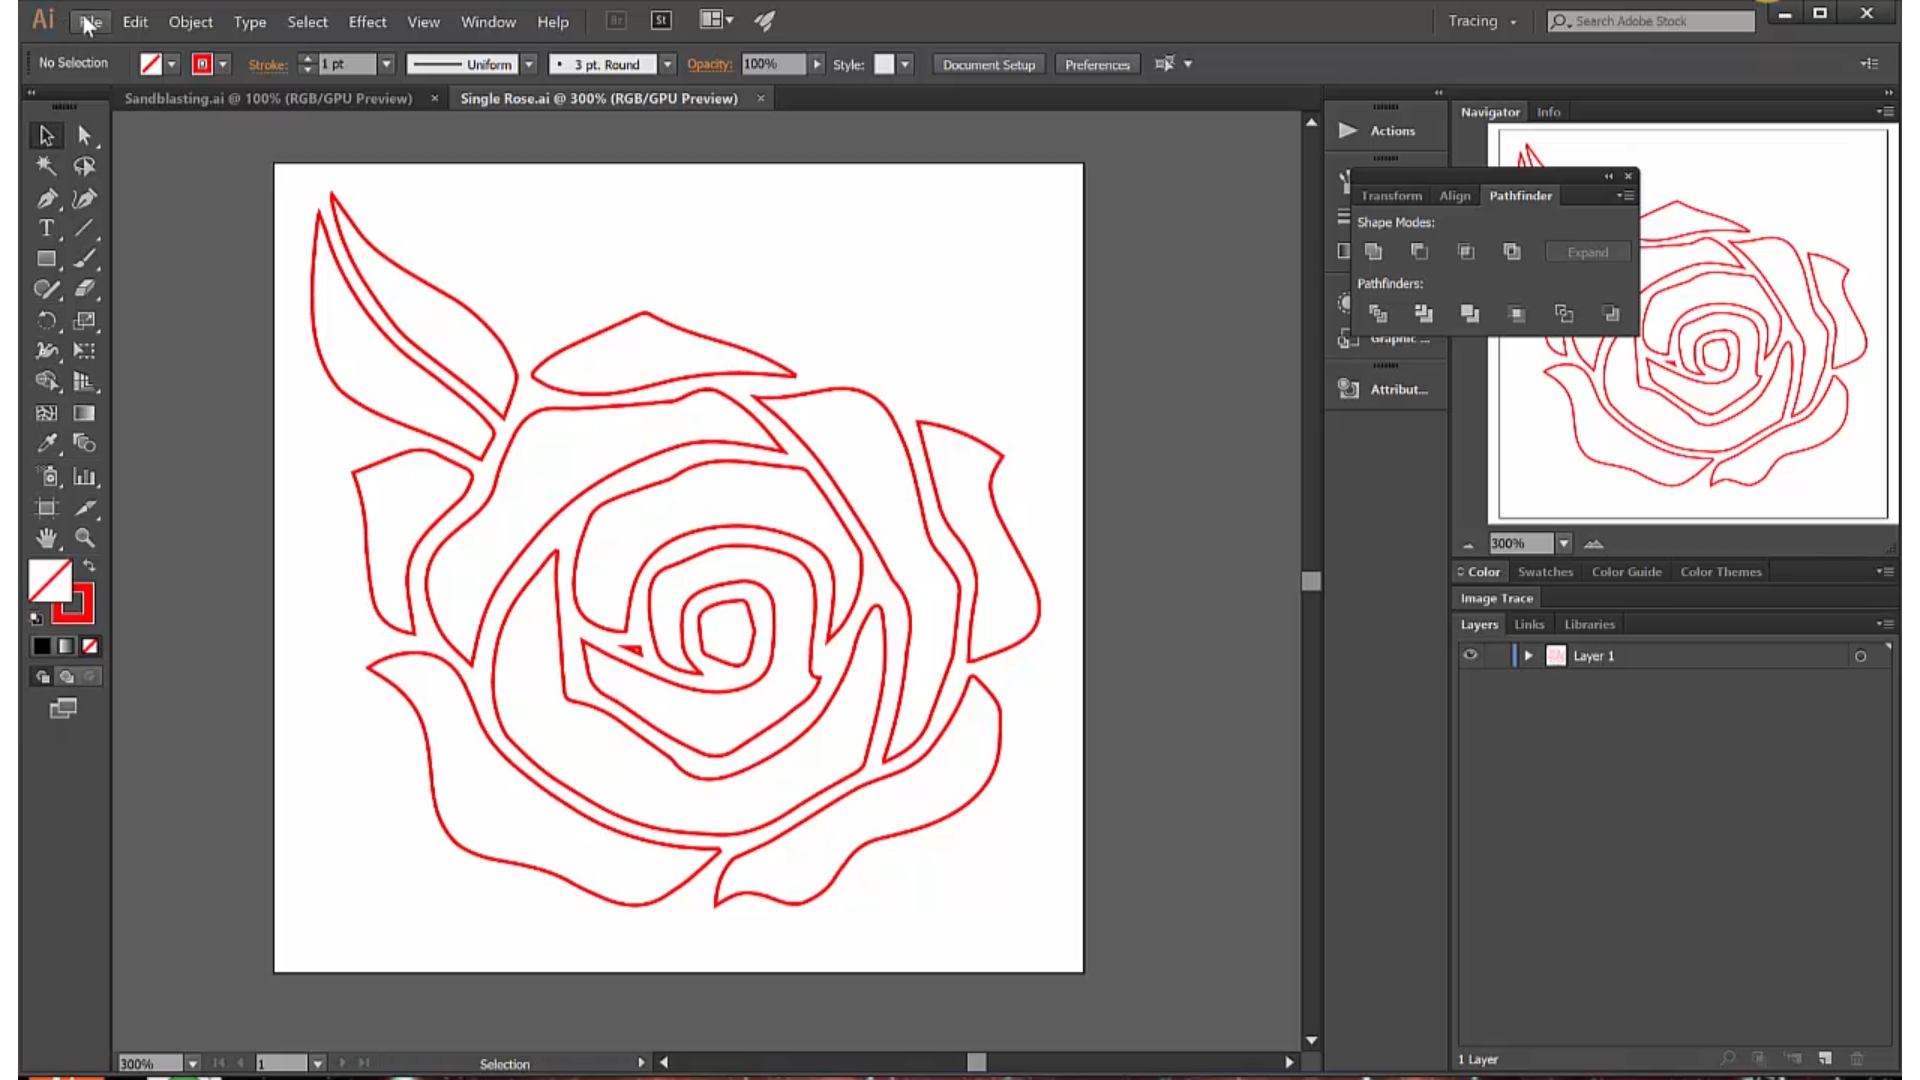
In this tutorial I show how to use Adobe Illustrator to create a series of rose motifs that can be cut on a vinyl cutter. In a second tutorial I show the vinyl stickers being cut and applied to glass dishes that are then sandblasted to create custom dishes.
Find Your Clip Art
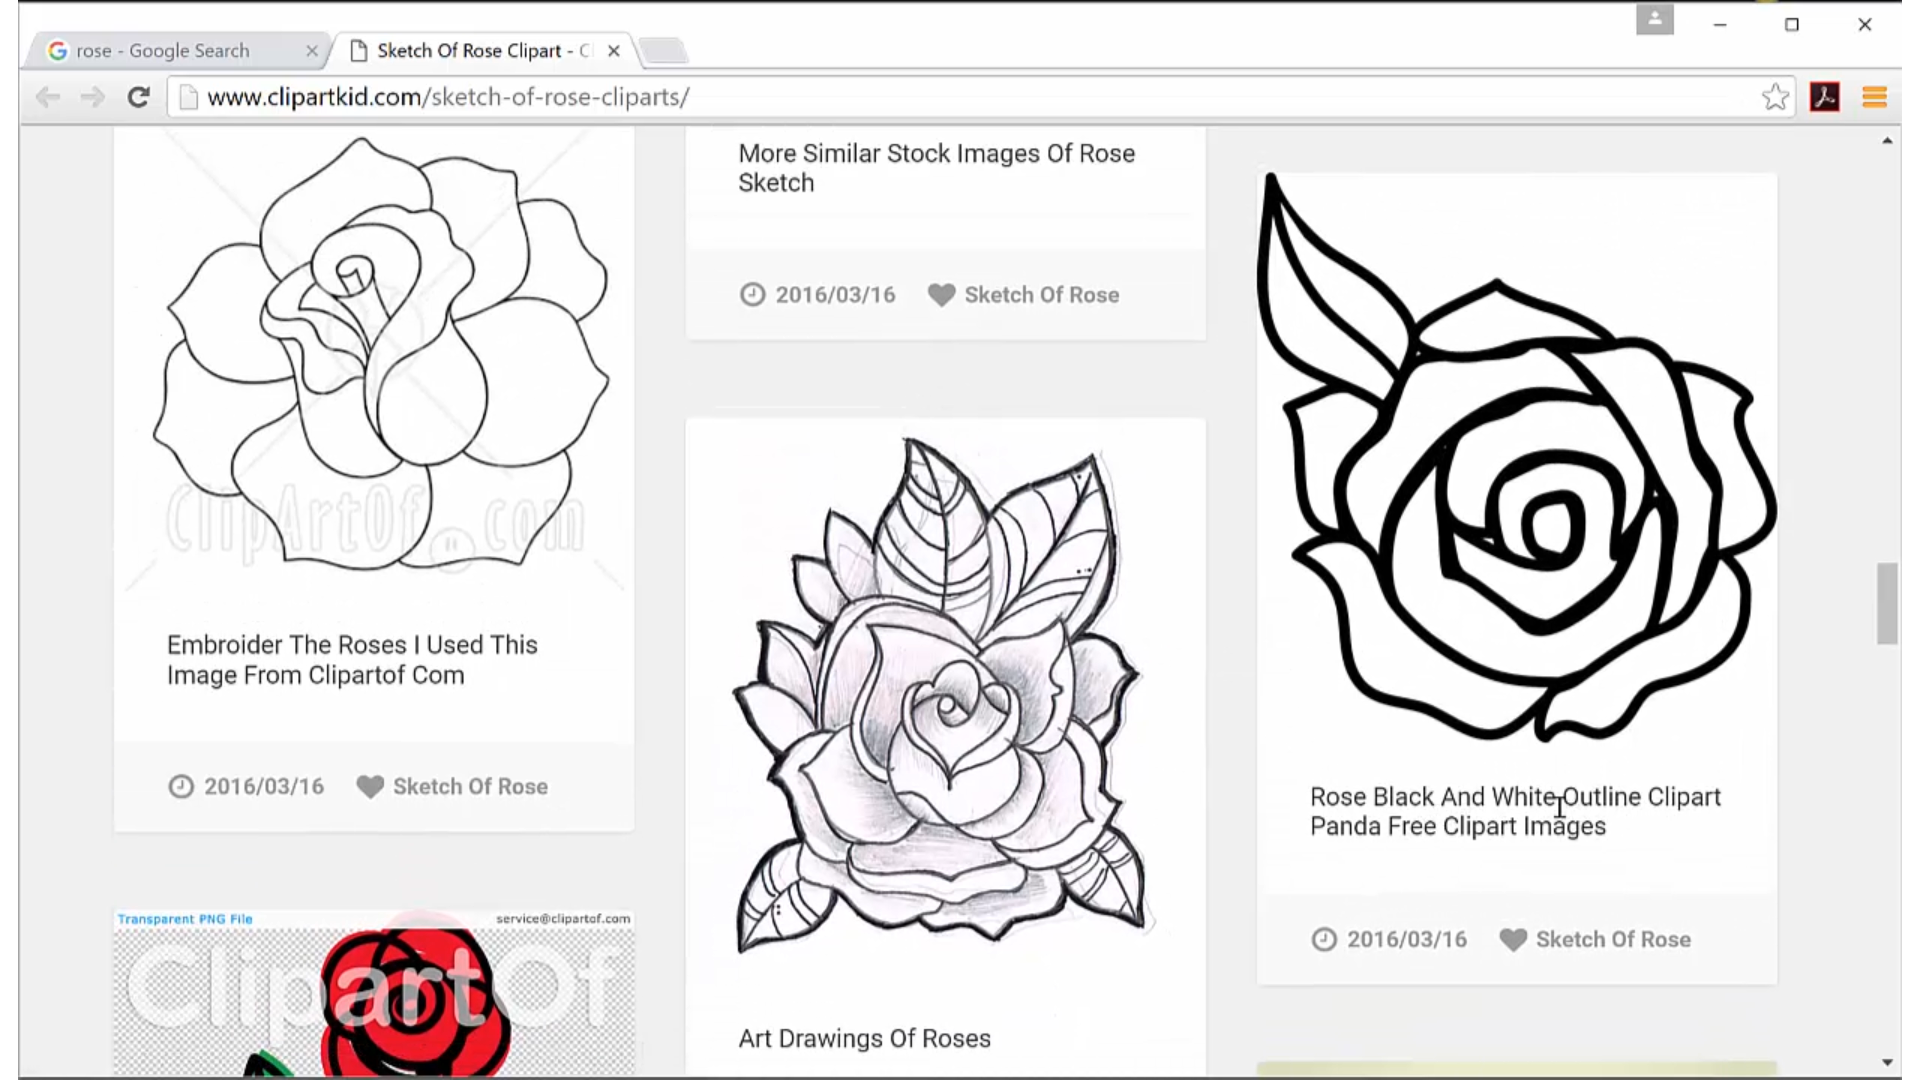
Of course you can always create your own original drawings, or draw something based on a reference - I show how to do that in other tutorials. But the simplest method is often to start with clip art.
It is very important to honor copyright laws! If you find a piece of free clip art, the terms of use will usually say it is free for private use, which is suitable for making dishes for yourself.
If you want use a design for resale, that is possible as well, you just need to purchase the right type of license. You can often find clip art, and even vector art, that is quite affordable for reselling applications. Just check the pricing on the website where you locate the design you want to use and purchase the appropriate license.
I look for clip art that is large enough to give me flexibility in its application, and black and white clip art works best.
Once you've acquired your clip art, download it into your design folder.
Turn Your Clip Art Into a Vector Drawing
I like to create a drawing that is close to the size I will be cutting on the vinyl cutter. In this example, I wanted the full rose to be about 4" by 4", so that is the size of drawing I created.
Other key file settings: I always make the color mode RGB -- that is essential for my CNC machines -- and I make the measurements in inches, because that is my preferred mode of working with real world machinery.
Then I placed the clip art in the drawing ('place' is in the file menu) and sized it to fit the 4" by 4" space.
If my clip art is large, I can do this without losing any resolution. If it is too small, the image will be pixelated and will cause jagged vectors in the next step. I can address this by creating a drawing that fits the size of the clip art, turning it into a vector drawing there, then transferring it into the larger drawing as a vector, but this adds a step.
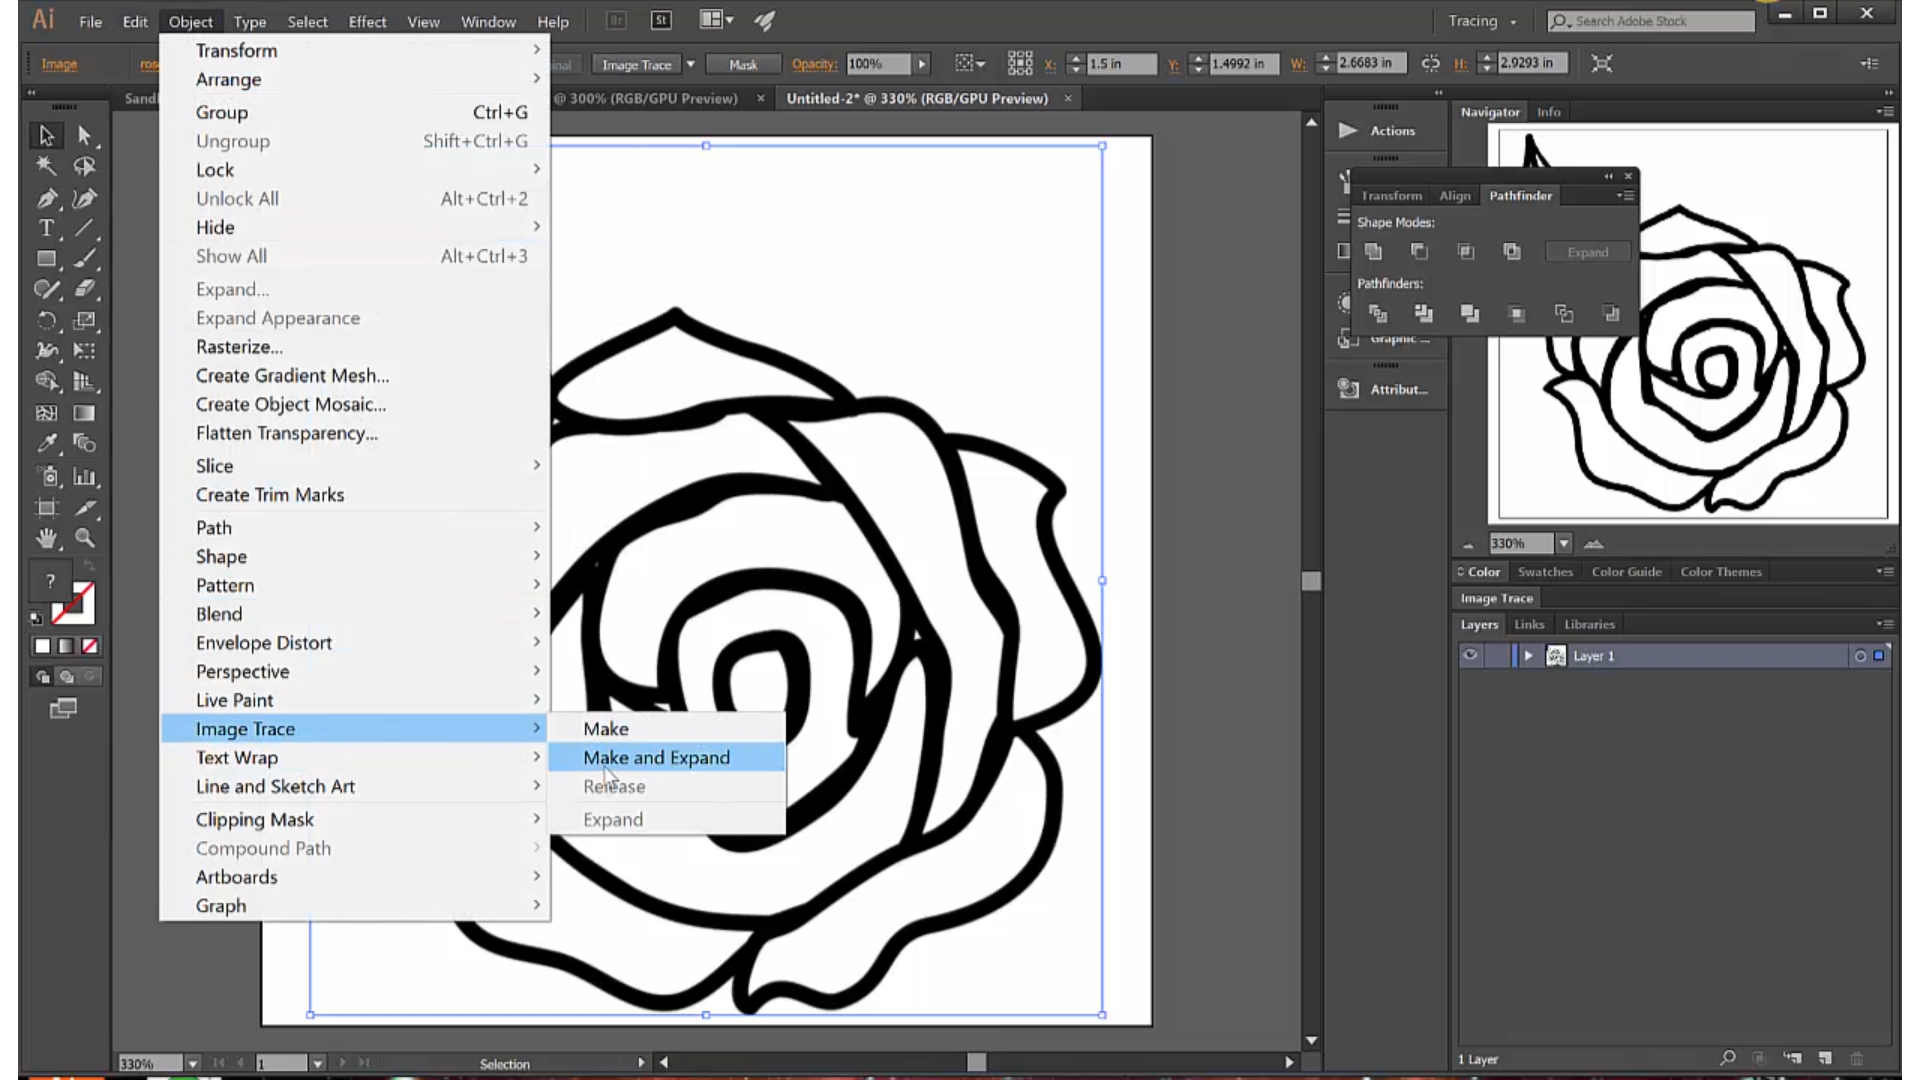
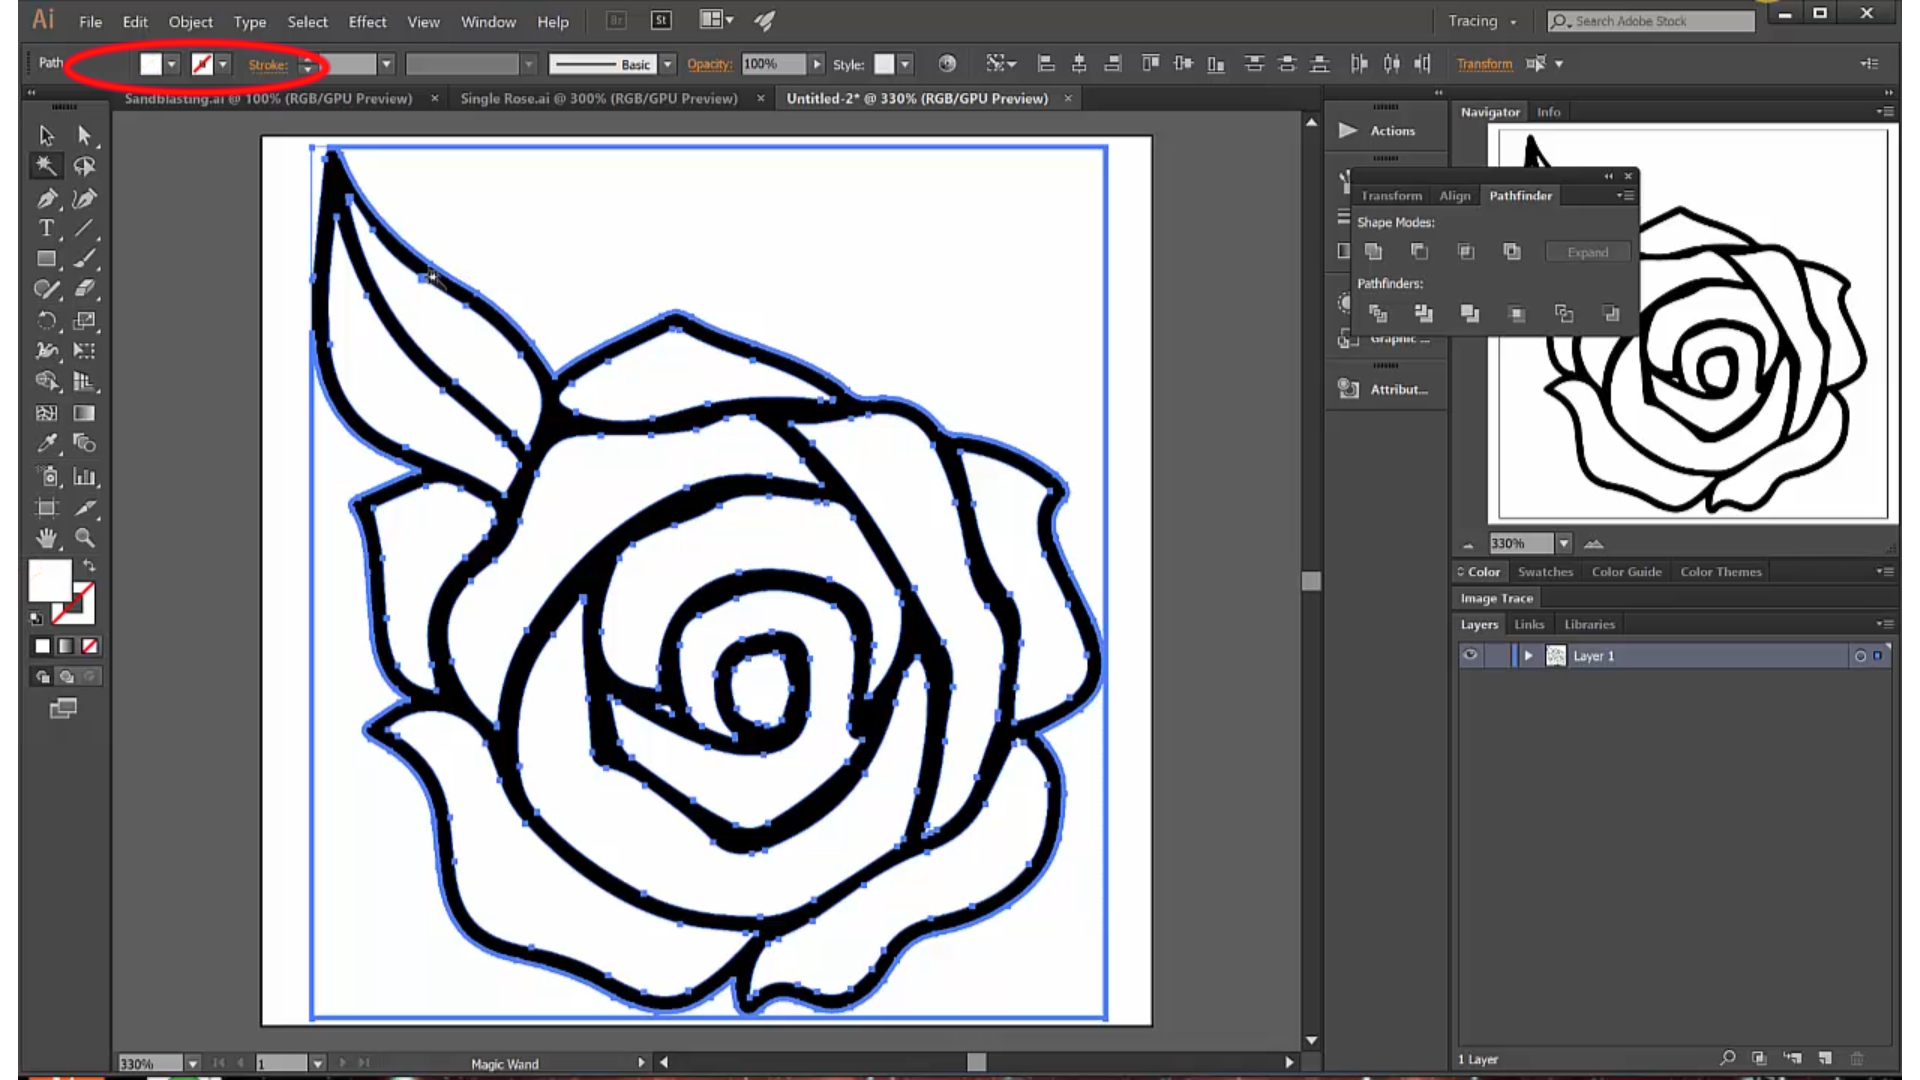
Then I ran 'image trace and expand', and Illustrator created a vector drawing. The goal here was to have lines that are smooth and simple, with relatively few anchor points.
Illustrator will, by default, create shapes around both the white spaces and the black spaces, which will give you duplicate sets of lines. The image trace window has a check box that says to ignore the white spaces, but my personal process is to select the white spaces with the magic wand and delete them. In Illustrator, there are often multiple ways to do any given thing, and most people find a method that works for them and stick with it!
Set the Line Settings to Fit Your Target CNC Machine
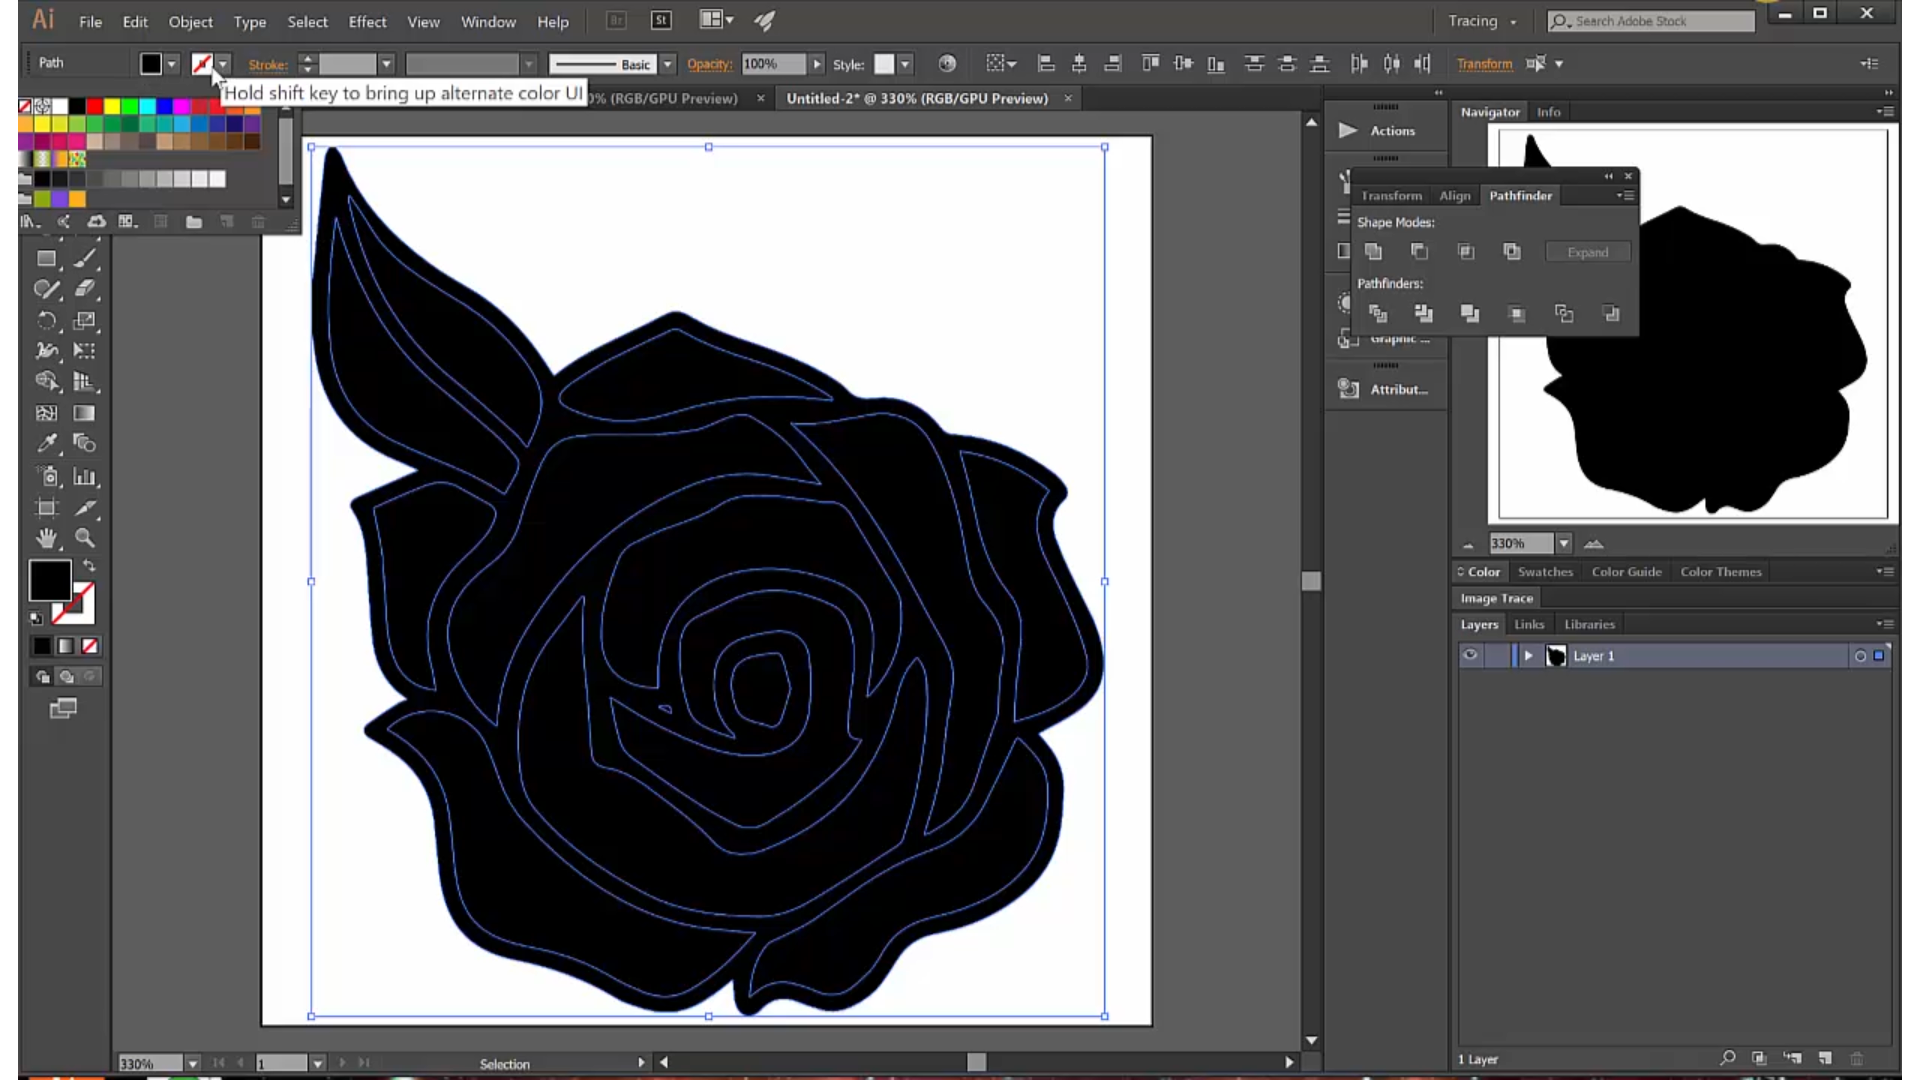
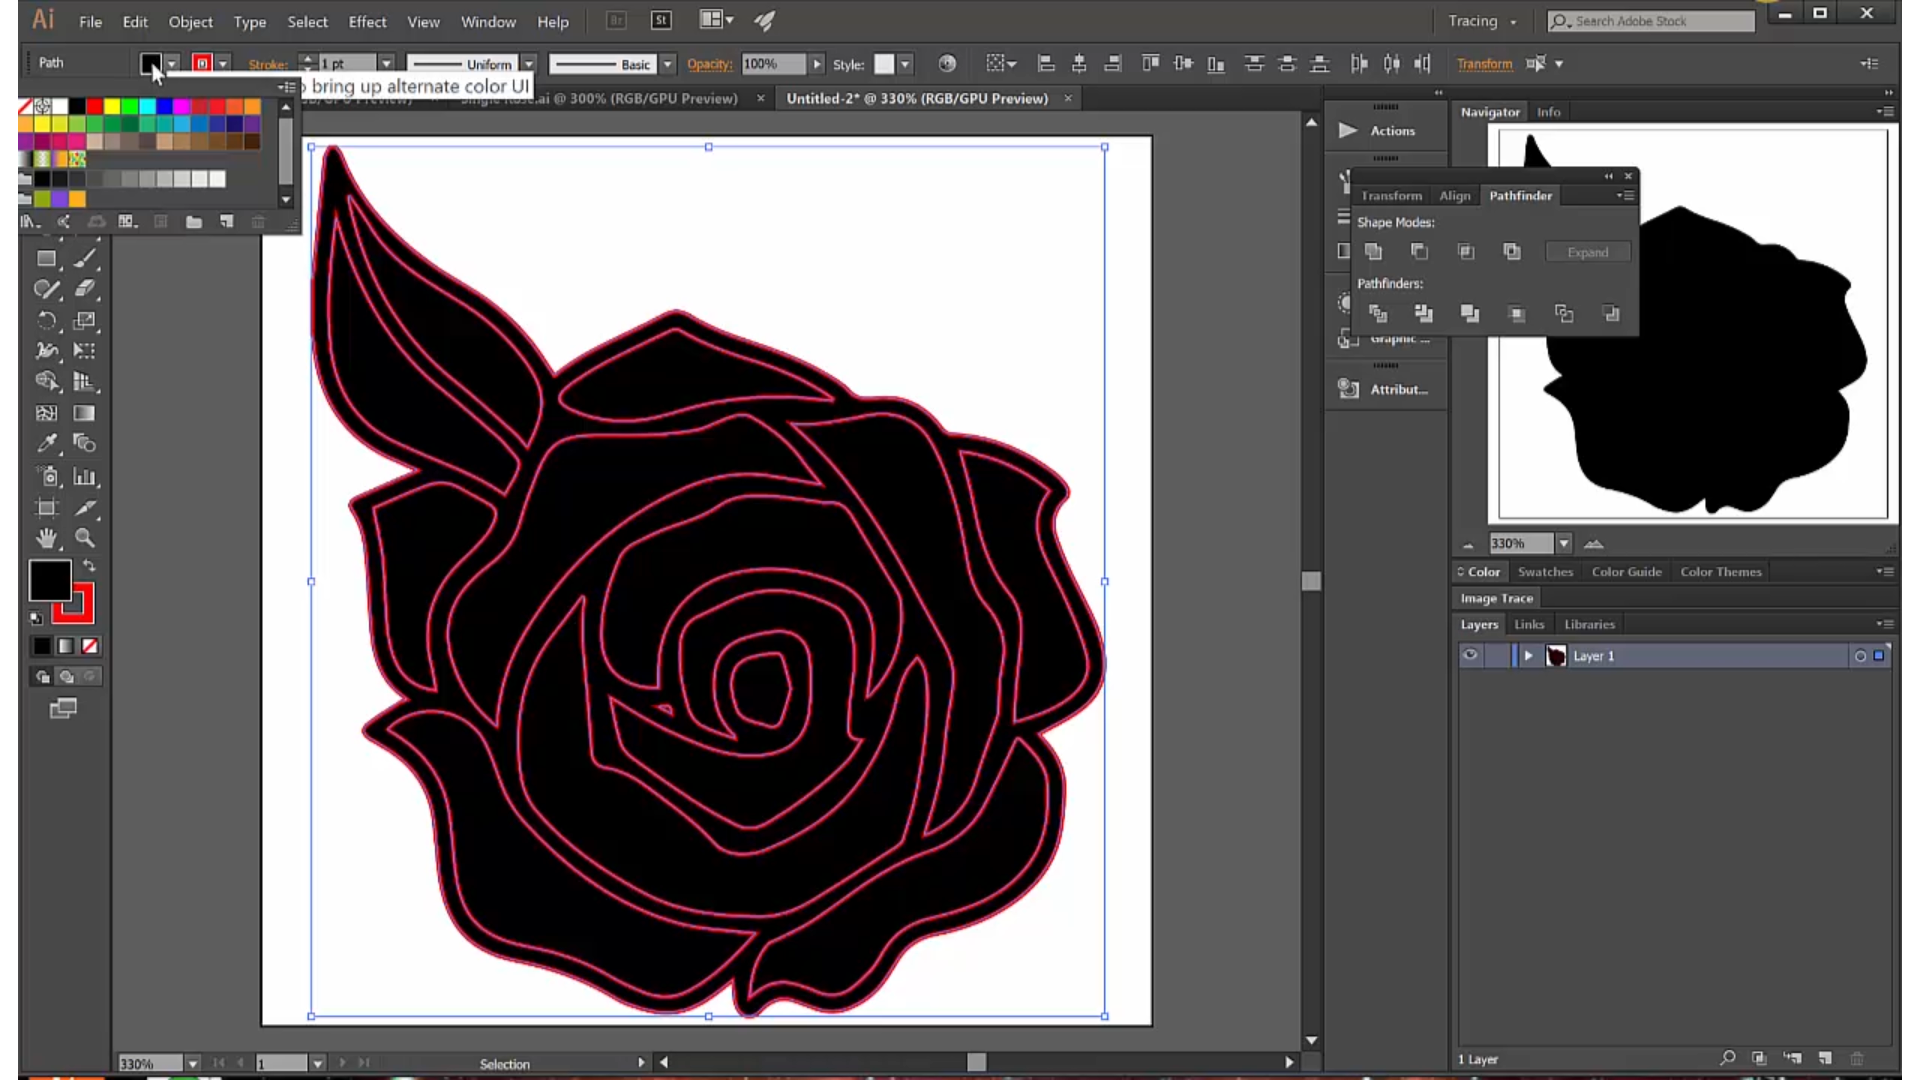
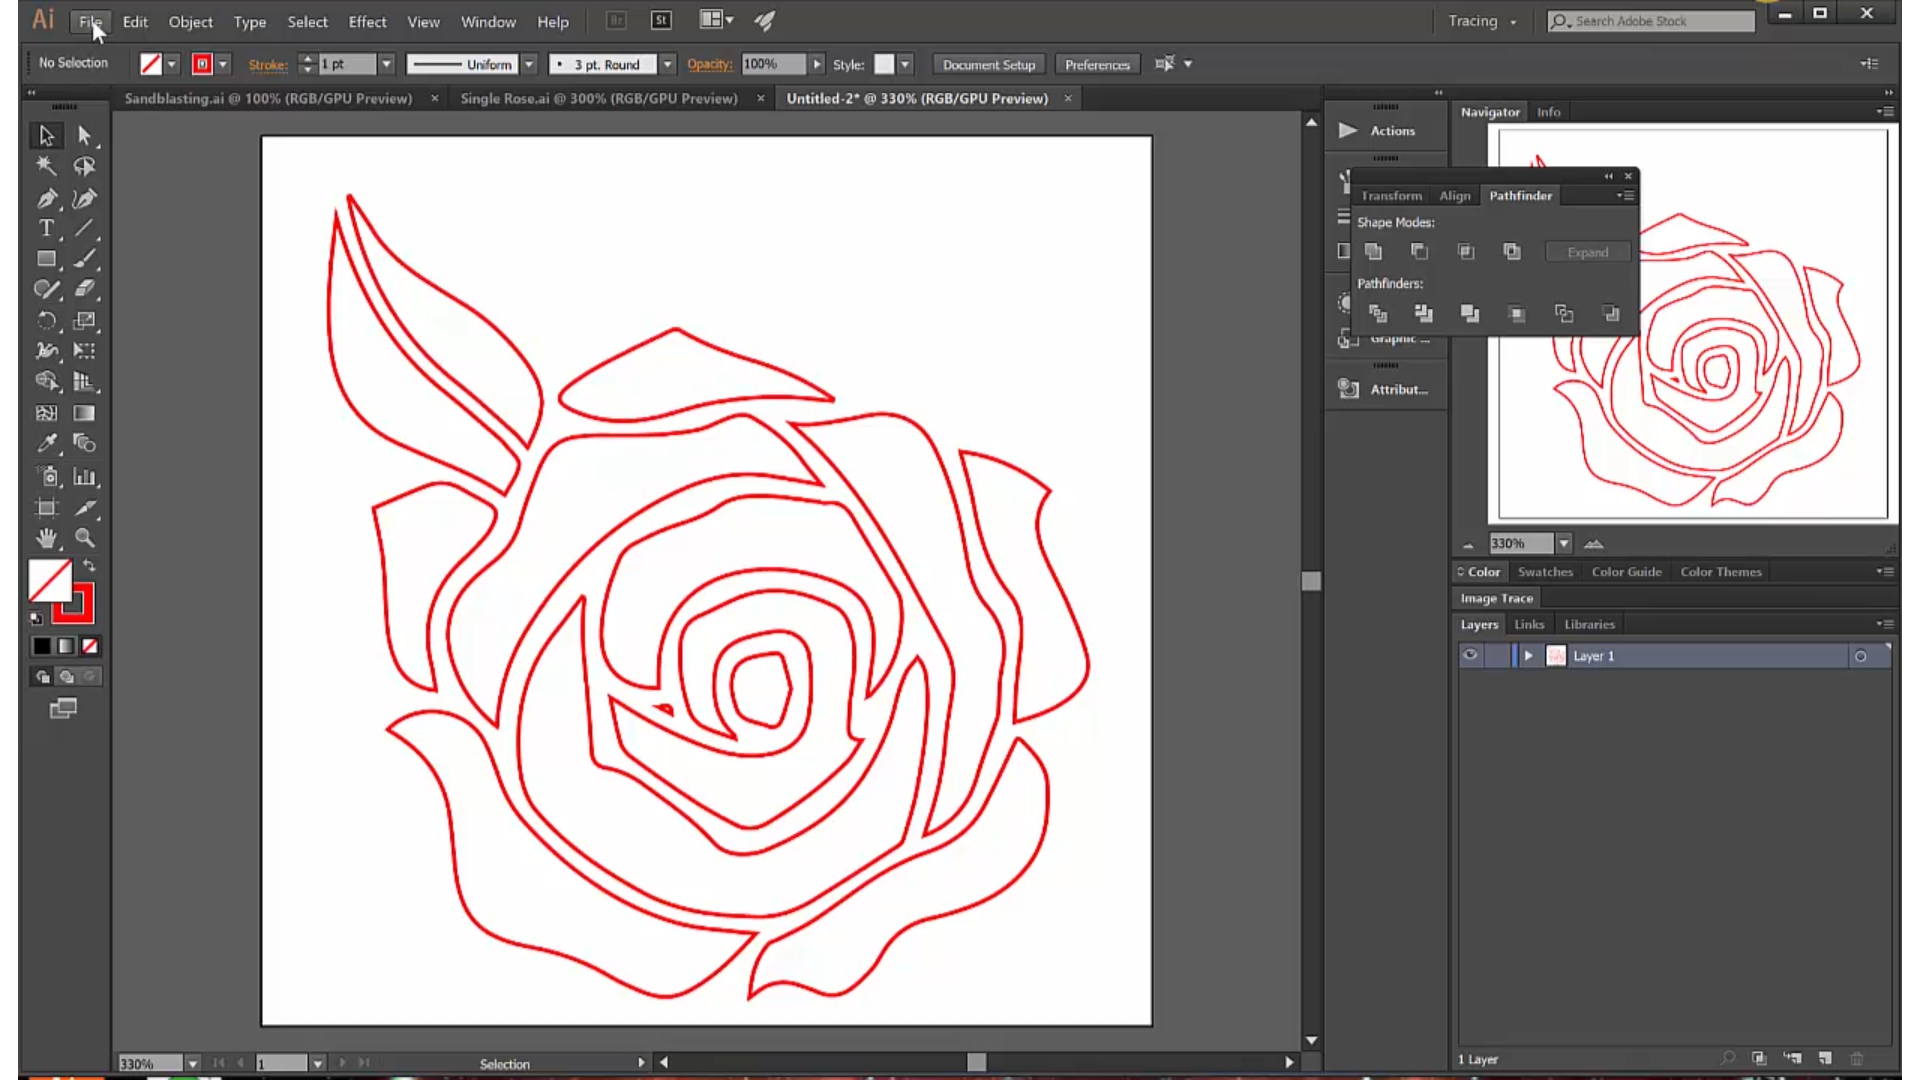
Most CNC machines, such as vinyl cutters or laser cutters, have settings that are essential to make your AI file machine-readable. My routine settings, which work for my laser cutter, are also compatible with my vinyl cutter so I used those.
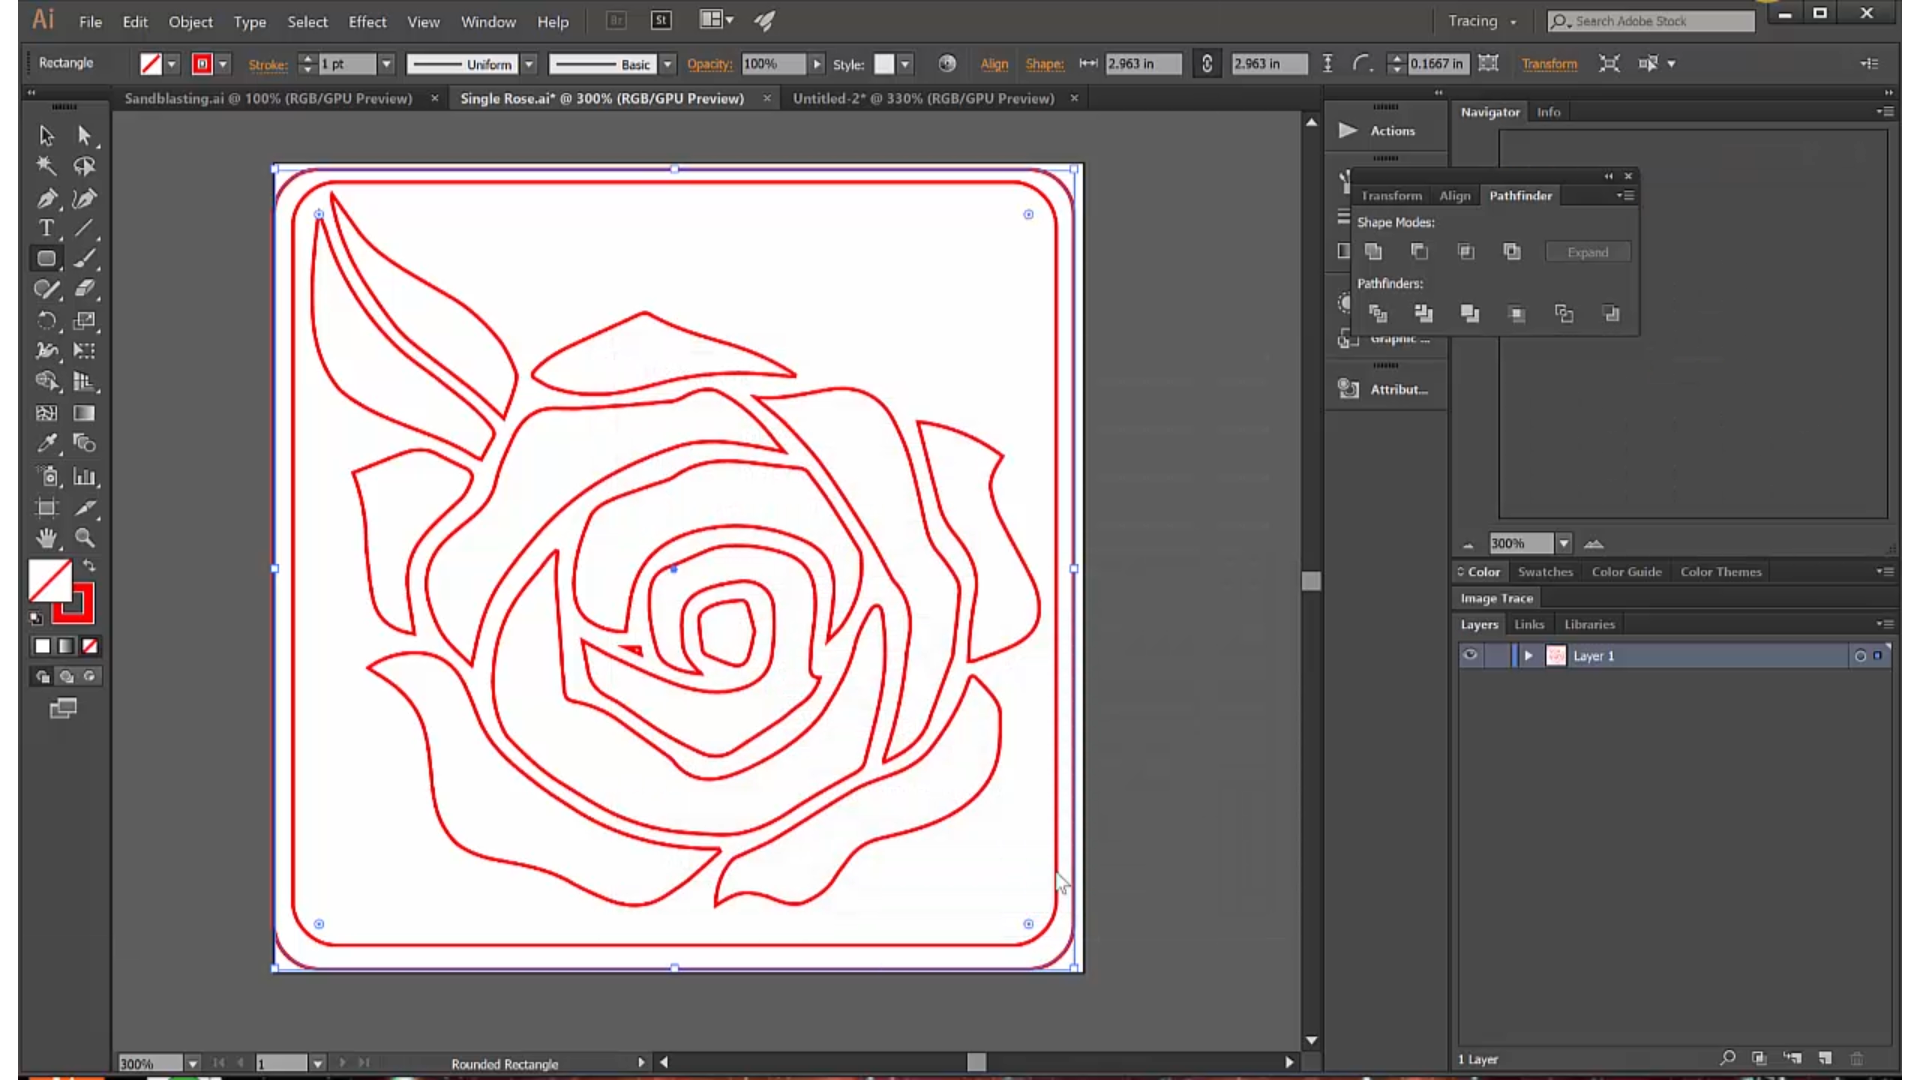
I 'selected all' and set the cut line color to RGB red, the fill to 'null' or 'none', and the line thickness or weight to .001.
In addition to this single large rose, I followed a similar process to create small rose buds and rose leaves. These motifs are about 1" by 1".
Just a side note: if you work on a very high resolution computer, as I often do, you may find that when you change the line weight to .001 it disappears from the screen, even though it is still there and you can see it in the navigation window! My workaround for this is to leave this step to the very end, and only do it on the final drawings that will be used for cutting. In this case, the single rose is an interim step and does not need to be converted.
Create Sticker Pages
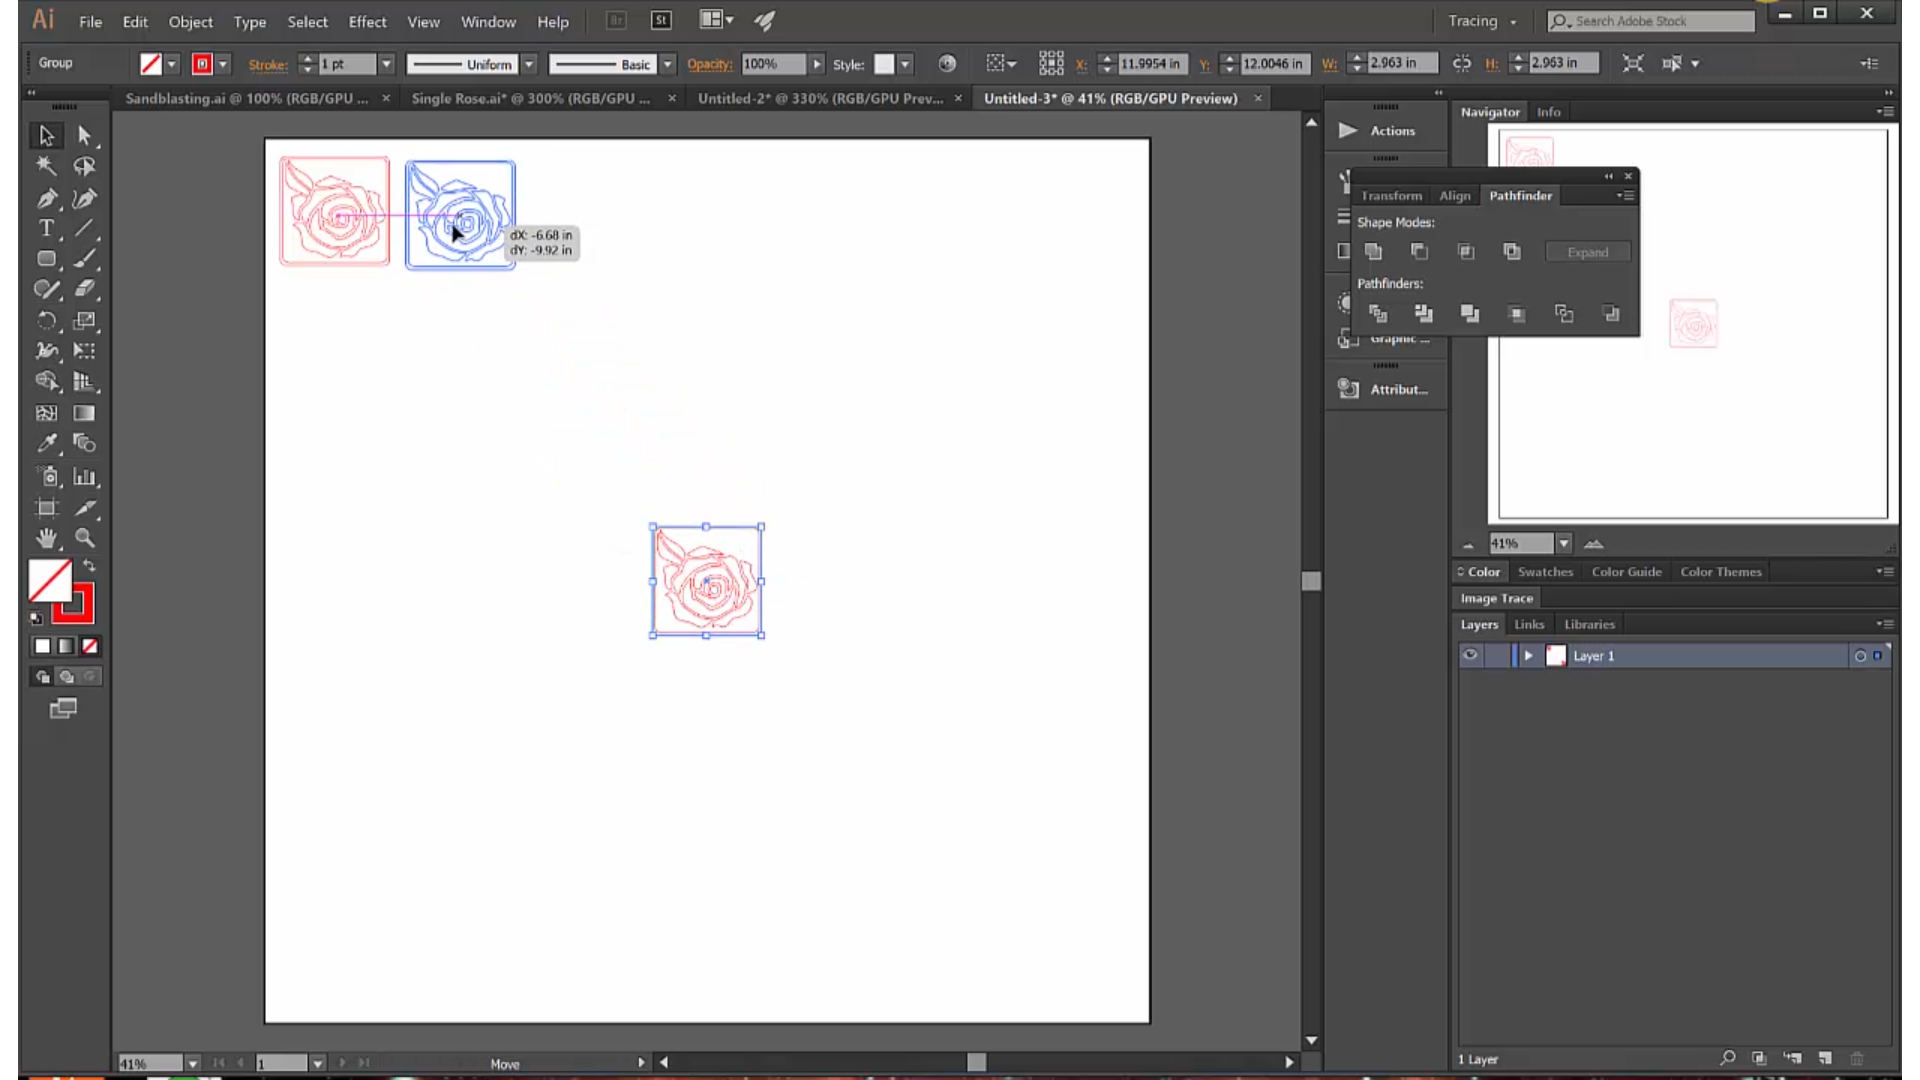
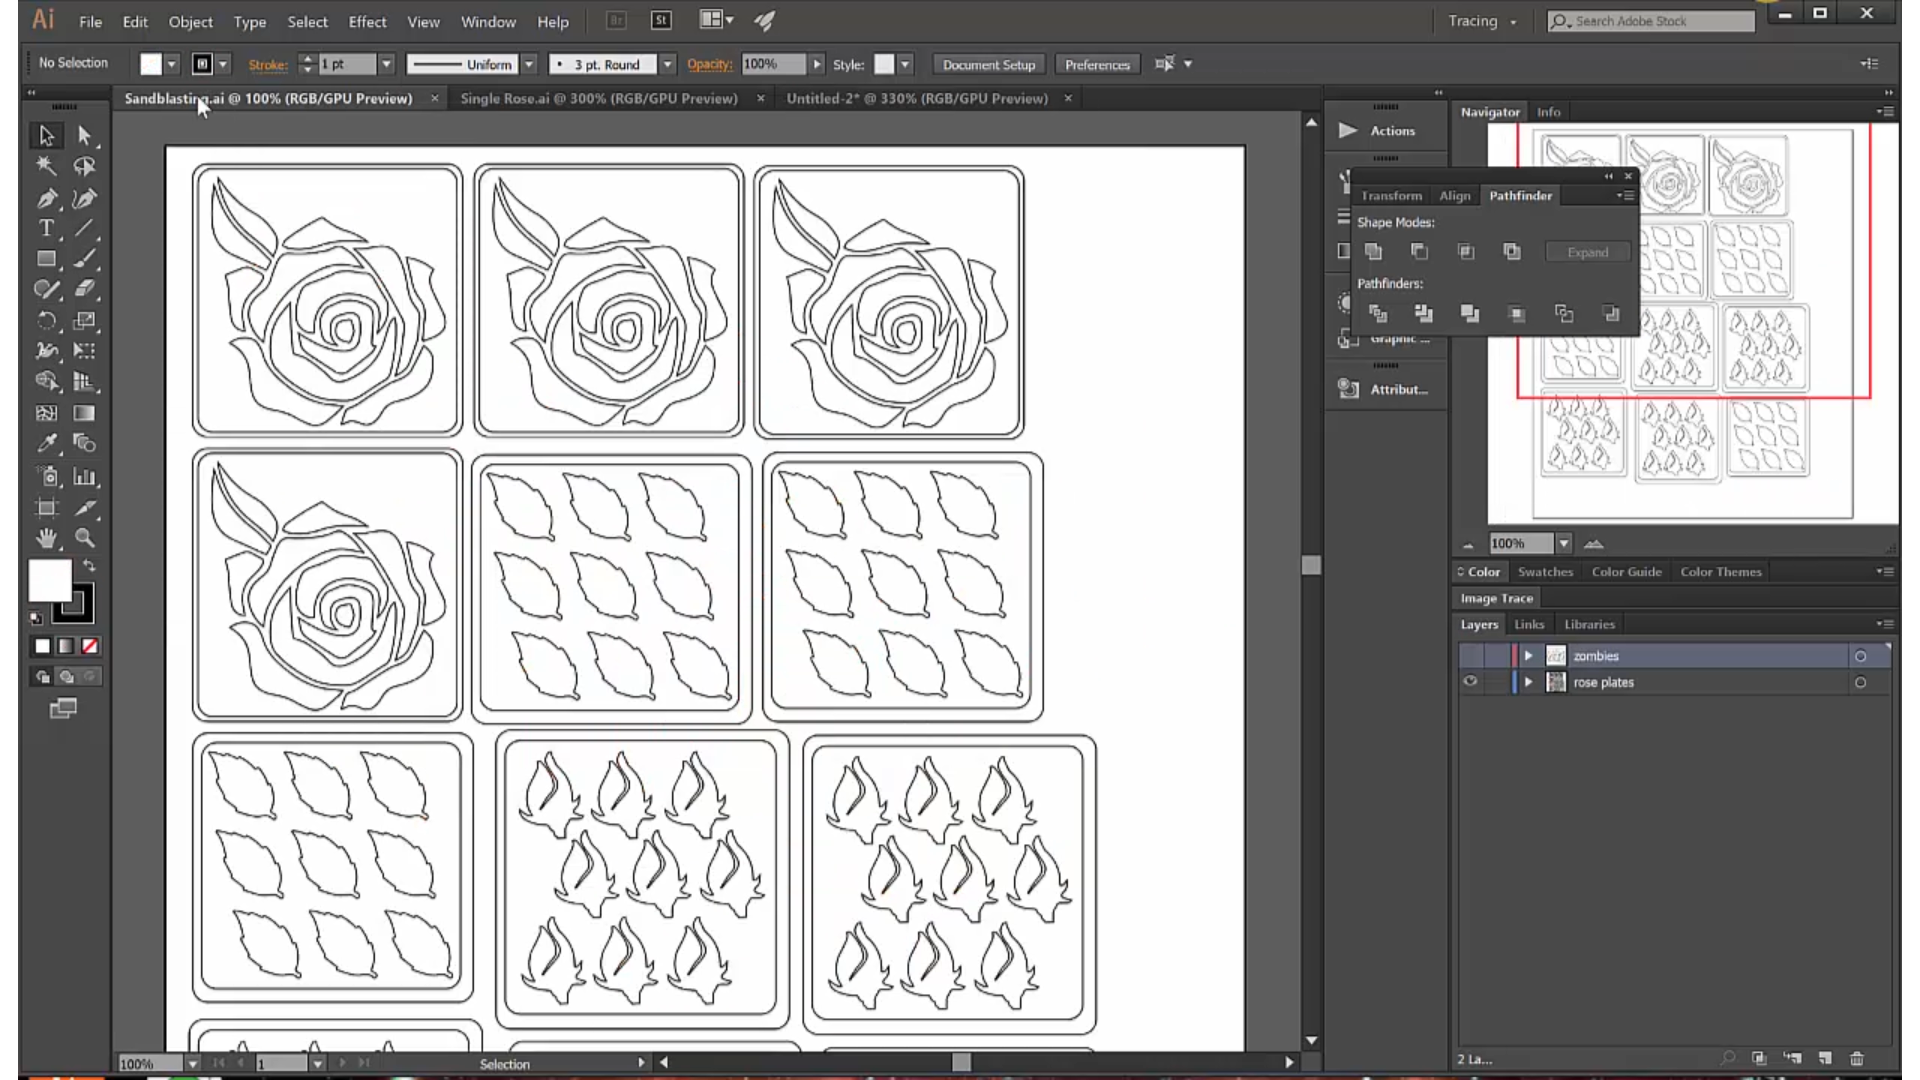
I created a second drawing the size of my vinyl cutter paper. The width is predetermined by the roll of paper but the roll is continuous so my drawing can have whatever "height" I need for my content.
My goal was to create smaller, easy to handle sticker "sheets" for my sandblasting project.
In the case of the single rose, all I needed to do was put a rounded rectangle border around the one element; I did this by adding a couple of rounded rectangles to the drawing. I then grouped the border and the rose, copied the group and pasted it into the second drawing to create four copies for the four plates I will be sandblasting.
For the leaves and rose buds, I started by copying and pasting nine copies of each and then adding a border around the group to create a mini sticker sheet. I then copied and pasted the mini sheets multiple times.
Truth is, even after creating as many stickers as I think I'll need, I will still cut multiple copies of the whole drawing. Vinyl is cheap, and you can never have too many stickers, or too many backups for unexpected problems!
My final step is to once again check my key settings: cut lines are all RGB red, no fill, line width set to .001.
You Can See the Whole Process in This Video
...and you can see how the stickers are actually used in the sandblasting video. There is also an Instructable for the sandblasting project here: https://www.instructables.com/id/Sand-Blasting-Rose-Motifs-on-Glass-Dishes/