How to Turn Marker Reservoir Into a Bird
by fatmaarafa48 in Craft > Reuse
3695 Views, 59 Favorites, 0 Comments
How to Turn Marker Reservoir Into a Bird
.jpg)


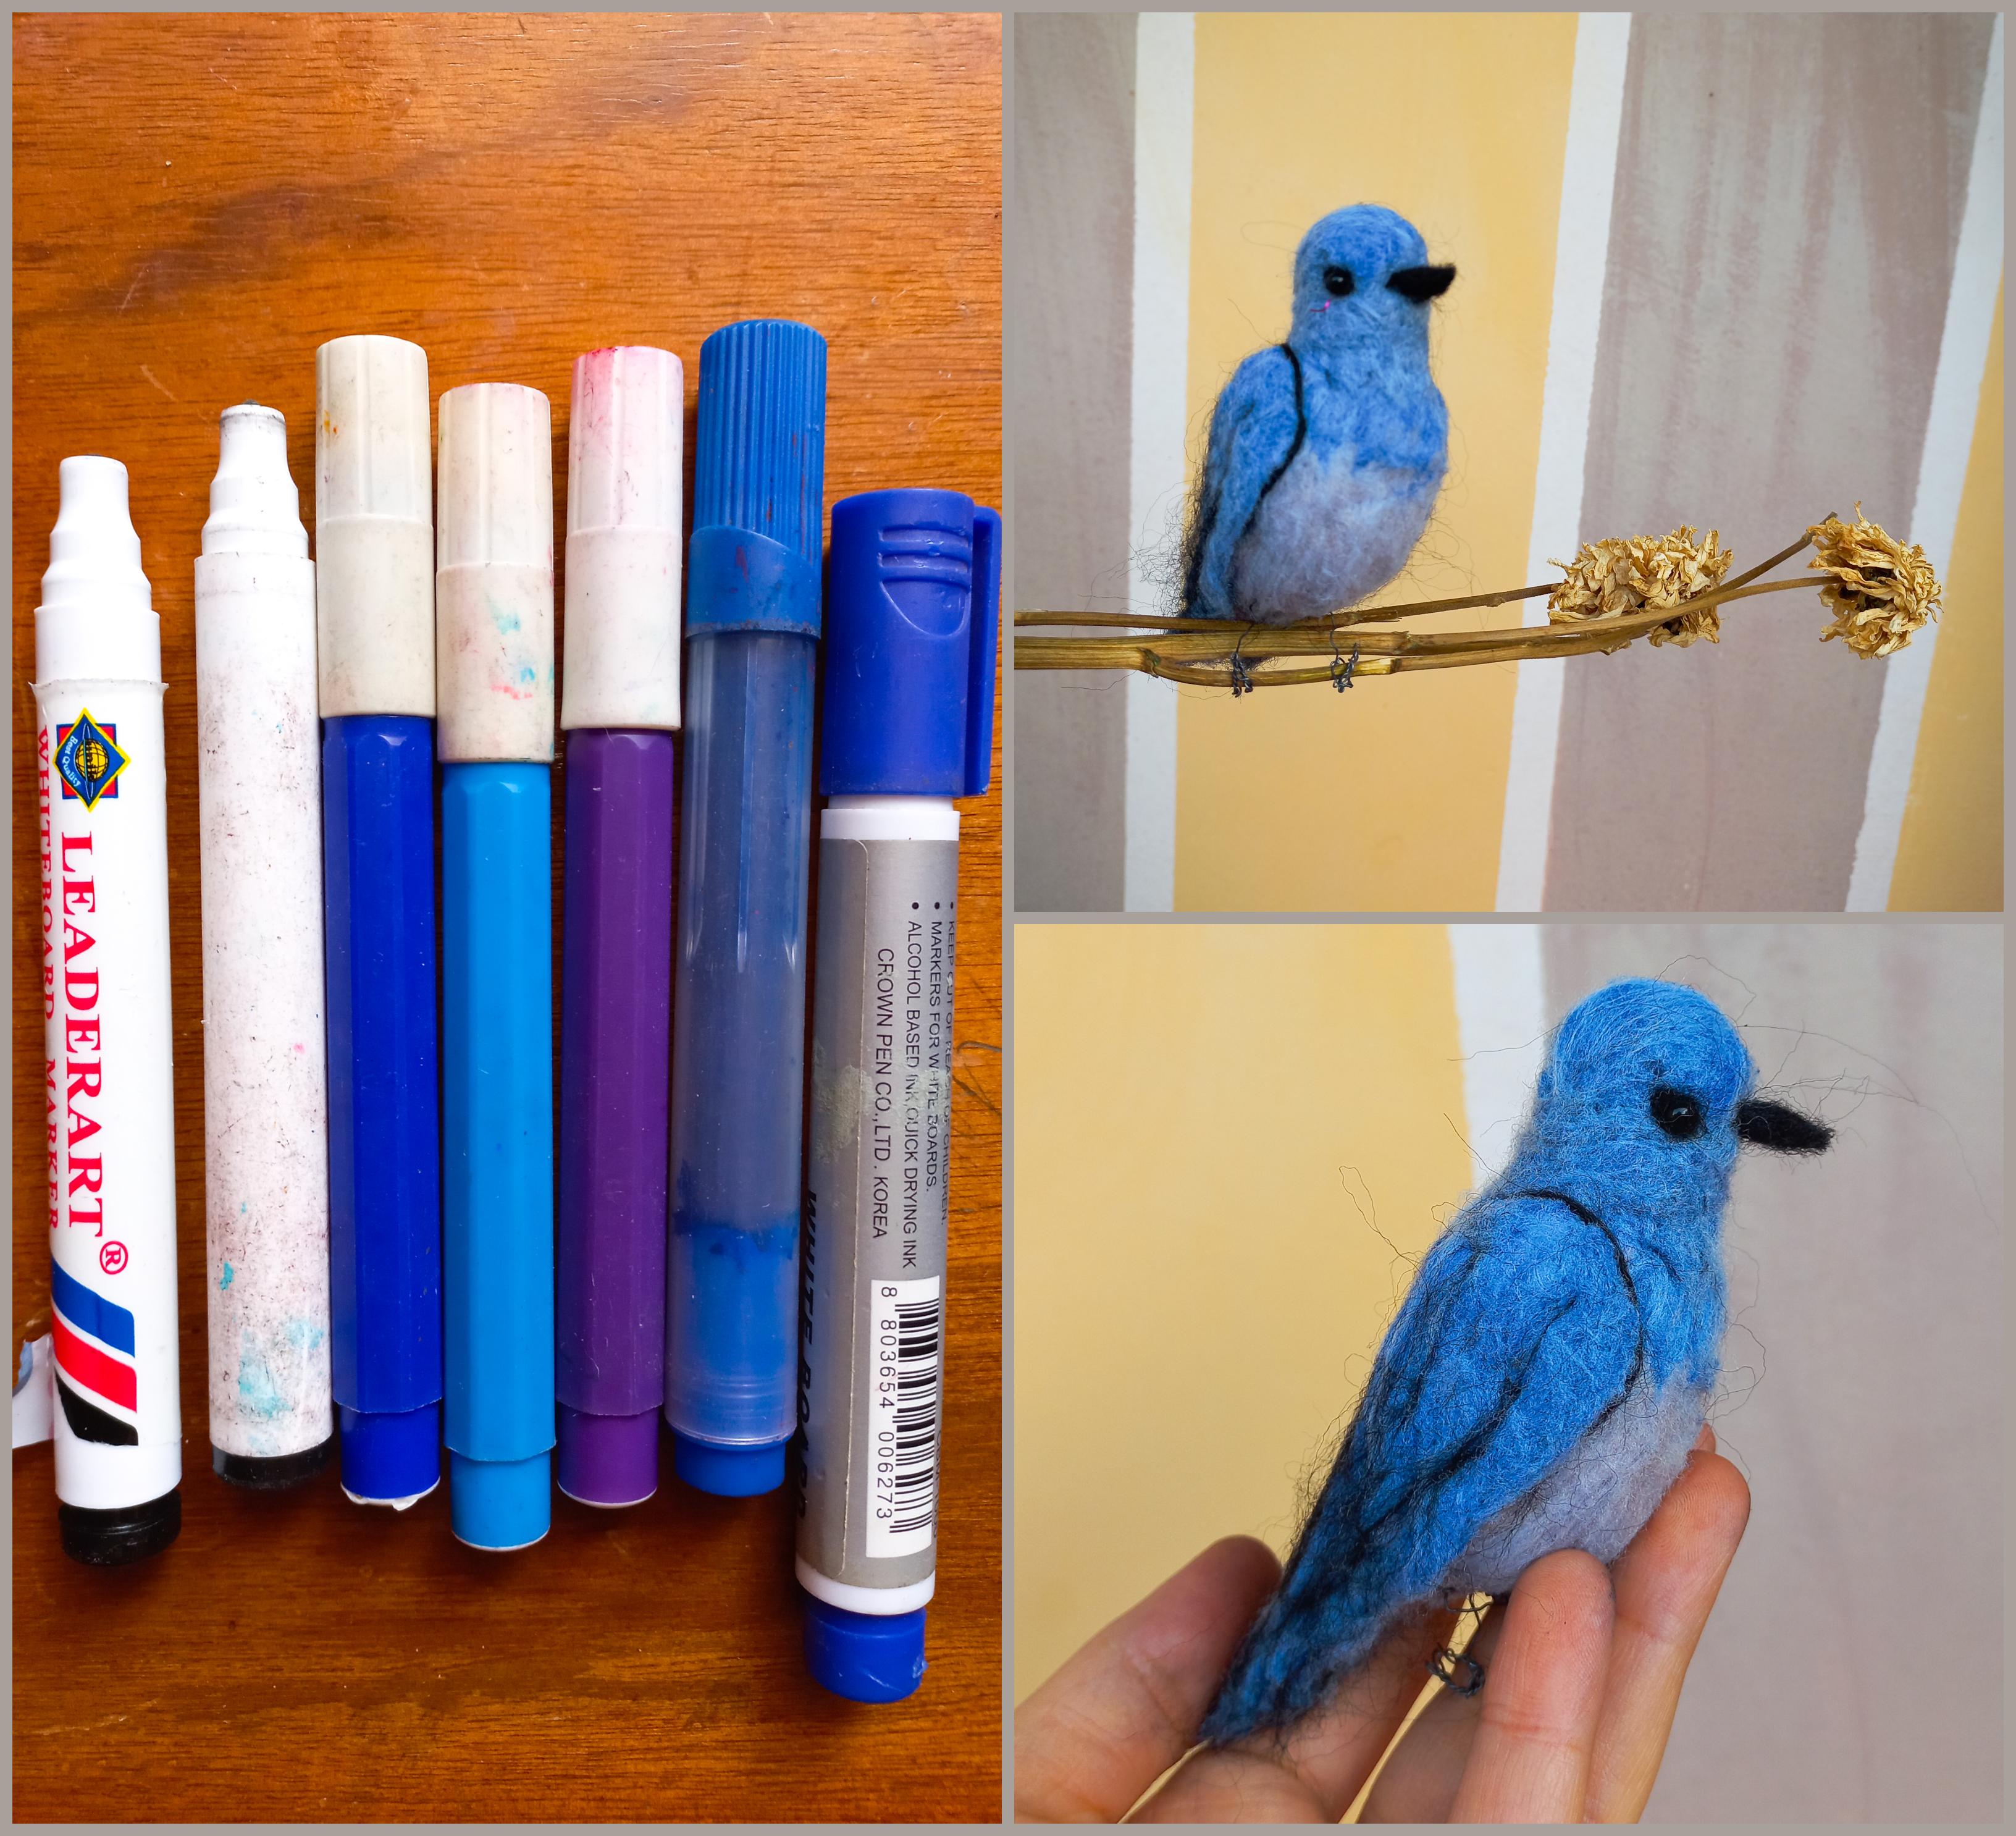
Have you ever imagined that after your markers are dried out of ink you can still use them to make art? Now you don't have to imagine, because in this instructable you will see how you can use marker cores to make a needle felted bird.
Supplies
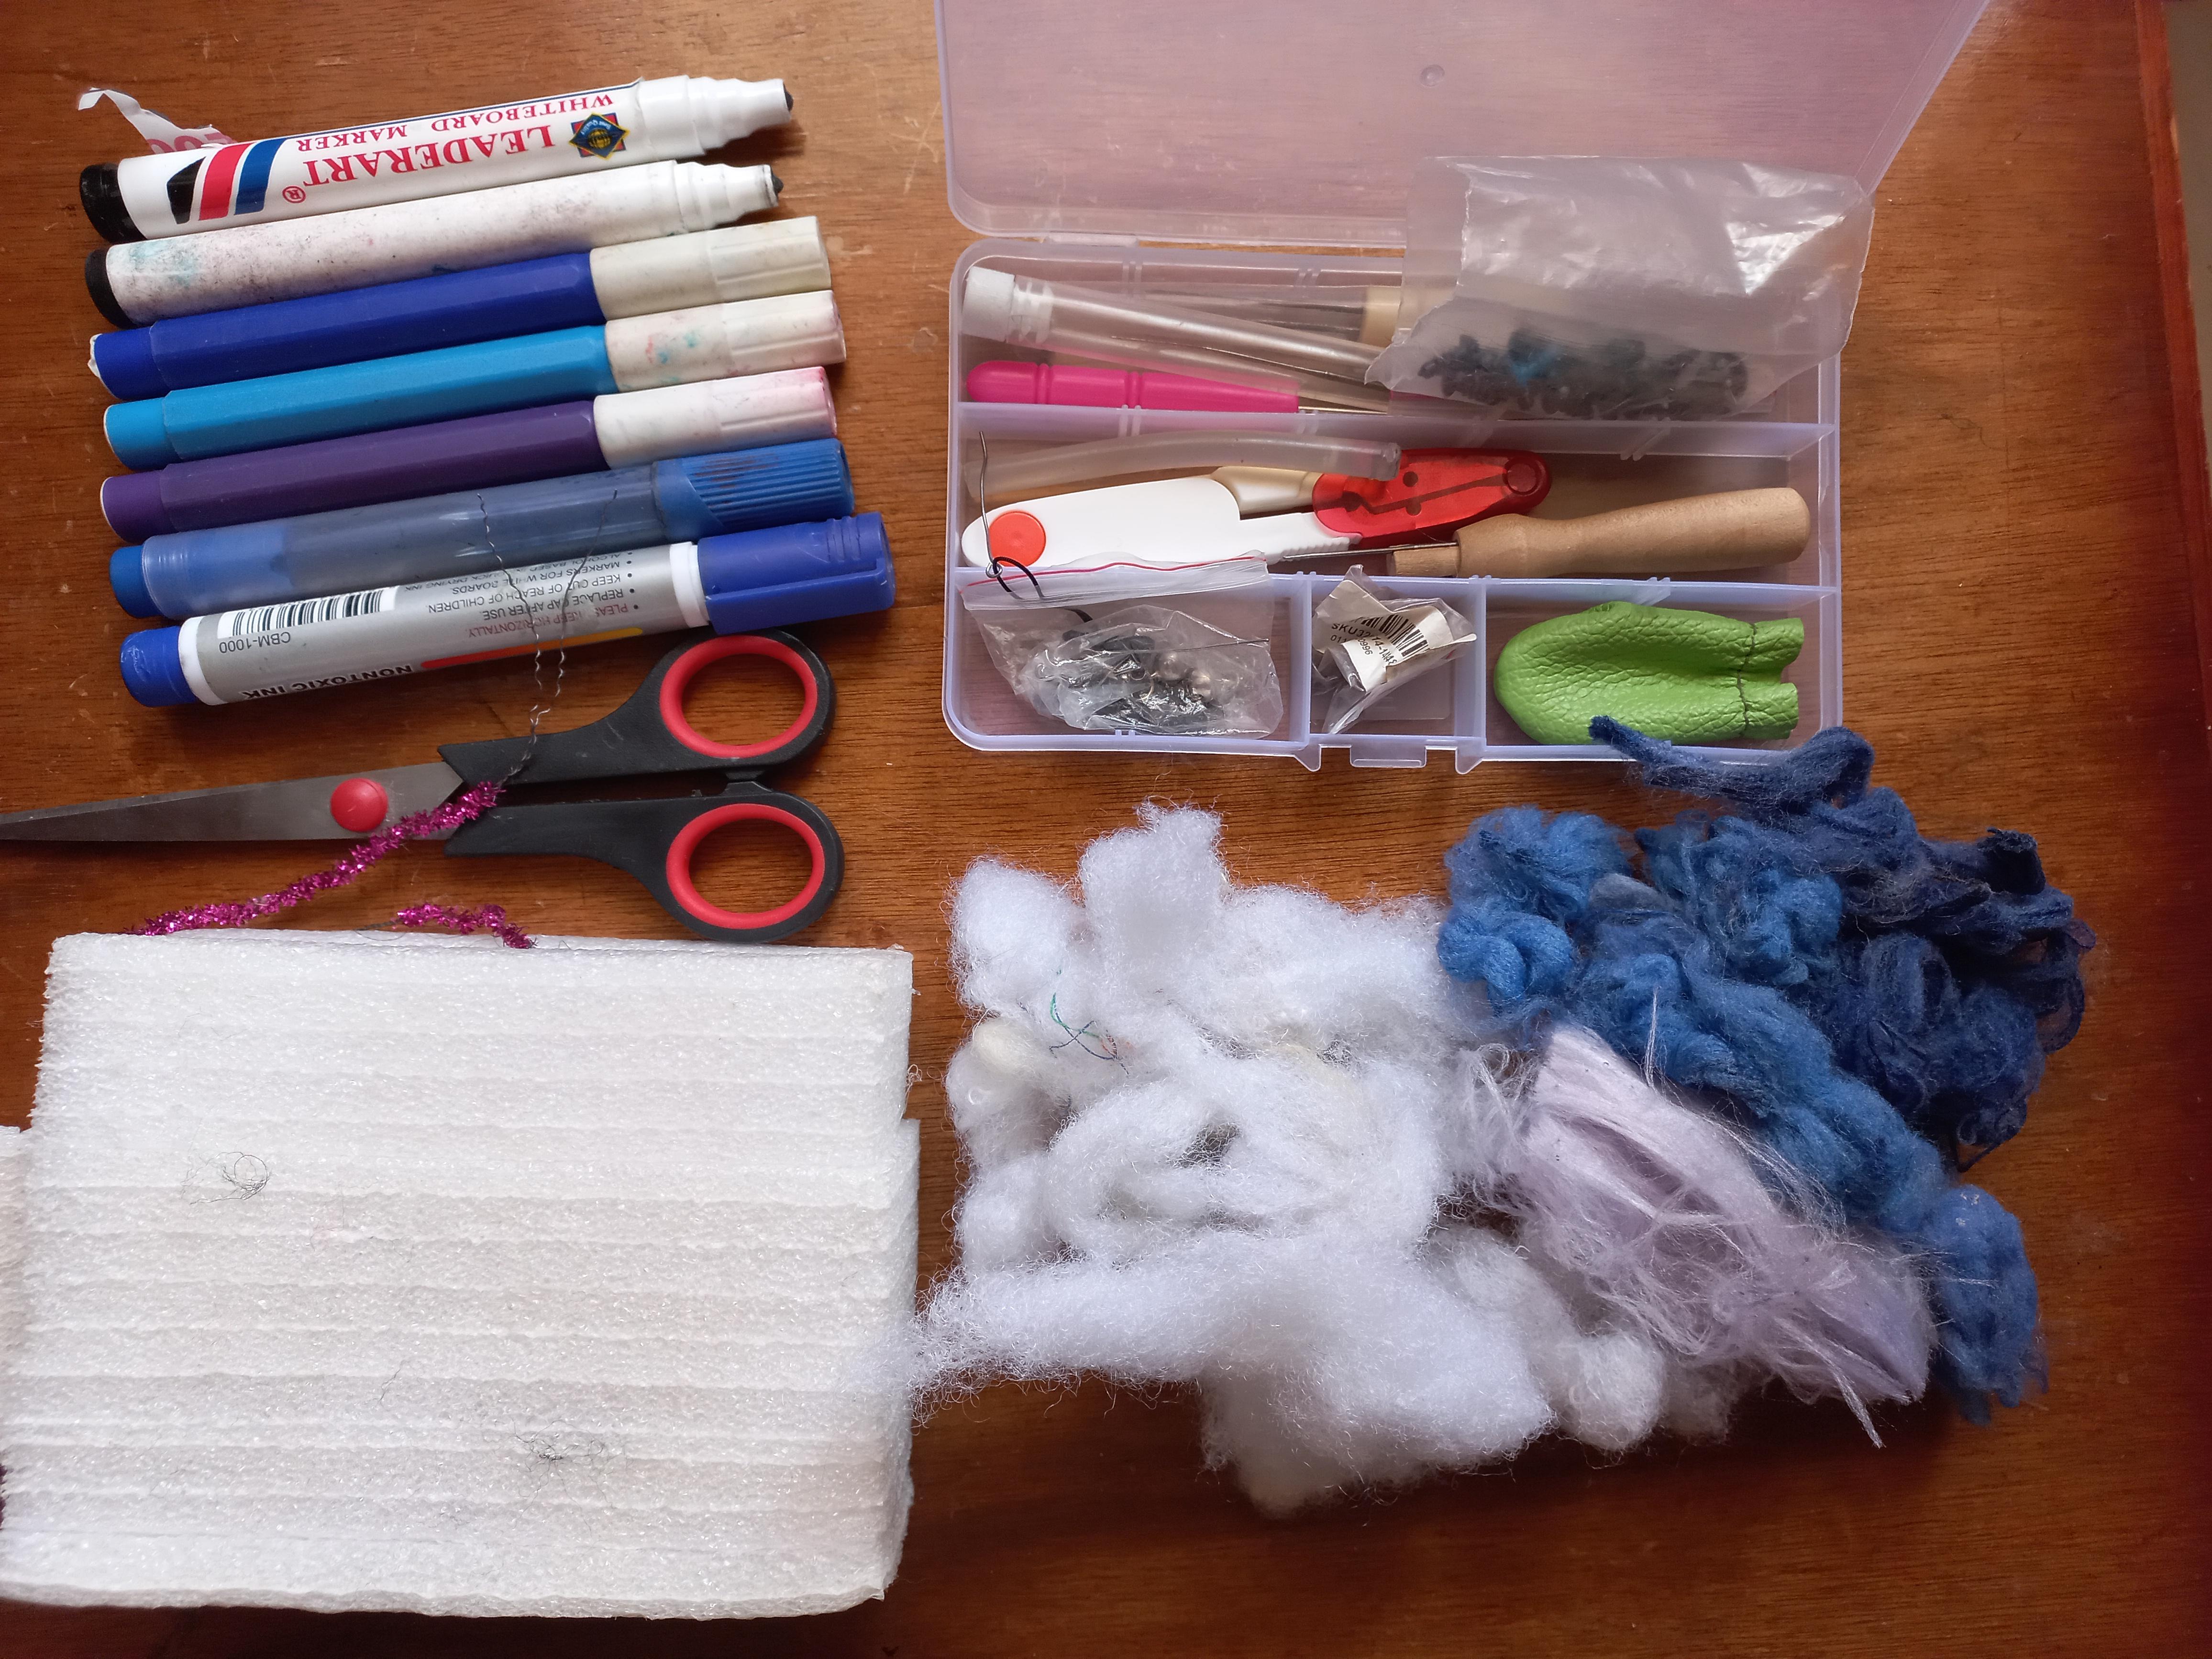

- Old dried-out markers.
- Needle felting kit.
- Awl.
- Fine needle.
- Double-needle felting holder set.
- Felting foam pad.
- Polyester fiberfill.
- Old pipe cleaner or armature wire.
- scissors.
- 2 black beans needle-type glass eyes balls for puppet doll craft.
- Dry flowers with the stem.
Taking Out the Core of the Marker
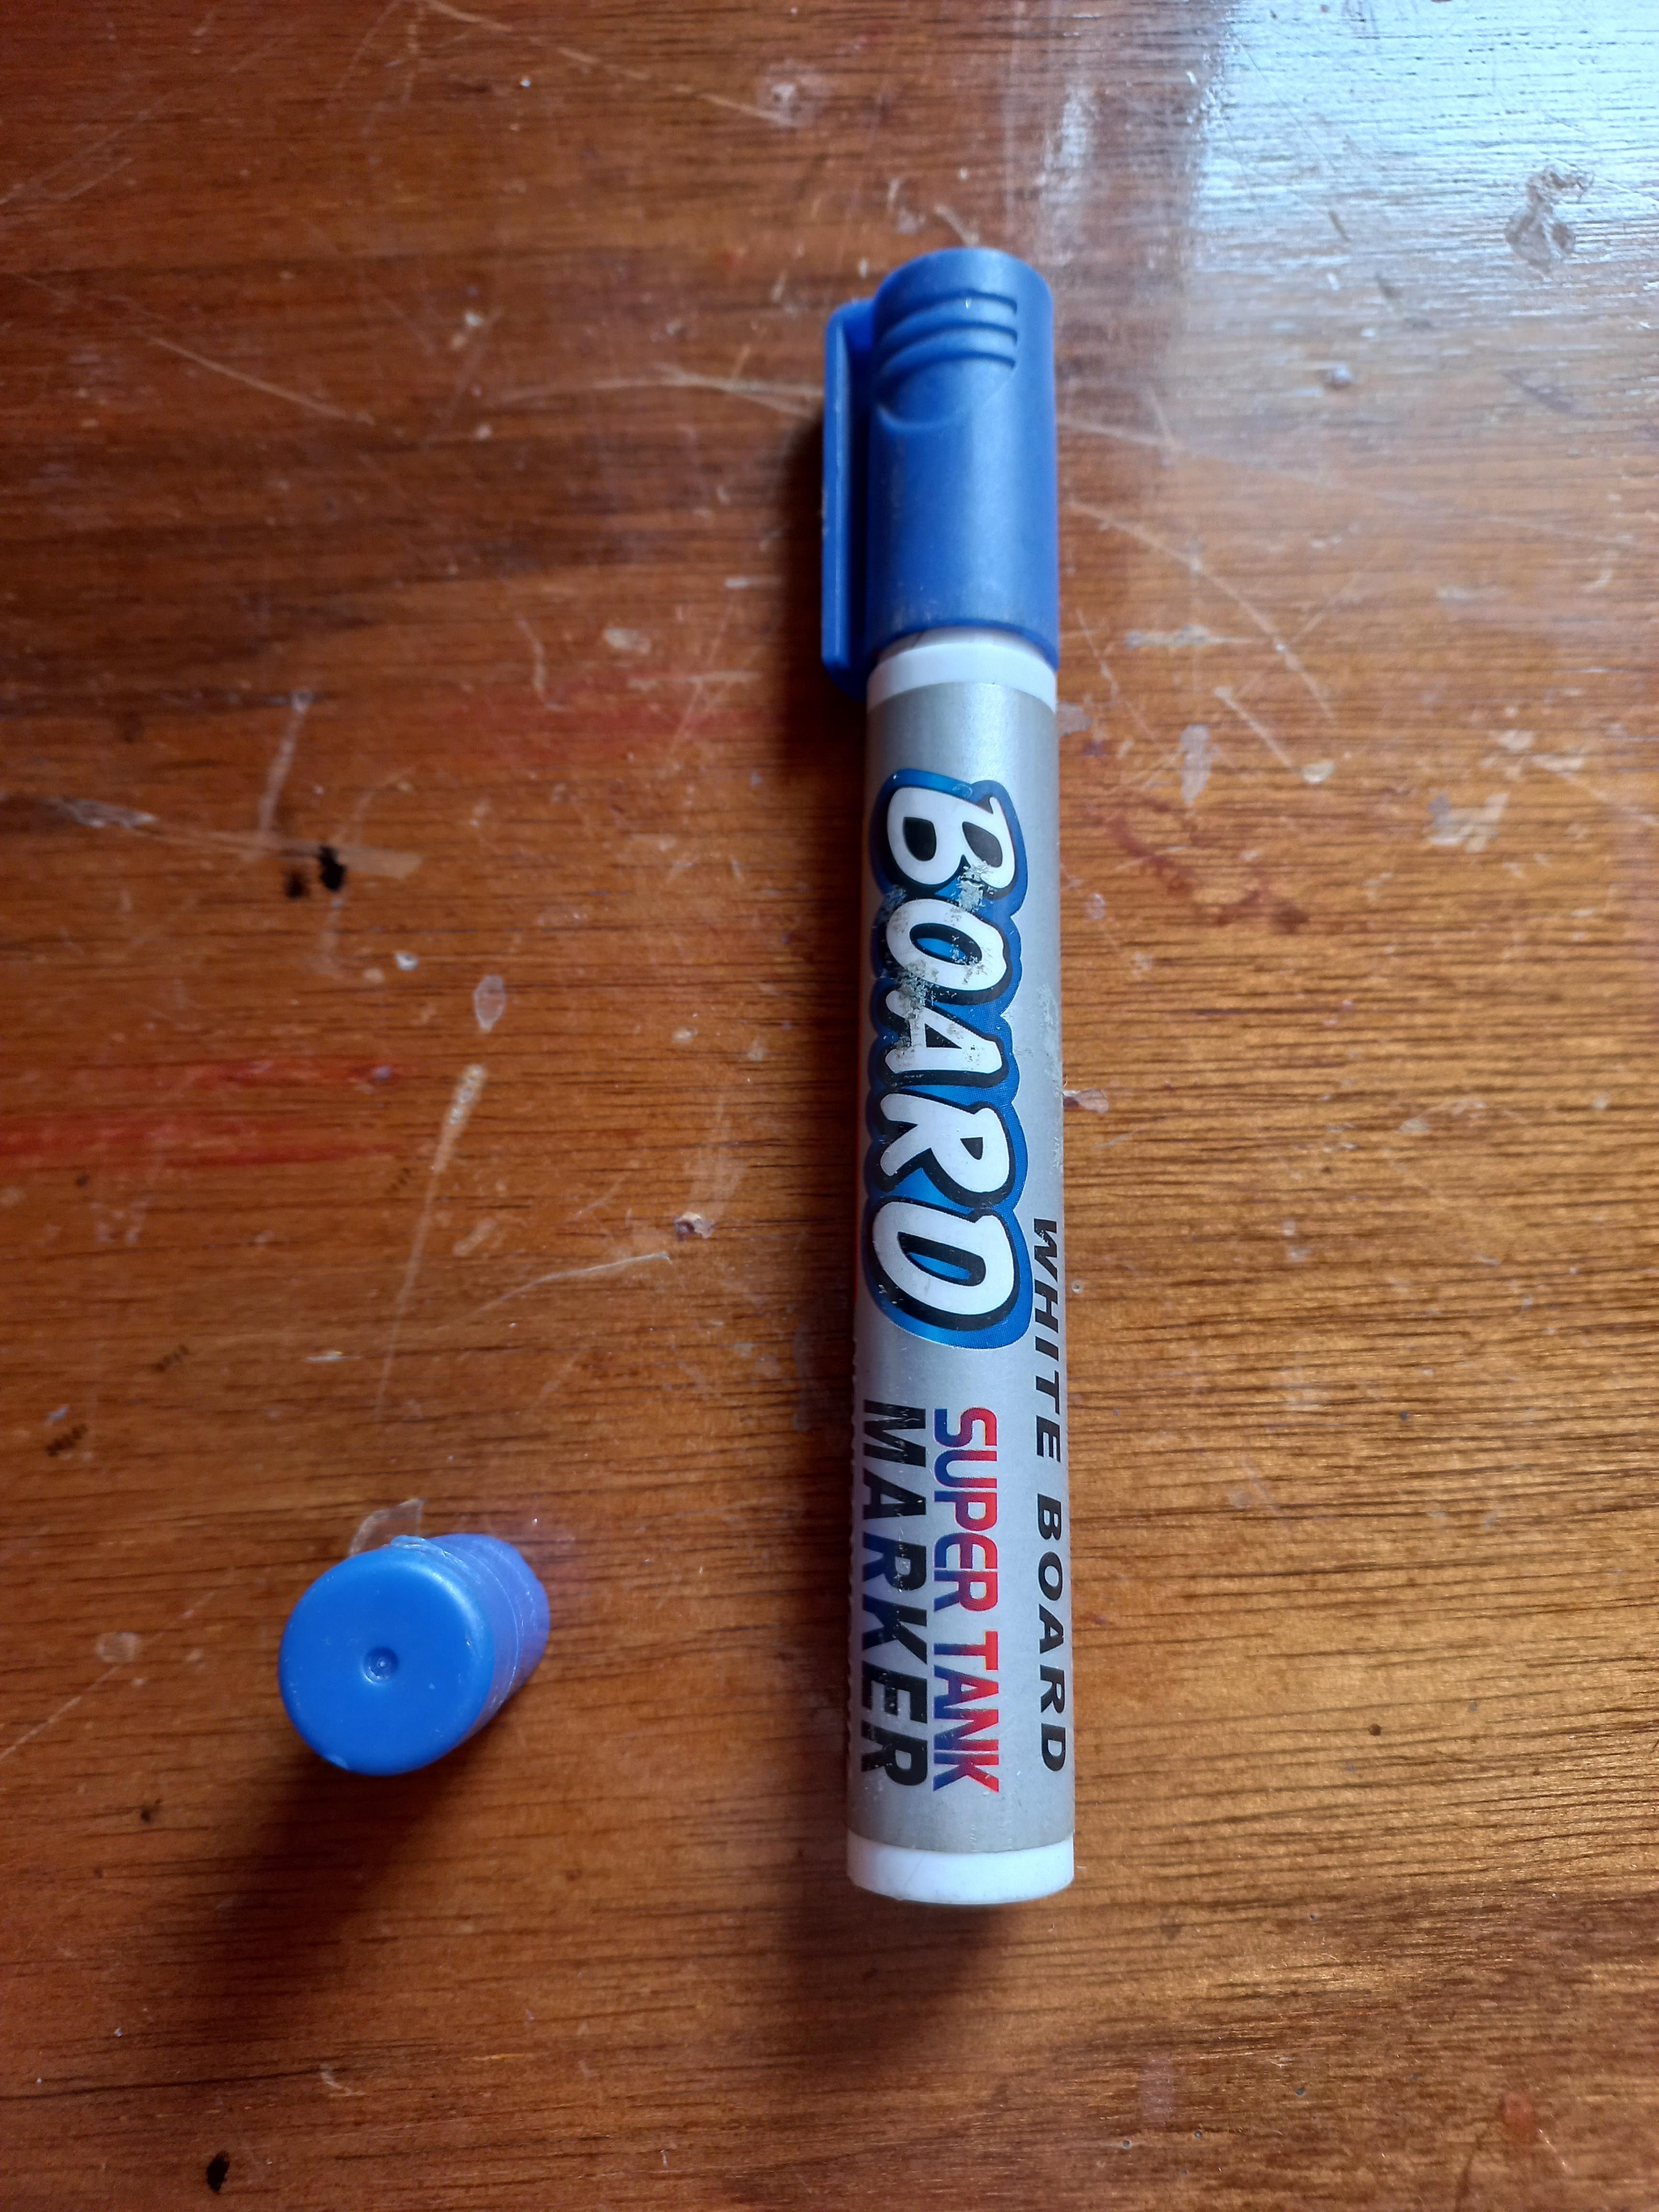


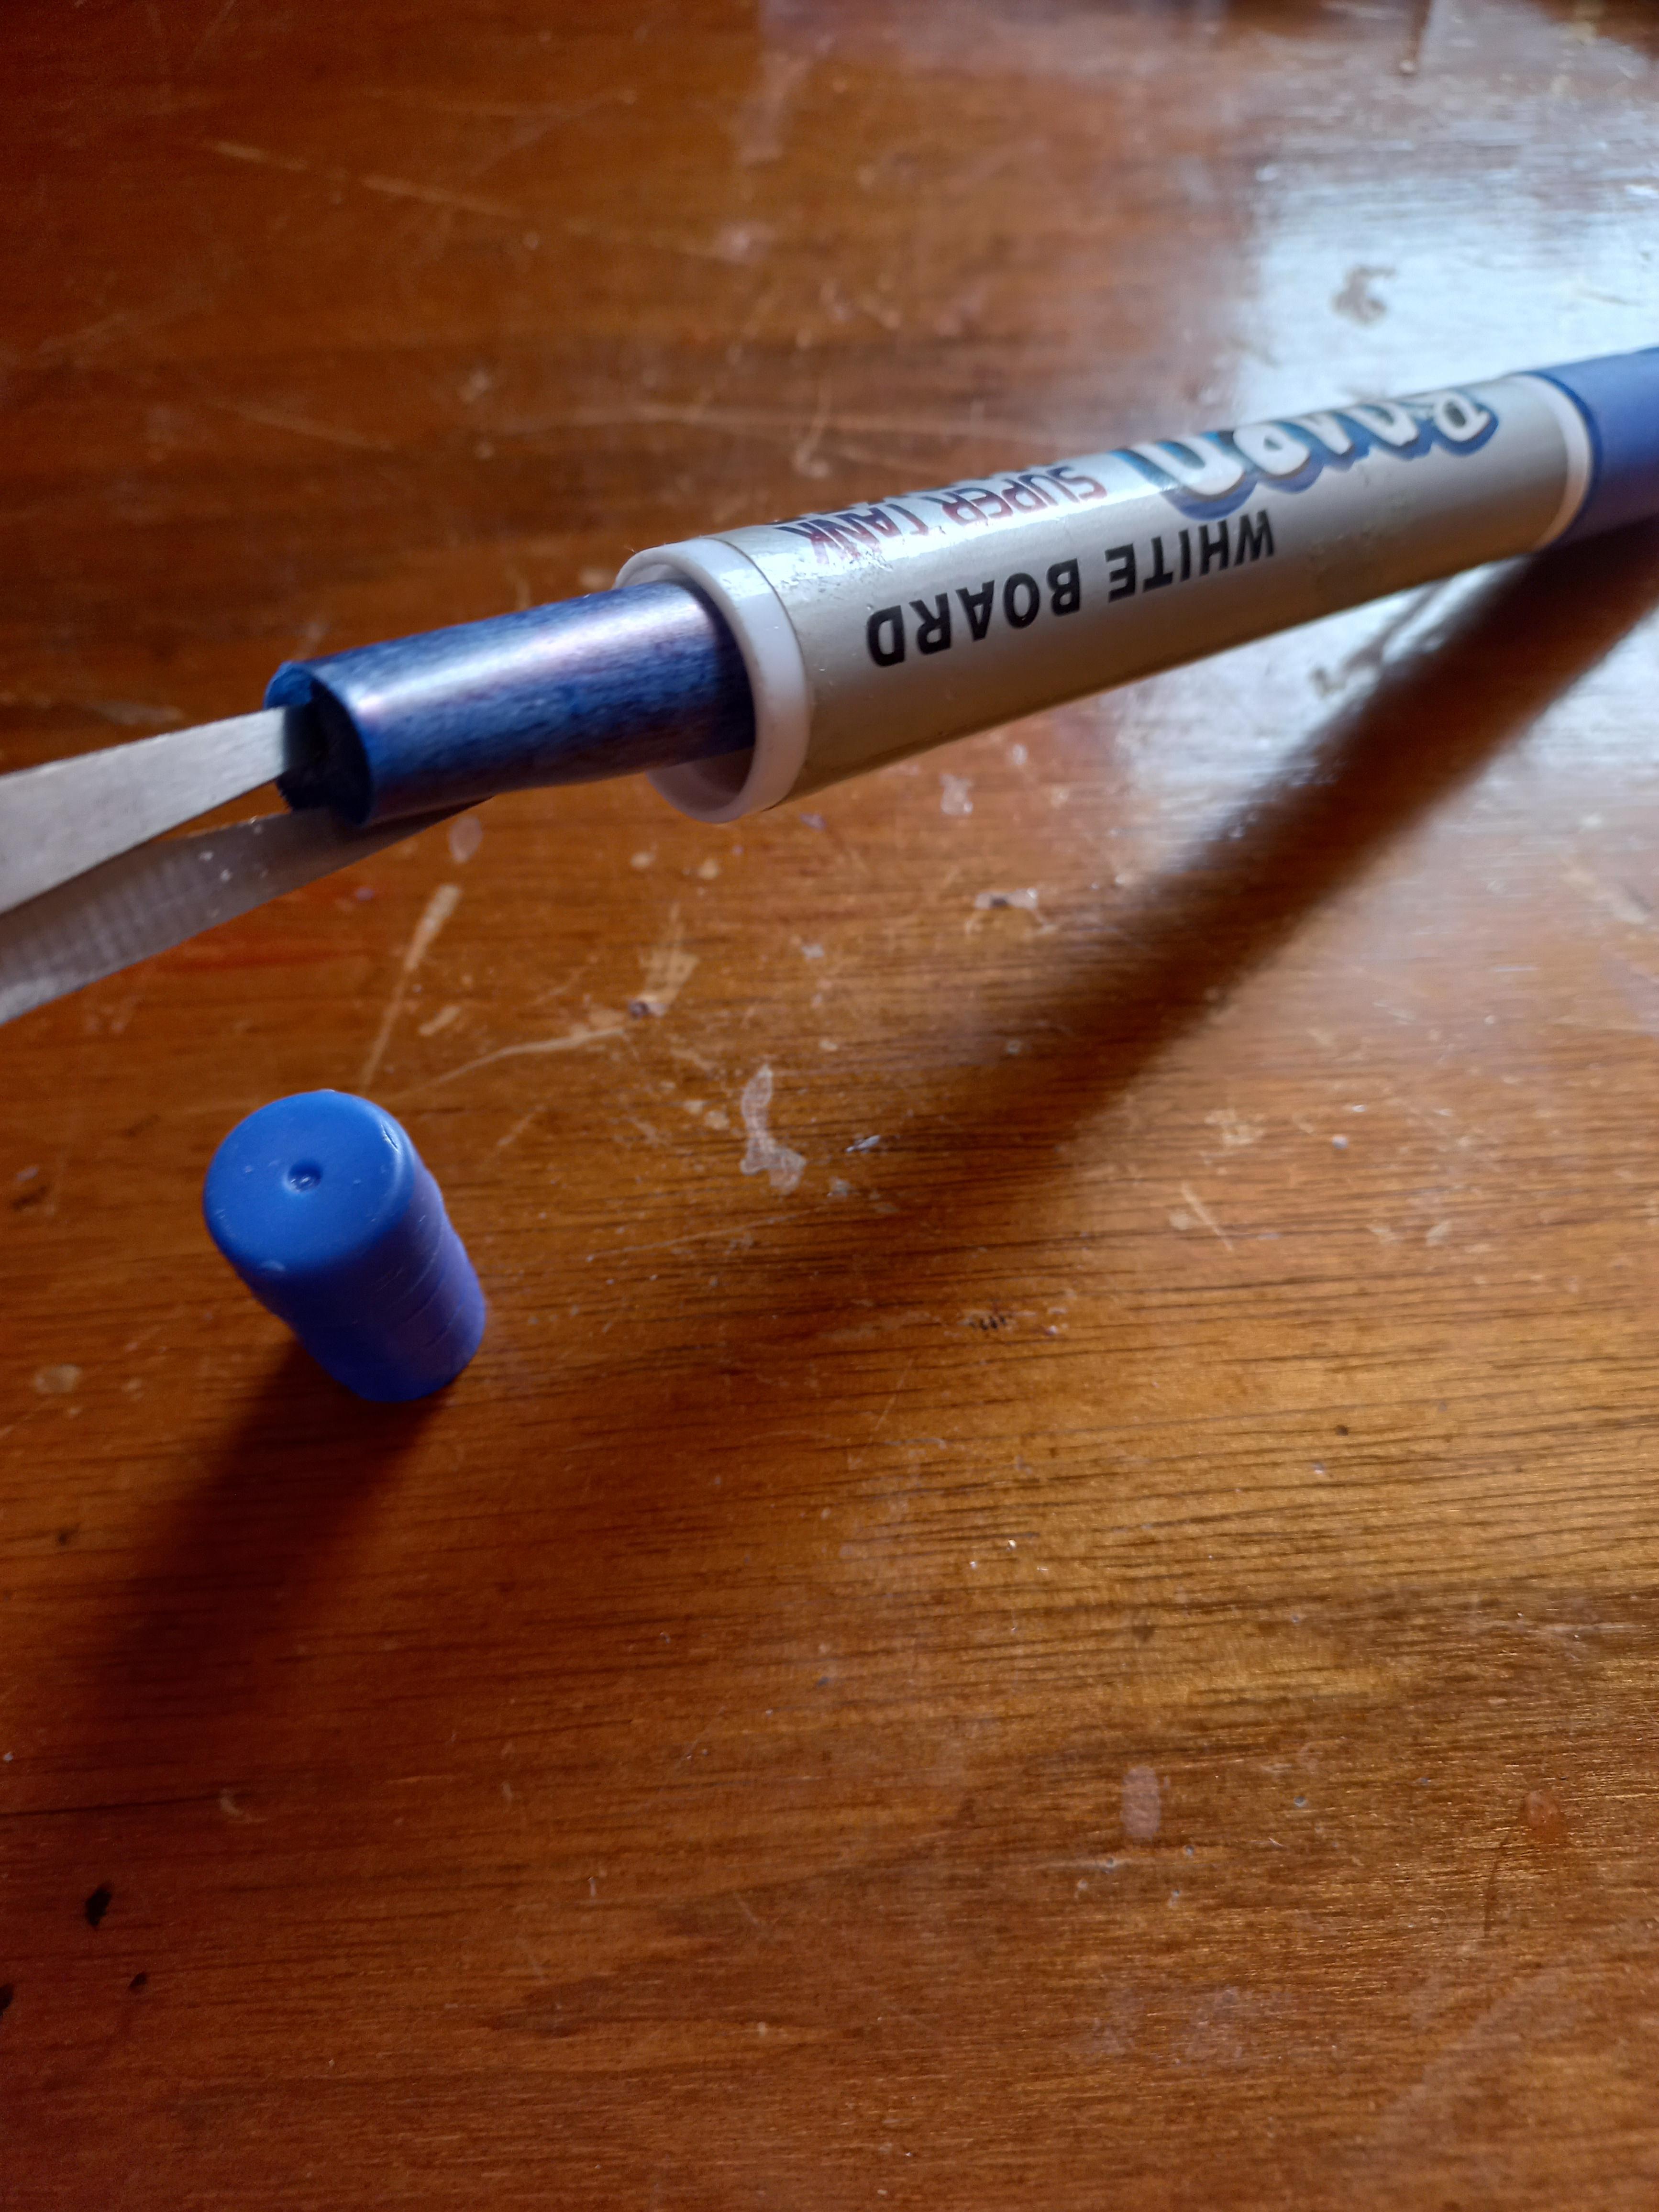
- Bring an old dried-out blue marker.
- Open the marker’s lower cap.
- Use the scissors to take the marker core out.
Turing the Core Into Felt Fiber


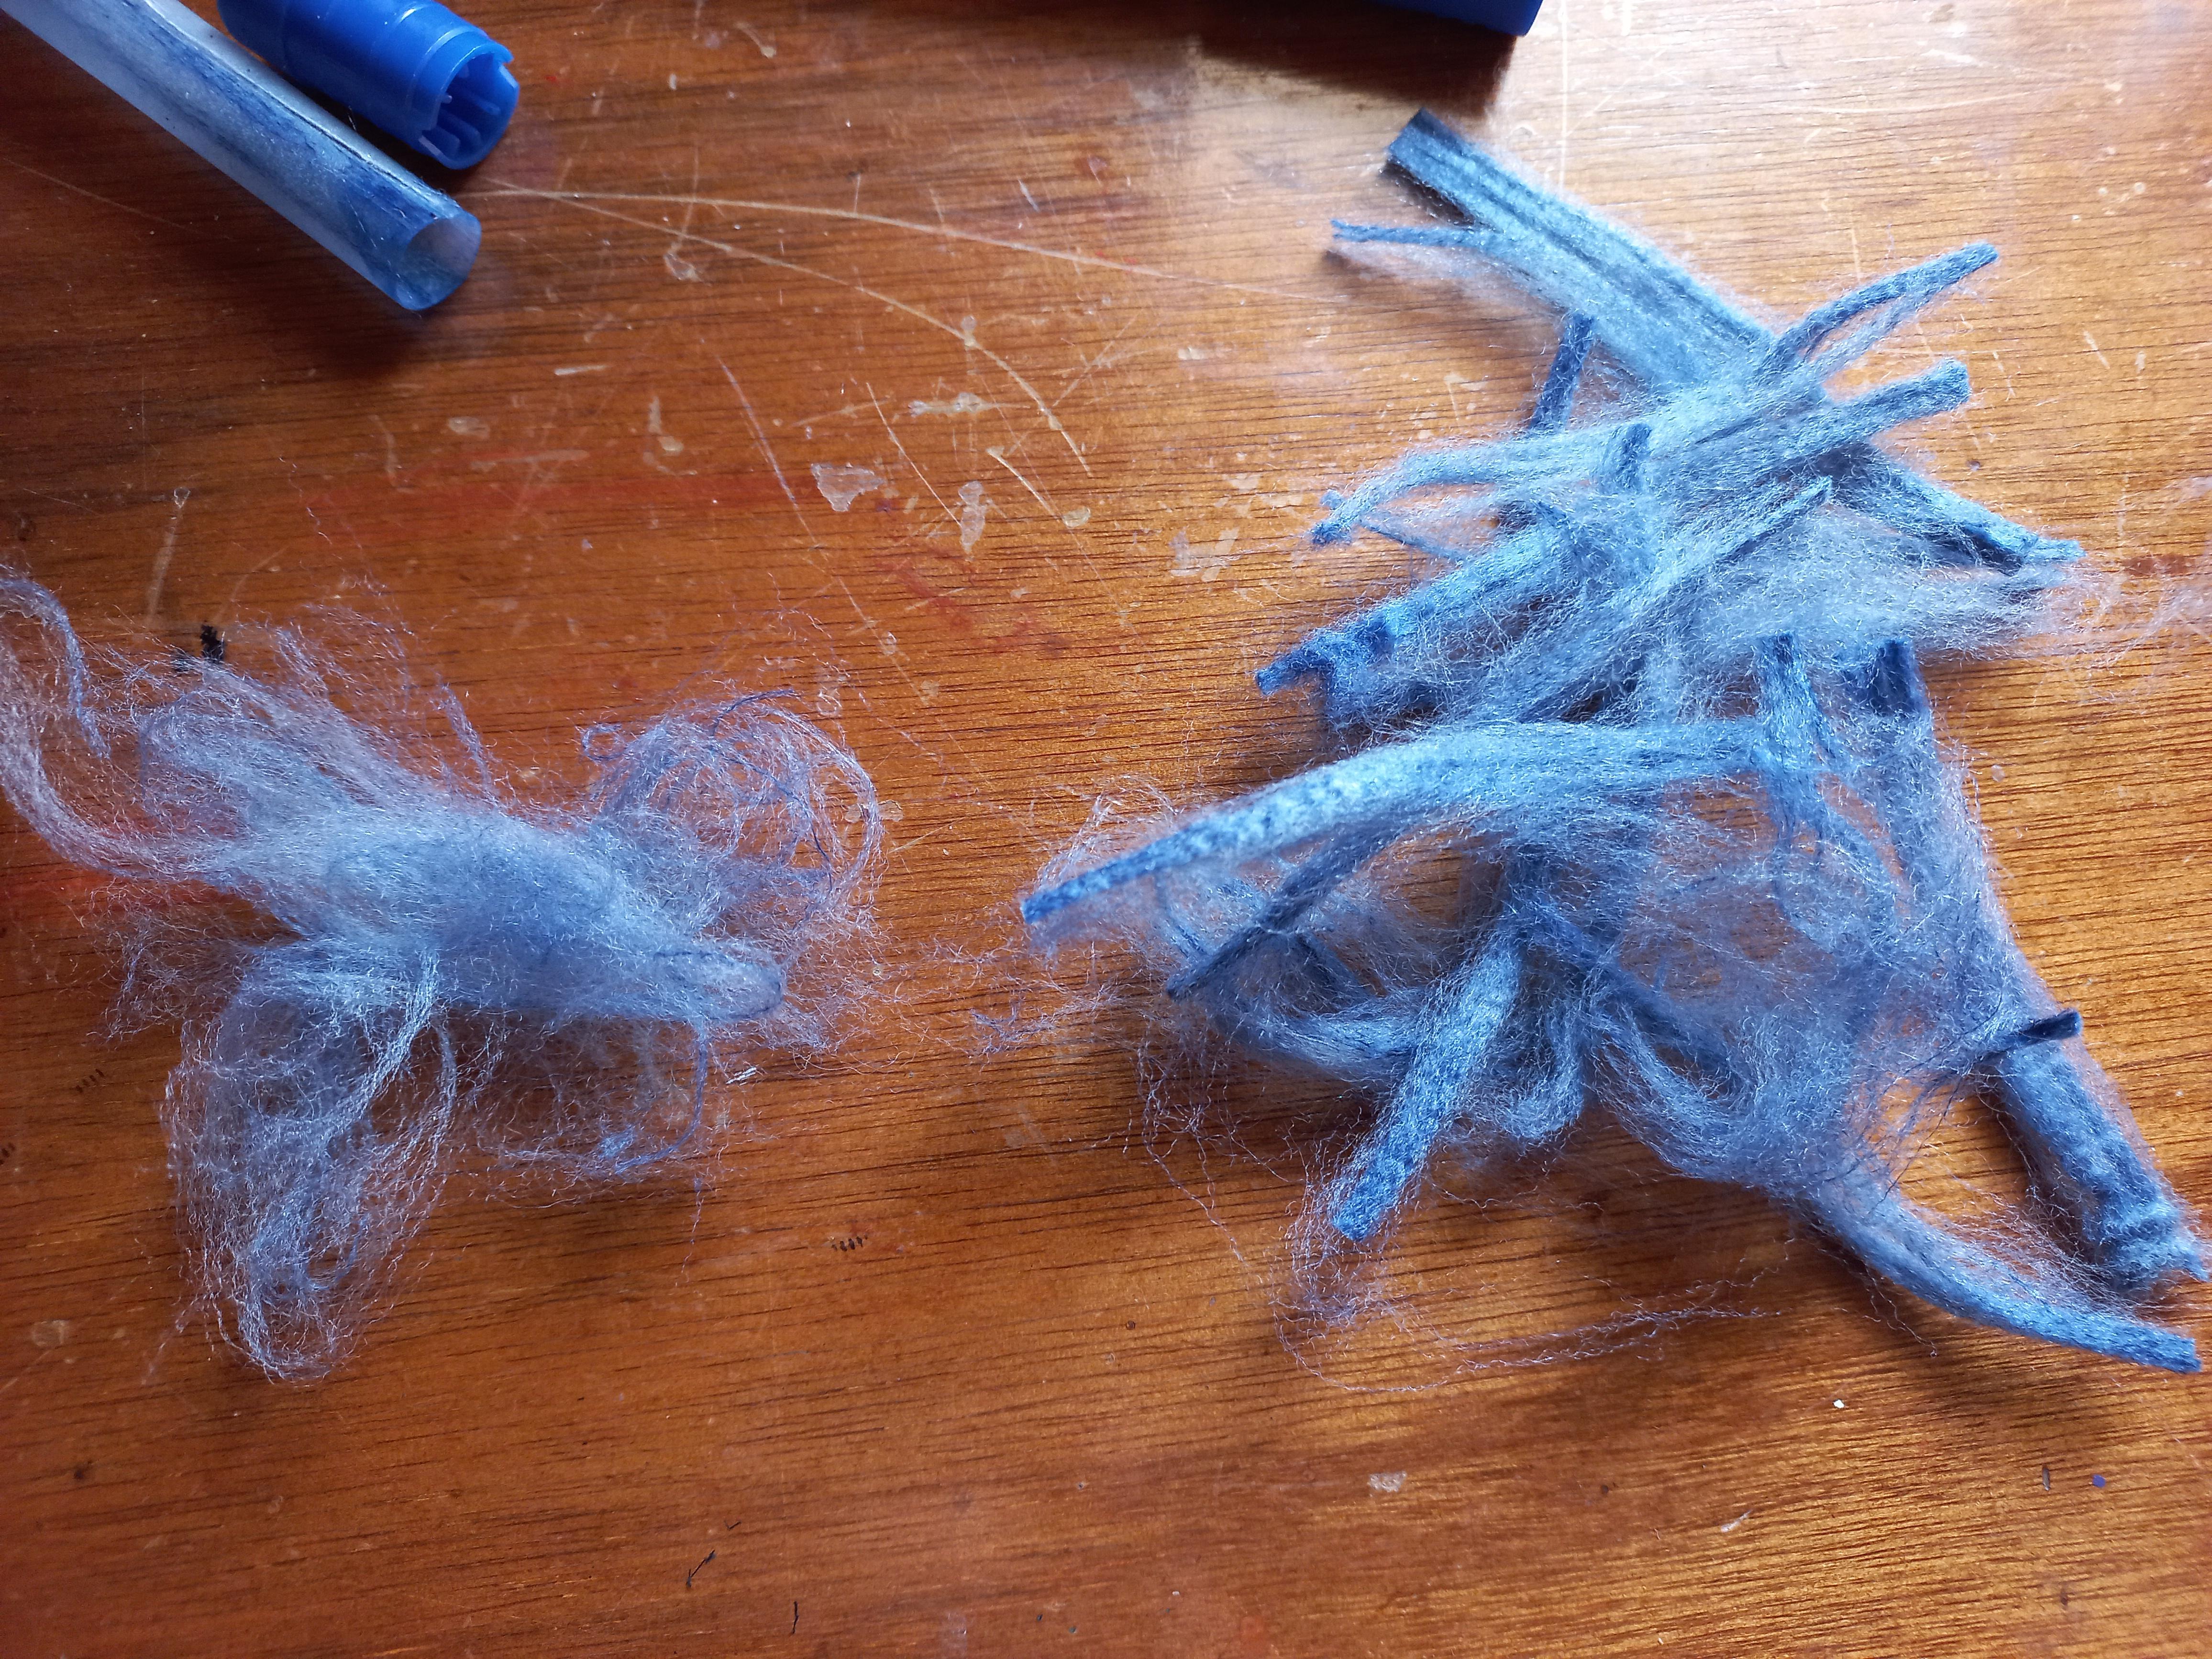


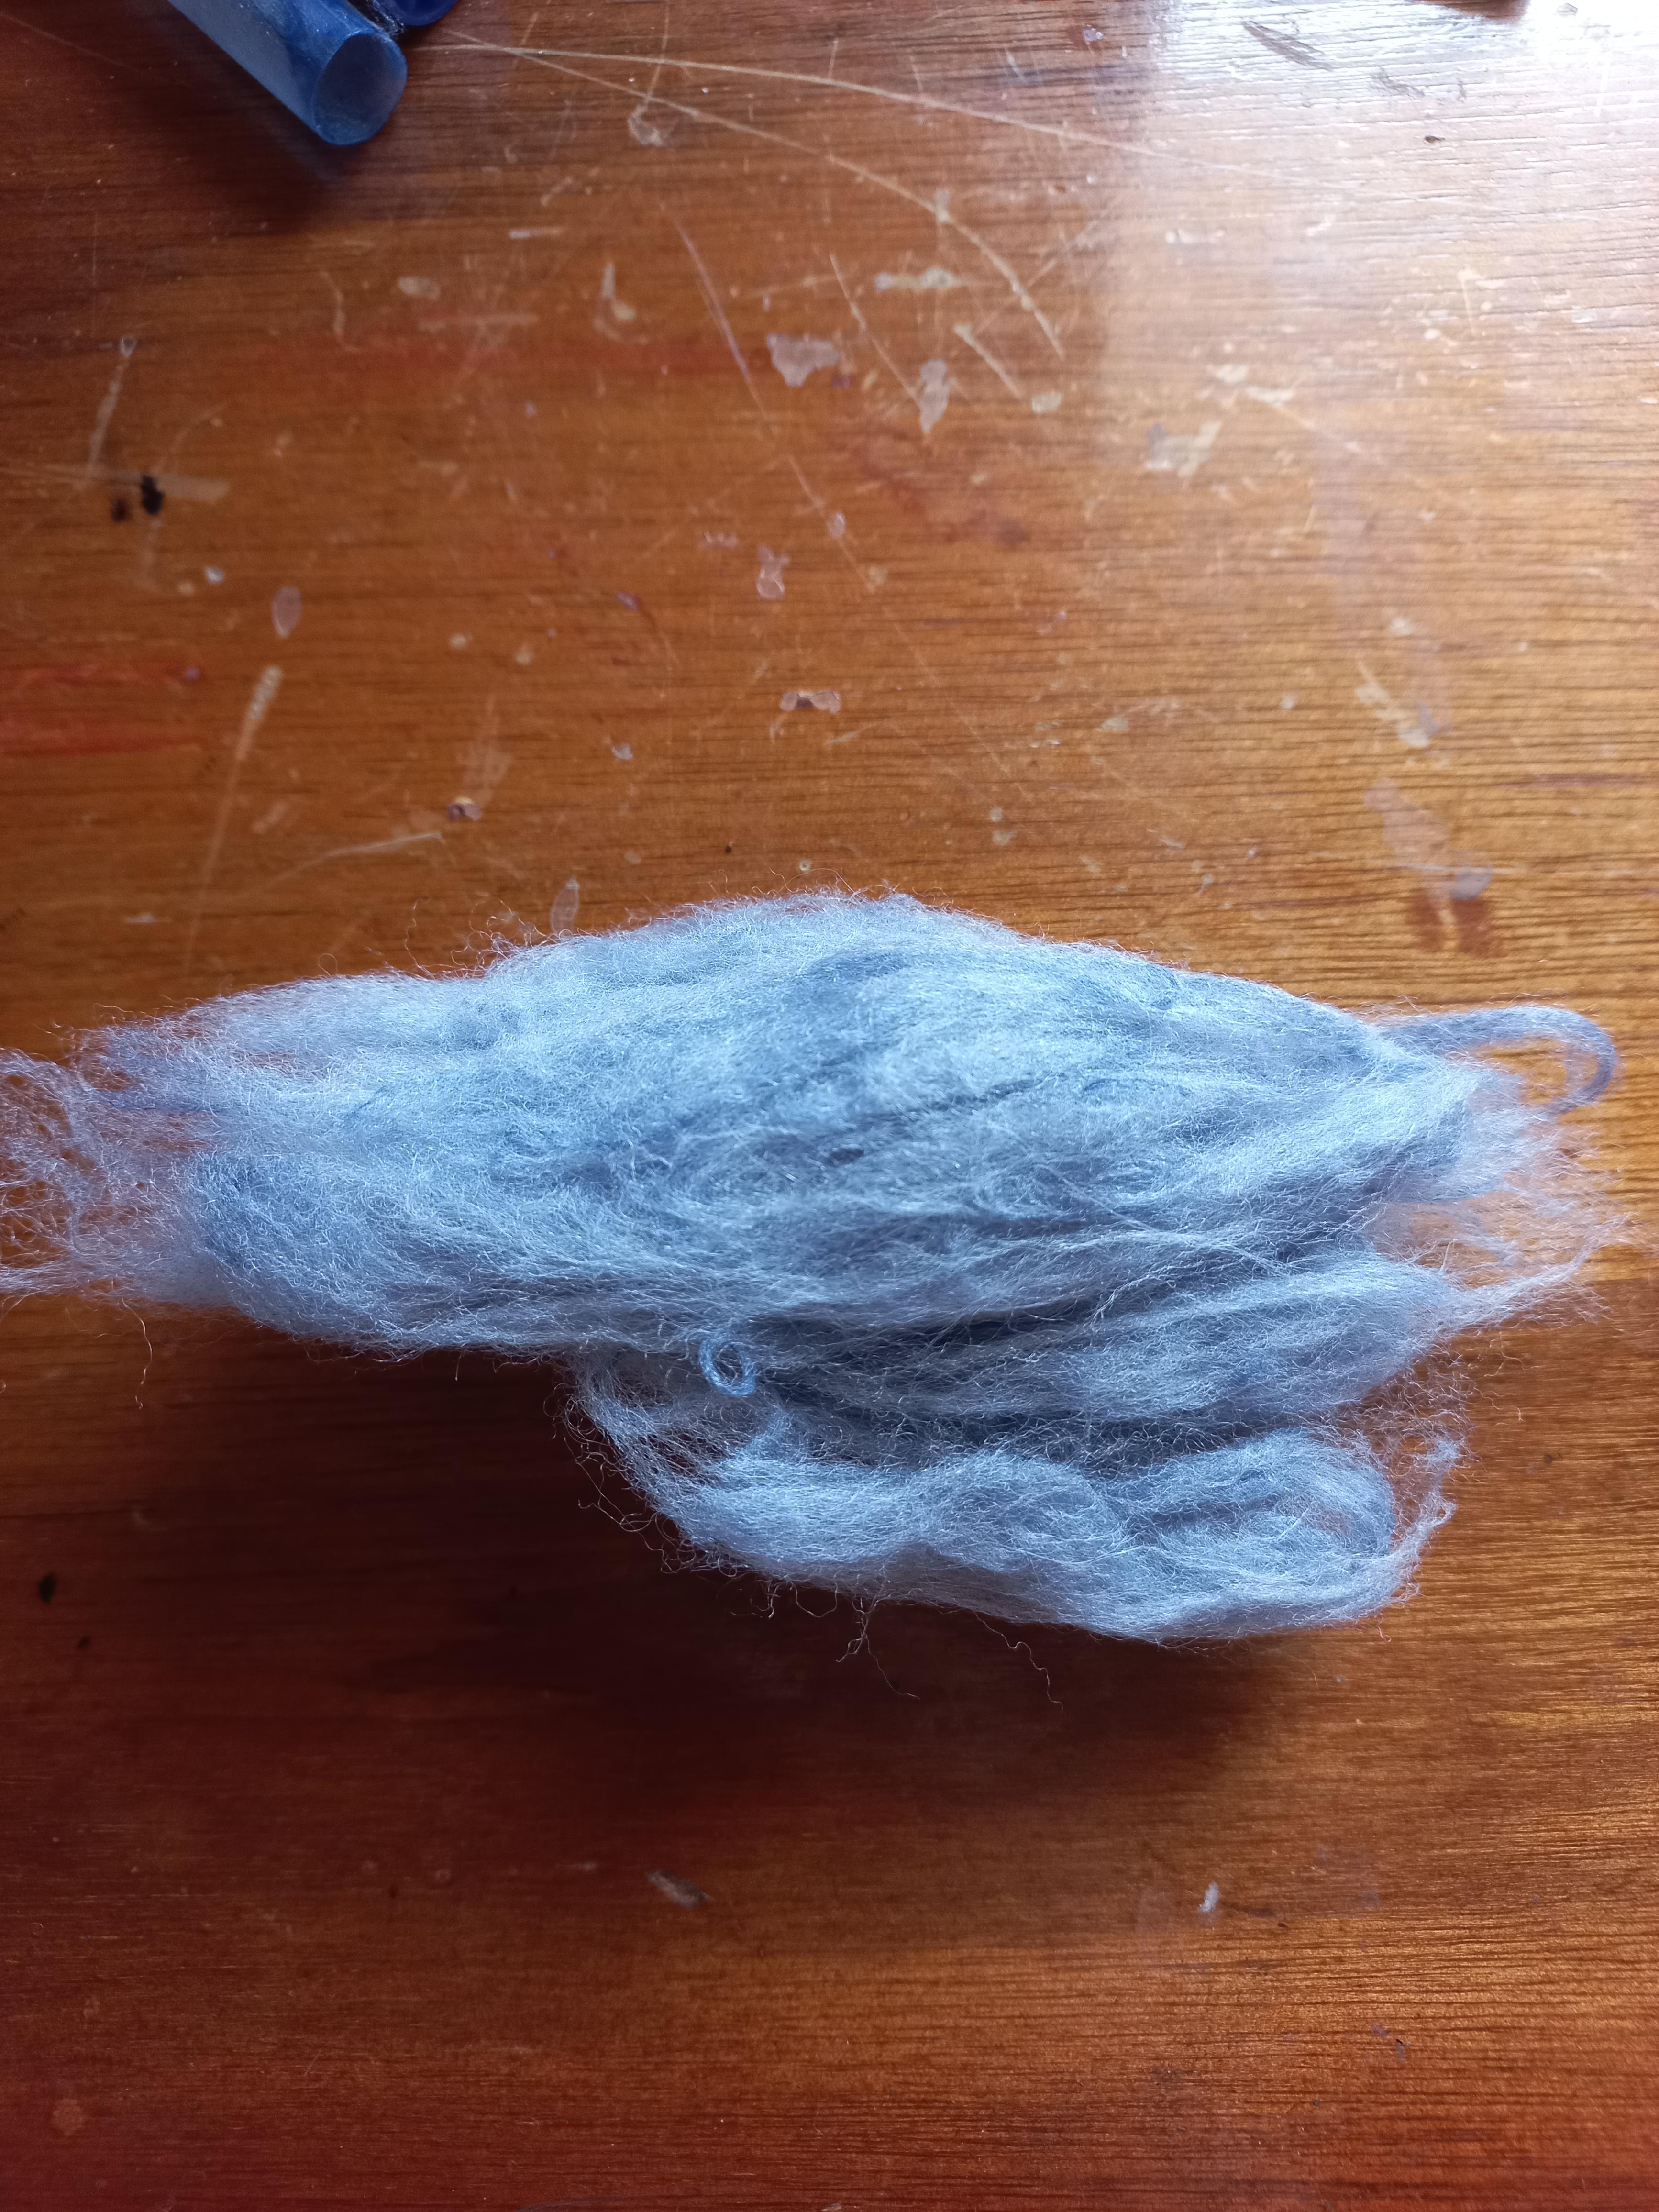

- Cut the core open with the scissors.
- Take the fiber out of the core.
- Use your fingers to disentangle the fiber.
- Take the strands that are still sticking together and deal with them individually.
- Repeat until you have a wool-like consistency.
Felting the Core of the Bird

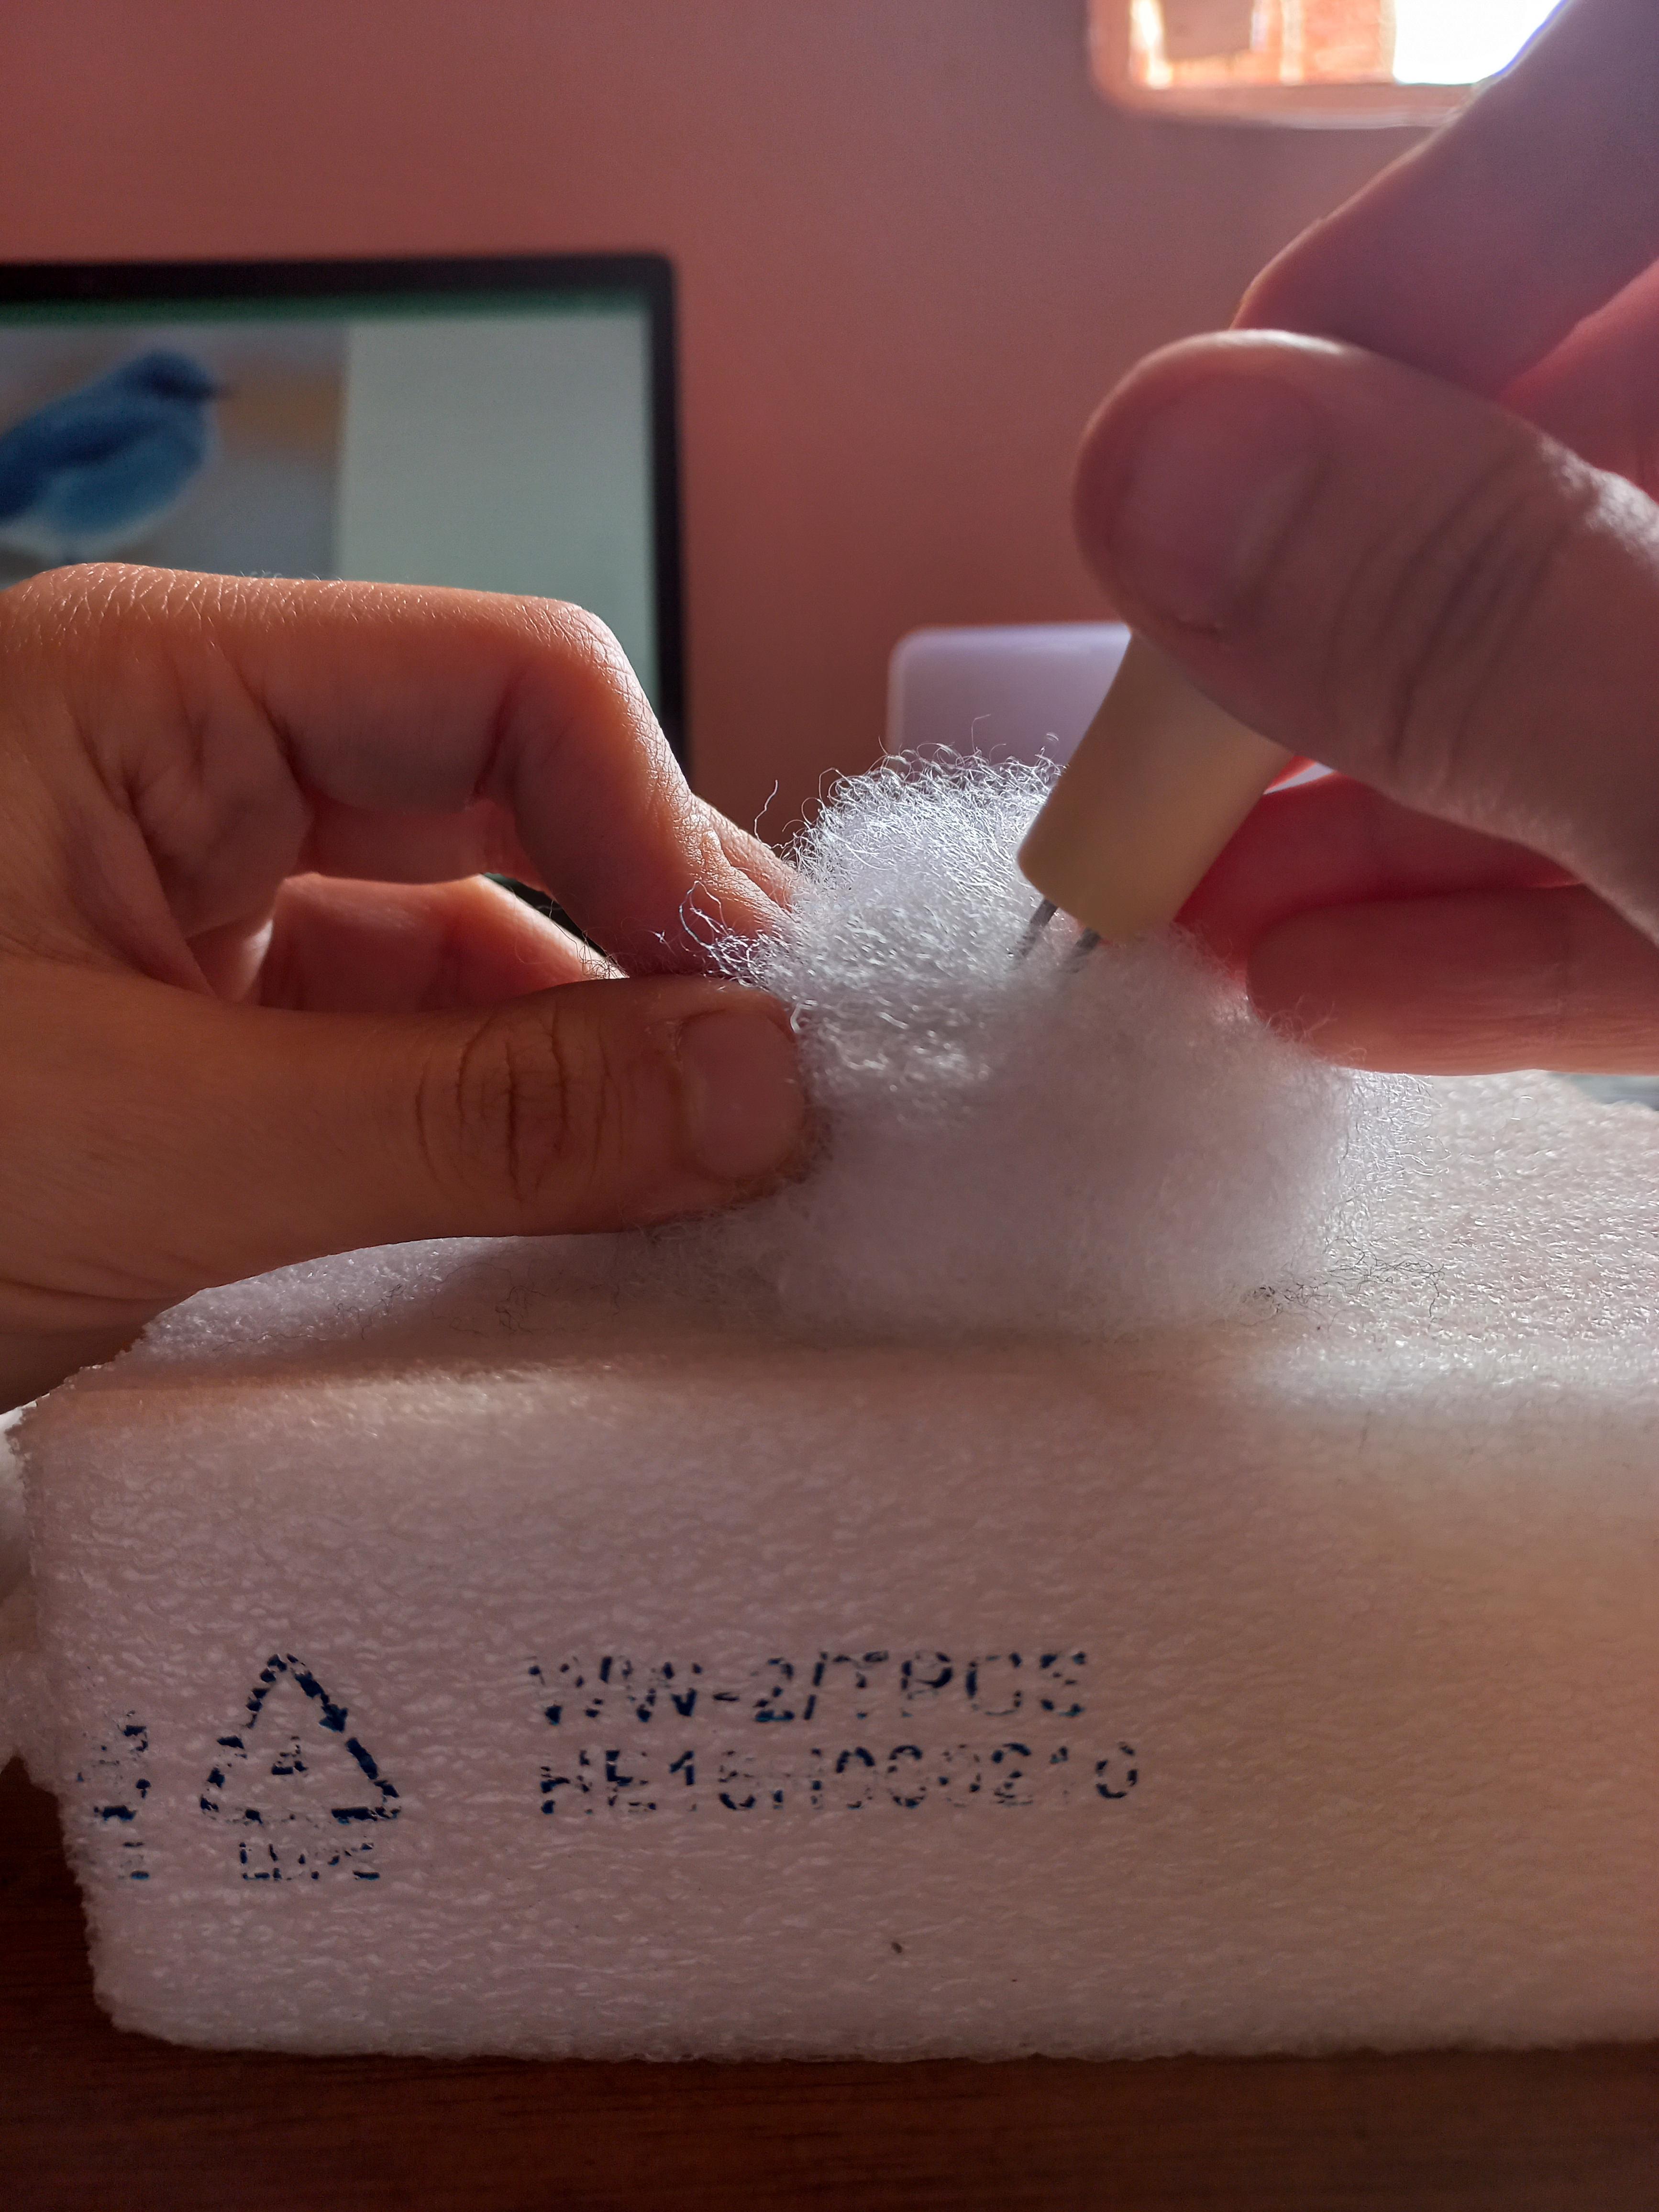


- Take some Polyester fiberfill as shown in the pictures.
- Use the Double-needle felting holder set to felt it into a solid ovoid.
Covering the Core of the Bird


- Take some of the Ice Blue wool-like fiber you made.
- Use the double-needle felting holder set to felt it over the upper side of the solid ovoid.
Felting the Head of the Bird


- Take some Polyester fiberfill as shown in the pictures.
- Use the Double-needle felting holder set to felt it into a small solid sphere.
- Cover and felt it with the blue wool-like fiber you made using the double-needle felting holder set.
Attaching the Head to the Body


- Attach and felt the head to the body using the double-needle felting holder set.
Felting the Fine Feathers
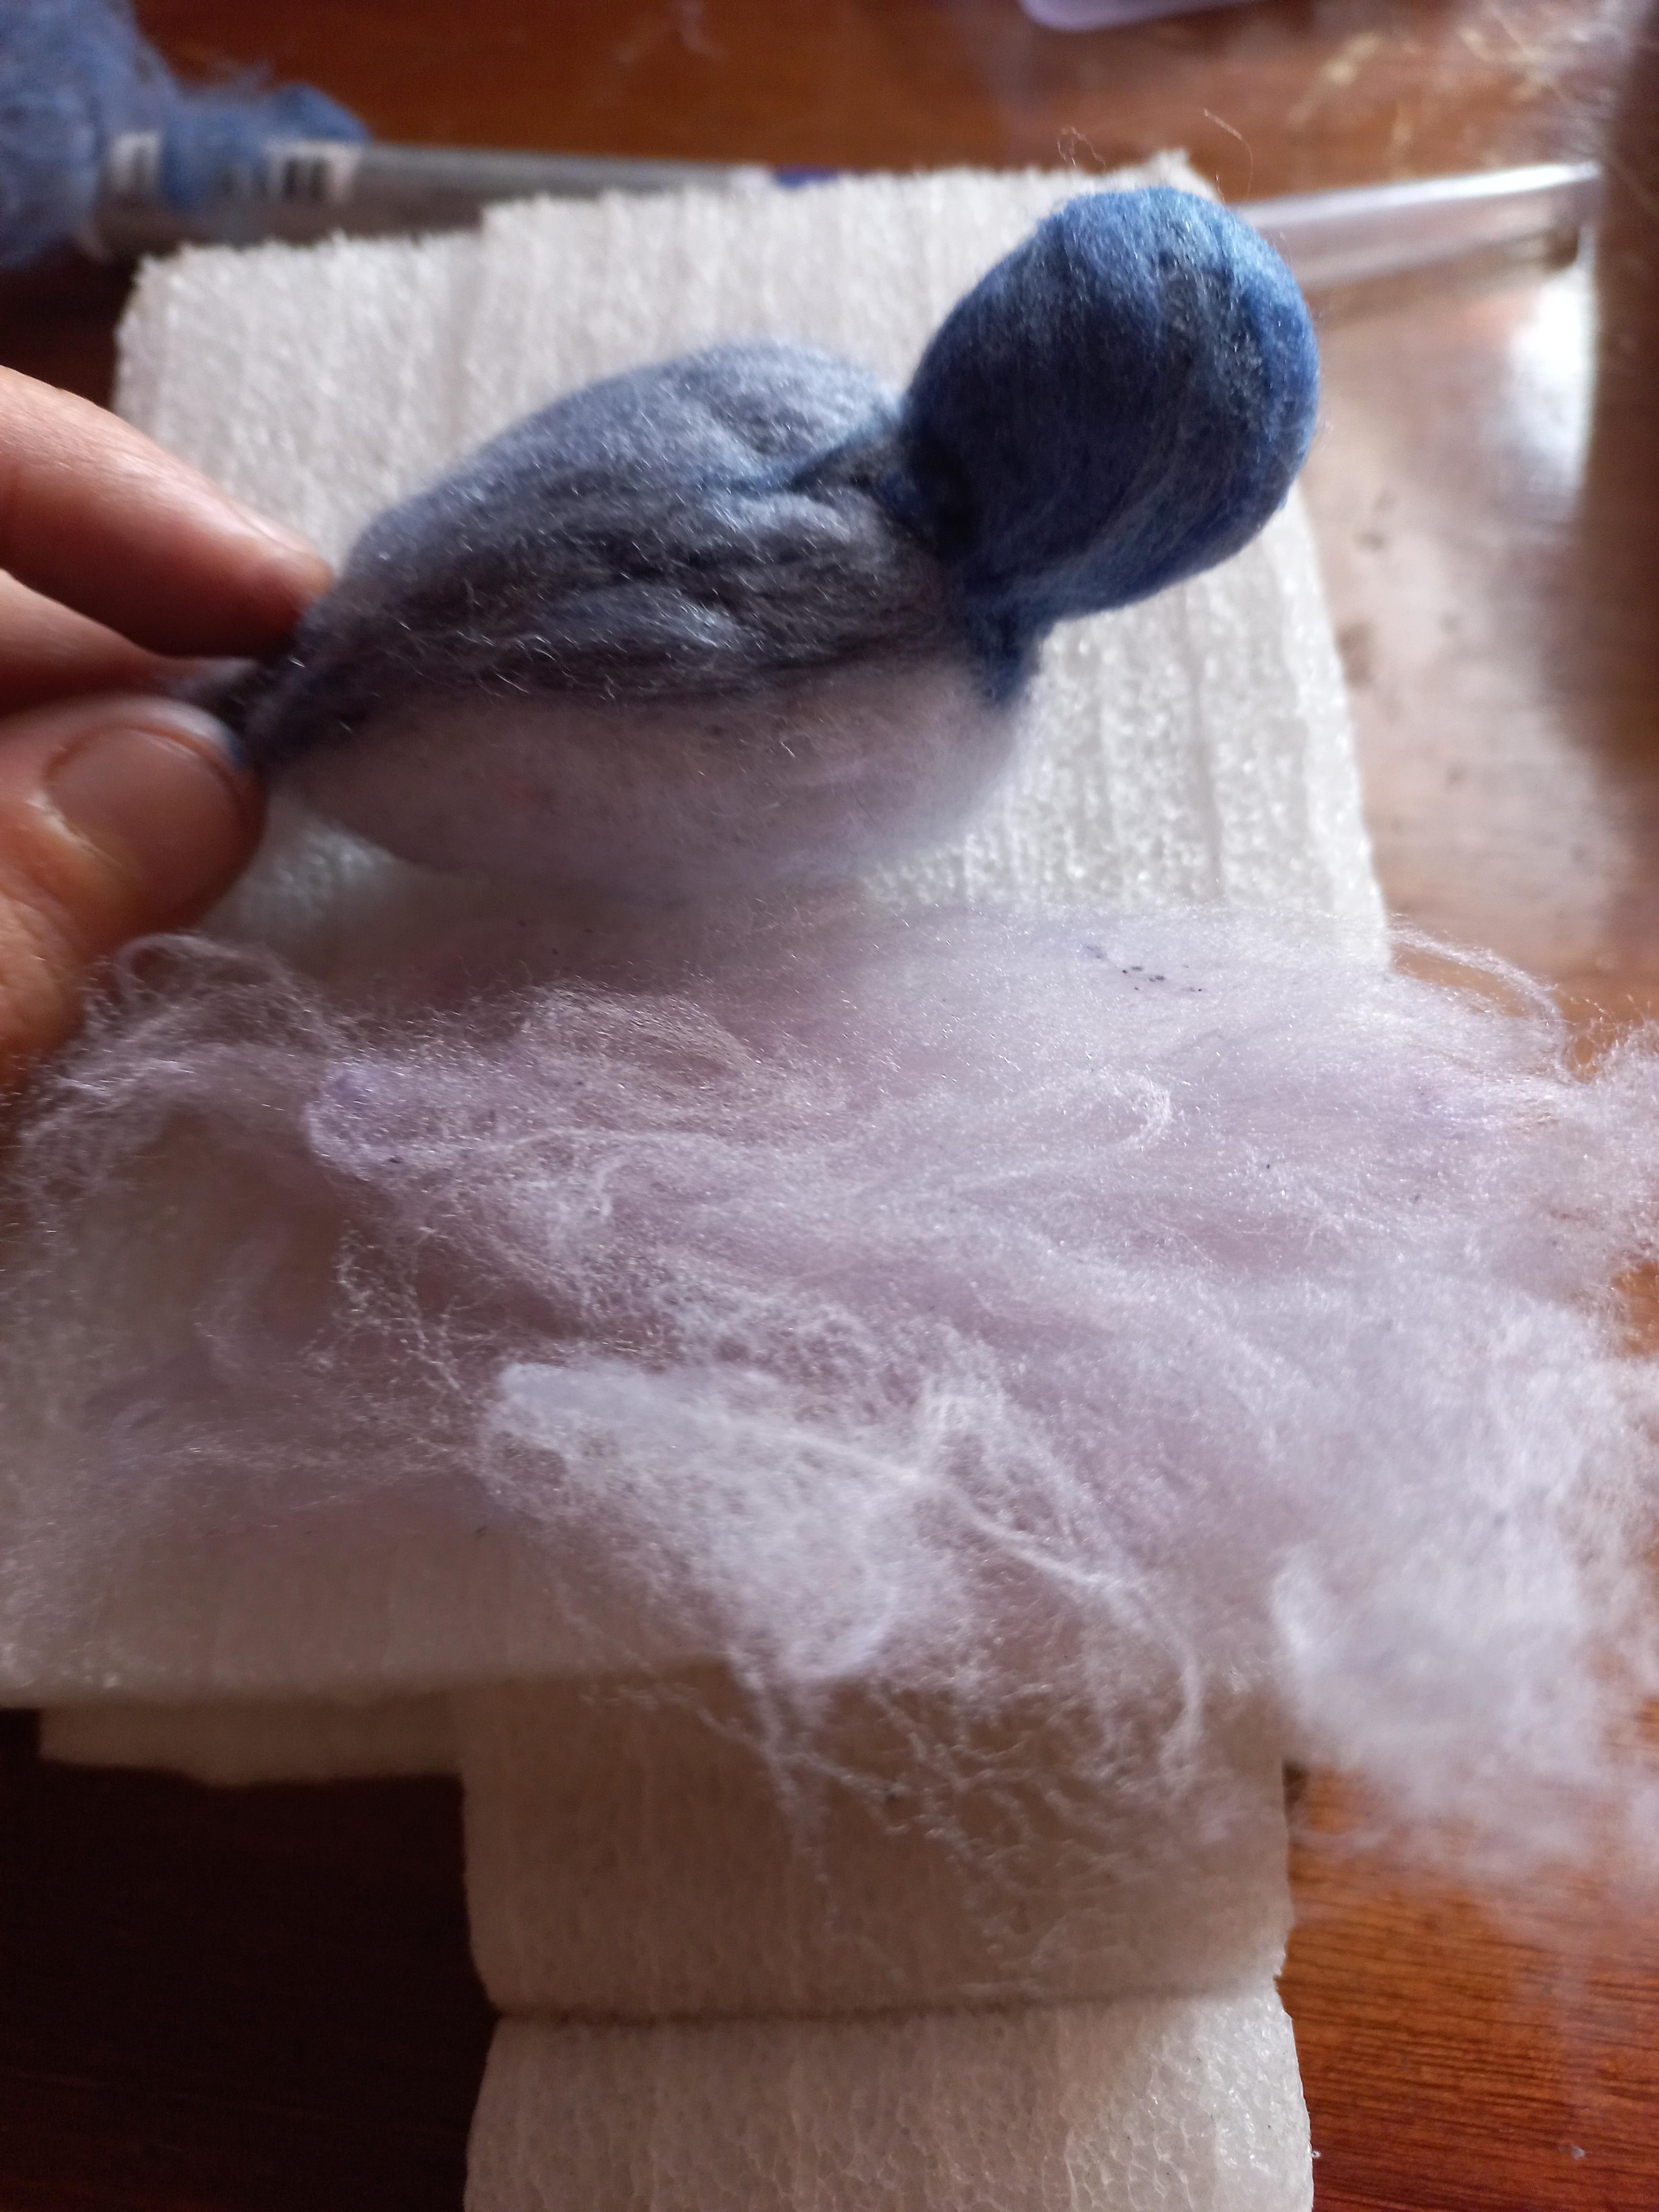


- Take some of the light grey wool-like fiber you made.
- Use the double-needle felting holder set to felt it over the bottom side of the solid ovoid.
Felting the Wings
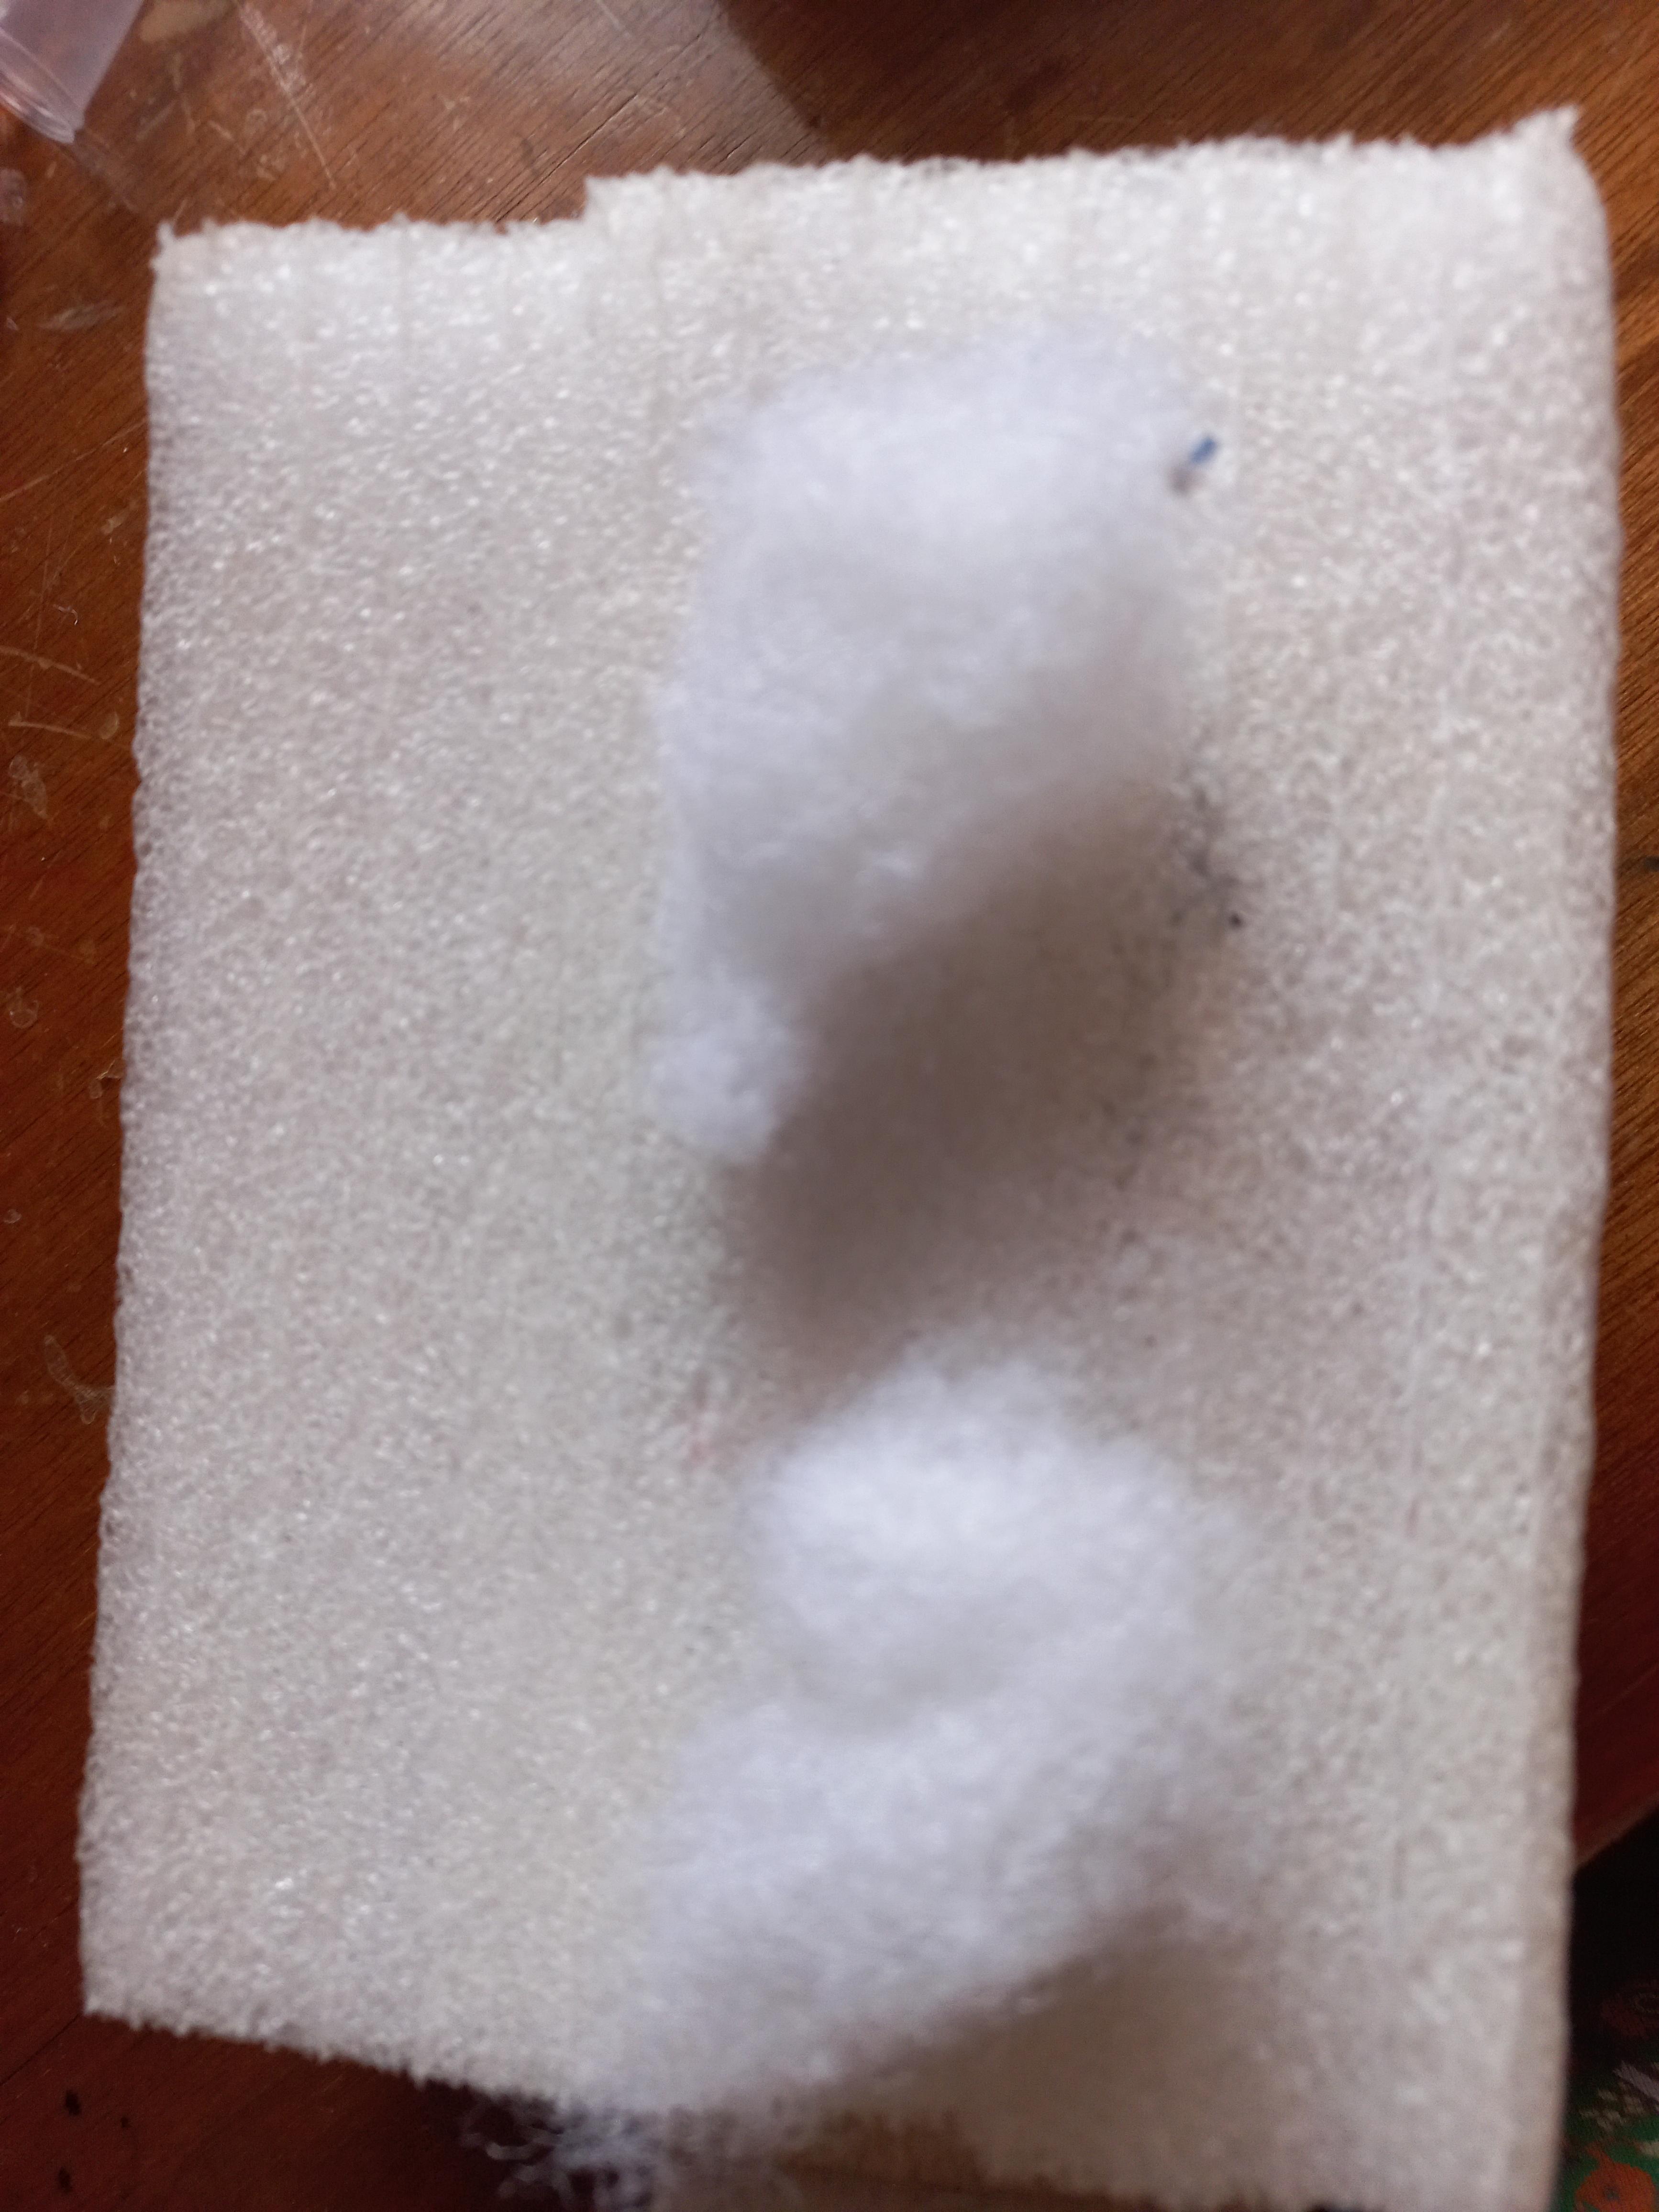


- Take some Polyester fiberfill as shown in the pictures.
- Use the Double-needle felting holder set to felt it into a flat drop shape.
- Cover and felt it with some blue wool-like fiber.
- Add and felt 2 strands of black wool and 1 strand of light grey wool-like fiber to the wing.
- Attach and felt the wing to the side of the bird.
- Repeat the same steps for the second wing.
Felting the Tail


- Take some Polyester fiberfill as shown in the pictures.
- Use the Double-needle felting holder set to felt it into a small flat drop shape.
- Cover and felt it with some blue wool-like fiber.
- Add and felt some strands of black wool and 1 strand of light grey wool-like fiber to the wing.
- Attach and felt the tail to the tail place of the bird.
Adding More Fiber to the Bird


- Add and felt more blue wool-like fiber on the head and back of the bird.
Adding More Fine Feathers


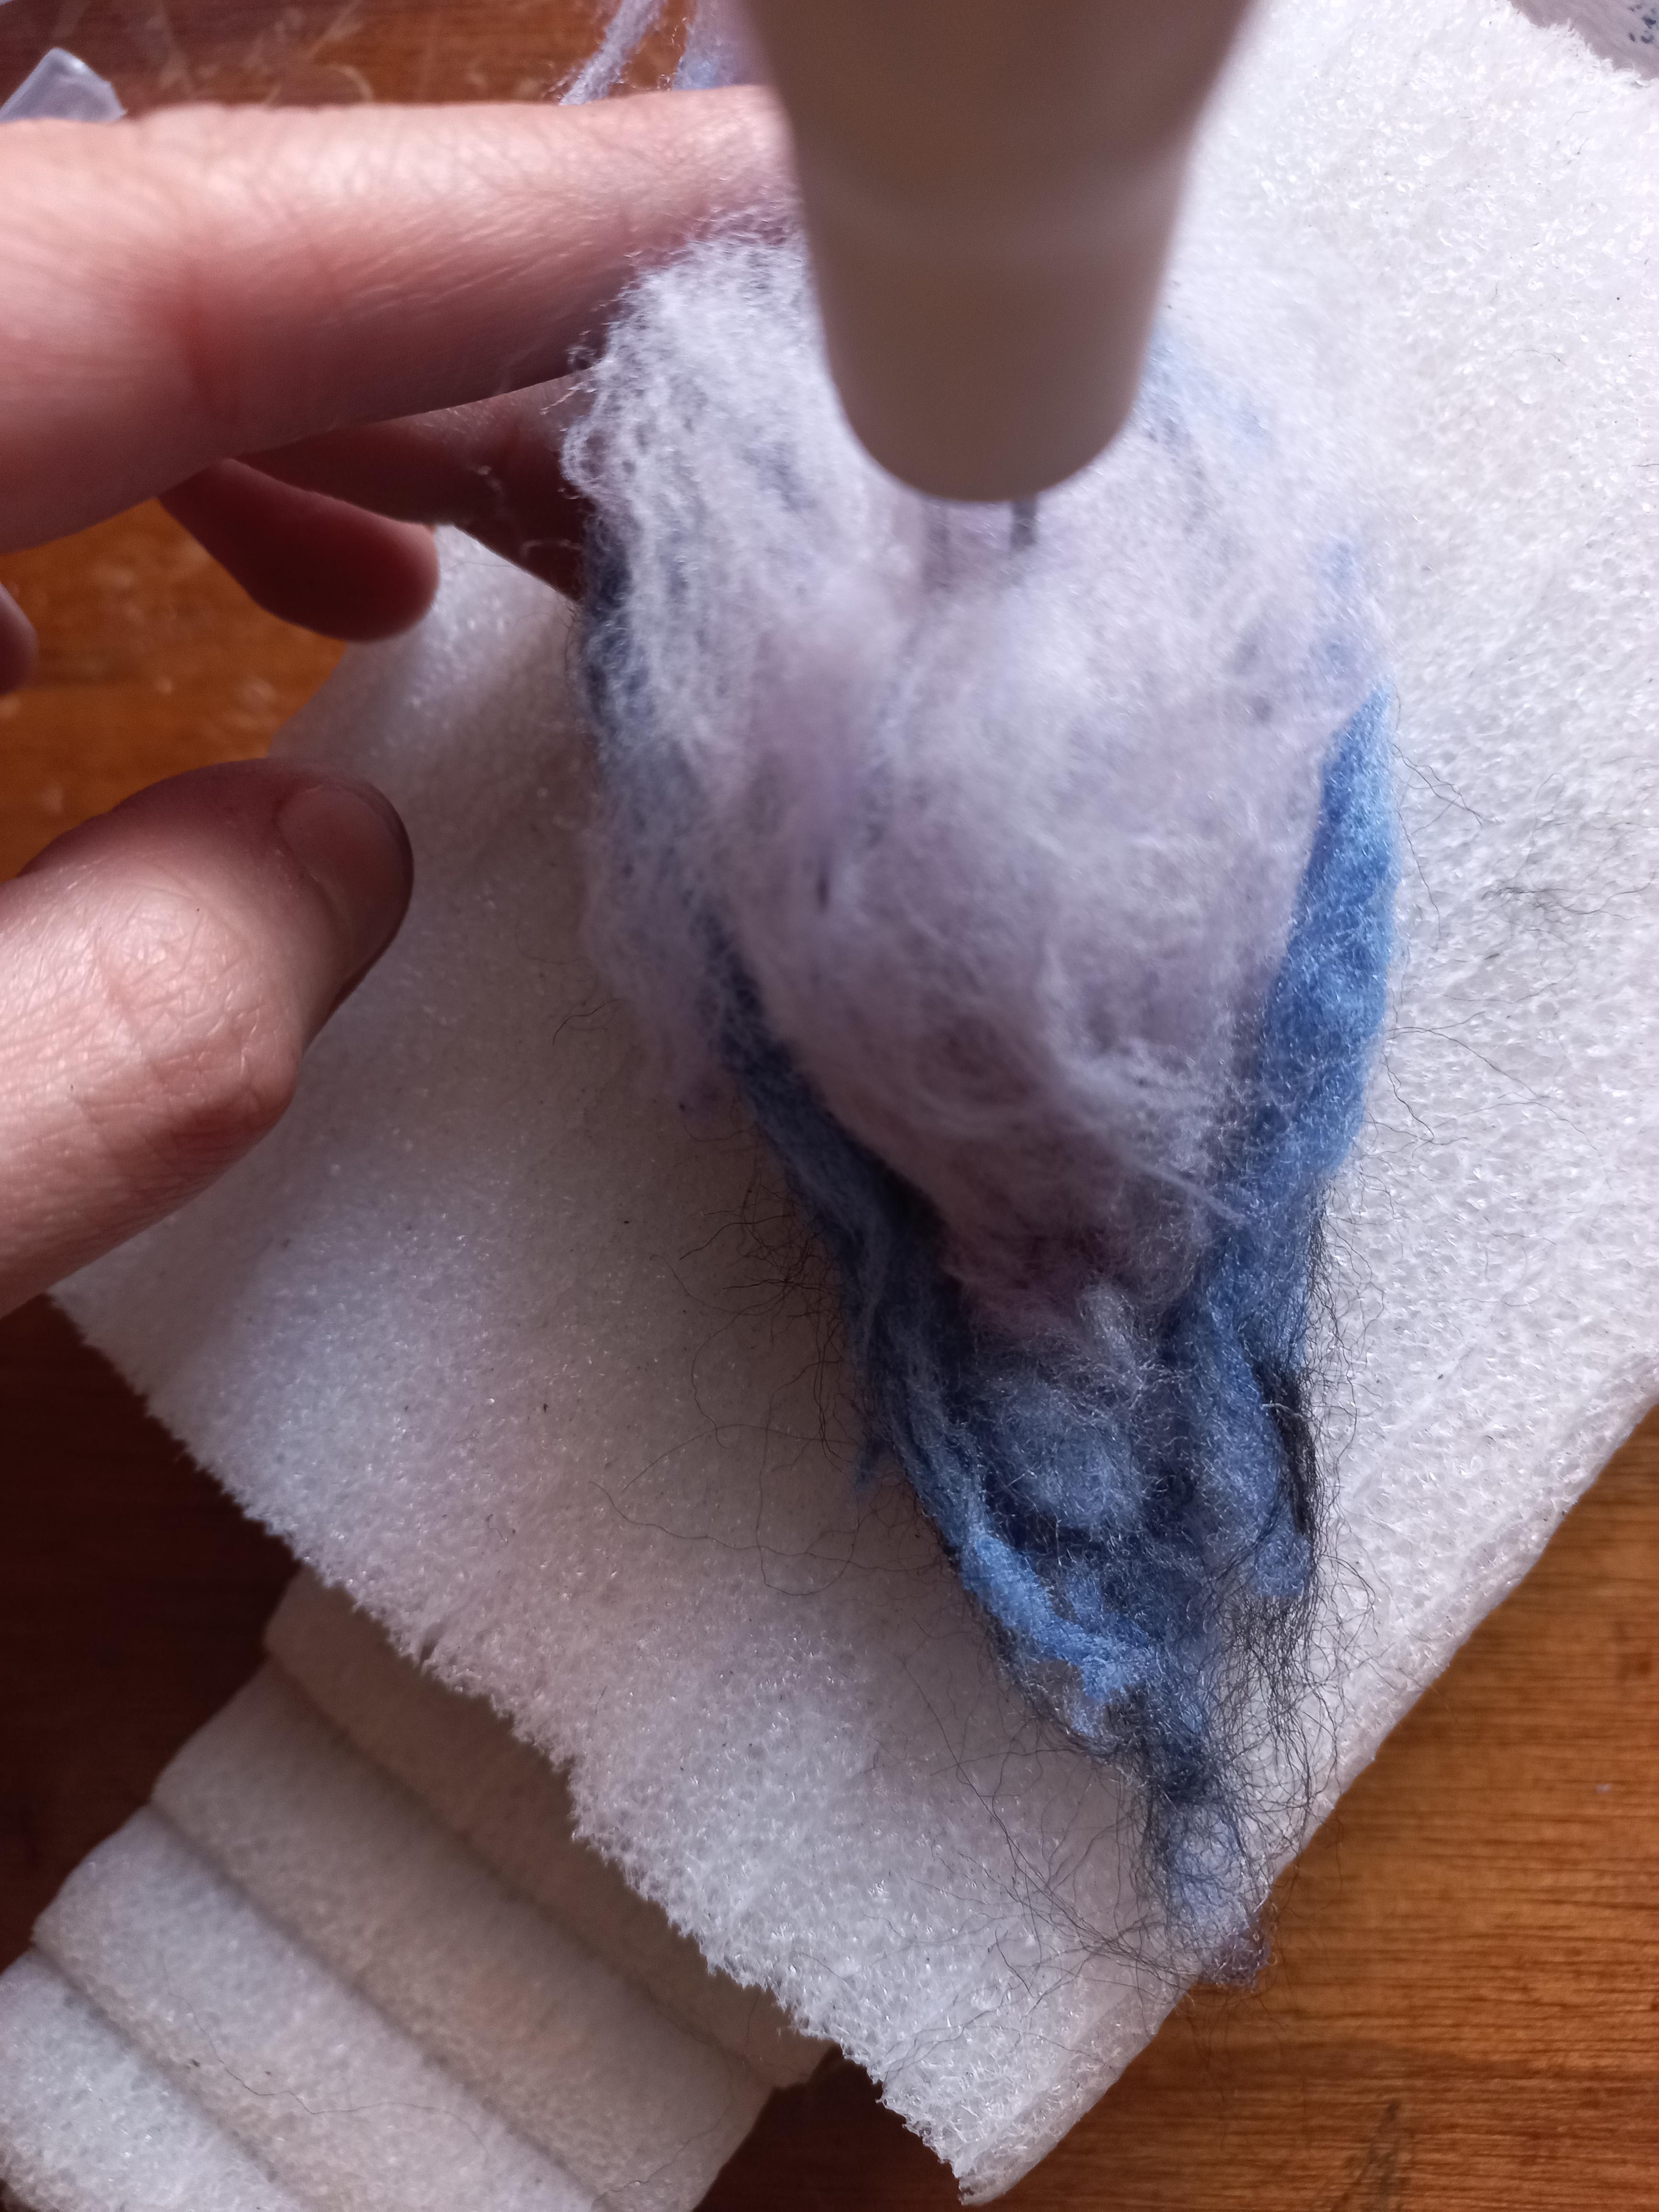


- Take some of the light grey wool-like fiber you made.
- Felt it over the bottom side of the bird and punch with the needle in the middle.
- Bend the wool and punch again.
- Do again for two more times and go upper each time.
Felting the Beak

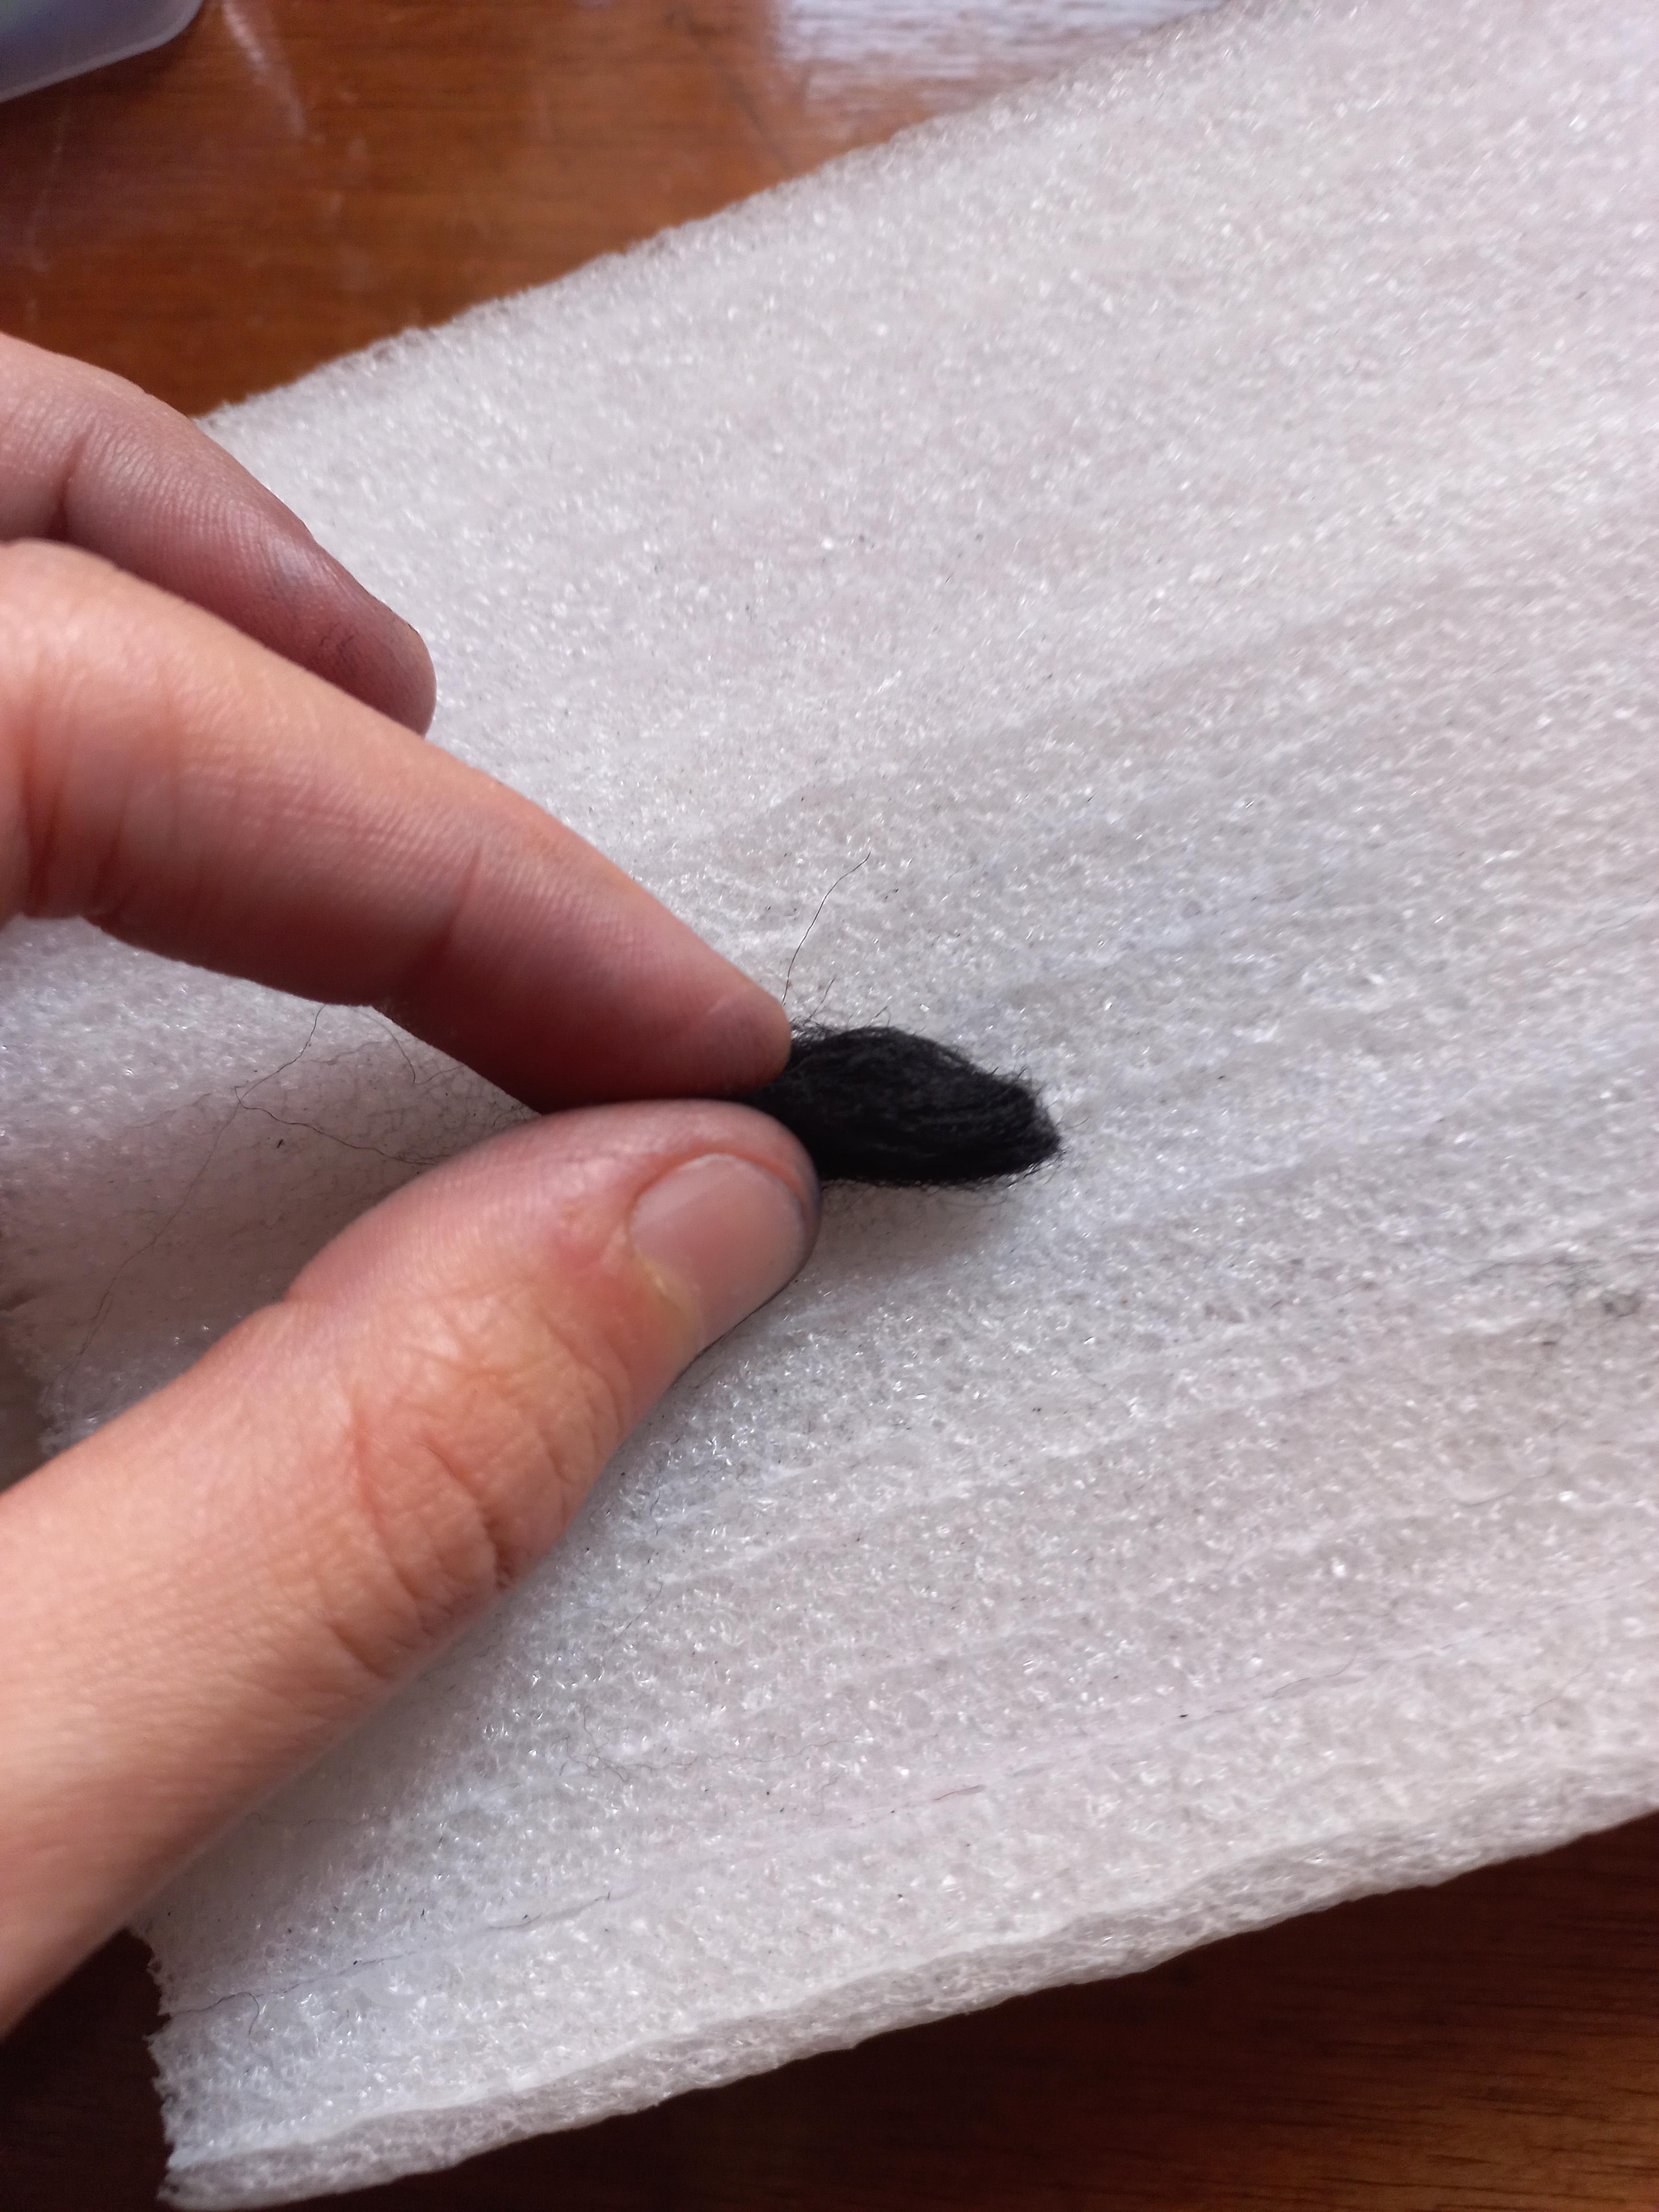


- Take some of the black wool.
- Felt it into a triangle using the fine needle.
- Pinch and pull to make the tip of the beak.
- Attach and felt the beak to the head of the bird.
Adding the Eyes


- Punch the eye place using the awl.
- Fix the eye into its place.
- Align the other eye place and fix it the same way.
Outlining the Wings and the Eyes


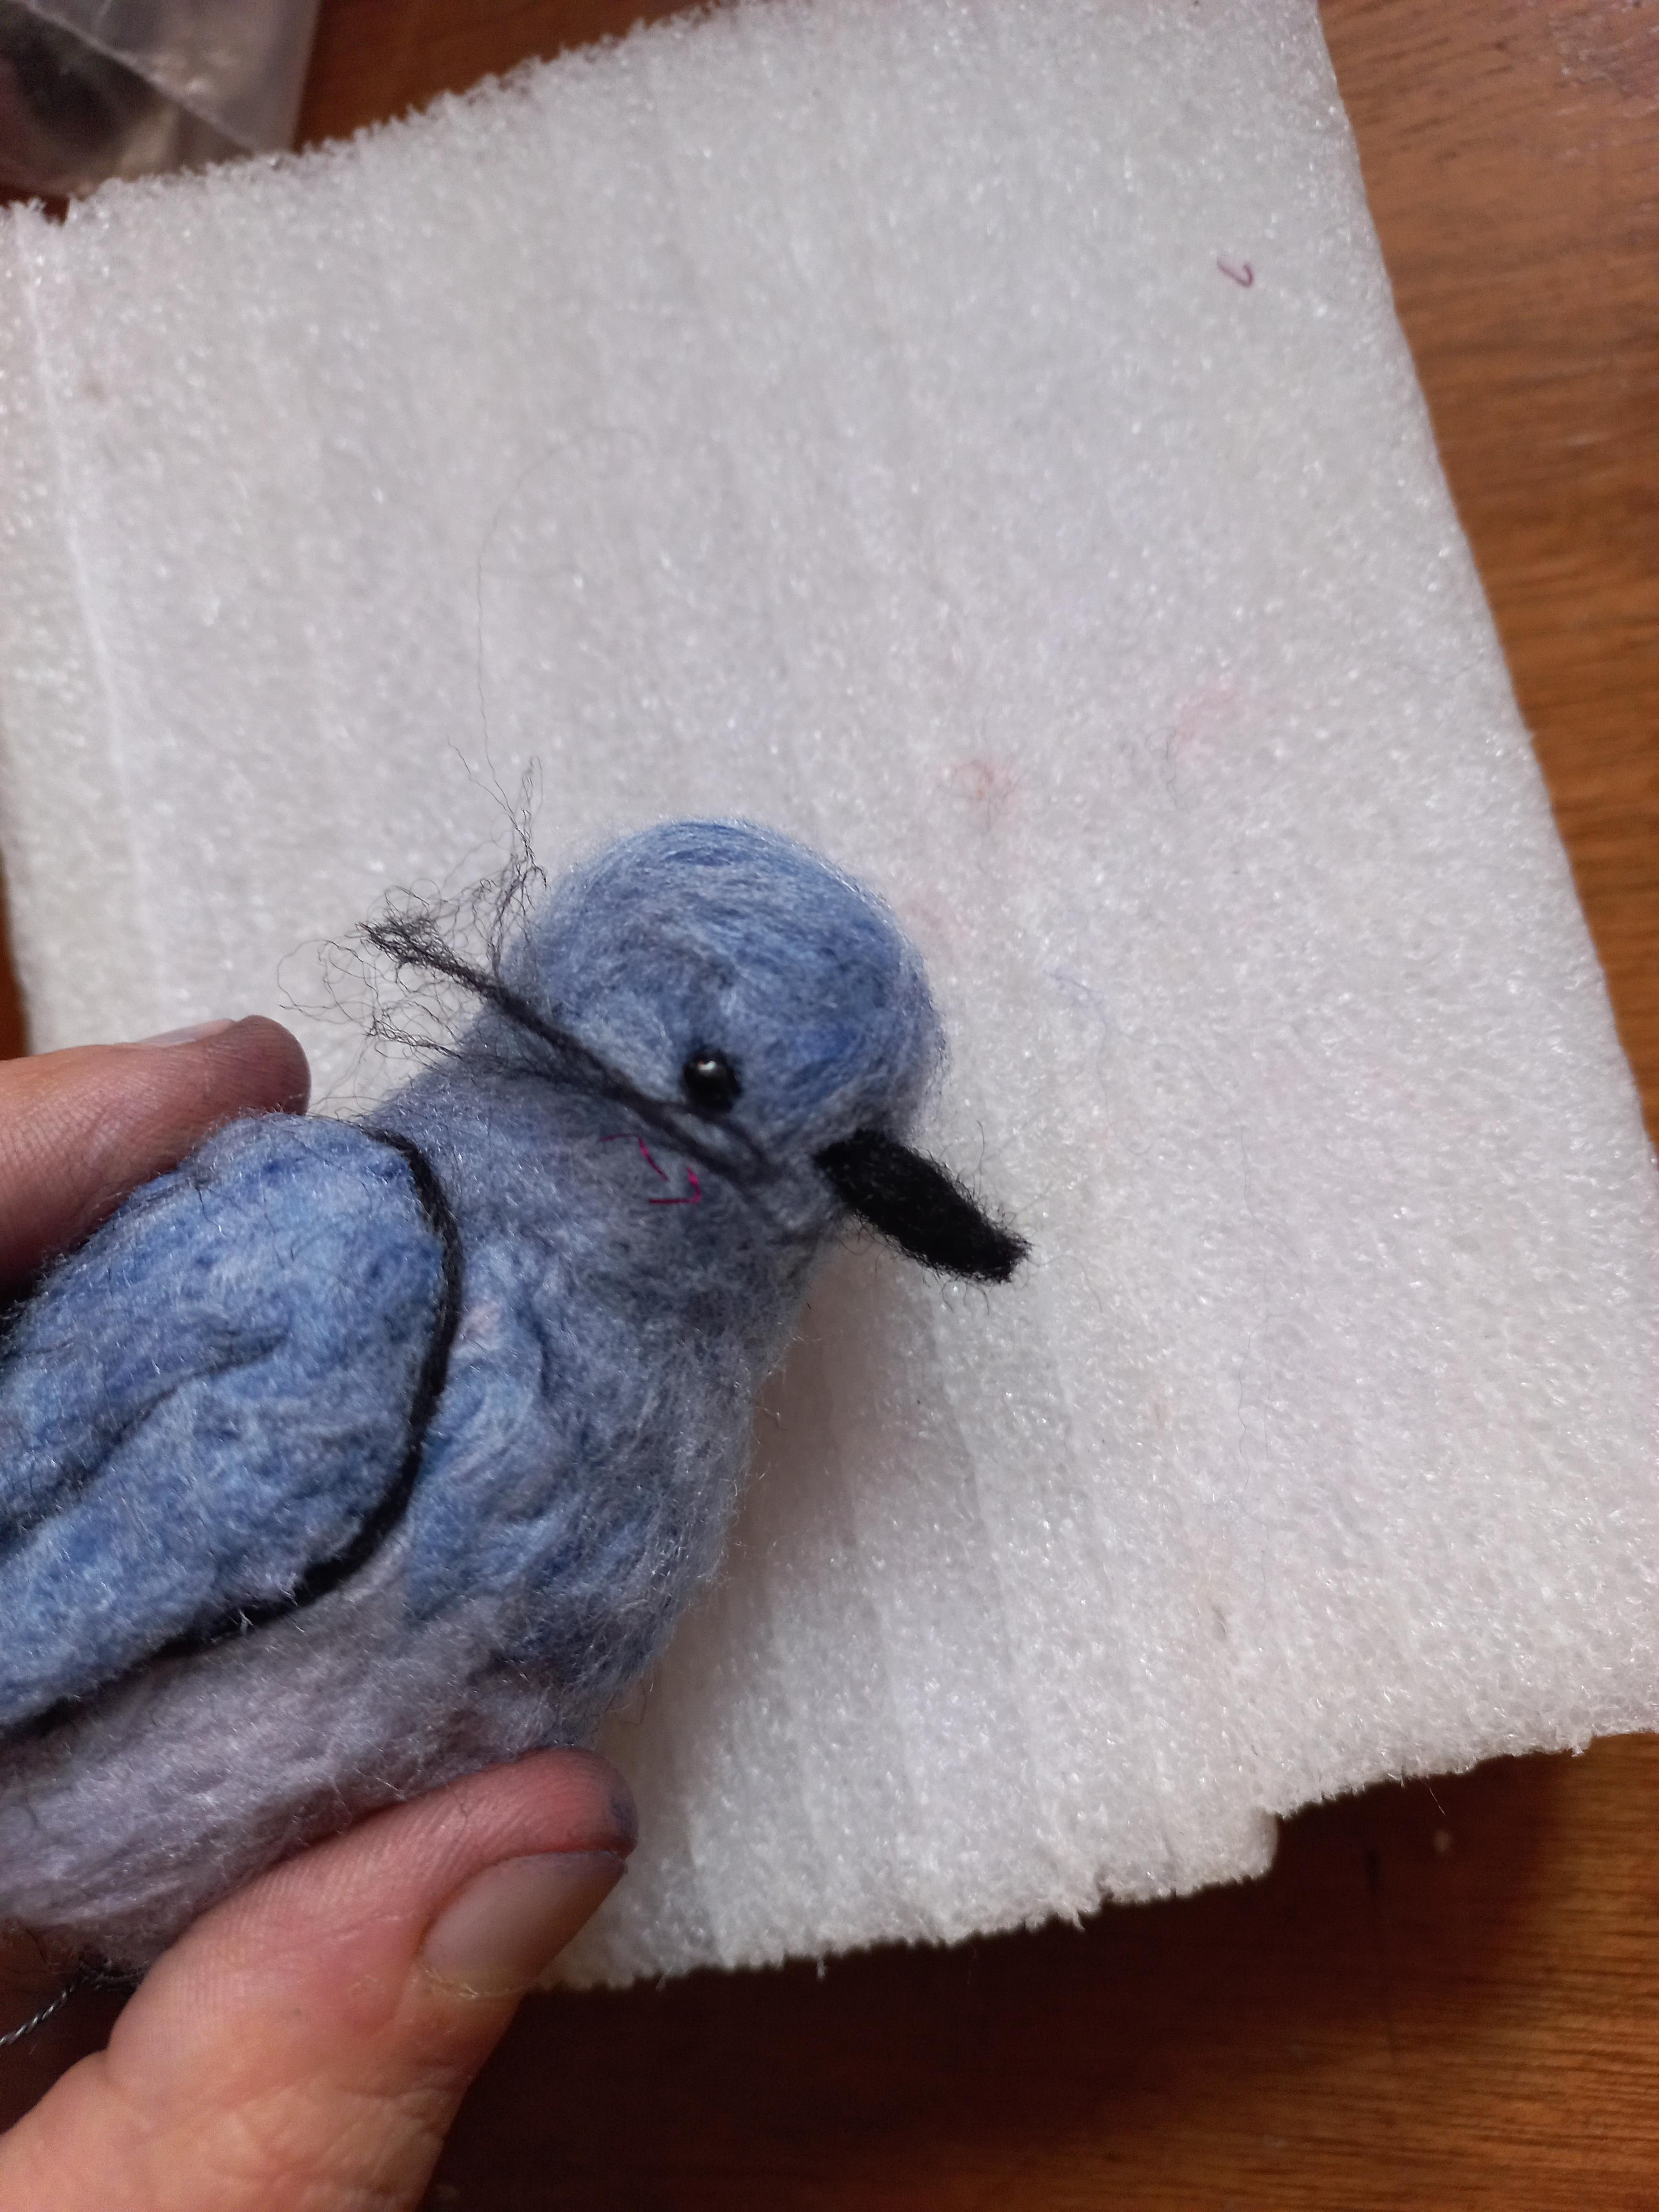

- Add and felt a strand of black wool around the wings and the eyes.
Adding the Legs


- Use wire and bend it into three small bends then twist to make the fingers.
- Twist to make the leg.
- Punch the leg place with the awl.
- Attach the legs in their place.
Standing on a Branch


- Curl the fingers of the bird over the stem of dry flowers.
Now our bird is ready, but unfortunately, it can not fly,
it can only stand on a branch.