How to Turn Egg Cartons Into a Plant Pot
by fatmaarafa48 in Craft > Reuse
3618 Views, 12 Favorites, 0 Comments
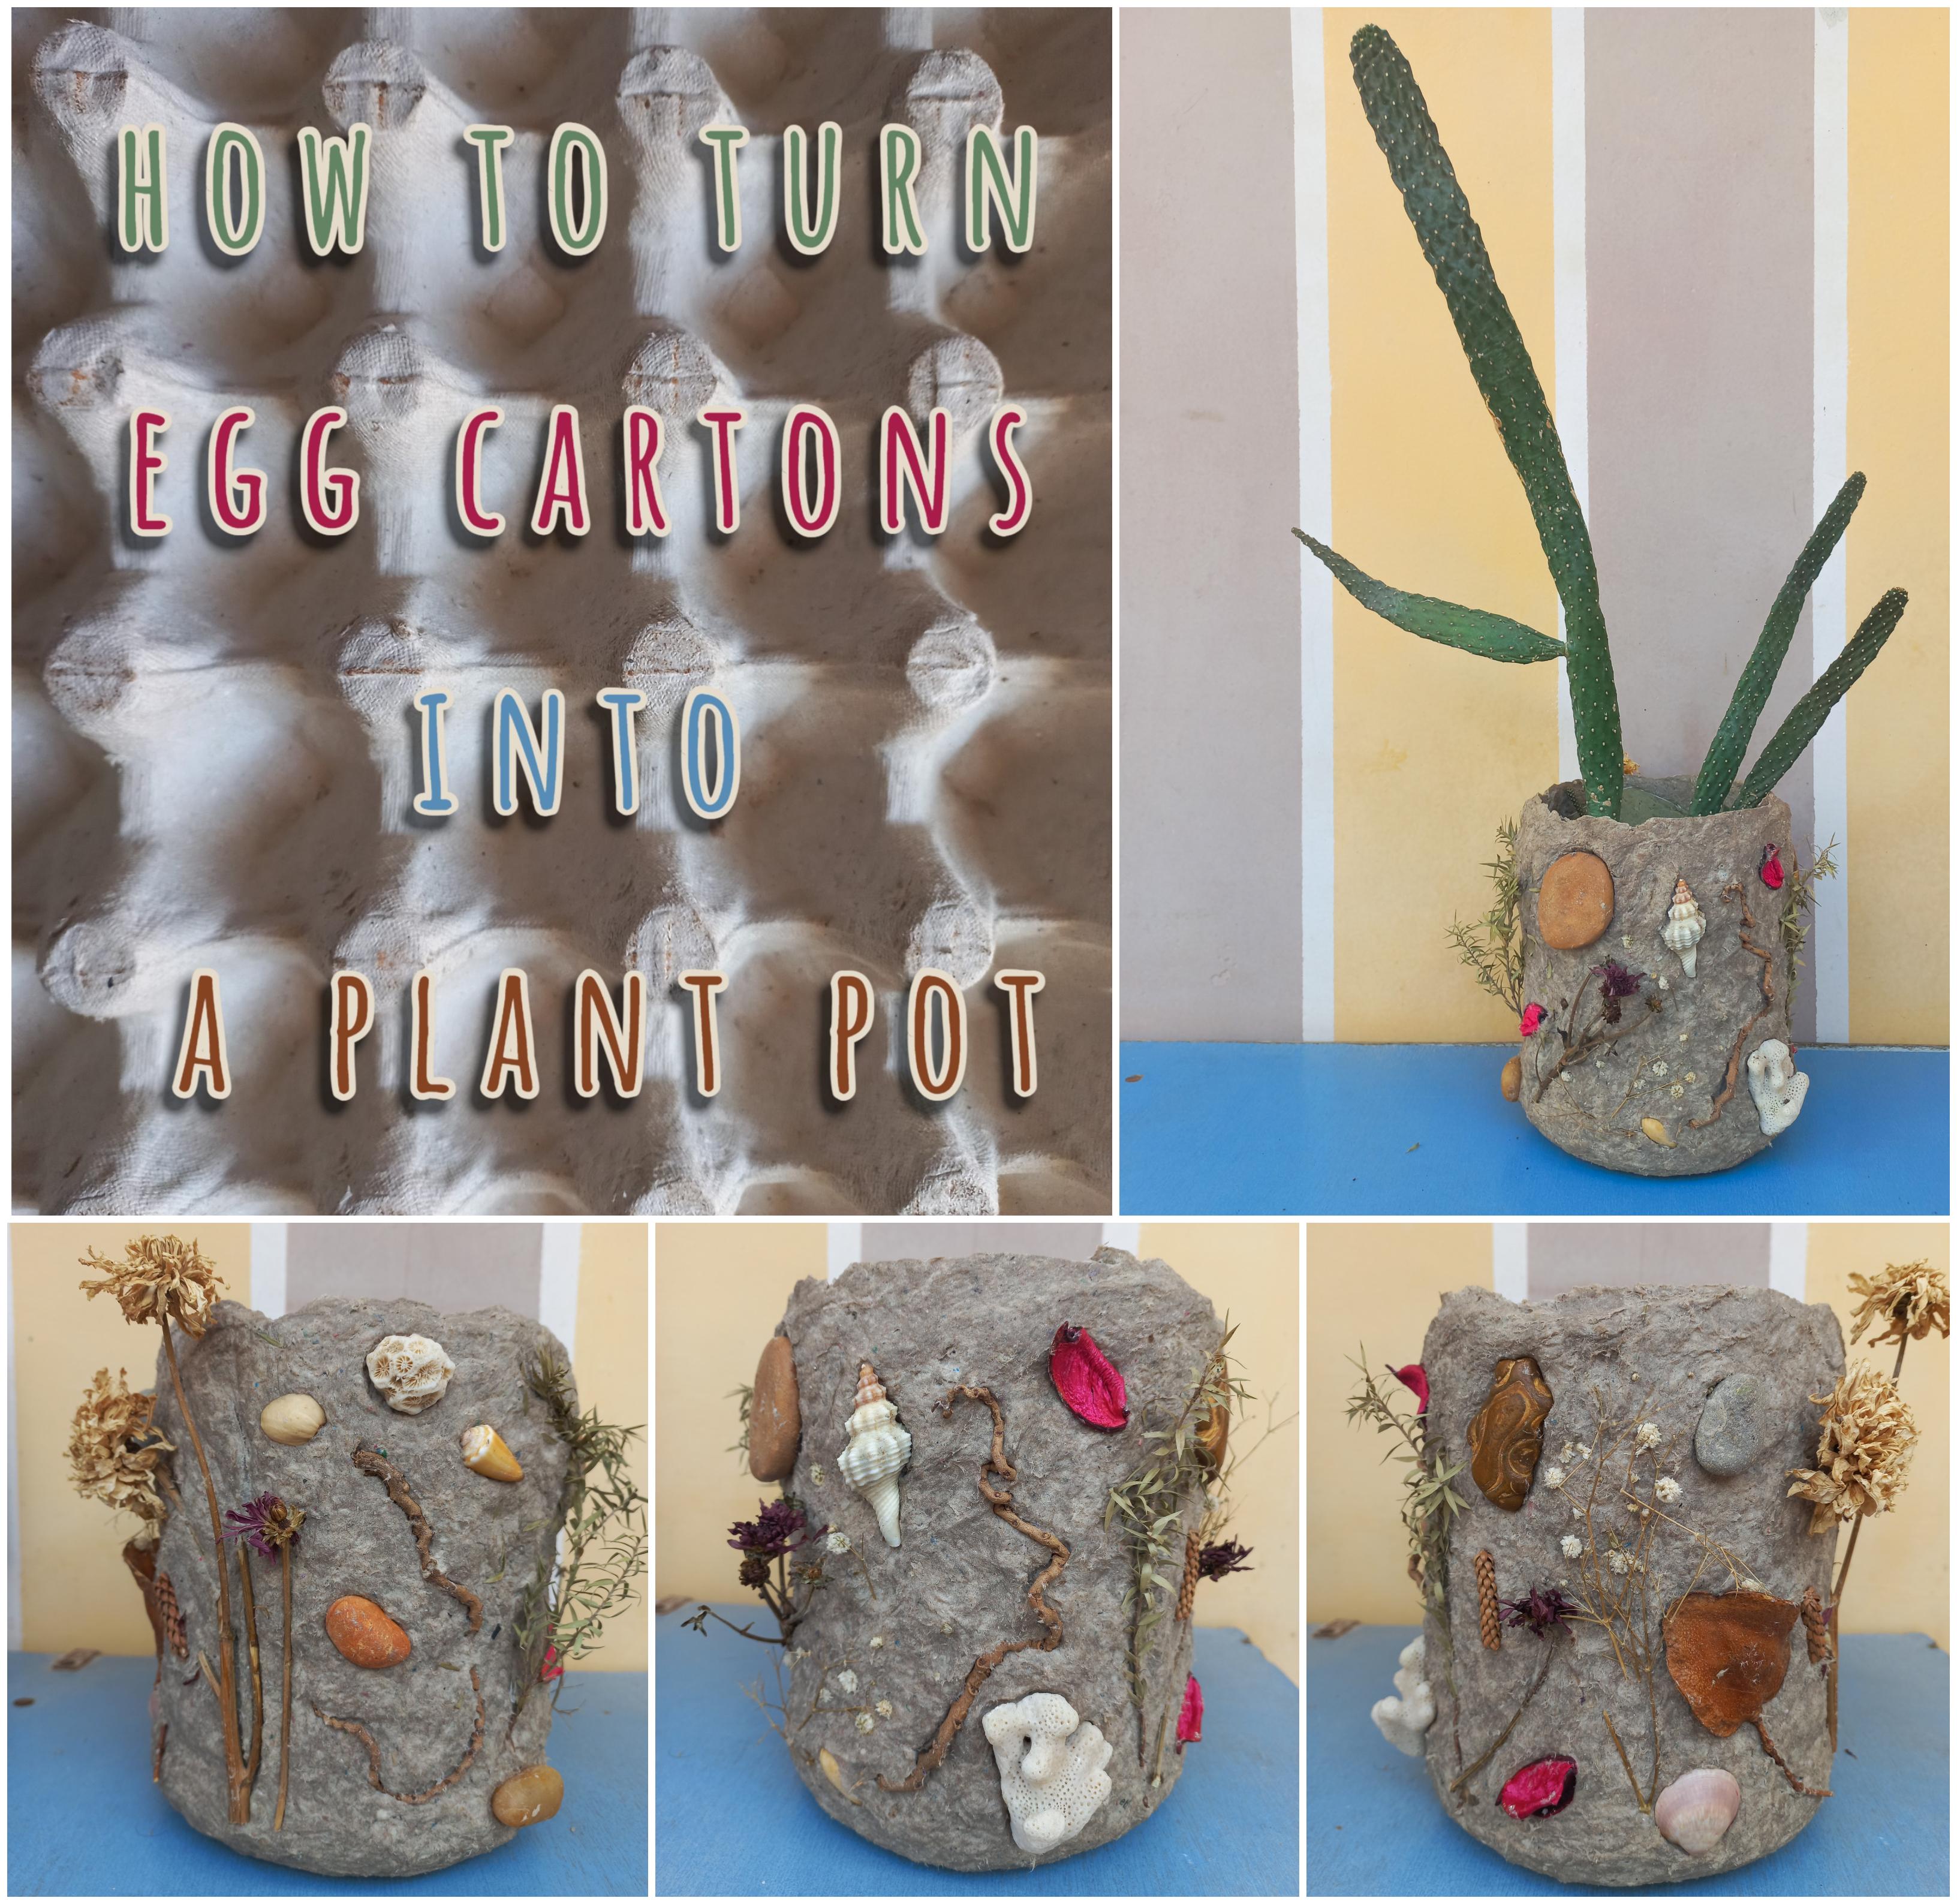
How to Turn Egg Cartons Into a Plant Pot
.jpg)
As a nature and recycling lover, I have big boxes where I collect natural and recyclable materials, believing I will benefit from them one day. Here comes the day in this instructable, because we are going to form a nature-inspired plant pot by reusing egg cartons to make paper clay which is the basic material of this project.
Supplies


For making the paper clay:
- 2 egg cartons and water for making the paper pulp.
- 300 grams of glue.
- 130 grams of flour.
- 2 tablespoons of vegetable or mineral oil.
- 1 tablespoon of salt.
- 3 tablespoons of water.
- Dough scraper.
For making the plant pot:
- Pacifier jar, or any similar container.
- knife.
- Screwdriver.
- Scissors.
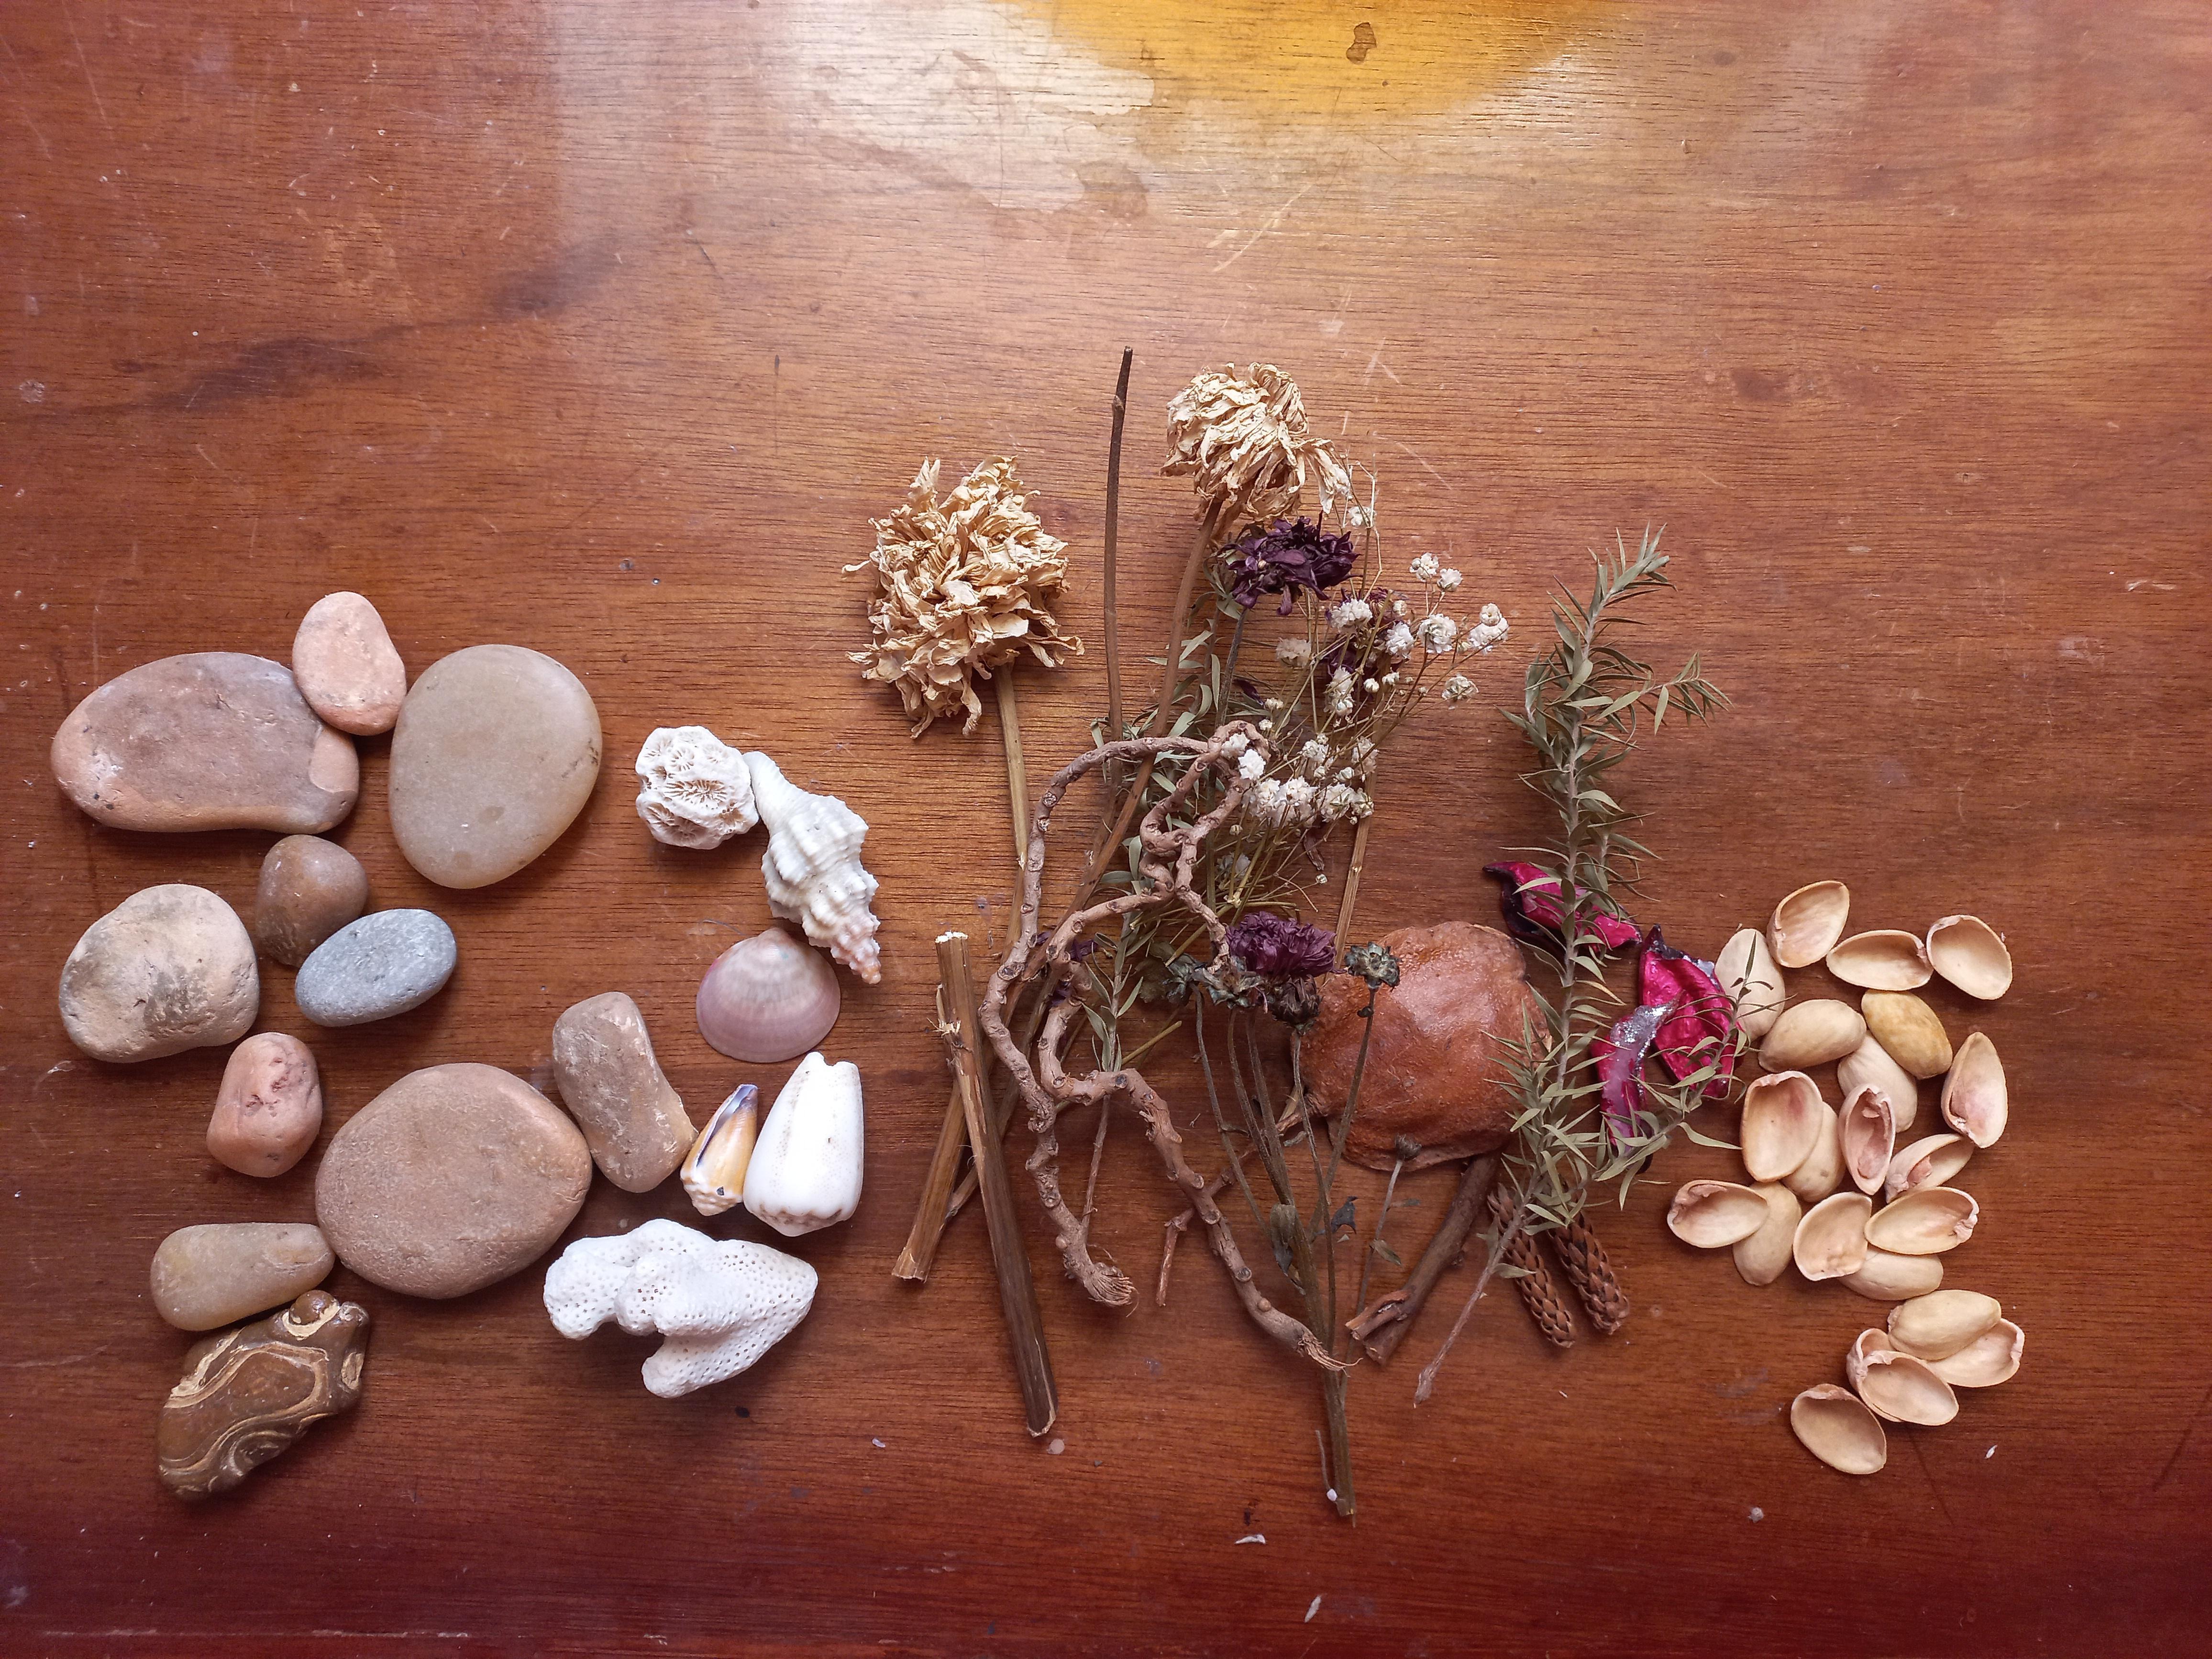
- Dried flowers and plants.
- Natural stones.
- Seashells.
Soaking the Cartons


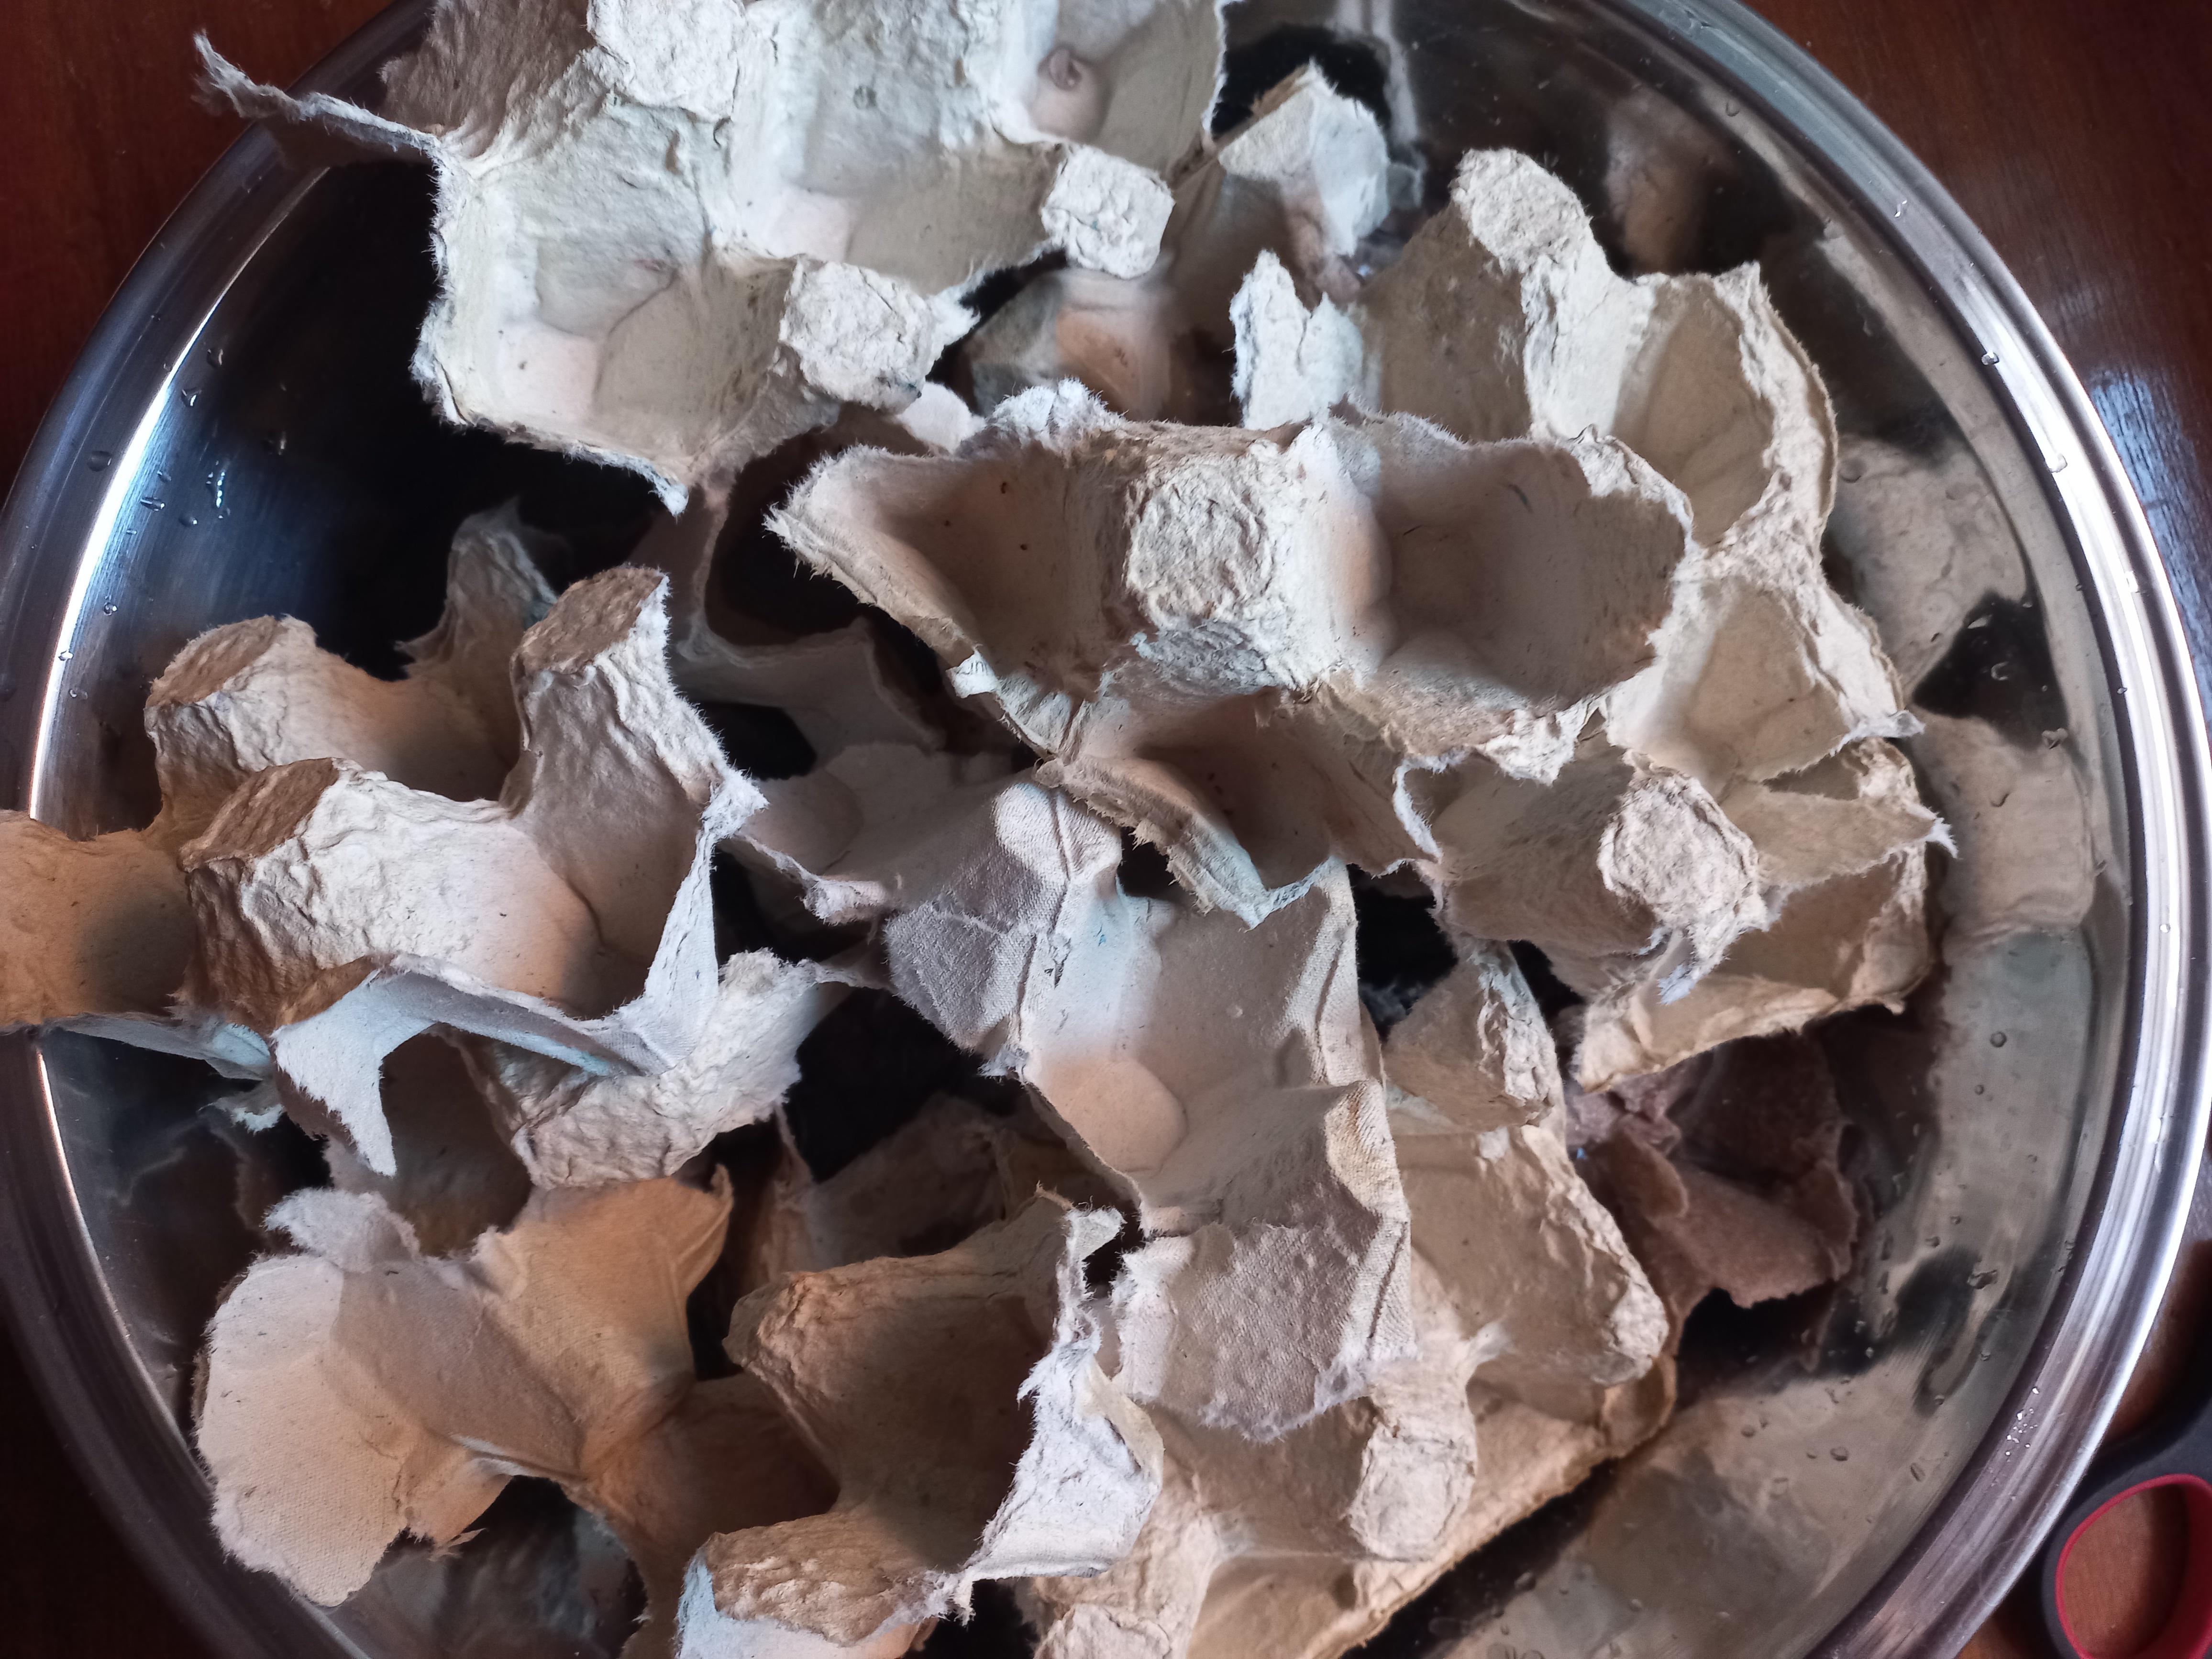


Cut the two egg cartons into smaller pieces in a bowl half full of water and submerge these pieces. They will break down quickly because they are already made of recycled paper, anyway let them soak overnight.
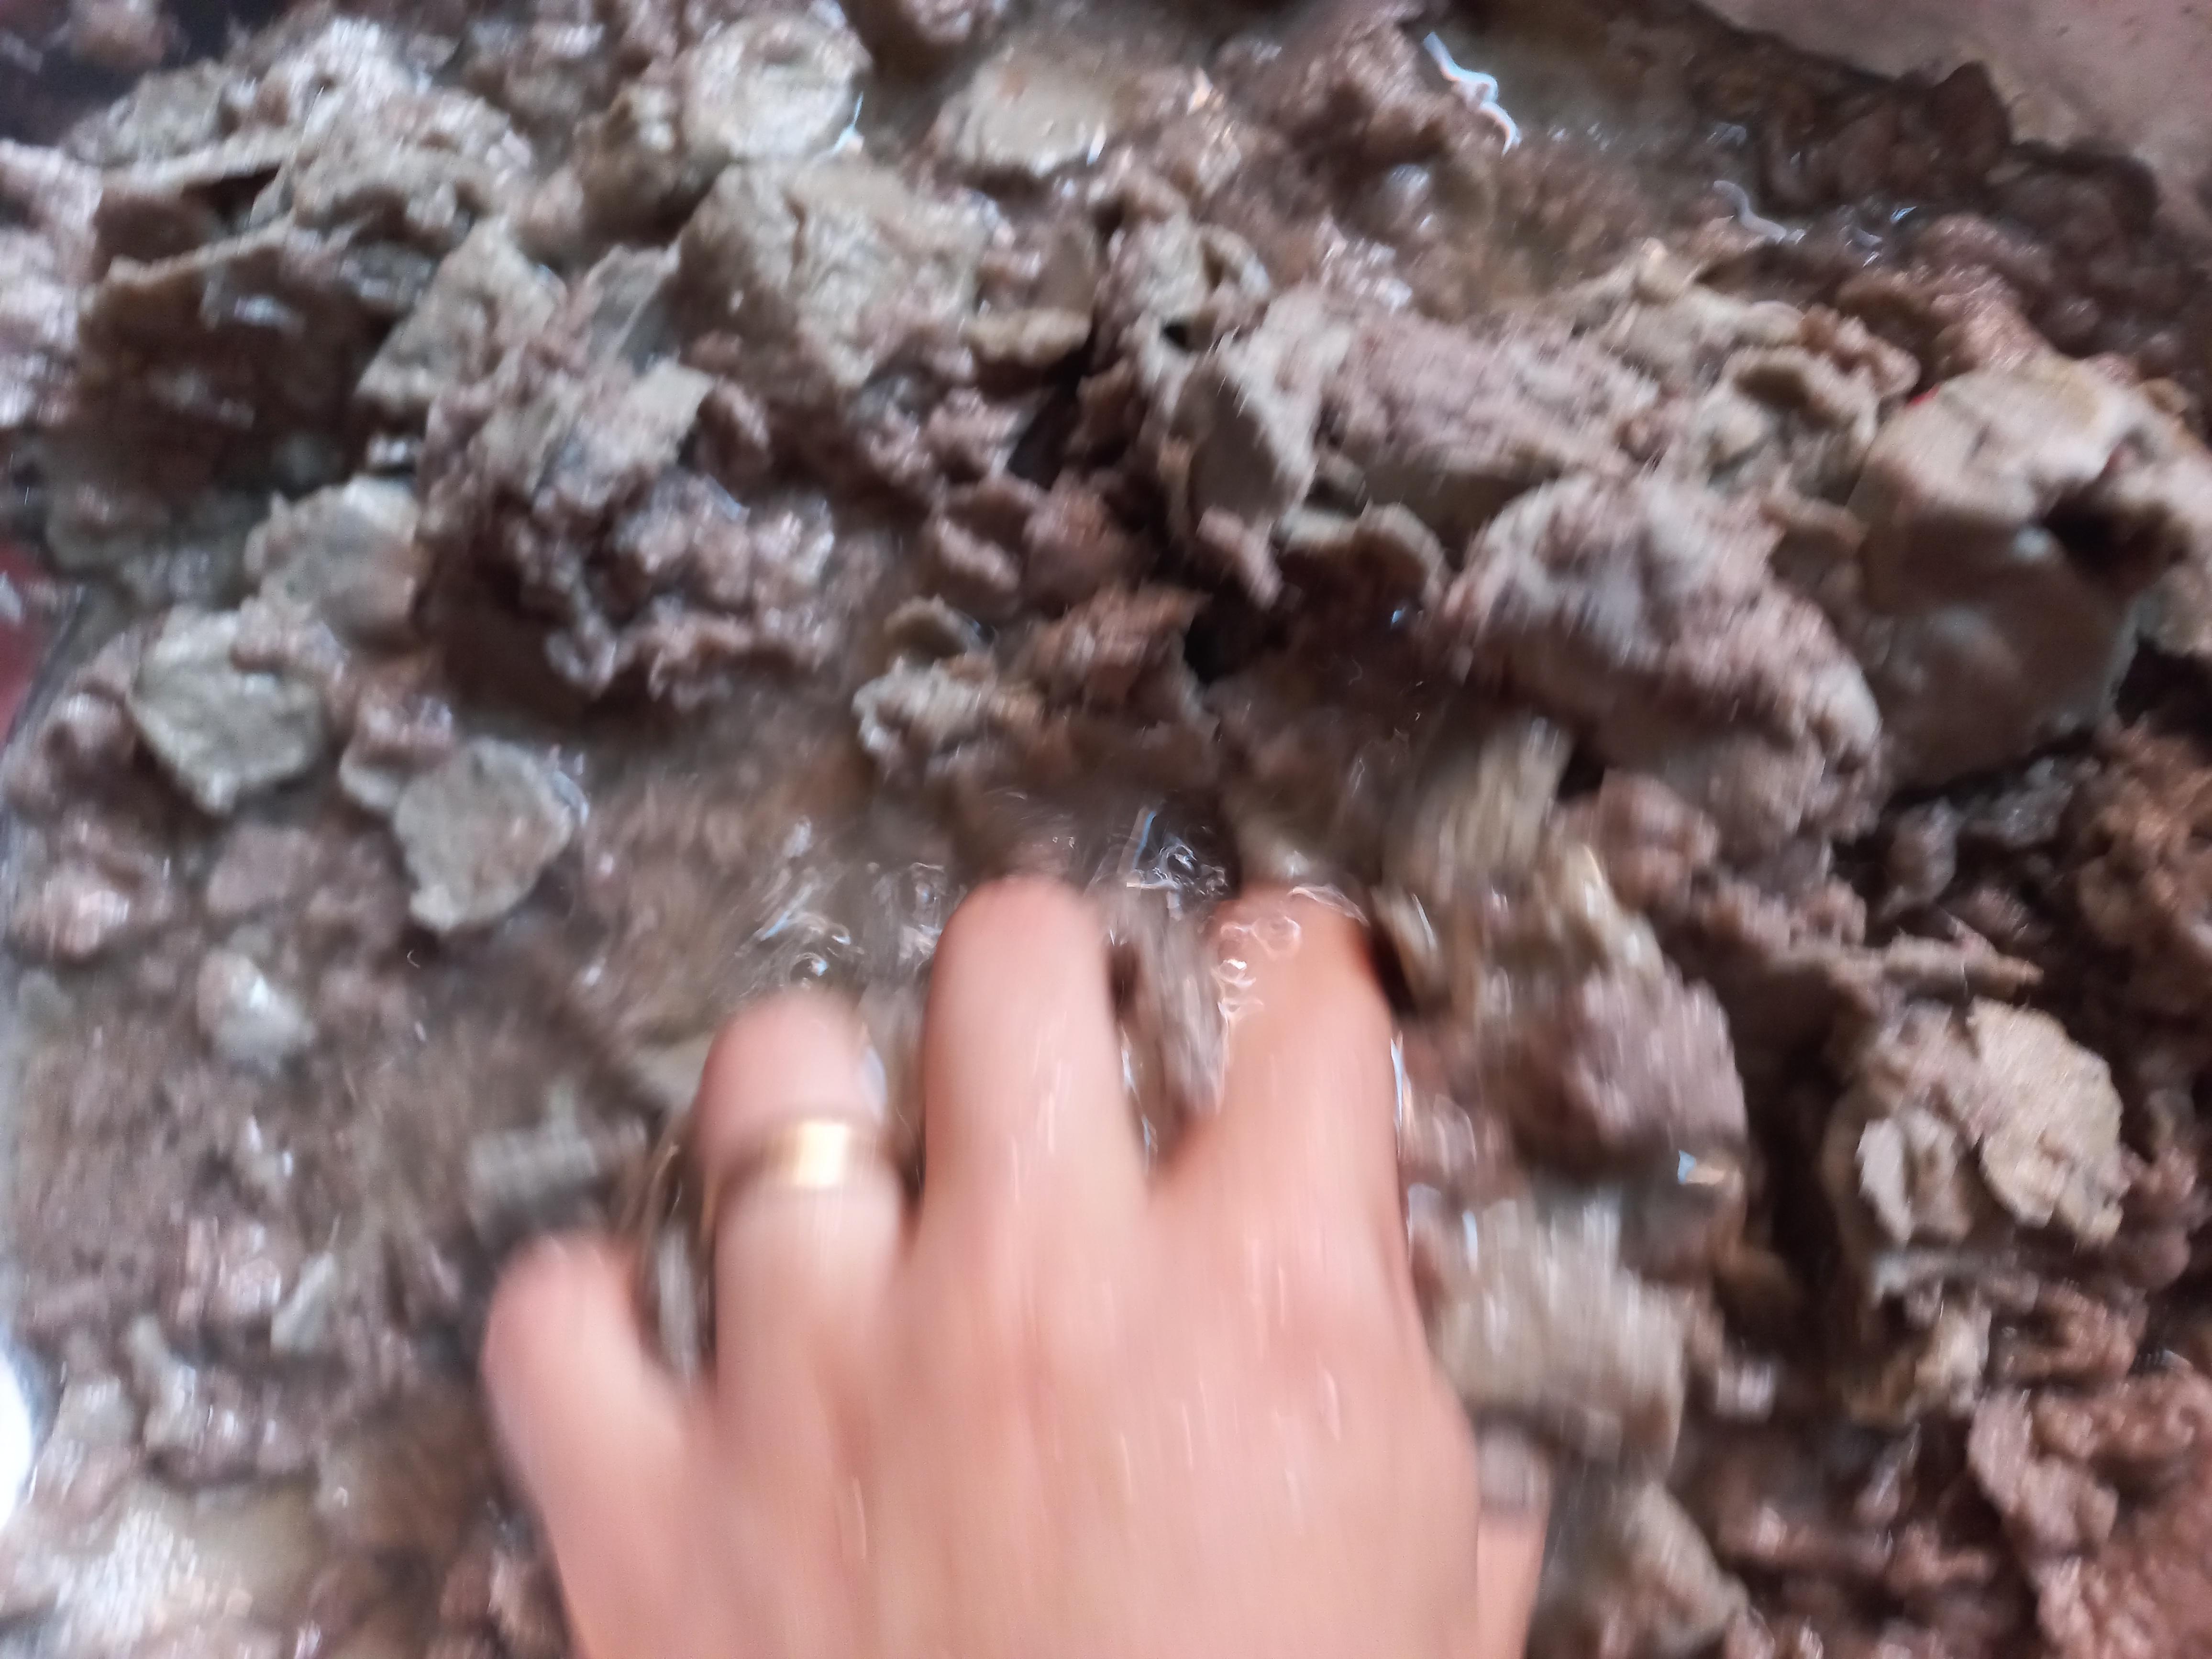
Softening


After around 12 hours pass, use your hands to knead and rub the mixture to make it softer. You might use the blender instead.
Straining


Use a piece of cloth to strain the mixture by squeezing it hard then put the paper pulp in another bowl.
Making the Clay


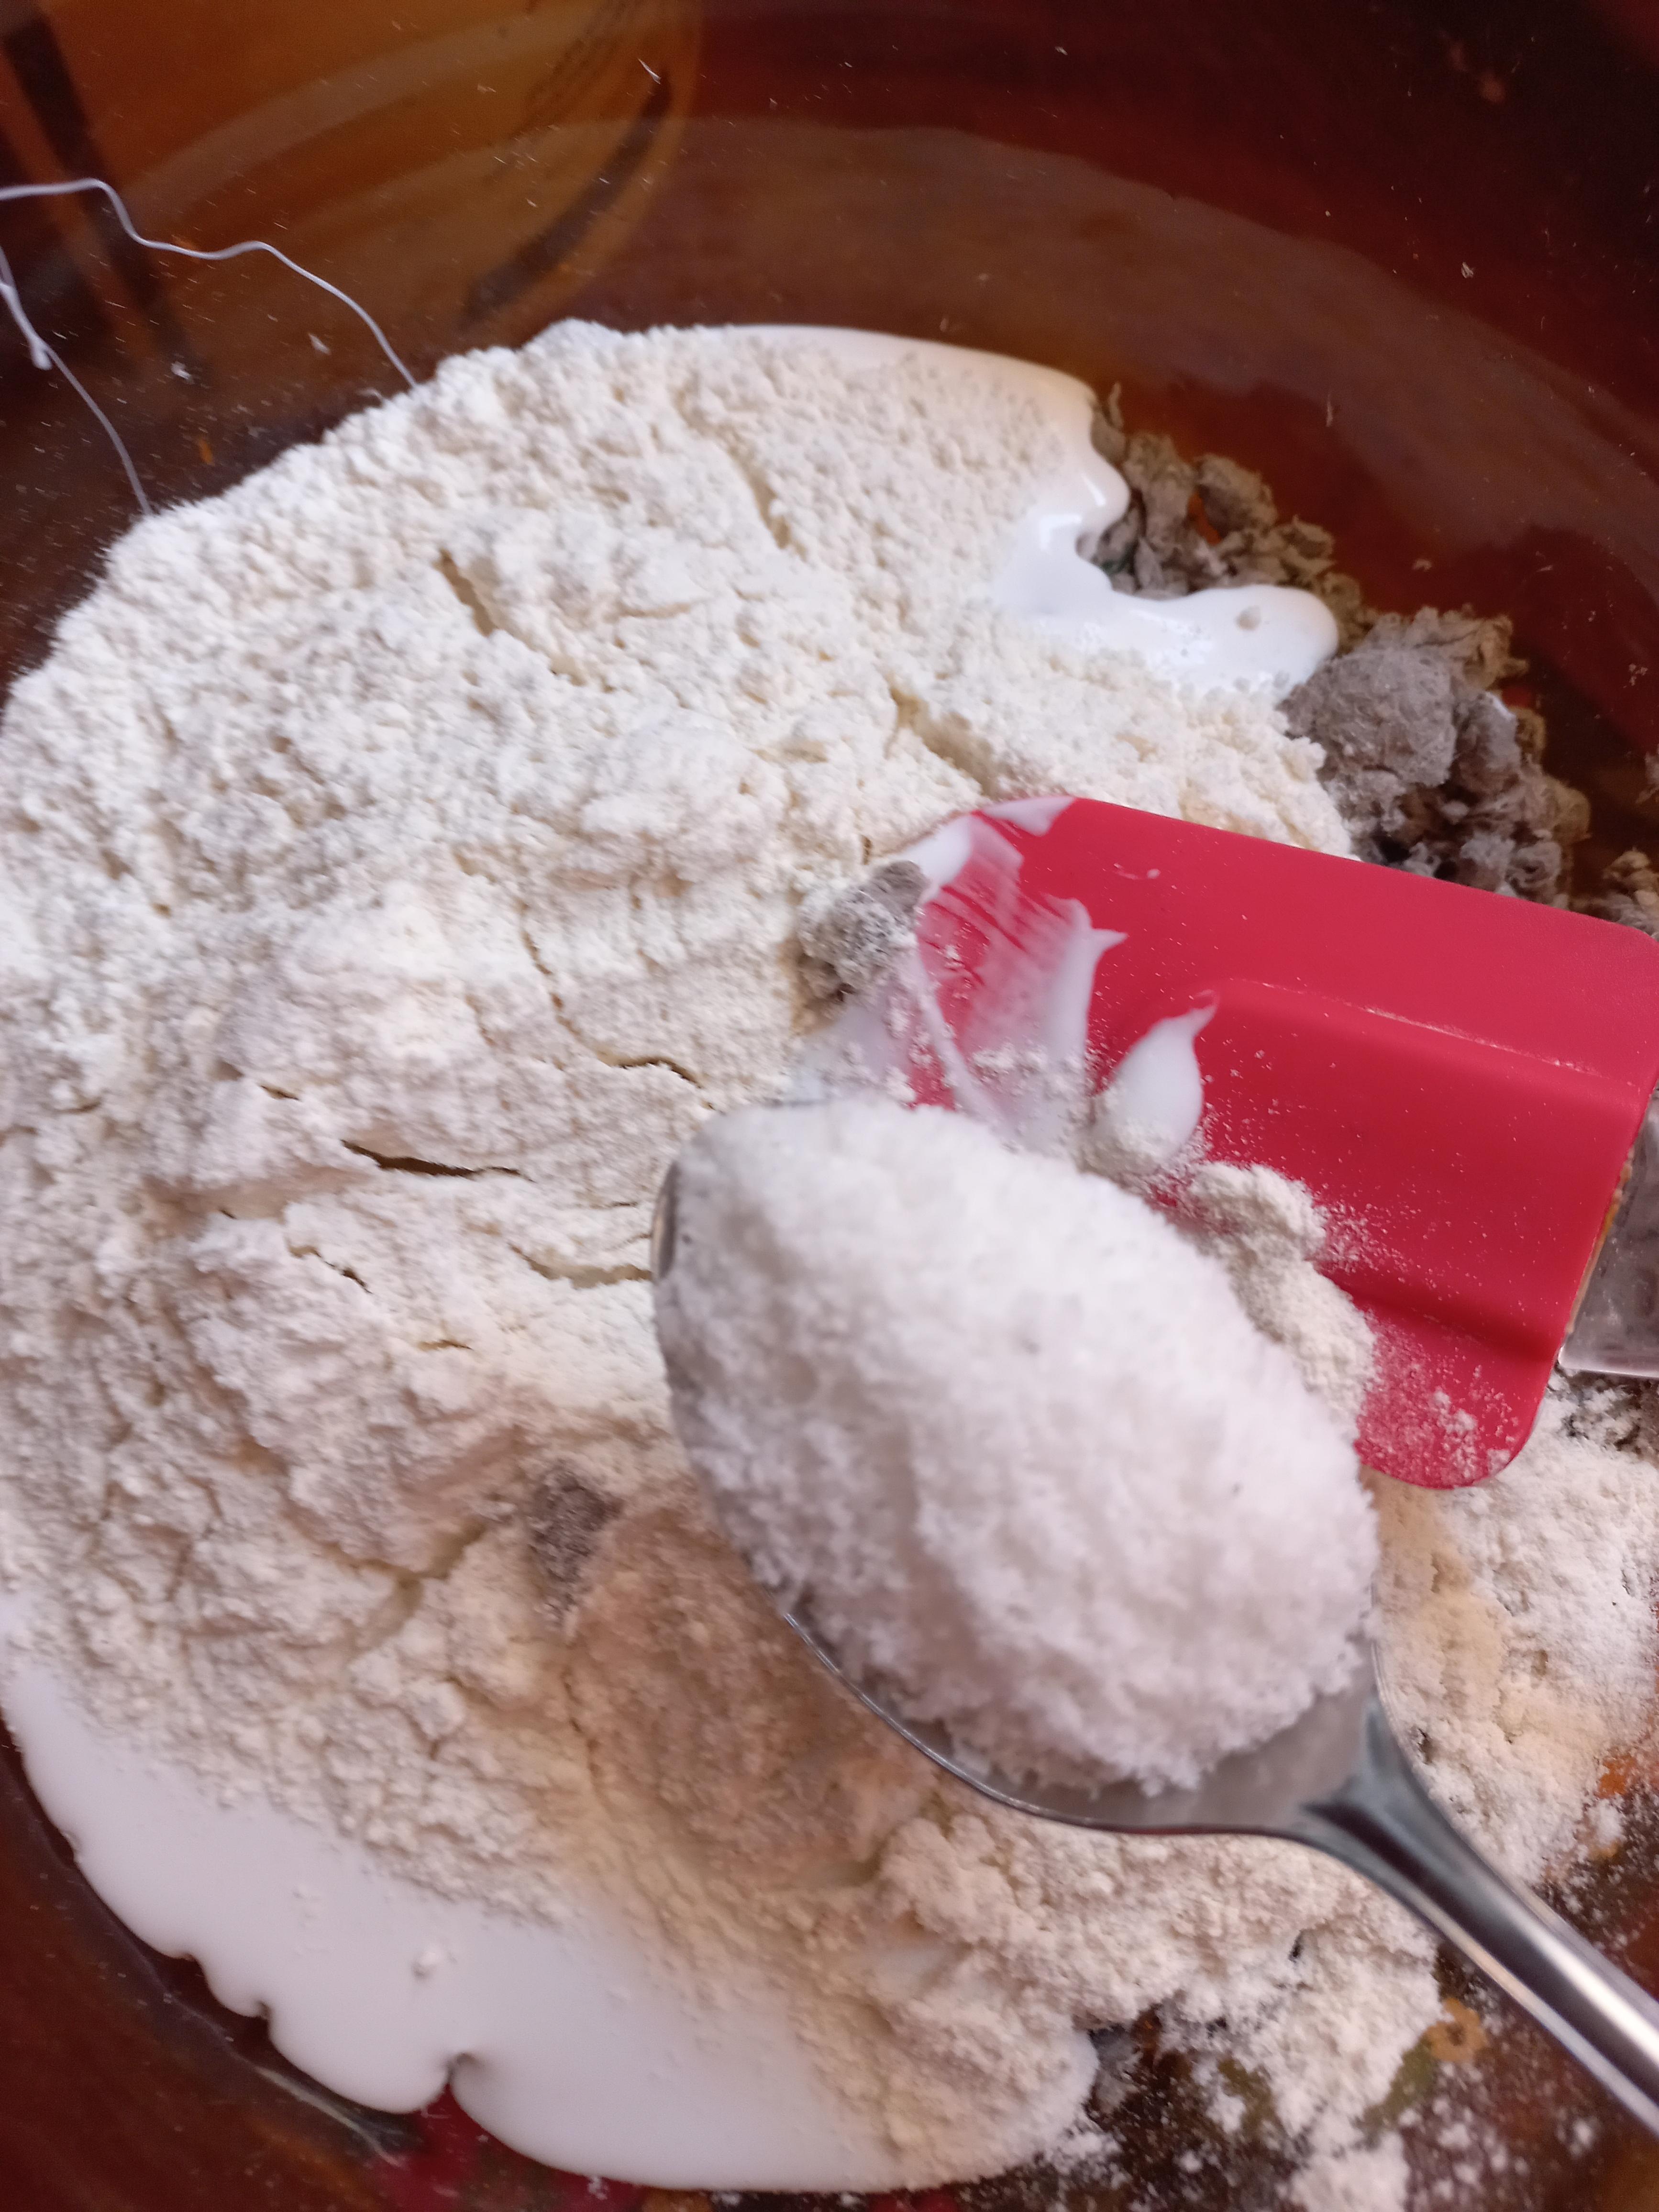


To the paper pulp add and mix:
- 300 grams of glue.
- 130 grams of flour.
- 2 tablespoons of vegetable or mineral oil.
- 1 tablespoon of salt.
- 3 tablespoons of water.
Spreading


Spread the clay equally over the plastic jar, then smooth out the surface with your wet fingers.
Decorating


Use your sense of art to scatter the natural pieces around the soft pot, then let dry for up to 48 hours.
Removing Excess Parts


Cut the upper part of the jar with scissors, then to allow water in the soil to drain, make a hole in the bottom of the jar using a hot knife and a screwdriver.
Use It!
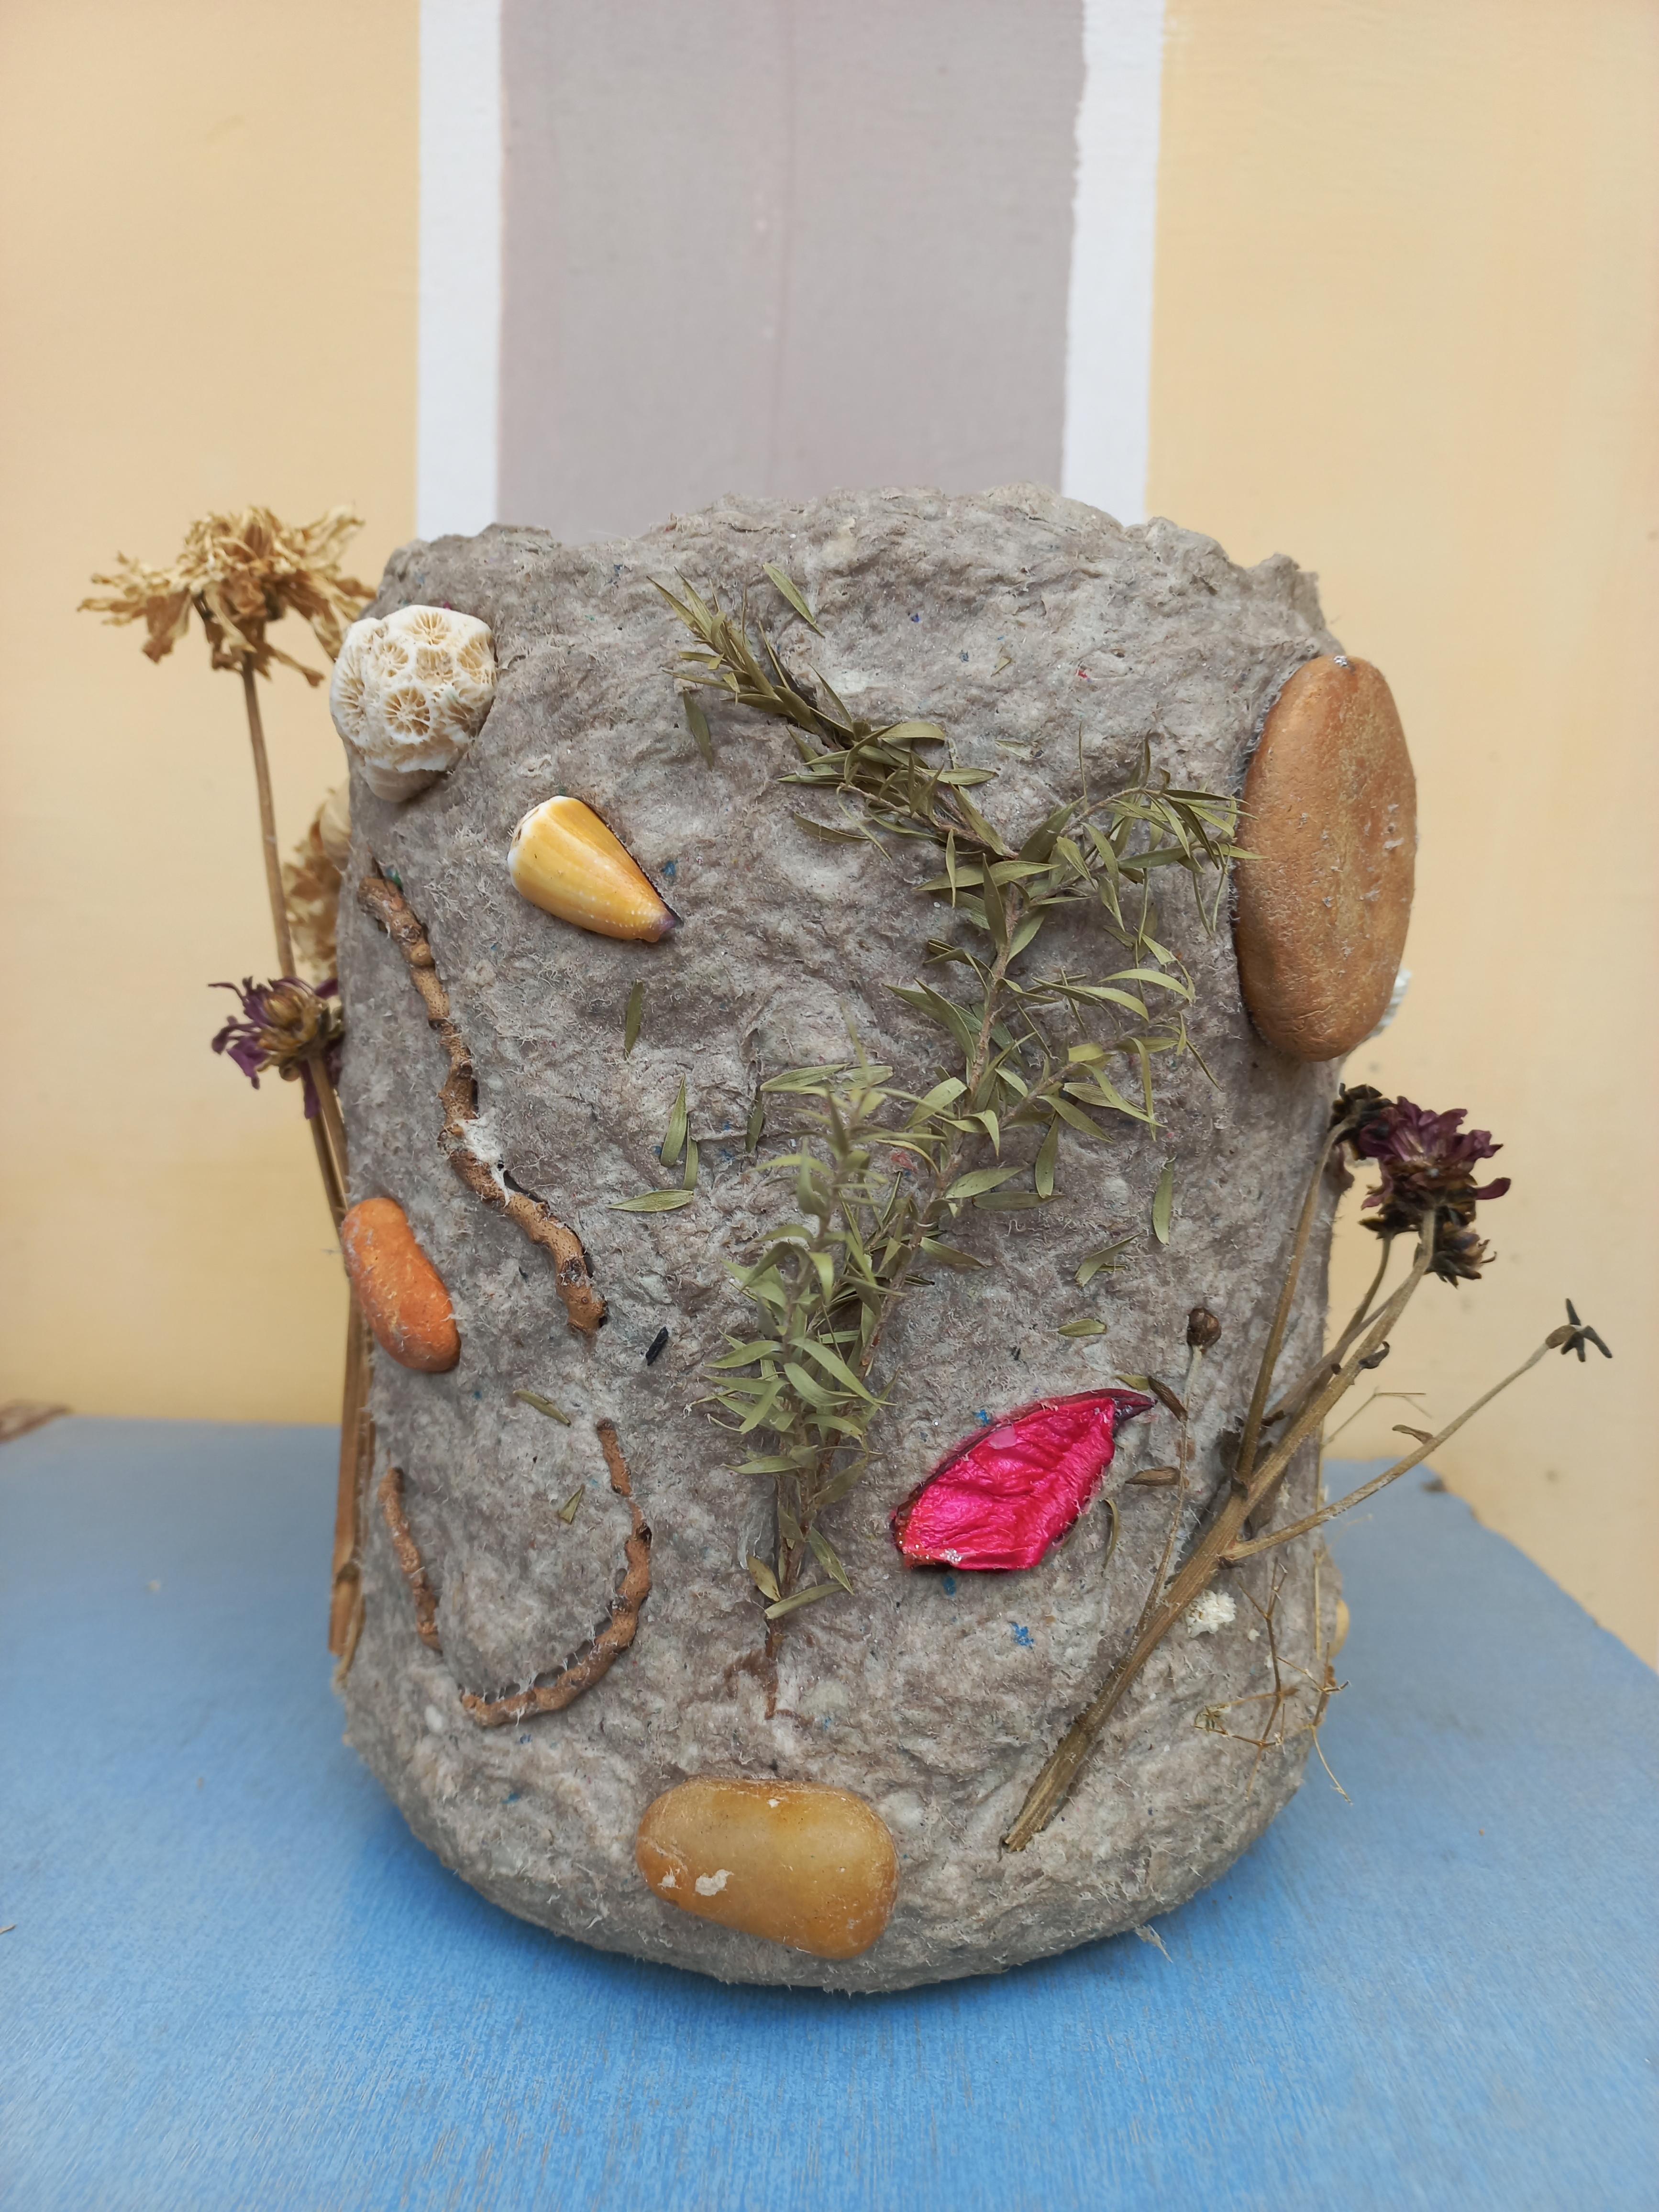

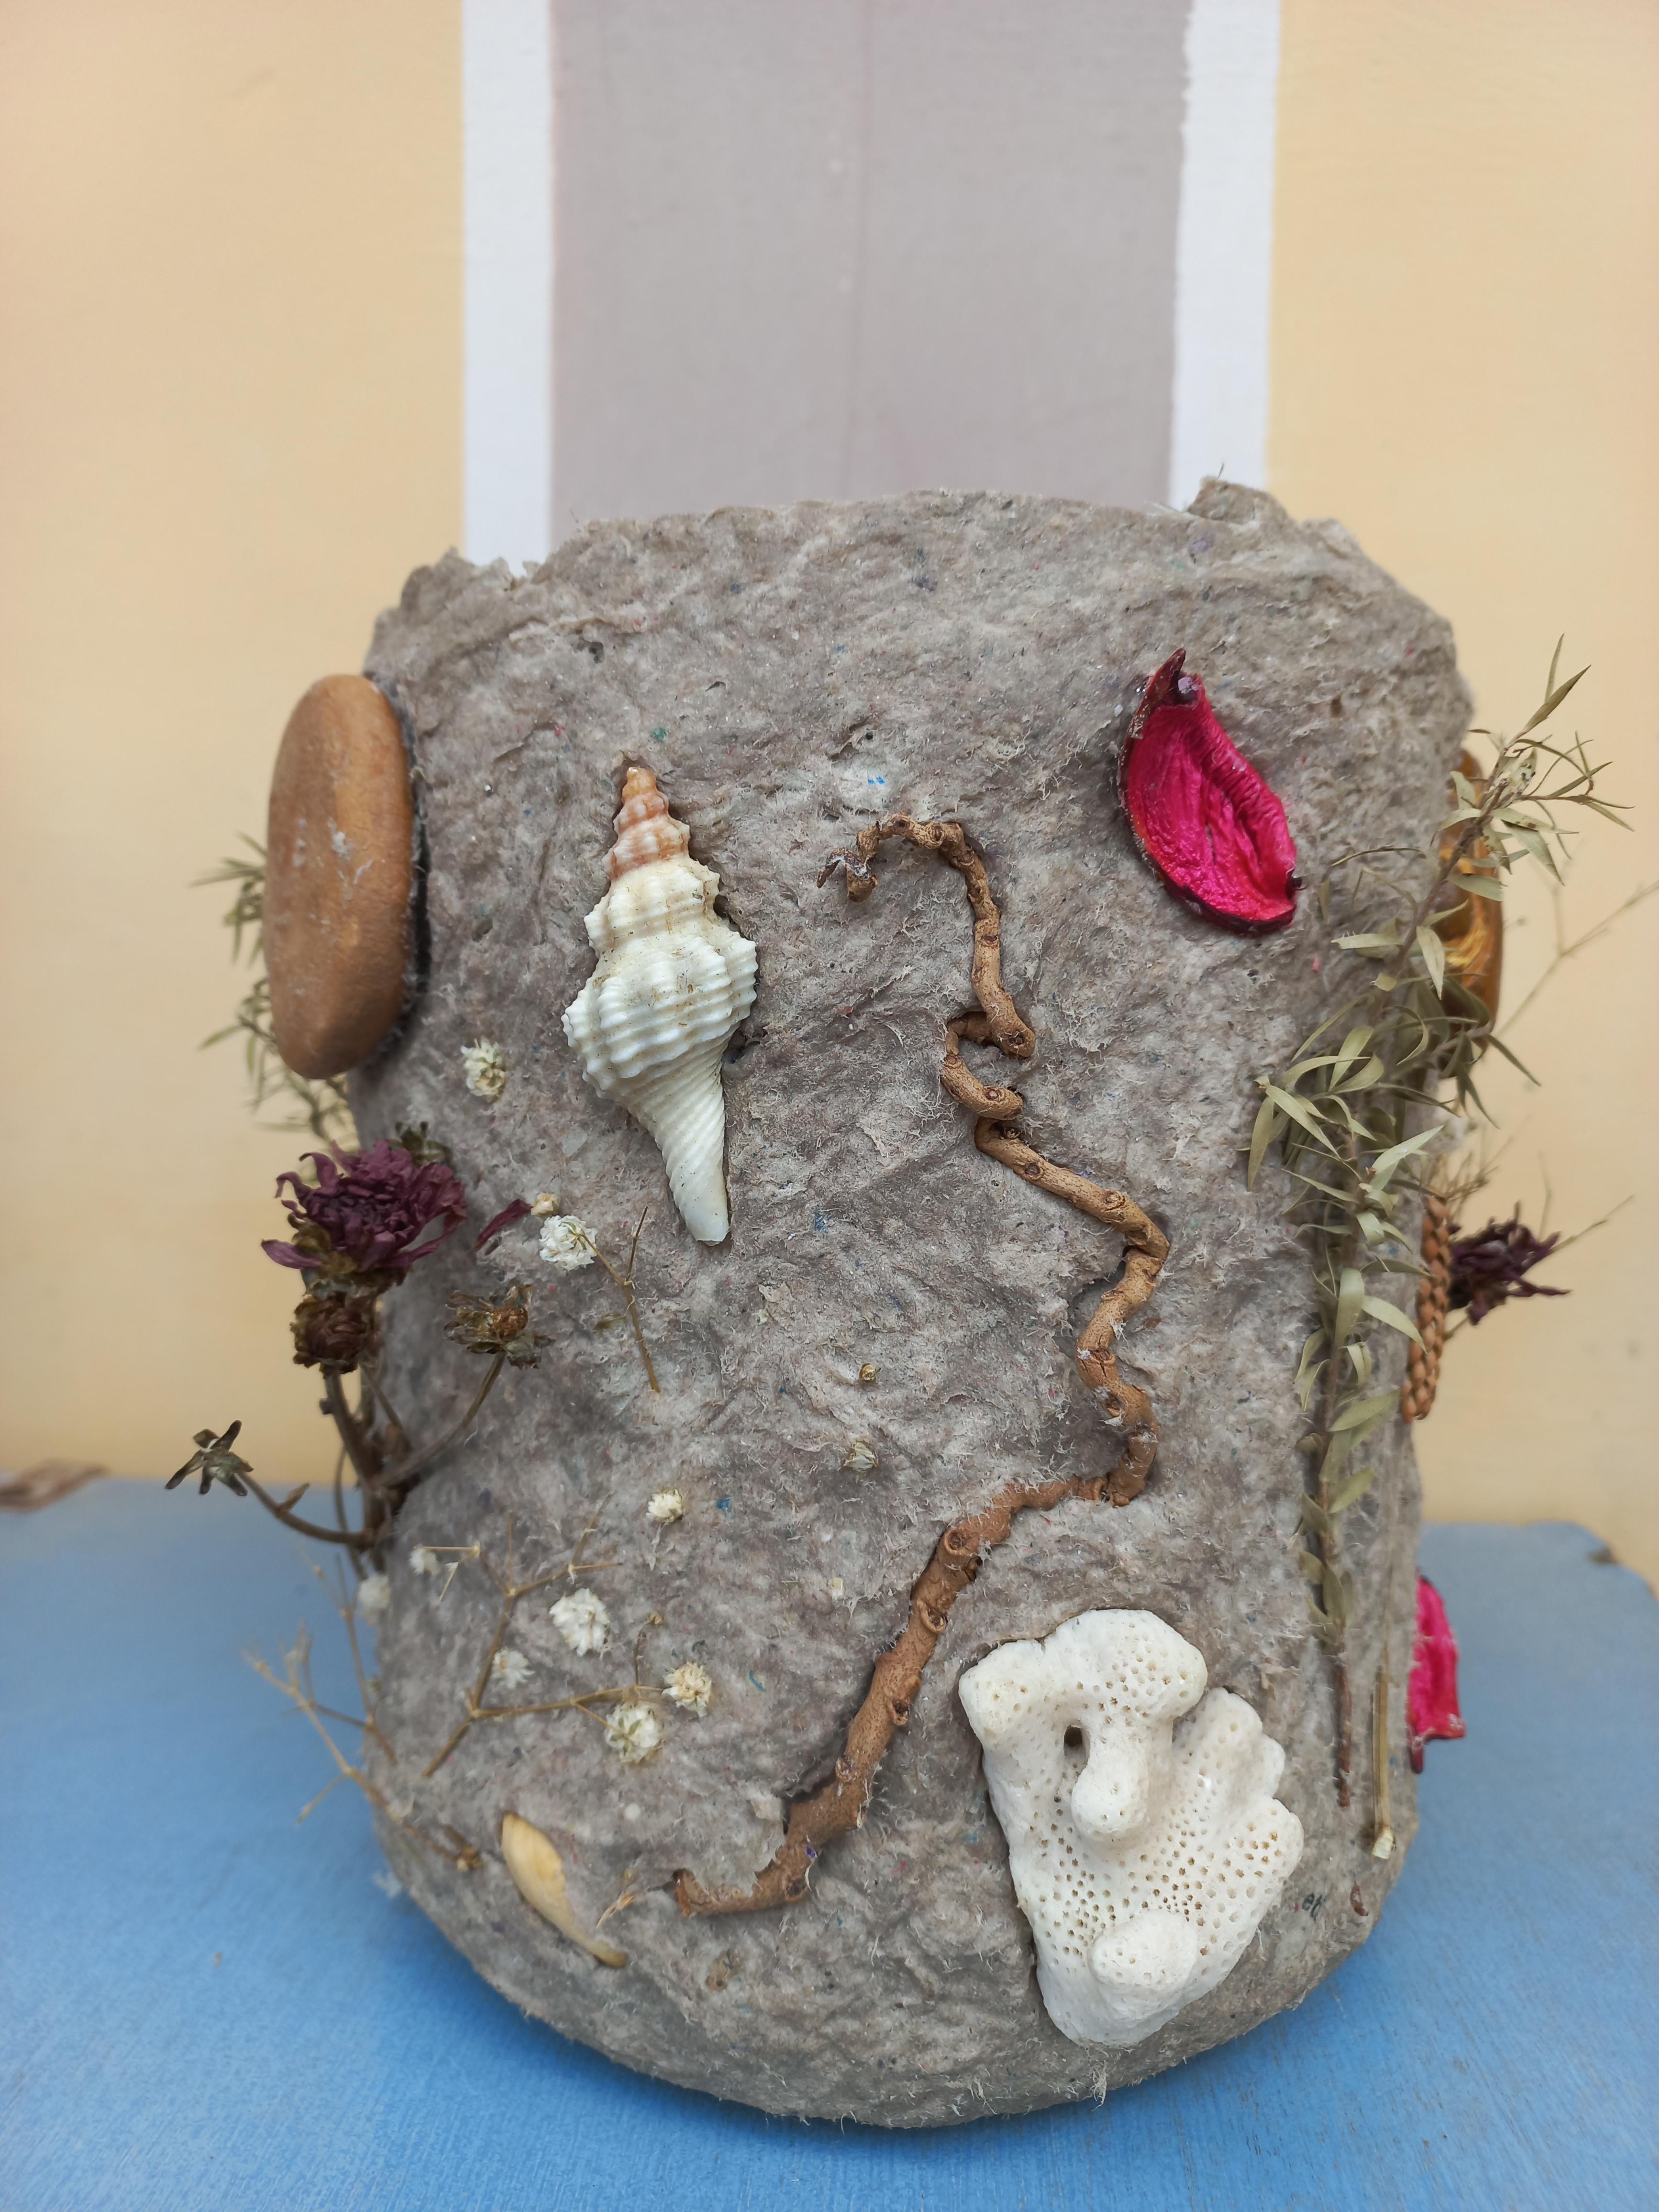


Now we have a nature-inspired pot that looks different from all sides and ready to Repot a plant in it.