How to Thread a Sewing Machine

Learning to use a sewing machine is very useful. Not only can it be used to make clothes and garments but also many crafts and alter and manipulate clothing articles that you may already have.
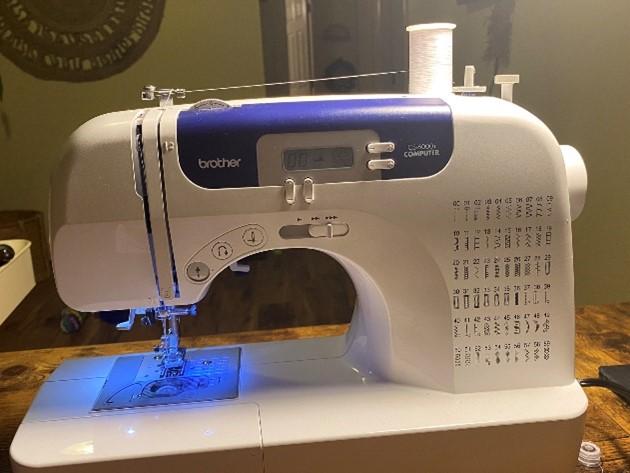
Although most sewing machines are often similar the instructions provided are for the Brother cs-6000i
Supplies
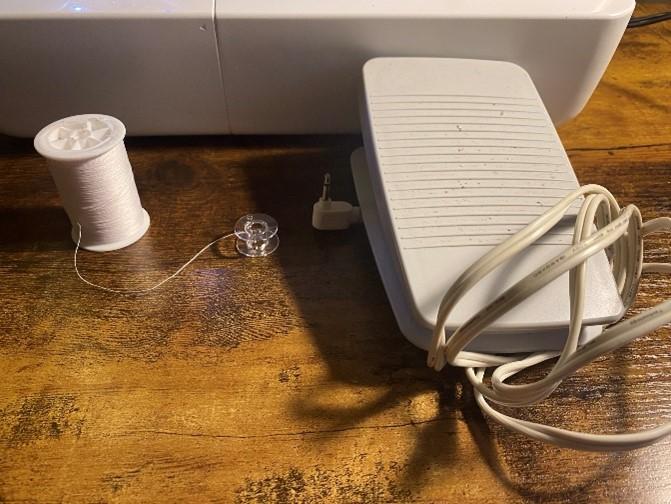
· Empty bobbin
· Spool of standard thread
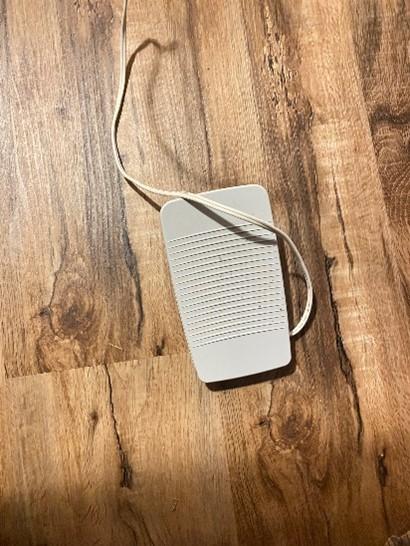
· Foot pedal (come with machine)
· Sewing machine
· Power cord (comes with machine)
Powering Machine
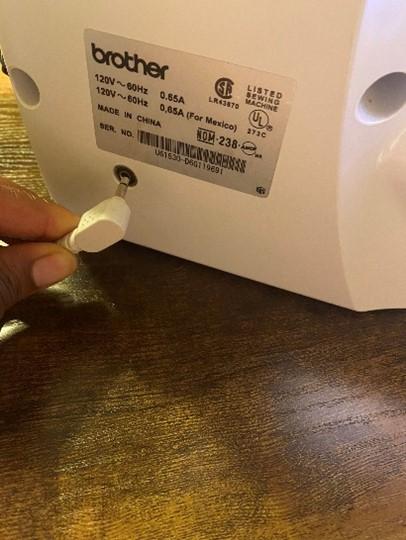
Plugin power to a power supply or wall outlet and then plug the other end in as demonstrated in the picture to the sewing machine.
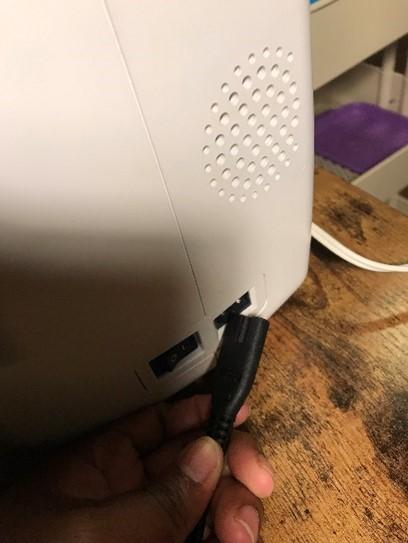
Plug in foot pedal to the back of the machine and then place foot pedal on a flat surface on the floor.
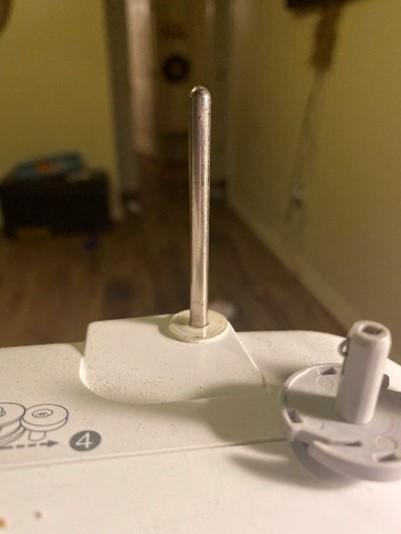
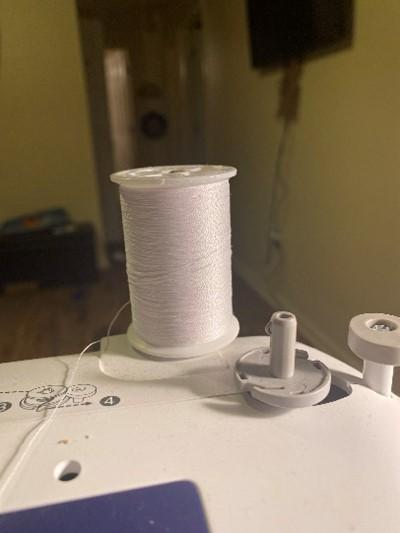
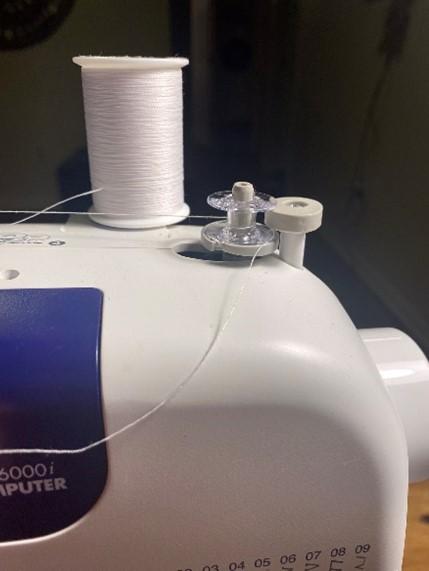
Place spool of thread on the spindle
Pull thread toward the silver round knob rotating the thread clockwise around the knob.
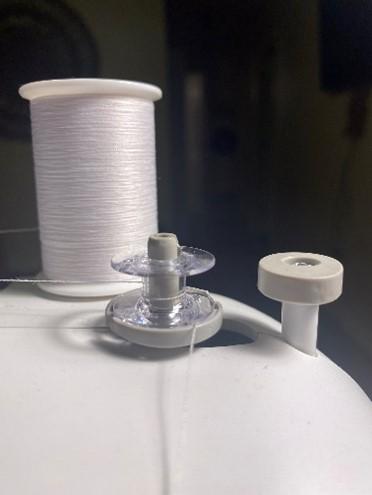
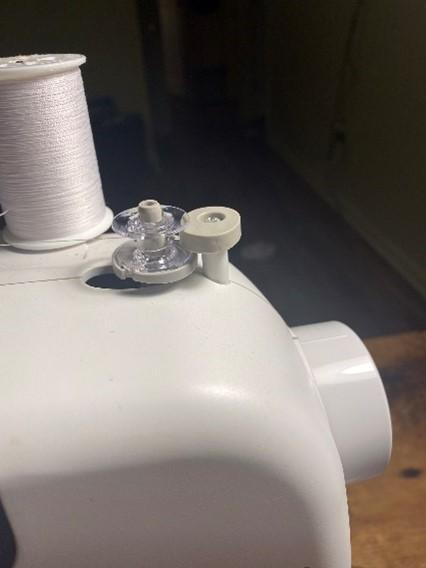
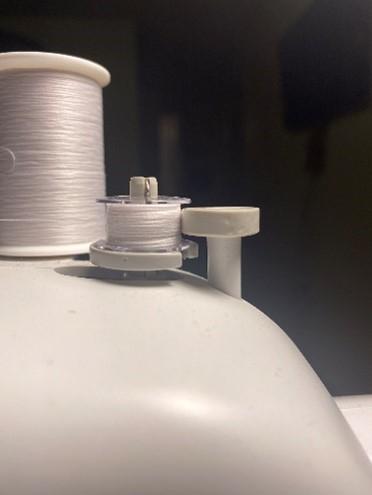
Grab you bobbin and wrap your thread around the bobbin a few times to initiate the start of the process. Afterward place to the bobbin on the bobbin holder
Slide the bobbin holder to the right and it will lock in place. If there is access thread left from hand winding the bobbin be sure to cut it off to insure it does not get tangles or jam your machine.
Start Loading Bobbin
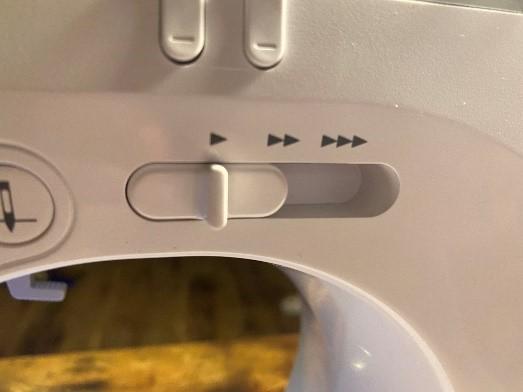

Before loading bobbin with thread ensure your sewing machine is at a speed with which you are comfortable. Start at a low speed and when comfortable you can increase the speed. Slowly press on the foot pedal and your bobbin should start to load with thread.
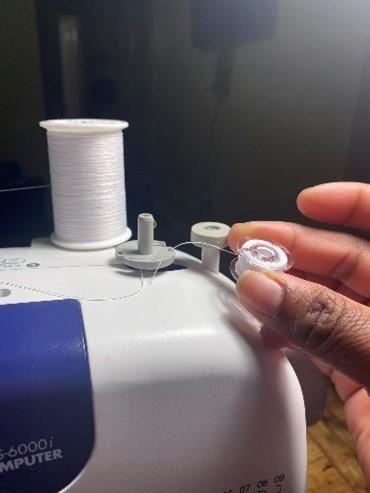
Be sure not to overfill you bobbin. Once you start to hear a bit of resistant then you know that your bobbin is ready. To remove bobbin, slide the bobbin holder to the left and remove. Place bobbin to slide for later instructions.
Threading the Sewing Machine
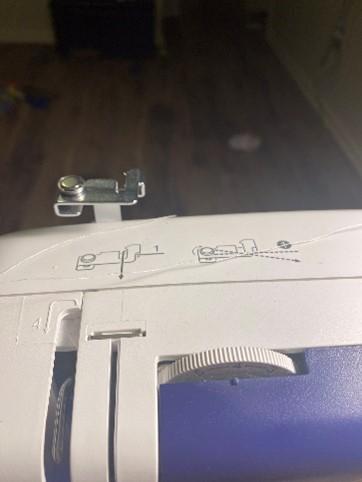
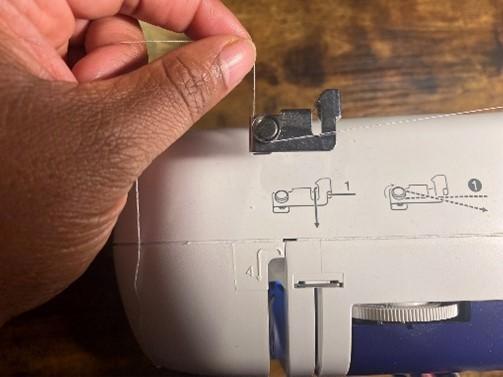
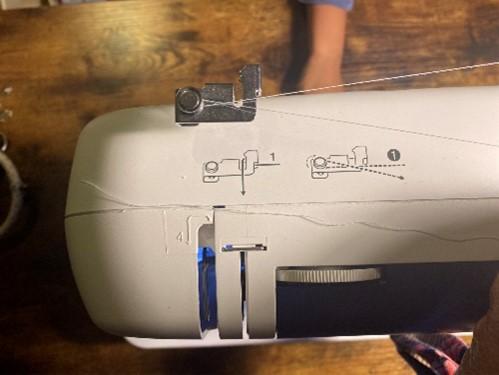
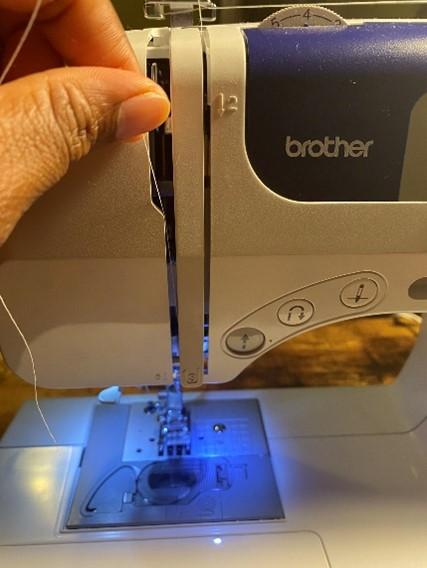
Remove thread from around the silver tension knob and place inside the silver loop as seen in the picture. Afterward pull thread down vertically
Continue to pull thread down vertically all the way down and then around the bottom loop of the machine.
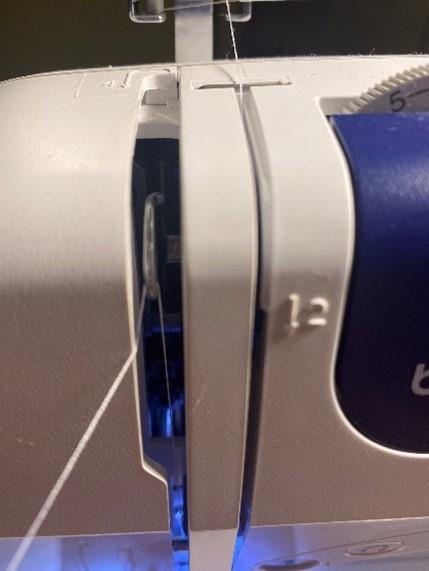
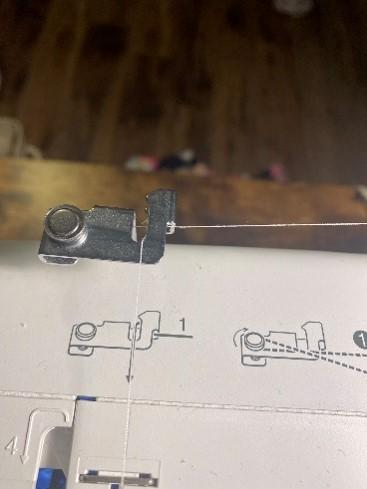
Pull the thread back up and around the metal hook inside the machine. It is helpful the tub on the thread a little to ensure it is behind the hook correctly. Afterwards pull thread back down toward the base of the sewing machine.
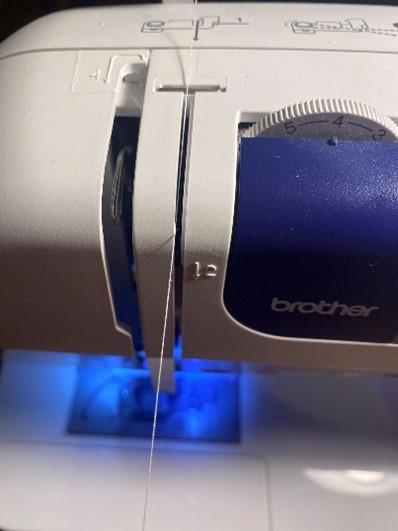
Pull the thread down and behind the metal ring
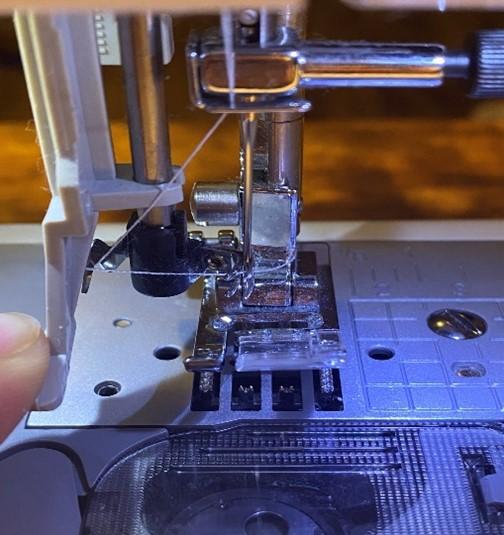
After completing step above, there are two options threading the needle by hand or using the self-threading option. When self-threading hold down on grey button and place thread behind thread guide and place in the middle of the thread catcher. Afterwards simply let go and your thread should be thread.
THIS WILL TAKE PRACTICE.
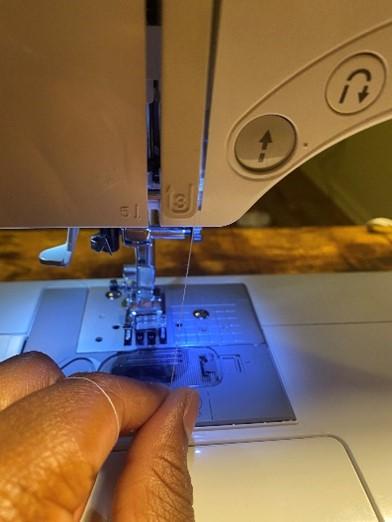
I prefer threading the needle by hand.
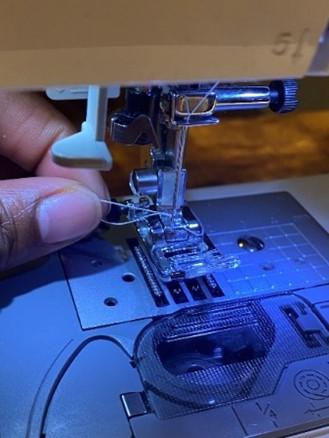
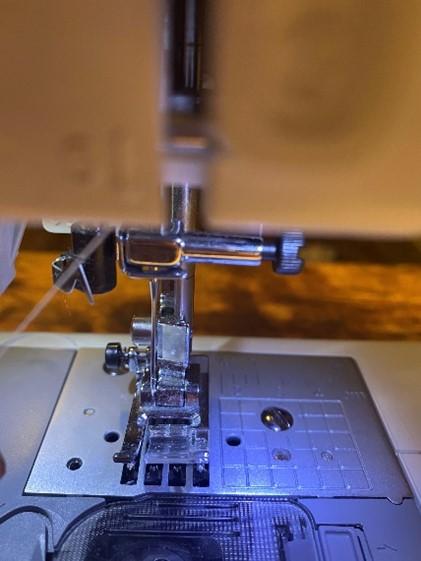
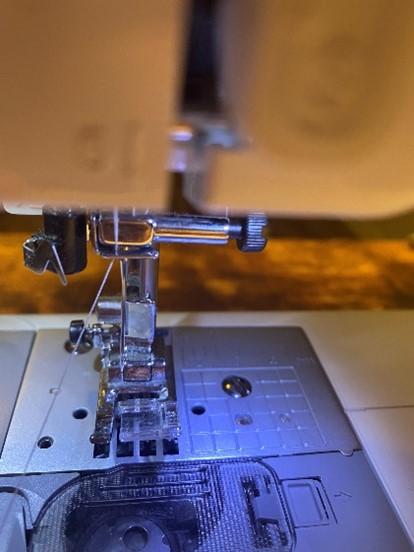
Pull the thread through the needle and then through the notch of the presser foot and place thread toward the back. You have now completed thread your machine.
Inserting the Bobbin
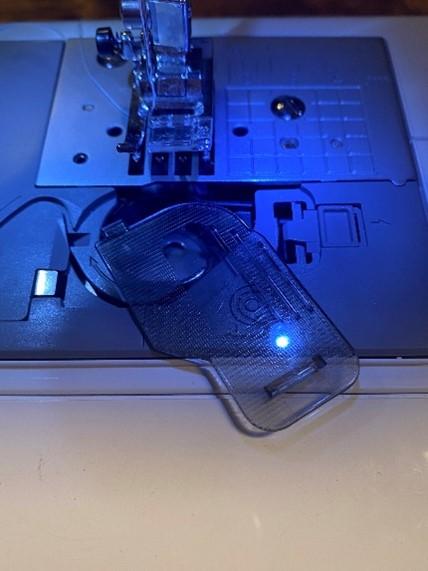
Inserting the bobbin
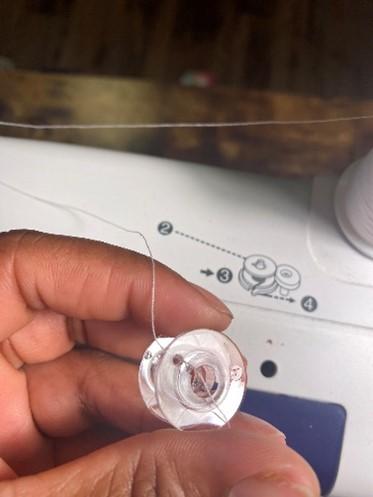
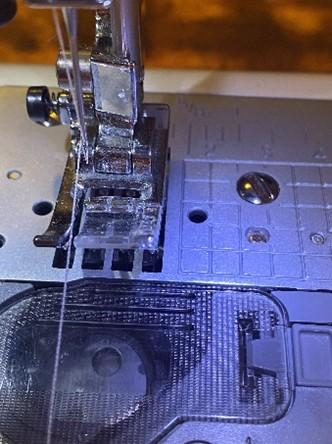
Remove the bobbin cover and place bobbin inside. Ensure that you have at least 3 to 4 inches of thread hanging off the bobbin.
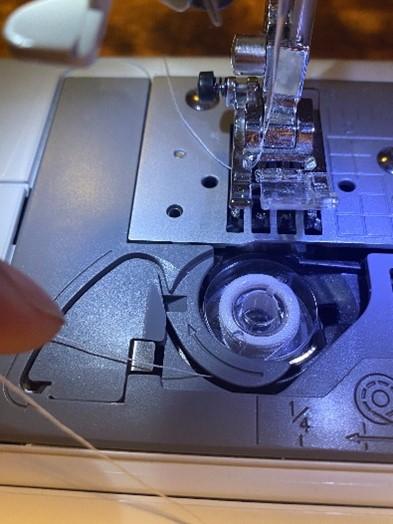

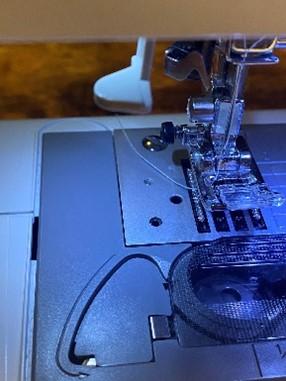
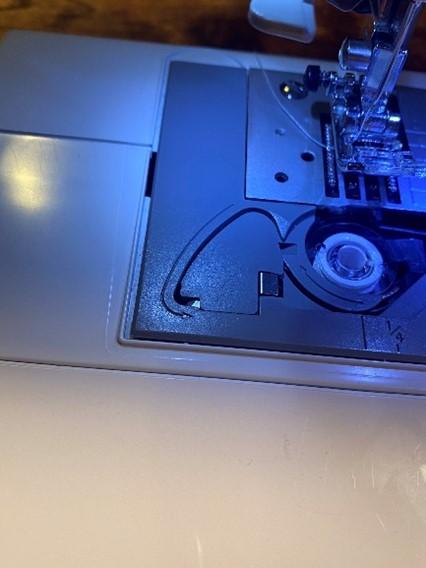
Place the thread in the machine following the arrows down and around. At the end of following the arrows your remaining thread will be cut as indicated.
Start Sewing


Replace bobbin cover and you are ready to begin sewing.