How to Theme Your MacOSX Desktop Icons
by PikachuHat in Circuits > Apple
981 Views, 3 Favorites, 0 Comments
How to Theme Your MacOSX Desktop Icons

Changing icons in OSX El Capitan requires replacing the .incs file in an application. If you want to generate your own icns files with pngs then I would suggest Image2icon as a free and easy app to use for this!
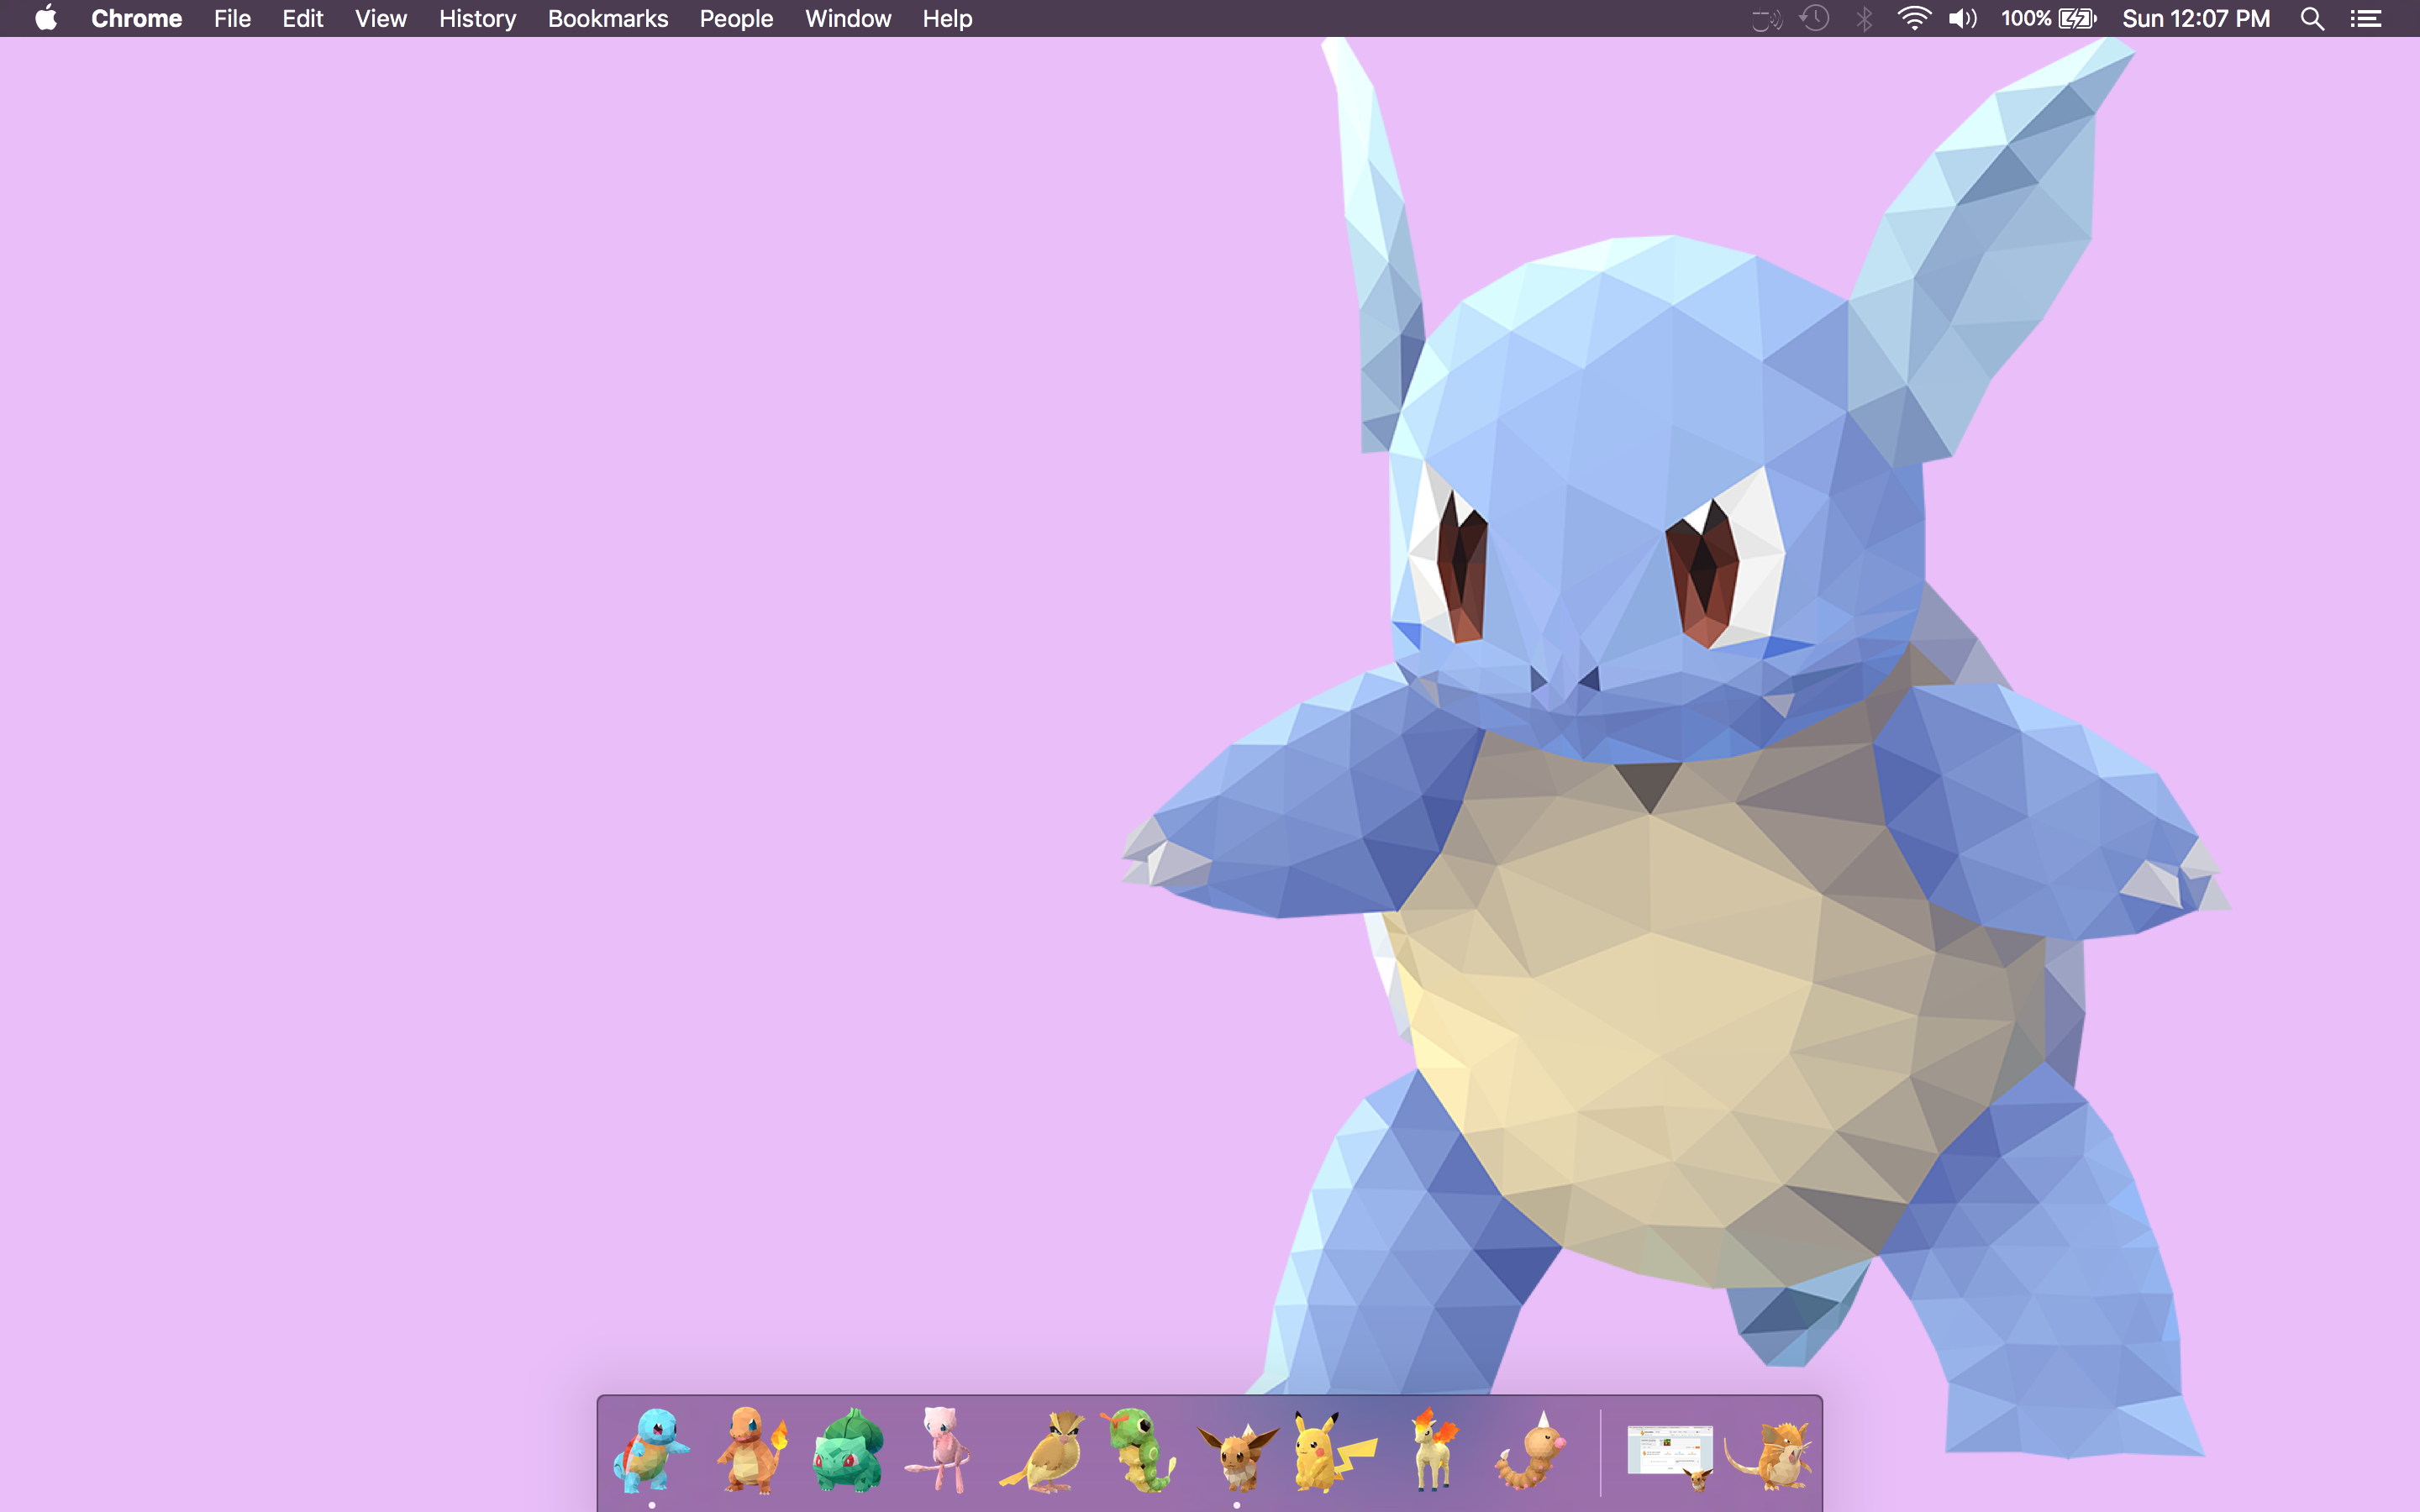
I have created a free Pokemon Icon Pack for anyone who would like to use it! It also contains a readme file with similar instructions to the ones I'm putting here.
Choose an App You Want to Edit


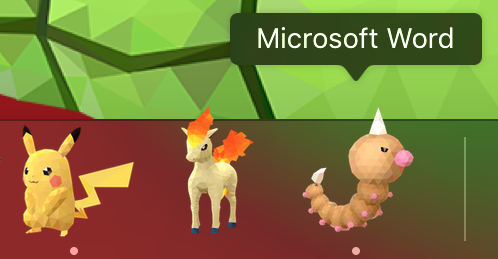
For this example I'll use Microsoft Word (avoid itunes and Official Apple apps for now we will come back to those)
Right click on the app you want in the finder and choose “get info”
From the Icon Pack I provided choose the new icns file that you want to use and copy it to your desktop.
Drag and drop the new icns file onto the icon in the top left of the “get info” window (make sure the application is not in use)
If the First Step Did Not Work


Right click on the app in the finder again and choose “show package contents” then navigate contents>resources
Find the icns file contained within Resources that matches the image of the one in the dock you want to change
Copy and paste the file name, in this case “MSWD”, onto the new icns file. Copying the file name is key, I don’t know why but sometimes it won't actually replace the file if you type the name out by hand.
Copy your newly named file into the Resources folder and select “replace” in the pop-up window that should appear.
If your new icon still isn't showing up then the application may be in use or the Dock didn't refresh. We will restart the Dock in the last step to make sure it refreshes properly so hang tight for now.
Official Apple Apps
Now for apps like Itunes we have to get tricky because Apple doesn’t want you to change those.
Write this next bit down on something because you won't be able to access this document during this step (or open it on your phone)
Turn off your computer and while it’s powering back on hold down ⌘ and R until you see the Apple logo appear on your screen with a loading bar under it
You’ve now activated recovery mode, good job so far
In the top left menu bar you’ll see a tab that says “utilities” click that and select the terminal
In the Terminal window type “csrutil status” this will check to see if the SIP is enabled on your mac. Type “csrutil disable” to turn it off (later when we’re all done you will want to re-enable it since this does protect your computer from malware. get back to this point and type “csrutil enable” instead)
In the top right menu bar select and choose Restart
Welcome Back!
Repeat steps 1 and 2 on official Apple apps like Itunes and System Preferences!
Changing the Finder and Trashcan Icons


Navigate through the finder to Macintosh HD > System > Library > CoreServices > Dock (Macintosh HD may have a different name depending on how you set your computer up. Mine is called Charr Rocks because reasons. On the left of the finder under Devices select the hard drive. It has the little picture of the hard drive beside it, then continue to System)
Right click on Dock and choose “show package contents”
Navigate to contents > resources
Now find the finder.png and finder@2x.png and replace those with the png files I provided in the Finder folder in the Icon Pack or rename any of the png files I provided (make sure you copy and paste the name if it doesn’t replace the file properly)
Trash Continued

Now find the files named trashempty.png, trashempty@2x.png, trashfull.png and trashfull@2x.png and replace these files with the ones I provided in the Trashcan folder or choose another .png (Make sure you copy and paste the file names again!)
If you are using my Icon Pack, I have it set up so Rattata becomes the trash can and evolves to Raticate when you throw stuff out.
Note: There may be reflection files in this and the previous step, you can delete those, they are useless.
Deleting the Hidden Icon Cache


Now on the finder window hit ⌘+shift+G to bring up Go window in the finder
Type /private/var/folders/ and hit enter
(This part may vary but I believe in you) navigate to dj > fby36gv53lbbsstc3cf4x1r80000gn > C > com.apple.dock.iconcache (you won't be able to simply search "com.apple.dock.iconcache" because of the file type but you’ll find it with some digging around)
Delete that file, it will try to emulate an older icon that it has saved instead of using the the new png file. this causes the trash can and finder to change back and forth occasionally between the new and old icons.
Restart the Dock

Finally open the Terminal (just search Terminal in the finder search-bar if you don’t know where it is) and type “killall Dock” with a capital D. this will restart the Dock and refresh any icons that have yet to change.
Congratulations on all your new fancy icons!