How to Test Your Components Using a Redboard & Flowcode
by SamCircuits in Circuits > Tools
609 Views, 0 Favorites, 0 Comments
How to Test Your Components Using a Redboard & Flowcode
Introduction
I had a pile of components but no component tester.
Multimeters are good, but difficult to determine which is the emitter and which is the collector of a transistor.
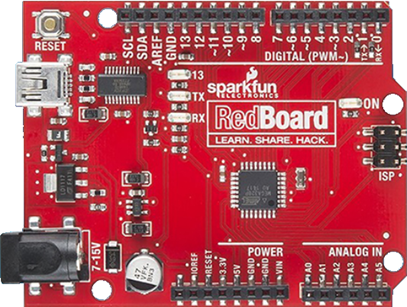
As I have a Sparkfun Redboard, Sparkfun’s version of Arduino Uno, I thought I could use that.
There are free app’s on Flowcode’s website that uses a SCADA type interface to allow communications between App Developer software on a PC and a Sparkfun Redboard/Arduino Uno. One of the Free apps is a component tester that tests bipolar transistors, singe & dual diodes, Resistors, and capacitors. This project is about building a very simple component tester and using the free App developer to test an assortment of components. I have only tested on windows V10 operating system.
Supplies
Hardware:
Sparkfun RedBoard or Arduino Uno
Solderless breadboard
Wires suitable for breadboard, e.g., Dupont or solid core.
6 resistors: 3 x 1.5K Resistor 1% or better & 3 x 470K Resistor 1% or better
Recommended: Multimeter but not essential.
Step 1: Gathering All the Items for the Component Tester.
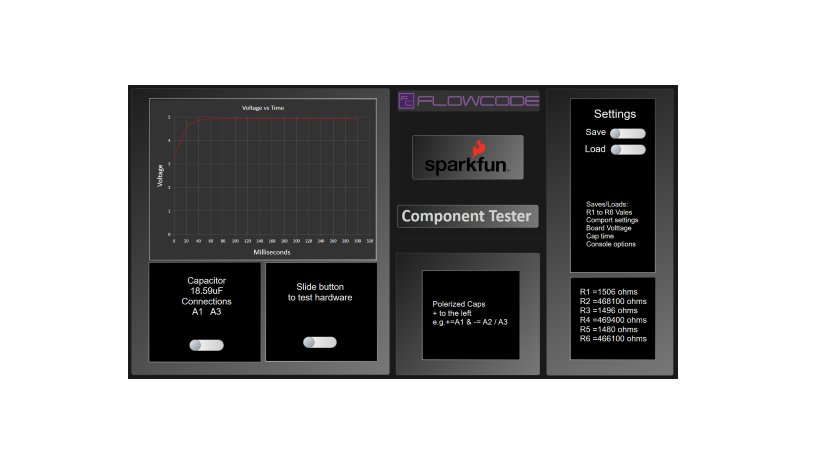
Figure 2. What the App software looks like.
You can find the App developer software and all files for the component tester by clicking on this link.
Step 2: Loading Firmware Onto the Sparkfun RedBoard/Arduino Uno.
You will need to install the drivers for the RedBoard or Uno.
If running a Redboard, then the SparkFun ReadBoard Hookup Guide will take to though the install process step by step.
If you have an Arduino Uno board then best way would be to install latest Arduino IDE as that has got drivers included.
After installing drivers, with hardware connected to PC, you will need to run Device Manager.
With windows 10, just right-click on the windows logo and select Device Manager.
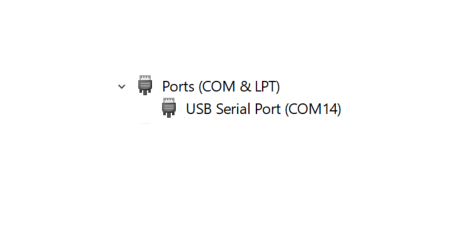
Expand Ports (COM & LPT).
With drivers installed, the port assigned will be displayed as seen on above image.
Select .hex File
As you might have more than one port assigned, you will need to remember the port number assigned to your RedBoard/Uno
To enable your PC to establish communications, you first load the correct firmware from this link onto the RedBoard.
The only file you will need is called Arduino_Uno_App_Developer_Firmware.hex.
Select the .hex file from within the zip file, then paste into a folder of your choice.
Before following the next steps, make sure
The following will apply to both types of board:
To transfer the above hex file, you will need to download Xloader.
It is very easy to use.
Extract the XLoader
folder within the zip file, to a folder of your choice.
I just copied and paste the folder from the zip file, on to my D drive.
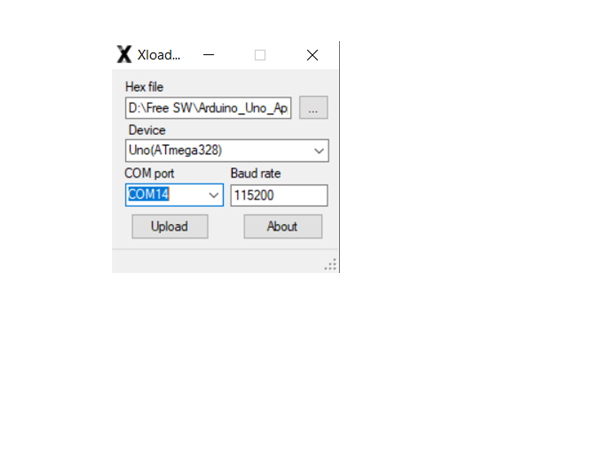
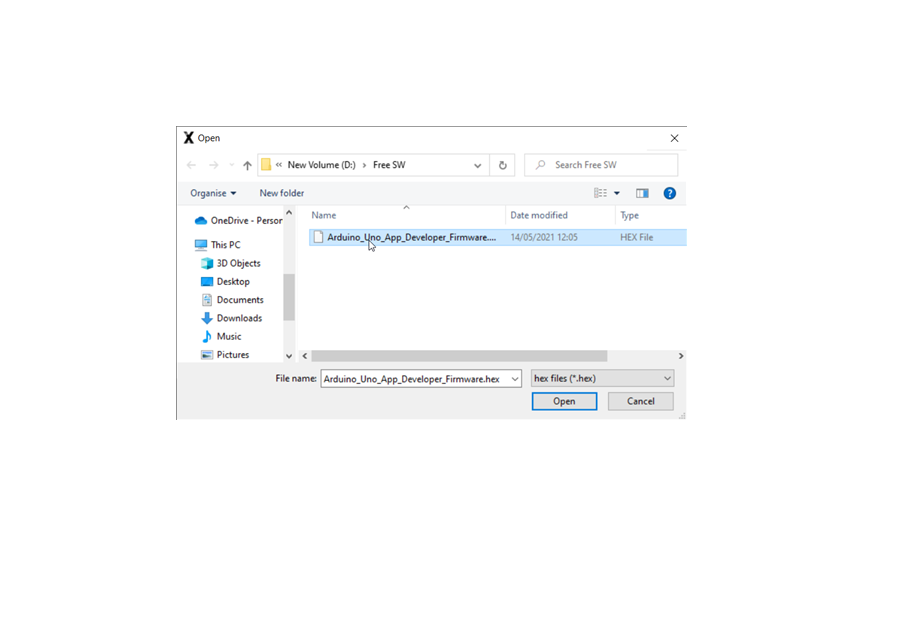
Run the Xloader app then left-click on the three dots & a new window will open:
Select the hex file as illustrated above, then select open.
The Device is Uno ATmega3280 as that works for both Sparkfun RedBoard and Arduino Uno.
Make sure you have the correct COM port selected.
The Baud Rate is left on the default 115200.
Click on the Upload and the firmware will be sent to the Redboard/Uno.
You will know if being sent as the TX and RX on the PCB will be rapidly flashing during the transfer.
Step 3: Wiring Up Hardware.
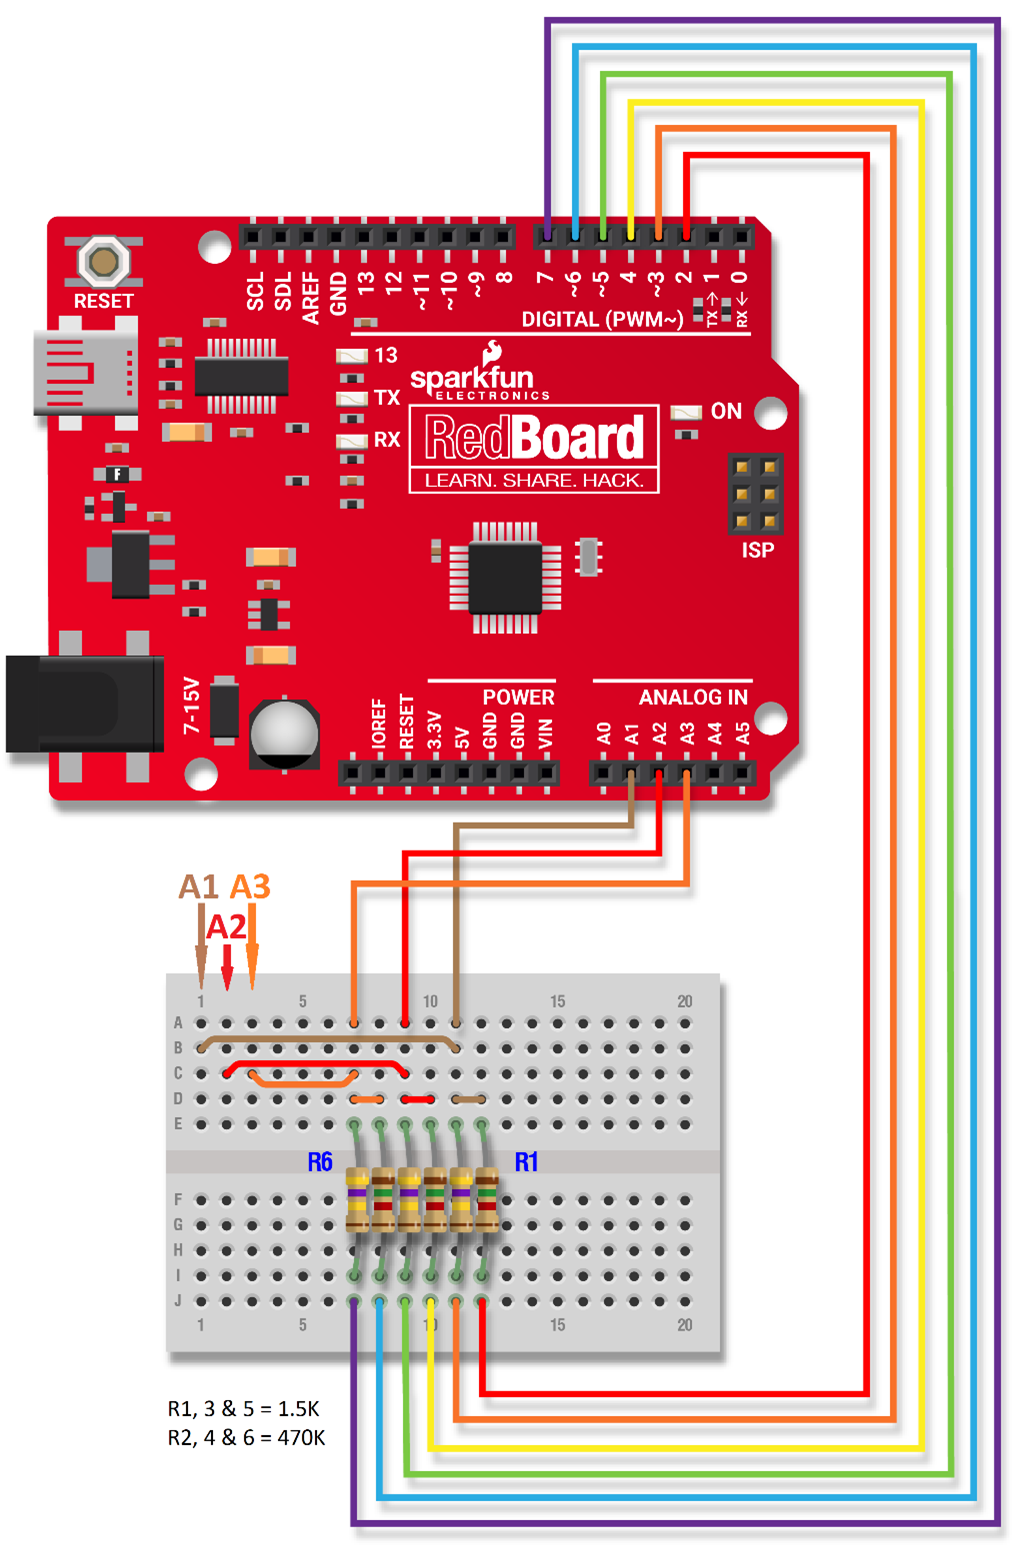
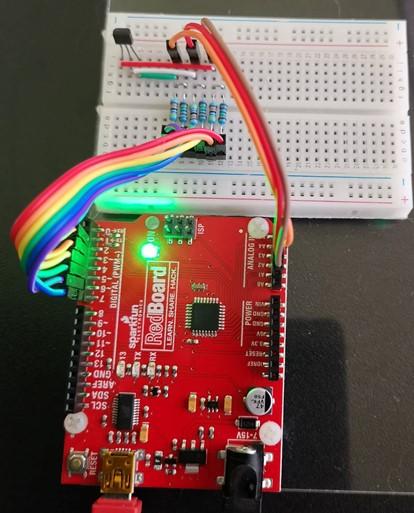
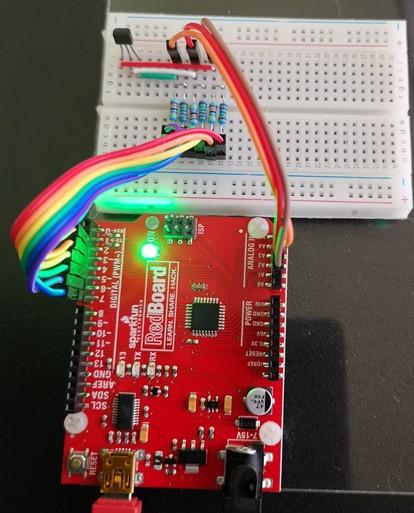
To make is easier to follow, I have used the conventional
resistor colour code for the RedBoard connections I.e.
Black = 0 (not connected), Brown = 1, Red = 2A, Orange = 3, Yellow = 4, Green = 5, Blue = 6, Violet = 7, Grey = 8 (not connected), White = 9 (not connected).
The values of the six resistors are not critical, just try to get then as near as possible to the suggested values.
The values I used are: 3 x 1.5K & 3 x 470K
Connect wires & resistors as per figure 5.
If you follow the brown wire, you will see it goes to A1
A Red wire goes to A2 and D2 etc.
The A representing Analogue & the D representing Digital.
After all connection has been completed & with the board
connected to the PC you now can run the Component Tester App.
Run the Open ComponentTester V1.3.bat
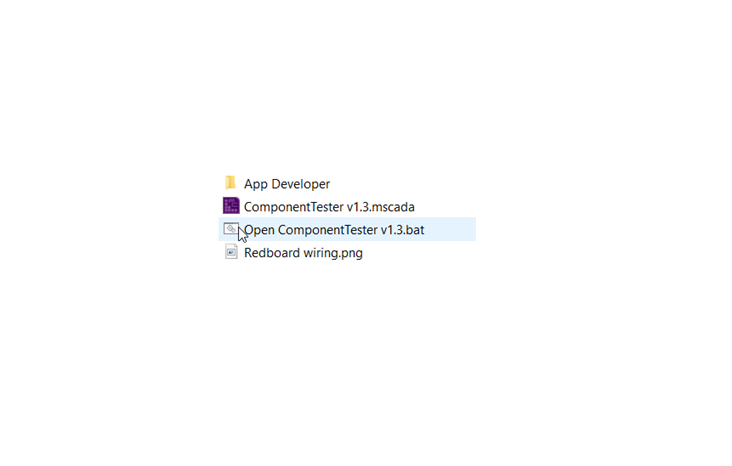
From within the folder you downloaded from step1
Within the Component Tester App, you will see a Properties
window.
Within the Component Tester App, You Will See a Properties Window.
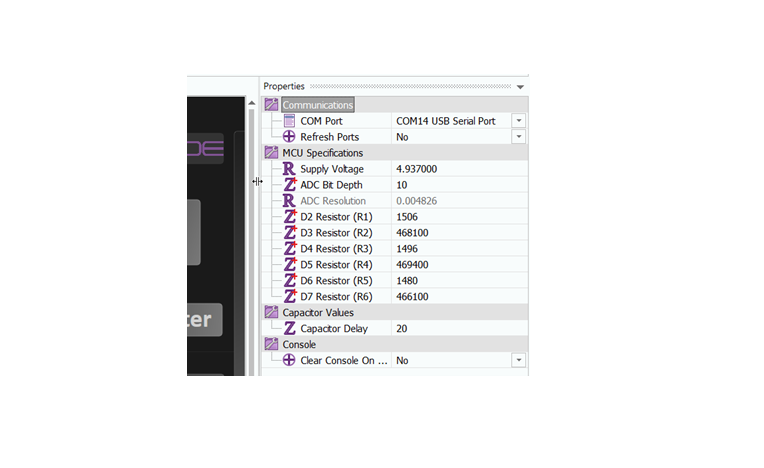
For the Refresh Ports option select Yes from the drop down, it should revert to No.
Select your boards COM port.
The width of the properties can be dragged if too narrow.
Hover the mouse over the left border of the properties, when the cursor changes to two parallel lines, hold the left mouse button down and drag to increase/decrease width.
If you have a Multimeter, with no power going to the board, measure each resistor and enter the value within properties.
When you have finished, Slide the save switch.
That will save a file called config.cfg within the root of App folder.
Step 4: Running the App.
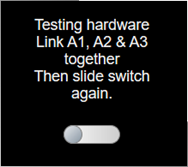
With no test component added, select Go.
The wiring can be automatically checked by selecting test hardware switch.
Follow the on-screen instructions.
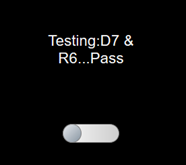
If All Resistors and Connection Are Correct, at the End of the Testing, You Should See the above image.
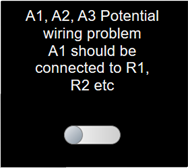
If there is a problem, Then the text within the window will let you know.
It may not be 100% accurate so just check the rest of the connections if the text is wrong.
If the wiring is correct, make sure the correct COM port is shown within properties & The RX & TX LED’s on the flash during testing period.
Step 5: Component Testing.
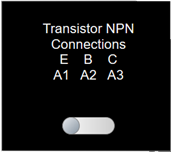
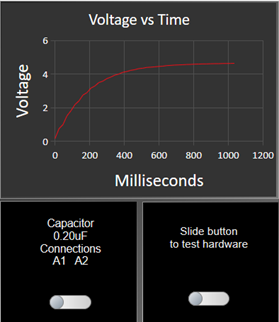
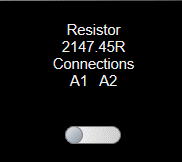
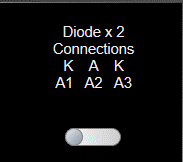
Place the component to be tested across any of the connections A1 A2 & A3
For example, here is an image of one of my transistors being tested:
After connecting transistor to A1, A2 & A3, Then sliding the switch on the left, the results are:
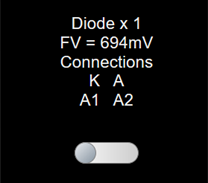
Here are results some other components under test:
Silicon diode:
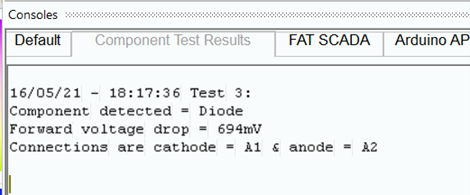
If you select View, then select Consoles you will see a log of all the tested components:
Troubleshooting.
When App is logging, and you get unexpected results.
Unexpected results could be down to a communication, faulty component or component /wire connection issue.
Other causes could be a faulty Redboard or a software bug.
Has the firmware been loaded and the correct com port selected (if more than one)?
There are two ways of determining if it is a communication issue.
If both TX and RX LEDs are not flashing while App Developer is determining component connected.
Or open the console (View menu, select Consoles).
Undock the console so the App Developer panel can be made larger.
In the View tab, select Consoles tick box.
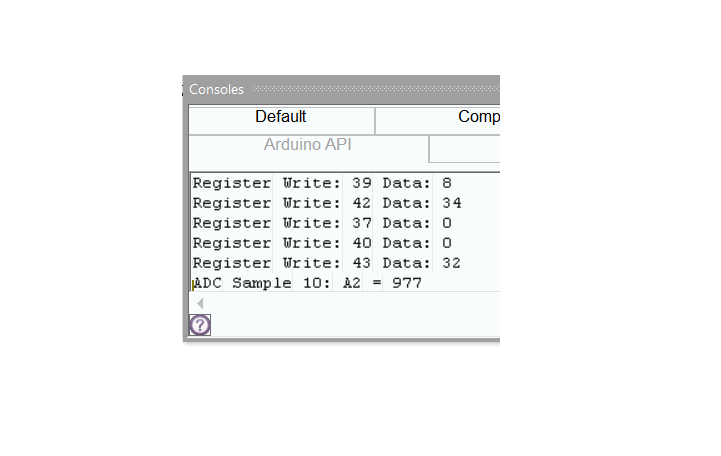
Select Arduino API tab.
If communication OK, you will see something like the above image.
If There Is an Issue With Communication or Firmware, Then You Will See:
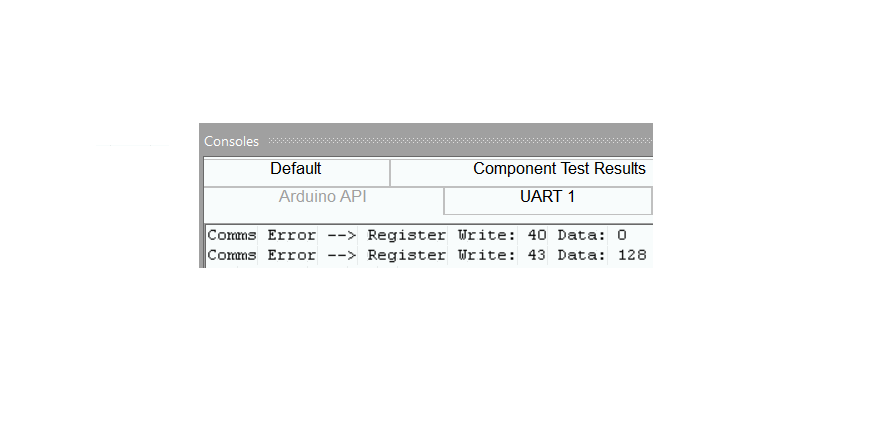
If it is a communication issue:
Is the correct com port selected within properties?
Has some other software taken over the port?
Is only one instance of App developer run at a time?
Make sure you run the hardware test.
When the hardware switch is first activated, there should not be any additional connections to A1 to A3 on the breadboard.
Then Link A1 to A2 to A3 & Left-click the switch again.
Any issues should be displayed.
For further advice, there will be help available via the www.flowcode.co.uk forums.