How to Teleport! Free 3D Scanning and Cheap 3D Printing!
by lamedust in Workshop > 3D Printing
58007 Views, 395 Favorites, 0 Comments
How to Teleport! Free 3D Scanning and Cheap 3D Printing!
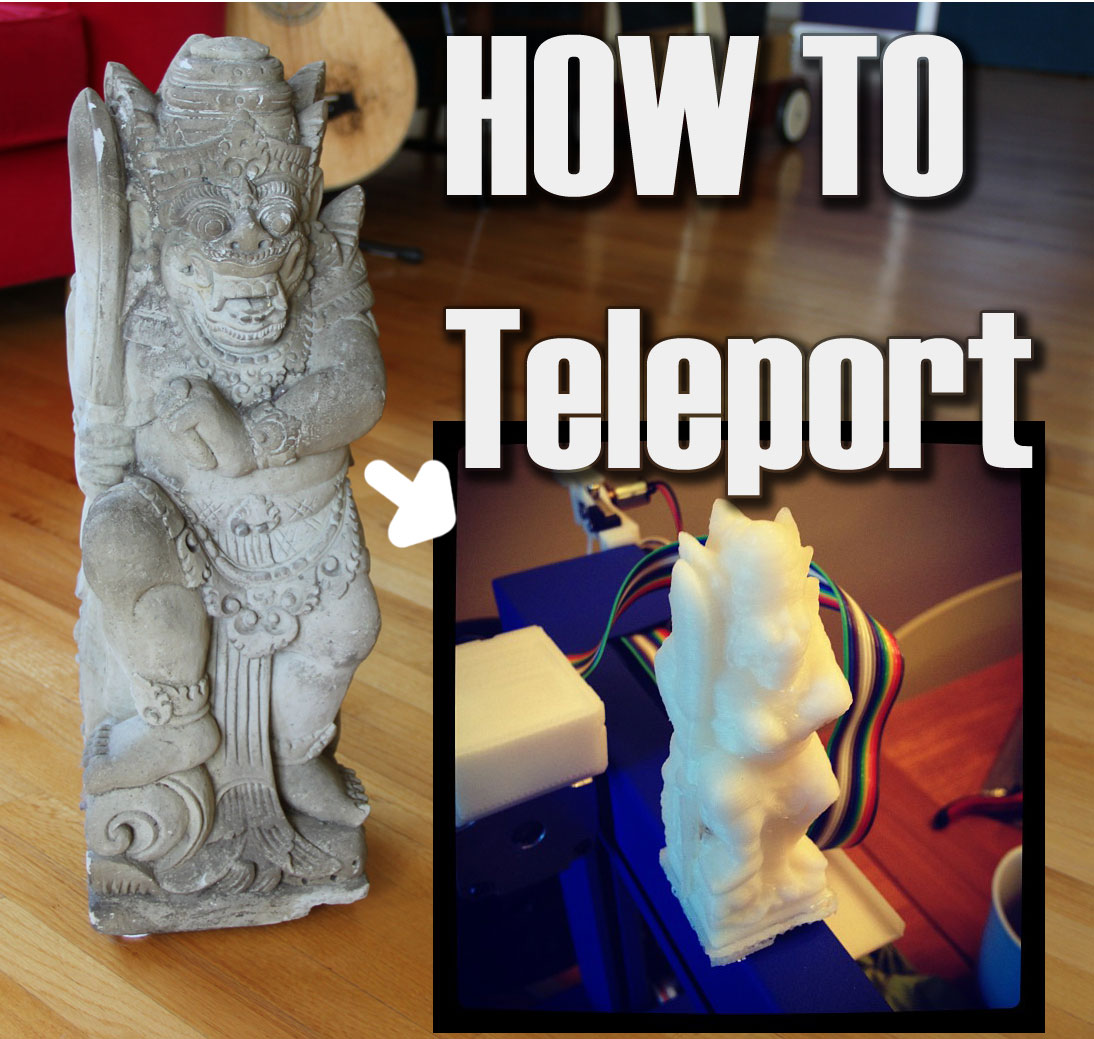
Teleportation is awesome. Transporting material instantly from once location to another will change the world. Local bands will have global tours, truck drivers will not have jobs, food wont spoil on shelves while others go hungry, and fewer people will listen to podcasts on their way into work.
Many cultures have their own stories of lightning speed travel, teleportation and apparition. Muslims have the concept of Tay Al Ard, which comes from the words for folding of the earth, to excite them. Geeks have Star Trek's Transporter to inspire and scientsits have been working on teleporting information.
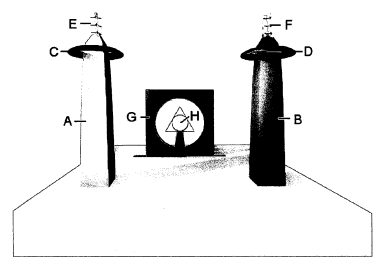
There have even been patents granted to teleportation technologies. Which if you're up for the chalenge, I dare you to try to build this US patent.
We will be talking about a different kind of teleportation. One that is accessible to the average person today (given they have a spare $1,500 or so) and seems poised to change the way we look at physical products. The general idea is to scan an object, turn it into a digital file and send it over the internet to be reproduced elsewhere. This is not as fast as folding the earth, but it's still a speedy way to deliver and iterate.
Materials
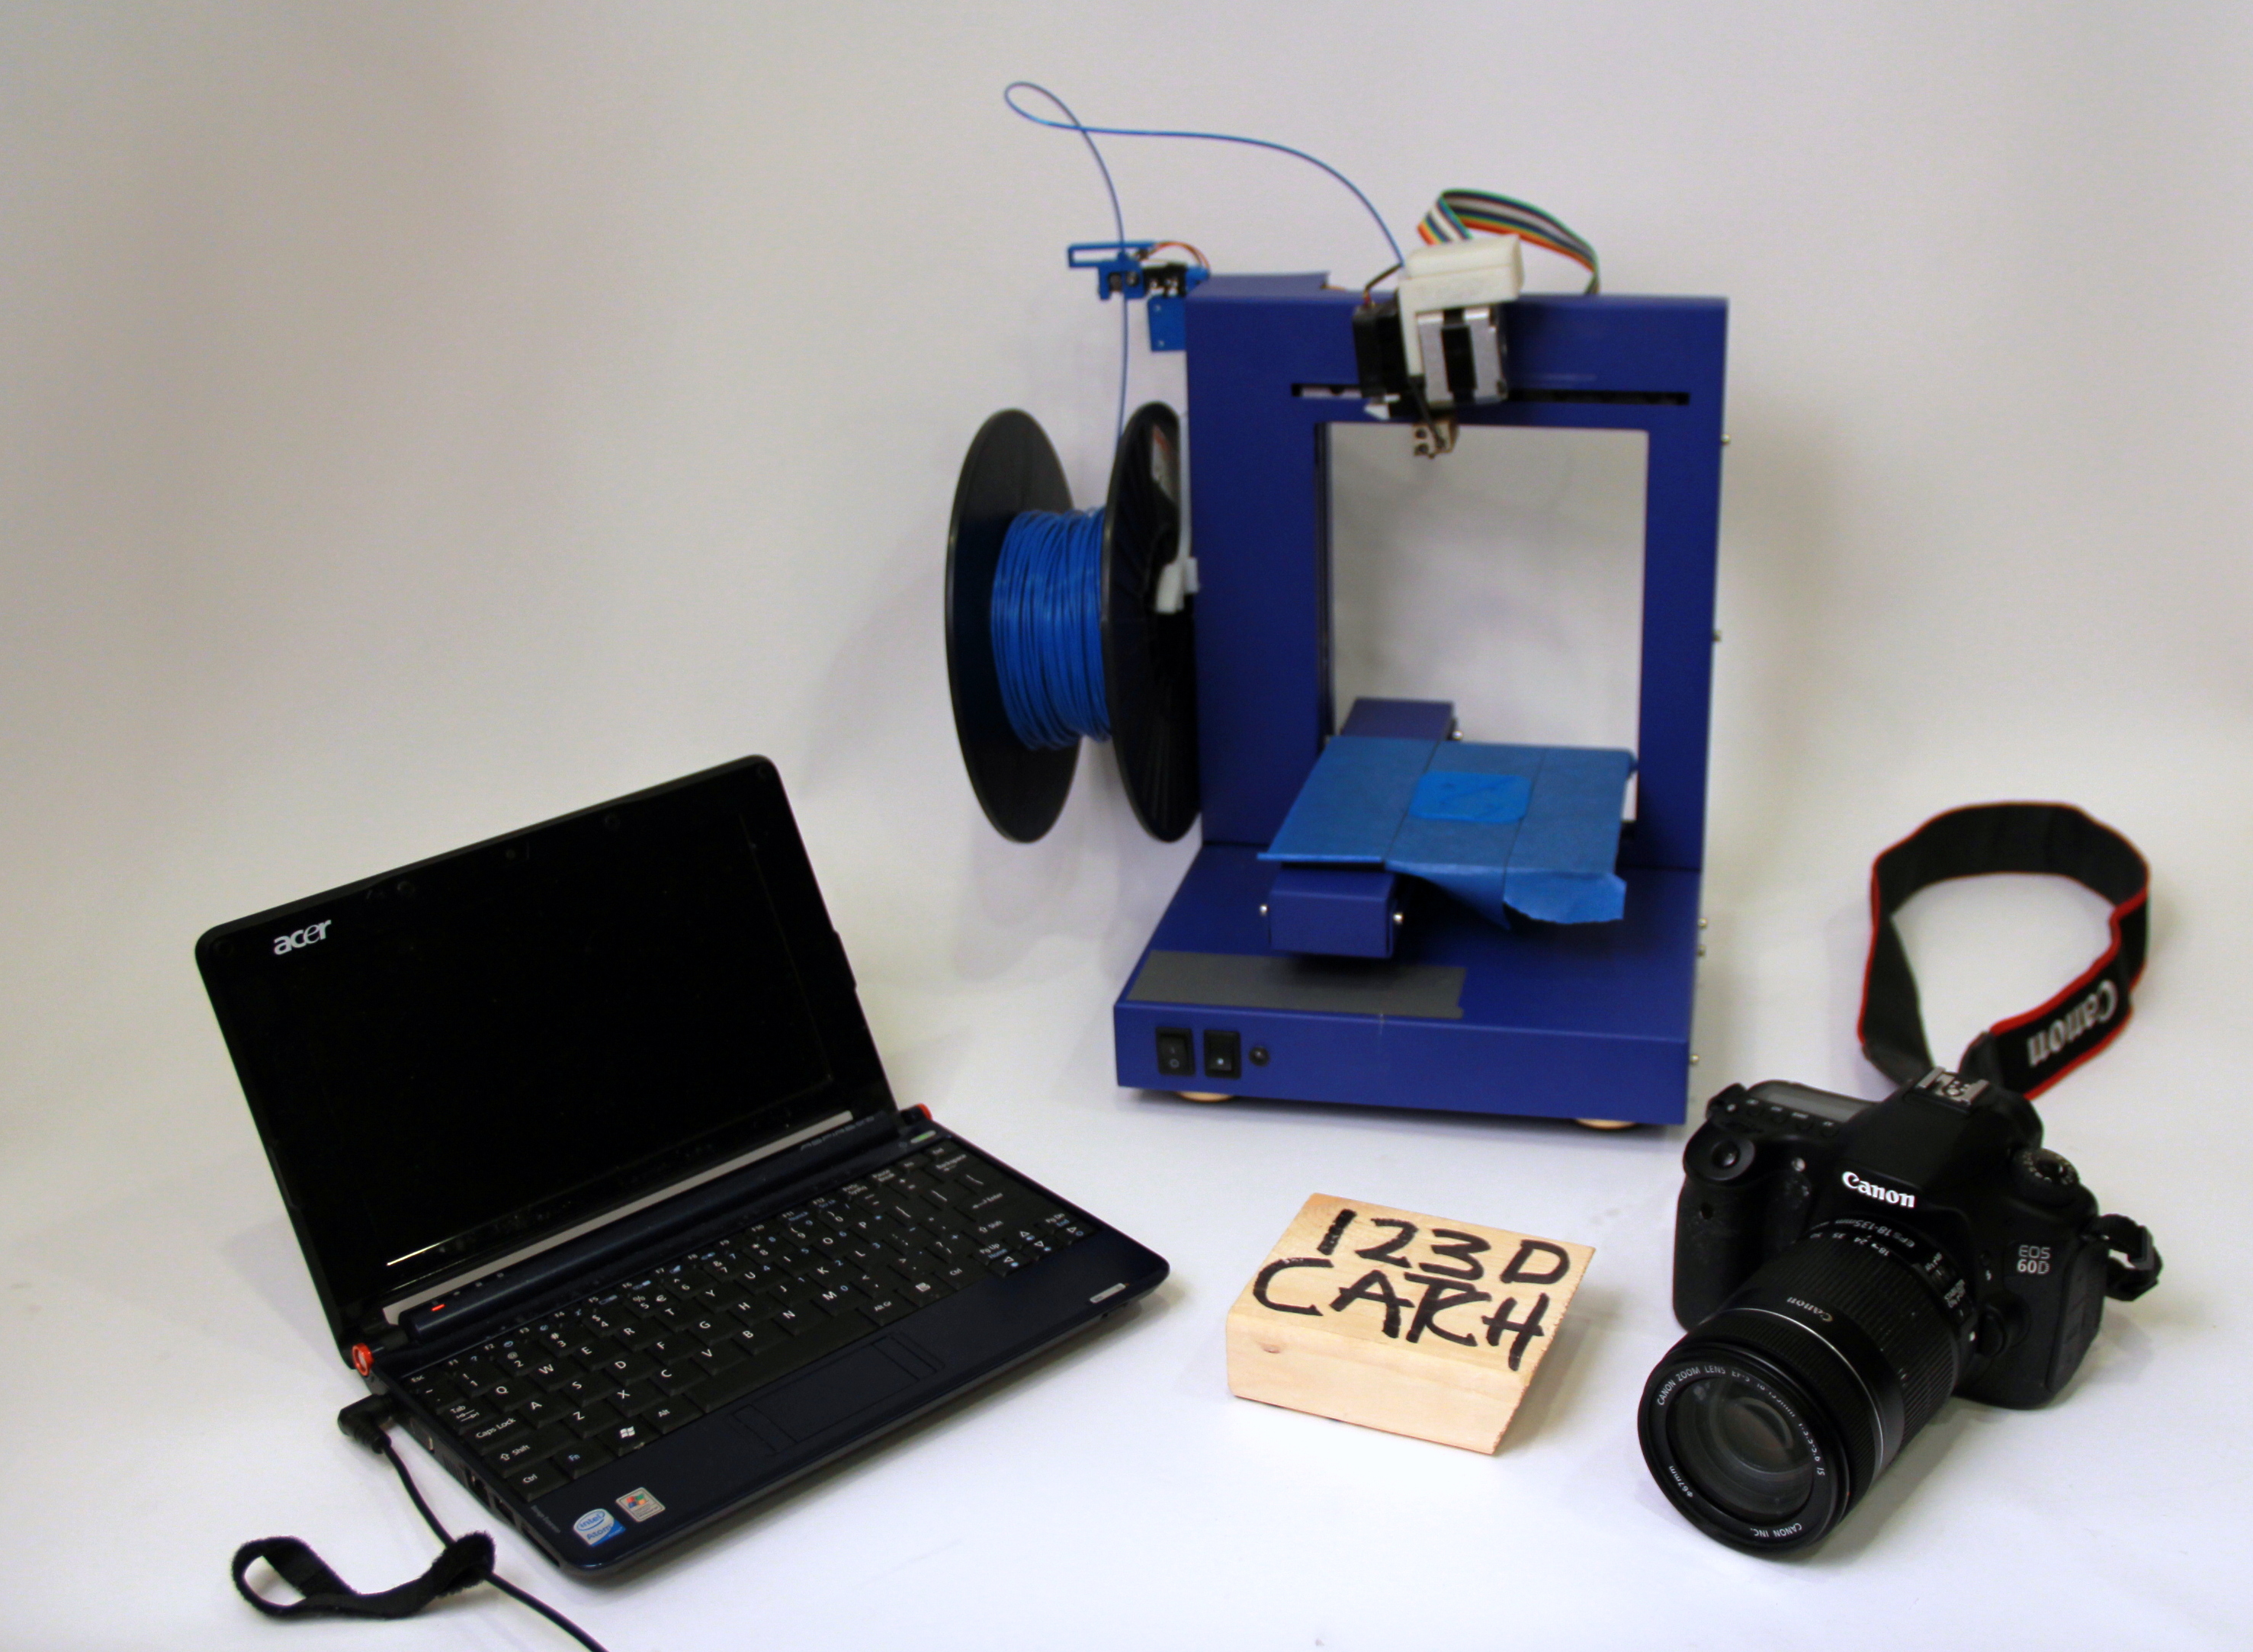
Materials you'll need.
- A windows machine
- To download and install 123D catch
- To download and install Meshmixer
- To download and install either Rhinoceros, Blender, or 123D.
- A 3D printer. Two "low cost" options are: Makerbot or the UP. If you're up for a kit and are excited by open source businesses go for the Makerbot! If you just want to buy something and get printing go for the UP.
- The software necessary for the variety of 3D printer you purchased. Replicator G, Pleasant3D are helpful.
- A camera. Any DSLR would be great, but even point and shoots will work.
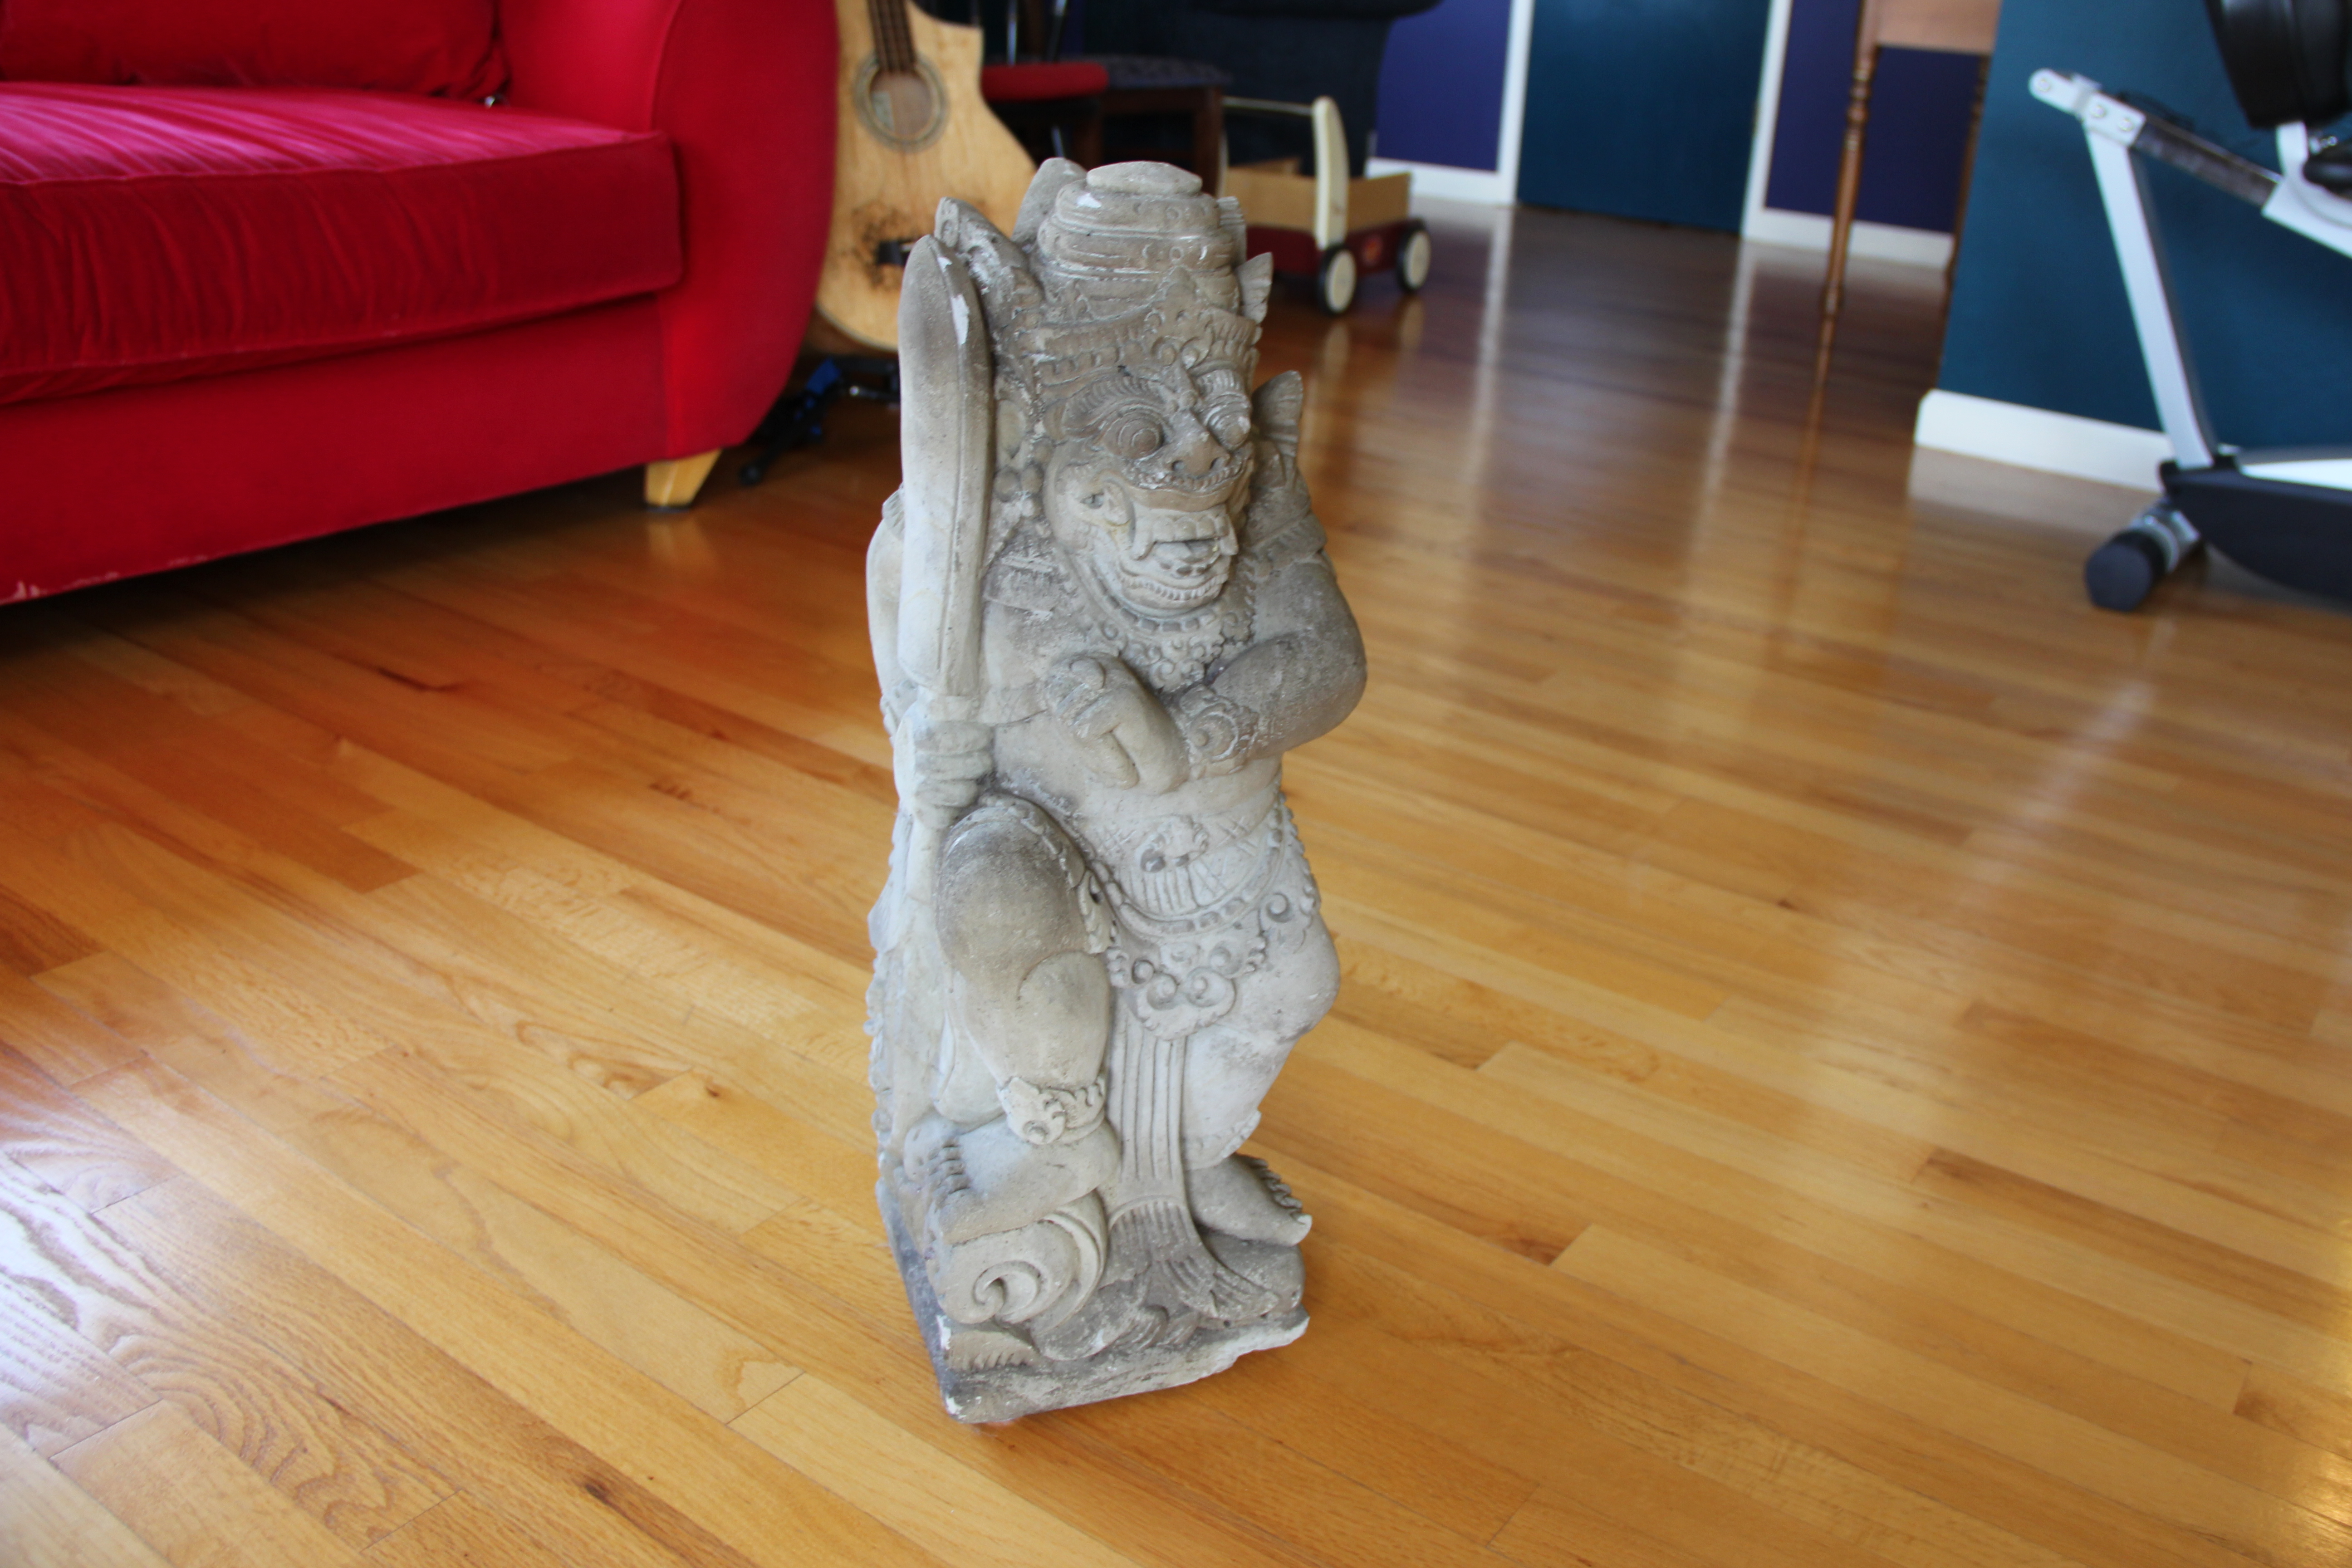
Take Photographs of the Object to Teleport
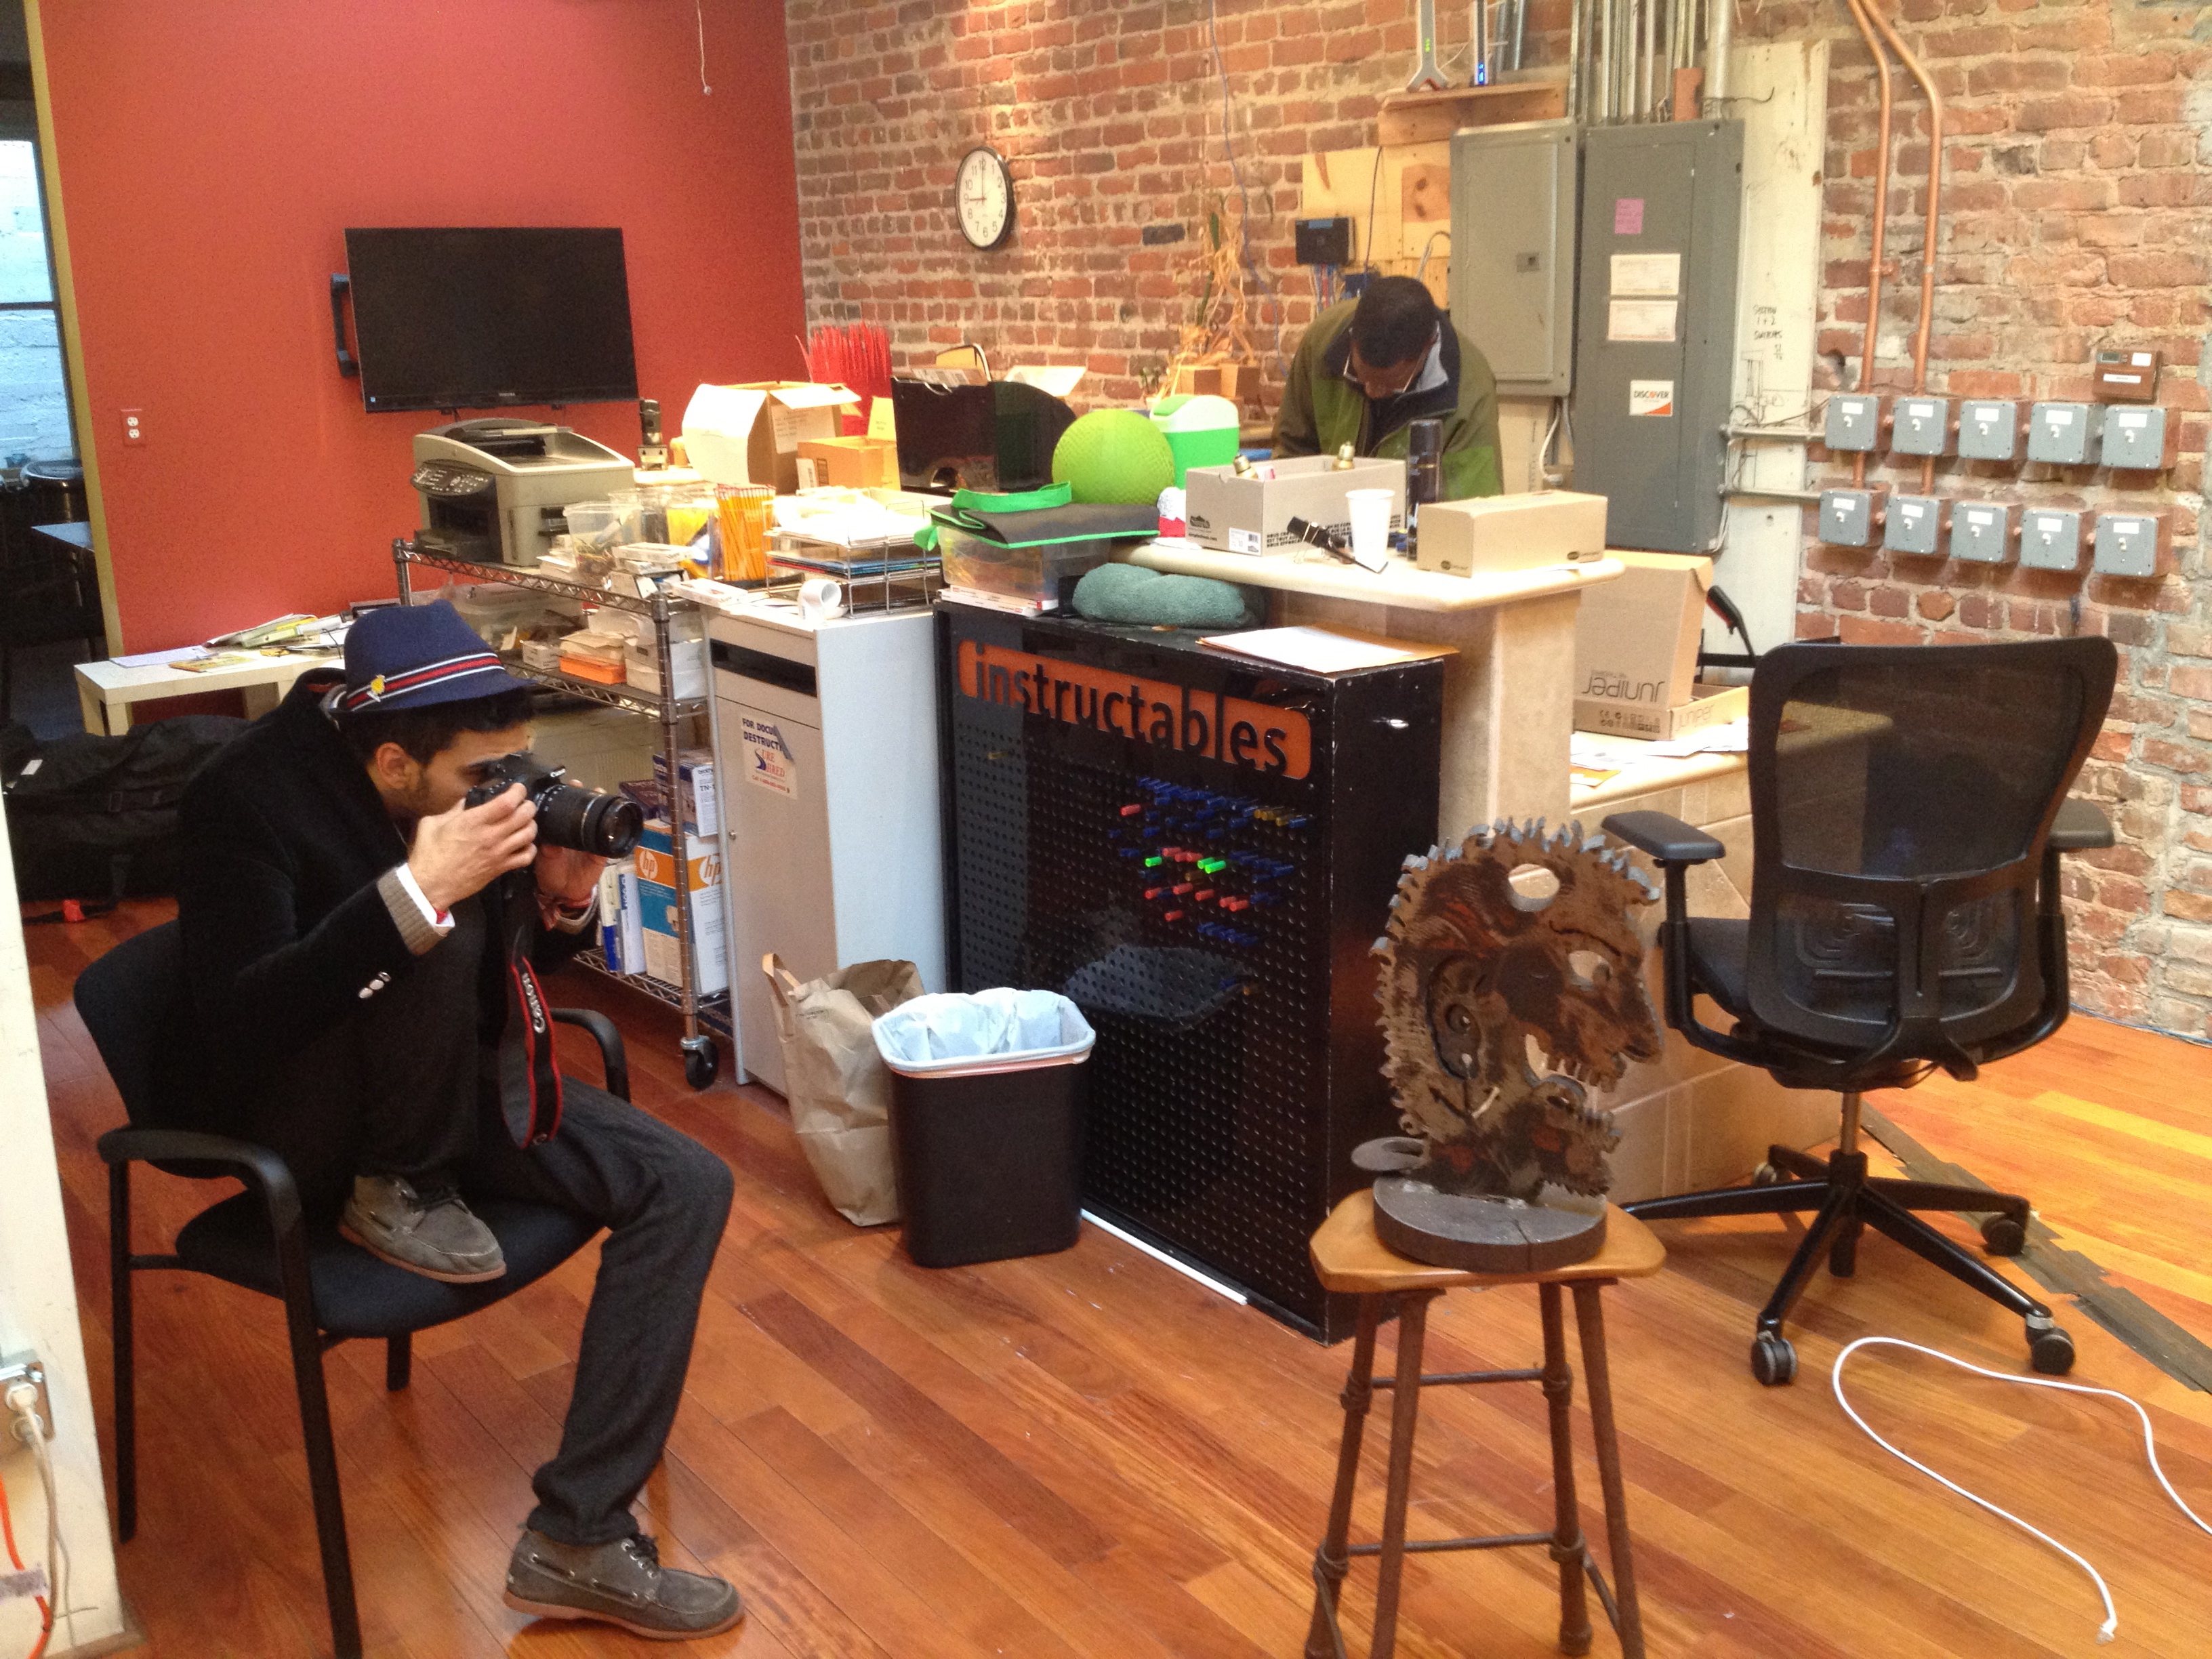
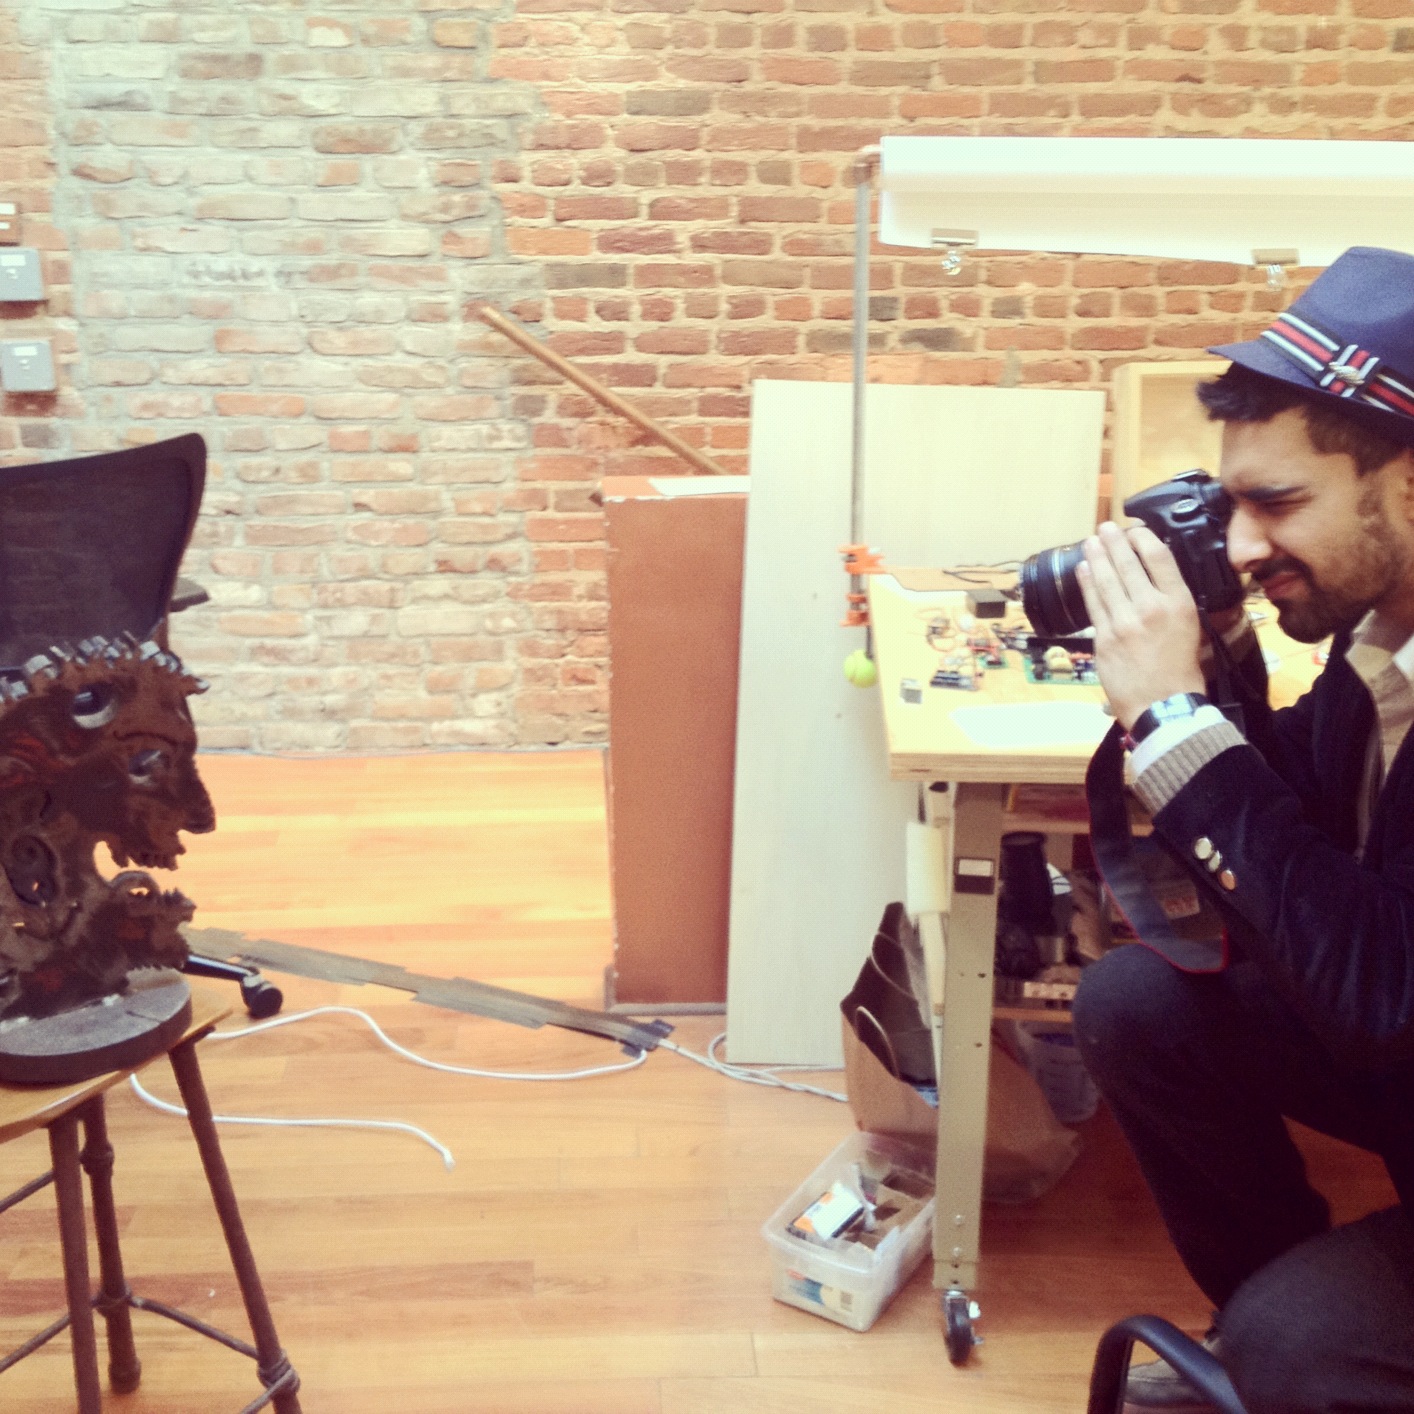
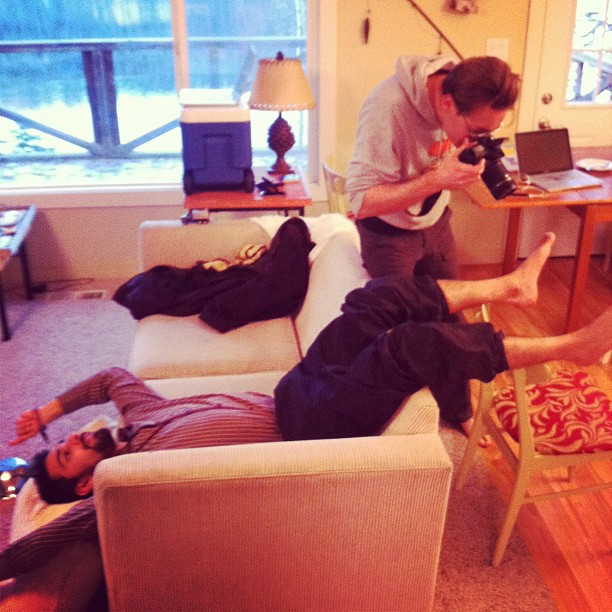
The process you'll use to gather the physical dimensions of your object is called photogrammetry and in order to pick up on its shape you'll need to take many photographs from many angles. Here are some tips:
- Use strong indirect light
- Take your photographs sequentially and in a circle around your object. Not up and down.
- Use low ISO for the low grain
- Take photos with a larger field of view3 Megapixel maximum resolution will be used by catch, so you don't need to go higher.
- High shutter speeds (you don't want blur)
2D-3D Transformation
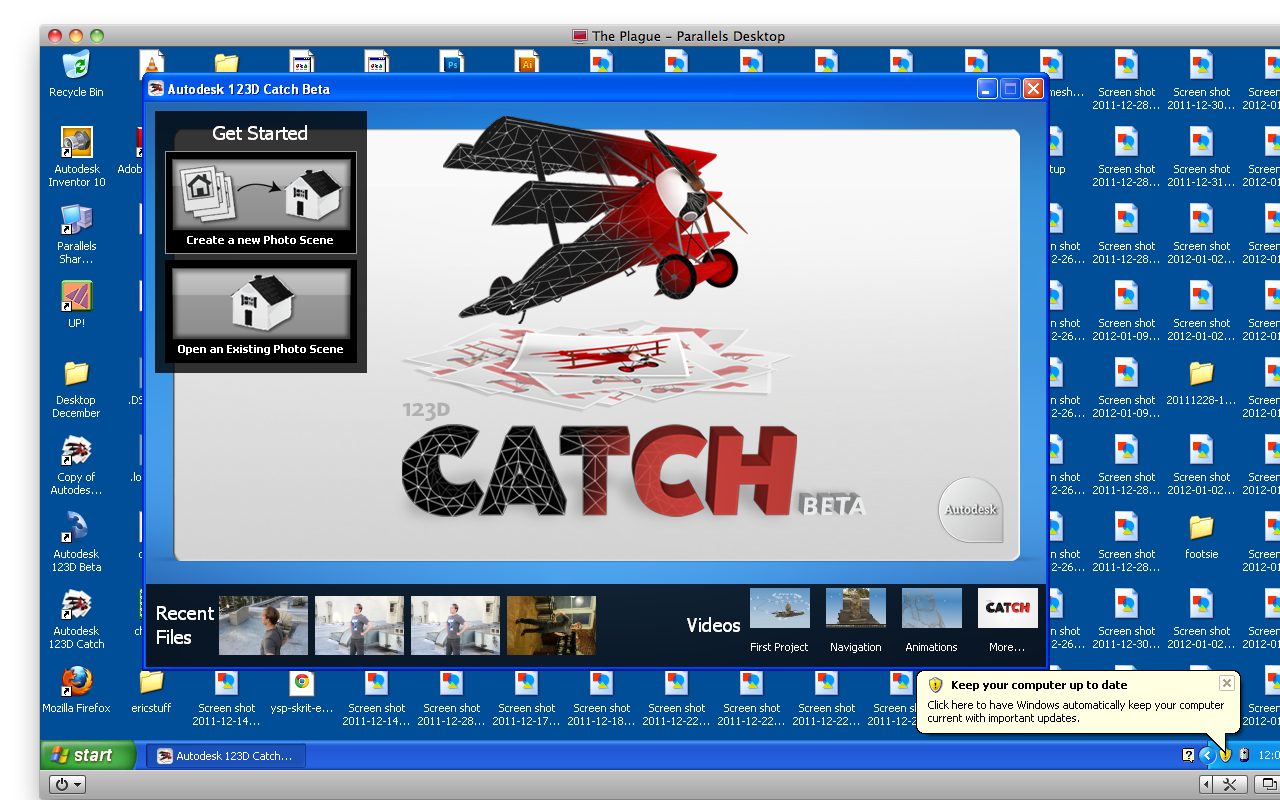
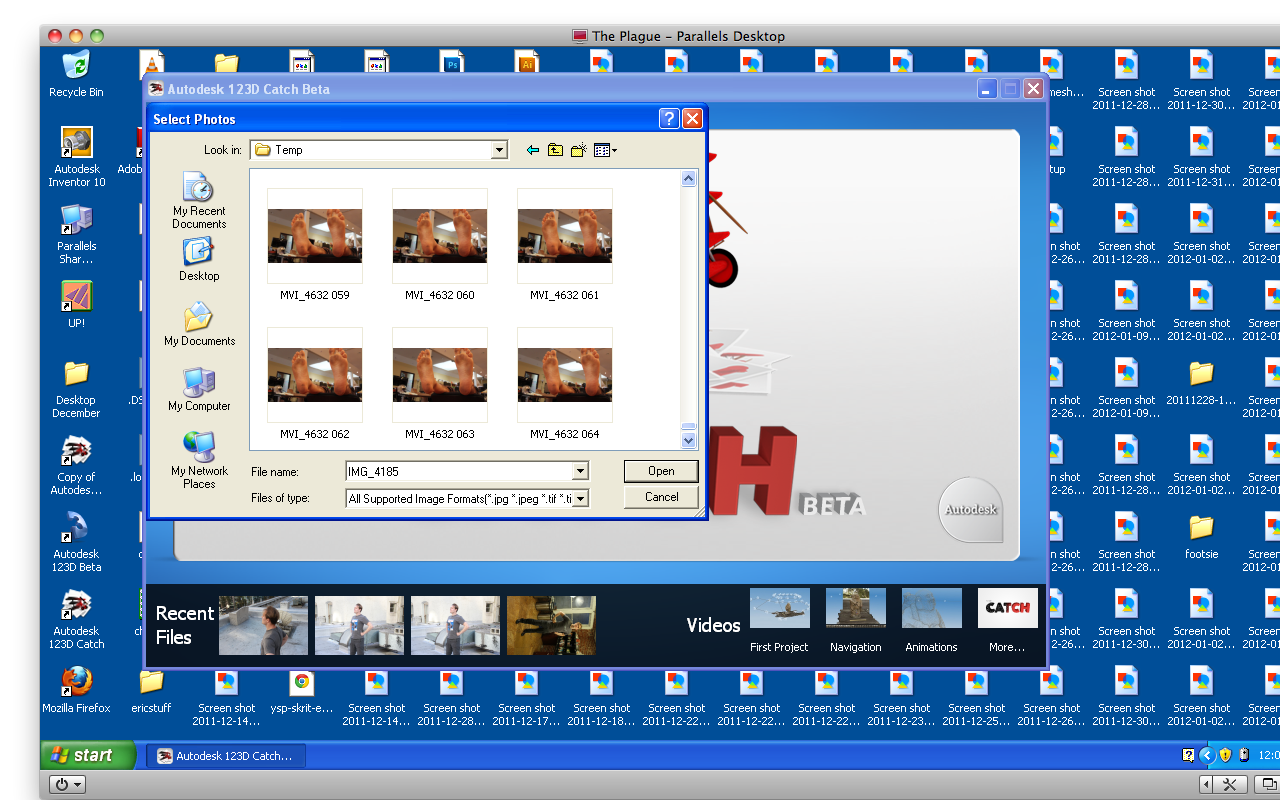
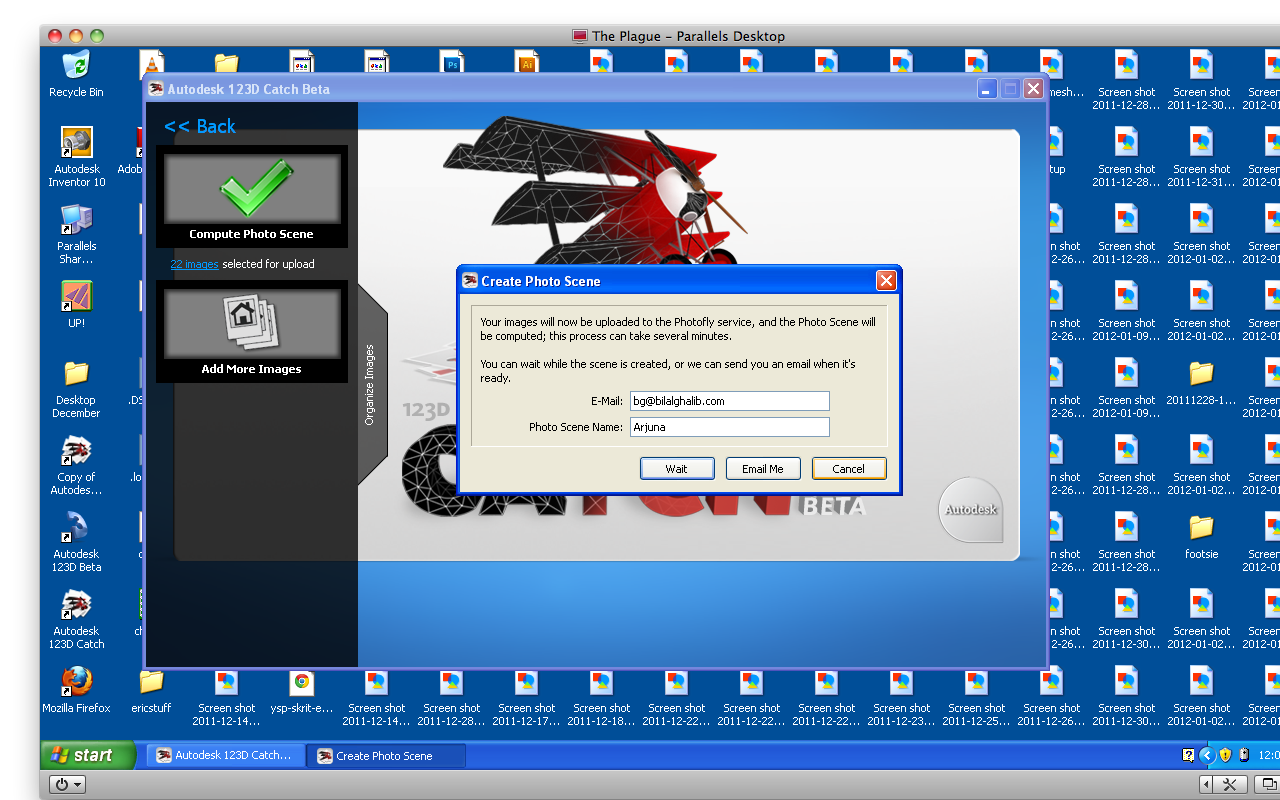
Load your images up on your computer and open up Catch. Click "Create a new photo scene" and load up your pictures. Click upload and here I suggest you have it email you when it asks. It takes up to two hours to process a set of photos.
Now sit back and let Autodesk's cloud servers do all the hard work of figuring out all the geometry! This is why we invented computers :D
Now sit back and let Autodesk's cloud servers do all the hard work of figuring out all the geometry! This is why we invented computers :D
Clean Up Your Scan
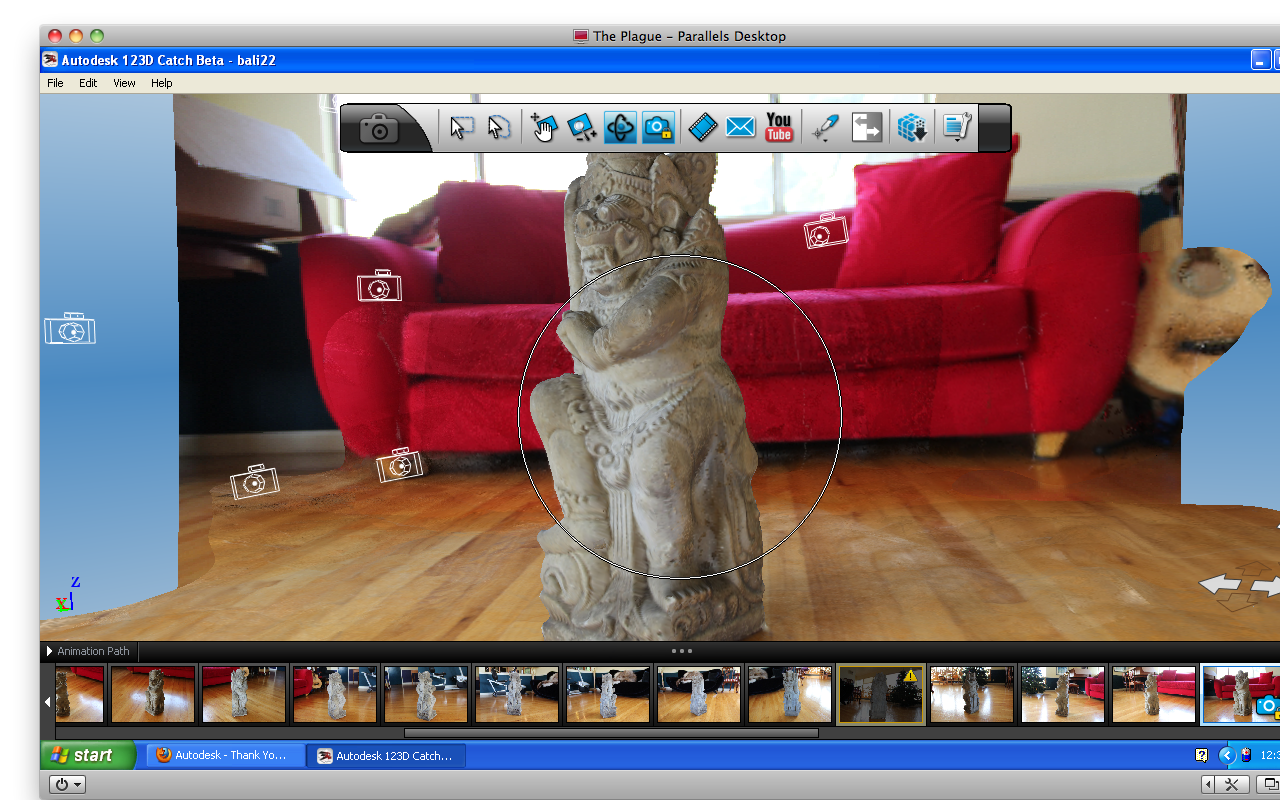
You have by now received an email saying it has successfully created a 3D mesh! Exciting! HOLY CRAP. Your photographs have magically been upgraded!
Download this file and open it up in Catch. Click in the circle in the center and realize now that this is not just a photograph, but a full 3d navigable model with a SKIN! AWESOME!!!
Check out the video:
Click export and save this as an STL.
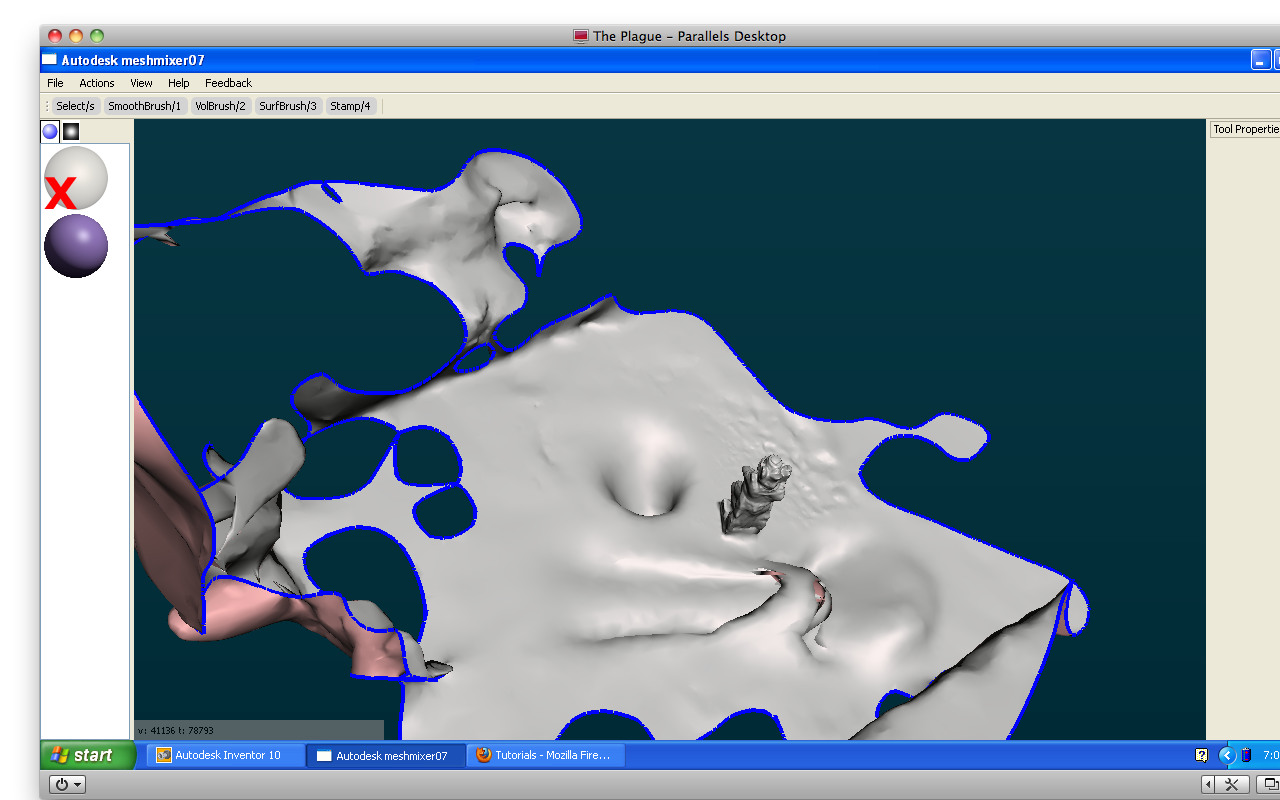
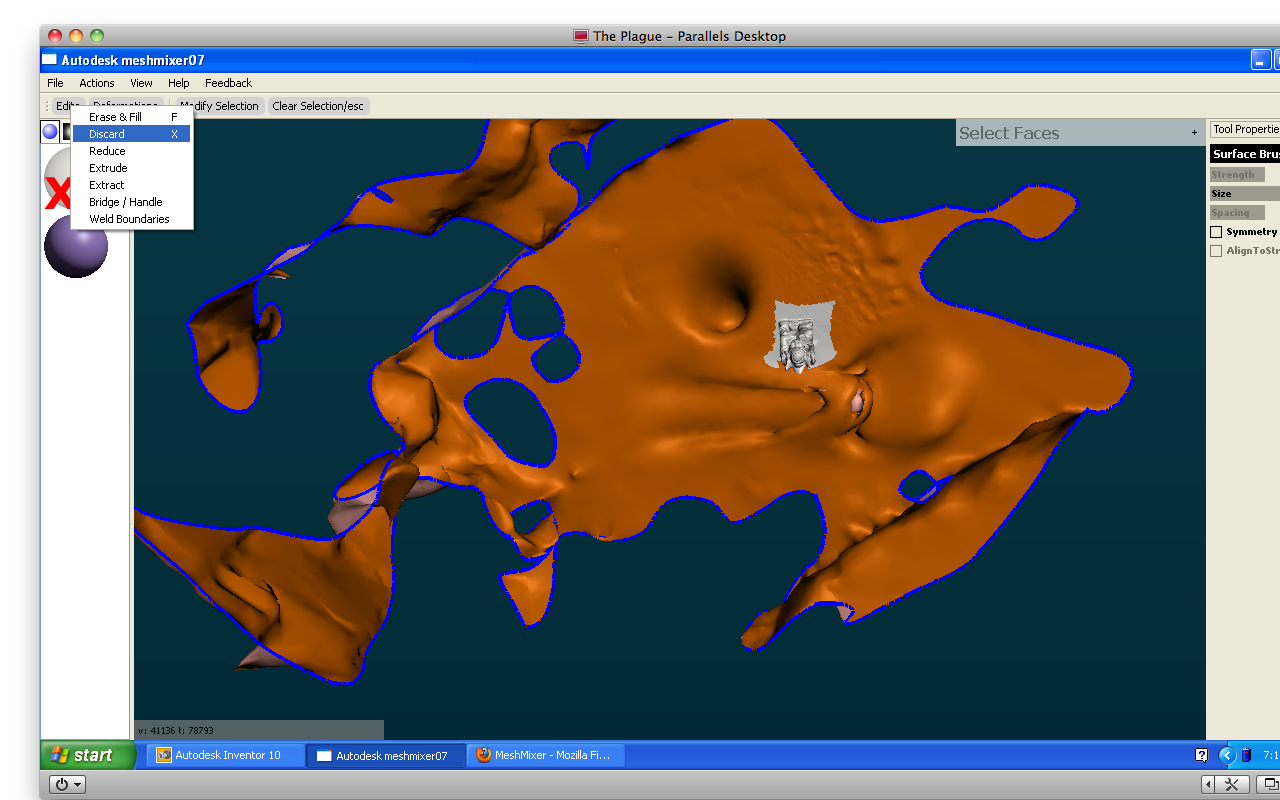
Open up Meshmixer. This will let you delete the rest of the scene and leave the object you want to transport alone. Your objective is to select and delete all the rest of the scene and leave the object your interested in alone.
In Mesh Mixer here are some tips and the process to getting a clean object out:
- Press control and click and drag to move around
- Press control and click and drag with your right mouse button to zoom in and out
- Click select in the upper right corner, click "Switch to lasso mode" and rope the parts you want
- Once you have your object highlighted in orange click "Modify Selection" and click invert
- Now click "Edits" in the top left side and use "Erase and Fill"
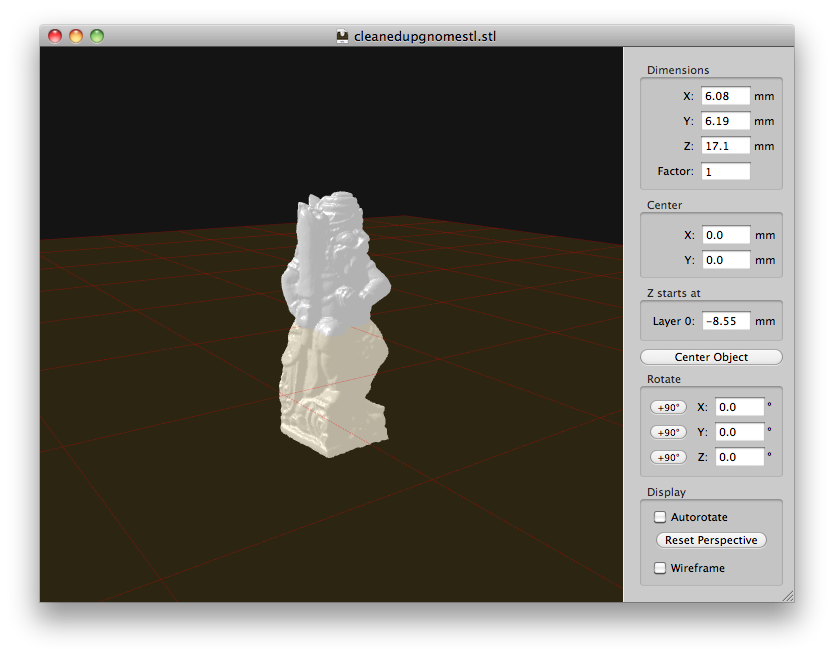
- You can now click export and export a cleaned up version of your 3D scan!
Print It!
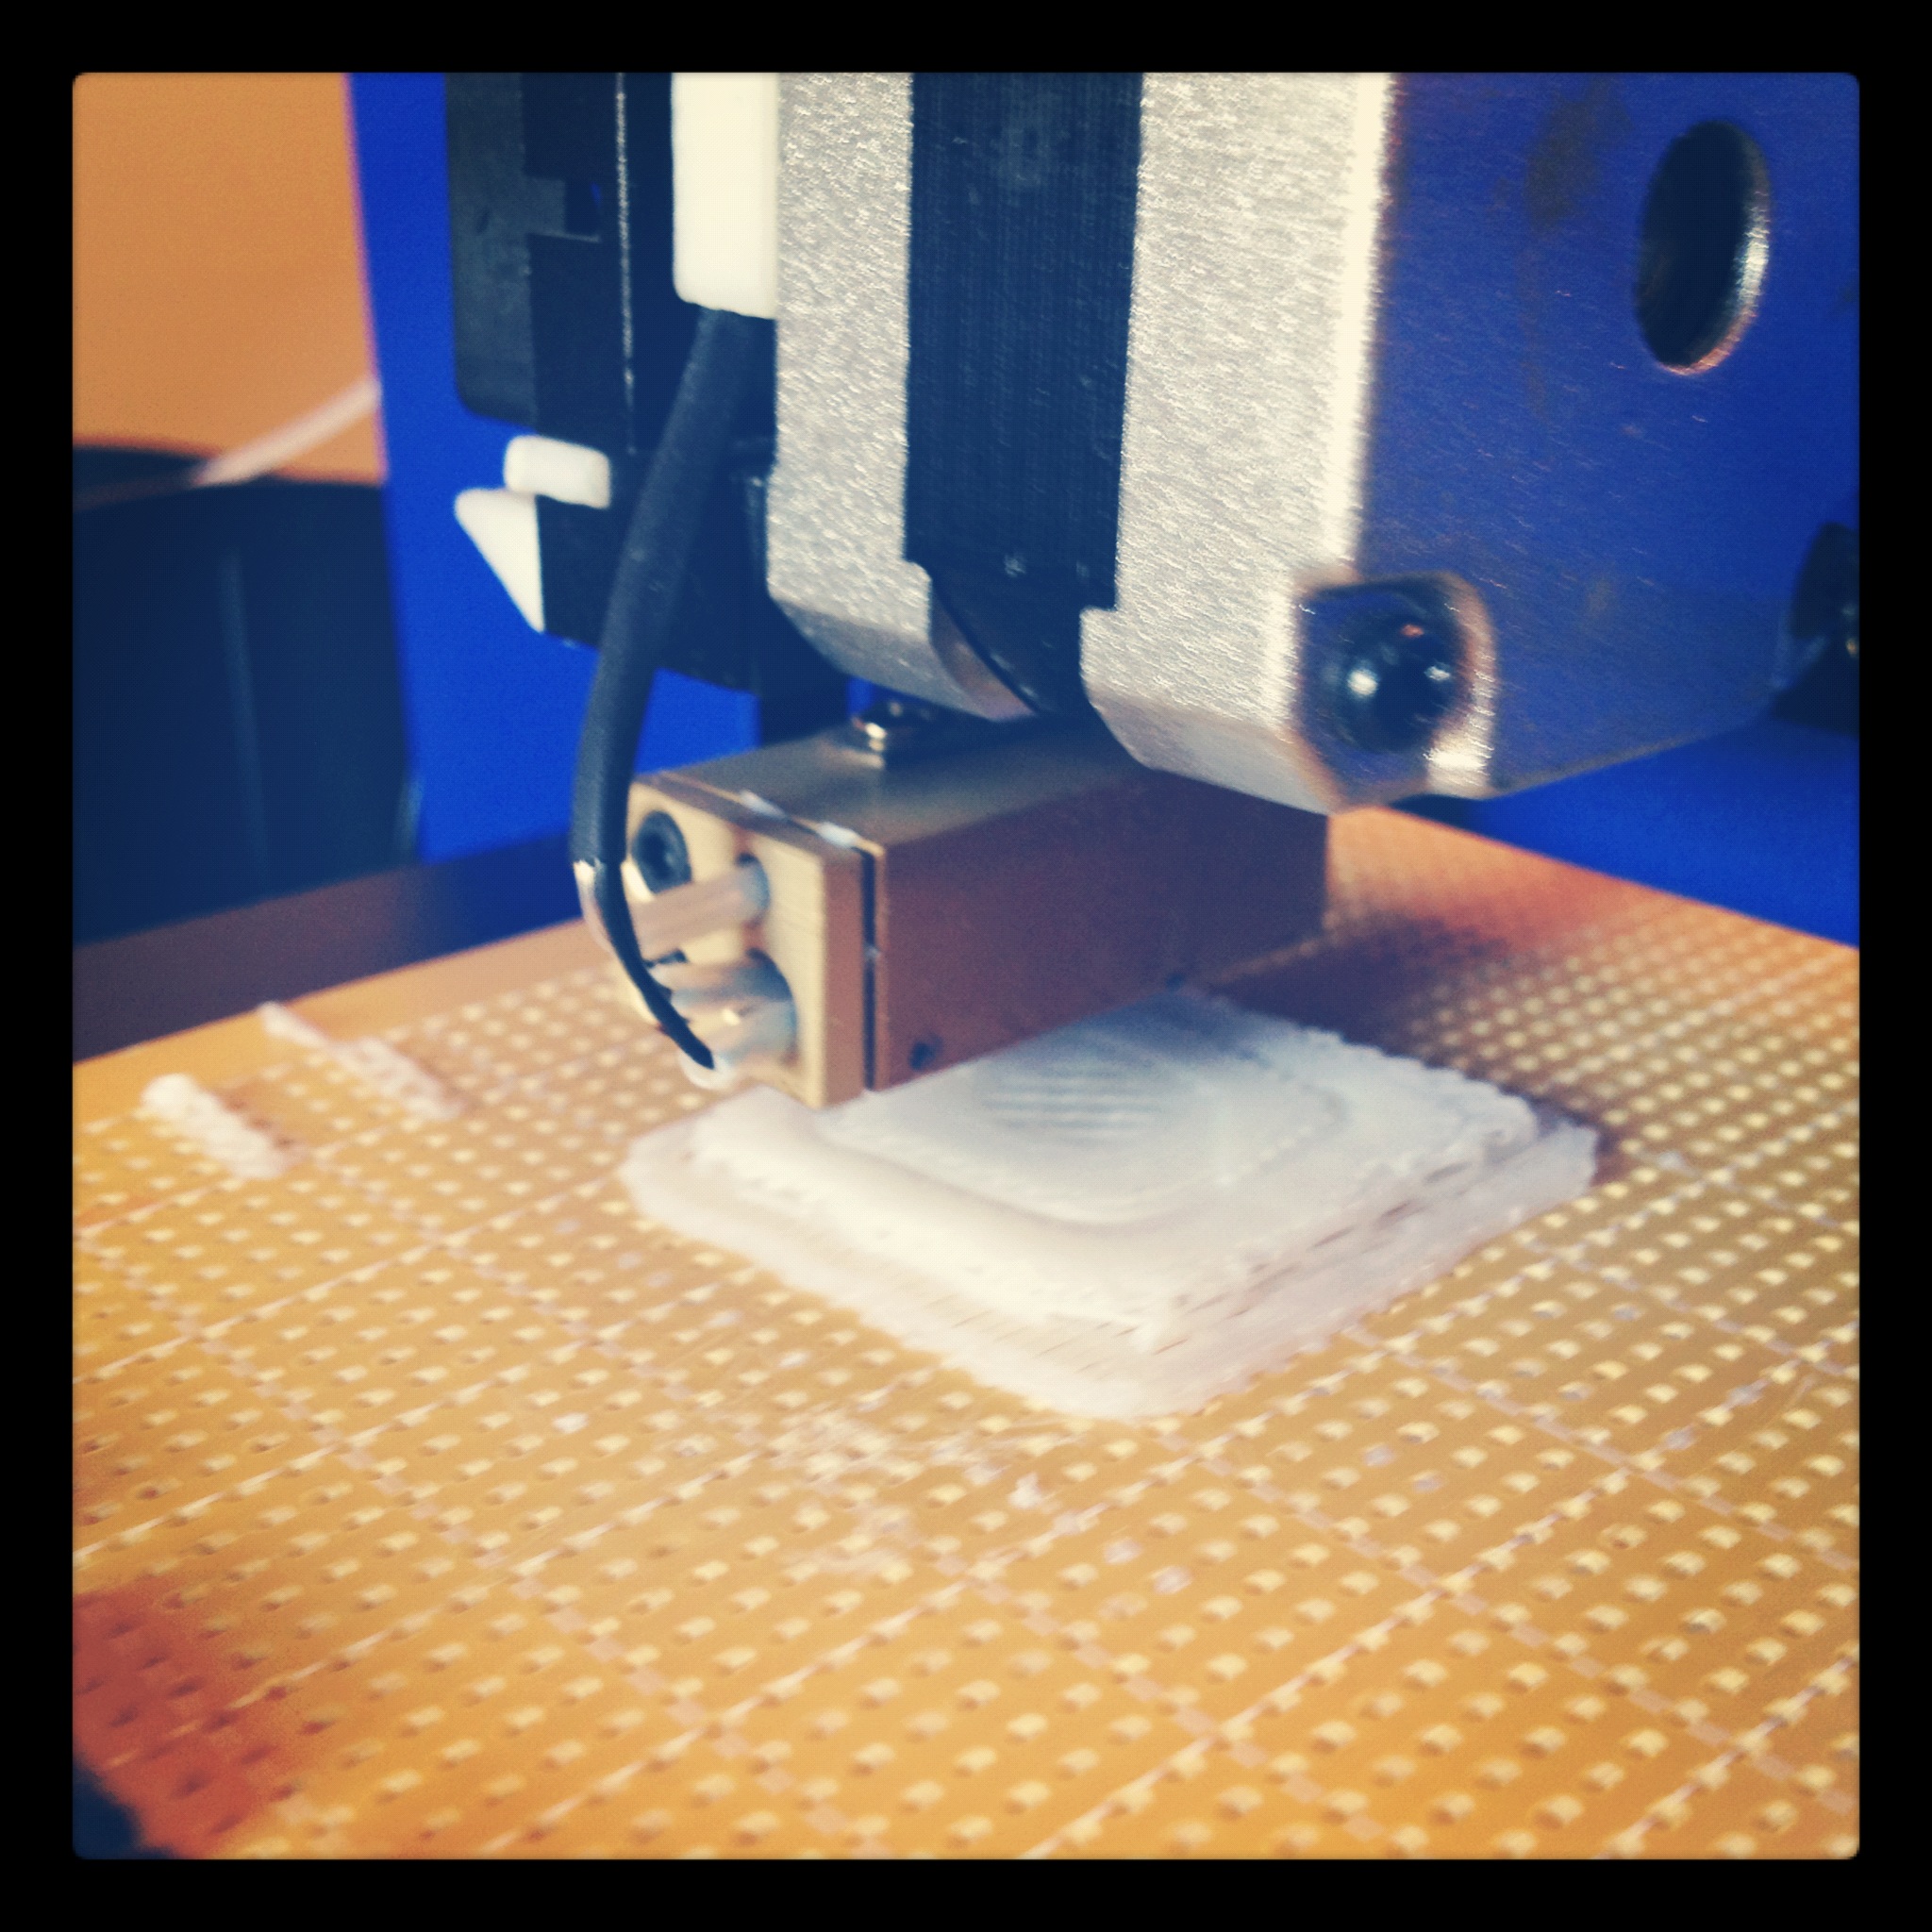
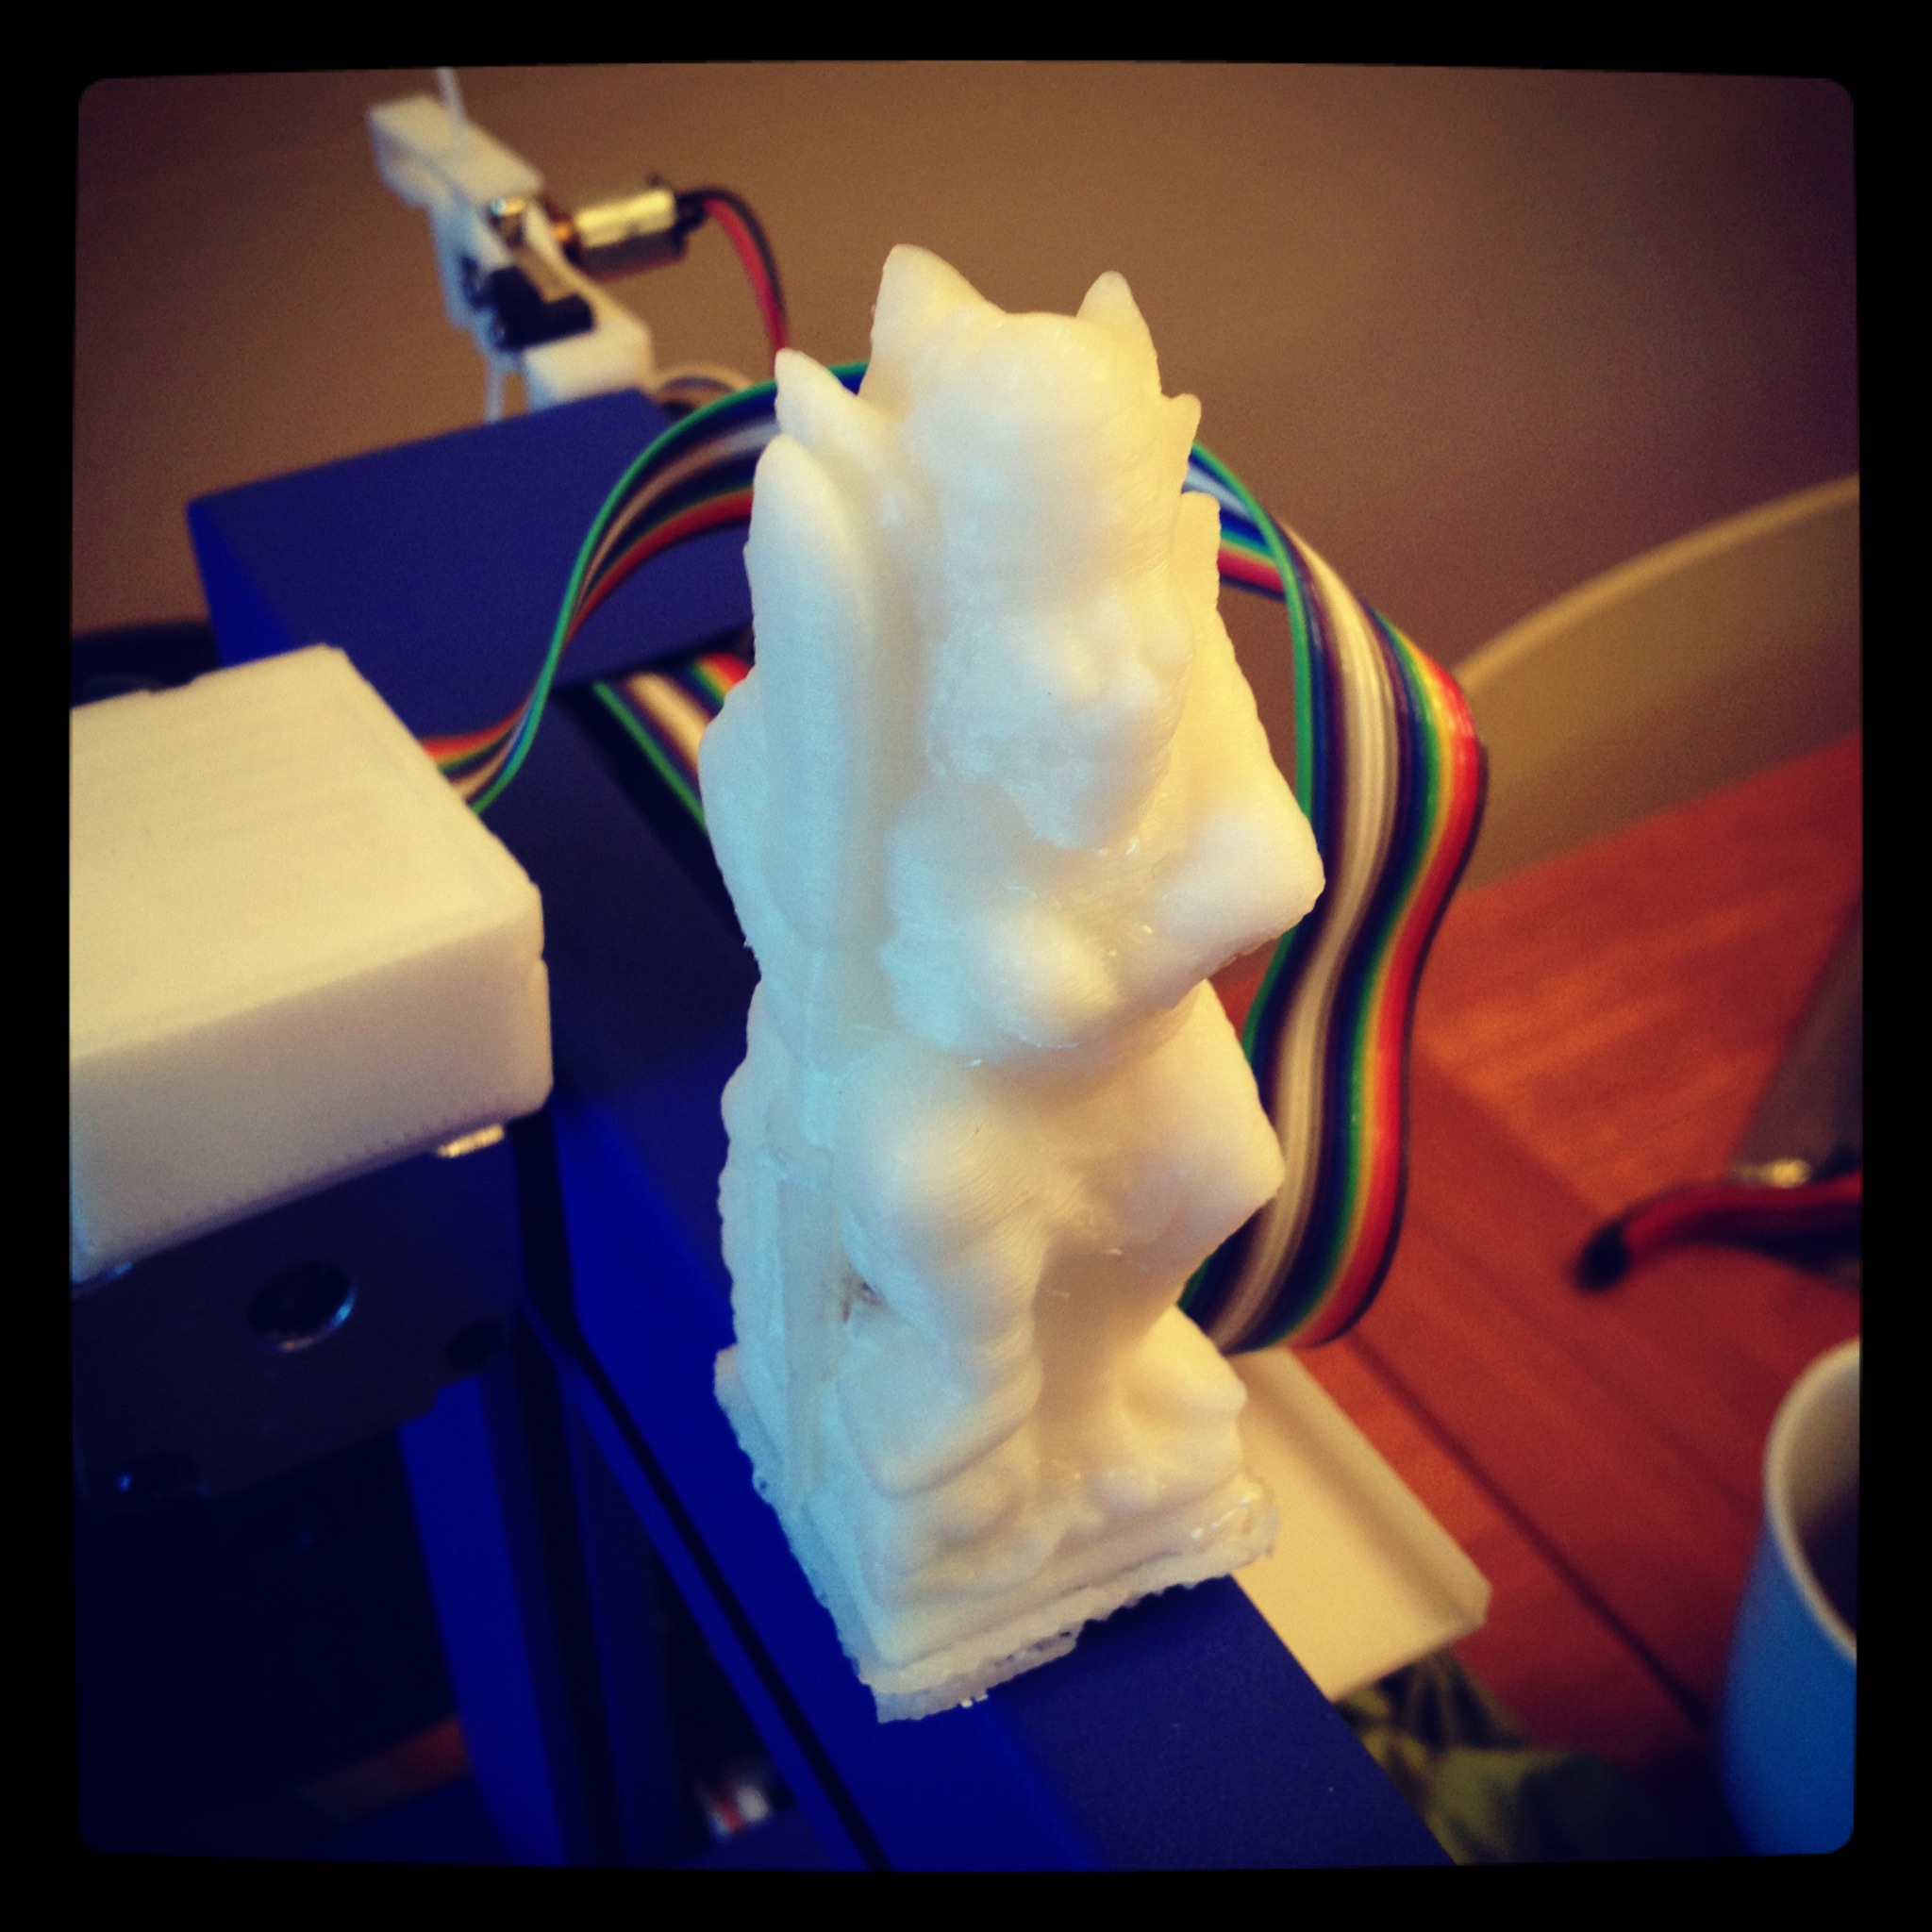
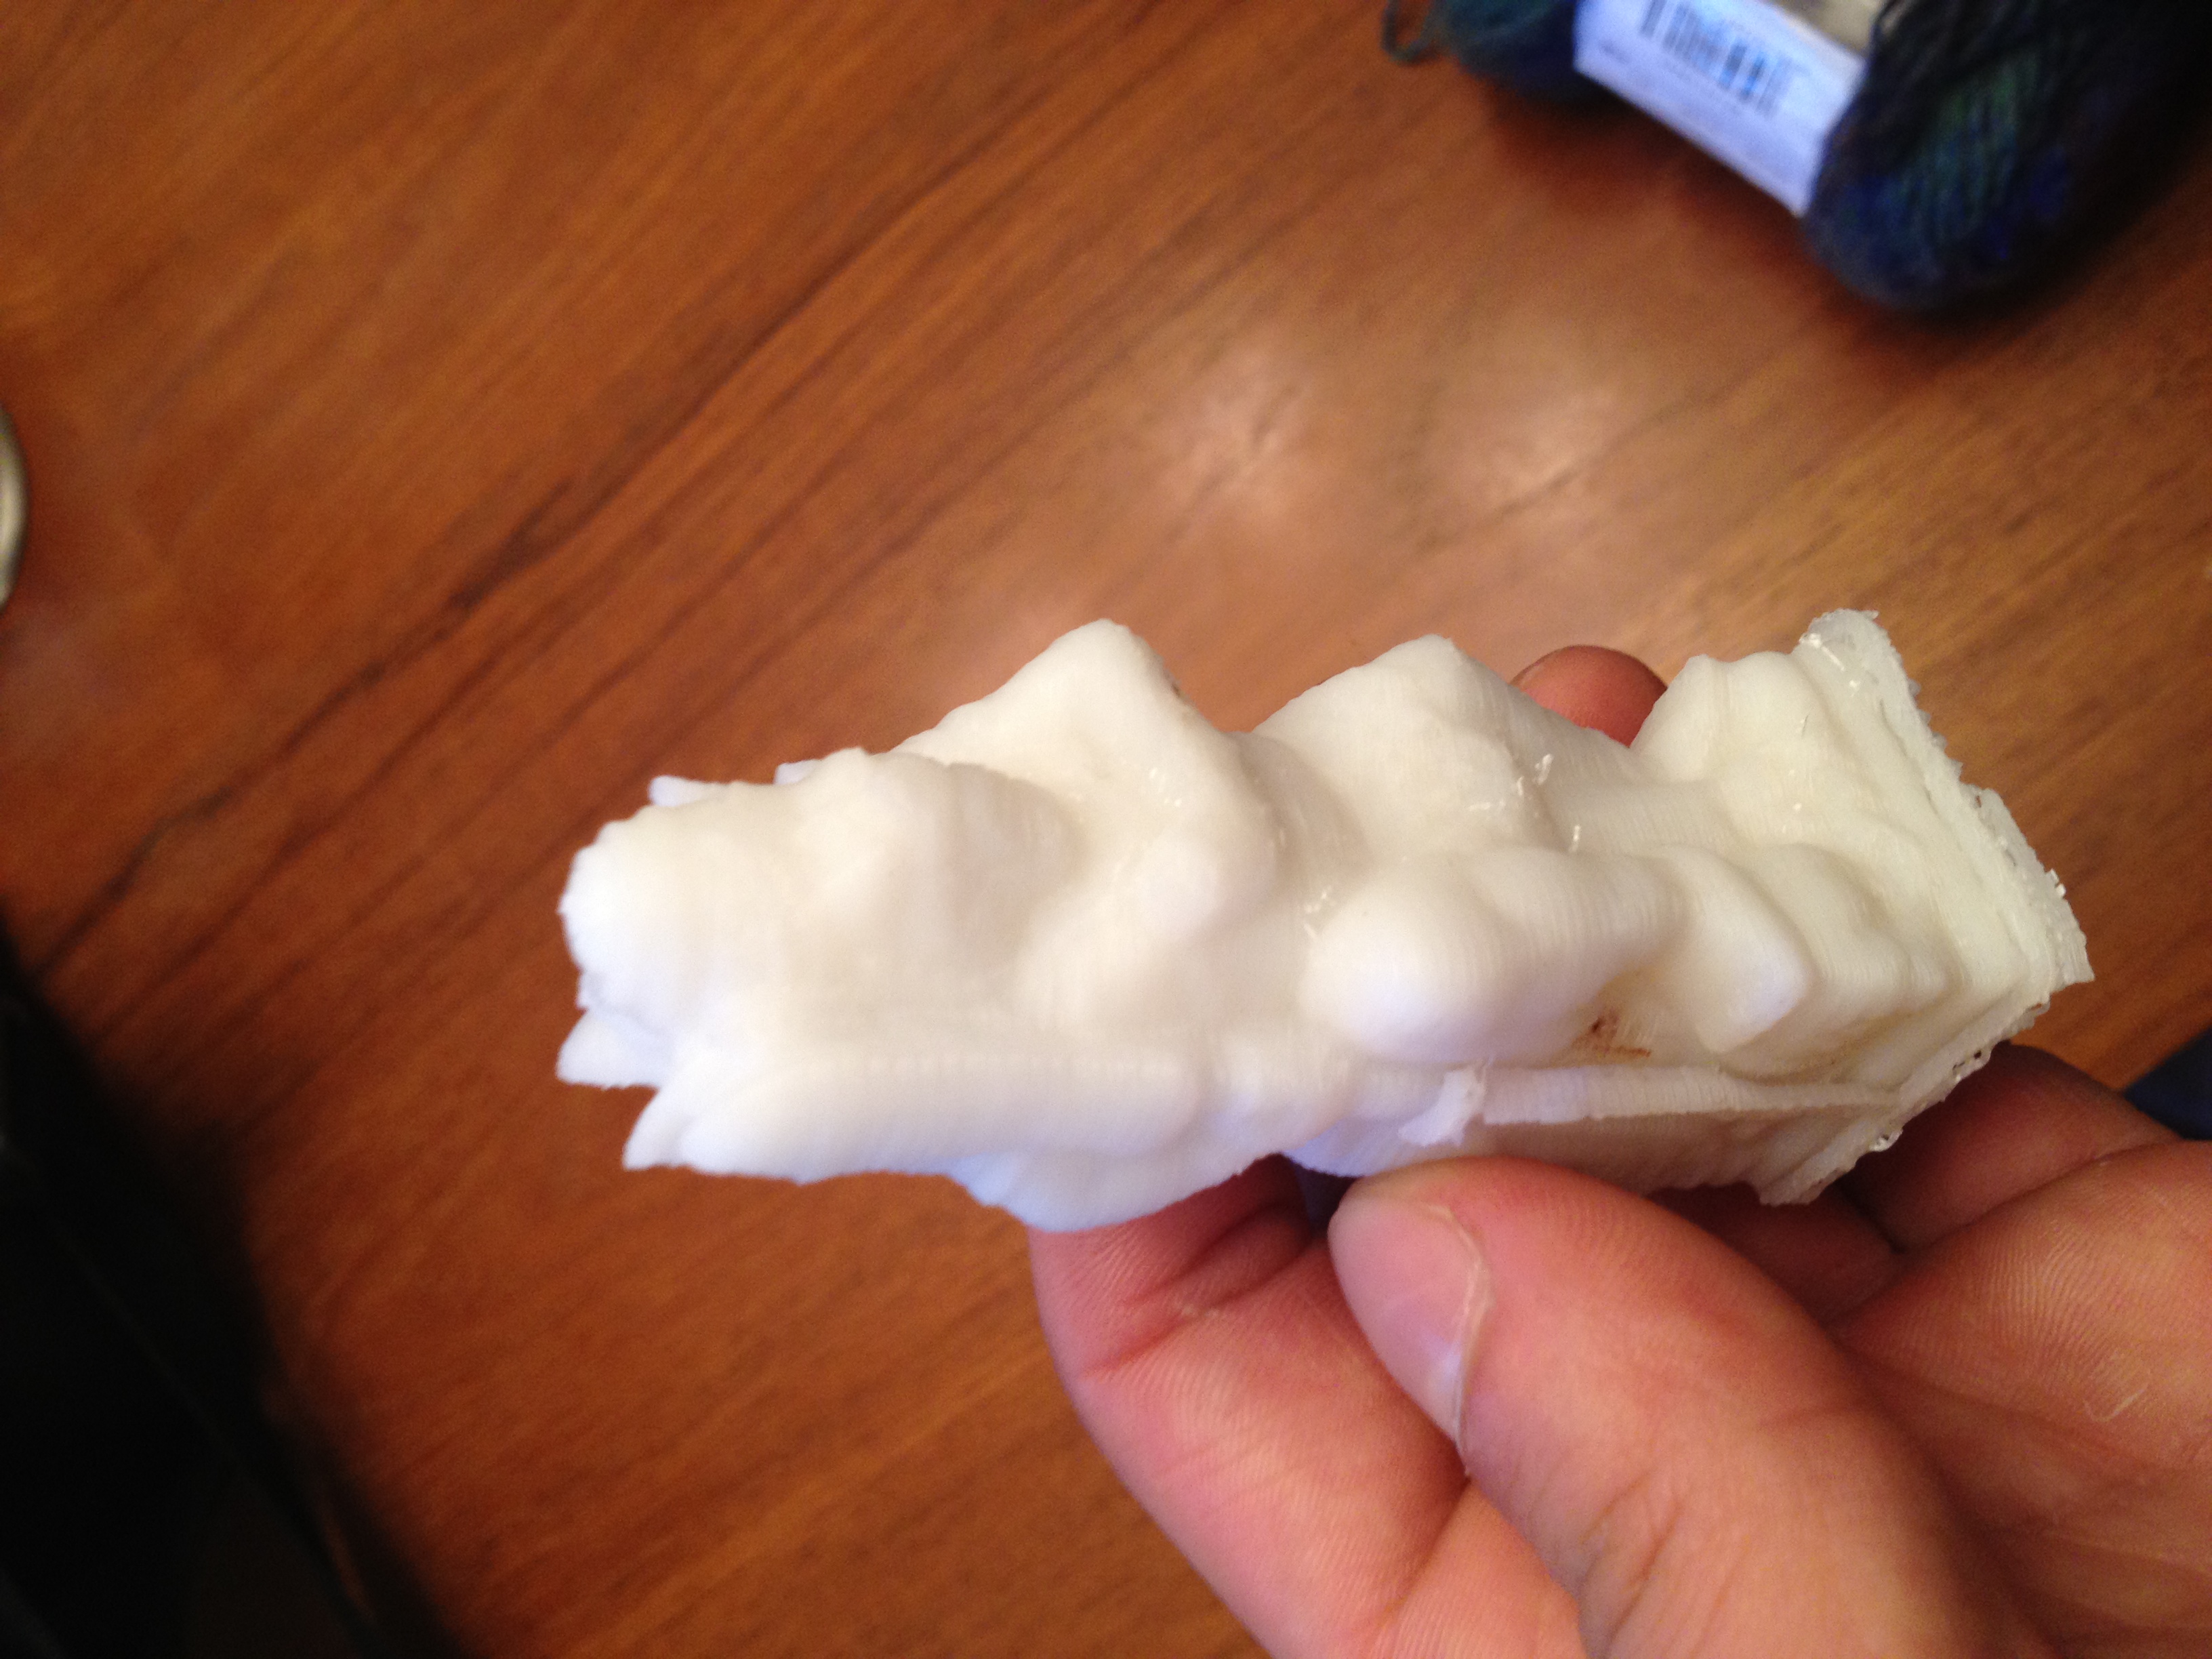
Depending on your 3D printer the instructions will vary, but the general process goes as such:
1) Open your model in your 3D printers software
2) Slice the model into layers
3) Send it off to be printed to your machine
If properly built, calibrated, fed, and groomed your 3D printer will print out your object like this:
1) Open your model in your 3D printers software
2) Slice the model into layers
3) Send it off to be printed to your machine
If properly built, calibrated, fed, and groomed your 3D printer will print out your object like this: