How to Teach 3D Printing to Young Designers
by Wanjun in Workshop > 3D Printing
3394 Views, 3 Favorites, 0 Comments
How to Teach 3D Printing to Young Designers

3D Printing and Design empowers learners of all ages to explore their creativity and bring their imagination to life.
Having taught 3D Printing workshops at my local makerspace, library, community centers and schools for years now, I'd like to share my experience, intro lecture, students' first 3D Printing project, tips and tricks in the hopes that you may find it useful in bringing 3D Printing workshops to your school, community center, library, maker space.
Or simply learn something for yourself and see how accessible this technology can be.
I want to show that 3D Printing and Design can be for everyone, useful in art class AND math class, and mostly importantly fun and simple! I always tell students that a 3D Printer is just a fancy computer controlled hot glue gun.
Step 0: Tools and Consumables, Classroom Set-Up

I do variations of this workshop for mostly high school students, and adapt for elementary, middle school and adults. I prefer to teach no more than 15 students at a time, 20 with an assistant. This workshop requires at least two hours to allow for the completion of the first 3D Printing project. If I have more time, then we might do another 3D Printing and Design Project.
Tools and Consumables:
- FDM 3D Printer - Whatever you have just prep to ensure reliable printing during the workshop. I've had to do a few spontaneous fixing of filament jams in the middle of a demo.
- Projector - For the intro presentation, showing videos/pics
- Computer/Laptops - 1 to 4 students per computer
- Access to internet for tinkercad.com
- Printed Project Guide
- Rulers and Pencils
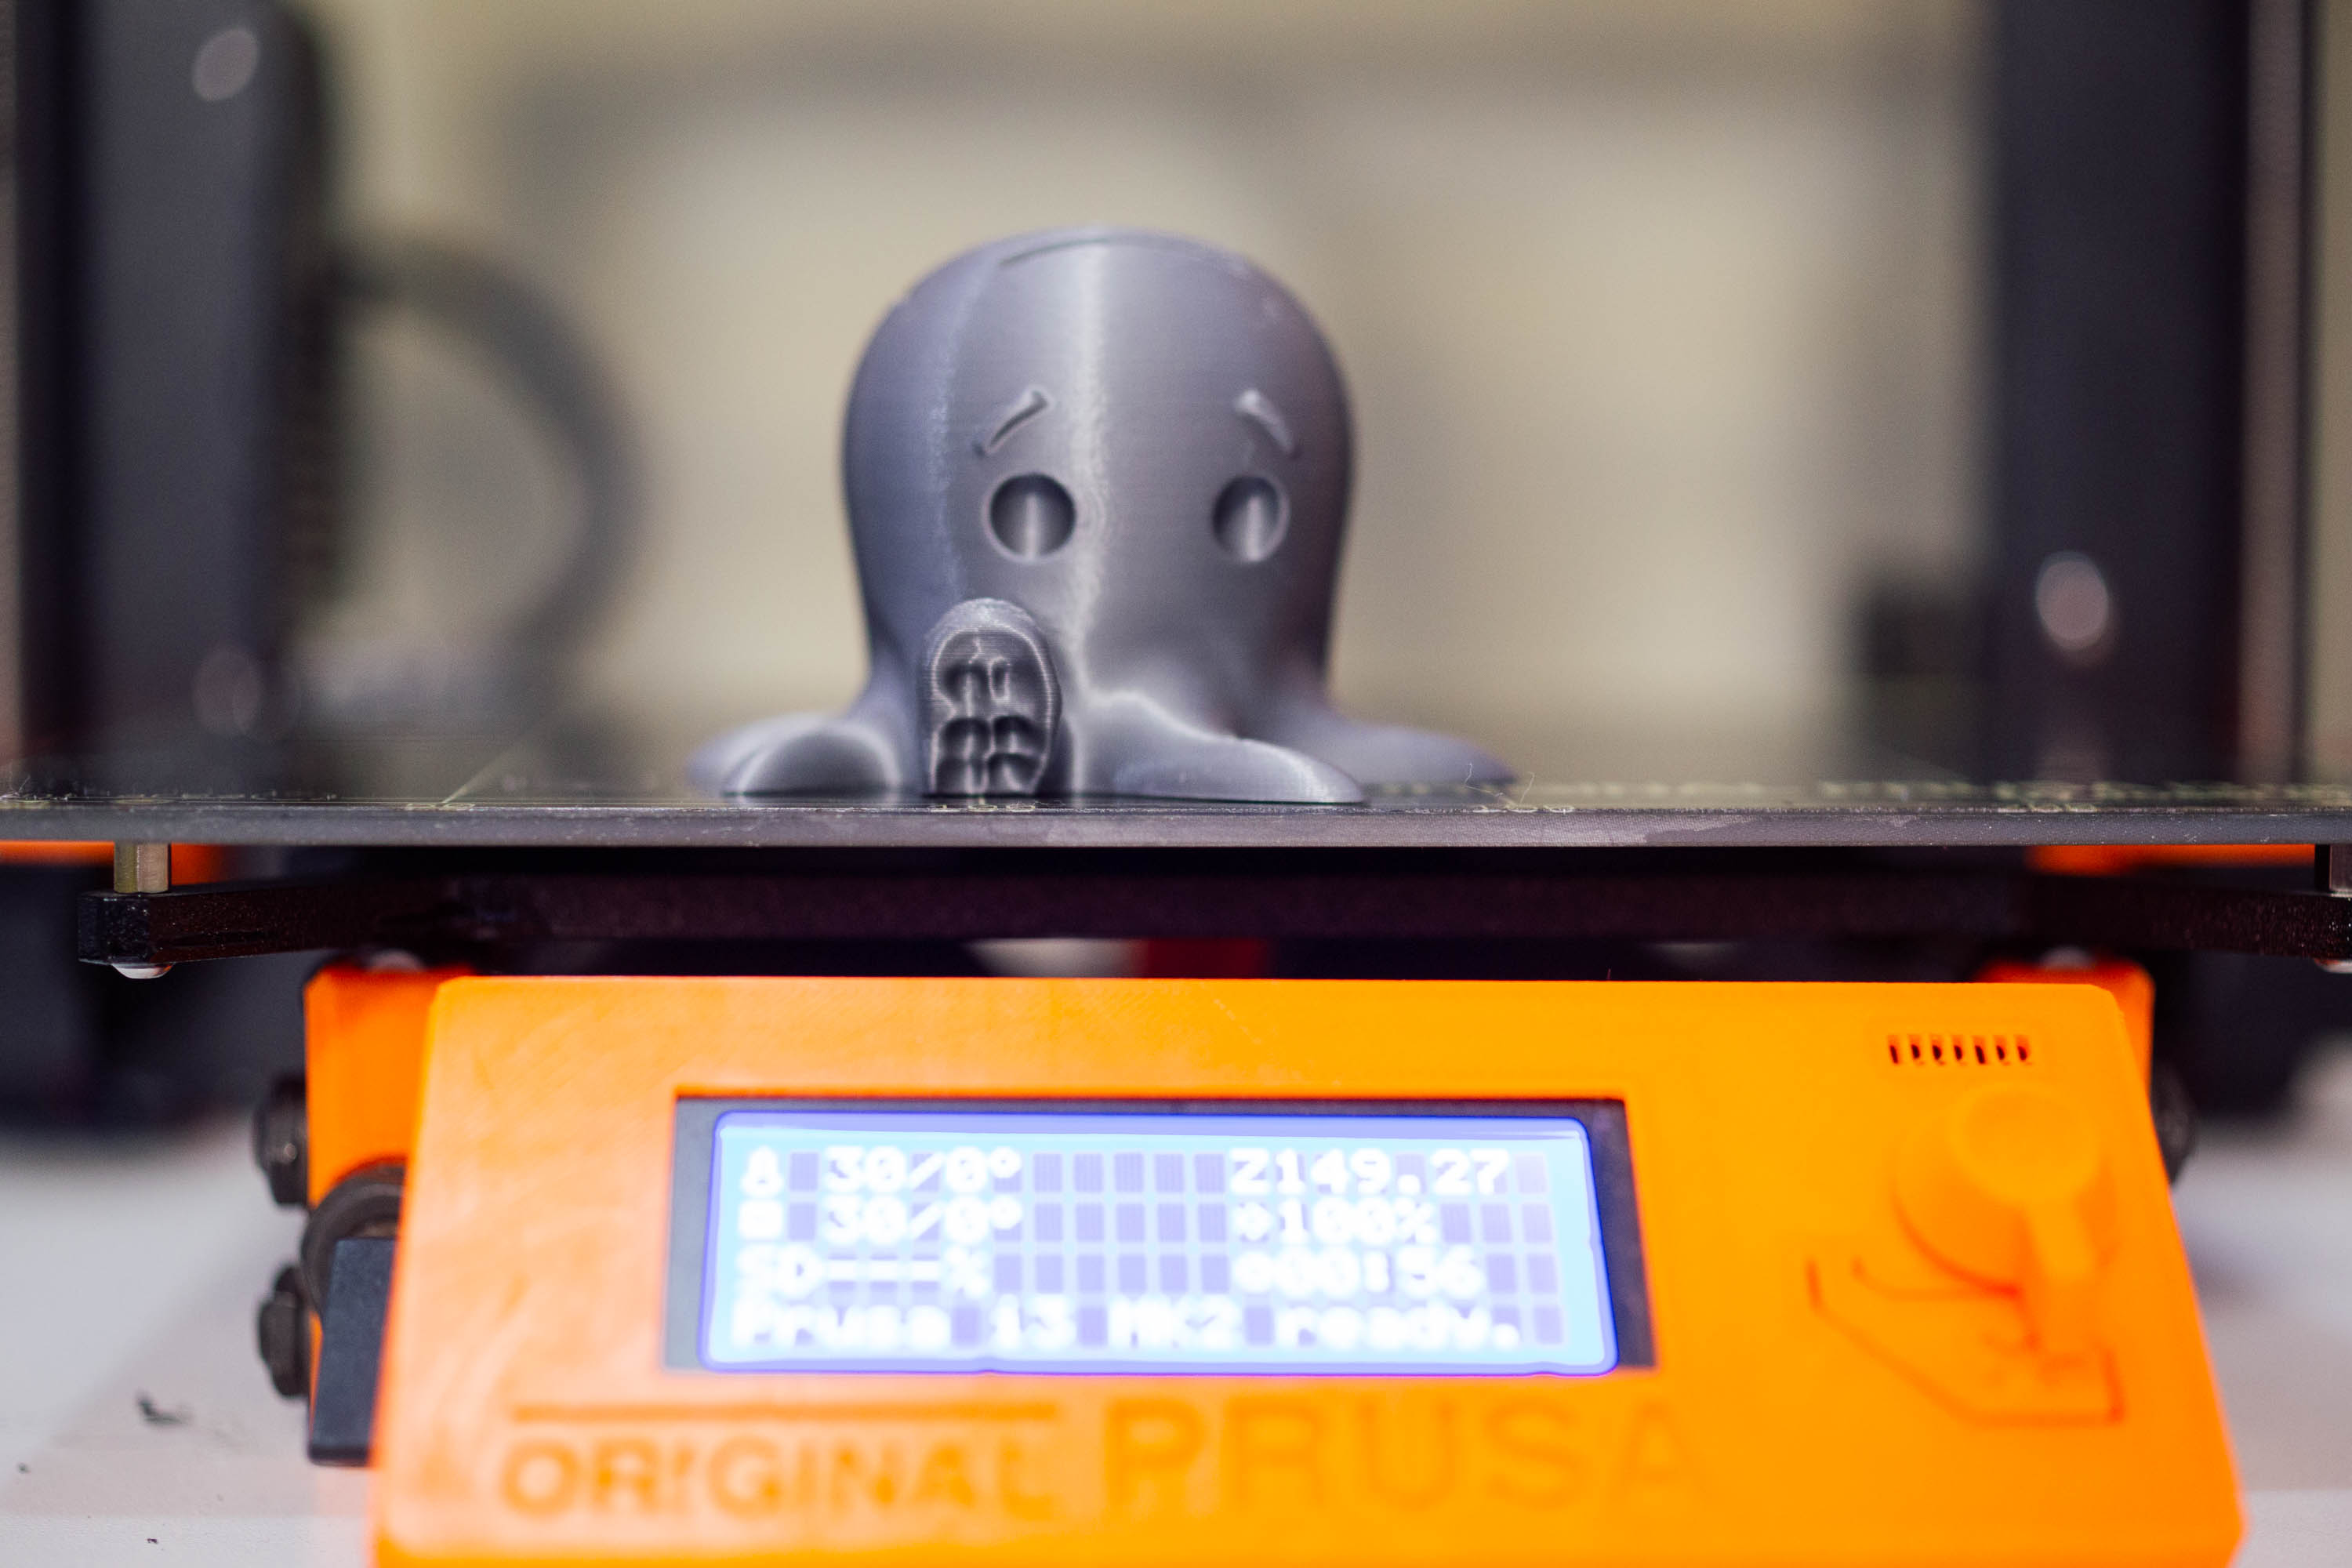
- some sample prints that show visible infill pattern
Classroom Setup
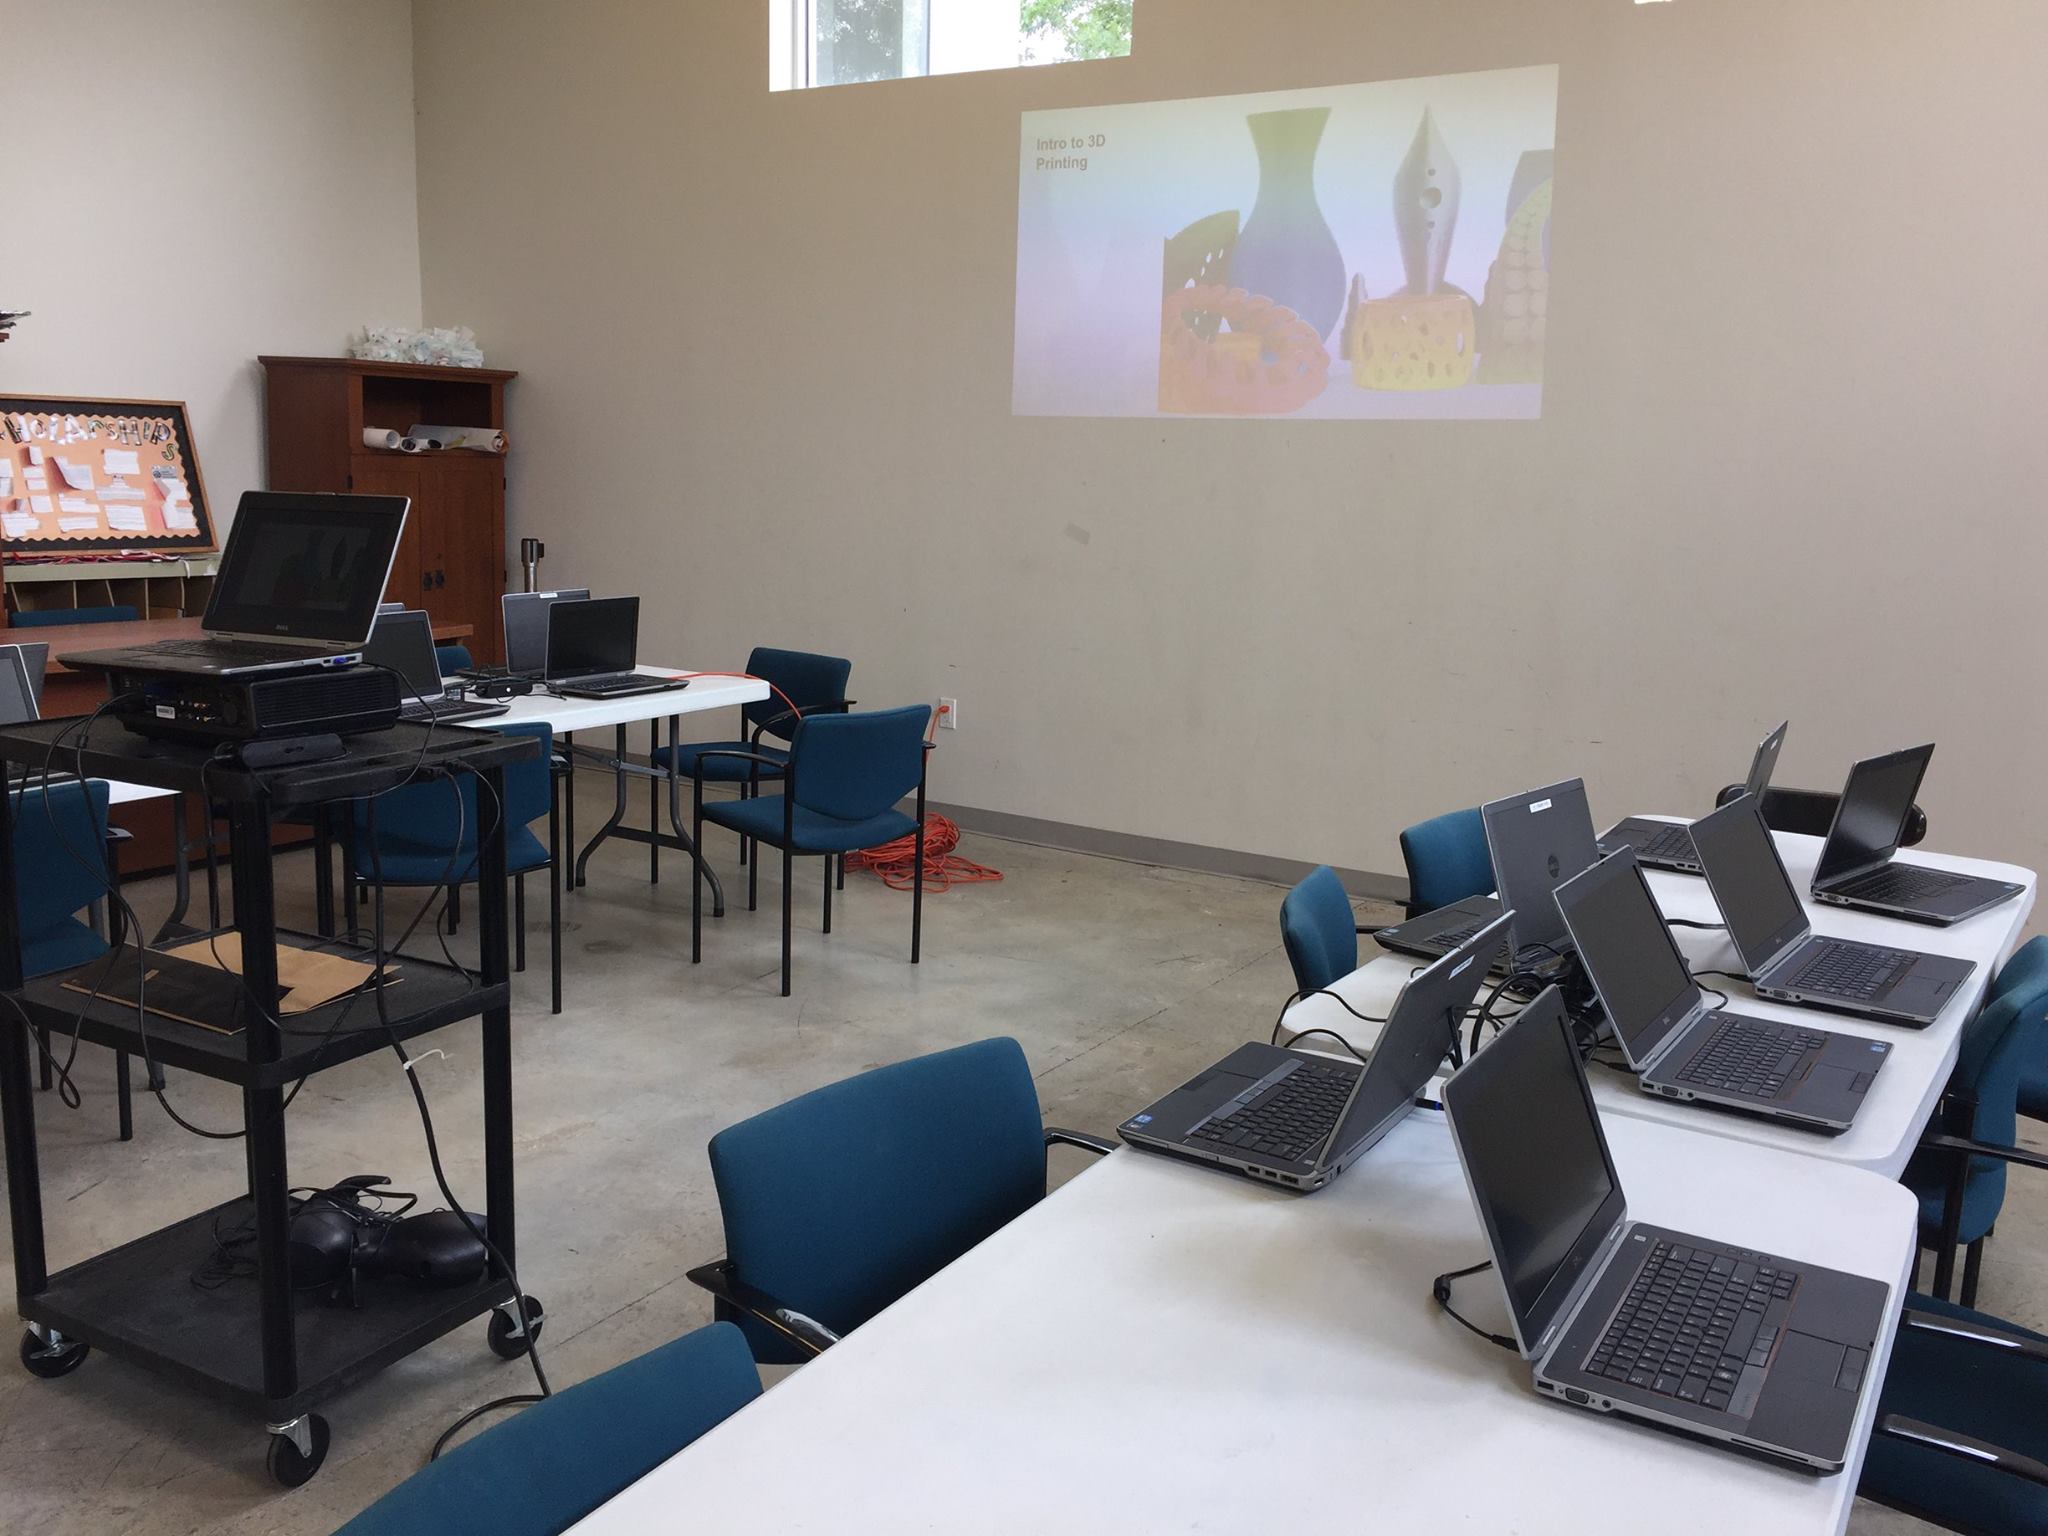
Ideally a projector, and each student to their own computer with internet connection. Students are grouped together if the space is too small or if we do not have enough computers.
If sharing, I briefly go over expected behavior with Code.org's Pair Programming video - https://www.youtube.com/watch?v=vgkahOzFH2Q and assign navigator and driver roles, and I have students switch every so often to facilitate a collaborative learning experience for all.
The classroom management applies to educators as well, the expectations I set for myself:
1. never assume the student knows something already
2. never take over a student's keyboard/mice. If a student doesn't know where the esc key is on the keyboard or the undo button in the program, just point!
I also set the positive expectation that every student would be able to complete his or her own project.
Presentation + Running the Printer

This is a presentation I give before we do 3D modeling for their first 3D Printing project, also uploaded as a PDF here.
If I'm running short on time or if students are in elementary school I skip the presentation and simply talk through a youtube video of a Chocolate 3D Printer and pictures of Adidas 3D Printed soles and make an old person joke about the next yeezys being 3D Printed.
The goal here isn't for everyone to become 3D Printing experts but to empower students with the knowledge and terminology surrounding 3D Printing. When we understand key concepts and how it works, we are able to explore and create and devise our own solutions with 3D Printing technology. At the end of the day a 3D Printer is simply a tool that we learn how to use, just like a paintbrush, power drill, scissors, glue gun, and so on.
More often than not 3D Printing is the thing that gets you to the thing, but not the final thing.
Downloads
Presentation Explained + Hands-On Time

Here are the Key Points from the presentation :
Intro - What is 3D Printing?
I really like the GIF of stacking bread, and I explain that 3D Printing is a way of making something by stacking thin layers of material on top of each other. Beyond the dictionary definition of 3D Printing, it is also an additive manufacturing process.
A digital blueprint, called the 3D Model, is made into an object by a machine. Our 3 Dimensional digital blueprint is "sliced" into layers and sent to our printer to be made into a 3D Print. When we use a regular paper printer, we have a digital picture or word file from the computer.
Hands-On Time:
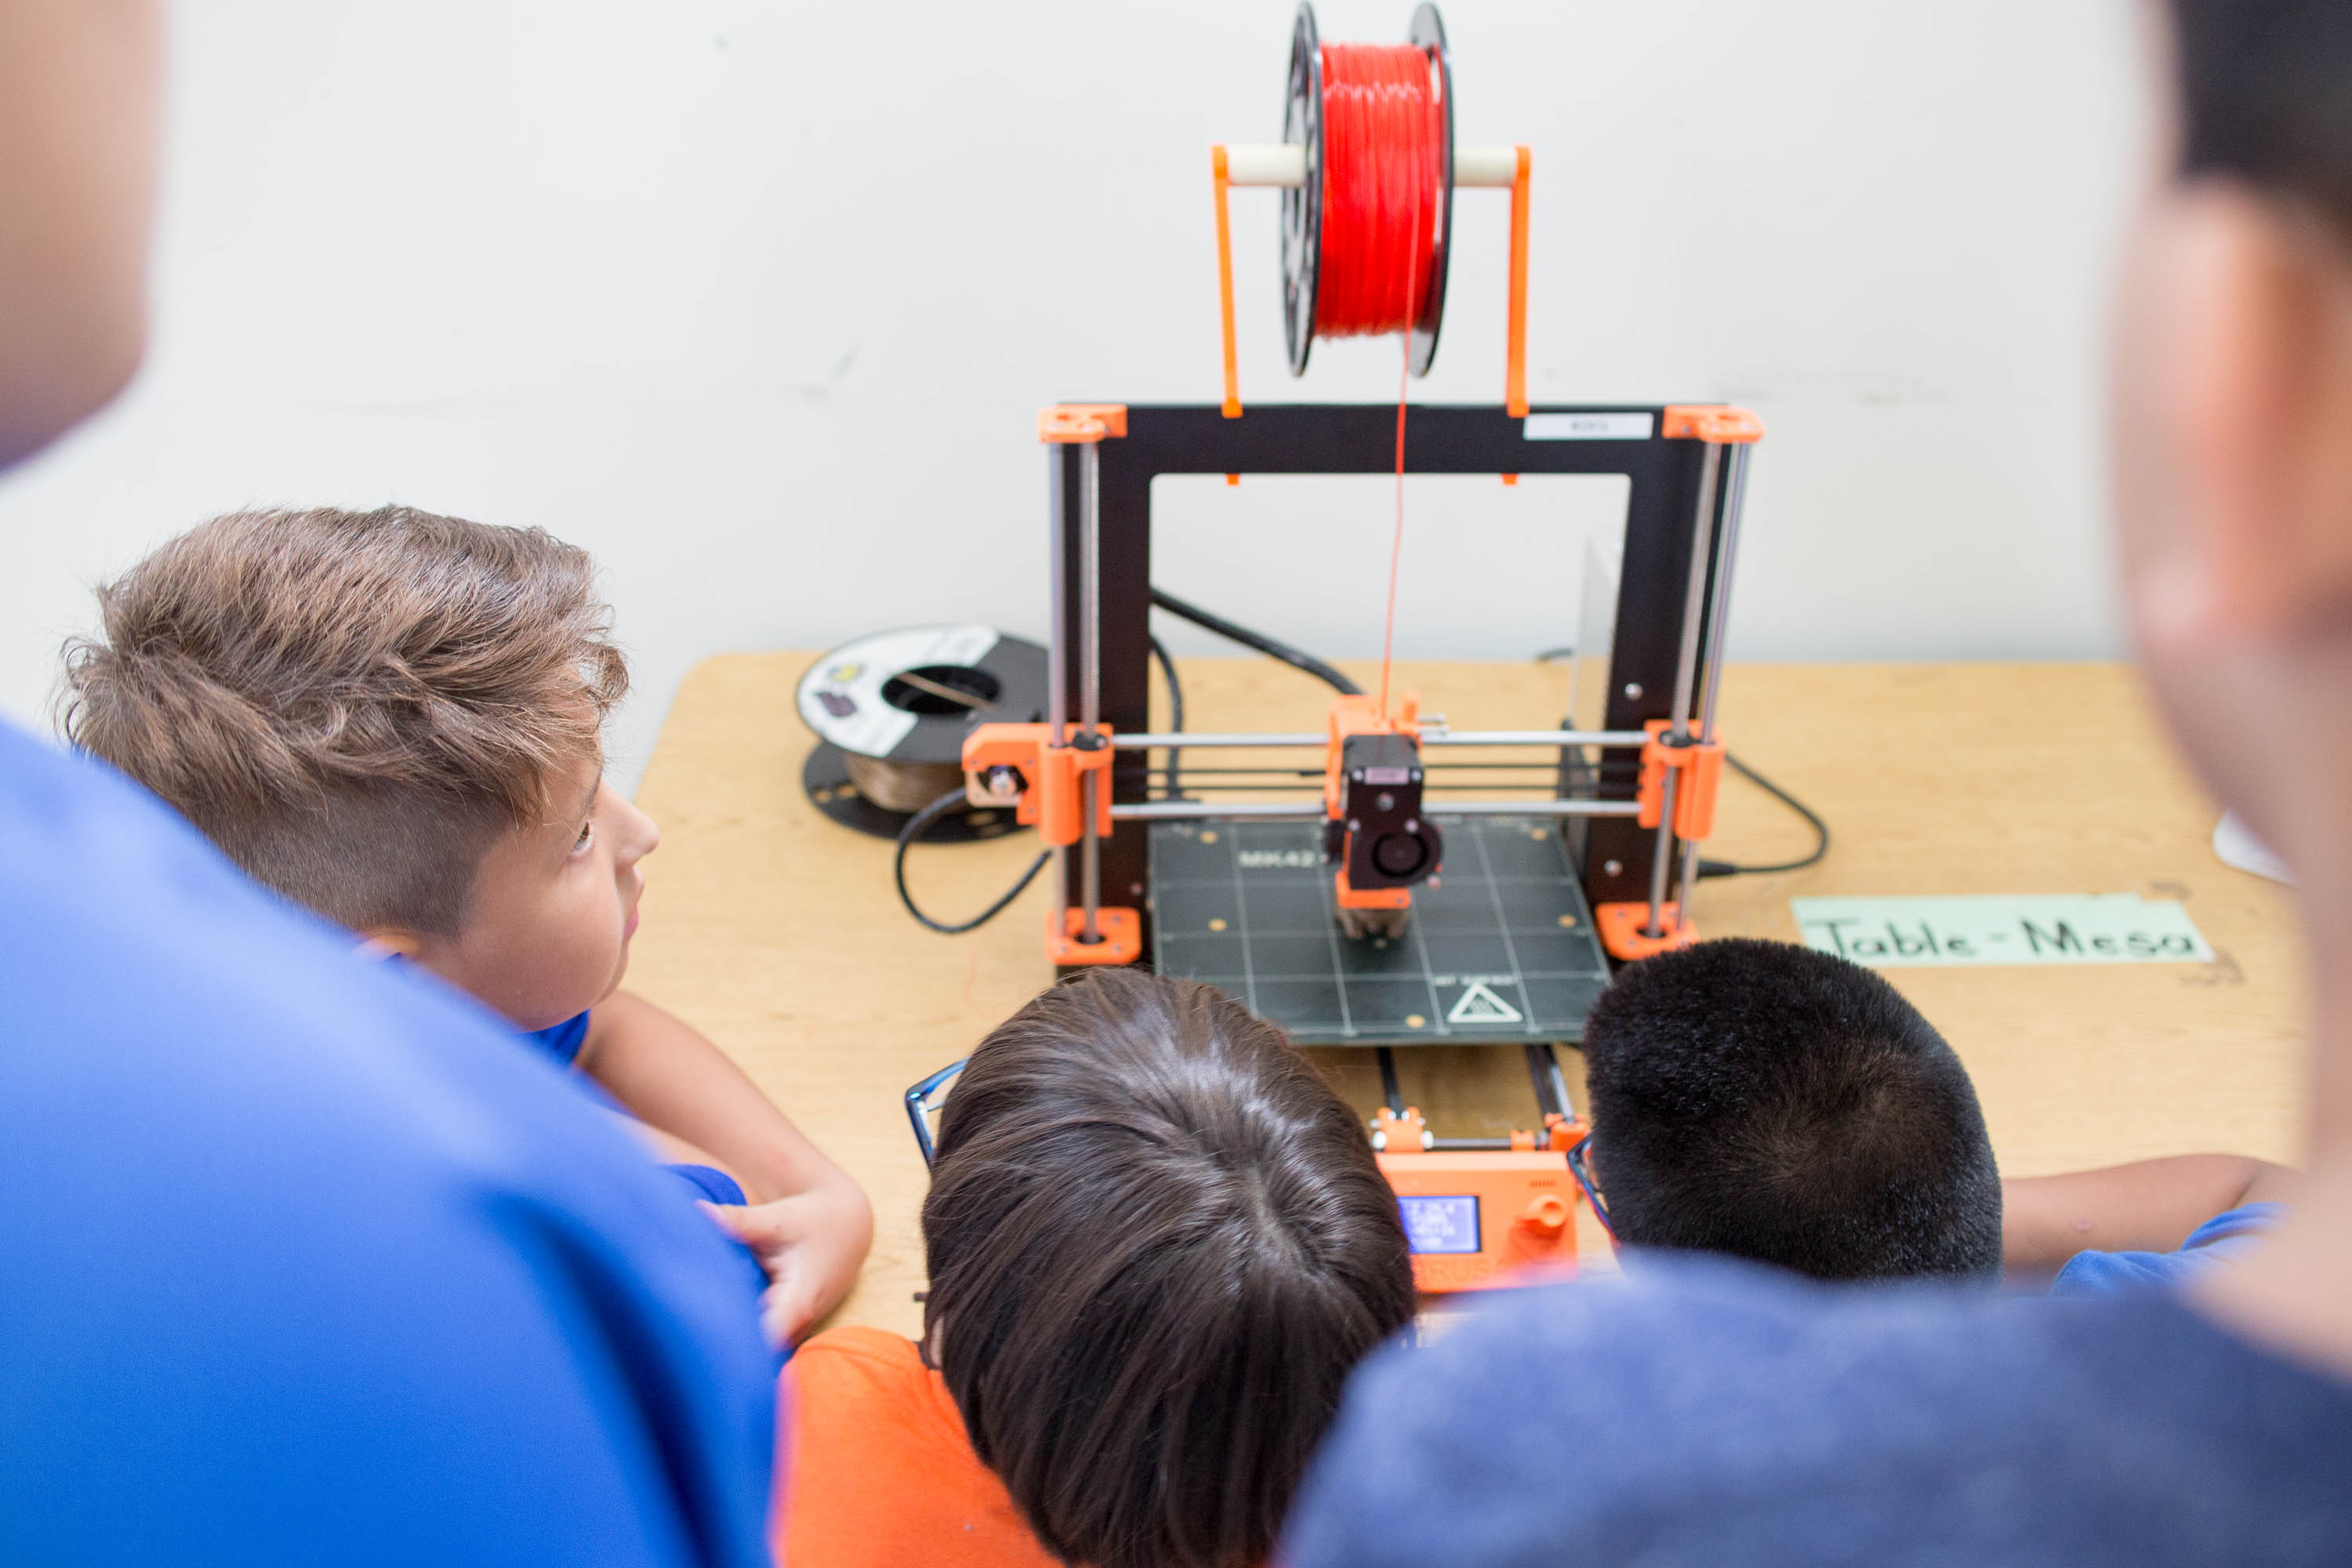
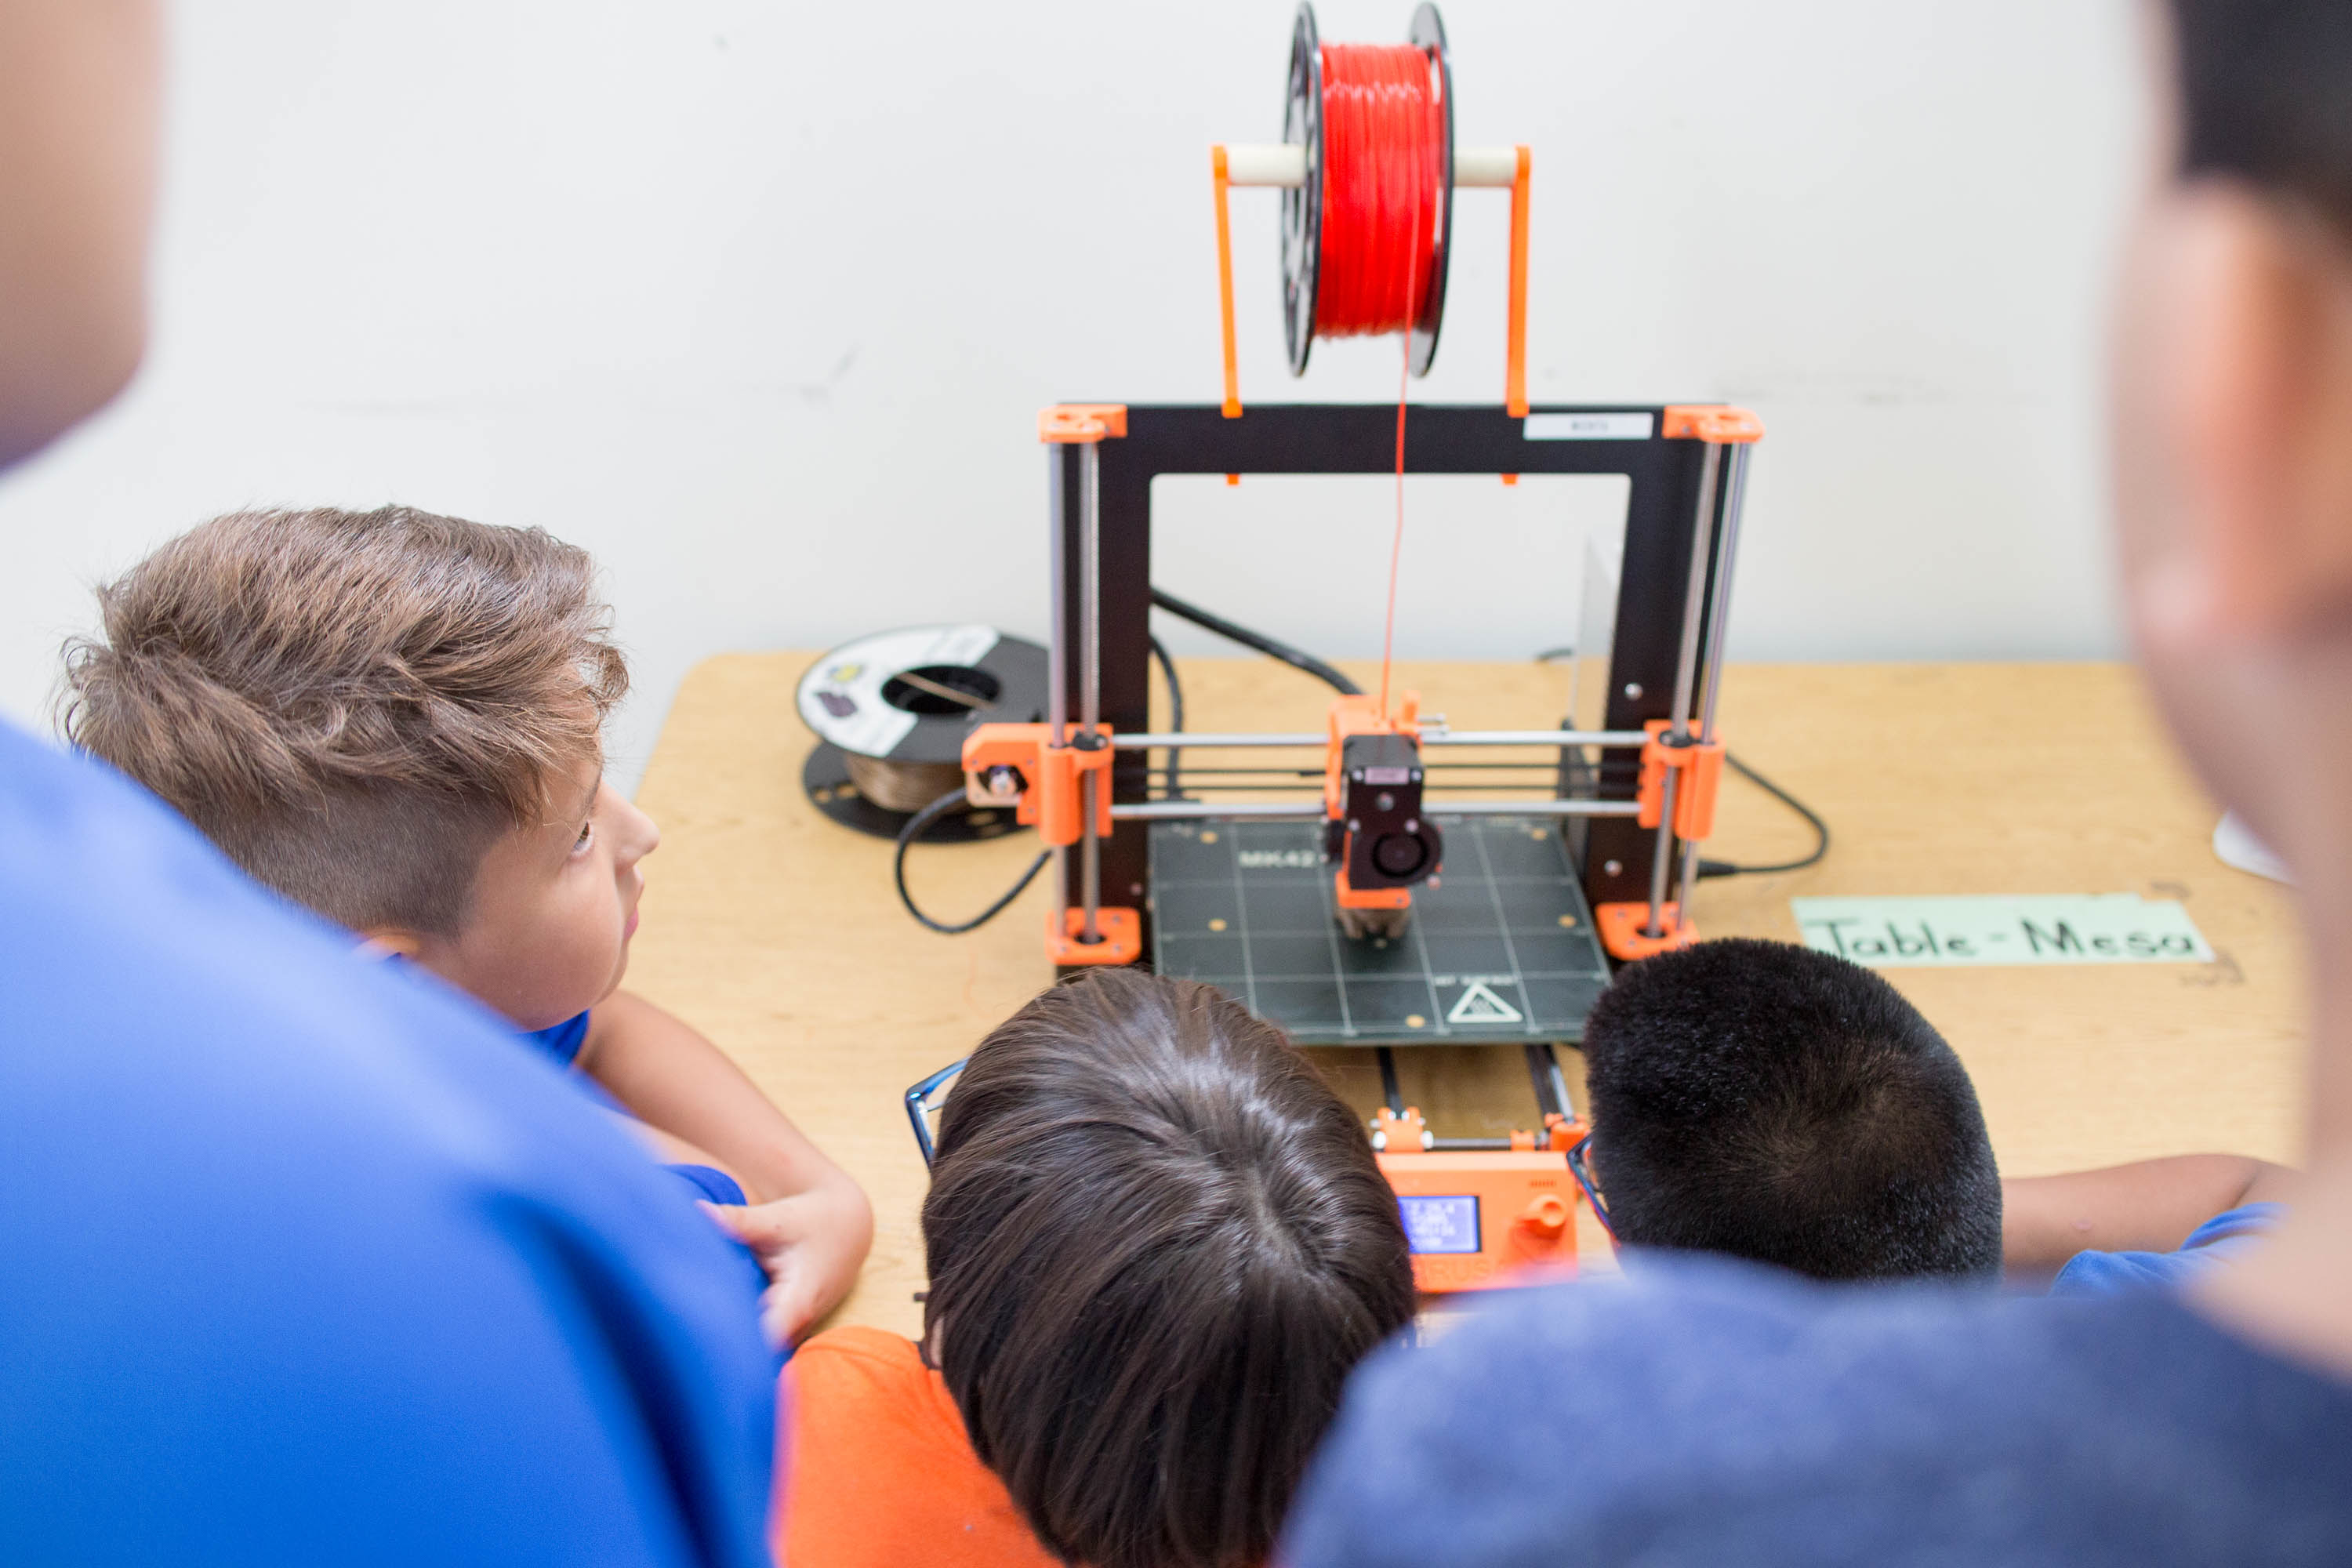
At some point I'll have everyone gather around the 3D Printer to see how it works.
I cut off a little bit of PLA to pass around and tell students that PLA is a plastic made from corn. I explain that the plastic is melted down in the extruder and comes out of nozzle and extruded along a path - first an outline, then infill. Each layer is stacked up higher and higher to form a print. The extrusion process can be thought of as a pressurized squeezing out. It's kind of like when you make icing and squeeze it out of a corner of a ziploc bag to decorate a cupcake. Except instead of using our hands, our 3D printer is programmed to move up and down, forwards and backwards and left to right to make precise specific shapes.
To really drive the point home, I will have students move the extruder left and right, forwards and backwards to really feel the stepper motor click.
I also explain the FDM process - Fused Deposition Modeling.
Fused means it has to stick together, deposition means to deposit, put down, and modeling means to make a shape. The FDM process entails that we cannot to start a 3D print in midair. First layer adhesion is key, that's why we have blue tape or a heated bed or elmer's glue or even hairspray on our print bed!
The layer by layer 3D Printing process can be used with items other than PLA plastic - chocolate, pancakes, clay.
History
It's important to offer historical context.
FDM 3D Printing was invented then patented in 1983, and mostly used by Research and Development teams that could afford it at hundreds of thousands of dollars. In 2009, the patent expired and FDM 3D Printers became more and more affordable - $2000 versus $200,000. Today, a 3D Printer can be had for as little as $300.
Why 3D Print
3D printing offers us the opportunity to make mistakes faster.
When we are designing physical parts we are able to quickly produce it with the 3D printer and gain immediate feedback of what works and what doesn't, and then quickly update and iterate our design. Our parts are also manufactured locally, without access to expensive tools and expert fabricators.
Why Not 3D Print
3D printing can be extremely slow, especially for large objects with complicated geometry. The relatively young industry also suffers from a lack of super user friendly consumer level 3D Printer. Parts will also shrink just ever so slightly, but not evenly across XYZ dimensions.
Who Uses 3D Printers - I give examples of everyone from aerospace engineers to fashion designers to students. feel free to update to the latest 3D printing news.
First 3D-Printing Project - Make a Nametag in Tinkercad
I print out handout and project guide for students.
On the project I model through each basic lessons 1-5 found here https://www.tinkercad.com/learn/ to ensure that students know how to navigate the interface and develop an intuitive understanding that combining solids and holes help create new shapes.
We then make a name tags win the instructions on the handout to be 3D printed.
I print them in white so students can paint the finished nametags.
Have you taught a 3D Printing class before? Please share your experience!