How to Teach 3D Modelling to Kids With Tinkercad (with Demo Project)
by Chandra Mani in Teachers > K
3810 Views, 27 Favorites, 0 Comments
How to Teach 3D Modelling to Kids With Tinkercad (with Demo Project)
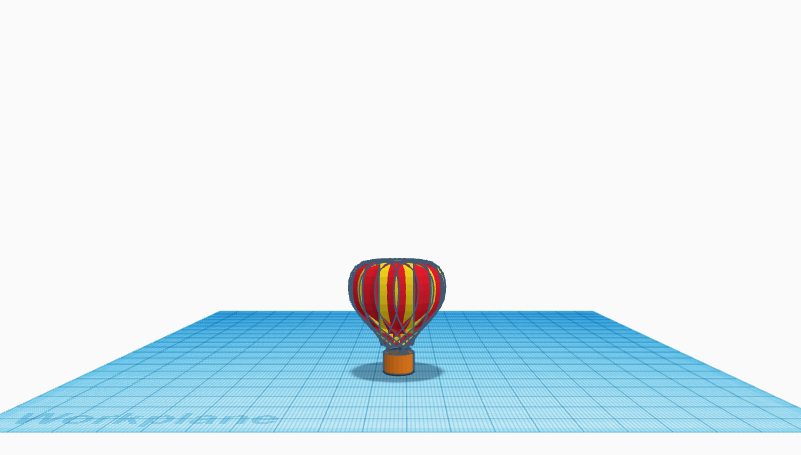
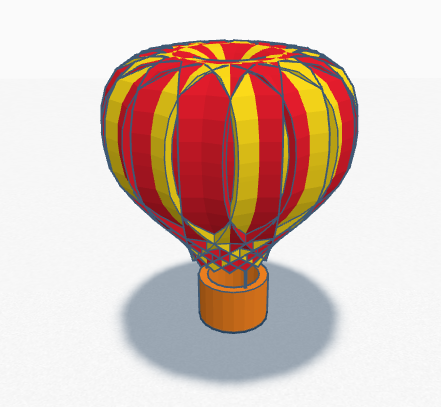
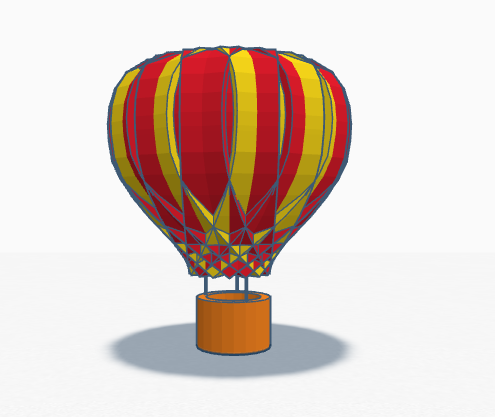
3D modeling plays an important role in one's life. As times change, it's good for us to adapt accordingly. 3D modeling and 3D printing are two things that help a student express themselves better. giving them more dimensions and limitless options to express and showcase their creativity.
In this tutorial, we will be going through a simple process in which we will be learning how to teach kids 3D modeling with the help of a demo project (Hot Air Baloon).
I will even share the file of the 3D model below for reference.
We will be using Tinkercad for today's tutorial as it's one of the most user-friendly and amazing 3D modeling software for beginners and kids. It has limitless options and an amazing library, which makes modeling anything possible.
So let's get going!
Downloads
Supplies

- computer with internet
- Tinkercad-www.tinkercad.com
- Sketchbook
Answering: How to Start?
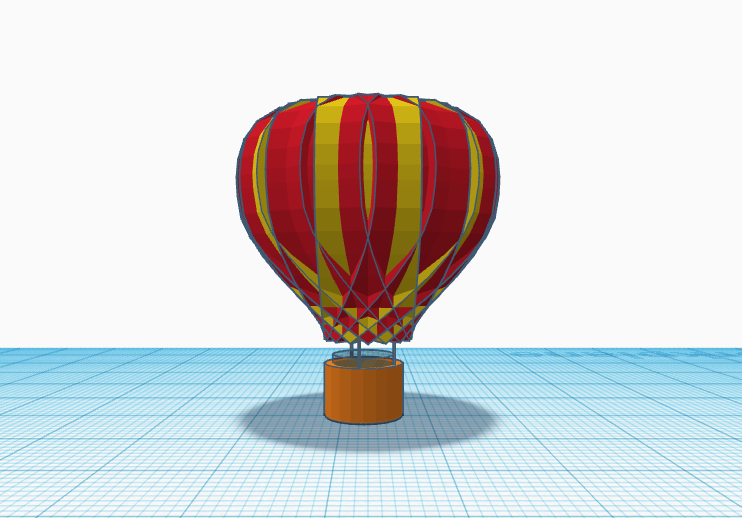
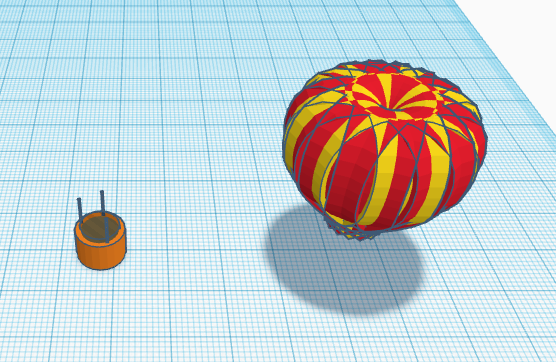
I believe one of the hardest parts is getting started. Making a 3D model can be hard, but if we break it into elements, it makes it much easier. Divide and rule!
Dividing the Structure: So basically, to make a structure simple, we are going to divide it into elements, in my case (the demo project). I divided the model into 2 parts.
- The Balloon
- The Basket
So now that we have divided our complex model into 2 parts, we will now concentrate on how to make them in the easiest way possible!
Choosing Simple Shapes
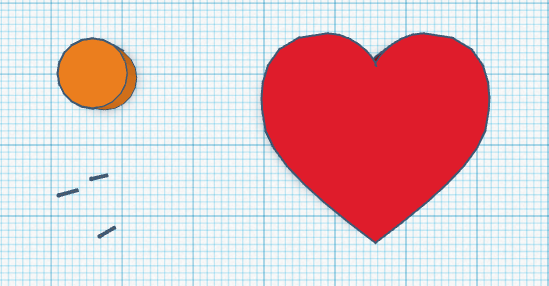
The level of hardness of a project depends on the basic elements and shapes you choose as the building blocks for the project.
So for the demo project, I've decided to keep it simple and make a beautiful hot air balloon with just 2 shapes—a cylinder and a heart—from the library of Tinkercad. It sounds unbelievable, right?
So now that we have chosen the shapes that will make our model, let's get started on arranging them and modifying them to form our beautiful hot air balloon.
Making the Part:1 (The Basket)
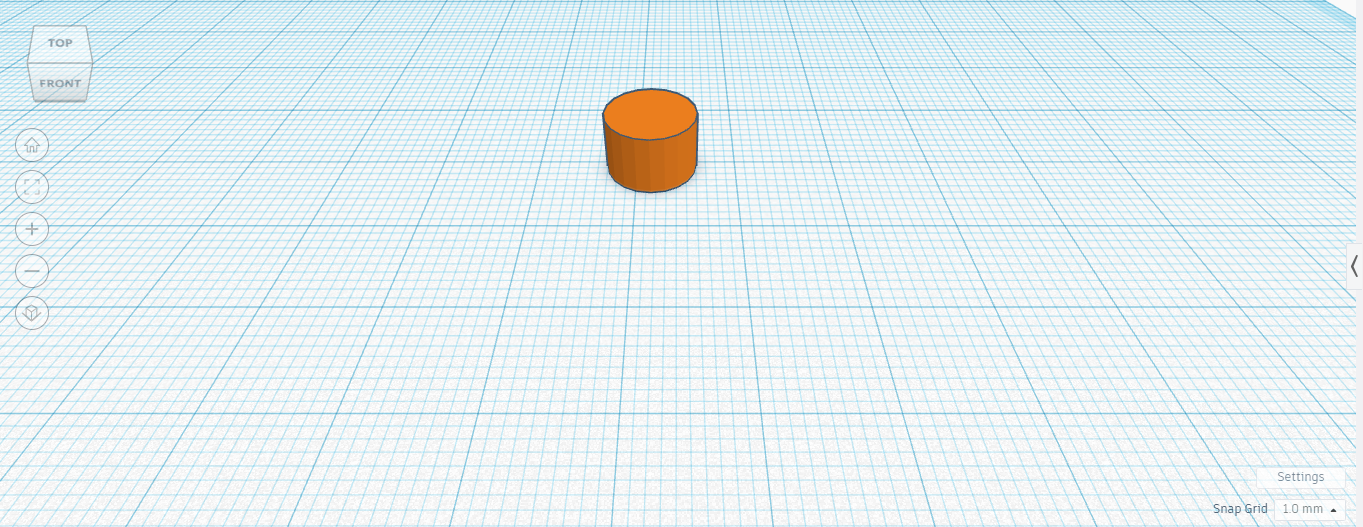
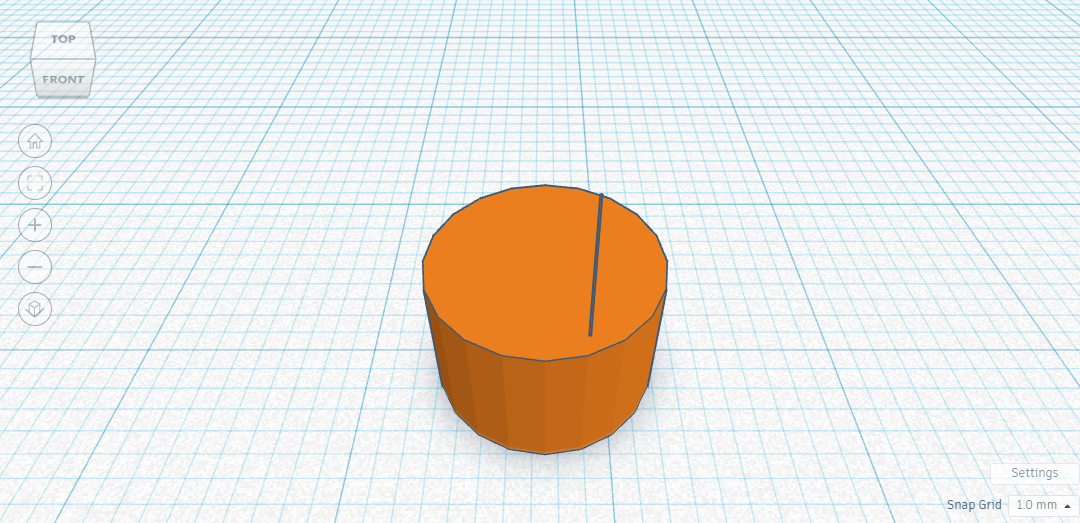
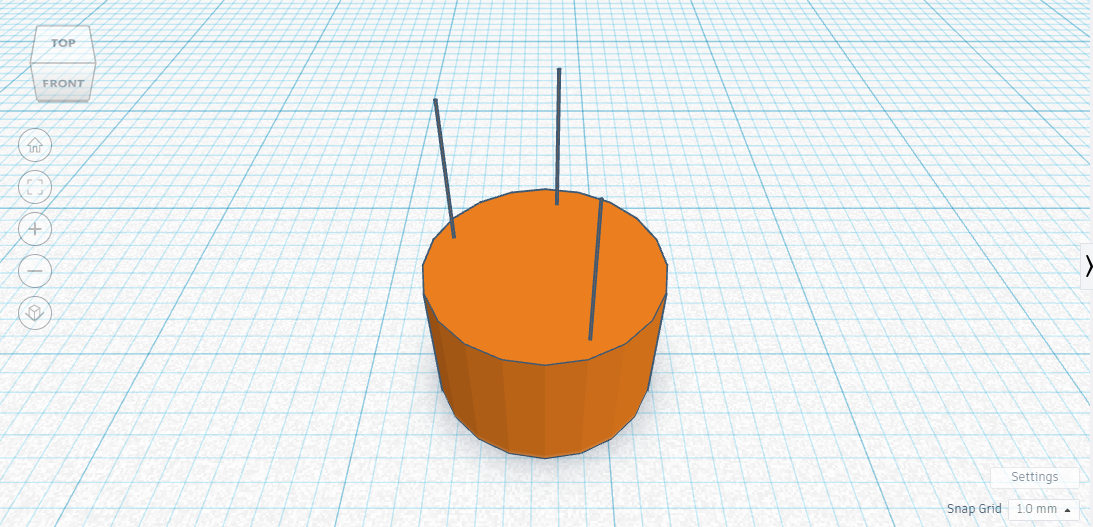
So make the basket. We've used a cylinder directly from the Tinkercad library. We are going to use it as the base for the basket of the hot air balloon (which is going to carry people).
So drag a cylinder from the library onto the workplane, and adjust its colors and size accordingly.
Now that we have created the base of the basket, we are going to add the wires that are going to connect the basket to the balloon. For this, I have used 3 identical cylinders whose radii have been decreased to make them look like a rope. After we are done with adding a rope, we can duplicate(ctrl+D) it to make more. Now place them on the cylinder.
Completing the Basket
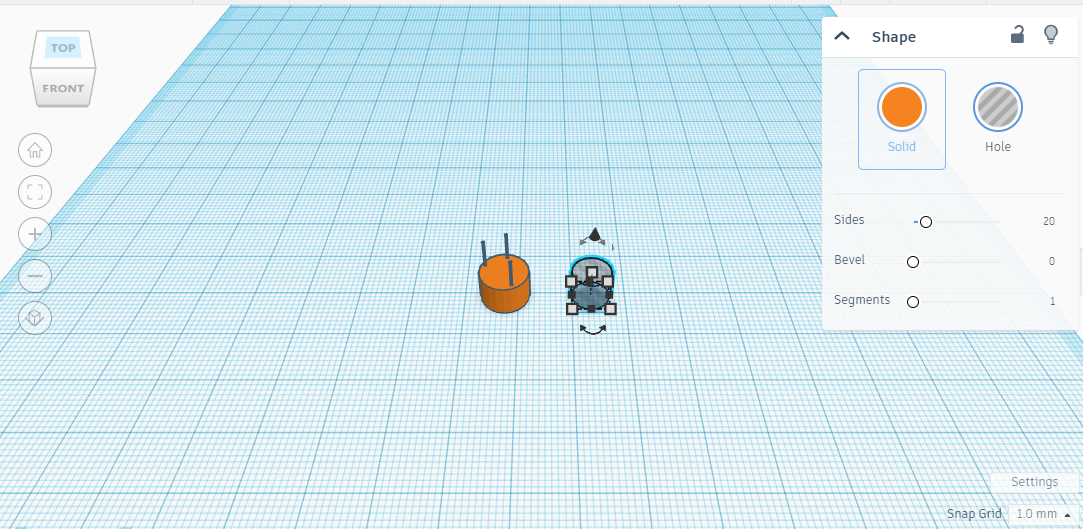
Then the next few steps are purely based on the demo project (hot air balloon), where we are going to learn how to make a complex structure with 2 simple shapes.
So now, to make space in the basket, we are going to use a hollow cylinder to make a hole. As shown in the above image, take a hollow cylinder and place it in the middle of the base we made before.
Voila! Our Part I is completed. We have now completed the process of making the basket for the hot air balloon.
Making the Part:2 (The Balloon)
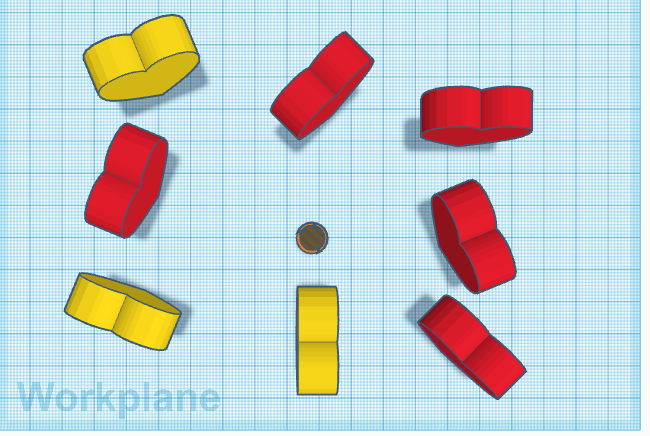
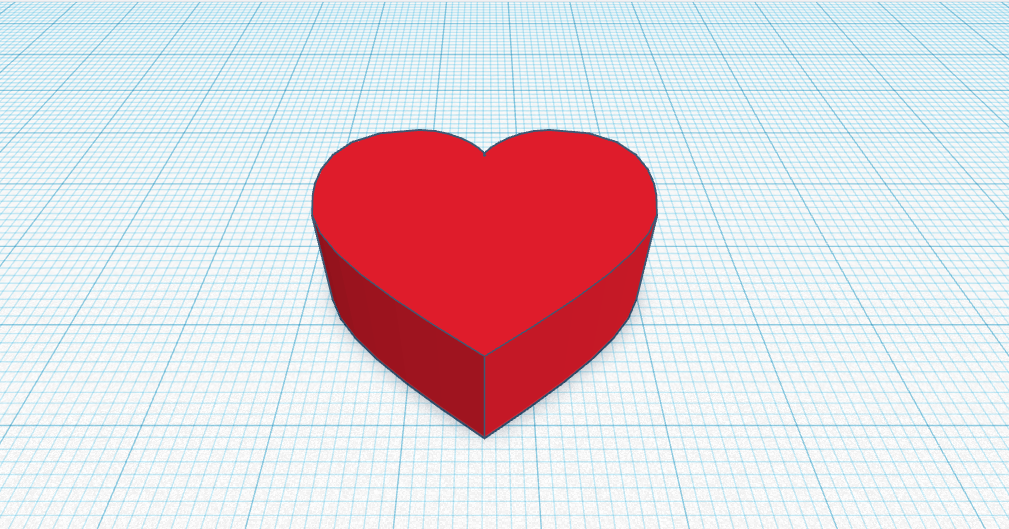
So, to start with part 2, we are going to take a heart shape from the Tinkercad library and place it on the workplane. Make it vertical by rotating it 90 degrees. Now we are going to duplicate (ctrl+D) the hearts. In the image above, I took:
- 3 Yellow hearts
- 5 red hearts
Such a beautiful model is just made by rearranging hearts. How cool is that?
Now that we have the hearts ready, let's get into arranging them.
Arranging the Hearts
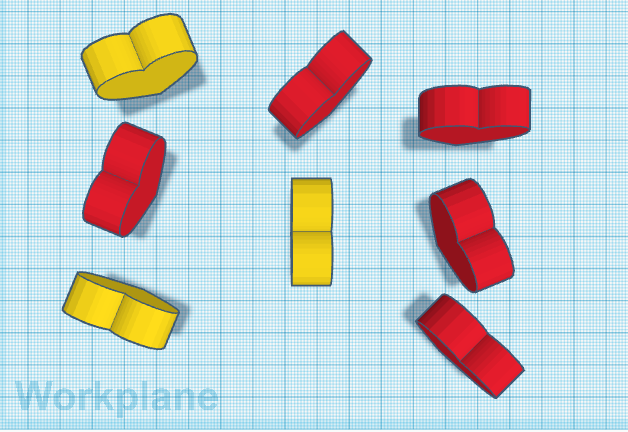
Our hearts will now be arranged into a pearl-like structure once we have them ready. To accomplish that, each heart will be rotated at a different angle until it forms a circle. I'll list the angles I used below. By making the hearts' angles smaller, you can use more colors and hearts if you like.
To select an angle I calculated n/180, where n is the quantity of used hearts. My situation had a 22.5-degree differentiating angle. which indicates that my heart rotated by
- 0 degrees
- 22.5 degrees
- 45 degrees
- 67.5 degrees
- 90 degrees
- 112.5 degrees
- 135 degrees
Even better, you can just rotate the hearts and skip the calculation altogether. Just be sure to cover all the sides.
From Heart to Balloon
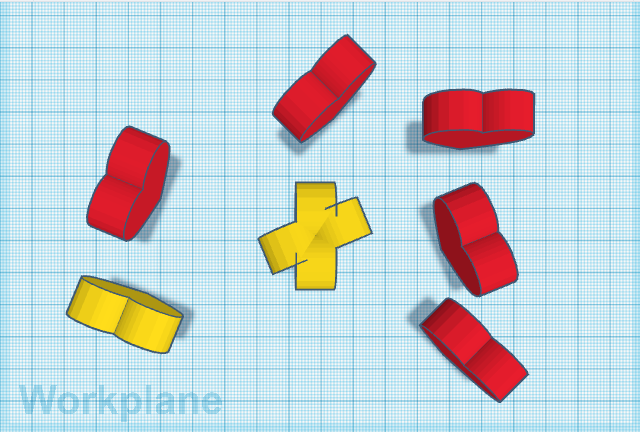
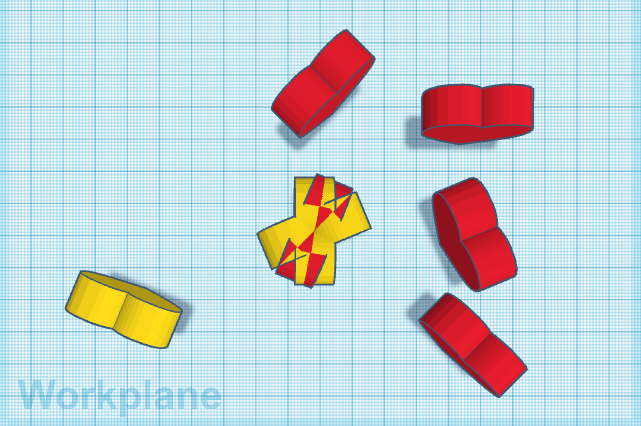
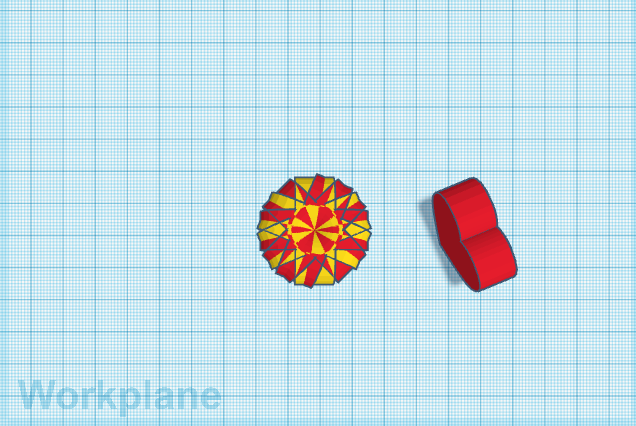
Now that we have completed rotating the hearts, it is time to attach them together to form the balloon. Start with one and start dragging them all on top of each other. Make sure all the hearts have the same center point.
I've attached the image above for reference. While arranging the hearts, make sure that the colors are alternating.
Completing the Balloon
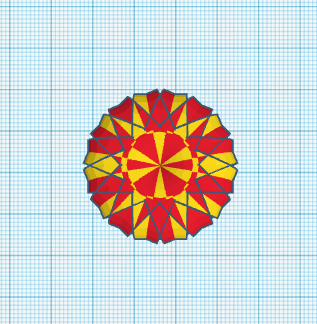
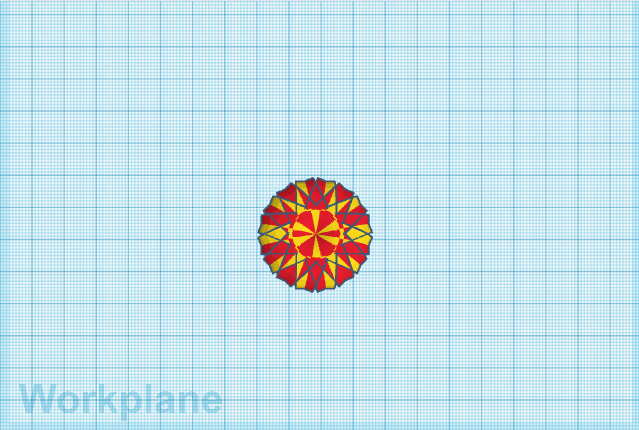
After that amazing step, our balloon has now come into shape. from such a simple shape into a beautiful balloon.
How cool is this?
Now that we have completed our balloon, make sure that you group all the hearts together, making it one object.
Joining the Parts
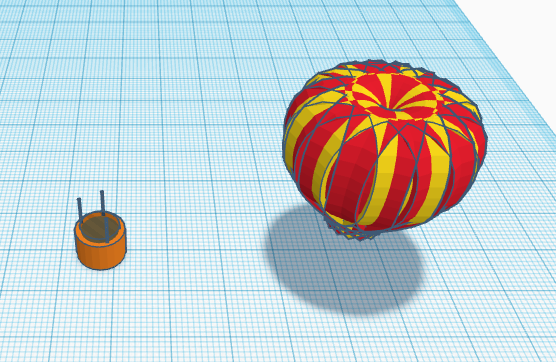
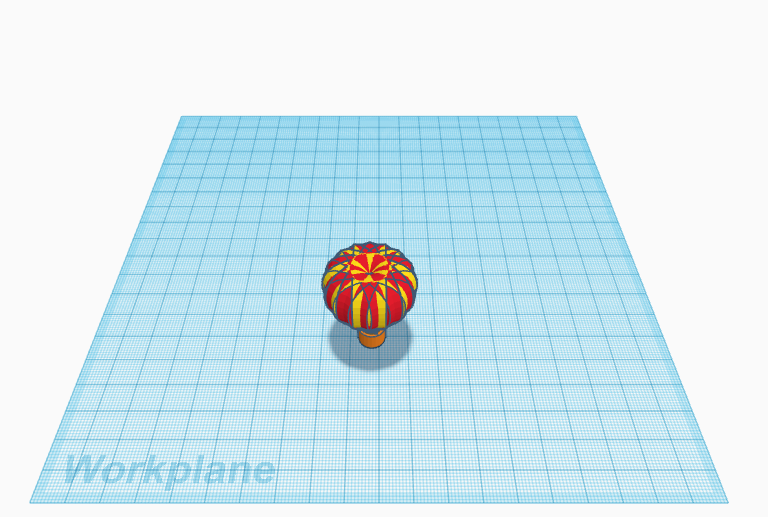
Now that both parts of our hot air balloon are ready, it's time to join them. In order to do that, lift the balloon and place it over the basket as shown. Now group all the objects together.
It's time to fly!
We have now completed making the hot air balloon in just 9 simple steps and with 2 simple shapes.
Going High - Sky's the Limit
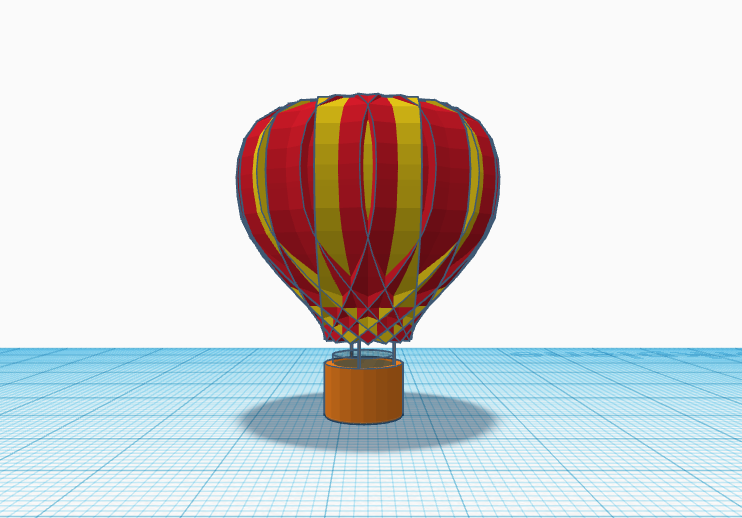
As shown in this tutorial, it's always easier when we break it into elements and then make it. Use simple shapes while building the project, which makes it easier and faster. This demo project was an example of how to make a beautiful yet easy hot air balloon. You can start teaching your kids/students by giving them the same project as it covers interesting steps and makes 3D modeling easier.
If you made a similar one, add more color to the balloon and make it colorful! Click on the "I Made It" button below to share your amazing work. Please share your valuable comments and suggestions with me. I would especially like to thank Tinkercad for simplifying 3D CAD.