How to Take a Screenshot on a Mac
by In The Kitchen With Matt in Circuits > Apple
3878 Views, 8 Favorites, 0 Comments
How to Take a Screenshot on a Mac

In this instructable I will show you how to take a screen shot on a Mac. There are a few ways to take a screen shot on your Mac and I will cover ways in which you can take a screen shot of the whole desktop and then also how you can take a screen shot of just a portion of the screen, so you can capture exactly what you want. Knowing how to do this is super handy and I do it all the time! Let's get started. :)
Follow the easy steps below or watch the short tutorial or do both! :)
Screenshot of Whole Desktop
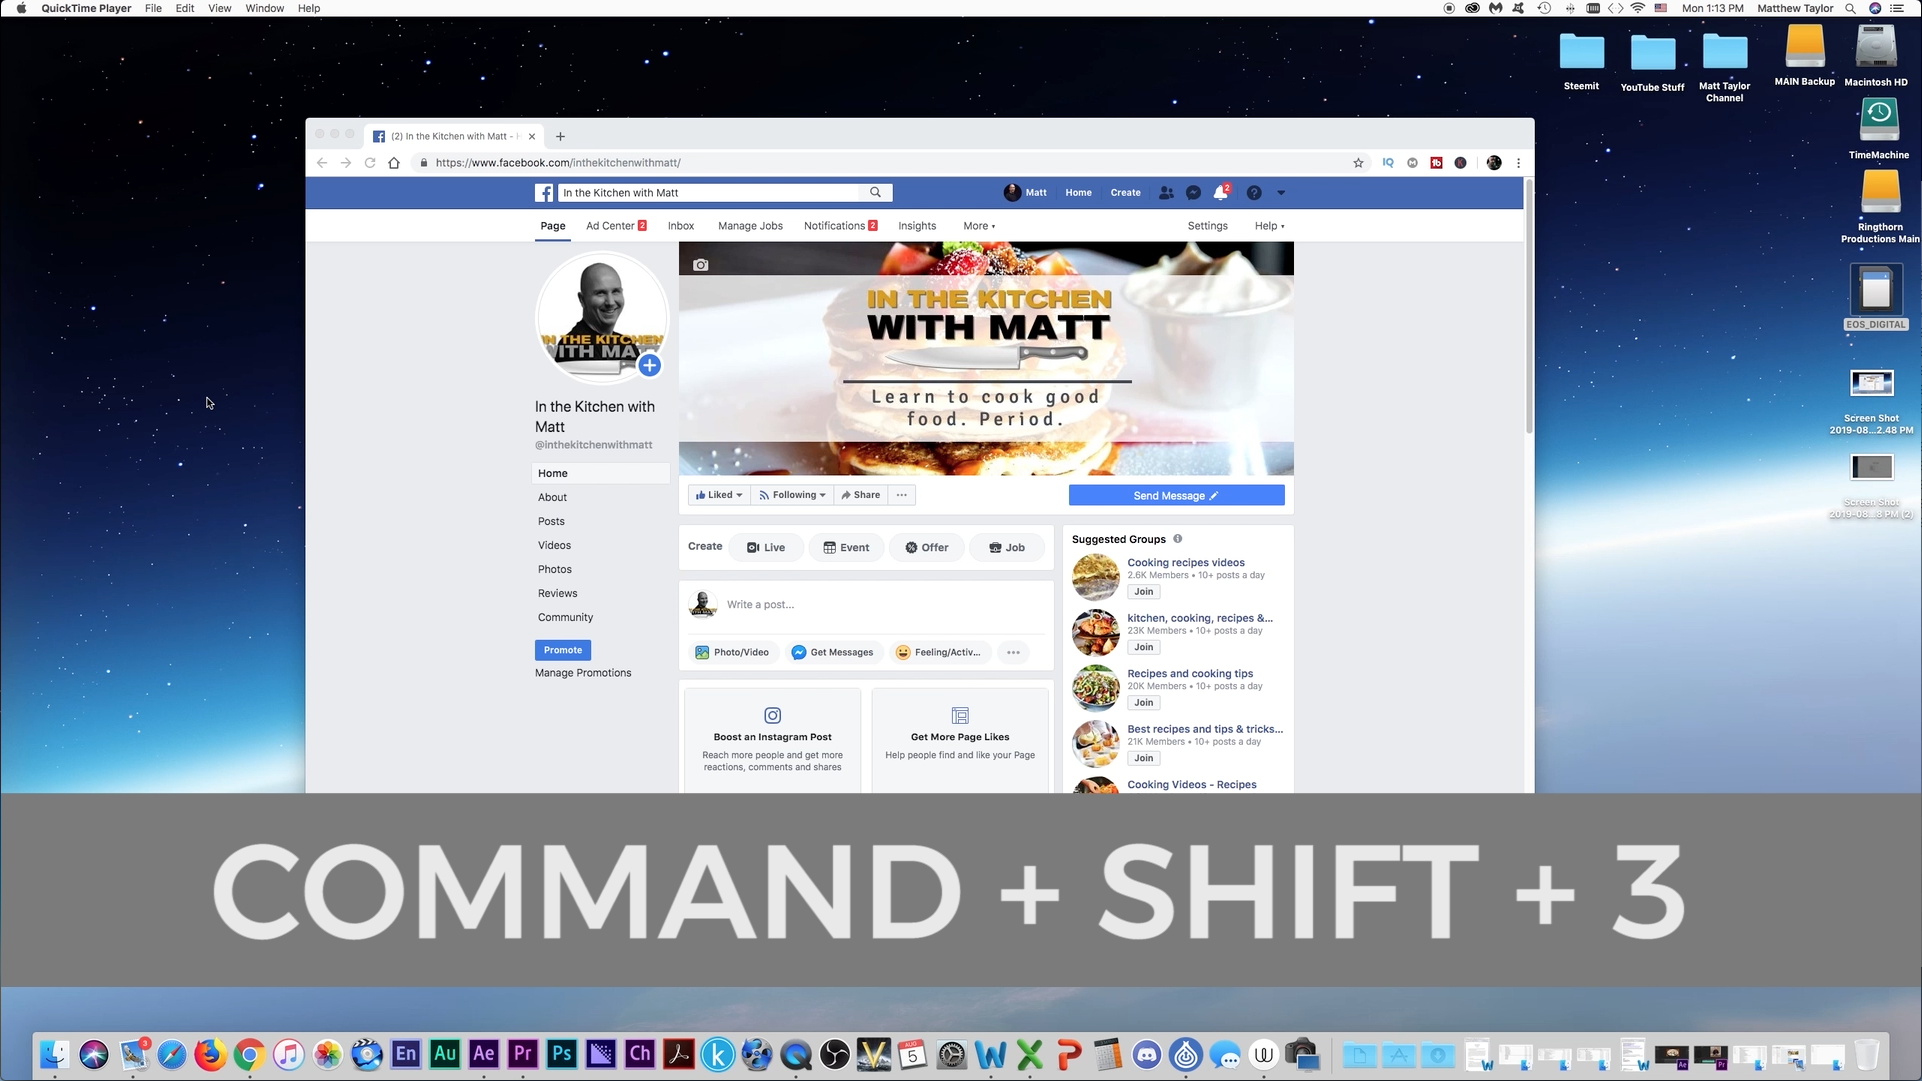
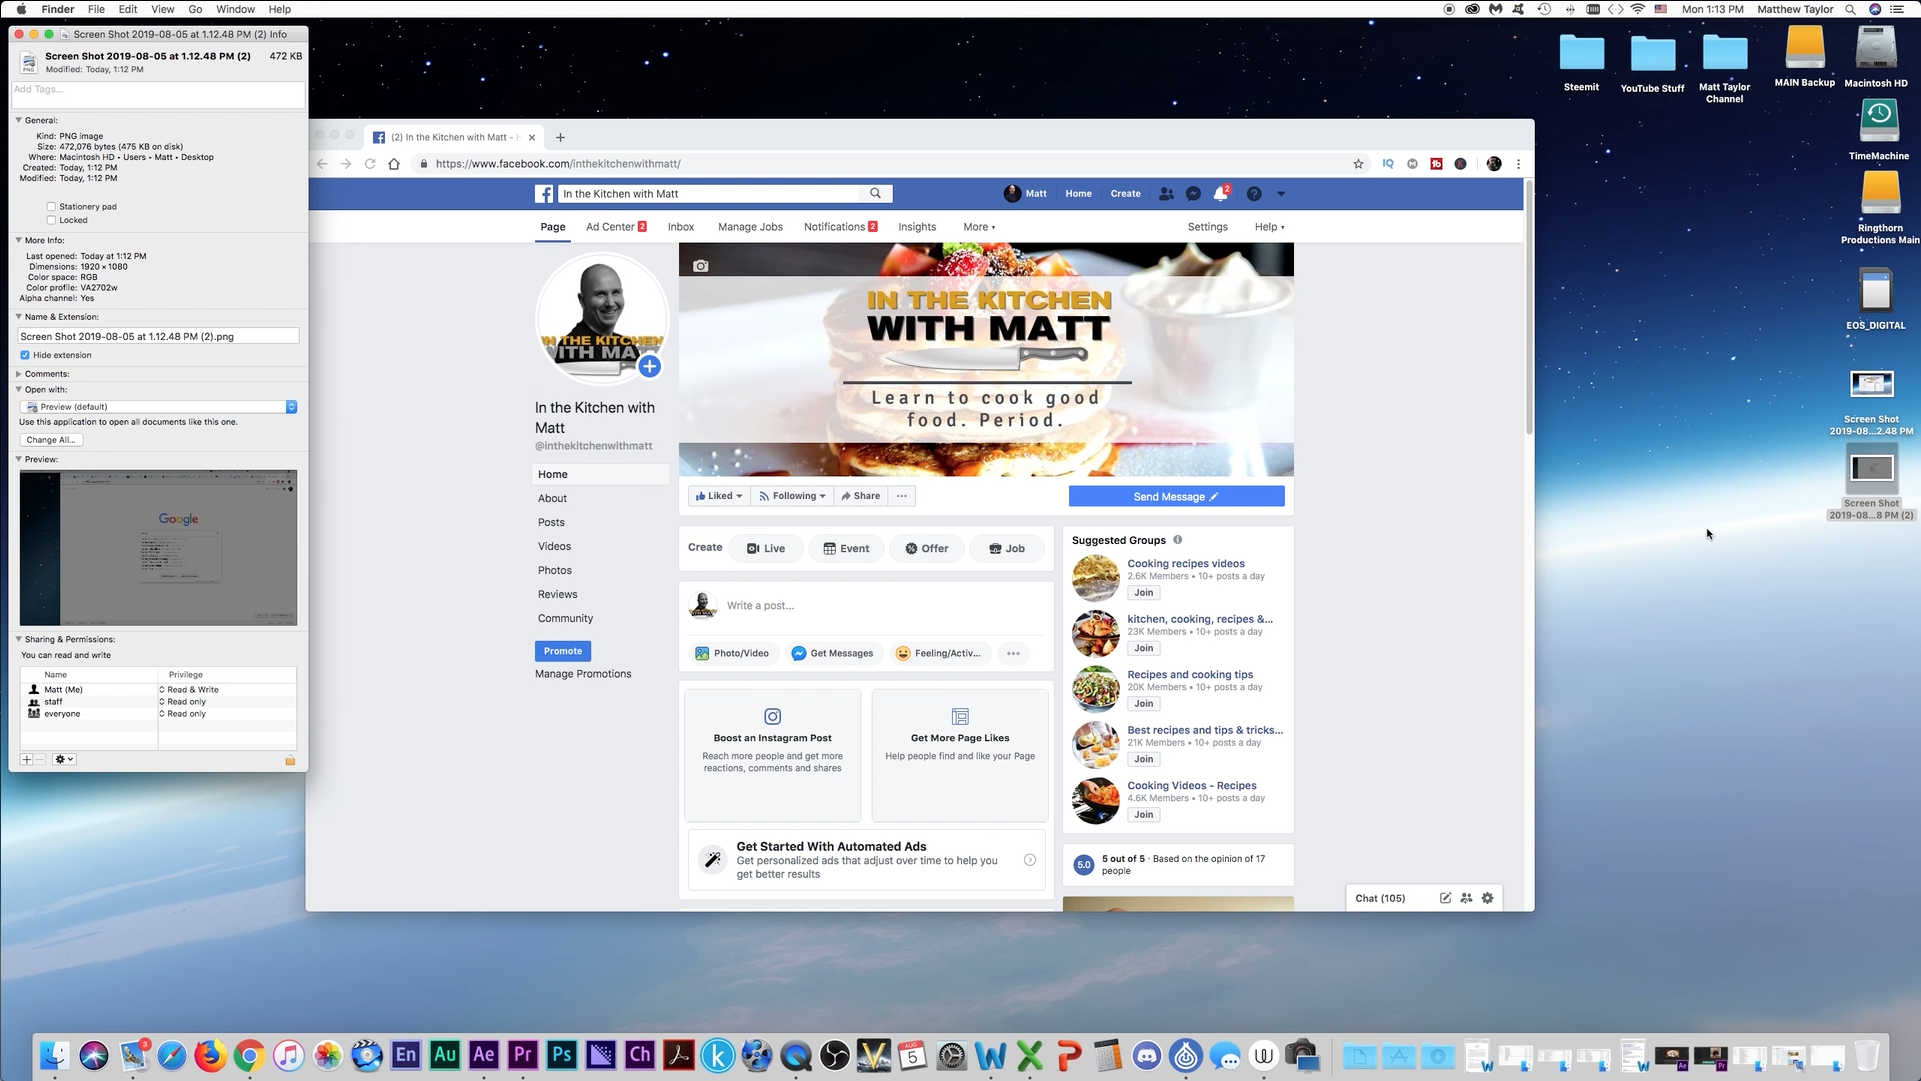
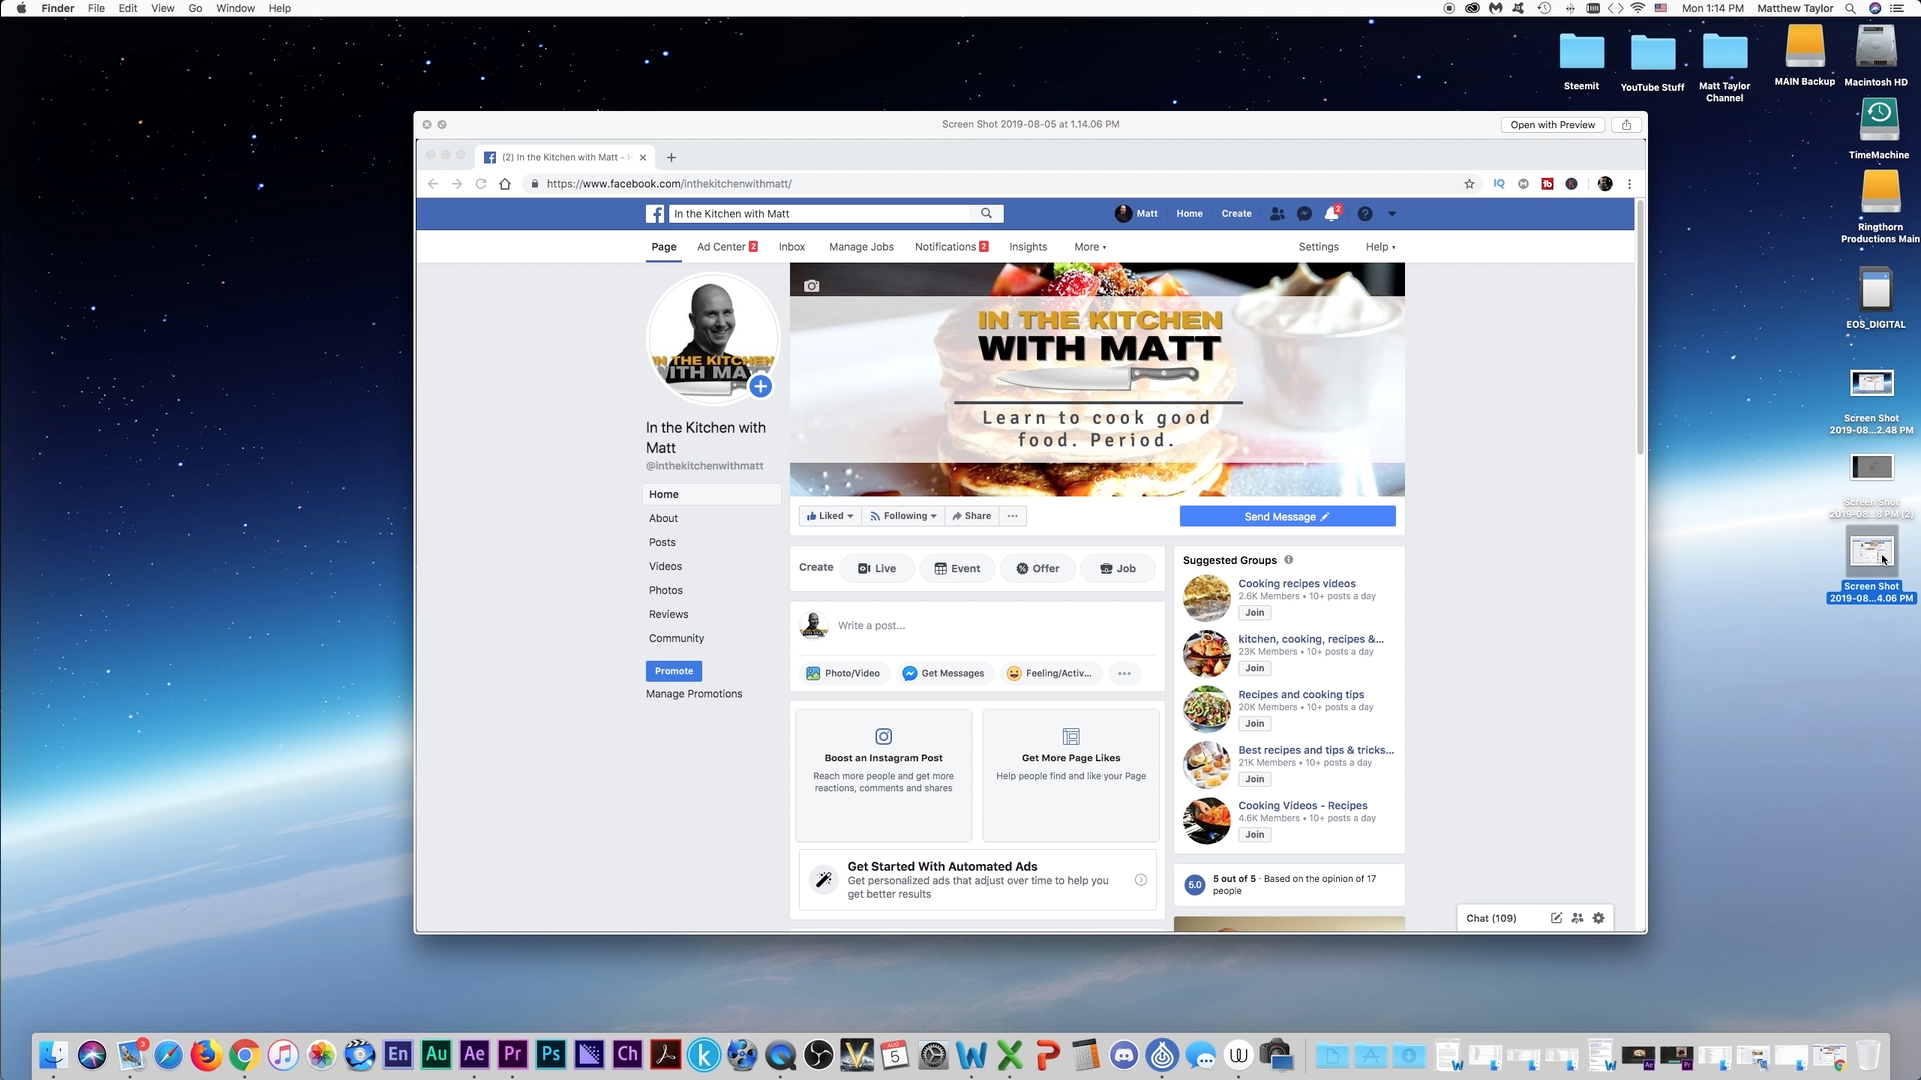
The first way is when you want to take a screenshot of the whole display. All you do is press COMMAND + SHIFT + 3. Then it will take a picture of the display. If you have more then one display, it will take a picture of both displays. The screenshot will show up on your desktop. If you right click and click on "Get Info" you will find out that the screen shot is the same resolution as your display. :)
Custom Screenshot
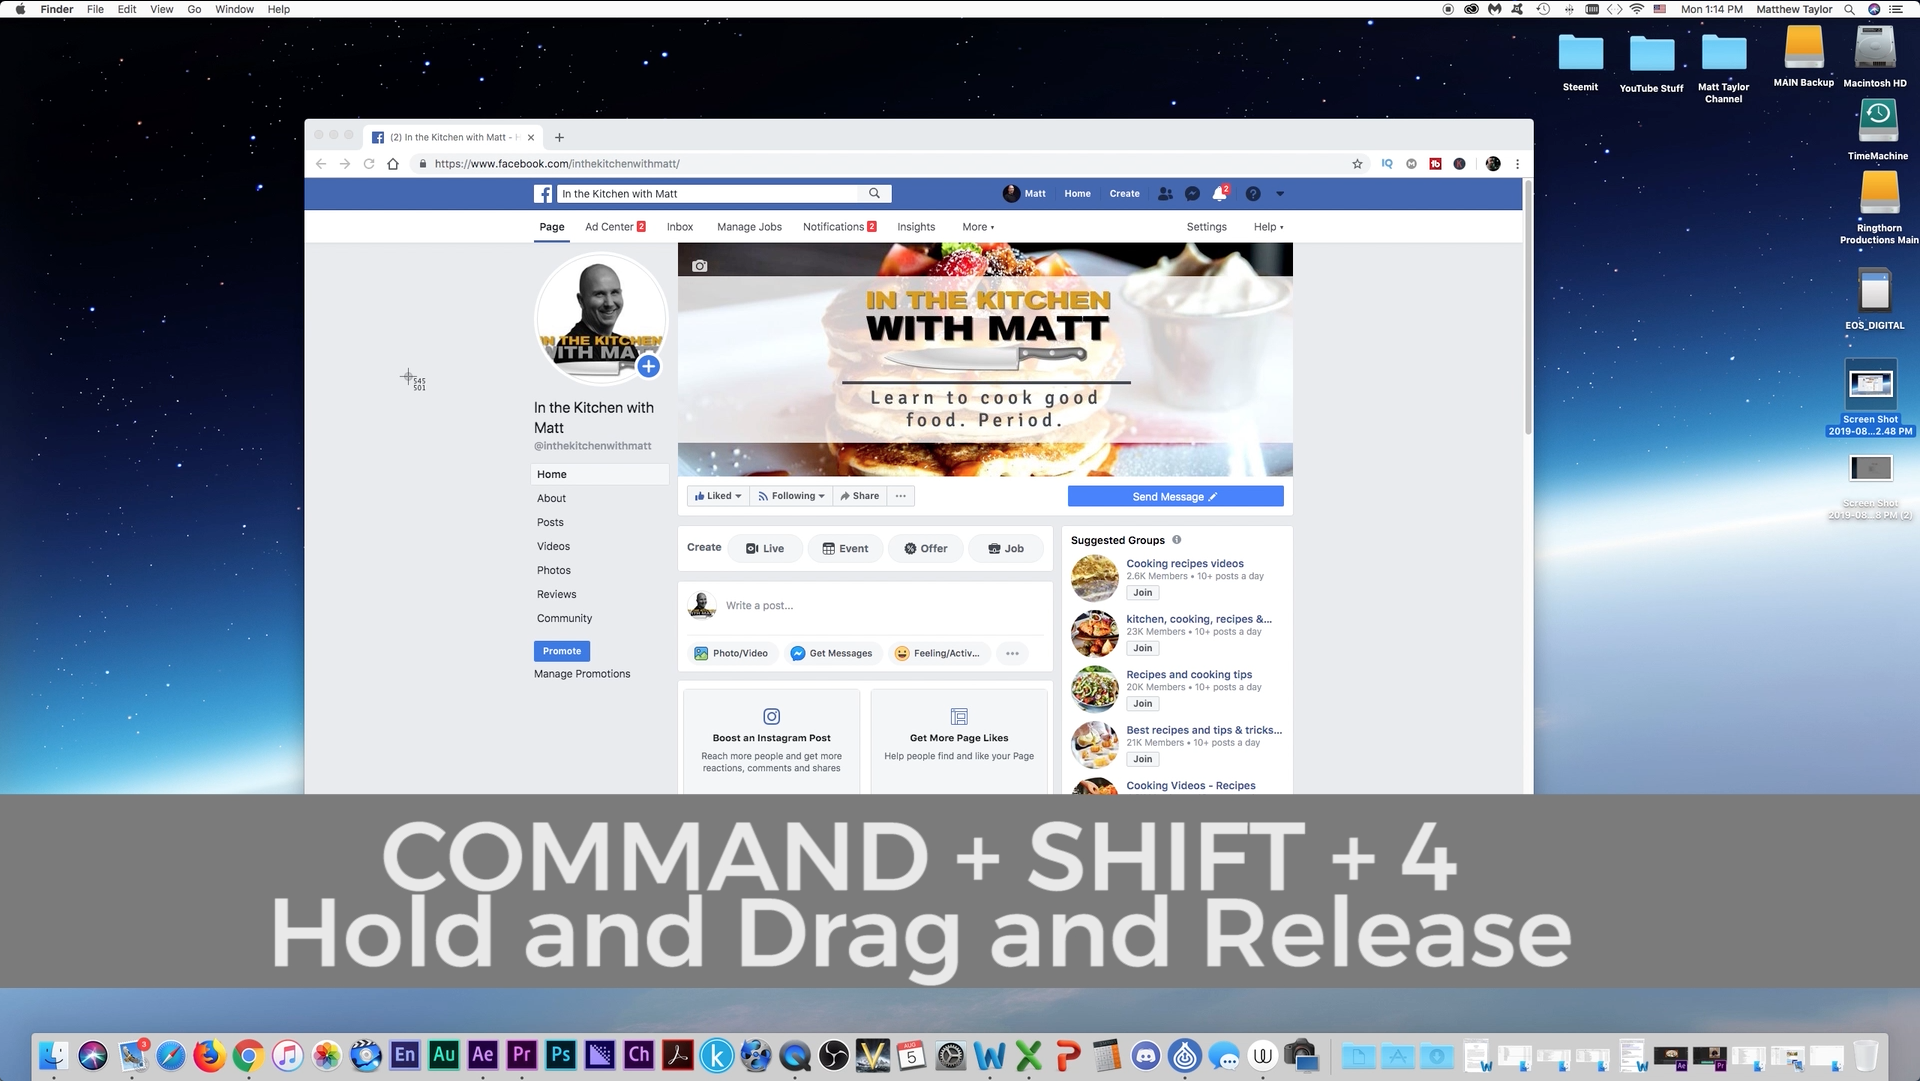
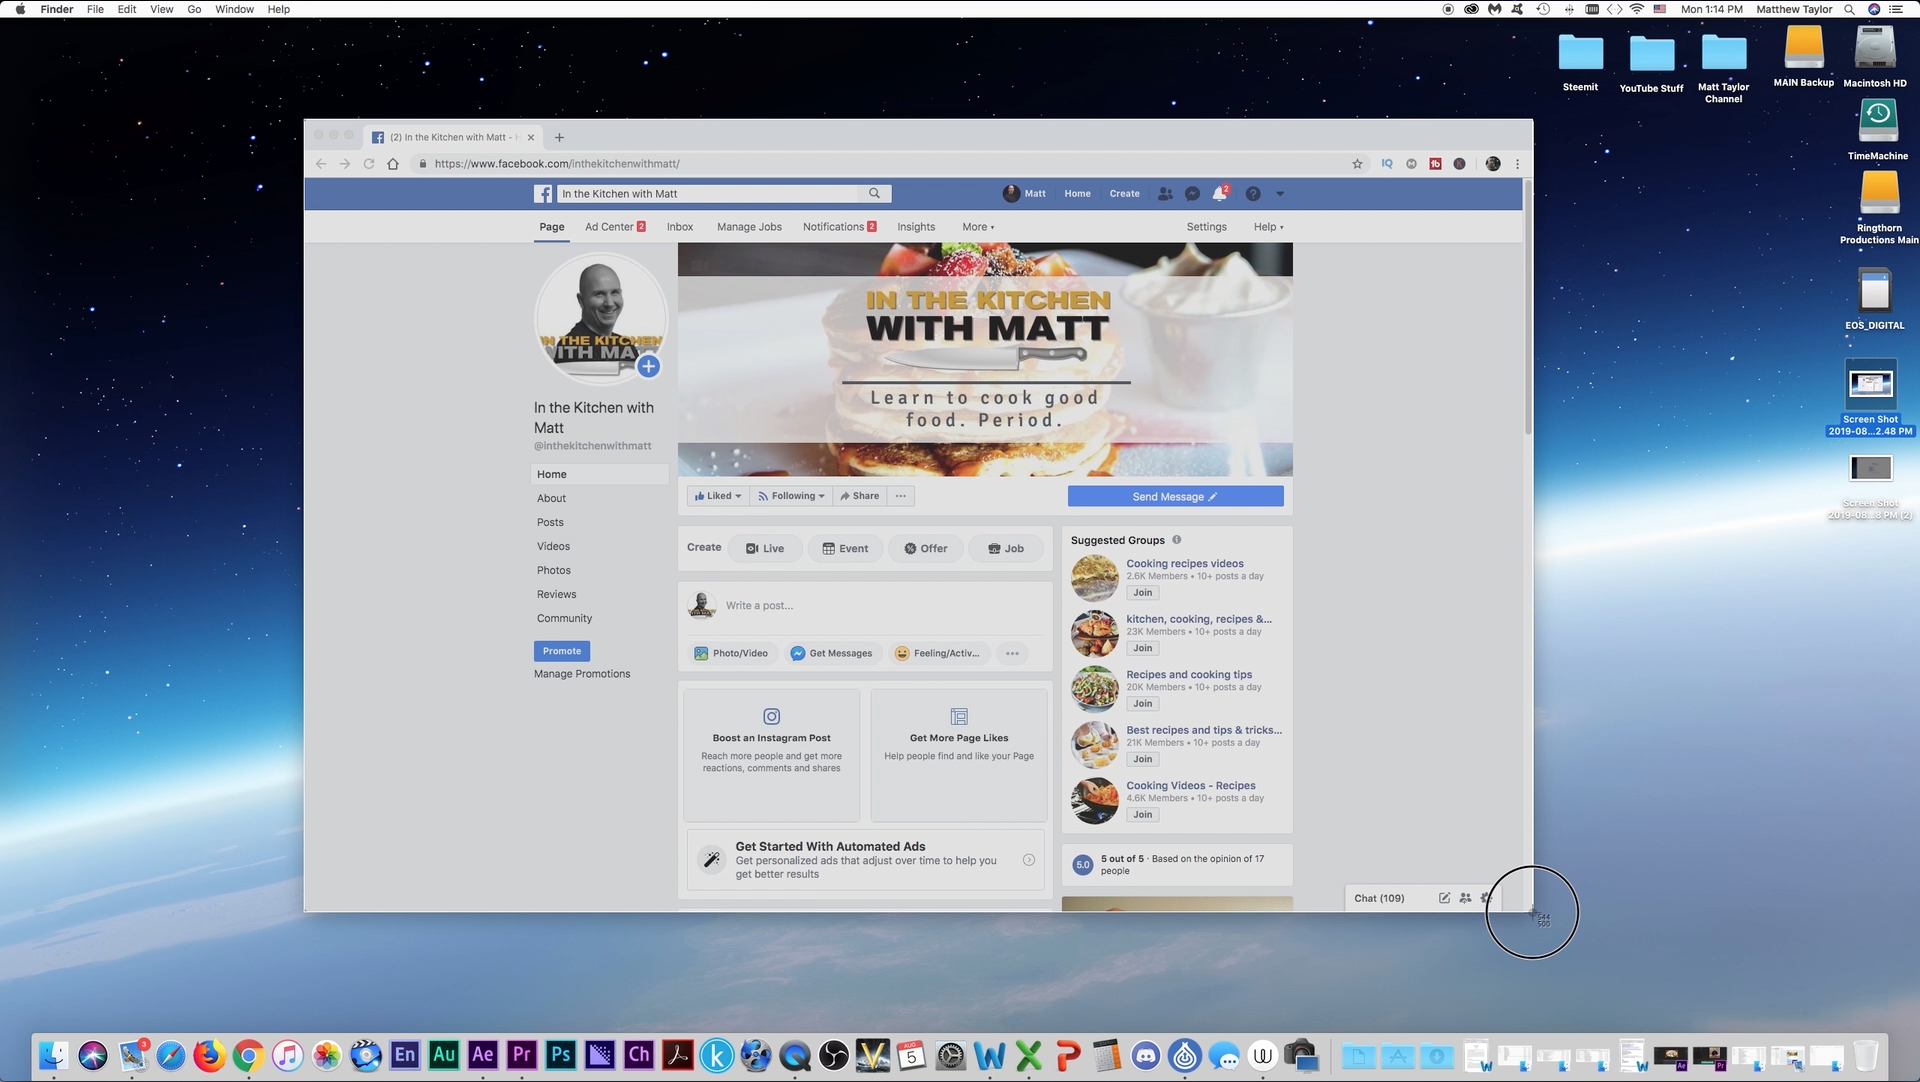
The next way to take a screen shot is taking a portion of the desktop, like if you don't want to take a picture of the whole desktop, something more specific. To do that click on COMMAND + SHIFT + 4 and this will turn your cursor into a crosshair. Now hold the left button on your mouse down and drag it over the part of the image you want a screenshot of, then let go of the mouse, and it will take the picture. Simple as that! :) I hope you find that useful, I use it all the time!