How to Swap Co2 Laser CNC Controller
by MattsWorkshop in Workshop > CNC
8859 Views, 21 Favorites, 0 Comments
How to Swap Co2 Laser CNC Controller
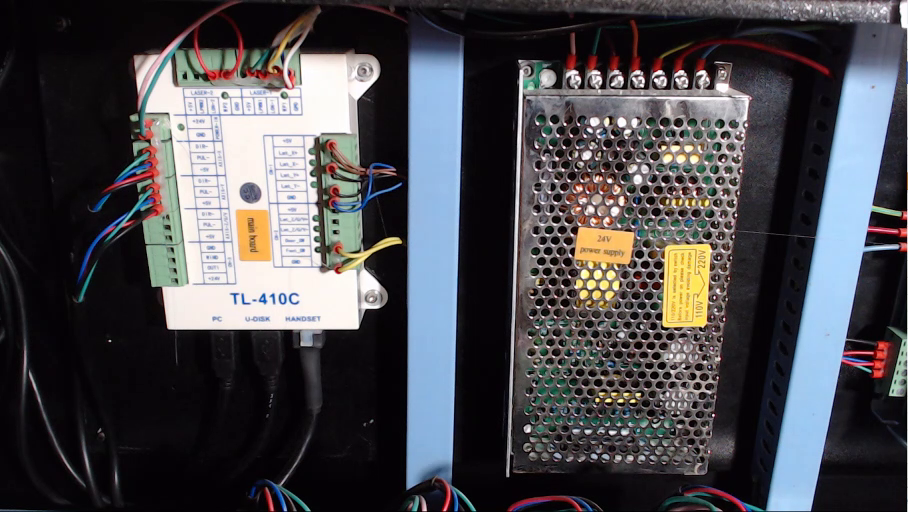

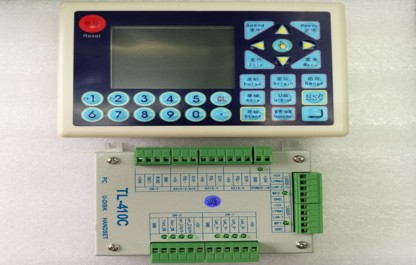
In this instructable I demonstrate the process by removing a TopWisdom TL-410C controller from a Red/Black 80W Laser with a Ruida RDC-6445G controller.
However this process can be used for other controller brands such as Trocen, Leetro, Ruida, etc.
This is the process I went through to make the changeover as smooth as possible. Info how I did this change over can be found below with links to sections of the video by clicking on the time stamps.
Before starting inspect the current configuration and take photos of the controller you are removing to refer to later if things don't go as planned.
I purchased my Ruida RDC-6445G Controller from Cloudray at AliExpress https://cloudray.aliexpress.com/store/1513187
Inspect, Label & Remove Old Controller
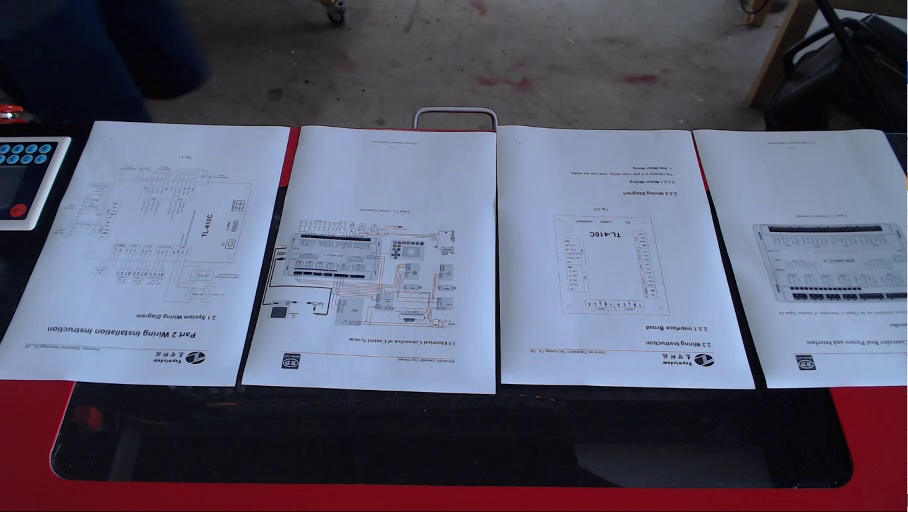
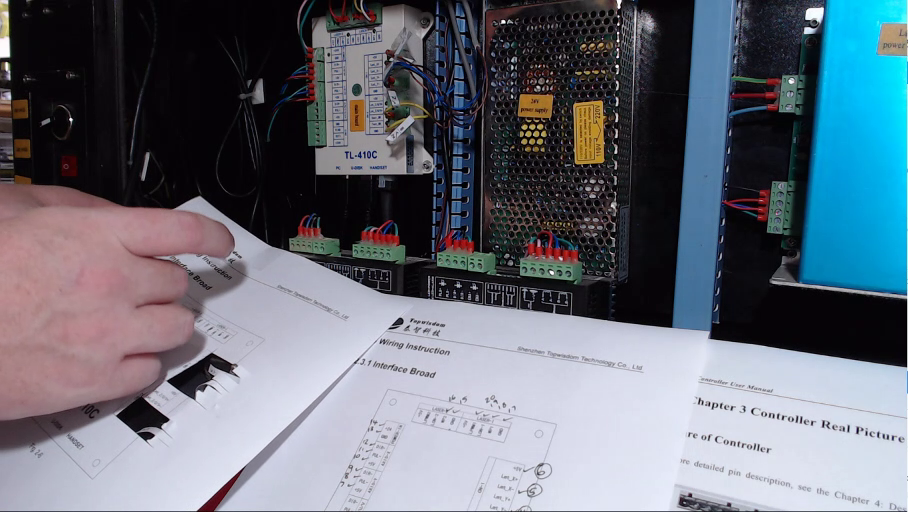
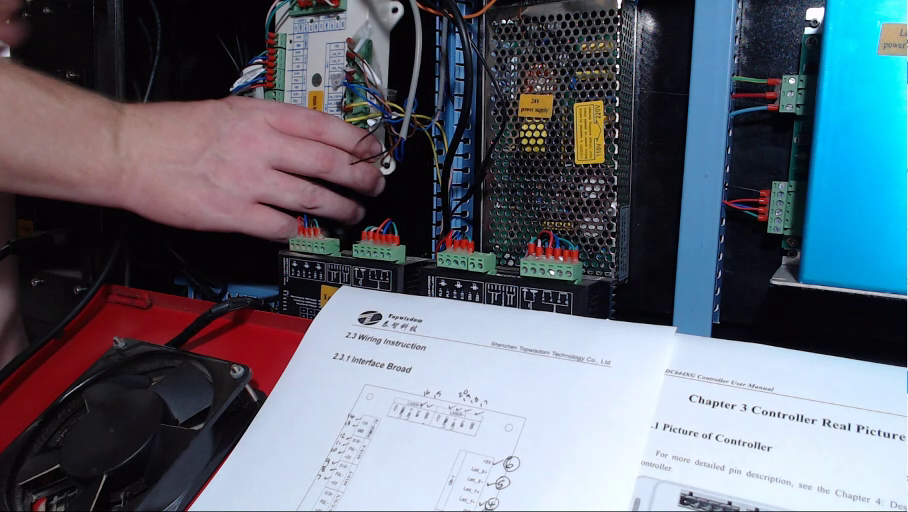
Print out the wiring diagrams for both the TopWidsom and Ruida Controller, to compare wiring configurations. I numbered the connections on both diagrams to make sure the wiring changeover went smoothly (See 2:05)
Using a copy of the Wiring Diagram Cut out connection labels and attach them to the wires before removing the controller to avoid any confusion when making the change over
I have included the TL-410C User Manual to Download - The RuiDa contol panel manual is quite a large download so I have included the link to it here https://www.cloudraylaser.com/pages/download-link (you will also find manuals to other controllers using this link eg Trocen, Ruida, BJJCZ, Leetro)
Install the RuiDa Controller
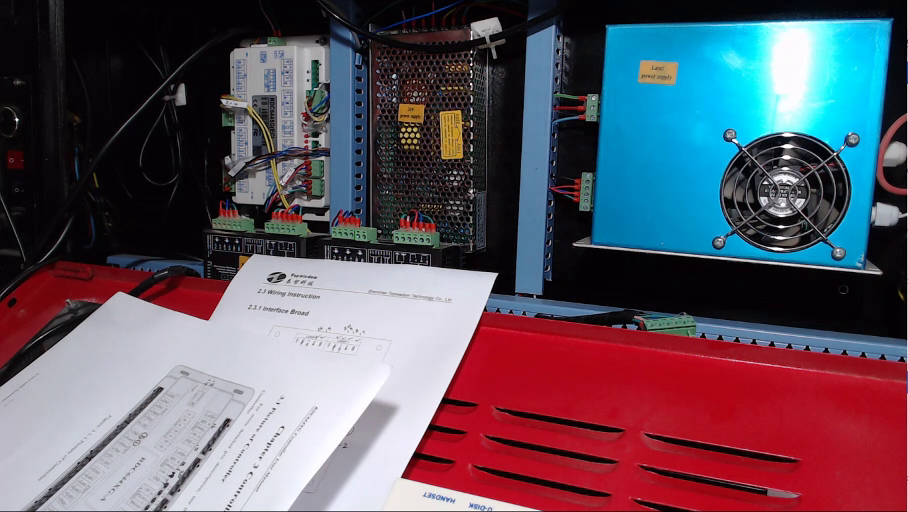
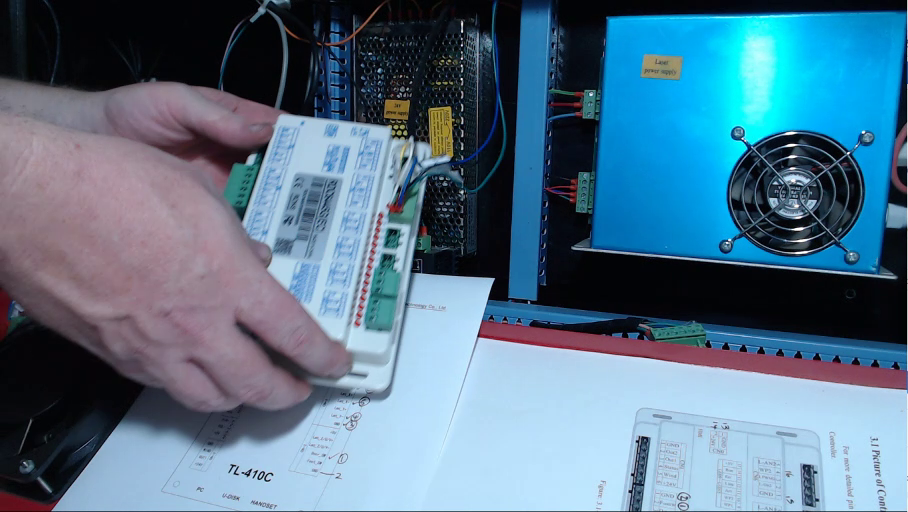
After removing the old controller, commence the installation of the Ruida controller (See 3:00)
Match up the newly labelled cables with the new controller, some wires and plugs may need to reconfigured, so it is a good thing to have labelled the wires in the previous step.
Replace Old Control Panel With the New
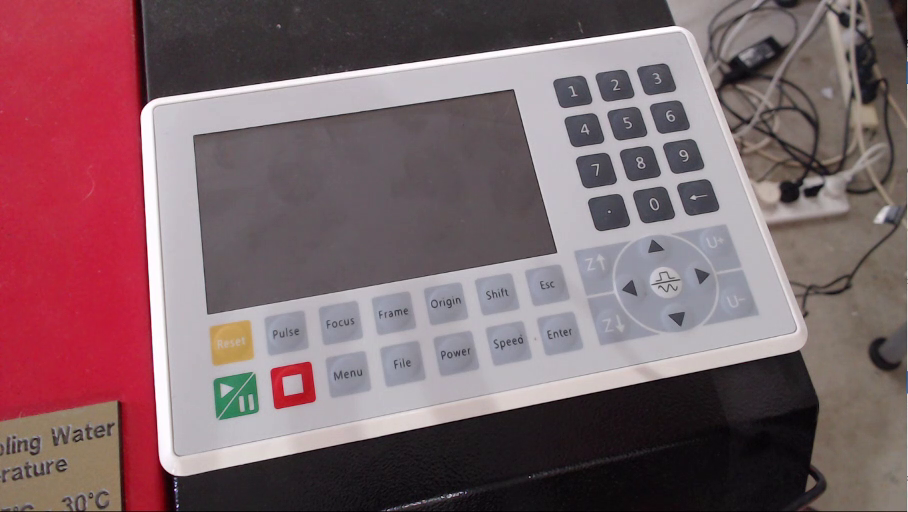
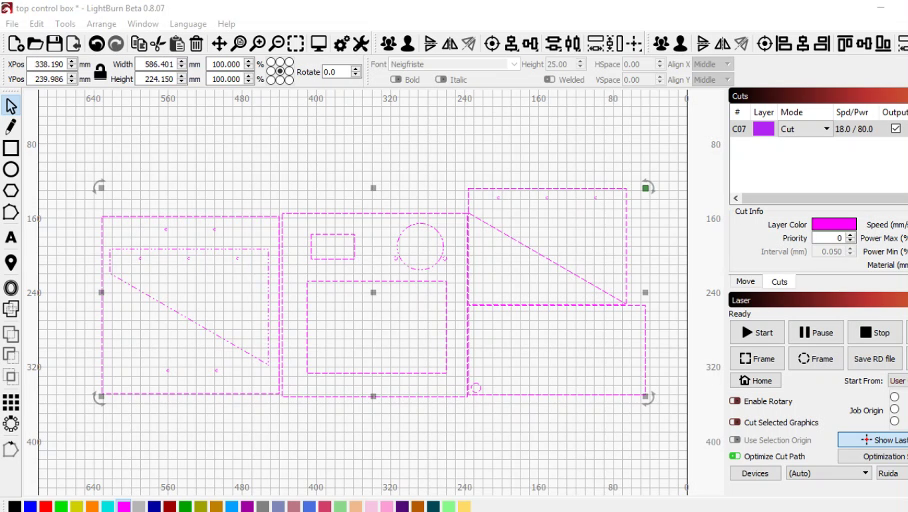
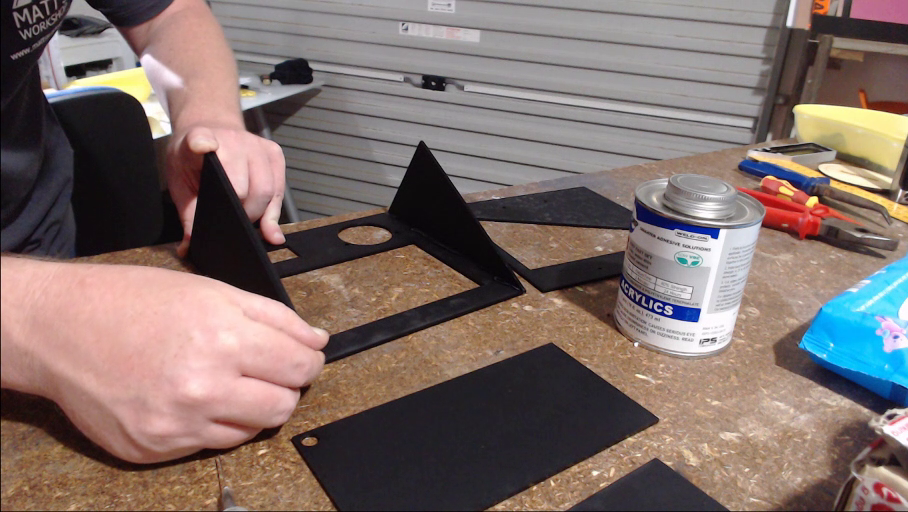
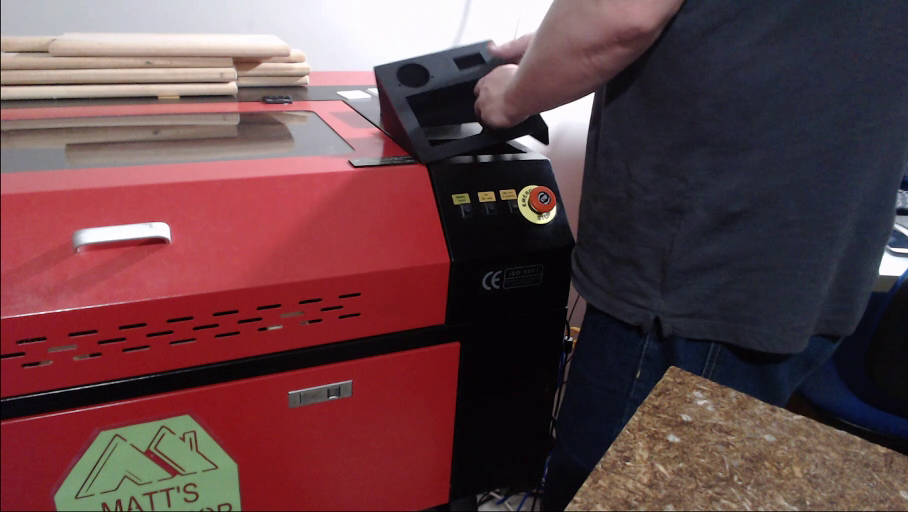
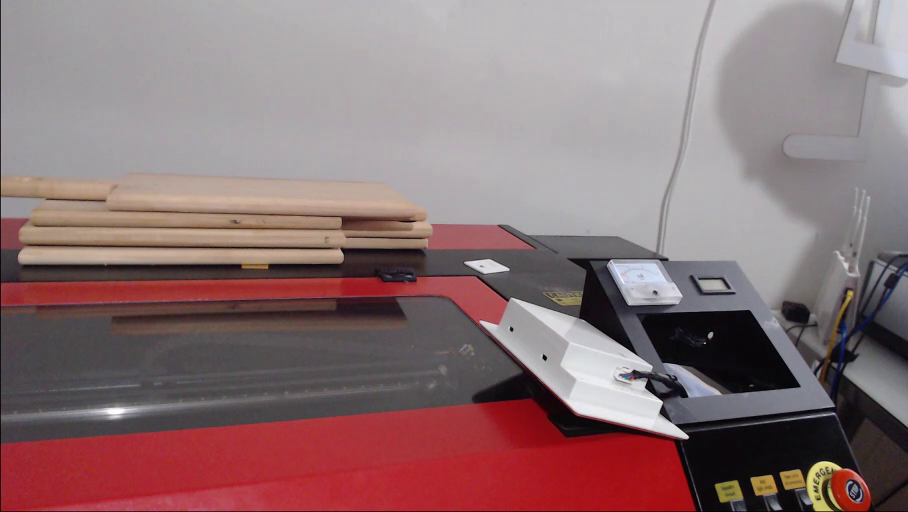
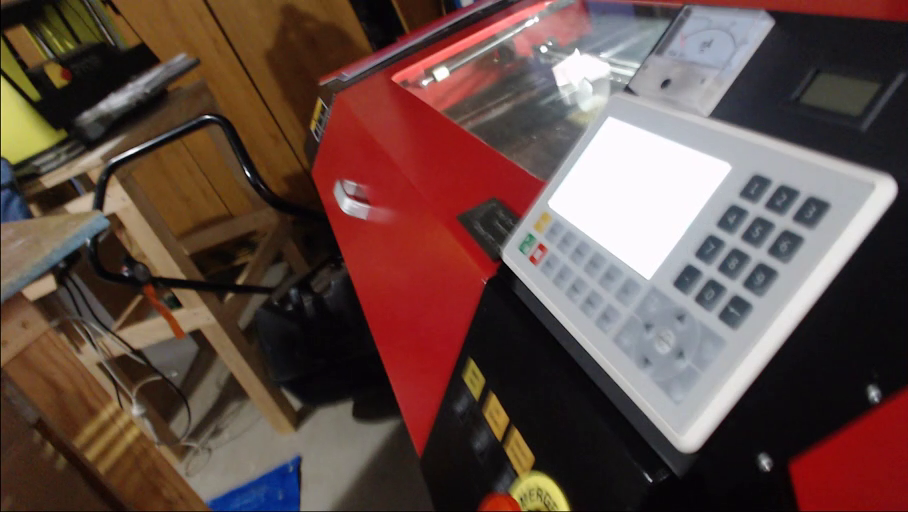
Replace the Control Panel and replace with the new one, You may need to make the insert cutout larger, or make a new mounting panel like I did.
I have provided DXF file of the Acrylic Panel for you to cut out for yourself. I used SCIGRIP to Weld the Acrylic panel together.
I used 3mm Black Acrylic Sheet Approximate Size 600x300mm
Downloads
Check Connections and Then Power On
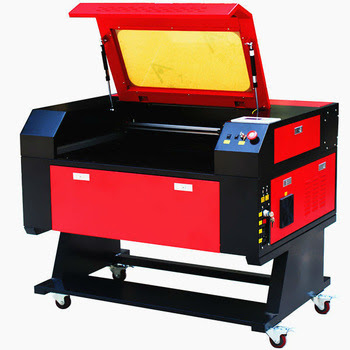
Once all connections were checked and checked again it’s time to turn on the power (See 3:50)
Change Display Language (Specific for RuiDa 6445 Controller)
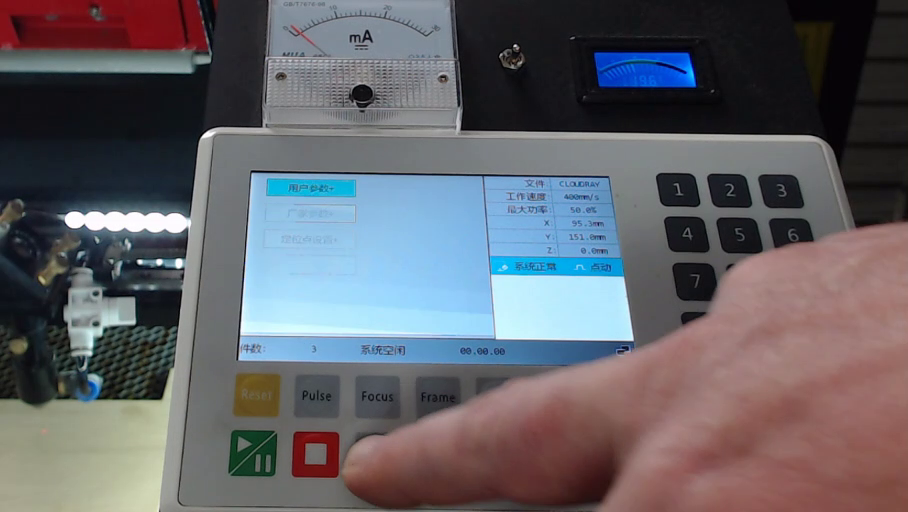
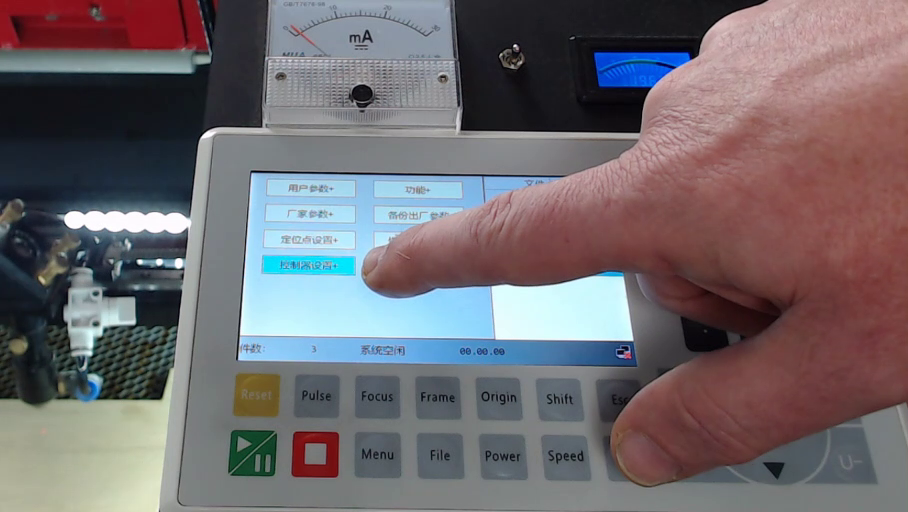
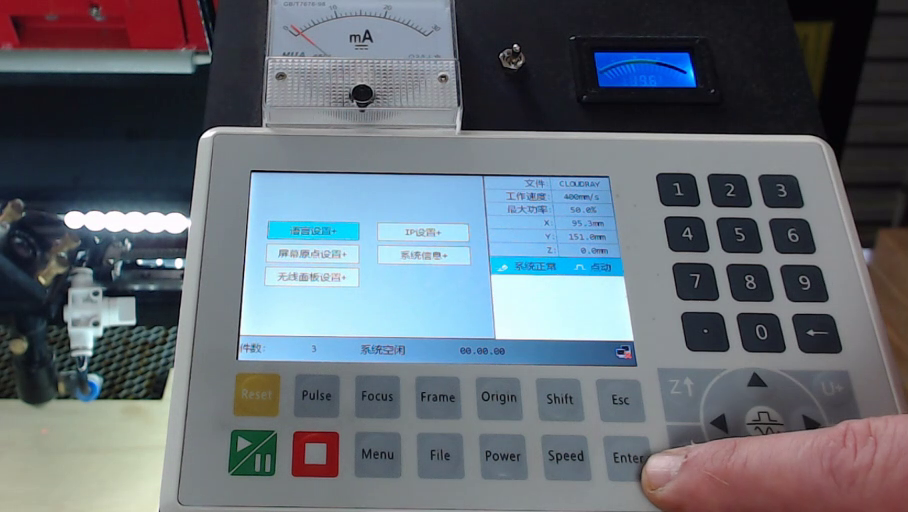
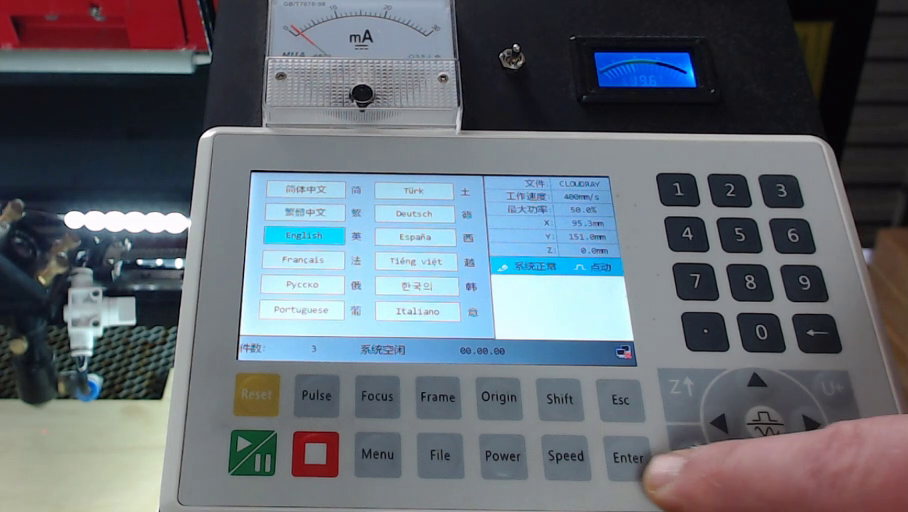
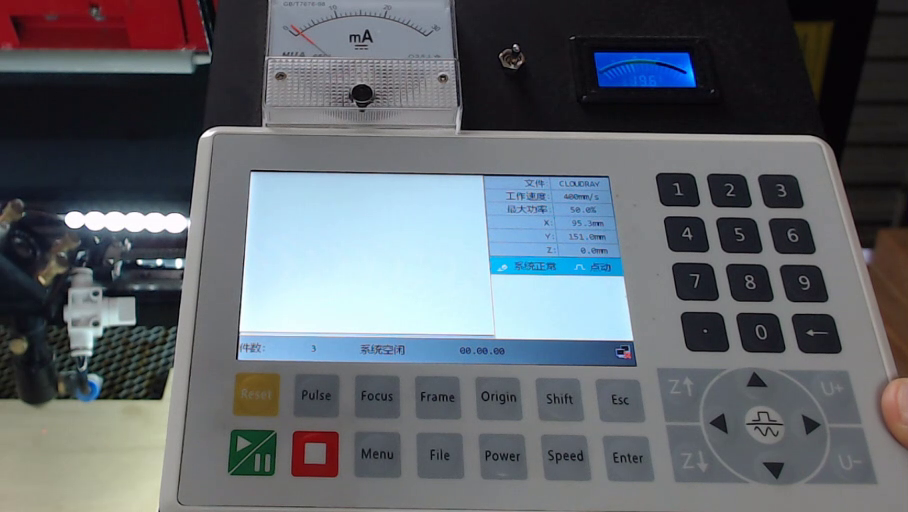
The initial display language is in Chinese so here I show how to change it to English (See 4:15)
To change to English, Press Menu, Press down arrow 3 times, press enter, press enter again on the 1st option, them press down arrow twice and press enter. This should now be in English.
Configure Your New Controller
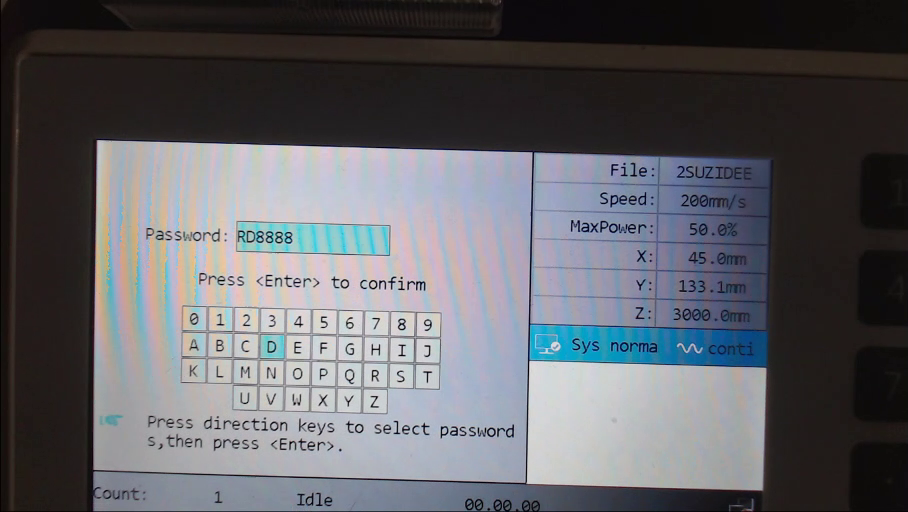
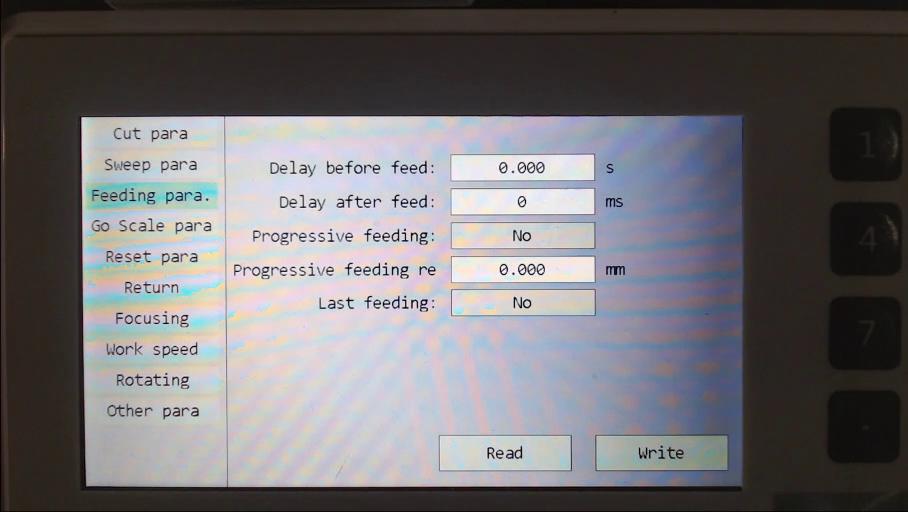
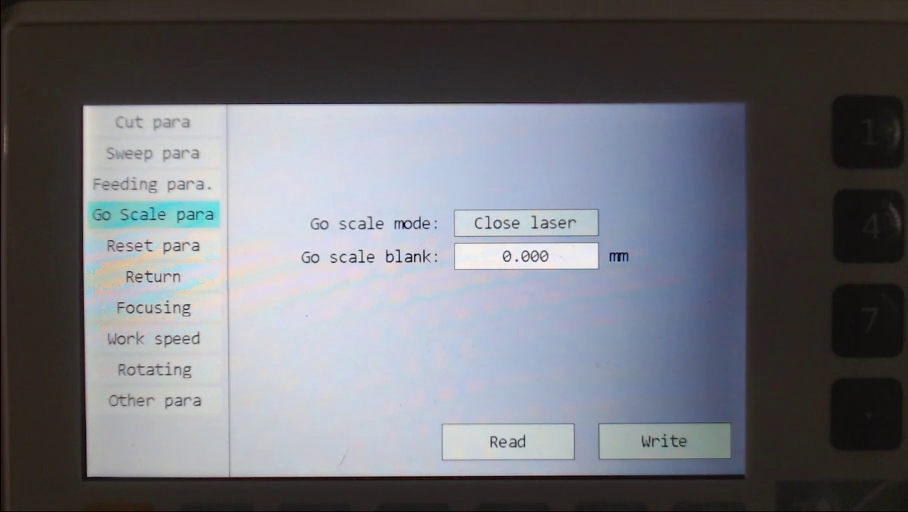
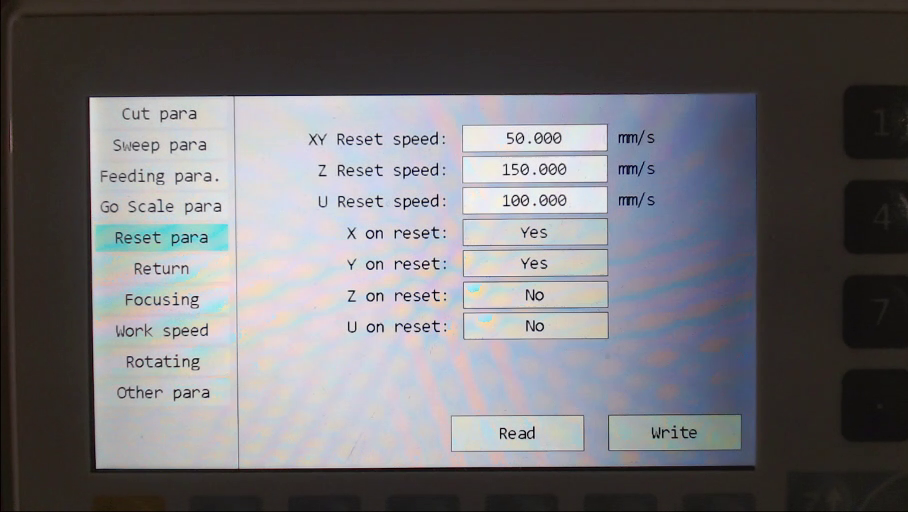
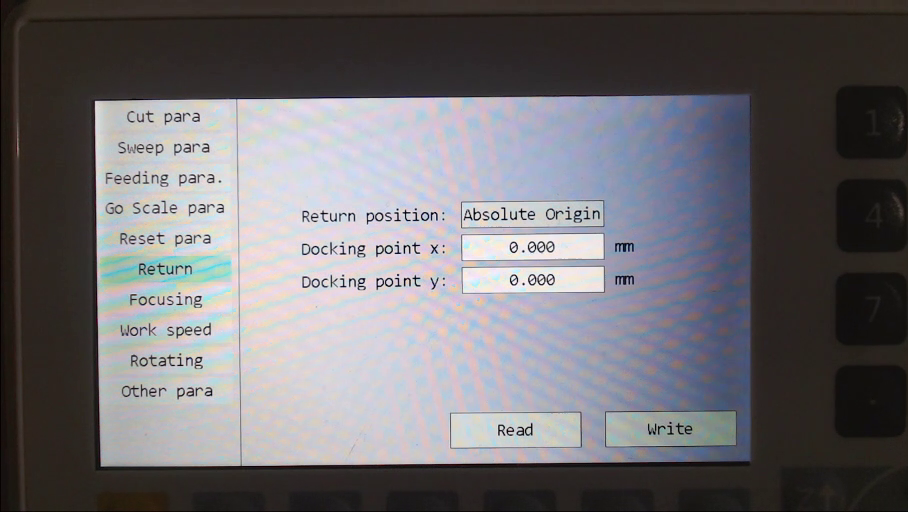
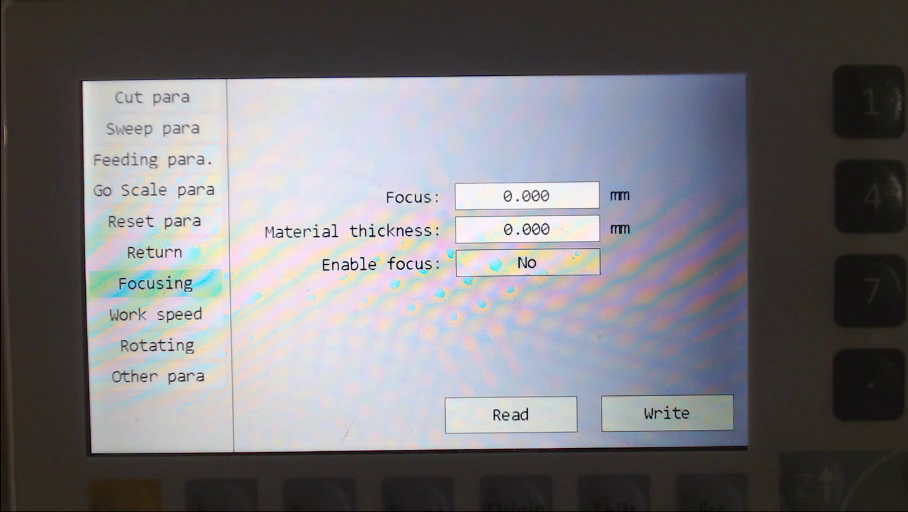
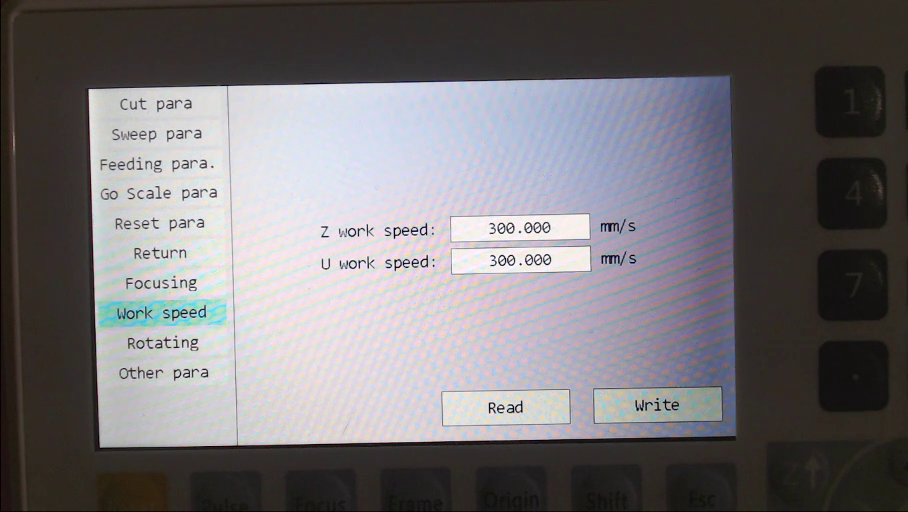
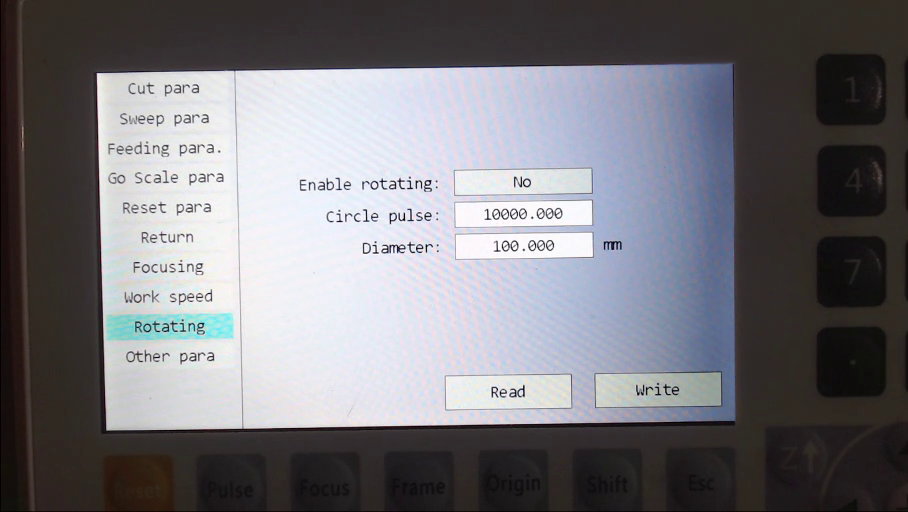
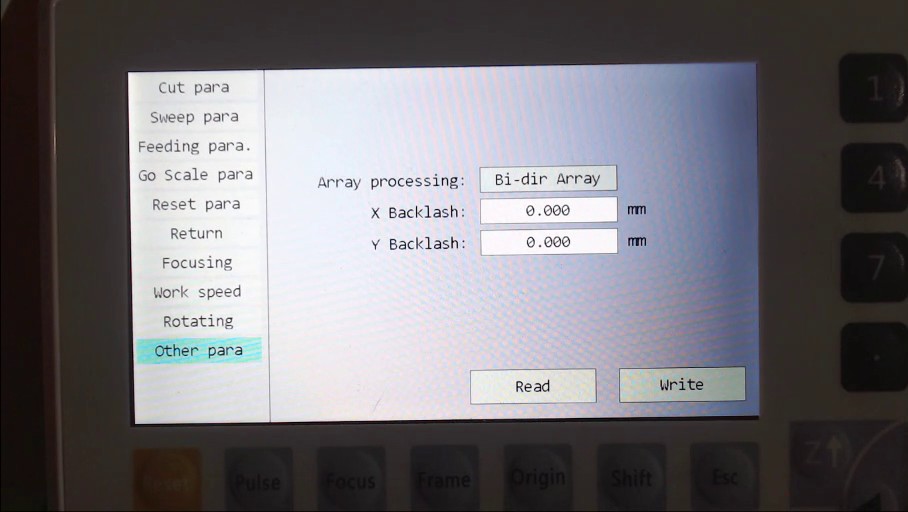
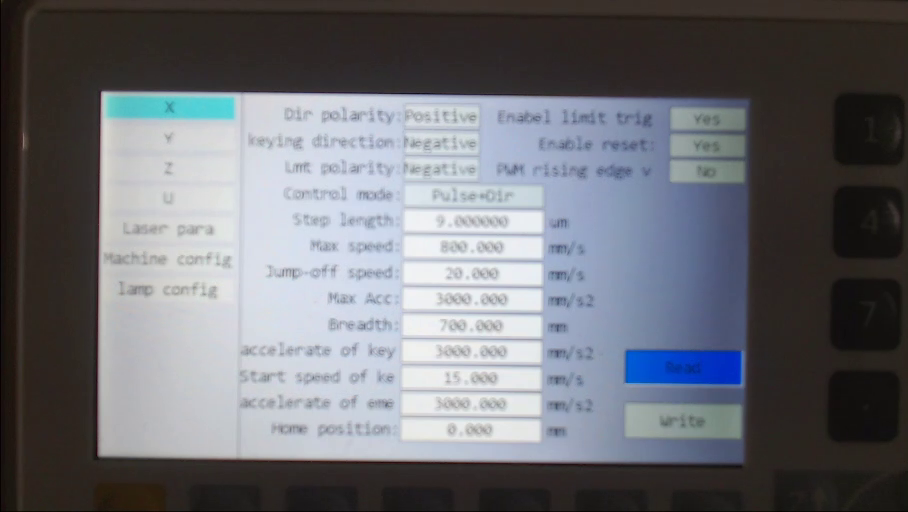
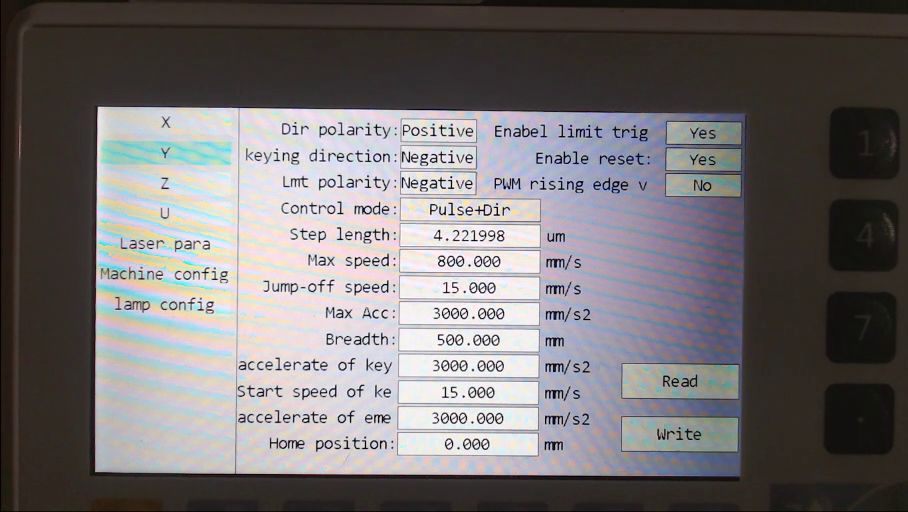
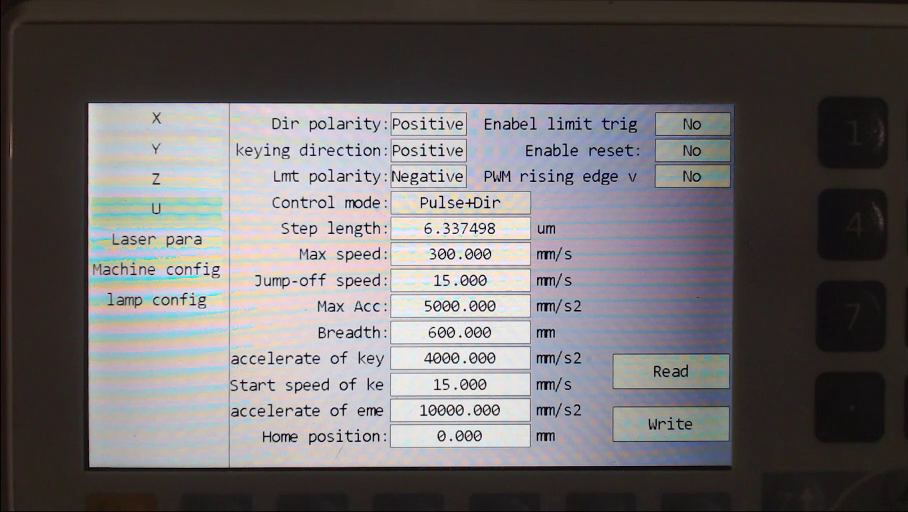
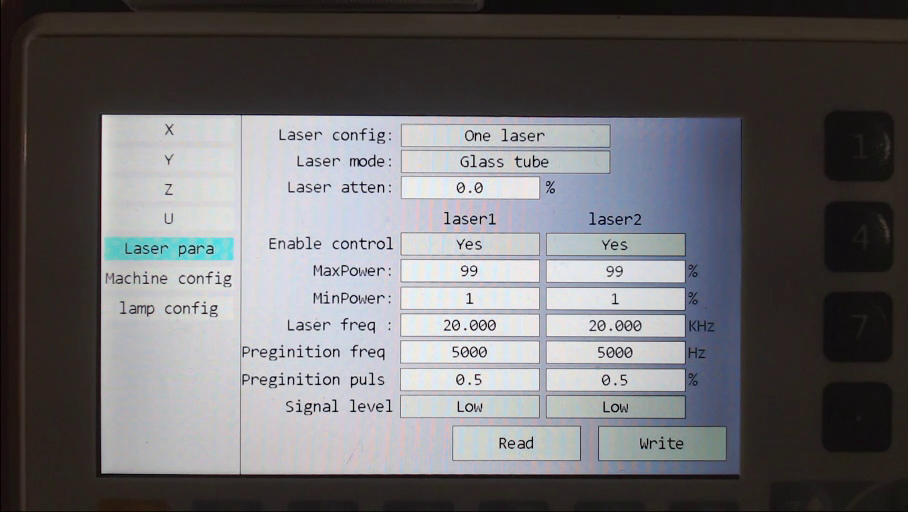
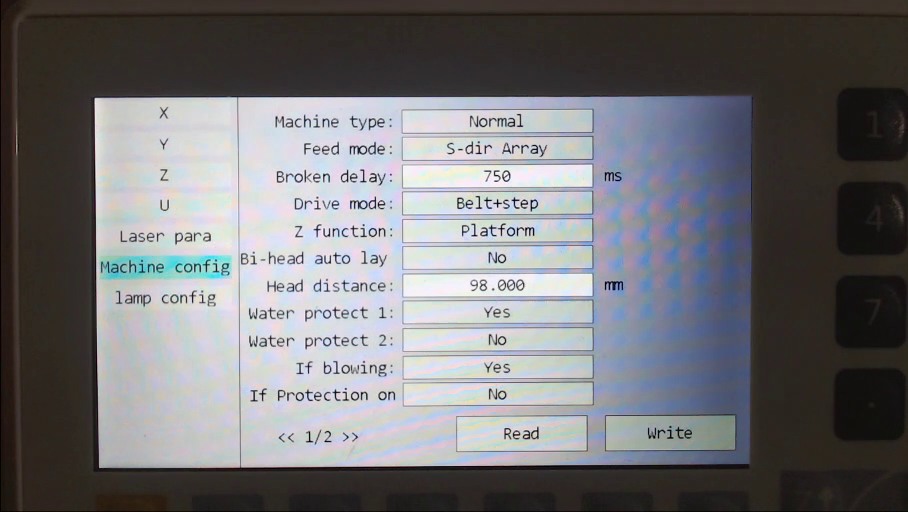
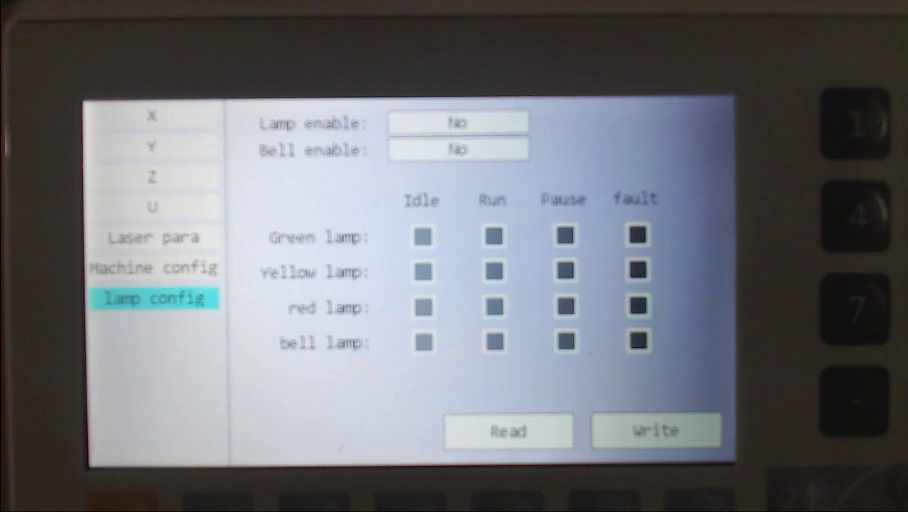
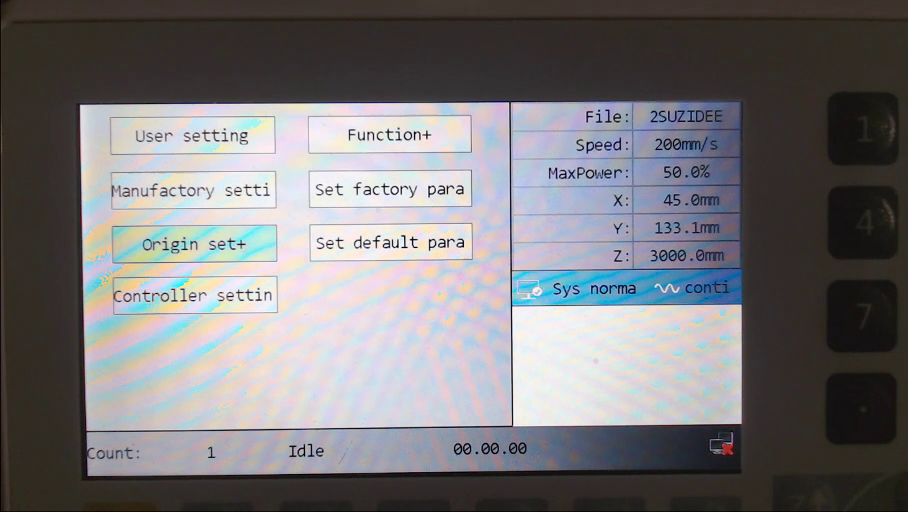
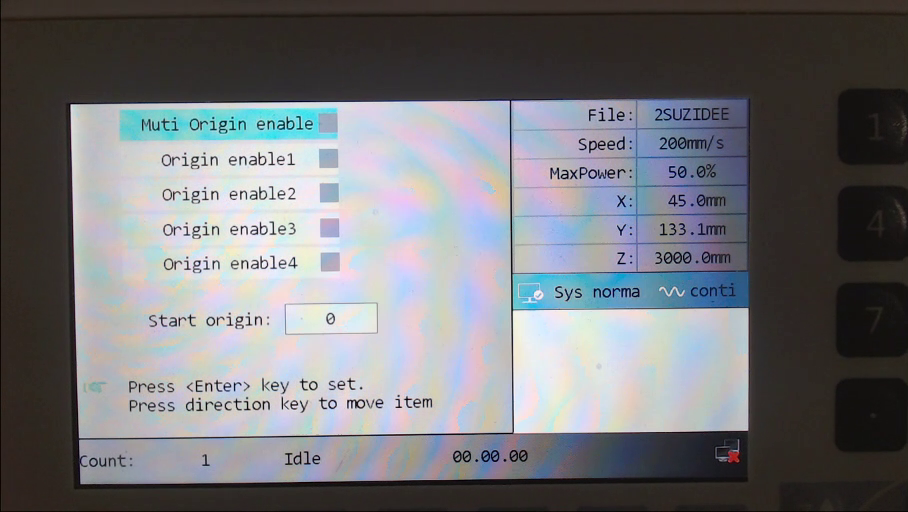
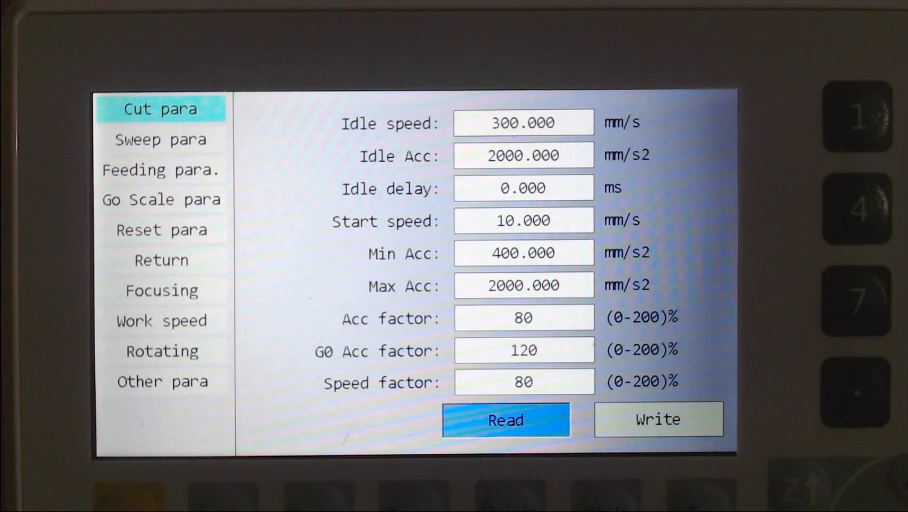
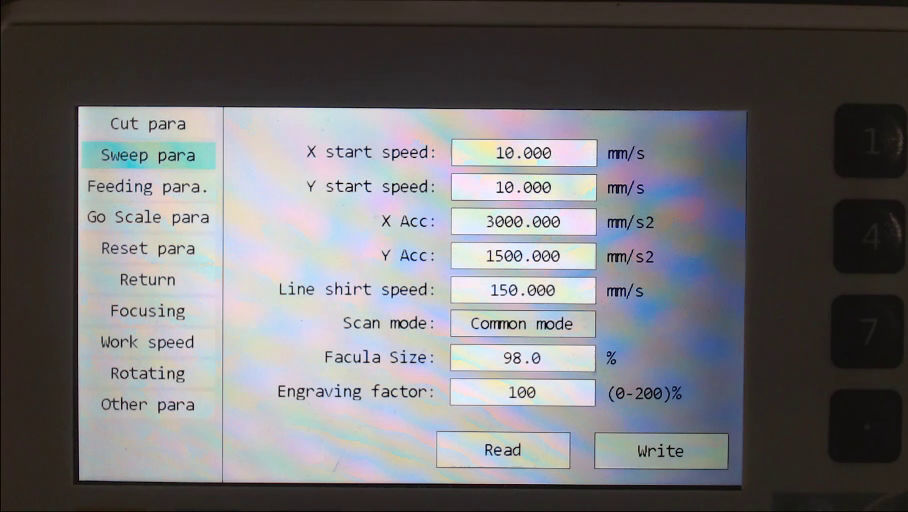
NOTE: The controller needs to be configured to your machine's requirements, note the information displayed is for my particular machine, if you have a machine like this the settings may be the same but due to manufacturing differences there may be other settings that are required to suit your particular setup.
At (5:08) I show the 'Manufactory' settings I was able to use on my machine, (To see explanation See The Video Instructions if you are using the RuiDa 6445 Controller) I show settings here that you can pause and review if you need to, see NOTE above. The password for the settings on this controller is RD8888
I hope you found these instructions helpful.
Cheers Matt
www.mattsworkshop.net