How to Sketch Simple Cartoon / Comic Characters
19286 Views, 60 Favorites, 0 Comments
How to Sketch Simple Cartoon / Comic Characters
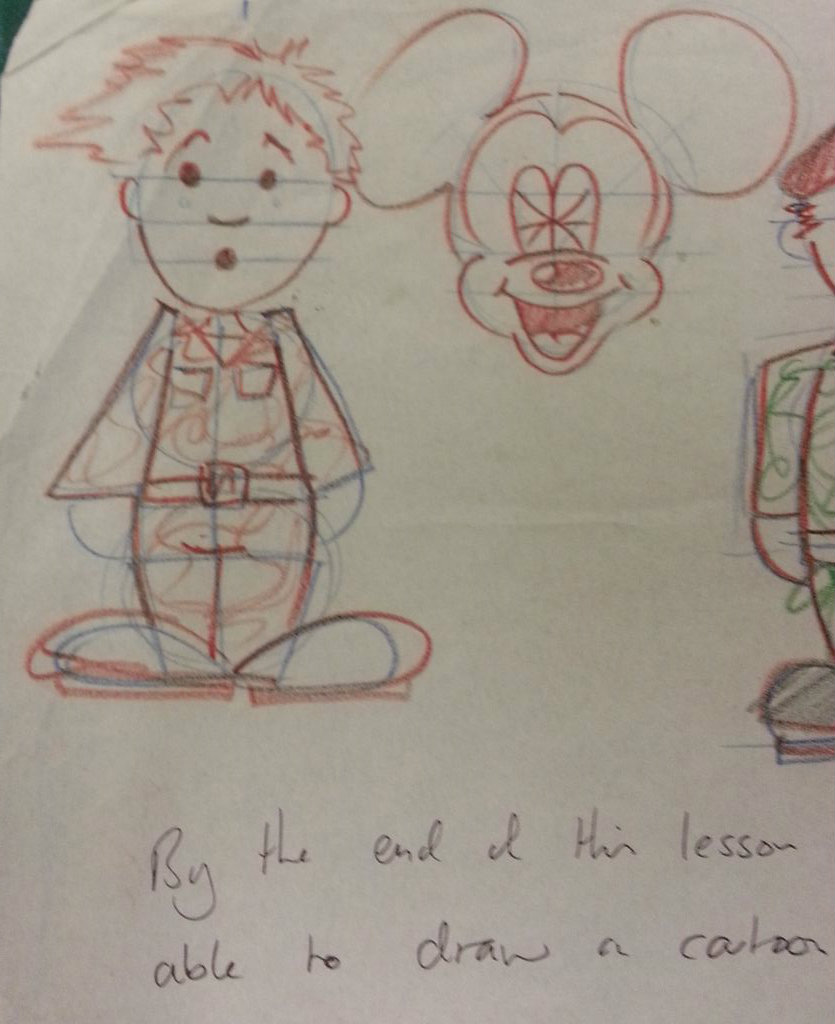
Welcome to 'How to Sketch Simple Cartoon / Comic Characters. This 'able is for those people who have funny ideas for cartoons but perhaps are frustrated because they feel they can't draw. There are lots of books out there on cartooning & character drawing but I'm hoping this will be a much more simple system to get you started quickly expressing your great ideas.
This instructable will adapt as it develops so you may have to pop back now and again.
Contents,
- The Basic 3 Circles Layout.
- Dressings for different people.
- Dressings for different animals.
- Advanced Techniques.
- Colour Media.
You may find it useful to also see my other instructable which teaches some of these basic techniques in more detail. You will find links to relevant lessons as we go through - links will open in a new tab, so you'll be able to come pack to this instructable easily.
Here's the full course - Sketching & Drawing Lessons
The Basic 3 Circle Layout
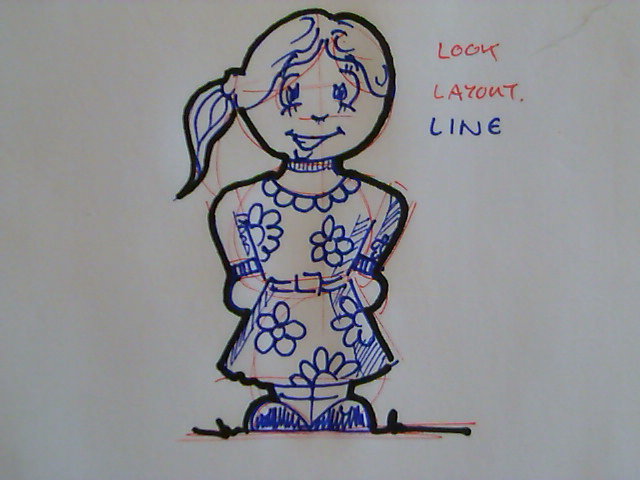
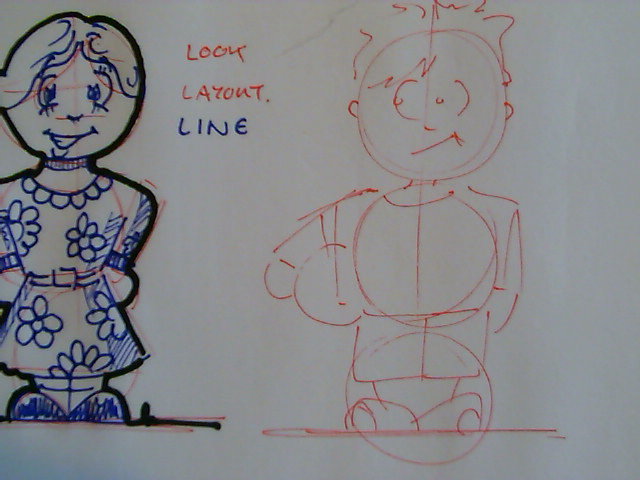
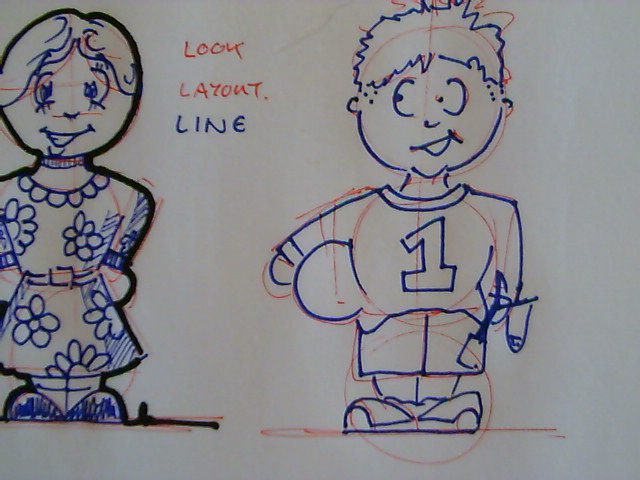
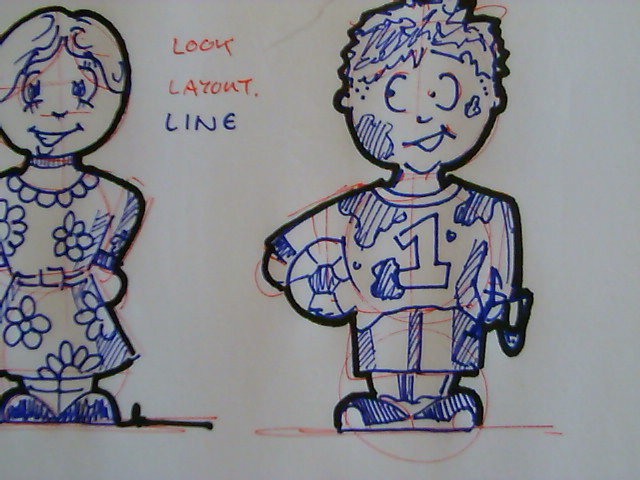
Before you get going you may want to warm up and practice your circles; use this lesson below to develop your line work and basic shape drawing.
Getting started - Lines, Points, Squares, Circles and Triangles
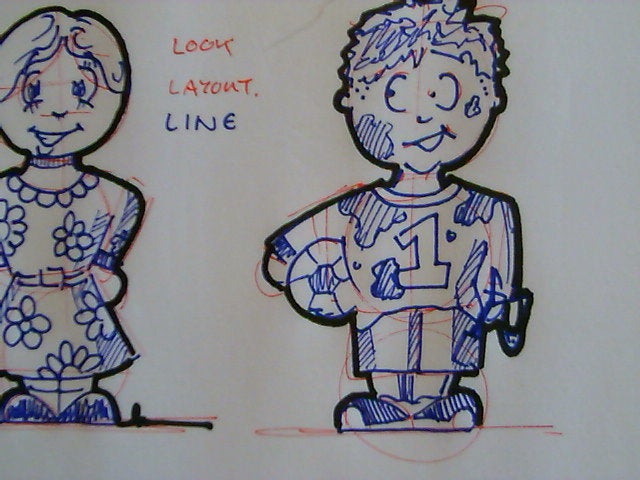
I'll be using red ink to represent very light sketching and drawing, blue ink to show lining in and black ink to show outlining
Ok let's get started...
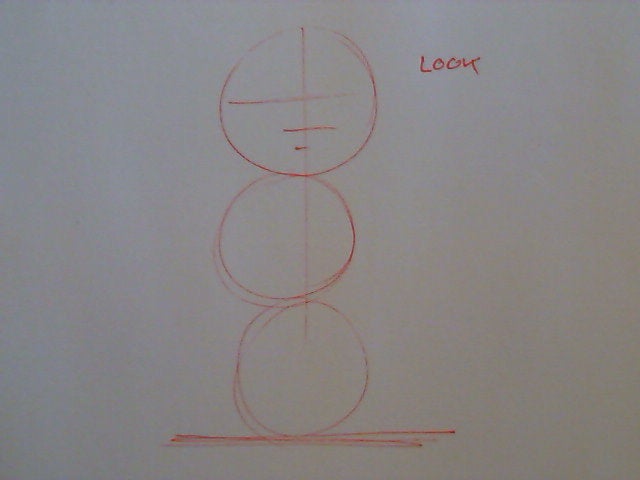
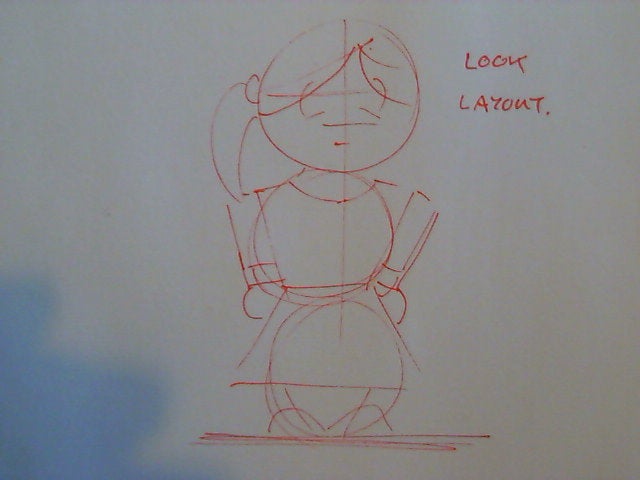
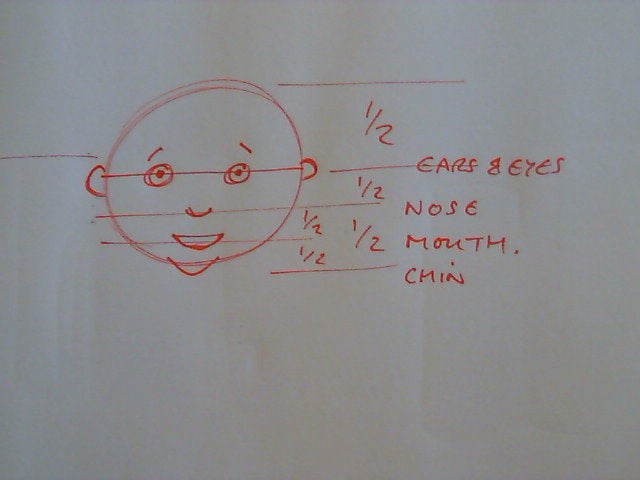
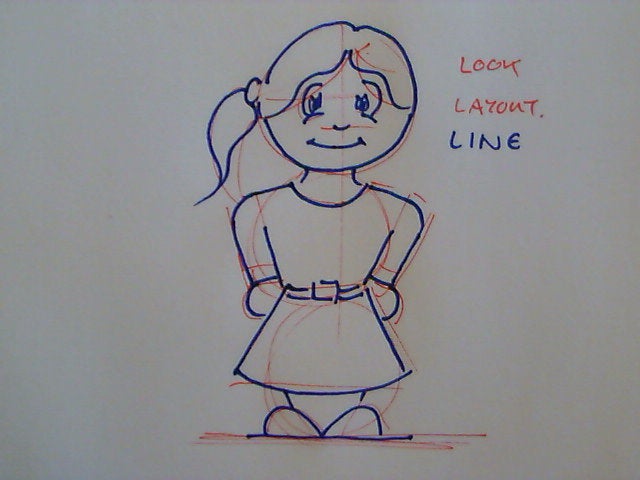
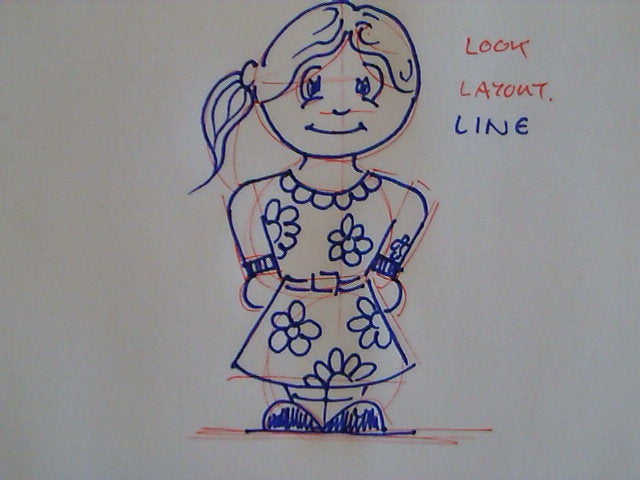
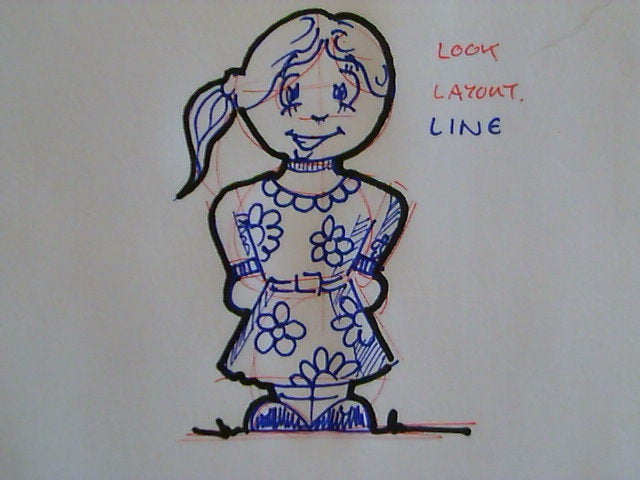
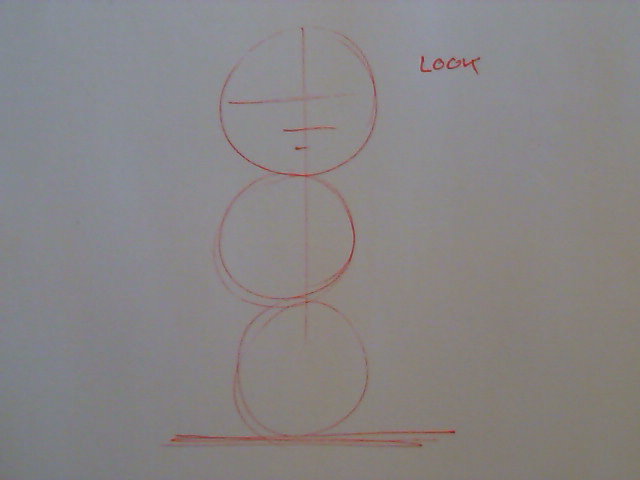
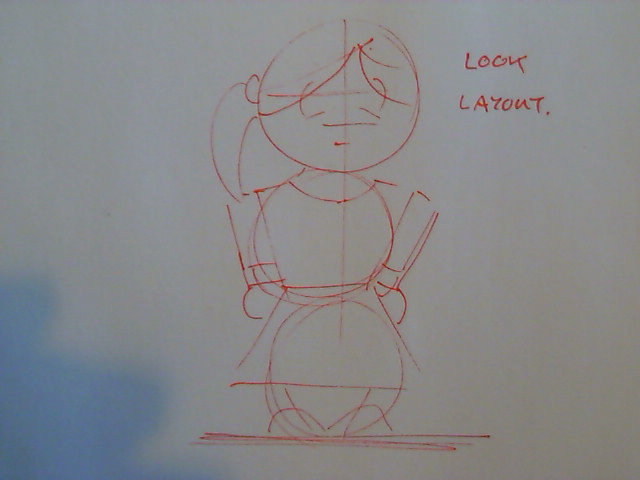
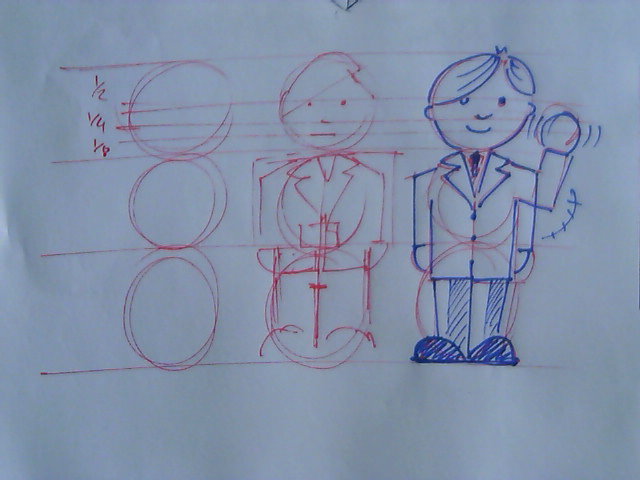
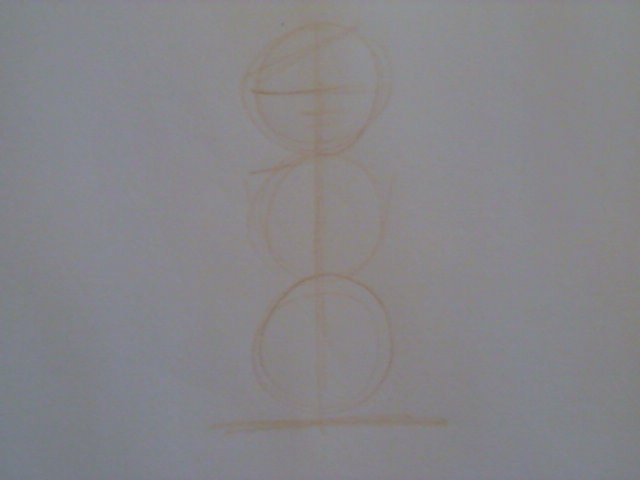
Image 1 - Look - The first thing we need to sketch very lightly is three circles one on top of the other (or one underneath the other) in a vertical line. This is our Look phase where we sketch out the general proportions of our character. Nearly all of our characters will follow these basic proportions (later lessons will explore other proportions).
Image 2 - Layout - Here we sketch very lightly the rough details and dressings for the character (I use the term dressings to describe the different way a character can be dressed or the different objects that suggest who or what the character is).
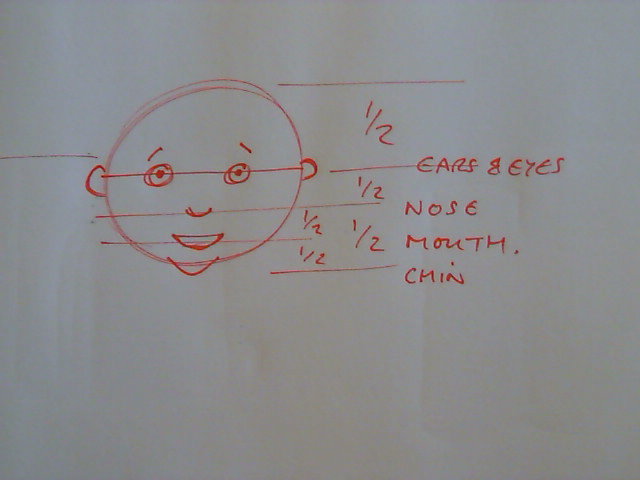
Image 3 - Note the face is in the lower half of the head - eyes & ears on the half way line - nose half way between eye line and the chin - mouth half way again.
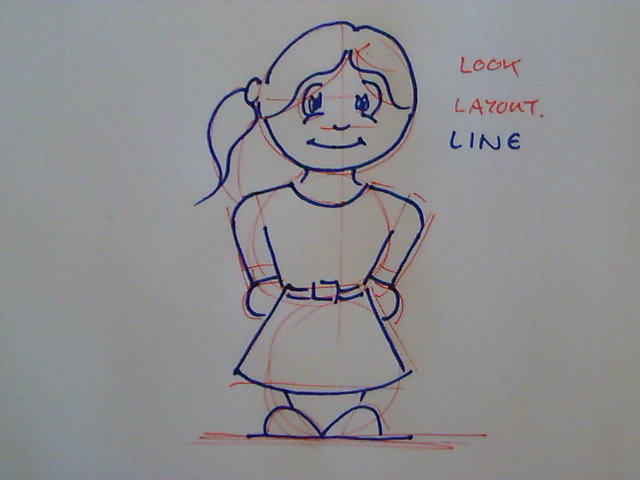
Image 4 - Line - Now we use a heavier line to draw in the details we want and start dressing our character.
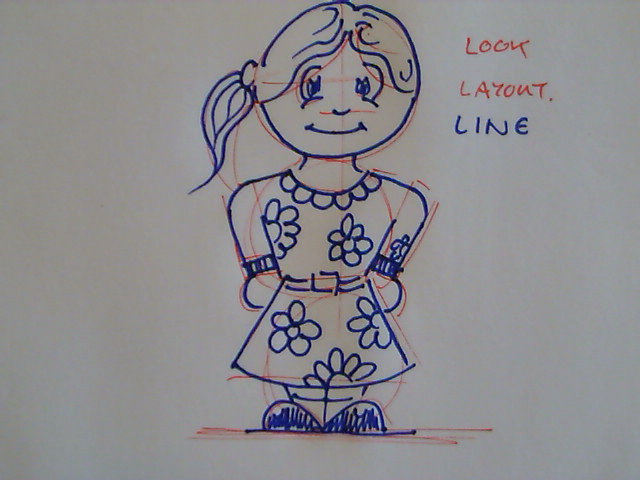
Image 5 and 6 - Shape/Shadow/Shine - Now we add a little detail and shading to give our character shape and form.
Here's another character for you to Practice.
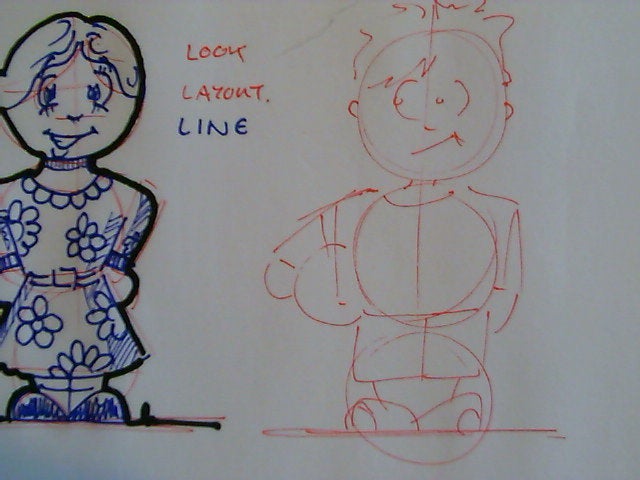
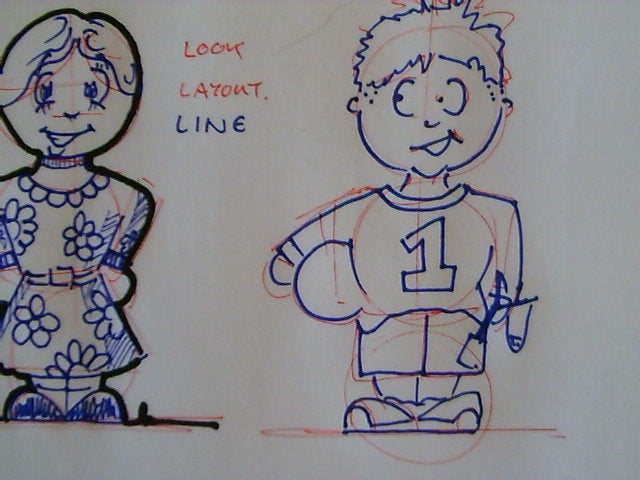
Dressings for Different People.
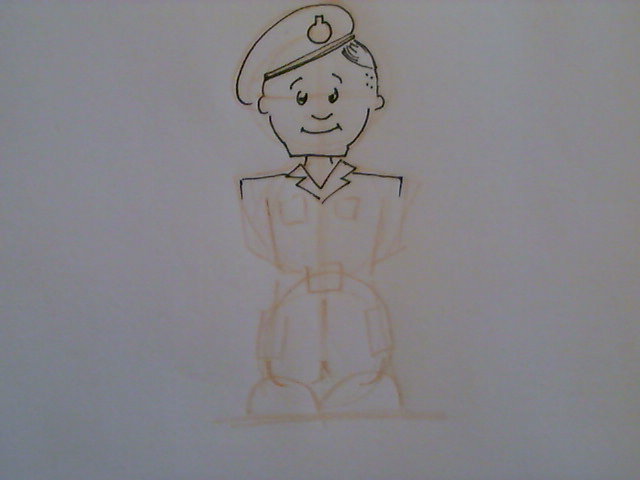
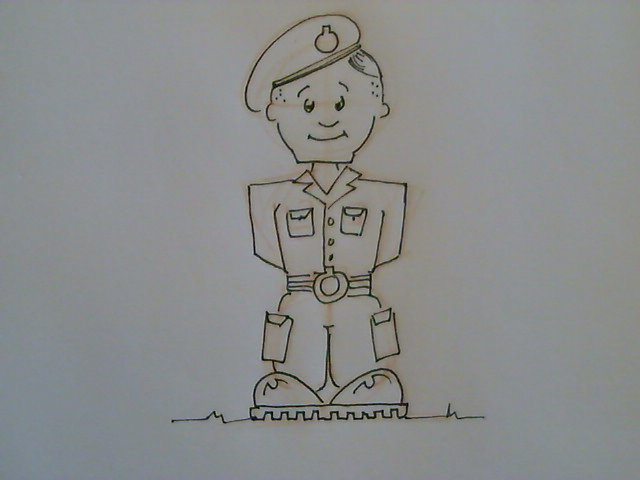
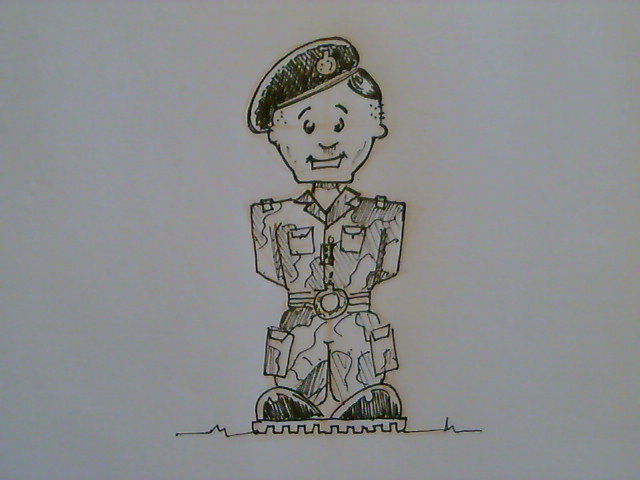
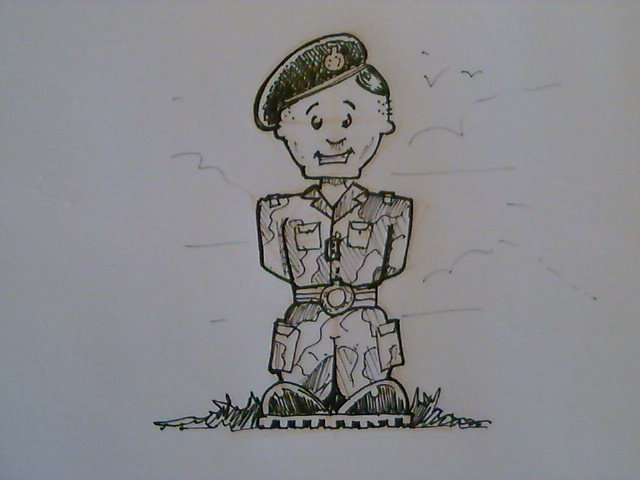
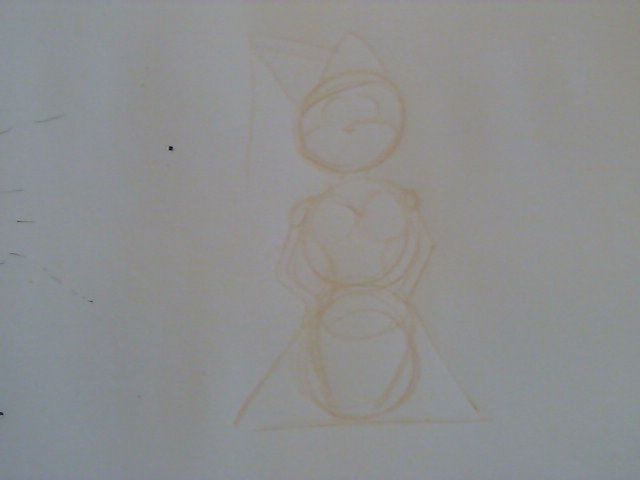
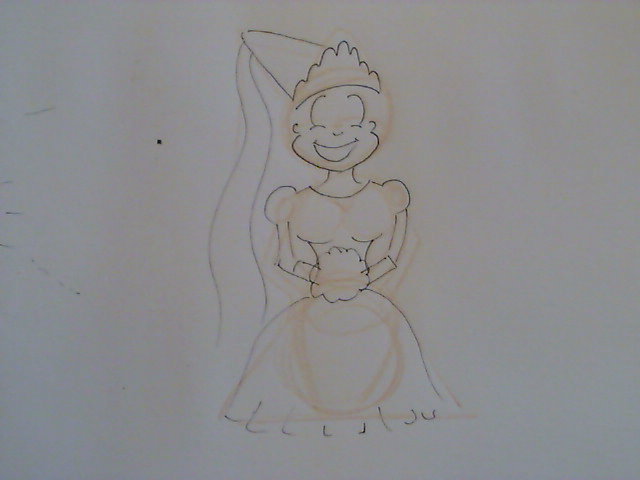
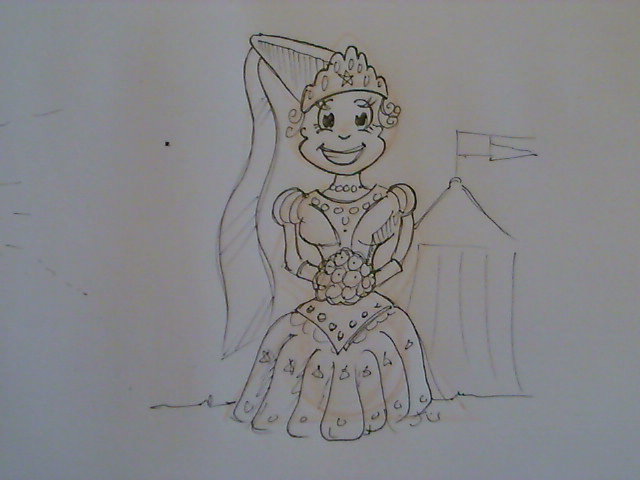
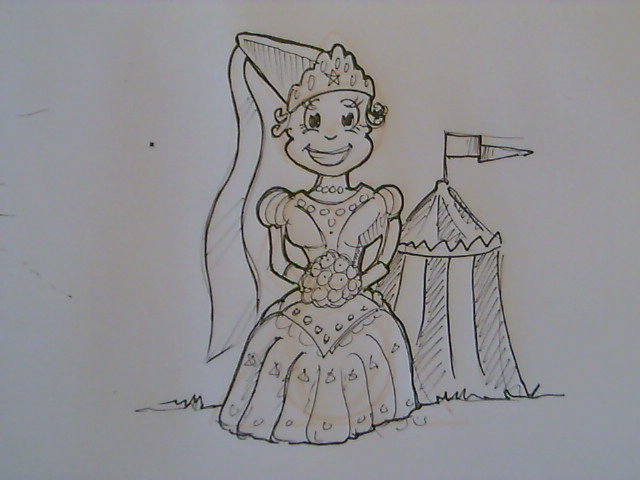
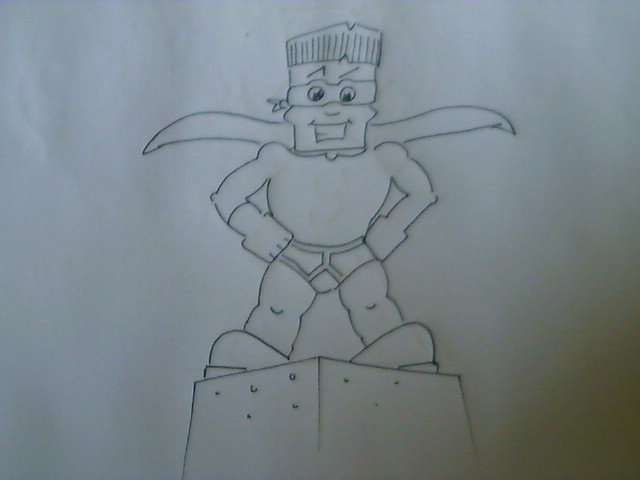
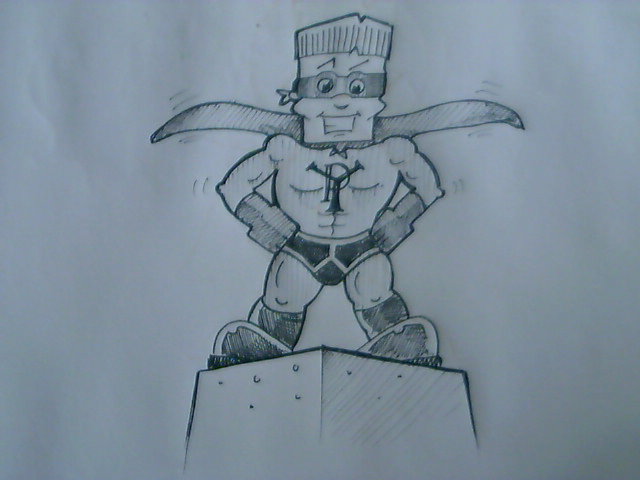
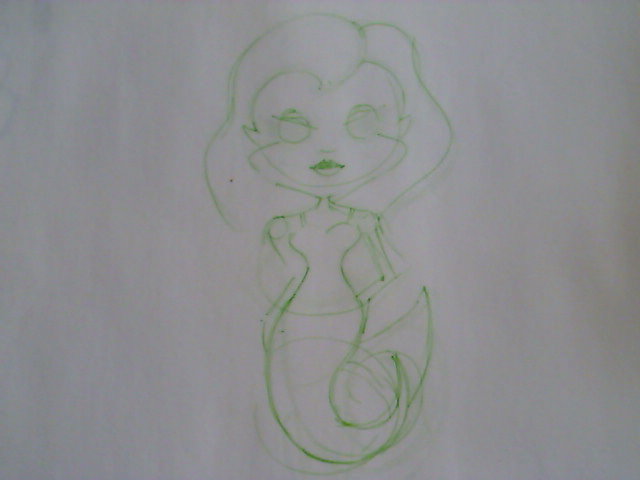
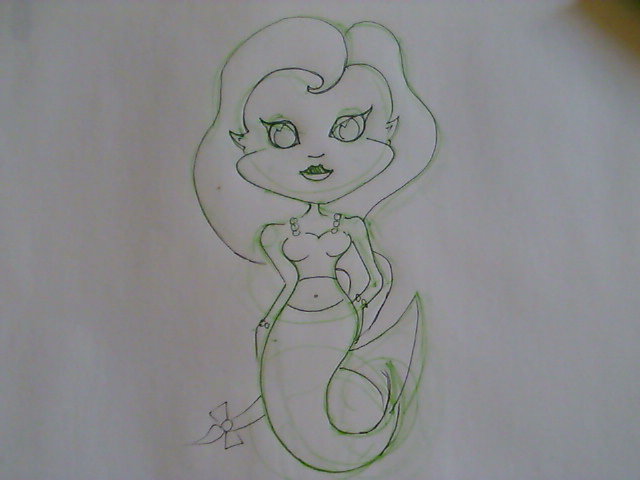
Cartooning doesn't have to be perfect the whole idea is to suggest the nature of the character and let the viewer/reader fill in the details. That said you as the artist can help this process by being observant about the small details, these aren't immediately noticed by the viewer/reader but they help their mind create the illusion of a real character.
Here I am going to show a few more step step sketches & dressings and then present a small range of characters for you to work from.
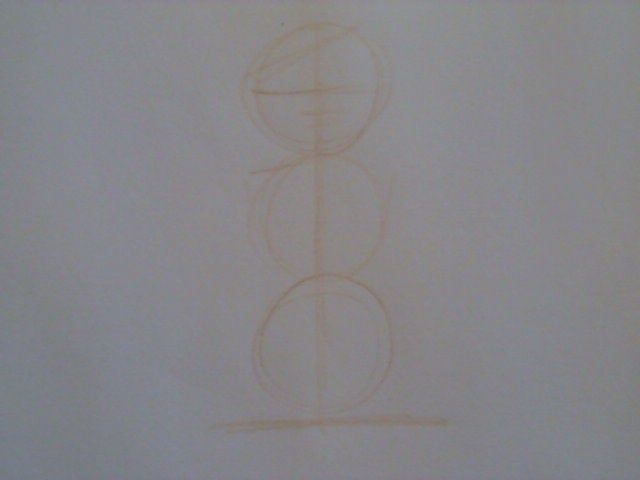
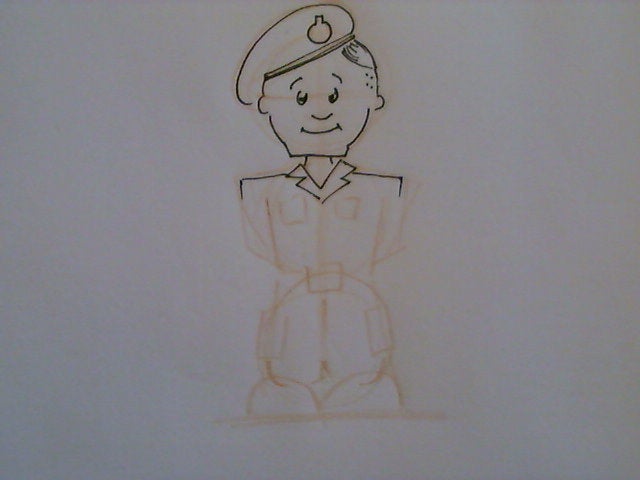
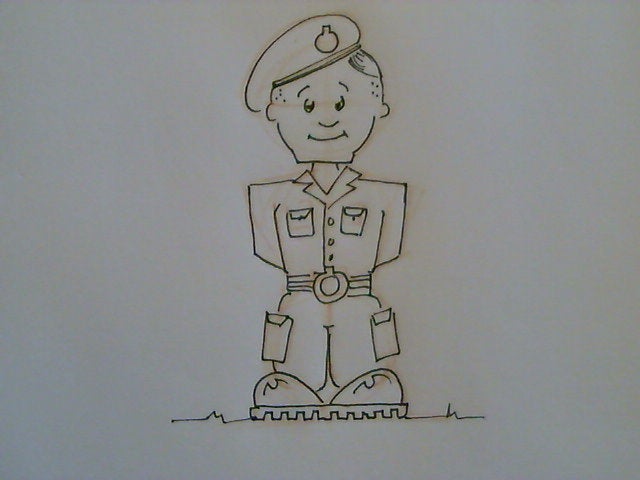
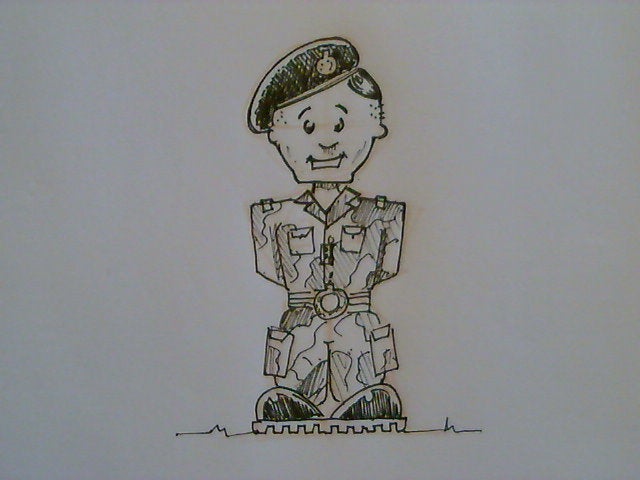
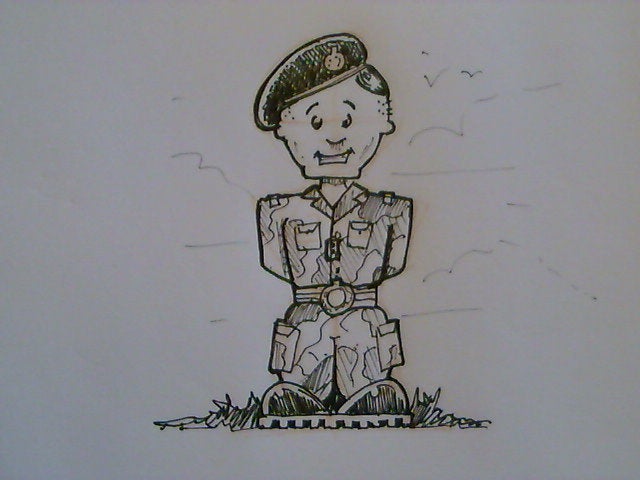
At Ease!
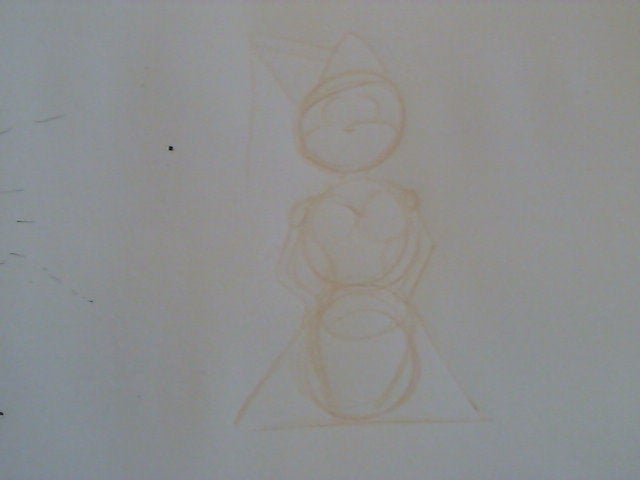
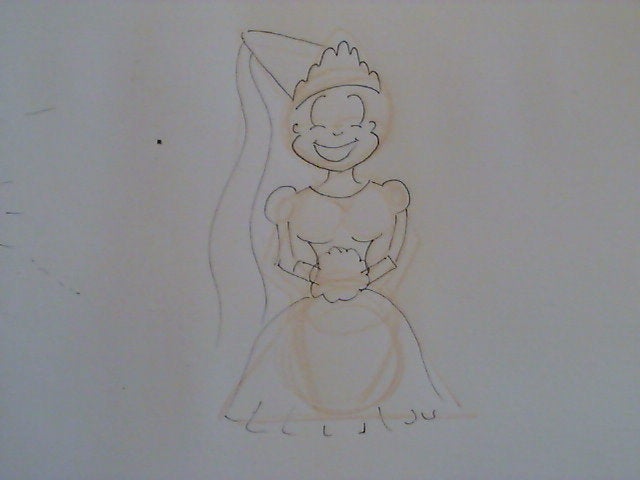
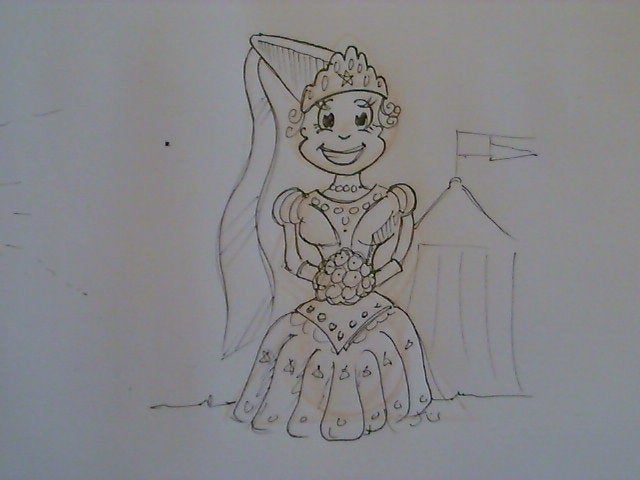
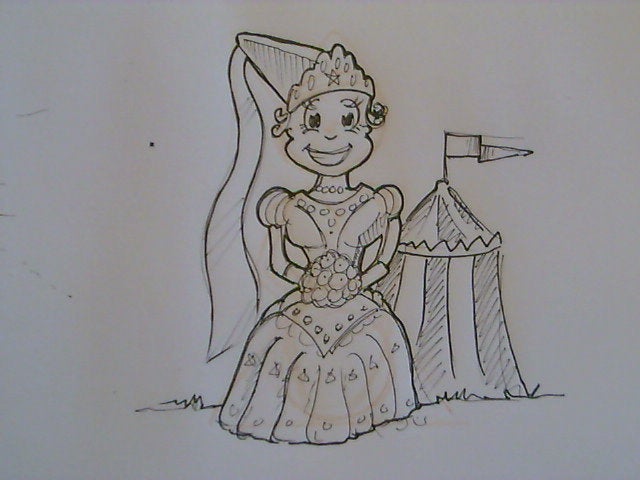
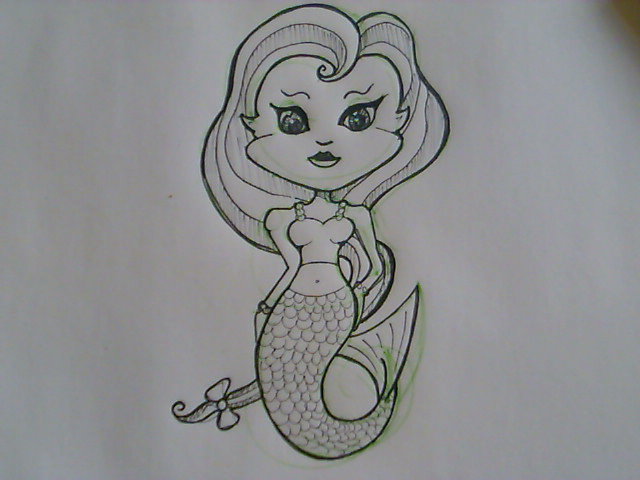
'Pretty as a Princess'
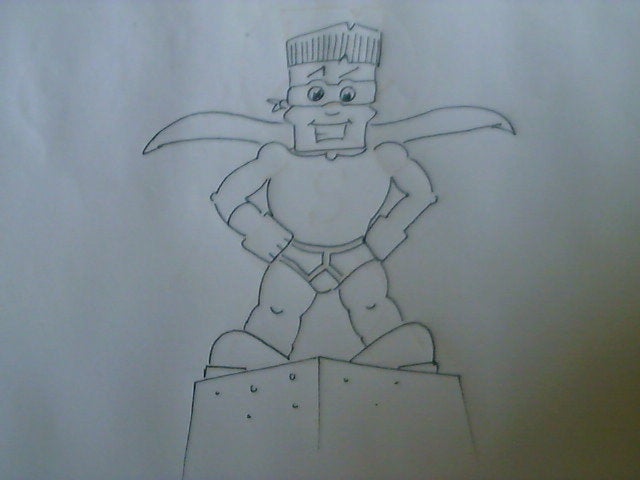
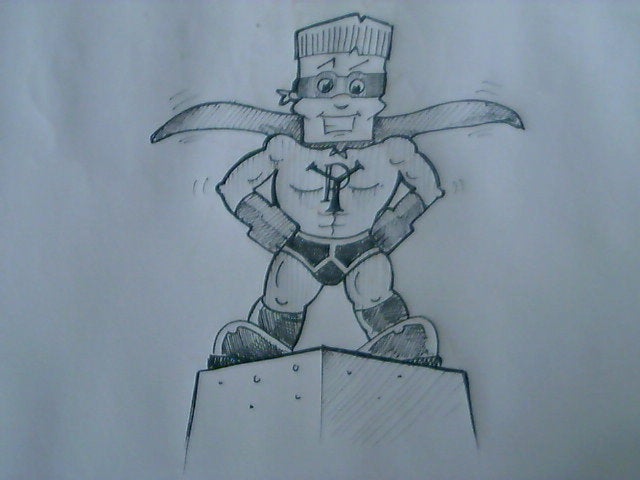
'Pants on the Outside!'
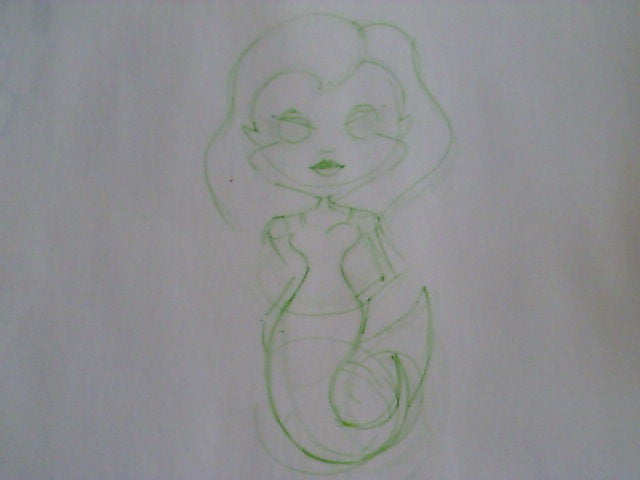
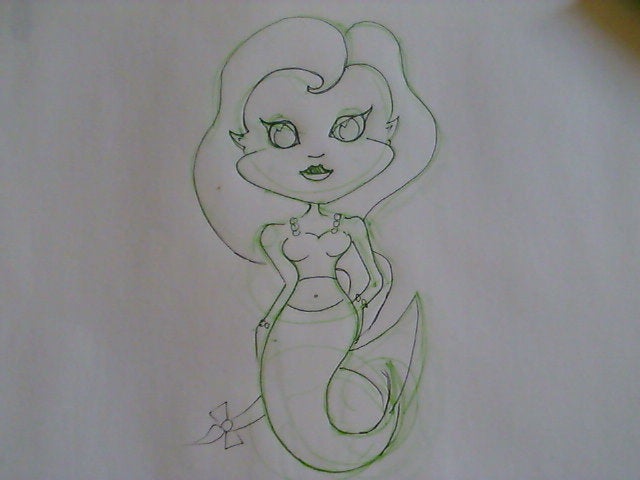
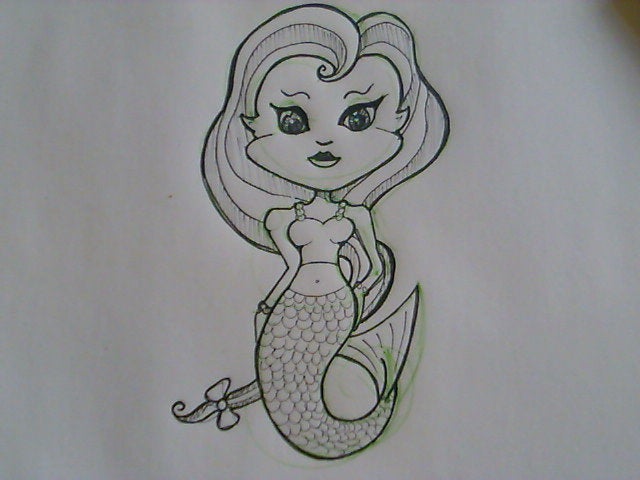
'Splish!'
You may be interested in developing the shape and form of your characters through the use of shading - you can find some additional guidance here - Look-Layout-Line/Shape-Shadow-Shine
Dressings for Different Animals.
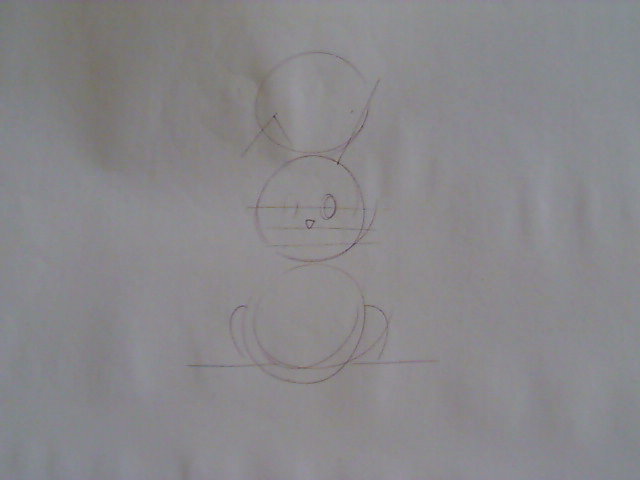
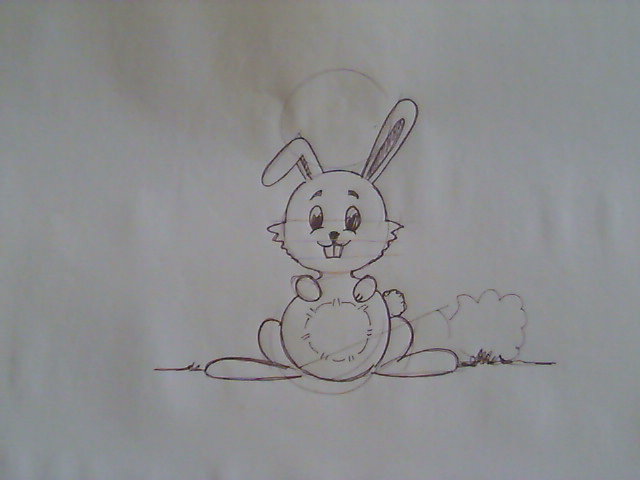
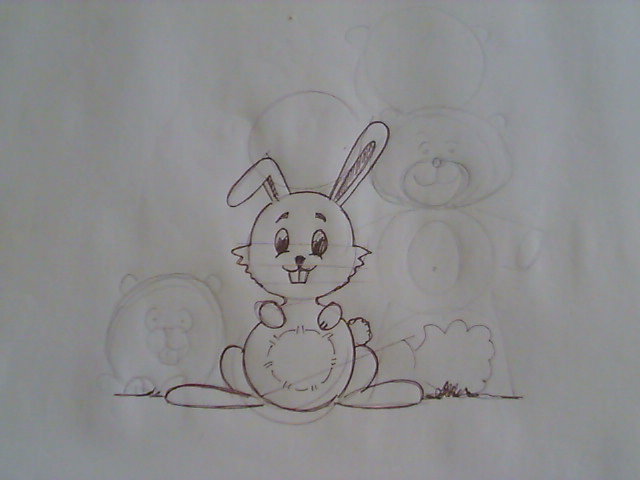
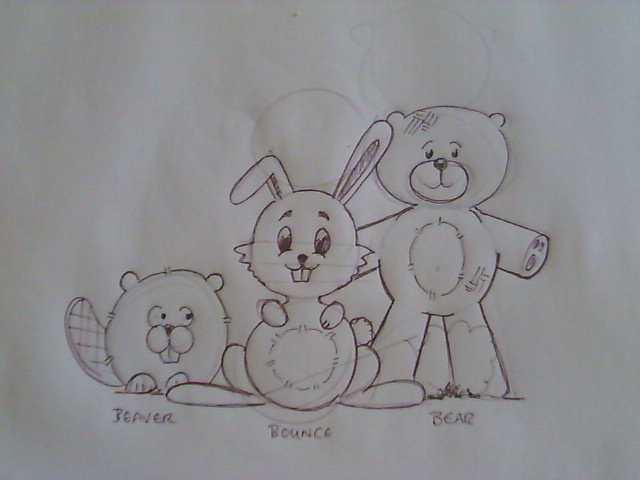
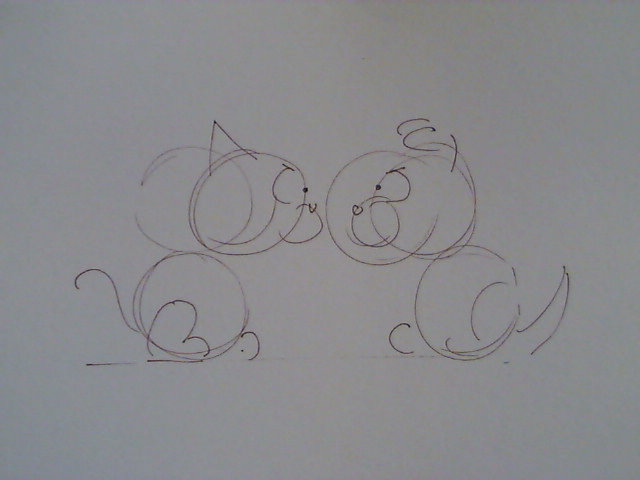
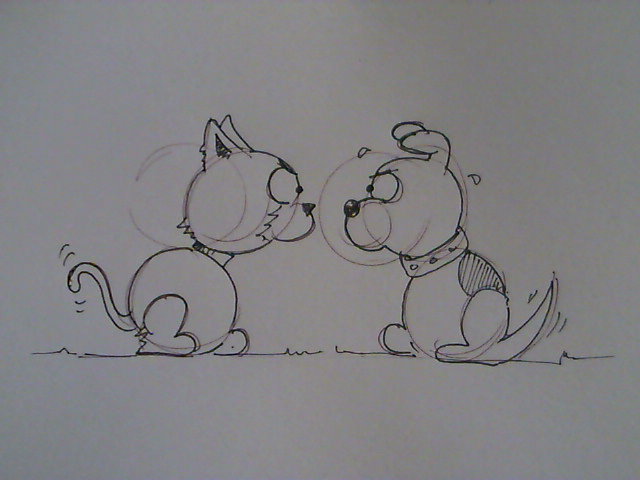
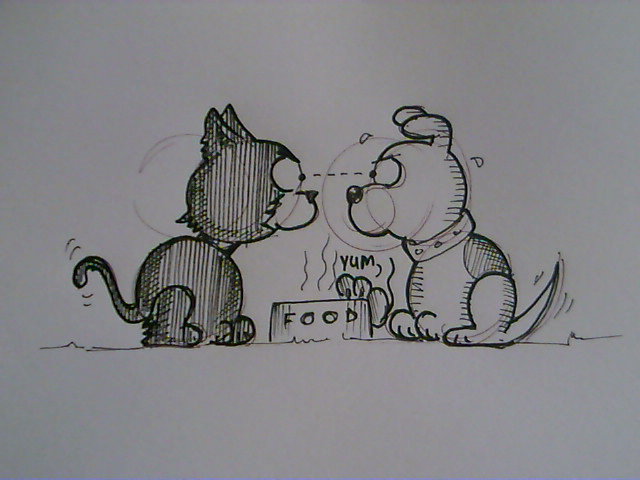
We use the same three circle system f& dressings for animals as we did for people. Animals are usually smaller than people and so we use the lower two circles to draw the main components of the animal, that said some animals can be smaller (use one circle) some can be bigger (use all three circles again).
Here's Beaver, Bounce & Bear to explain.
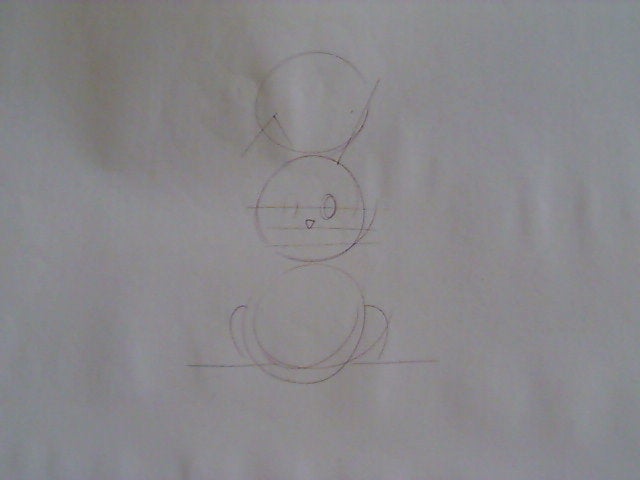
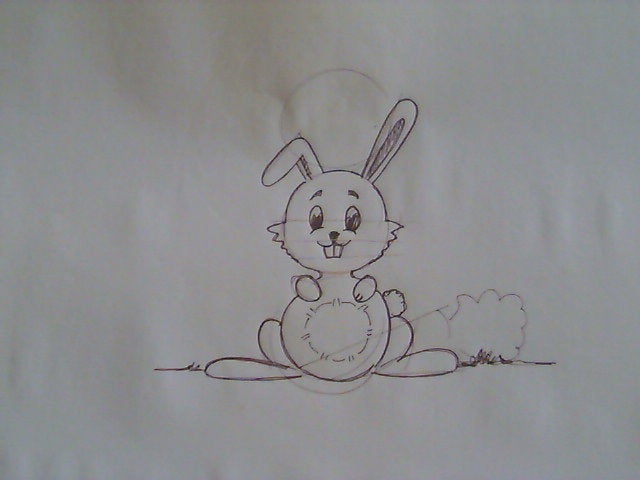
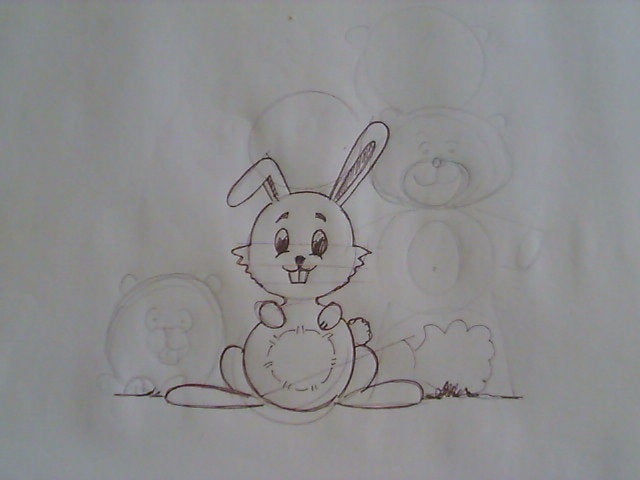
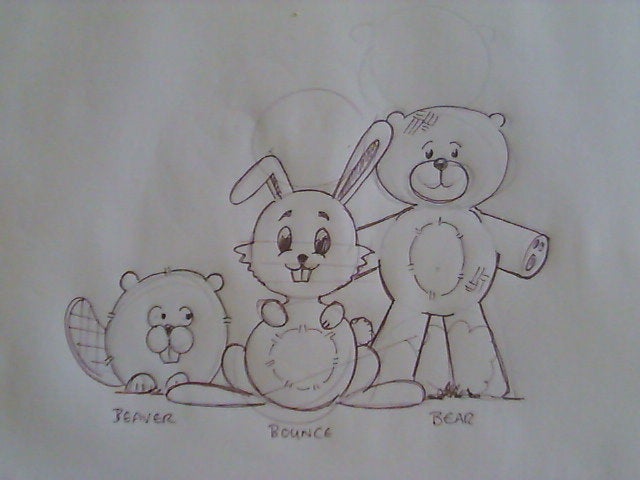
Notice the scale is established by using the appropriate number of circles.
Here's the same 2 circles for the bunny used for a cat and a dog. This shows that you can use the basic circles and adapt them to your needs. Here I've offset the bottom circle to give a side view.
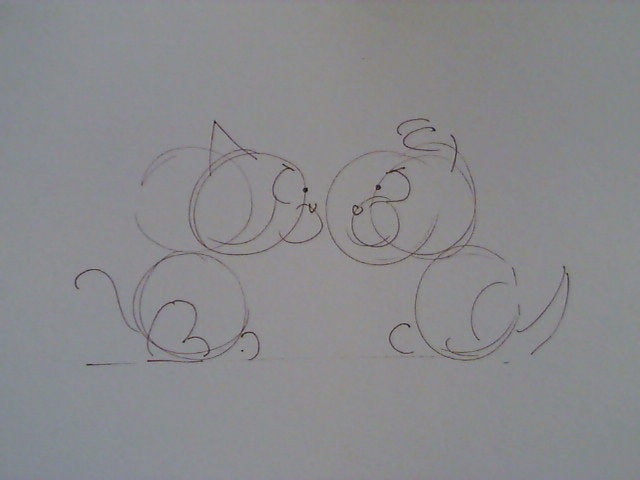
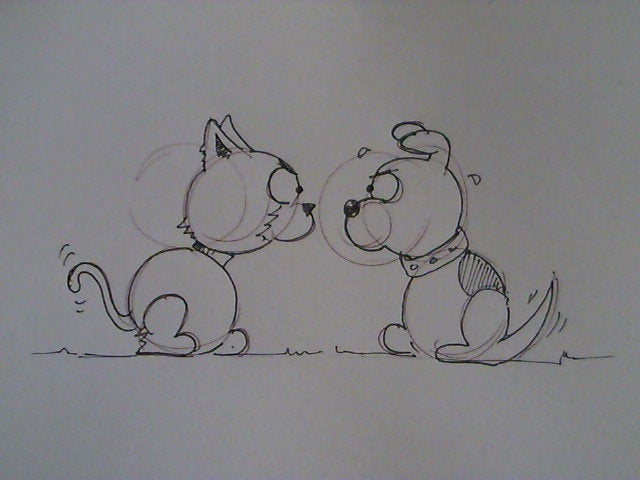
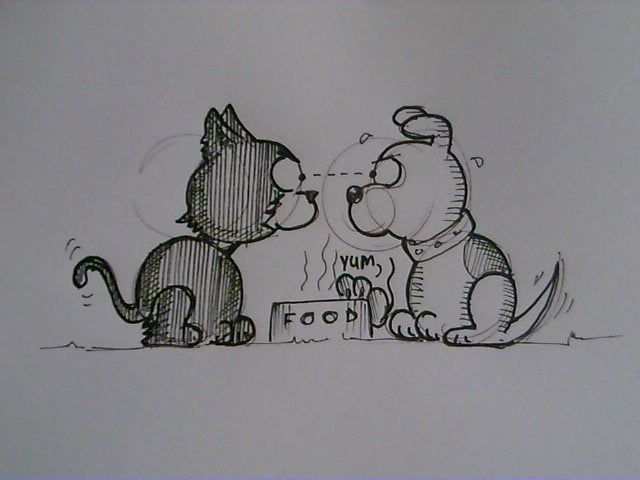
Blink!
As you work you can start to think about the humor in your work, what would this character do that is amusing or funny, here the cat and dog will eventually lose out to the little mouse because of their natural animosity.
Expressions and Humour
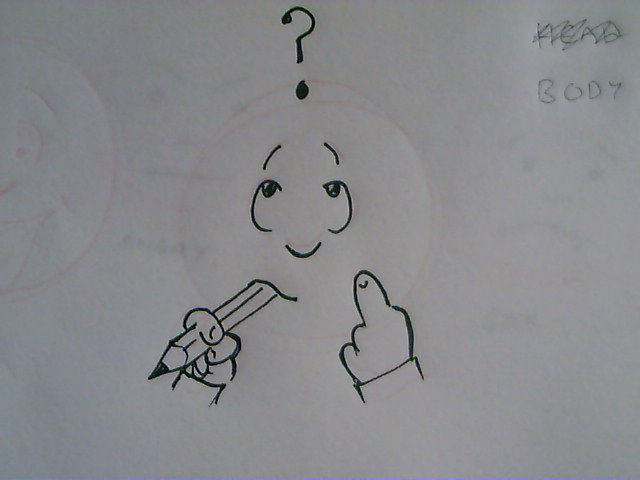
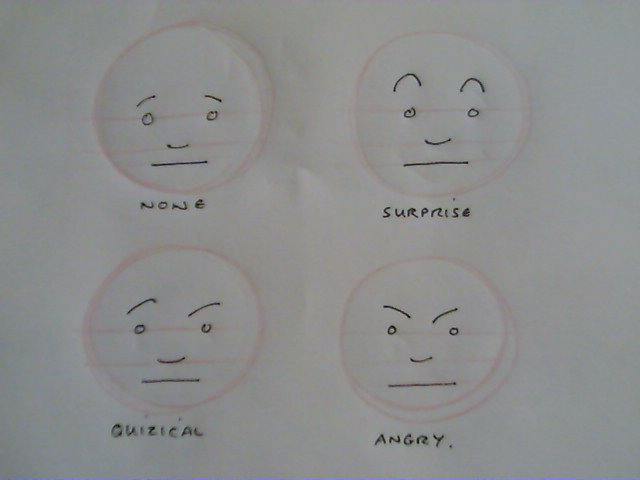
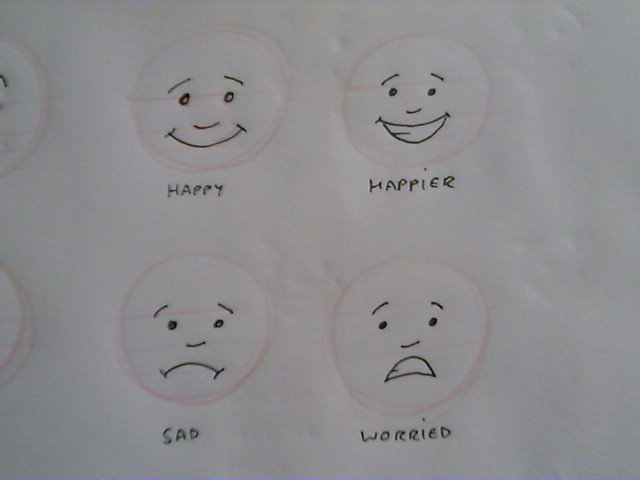
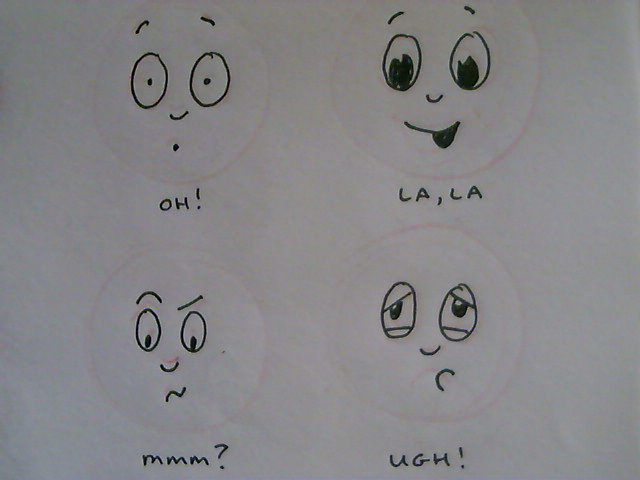
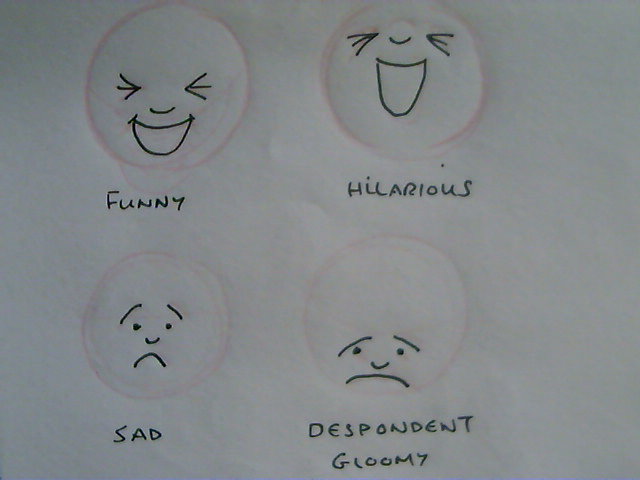
I can't really tell you how to be funny in your cartoons, comic or characters but I can start you off with some techniques for expressing emotions which is how the character communicates to us how they feel. Funny is an emotion we feel.
Expressions.
It is sometimes useful to have a mirror handy for this exercise or use a web cam and take a few photos of yourself making some faces.
I've tried to break this down into a more simple system for understanding expressions. So first we'll look at the face. Remember from lesson 1 that the head is divided into three, half, a quarter and an eighth. 1/2, 1/4, 1/8th.

Here we see that the face is made up of 4 key ingredients - Eyebrows, Eyes, Nose, Mouth.
We're going to practice and explore some of these and see what expressions we find.
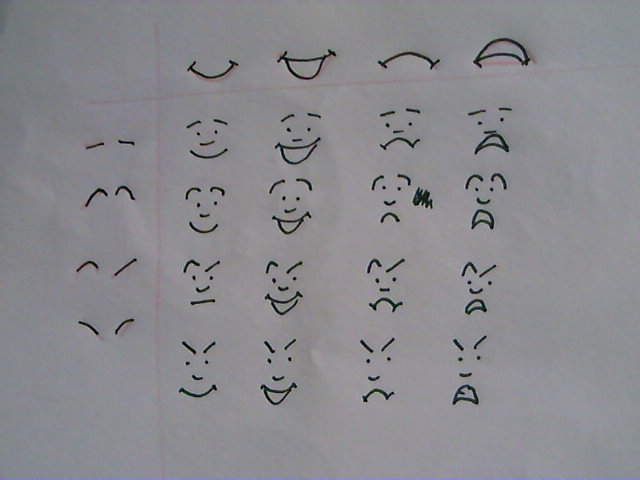
We'll work with Eyebrows and Mouth as these are the two main communicators of expression.
Eyebrows and Mouth.
Draw a couple of practice circles with Eyes, Nose, Mouth kept the same. Now on each one experiment with the eyebrows. Do the same again with the mouth.
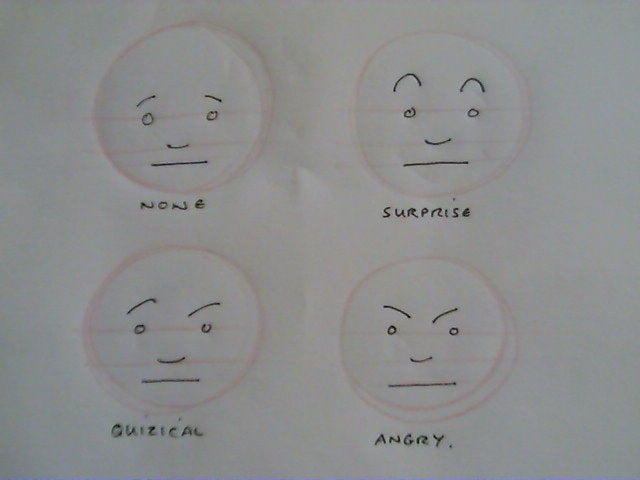
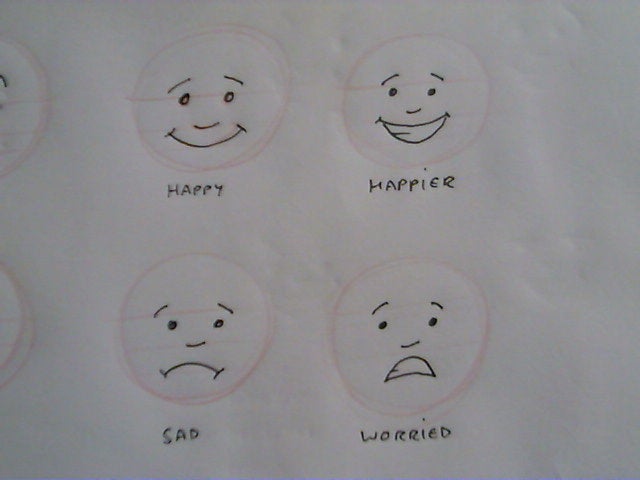
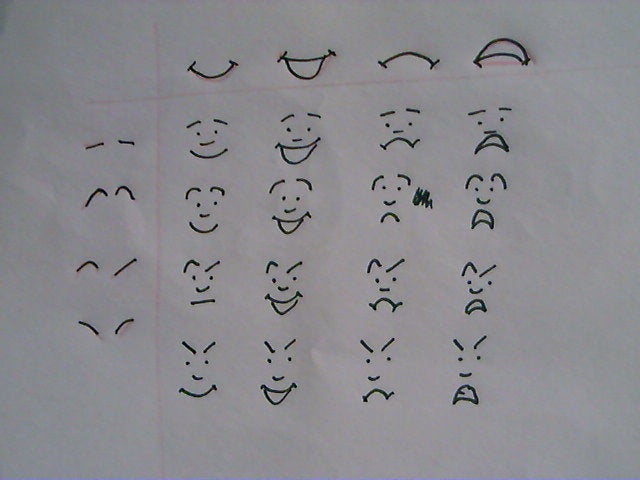
So from 2 parts of the face with four positions each we have sixteen expressions already.
Eyes and Head Position.
Eyes can be expressive as well and we can start to look at body language with the way the head is tilted to give emphasis to an expression of emotion. Eyelids can also help to show tiredness or feeling poorly.
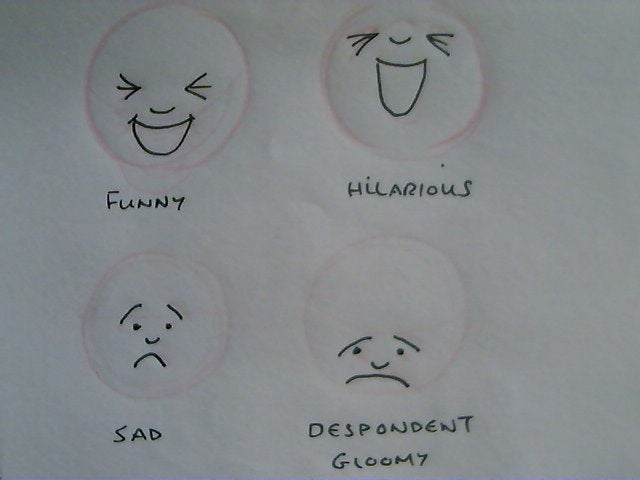
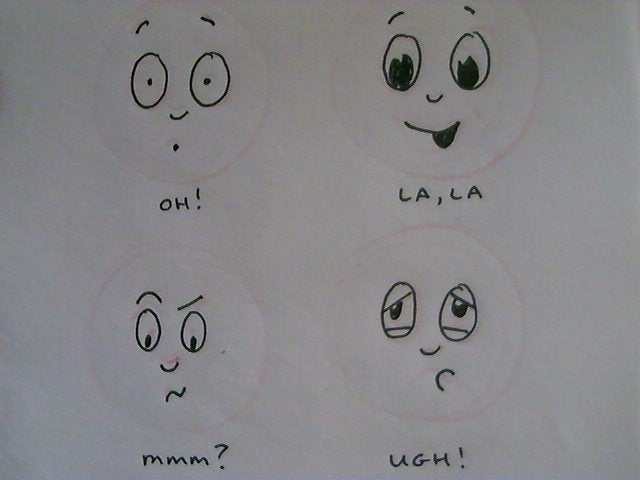
There are lots and lots of different emotions and expressions.
Use a mirror/webcam to explore as many as you can and then try to draw them.
Have fun thinking up new ones.
