How to Setup a Raspberry Pi and Start Using It
by AlxChr in Circuits > Raspberry Pi
686 Views, 7 Favorites, 0 Comments
How to Setup a Raspberry Pi and Start Using It

For the readers of the future, we’re in 2020. The year where, if you’re lucky to be healthy and not infected by Covid-19, you, all of a sudden, got way more free time than you ever imagined. So how can I occupy myself in a not too stupid way? Oh yes, my wife offered me a Raspberry Pi 2 years ago, which I never used (yes, she’s a keeper!). Eureka! Let’s learn how to use it!
So here we go, my first ever Raspberry Pi Project and tutorial. I told you… a lot of free time! This is the first of a few tutorials that I will write to document what I learned in my first end-to-end project.
In this one, we'll start with the basics. How and where to start if you've never used a Raspberry Pi. Here is what you need:
- 1 Raspberry Pi, whatever model you prefer
- And its associated SD card
- 1 keyboard
- 1 mouse
- 1 screen
Install the Operating System on the SD Card
The first thing you need to do is install the Operating System (OS) on the SD card. I'm not going to reinvent the wheel here, so here's a very good tutorial for that:
Linux Setup

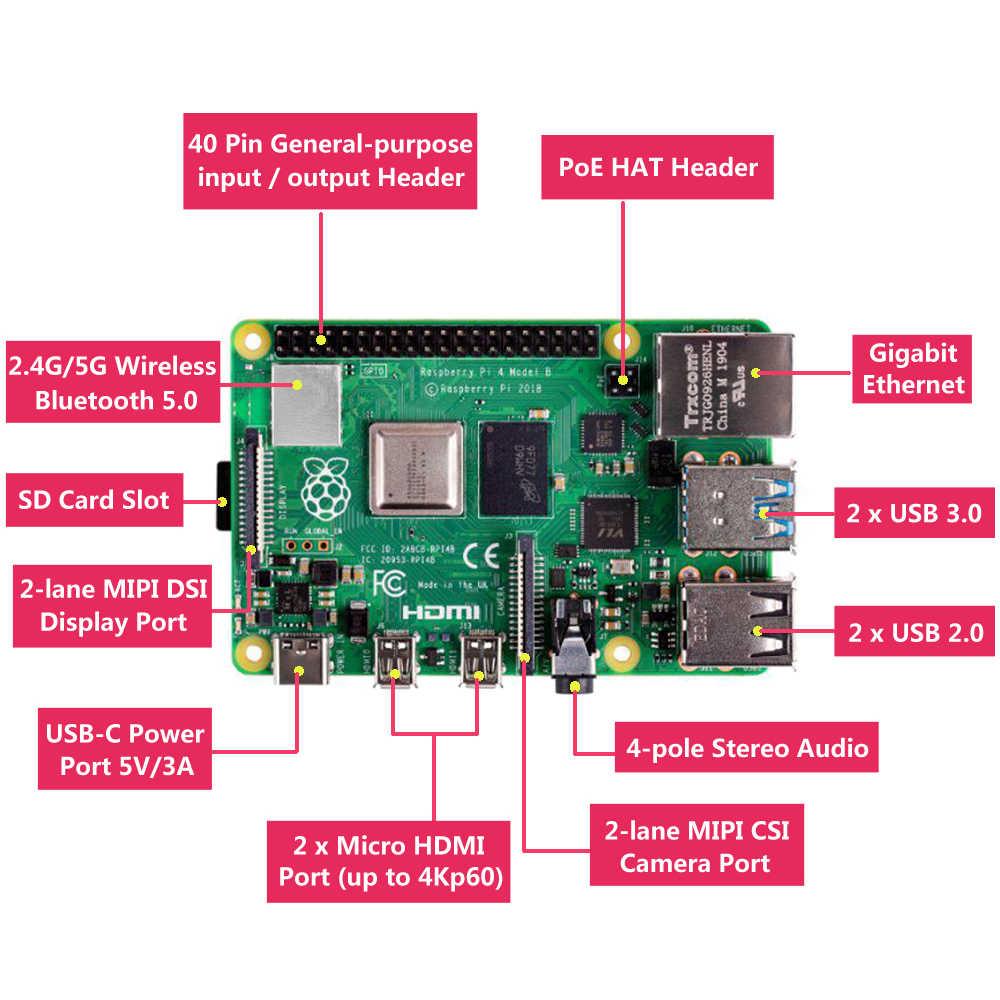
Here is where it starts to be interesting. You will need to connect a screen + mouse + keyboard to the Raspberry Pi for this step. We will see afterwards how you can access your Pi remotely from your normal computer, without having the need to connect all of those. If you are using a Raspberry Pi 4, you can use the first picture at the top of the tutorial to find out how to connect them.
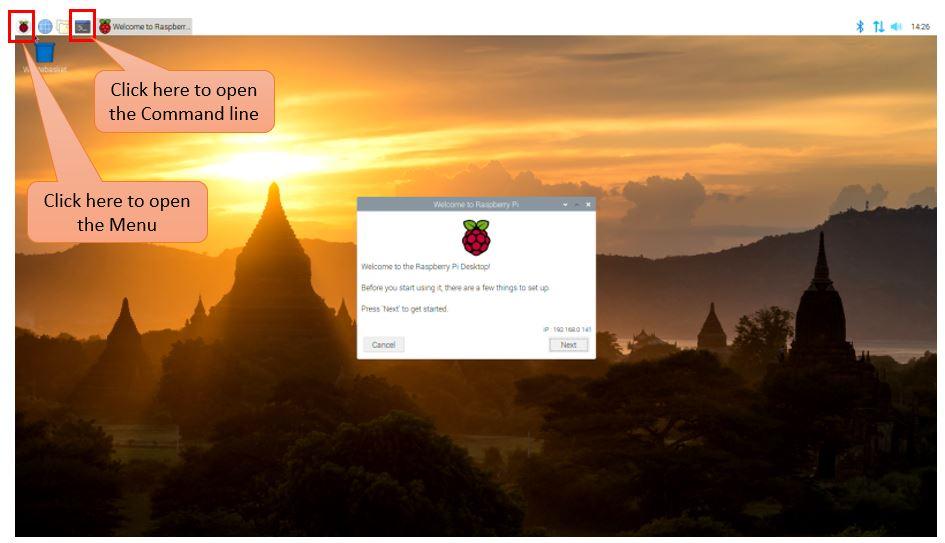
You will need to follow the instructions in "Welcome to Raspberry Pi" window.
At the end of this and if not done already, you will need to connect the Pi to your wifi connection. To do so, you can either use the Settings menu by navigating into the Menu or you can do it from the Command Line. I recommend getting used to the Command Line, which is quite useful and comes handy when you access your Pi remotely. Open a Command Line (picture above) and follow these instructions:
-
Type: "sudo raspi-config". This will open the Raspberry Pi Configuration window (a pretty useful command to remember!)
-
Select the 2nd option “2 Network Options Configure network settings”
-
Then select the 2nd option again “N2 Wireless LAN Enter SSID and passphrase”
-
Then type your SSIP (network name)
-
And then the passphrase which is the password
Your Raspberry Pi should now be connected to your internet connection. We now need to update the Raspberry Pi before we do anything. This is because your Operating System downloaded from the web may not be the latest one. To do so, in a command line:
- Type "sudo apt update"
- Then type "sudo apt full-upgrade"
Remote Access to Your Raspberry Pi

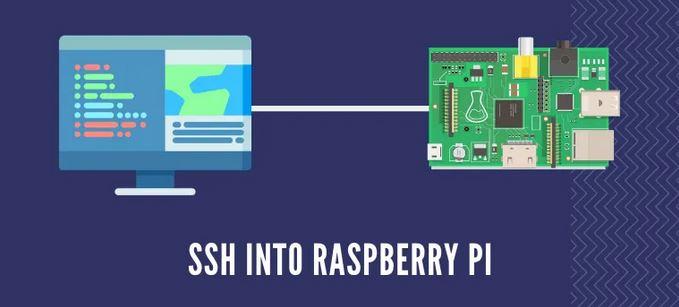
Then, if you want to get access to your Pi remotely, from your normal computer, without having the need to connect a screen etc... to it, you will need a VNC (Virtual Network Computing) or SSH (Secure Shell) connection. A VNC connection will allow you to access the graphical interface of your Raspberry Pi from any other computer while an SSH one will do the same but only accessing the command line of your Pi. Follow the instructions on this link to do so:
https://www.raspberrypi.org/documentation/remote-access/
I recommend configuring your router to allocate a static private IP address to your Pi, in order to facilitate its connection. Otherwise, you may find yourself in a situation where you’ve configured your SSH / VNC connection on one day, but need to reconfigure it the next one with the new Pi IP address… which will be annoying if you need to access it on a regular basis. I cannot really explain how to do so, since the instructions will vary from one router to the next. But you would have to access your router settings by typing 192.168.1.1 from your computer browser and go from there.
The Wonders of Github

Finally, if you’re going to work on your Python (or whichever programming language you want) code from your main computer, you need a simple system that will replicate your code from your main computer to the Raspberry Pi. Welcome to the amazing world of Github! Here’s a nice tutorial that goes through the steps to install and learn how Git works:
https://projects.raspberrypi.org/en/projects/getting-started-with-git
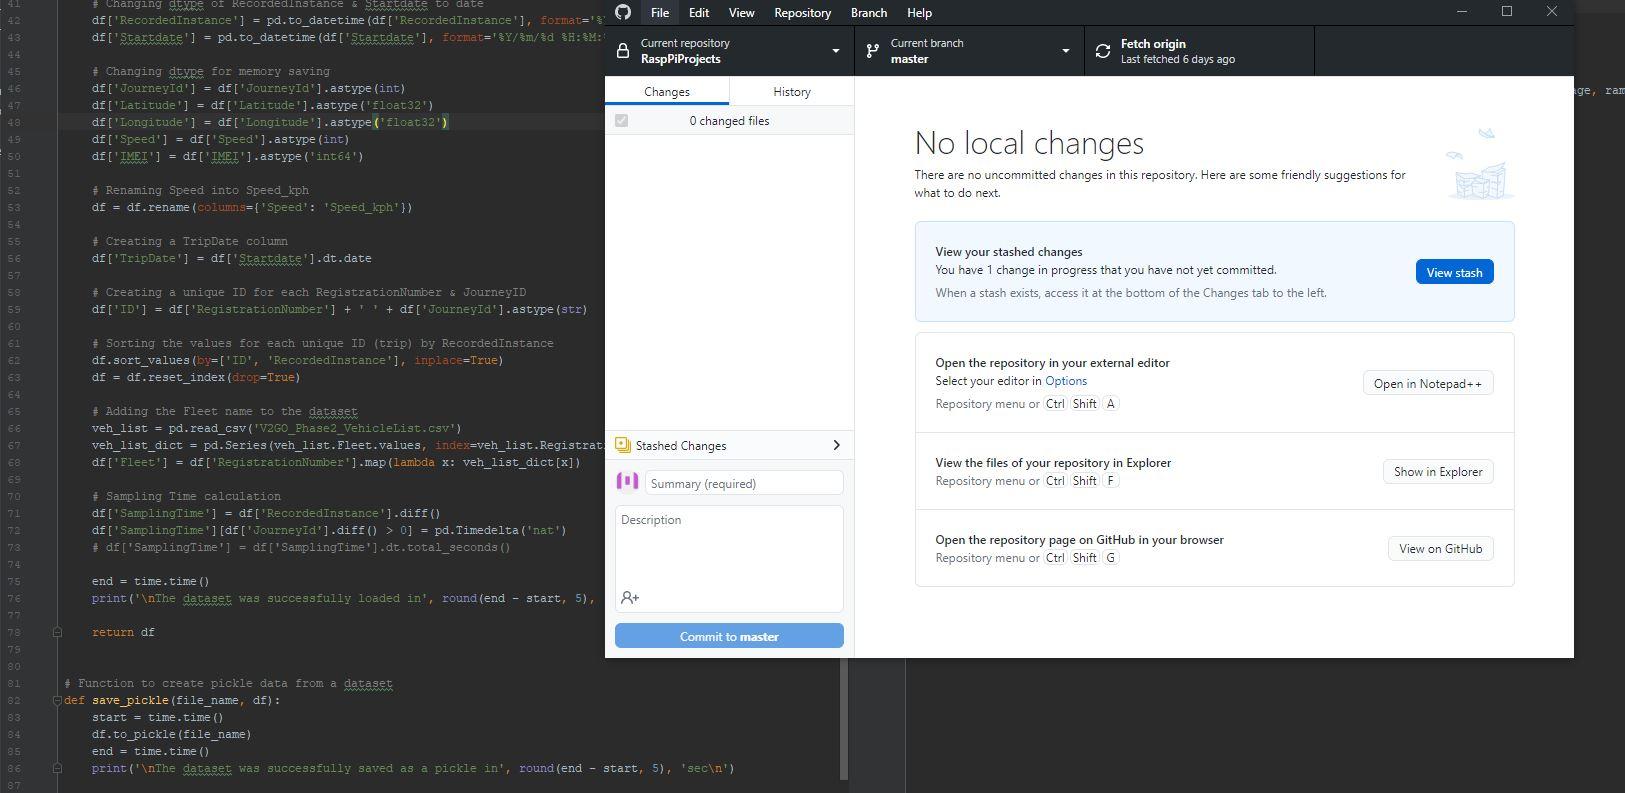
I’m using my own computer for the programming on Python, using PyCharm, together with “GitHub Desktop” to push the update to the Git server and pull it on the Raspberry Pi. I recommend having a similar setup which will facilitate your work.
And there you go, ready to start working on whatever project you want!