How to Set Up and Use a PlasmaCAM CNC Plasma Cutter
by thebeef2 in Workshop > Metalworking
68378 Views, 84 Favorites, 0 Comments
How to Set Up and Use a PlasmaCAM CNC Plasma Cutter
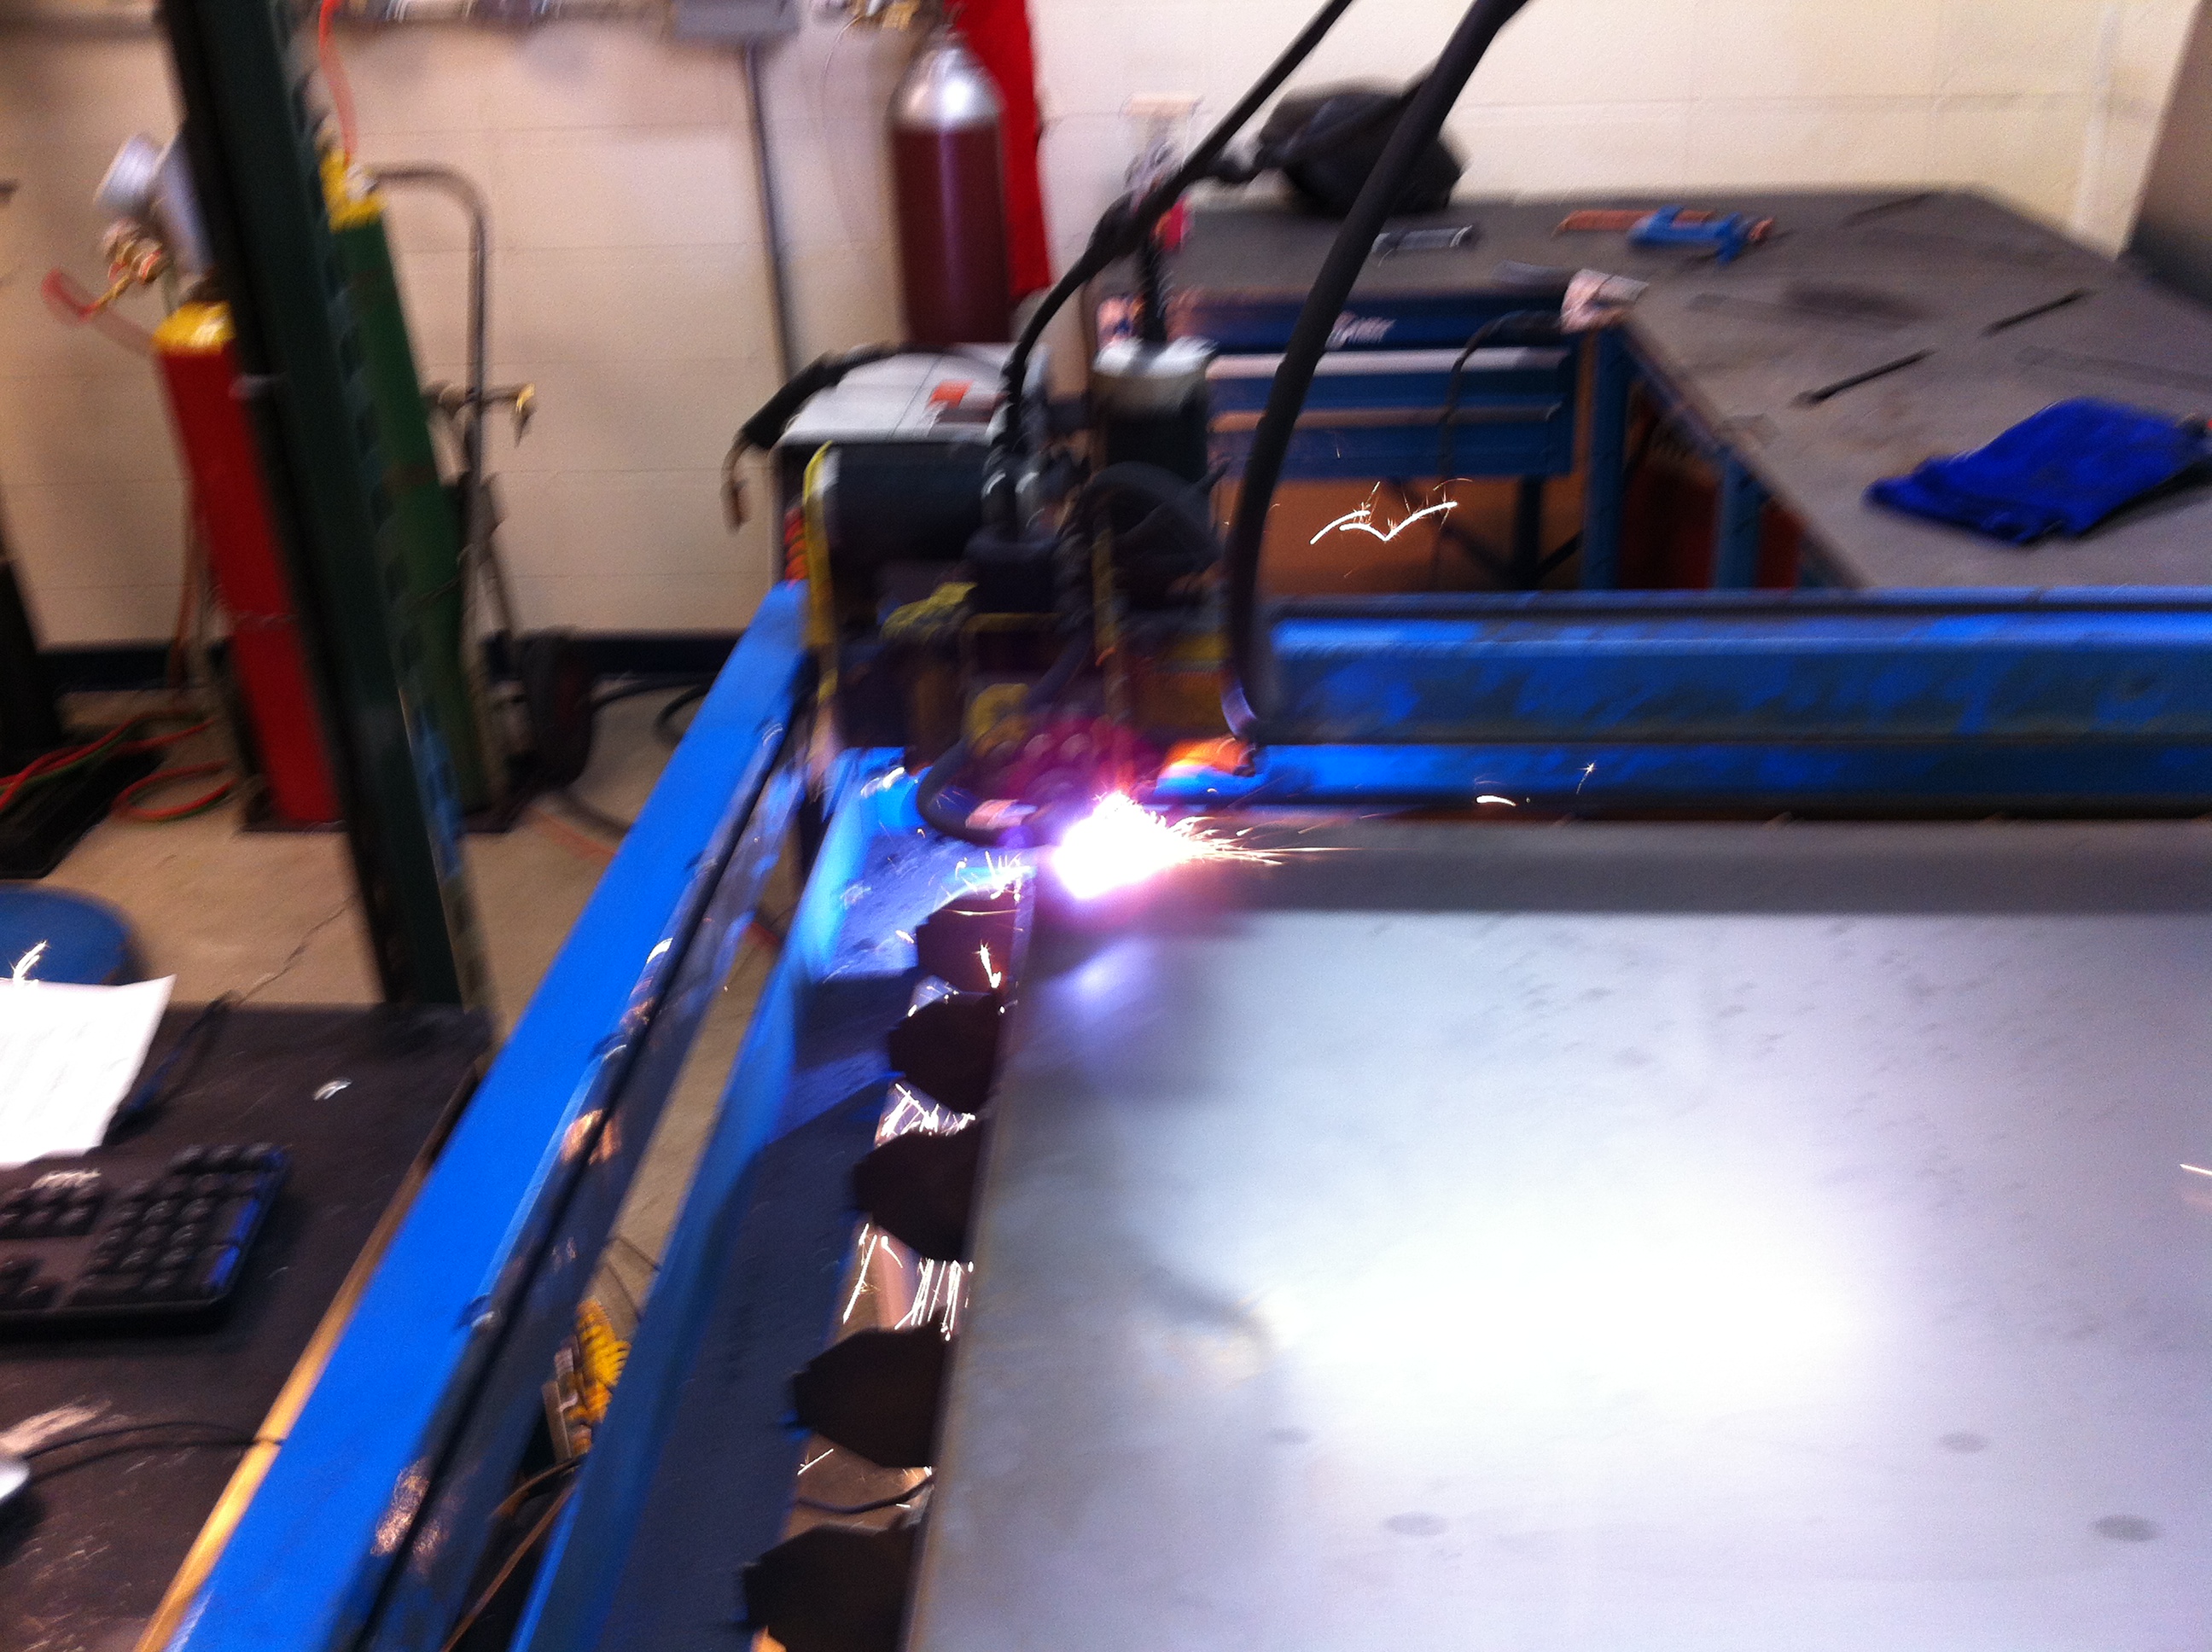
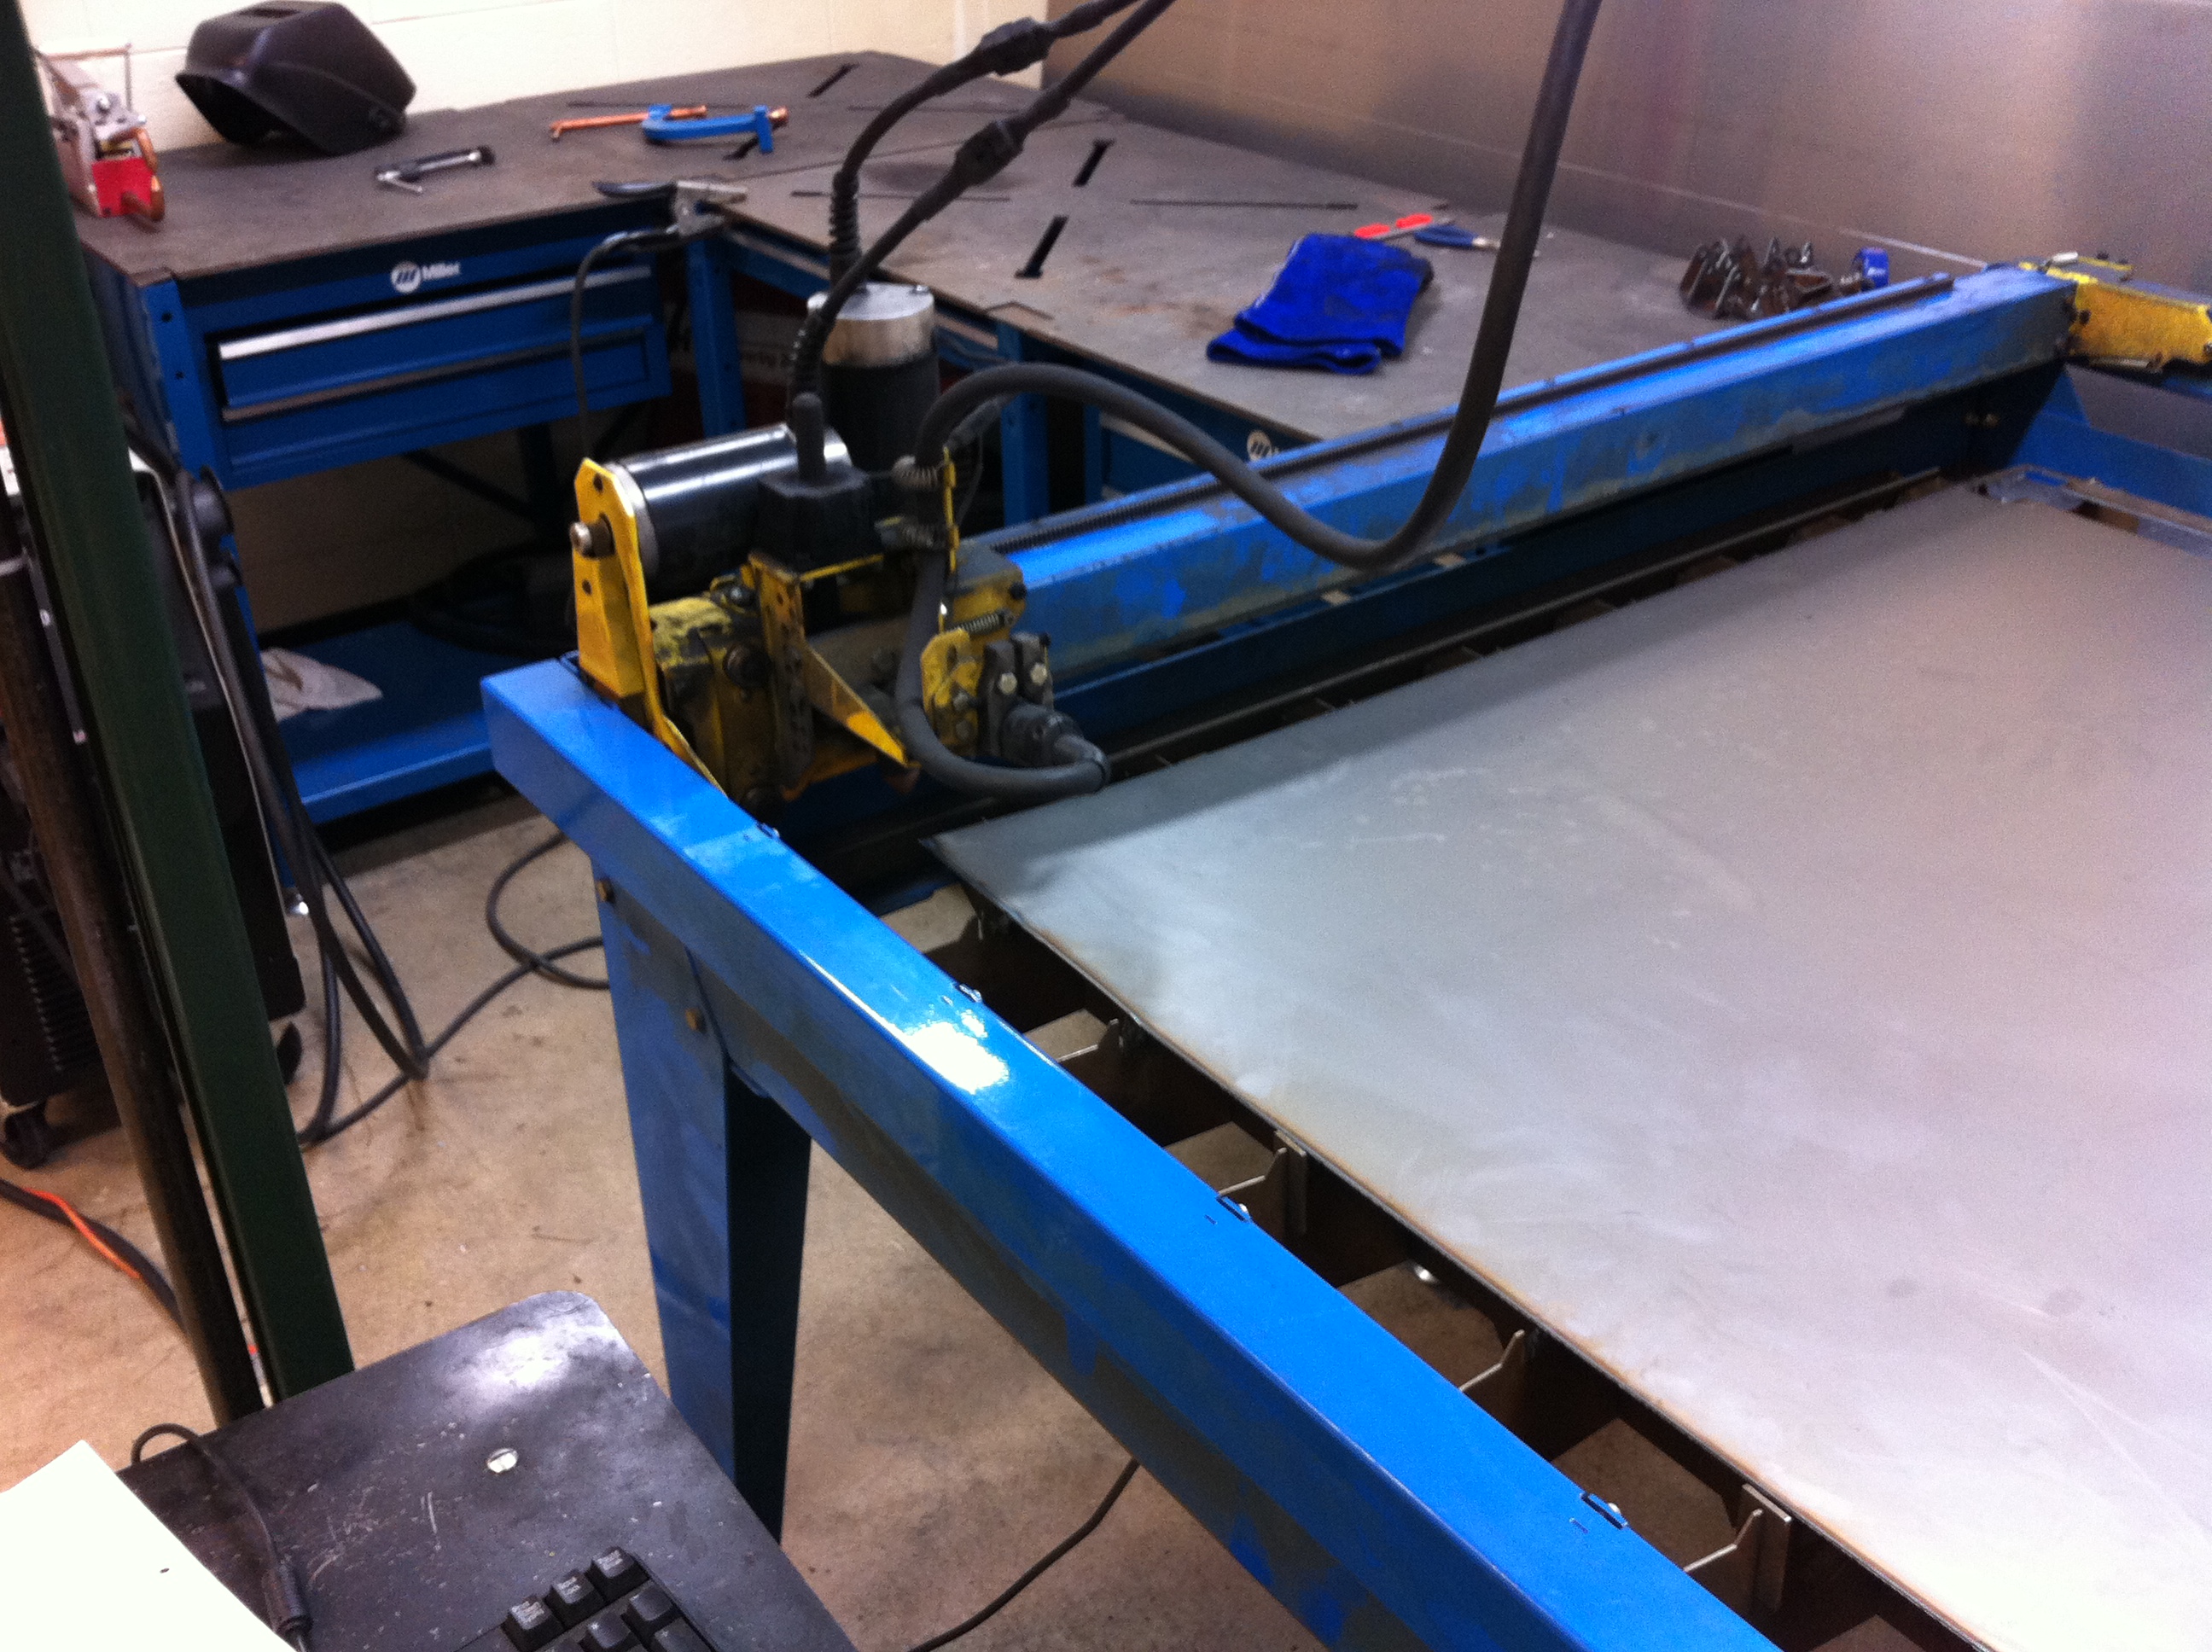
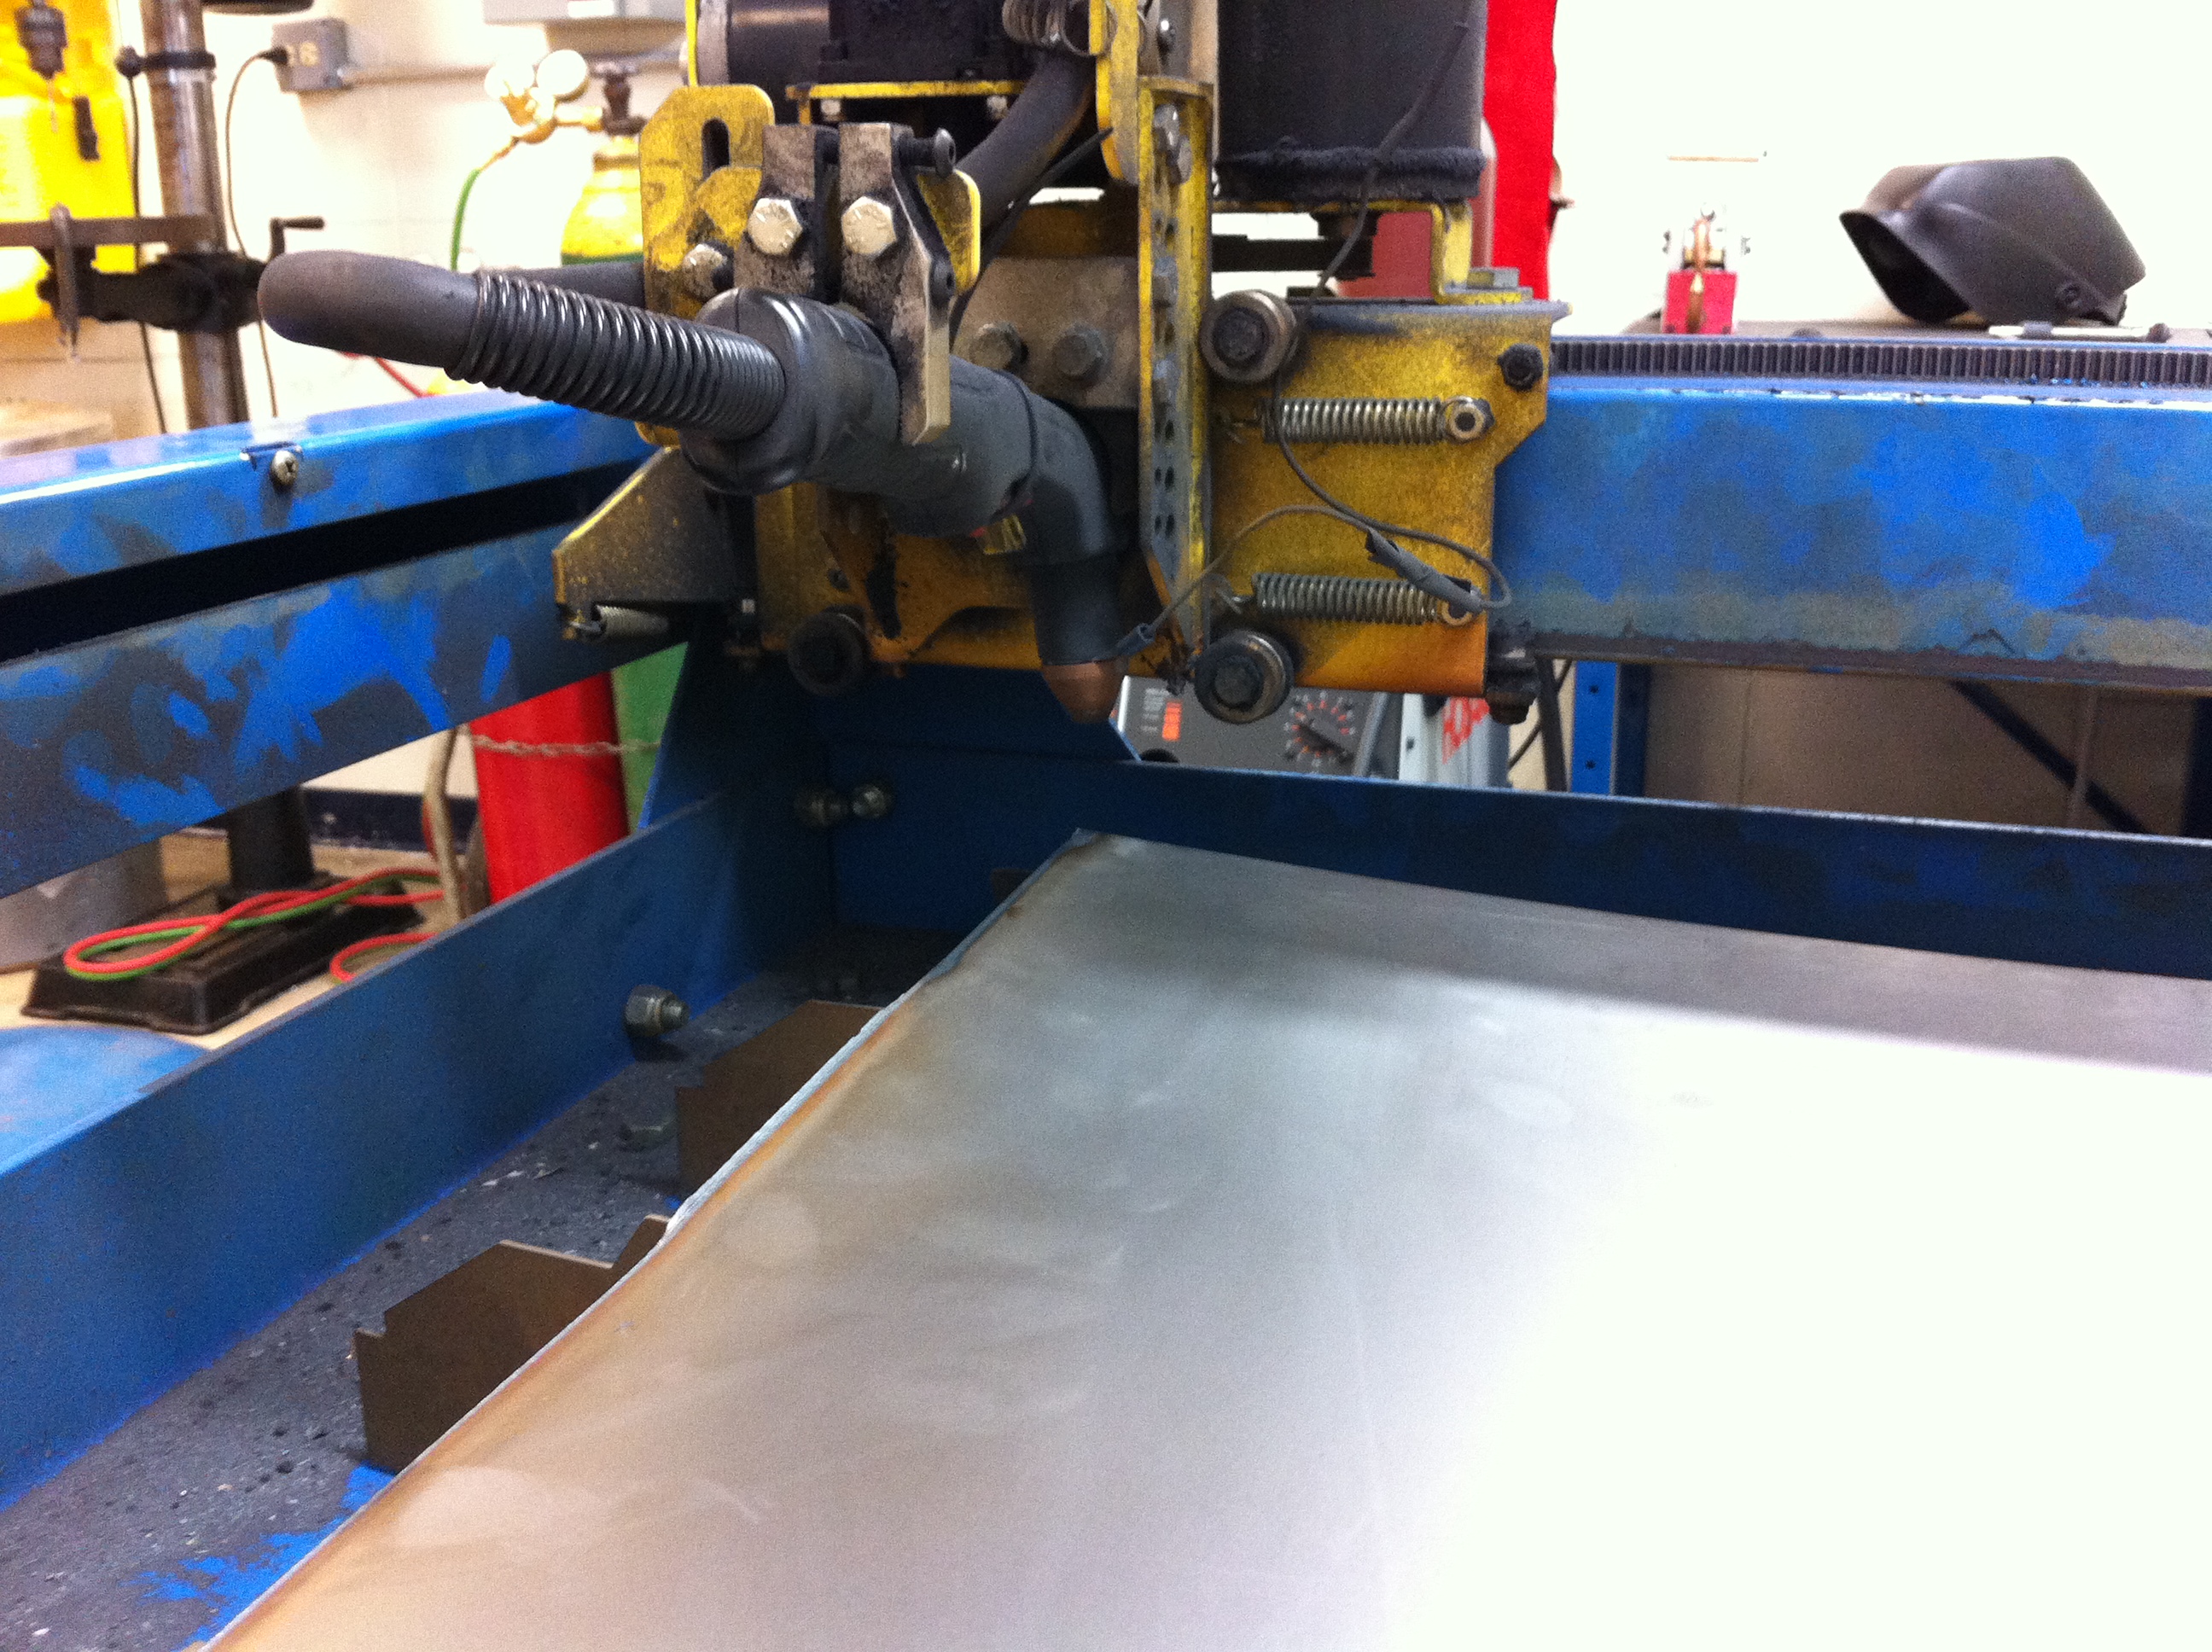
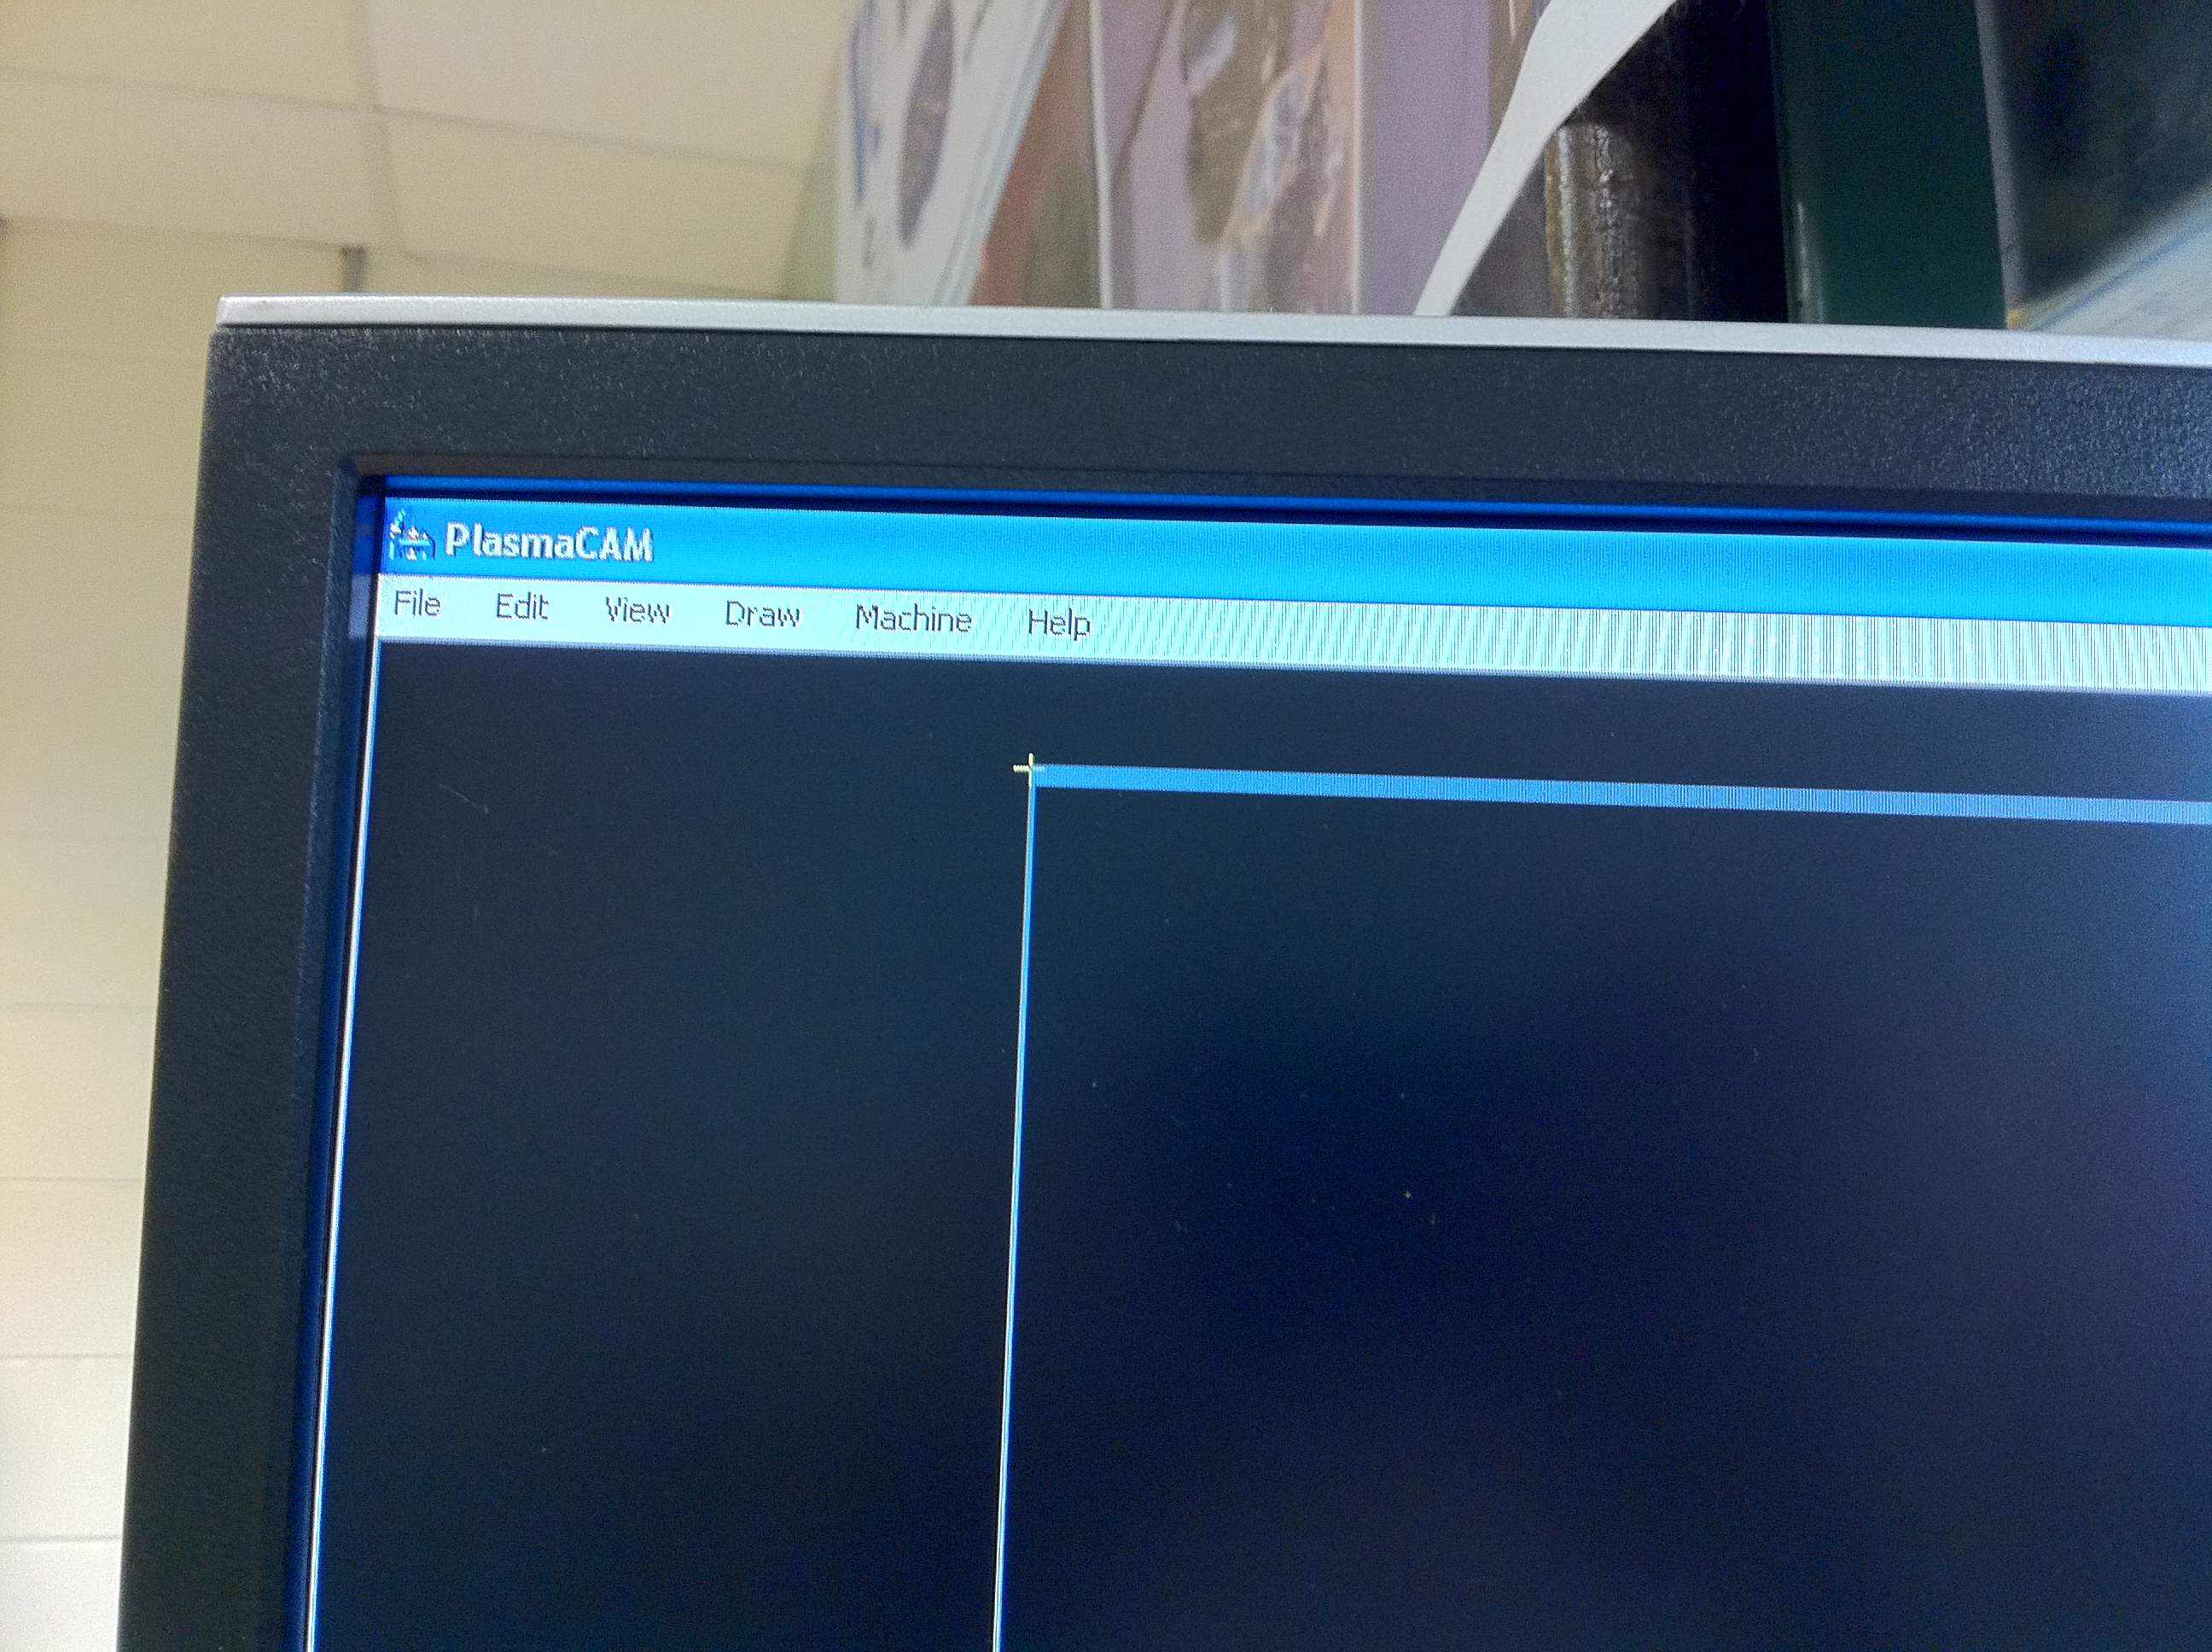
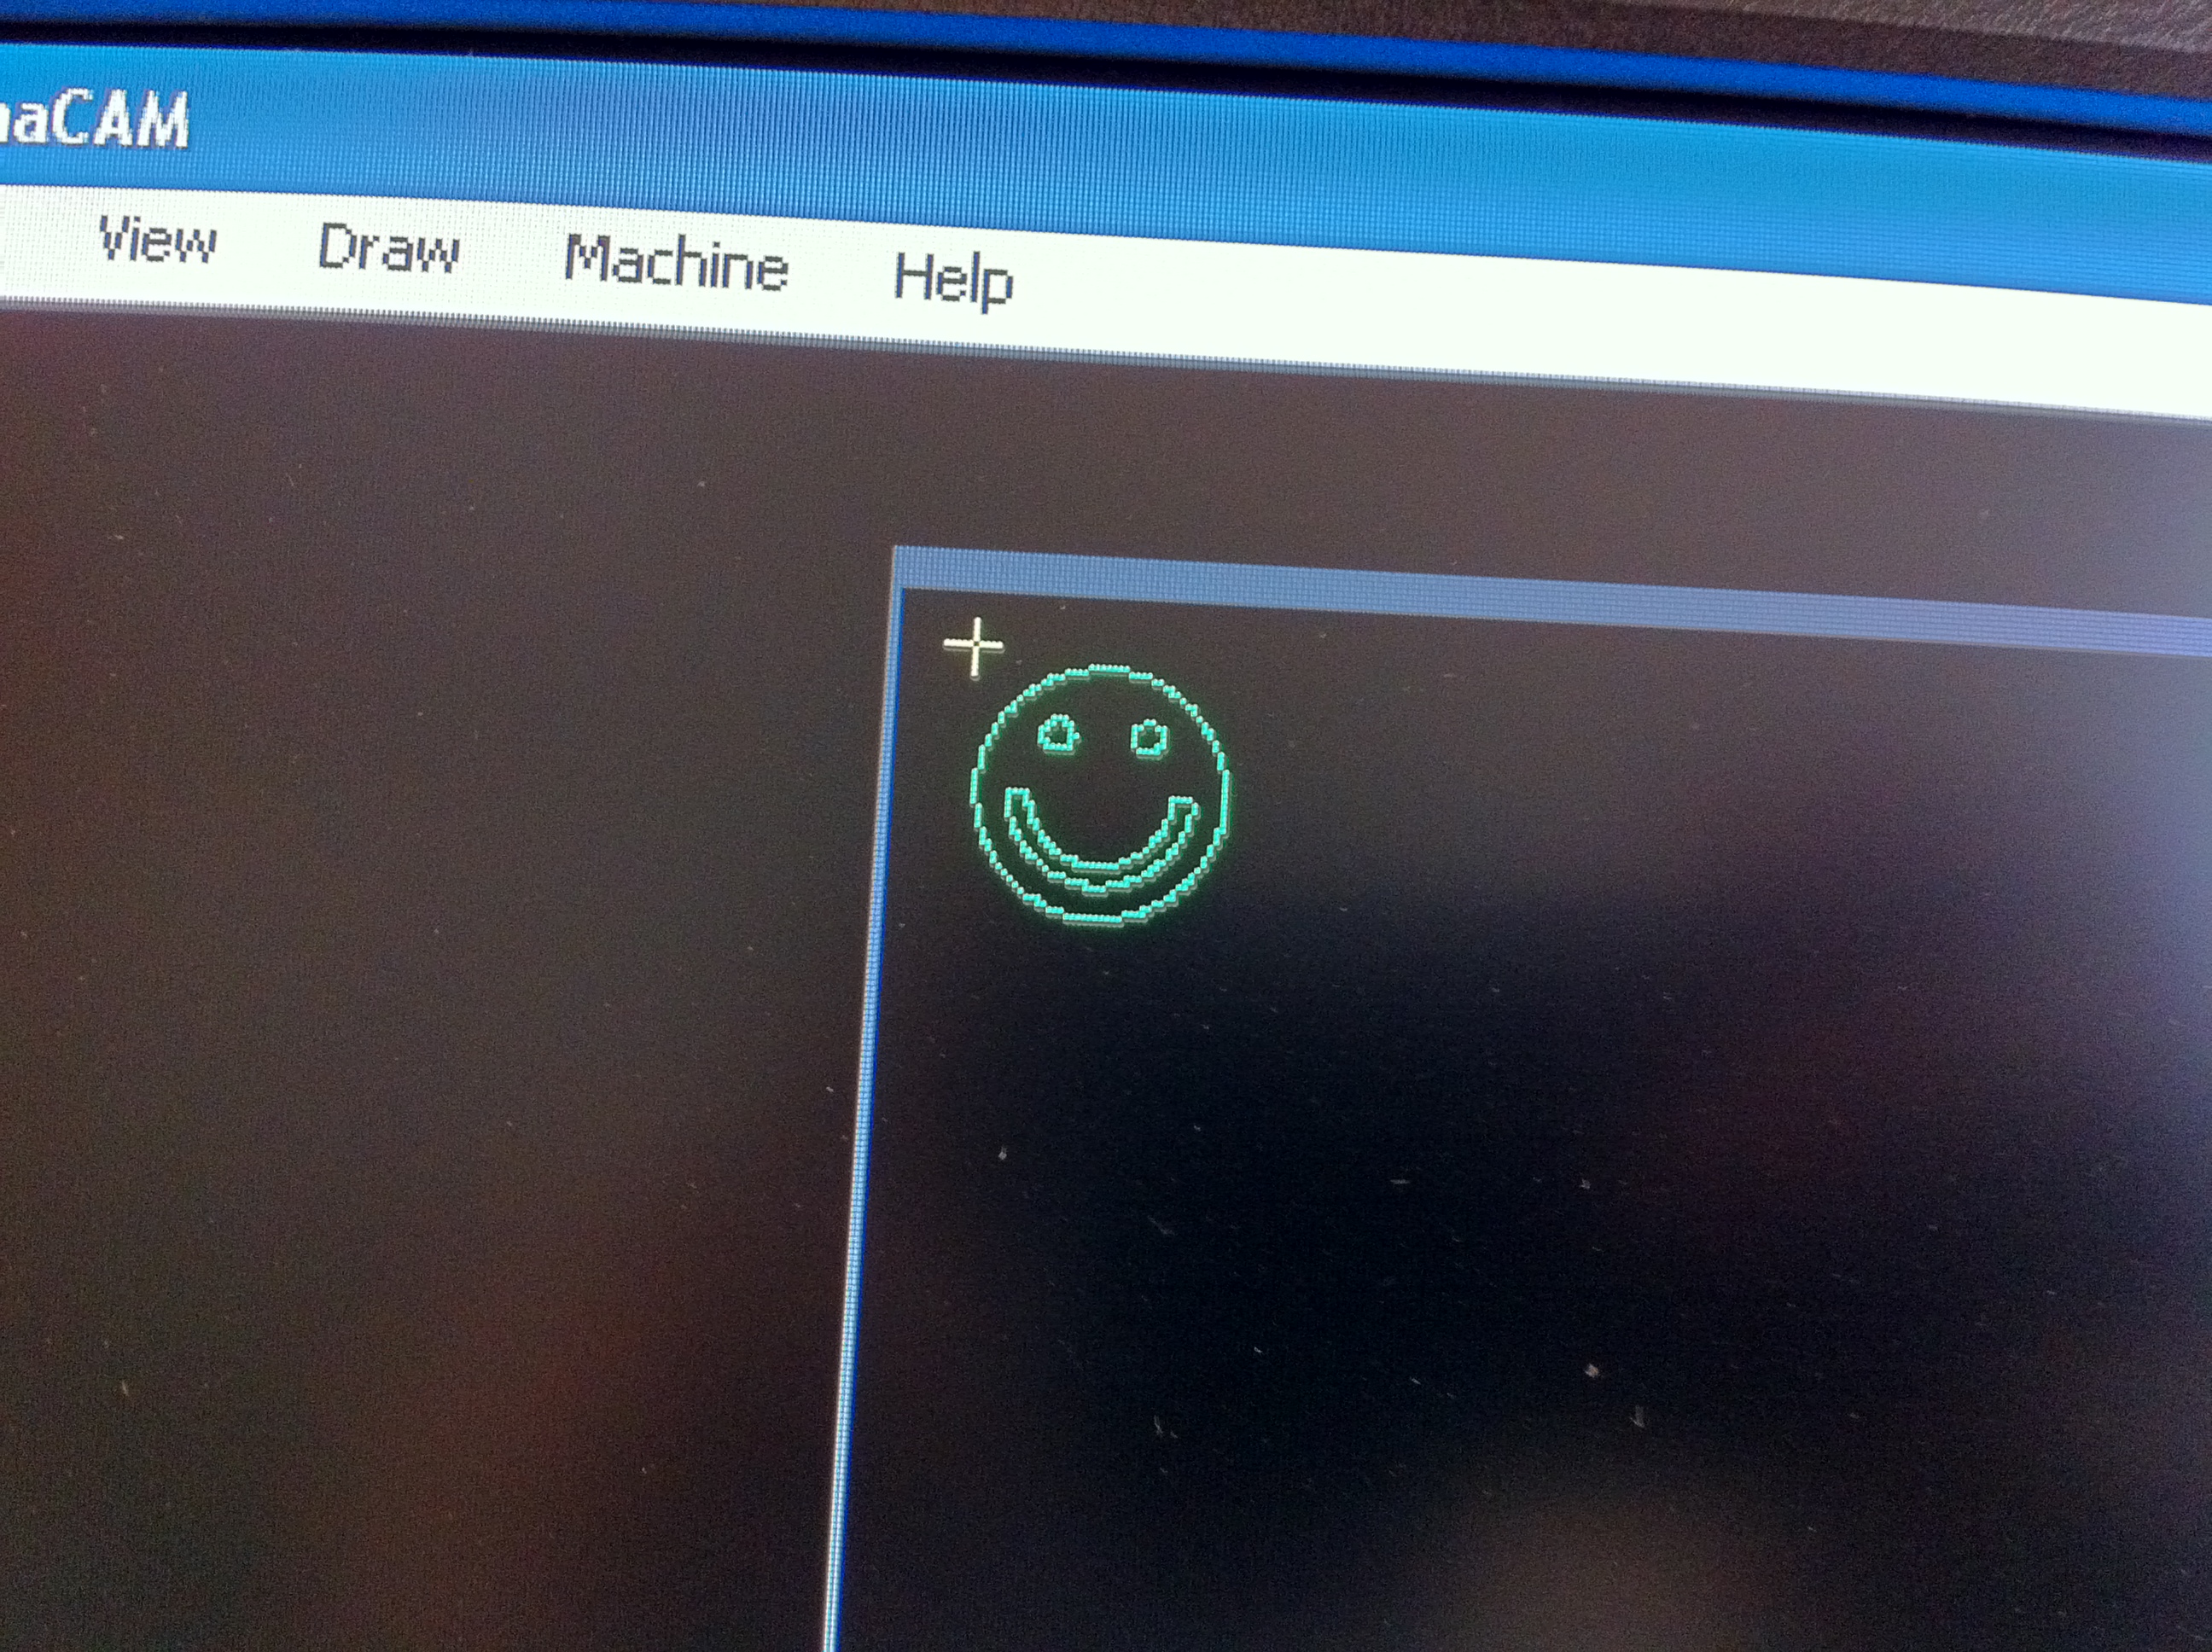
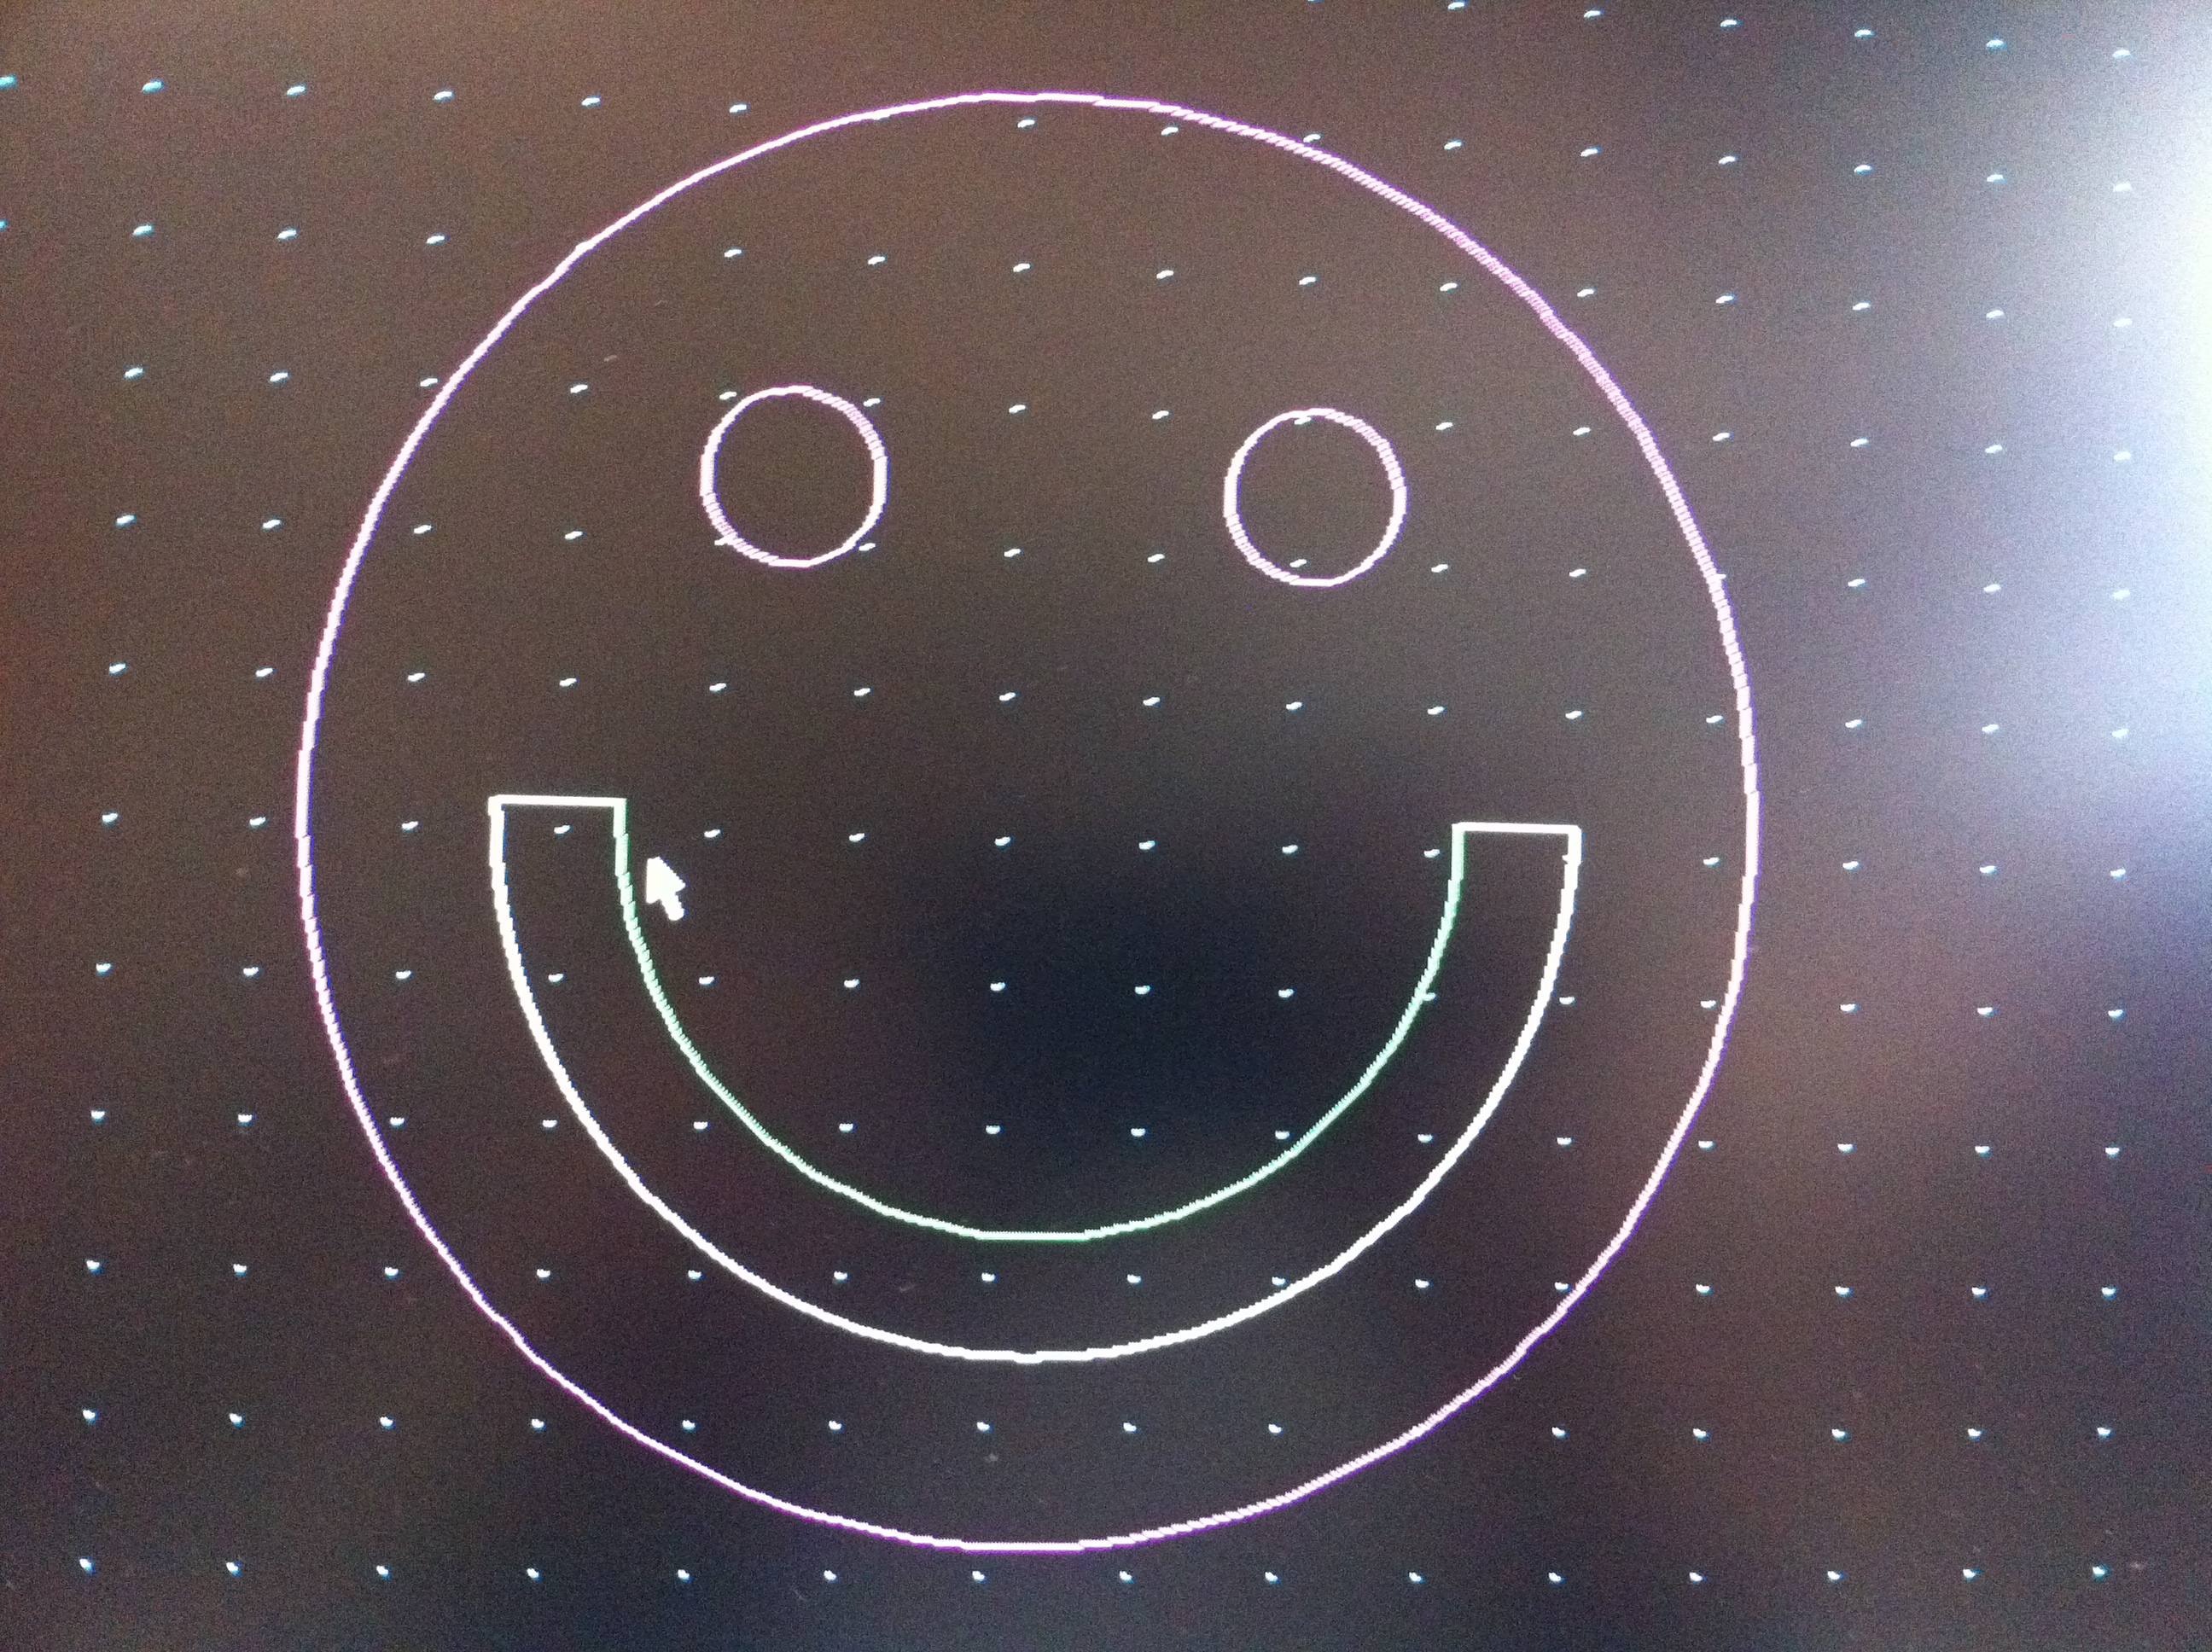
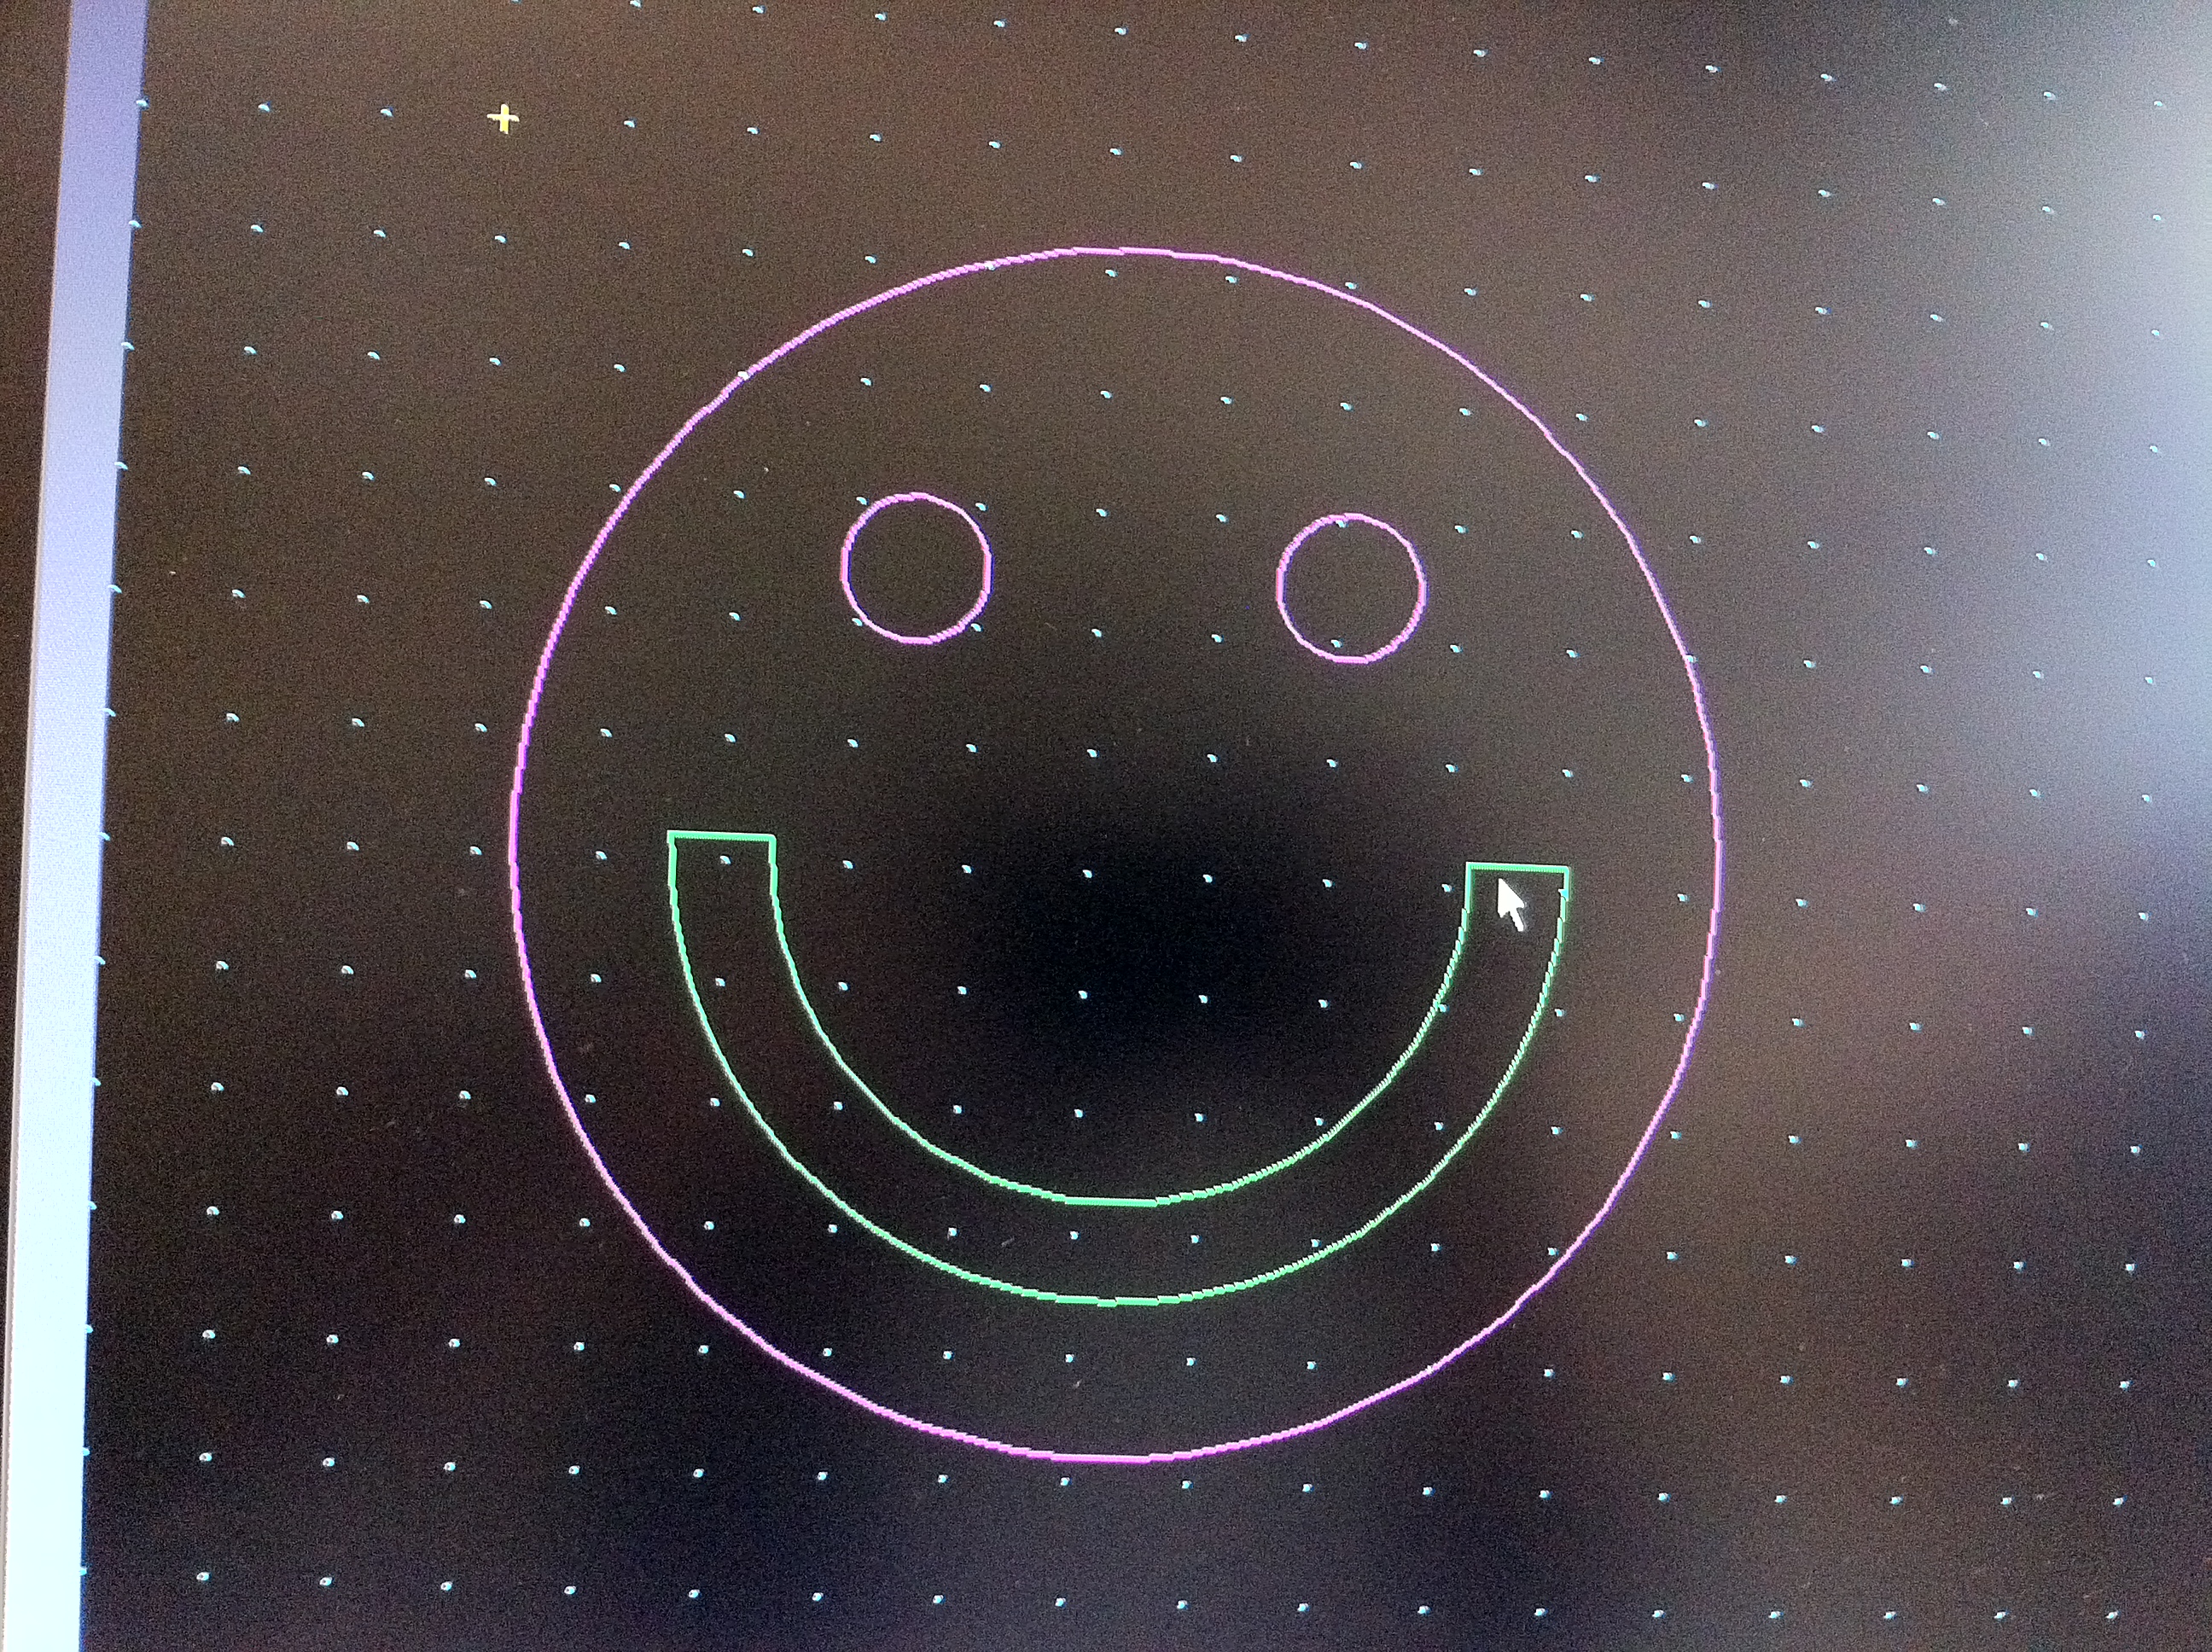
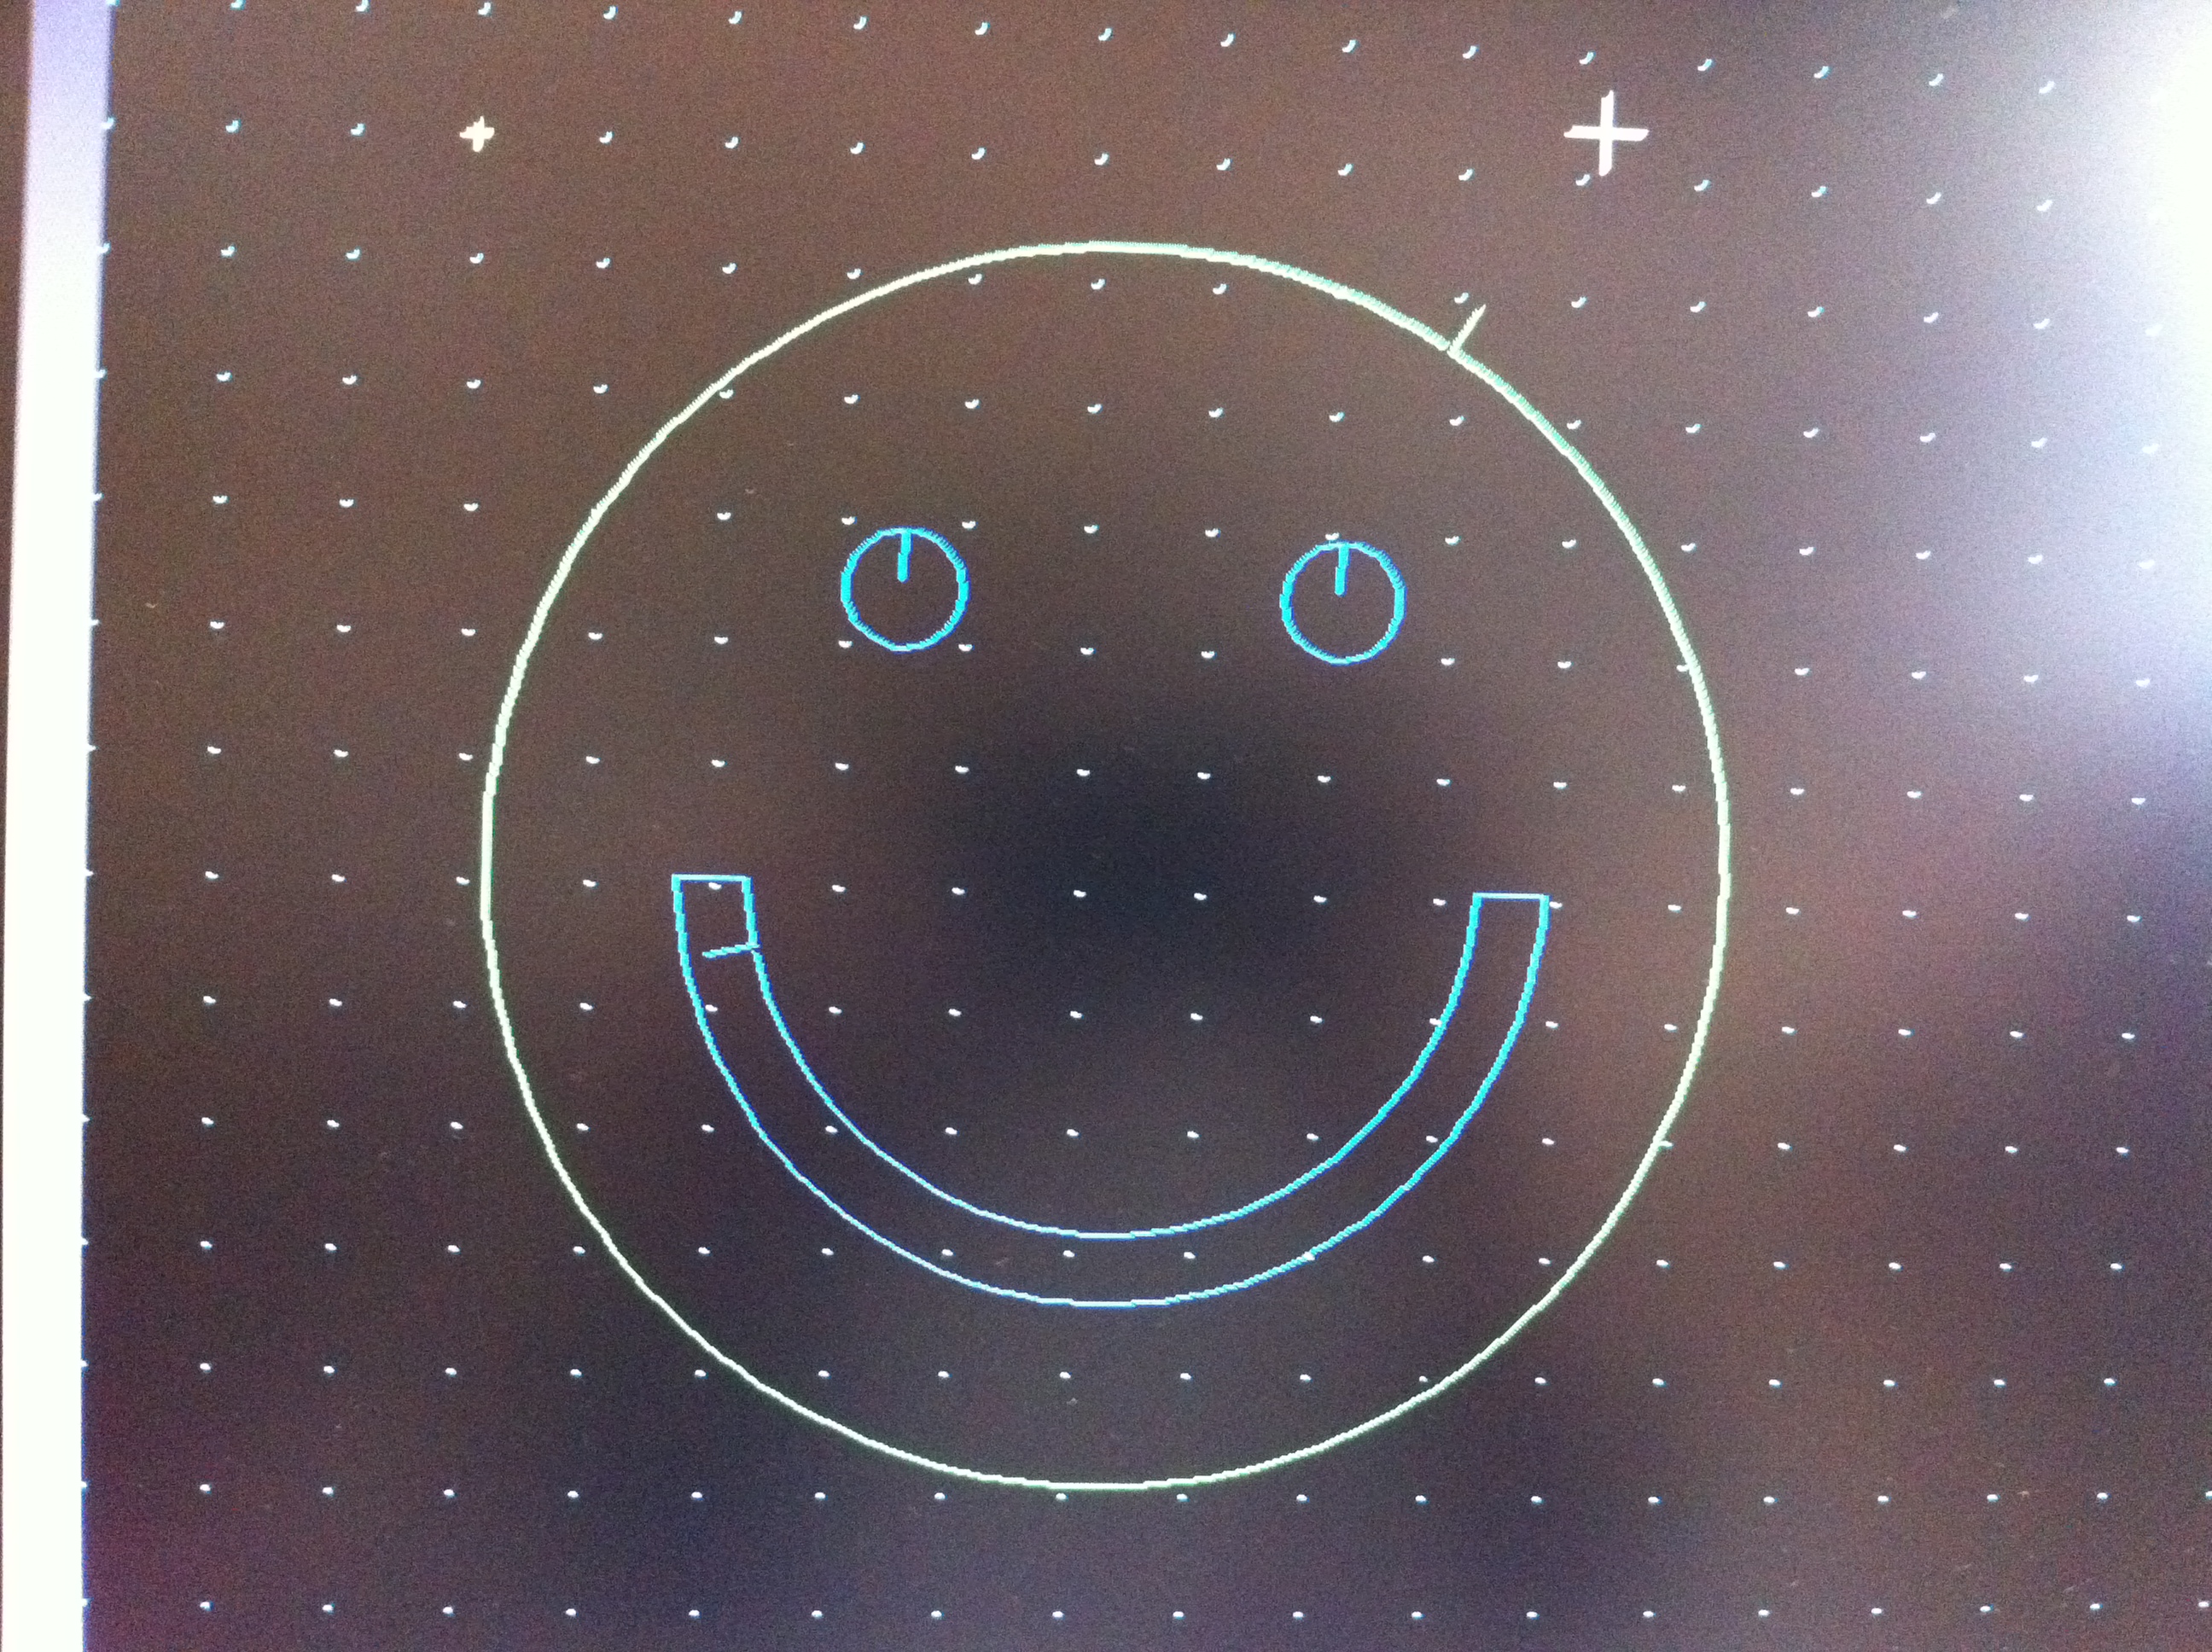
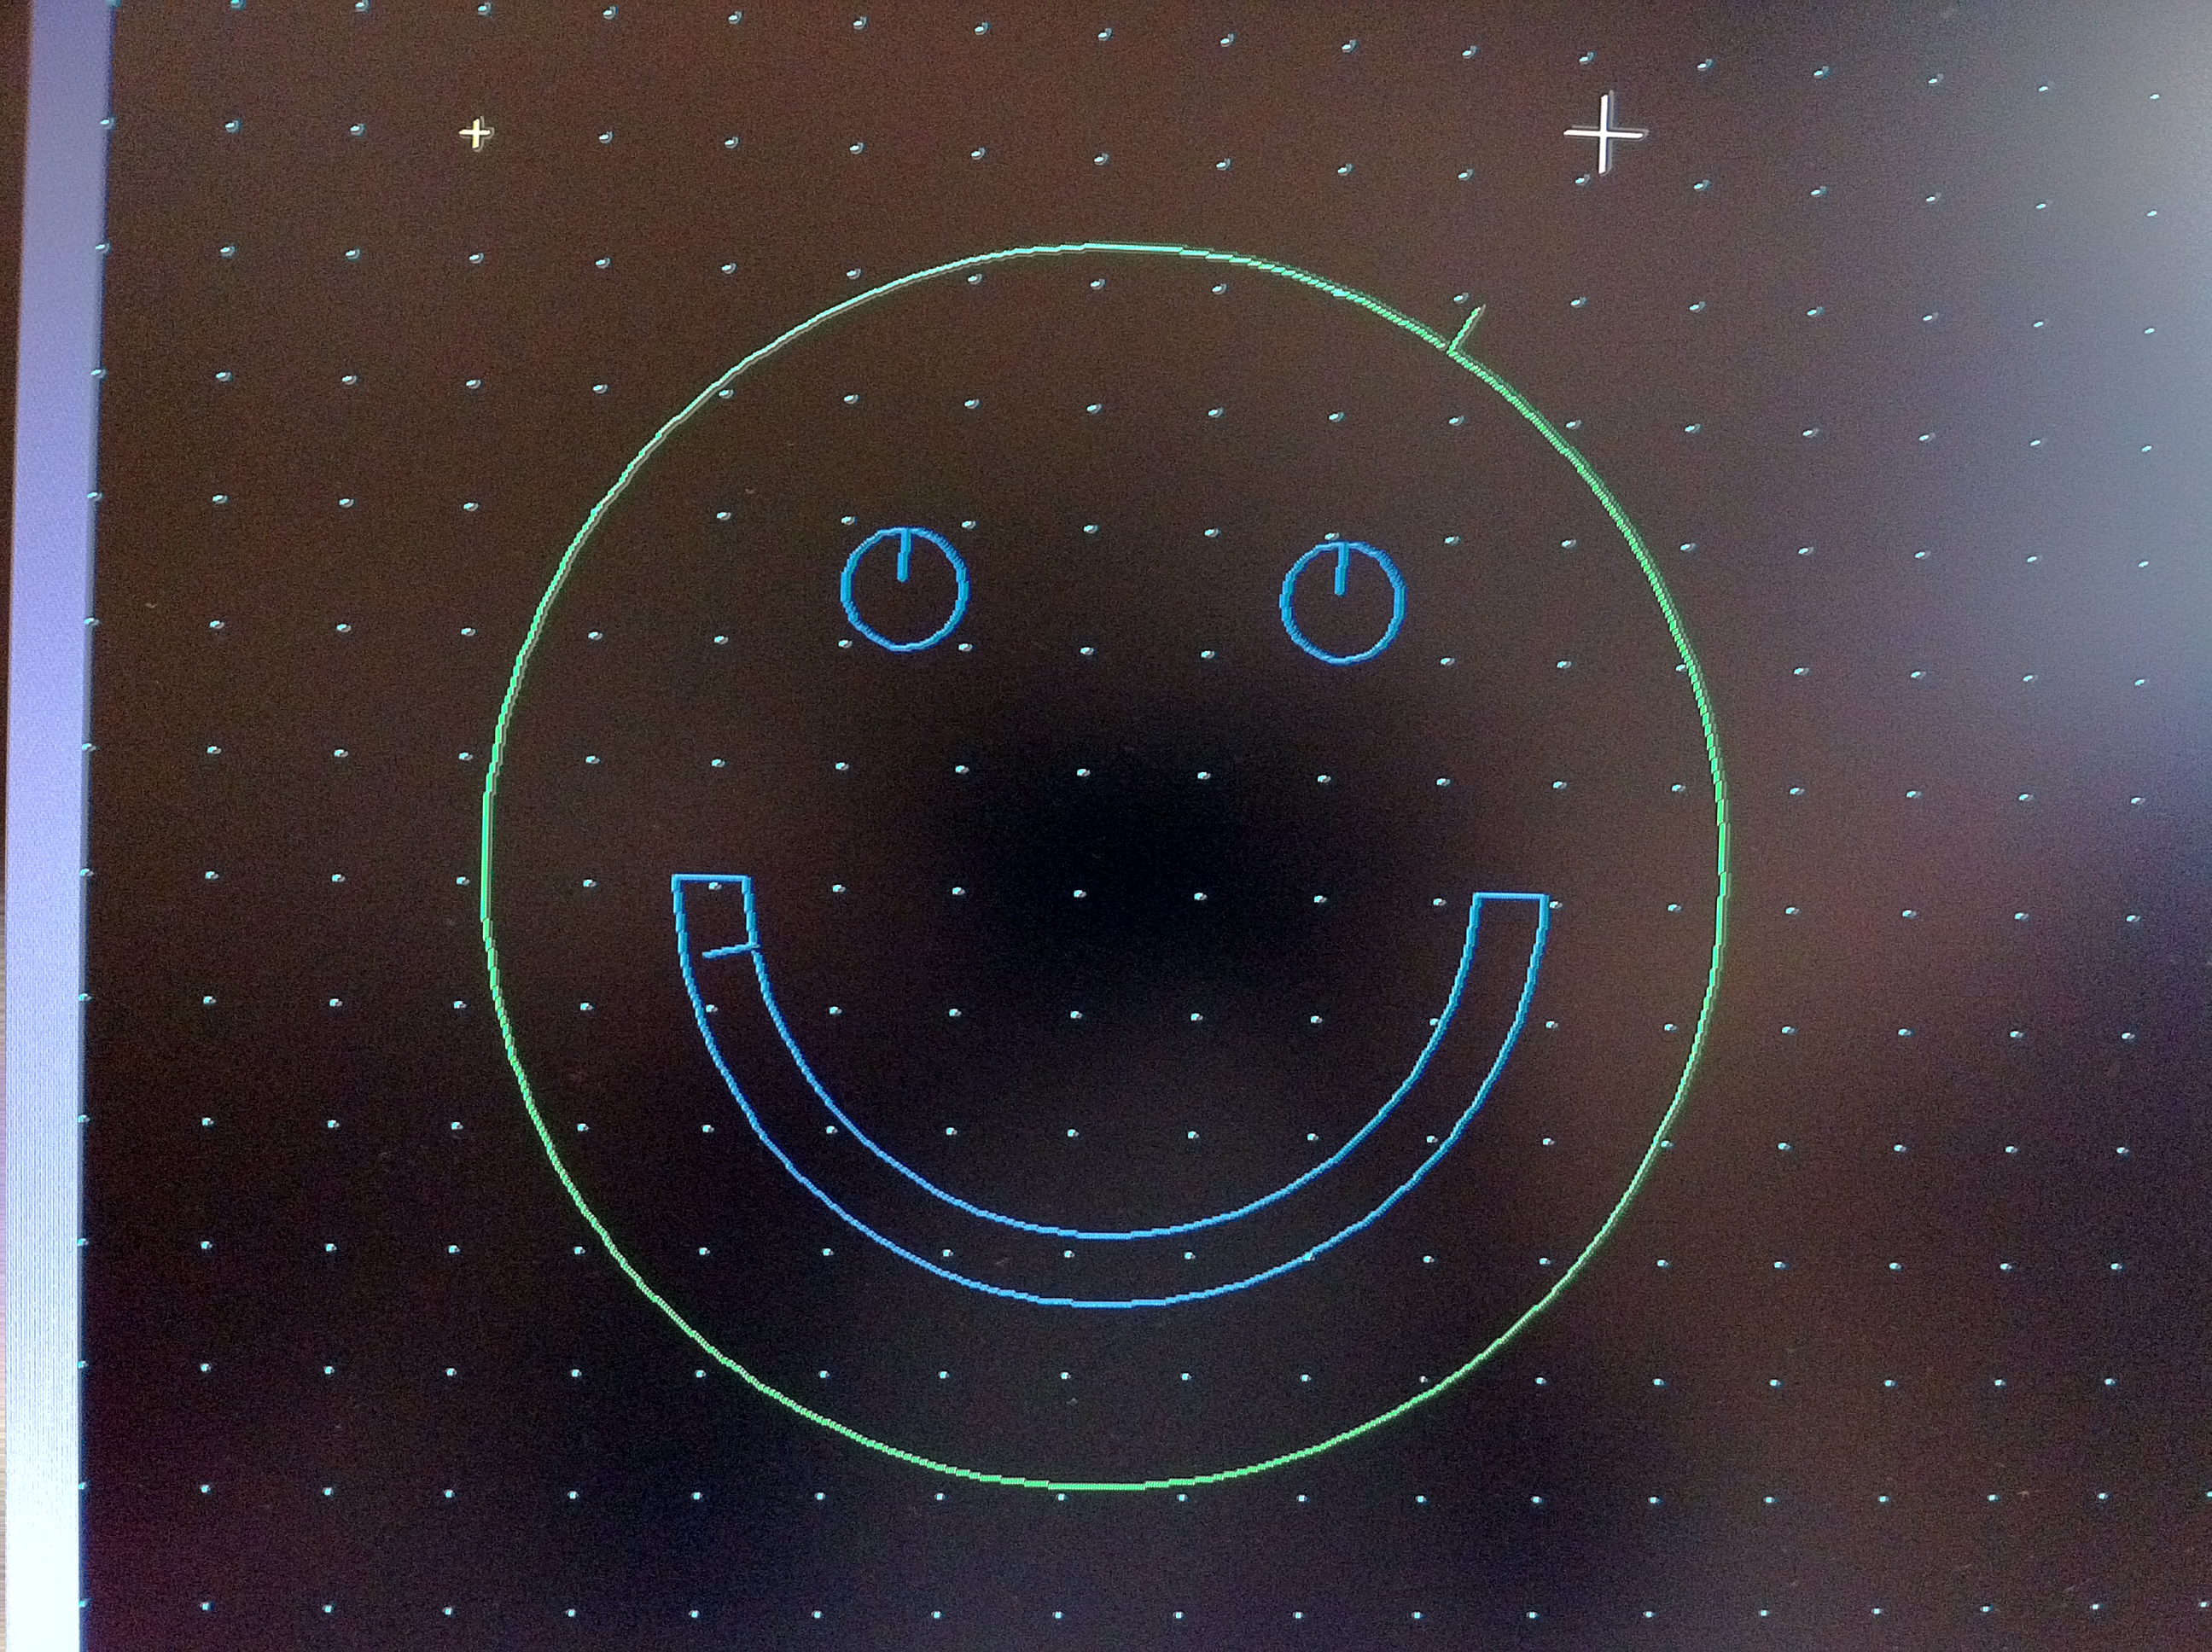
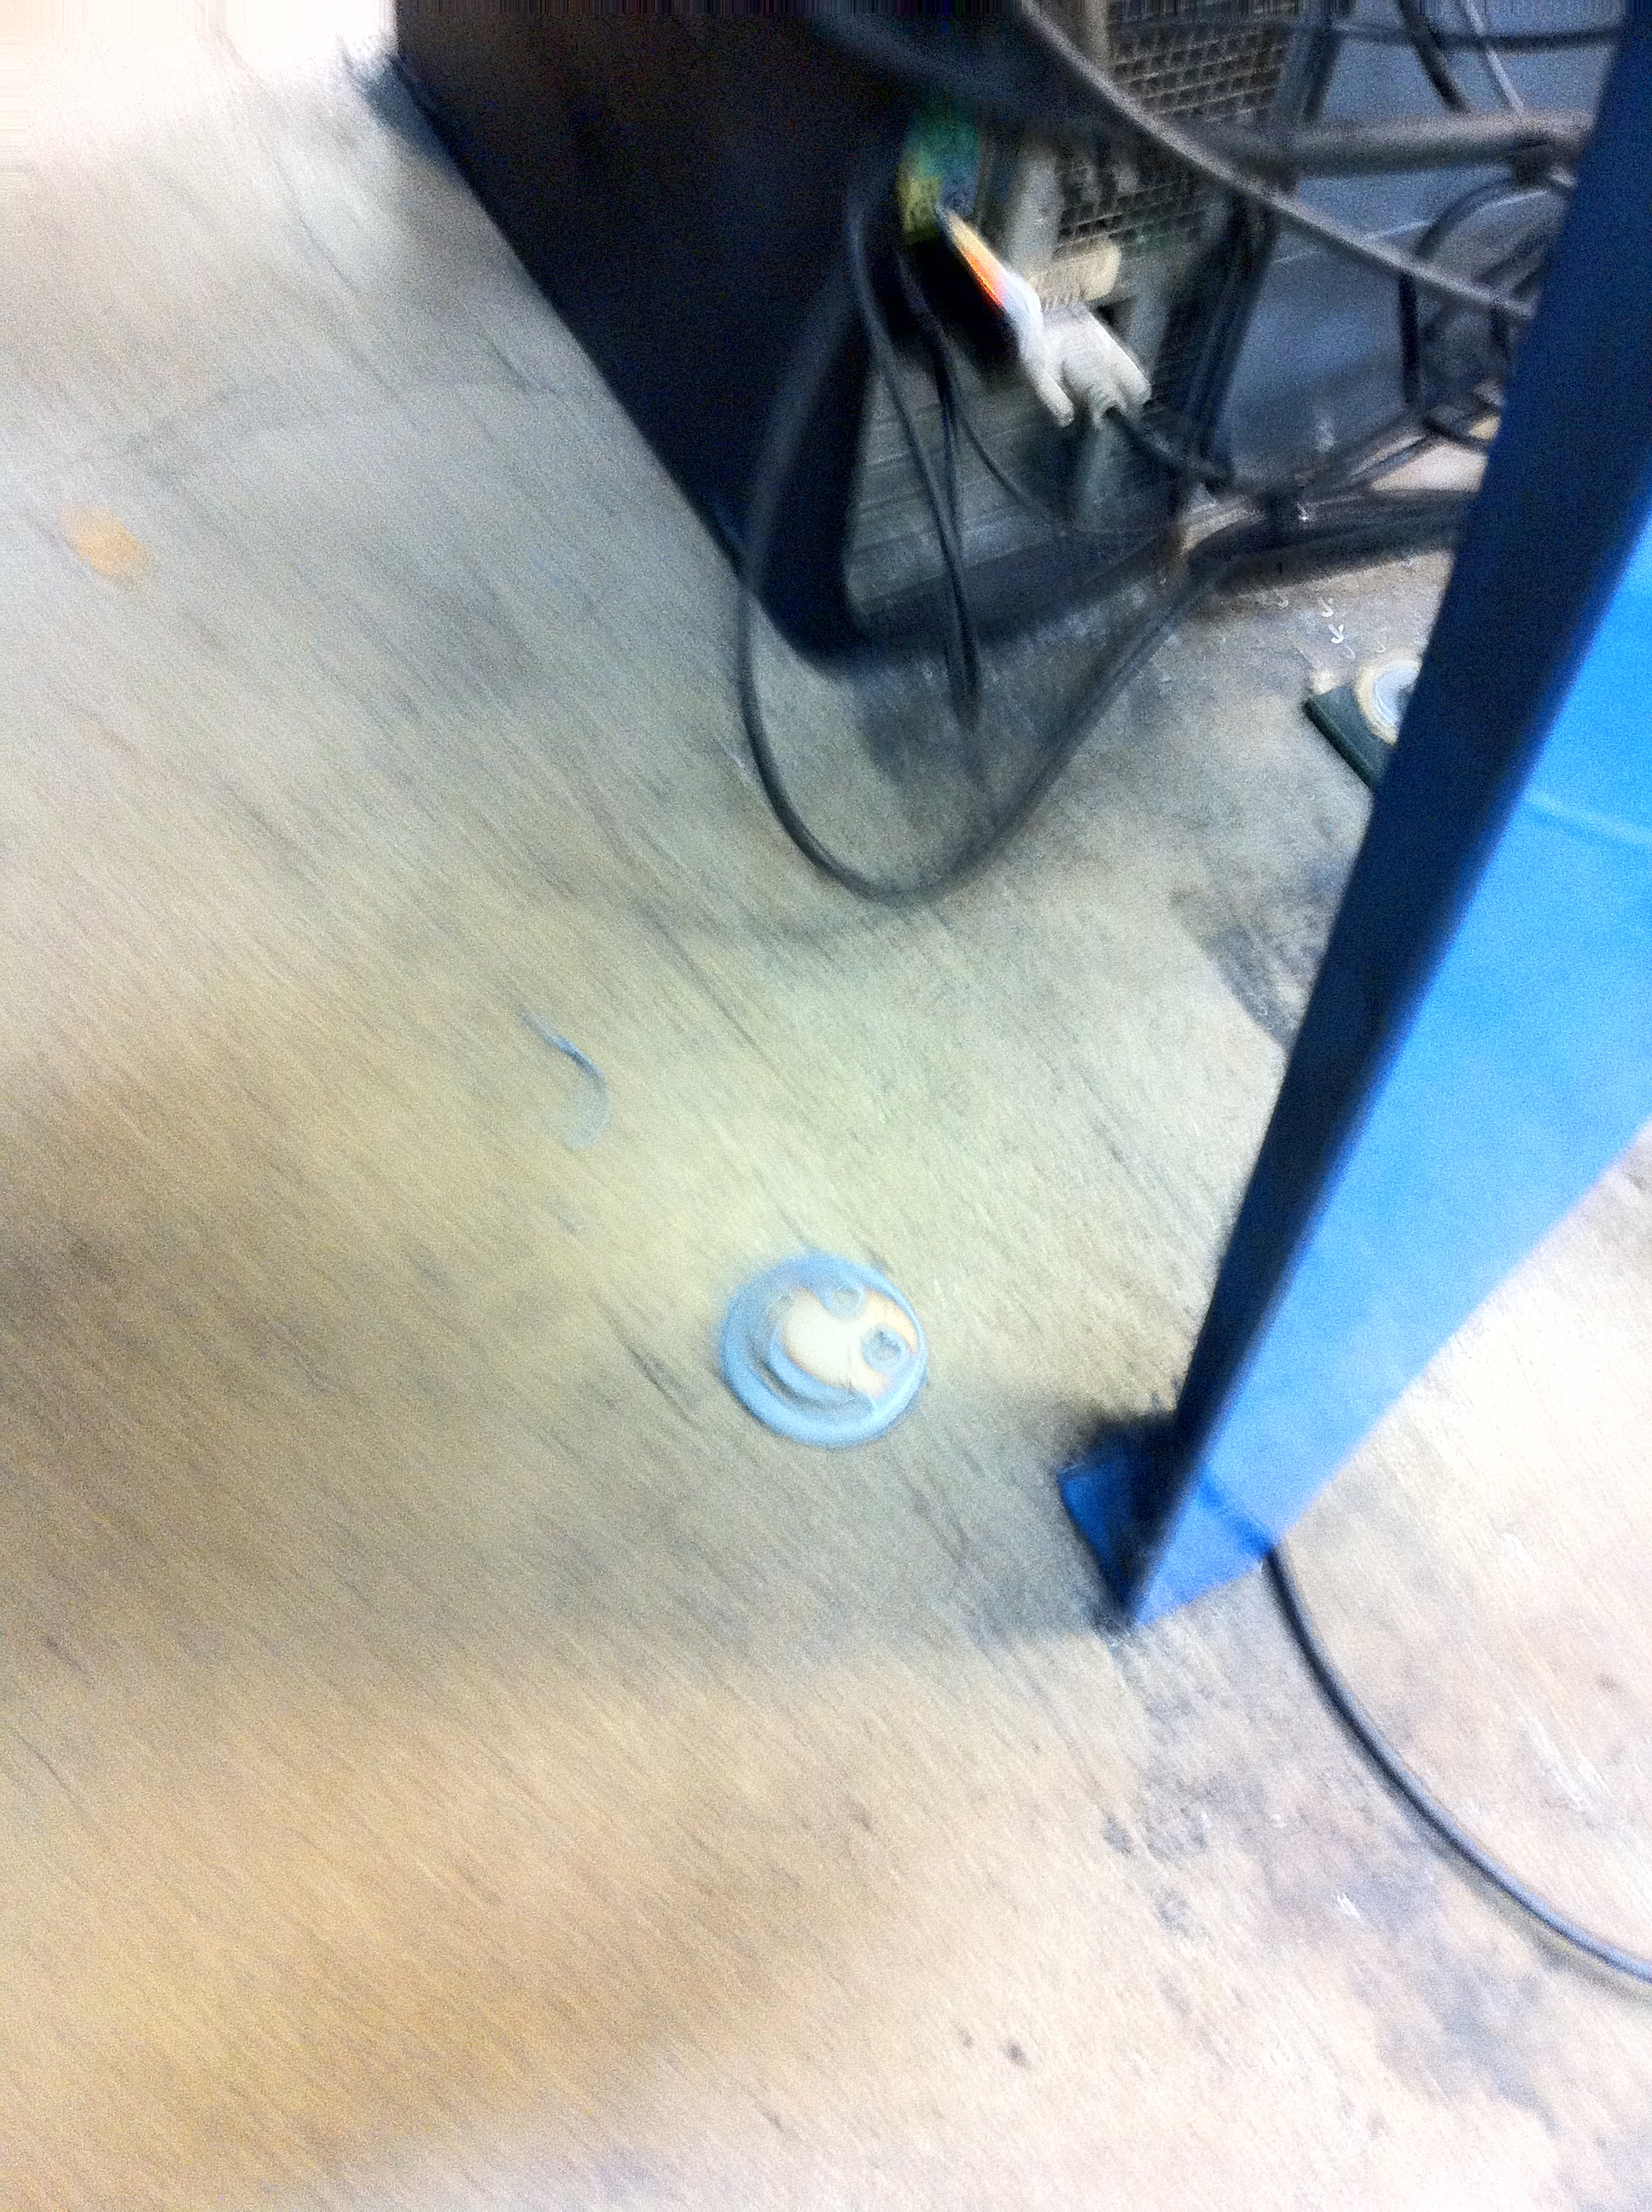
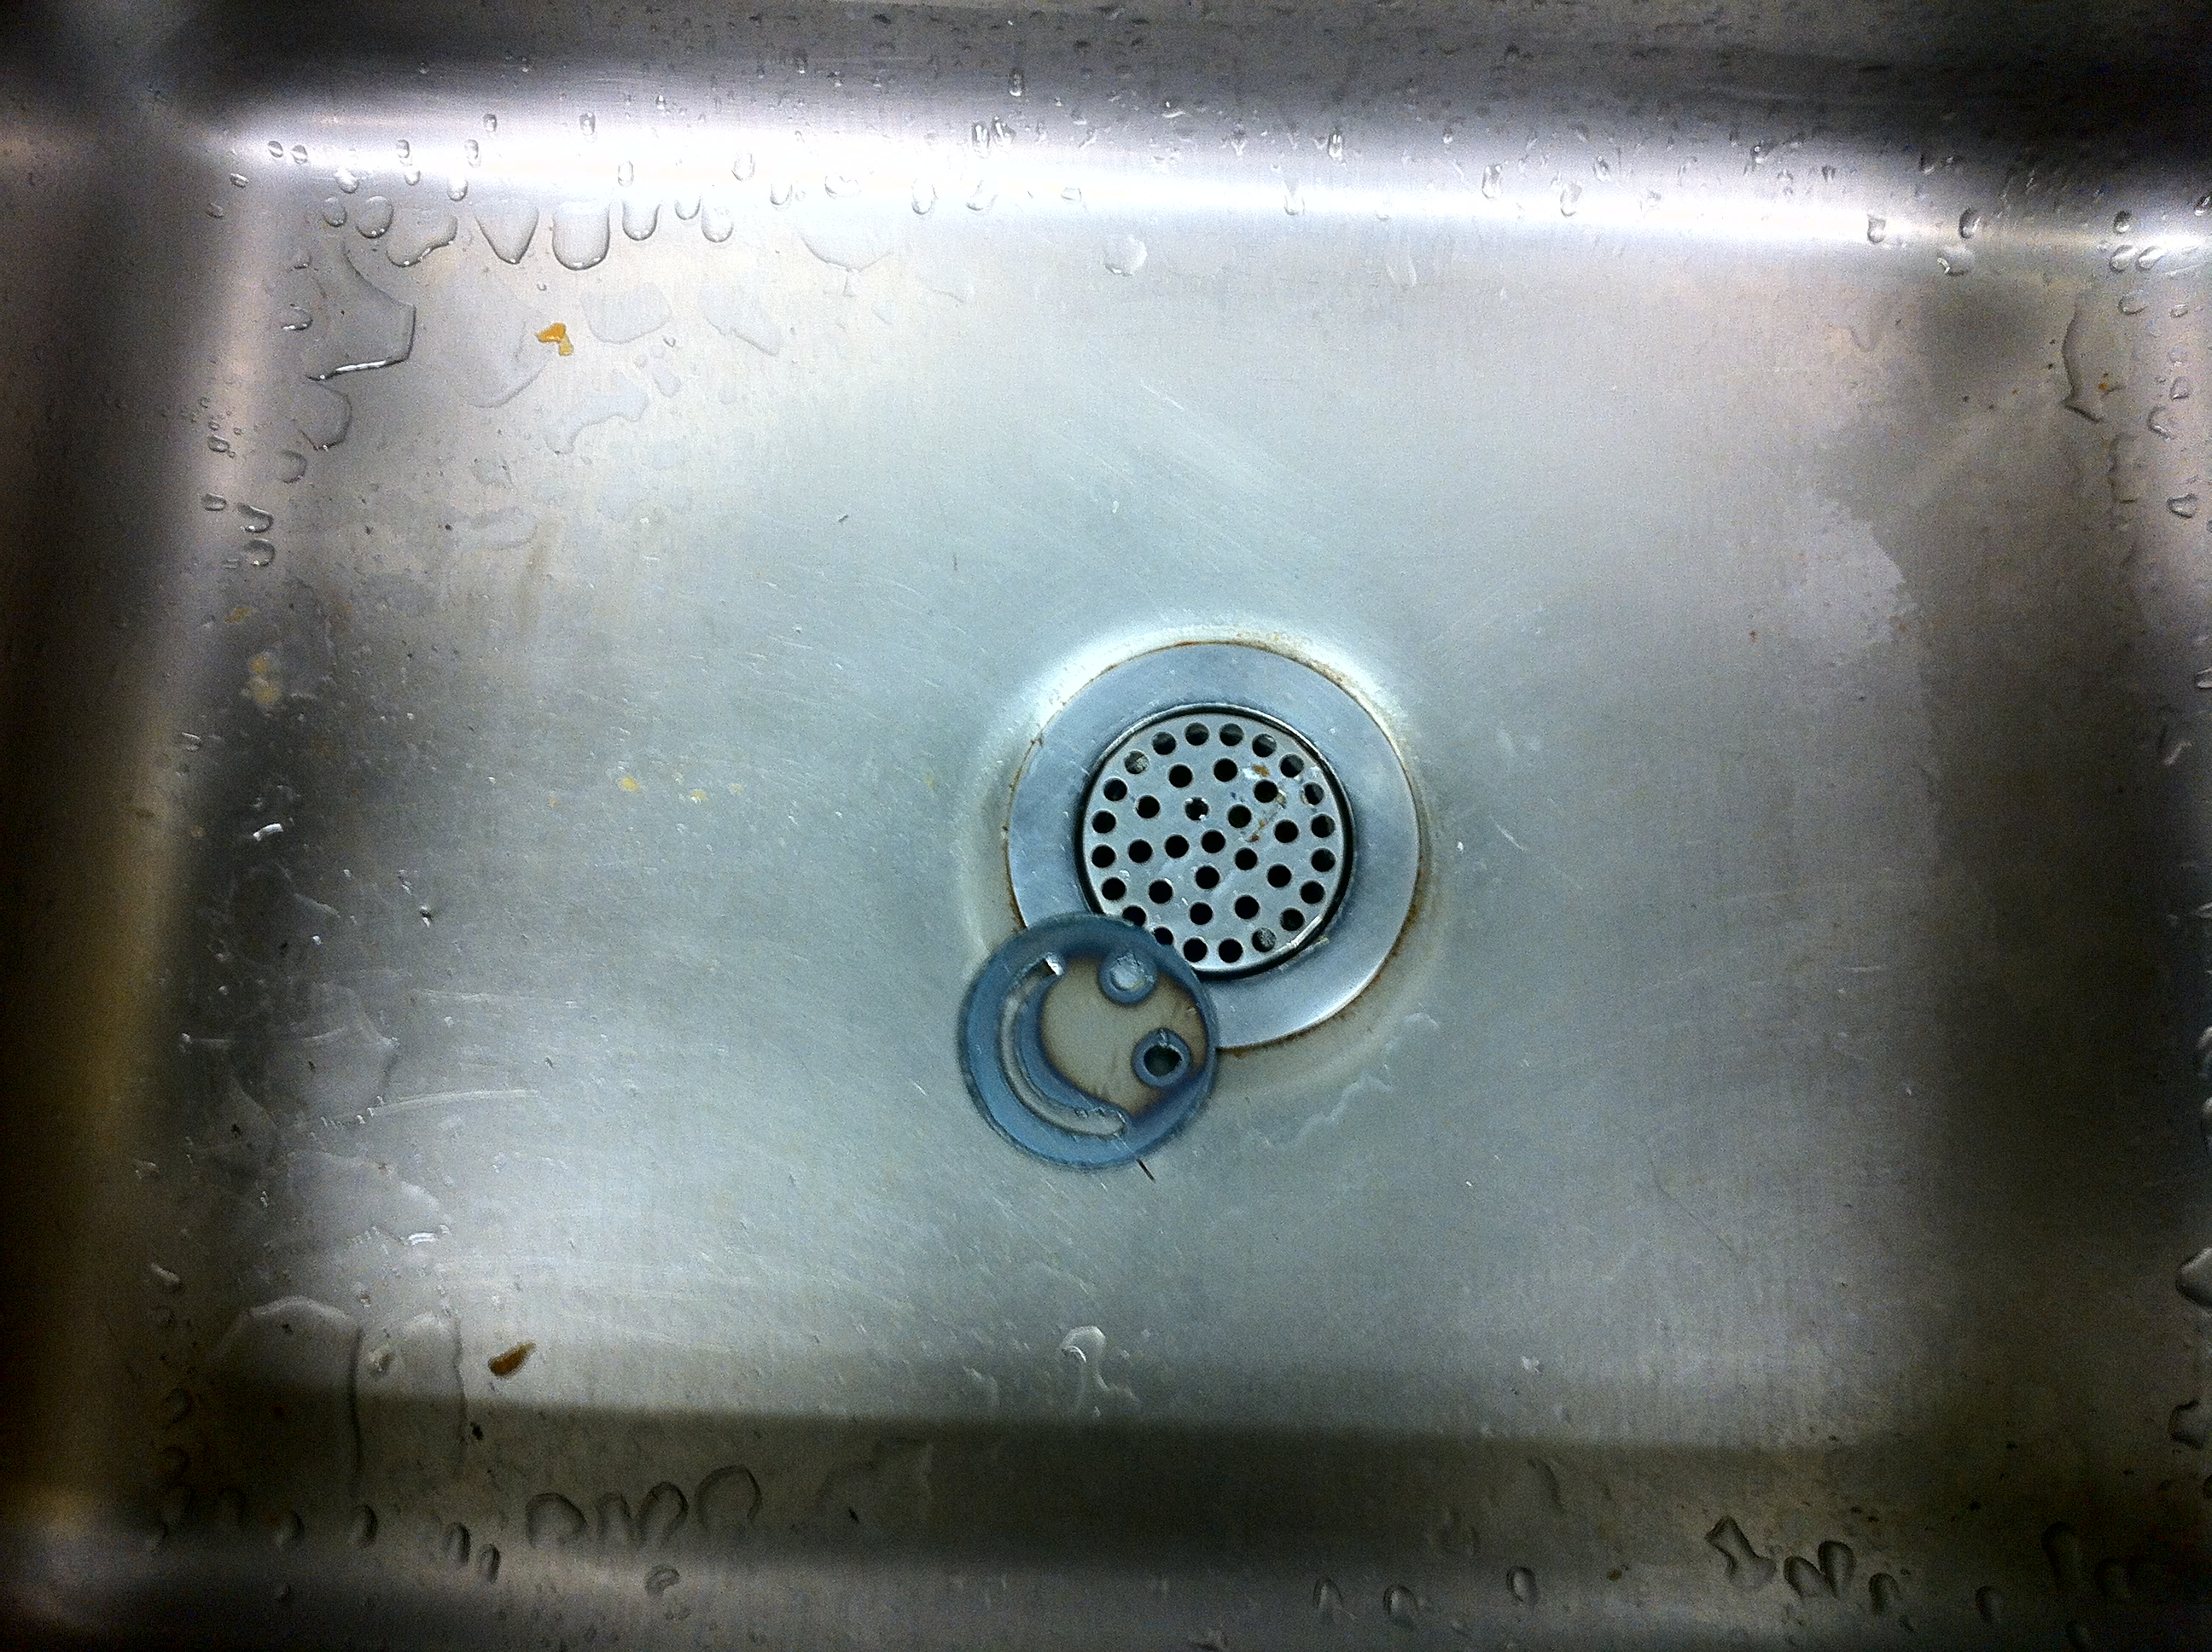
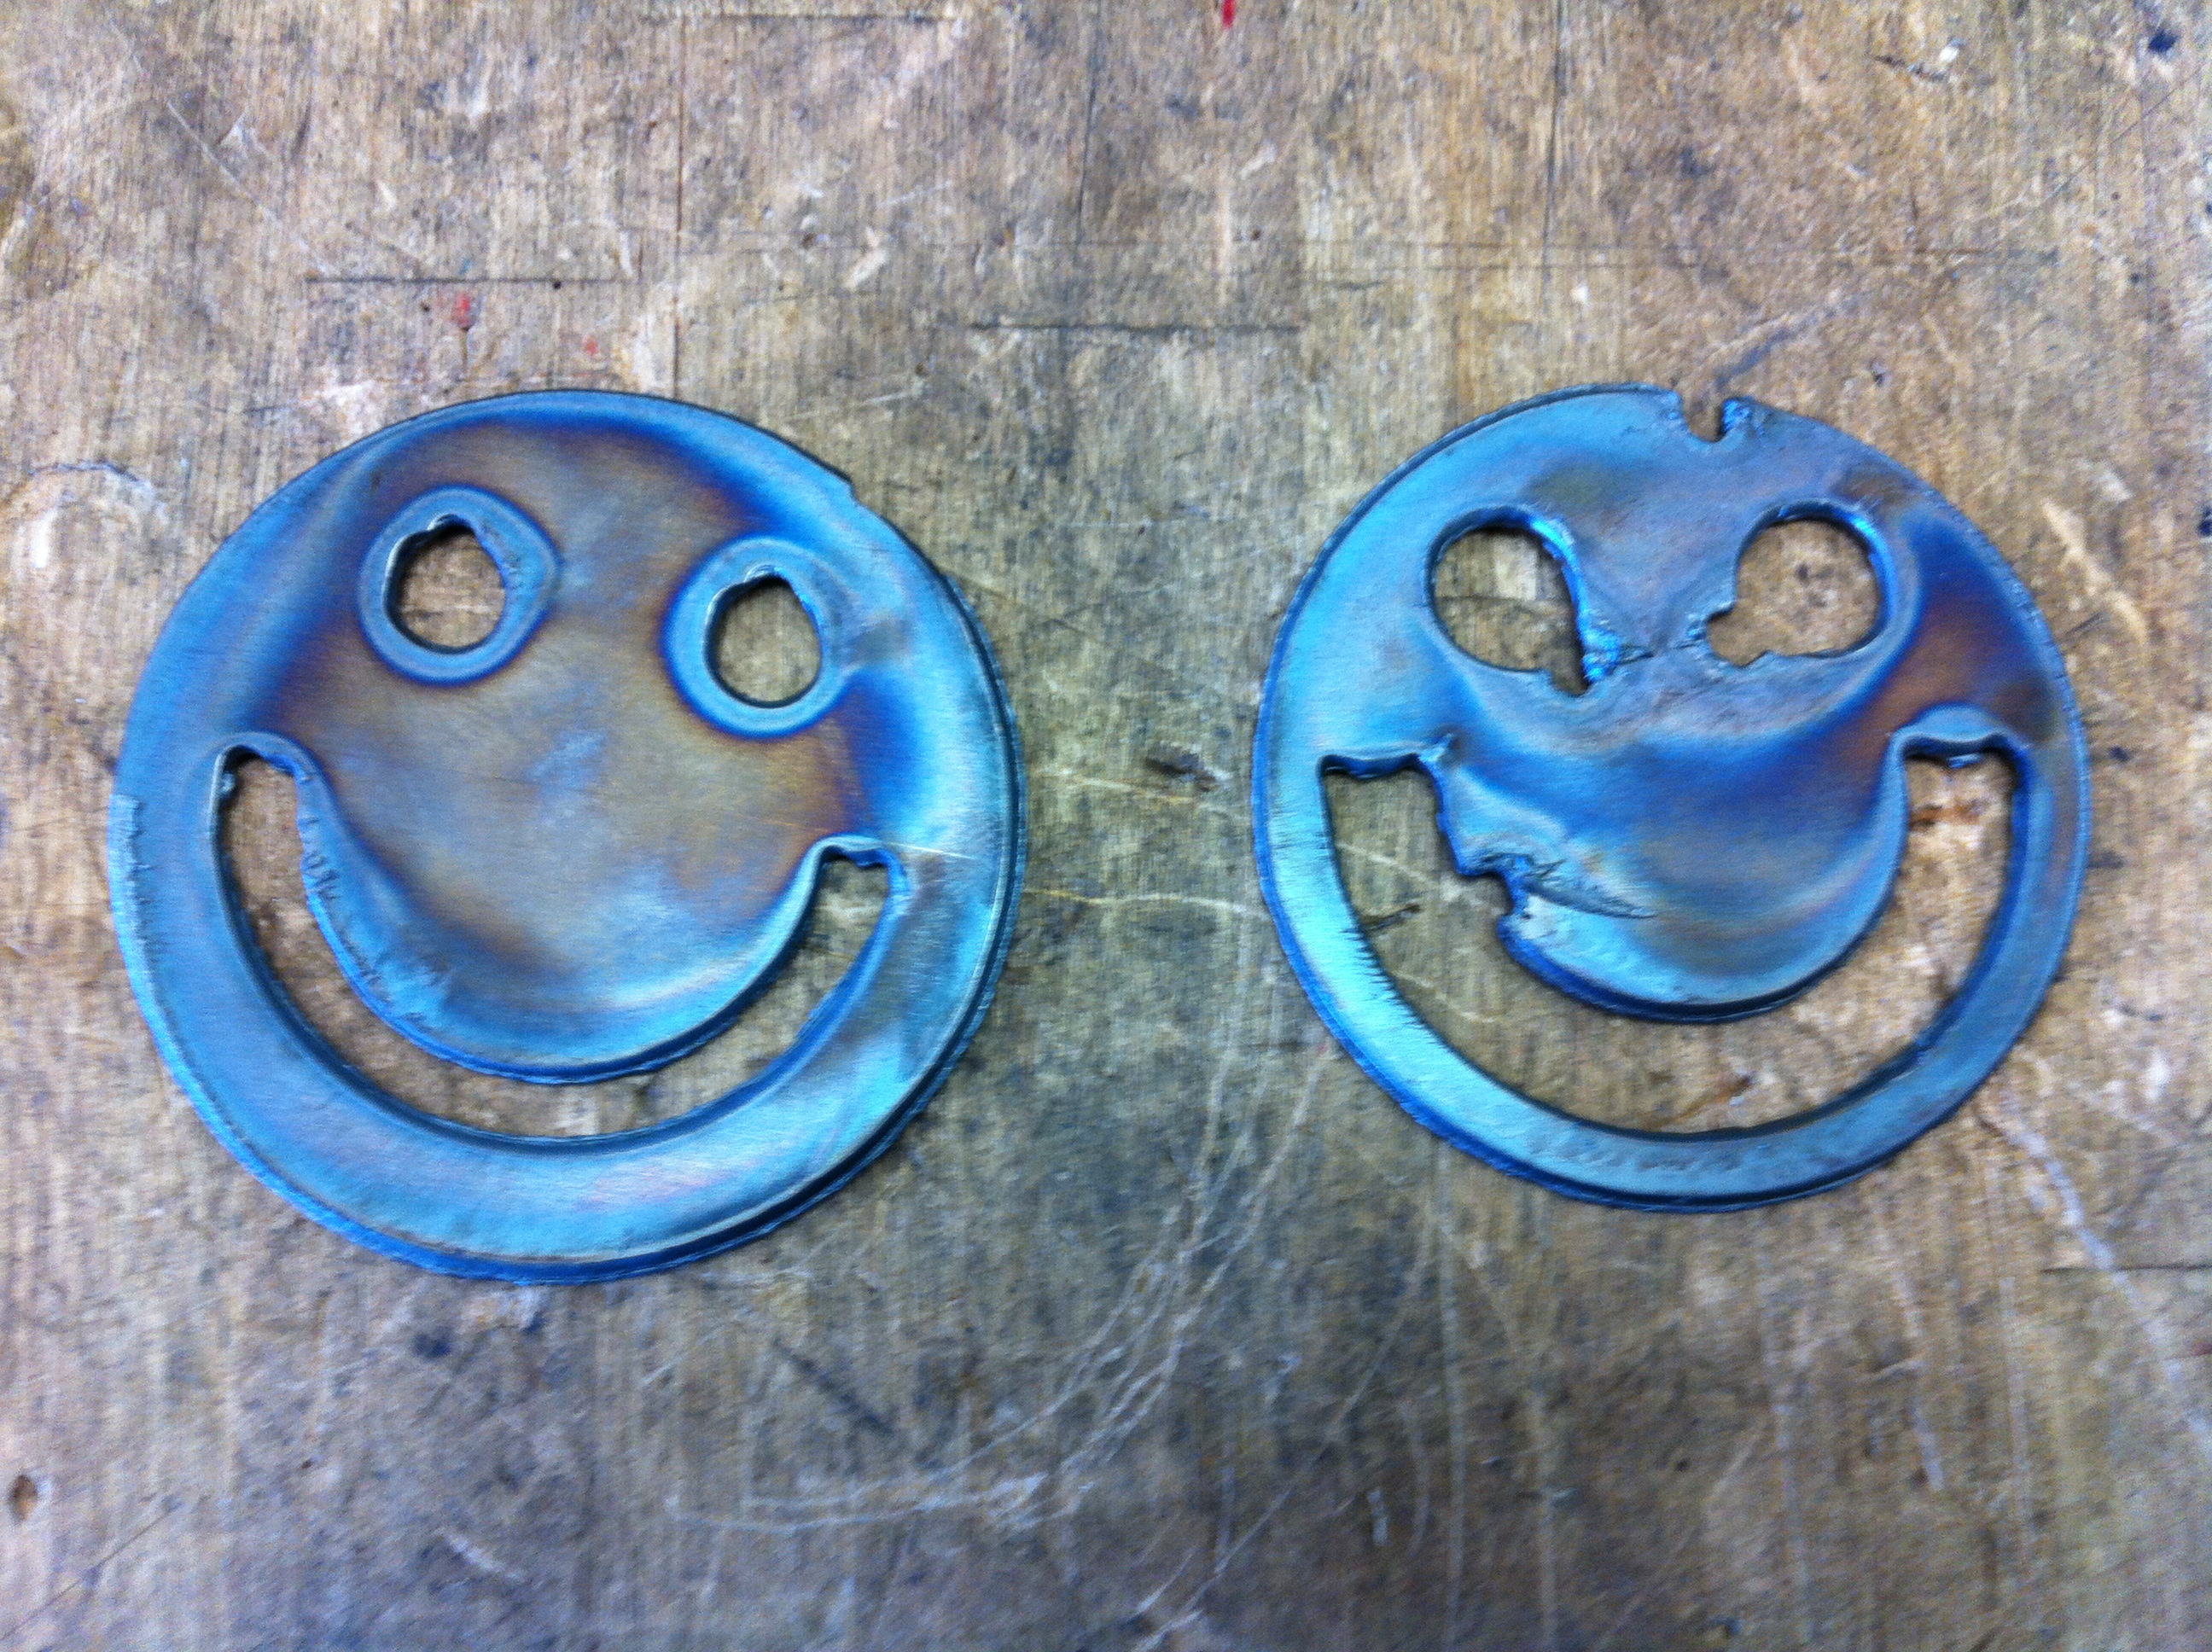
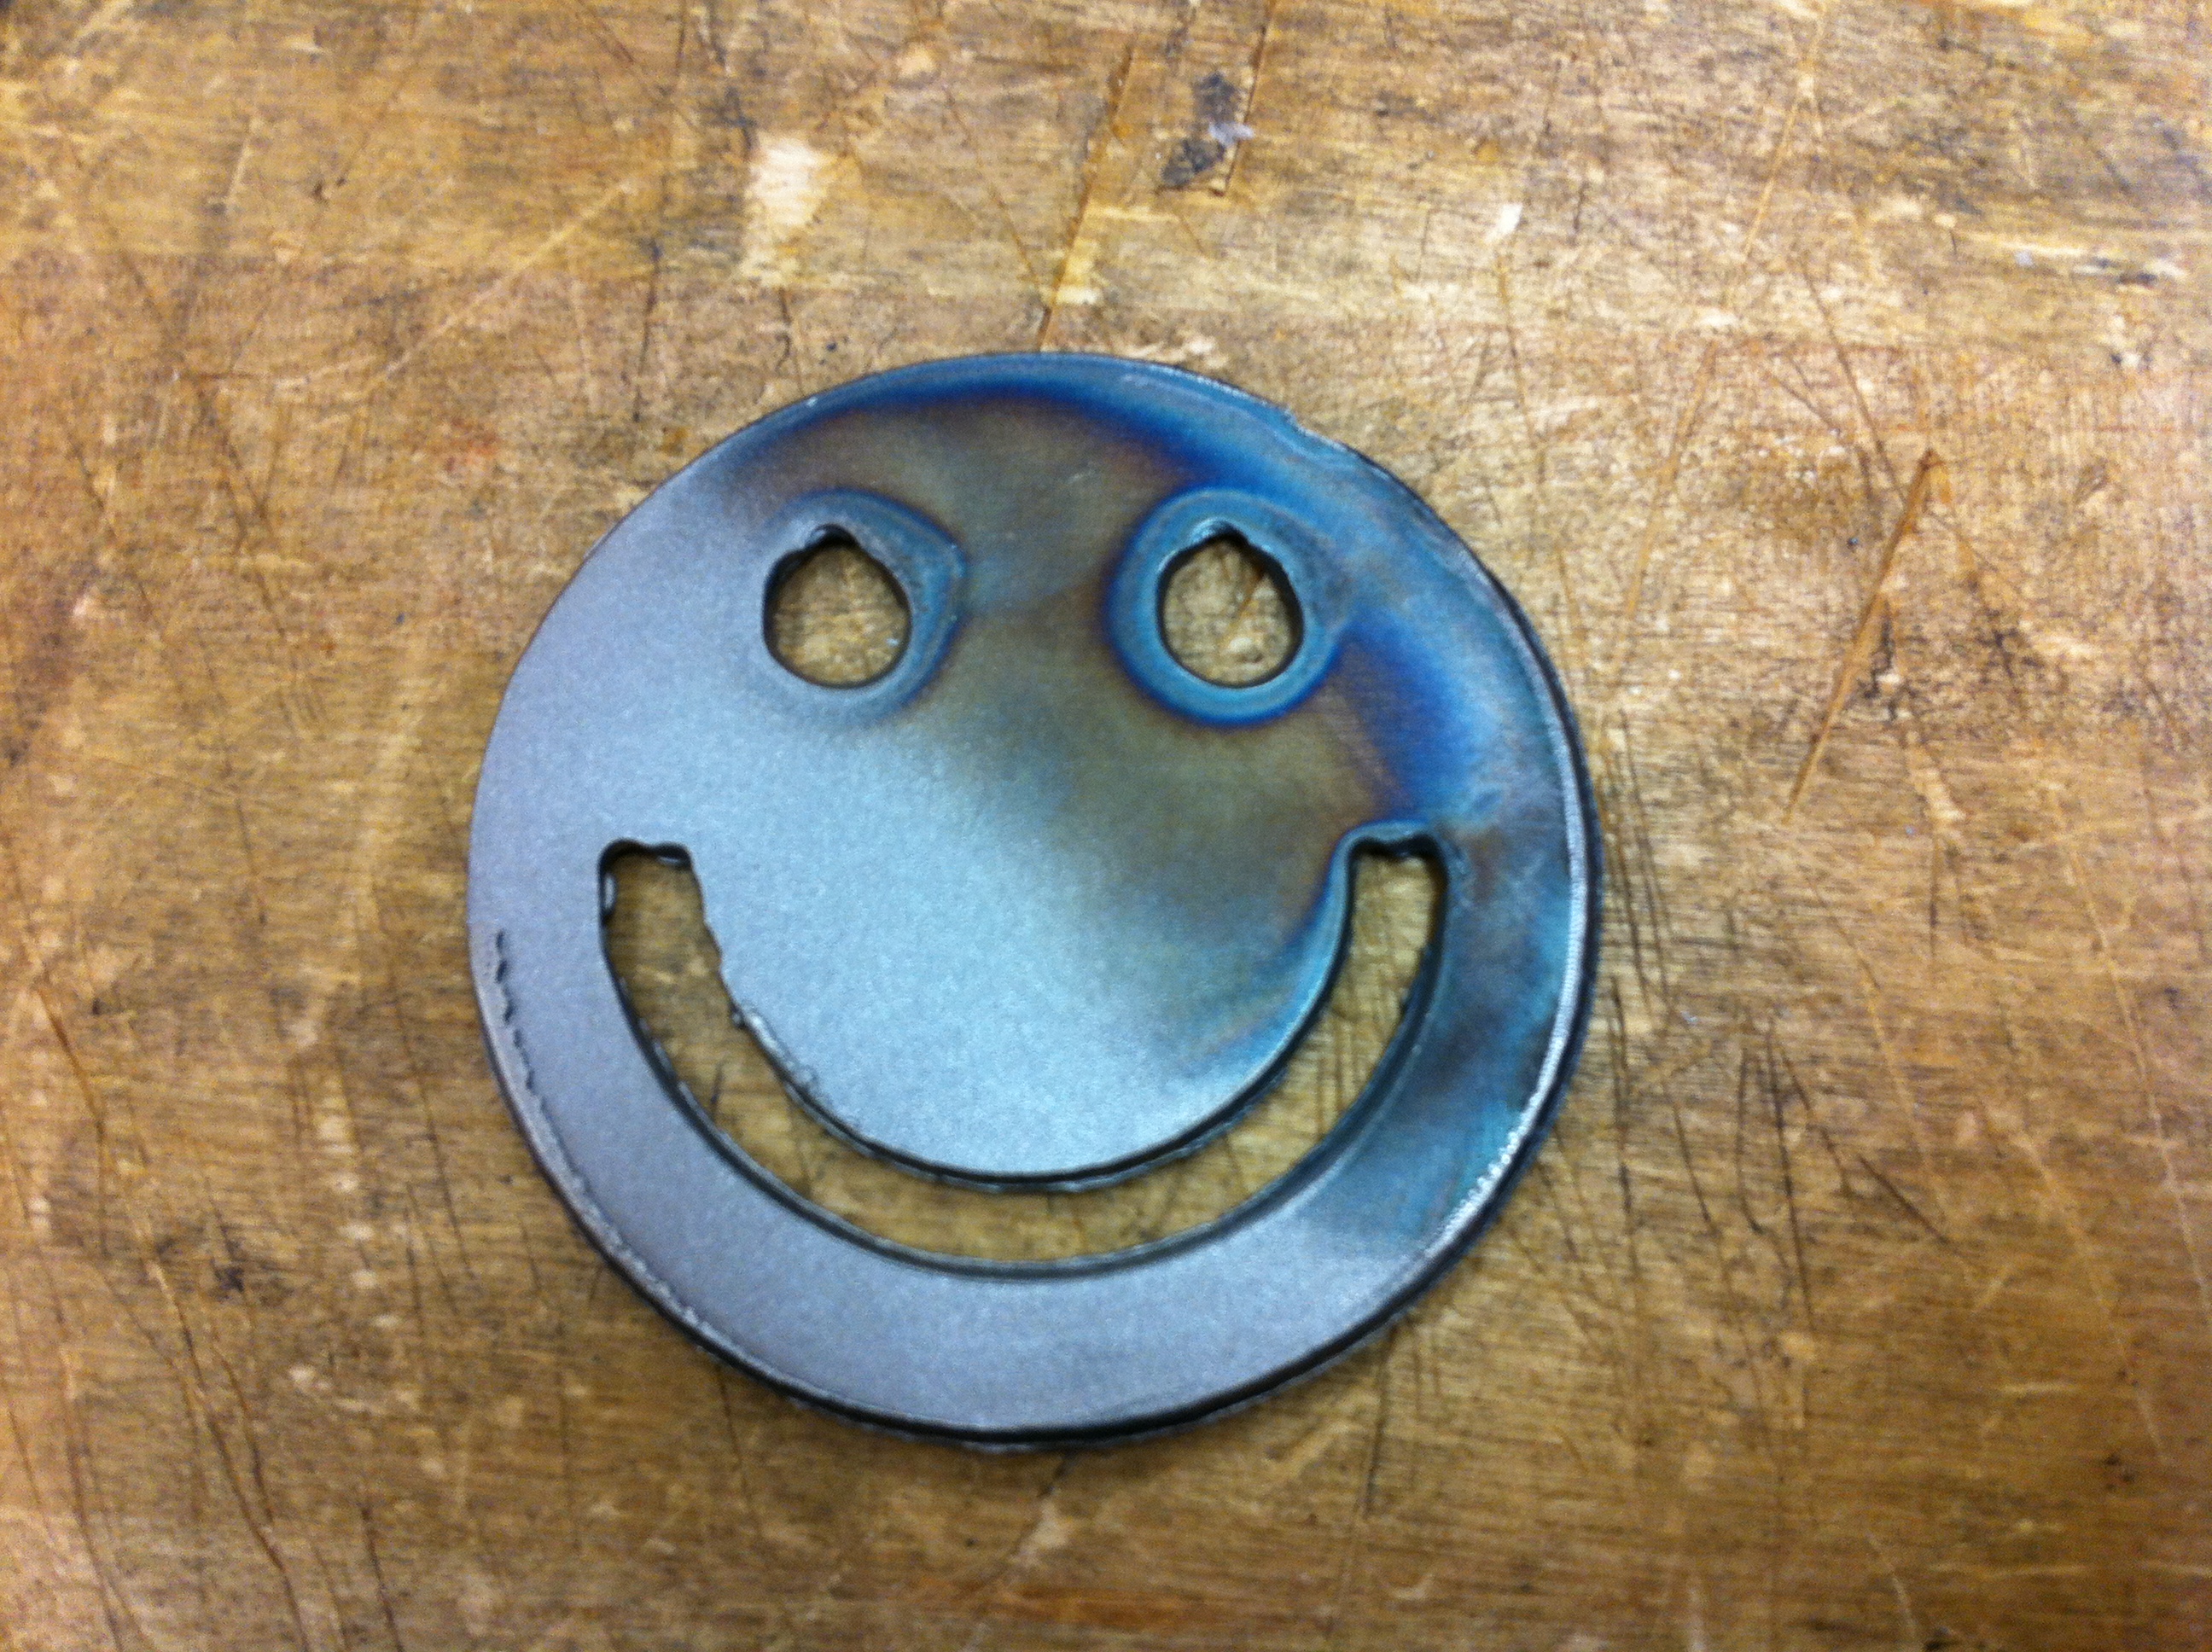
This is a simple guide to cutting on a PlasmaCAM cutter and will go through all steps from making a part on the computer to setting up the tool itself. The PlasmaCAM is similar to other production models and is fairly easy to use once you get the hang of it. Plasma cutters are nice because they can make many different things, from signs to motor mounts inside combat robots. The plasma cutter is my favorite tool because it is loud, bright, and makes cool stuff.
Part Design
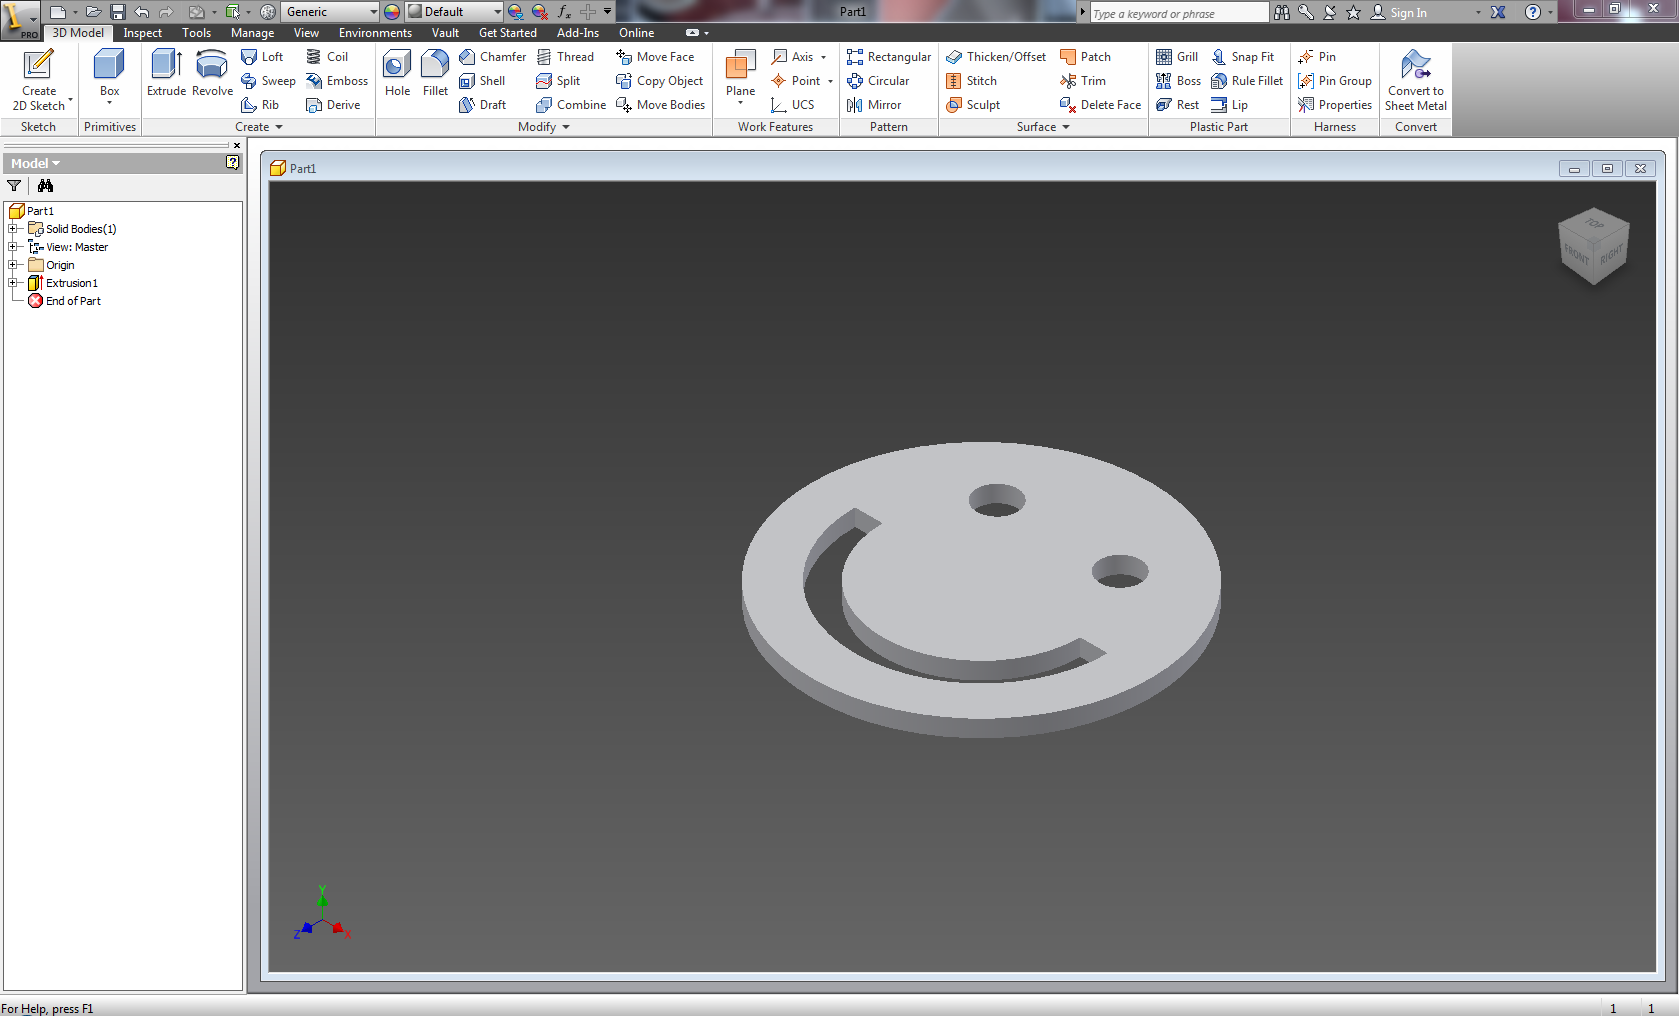
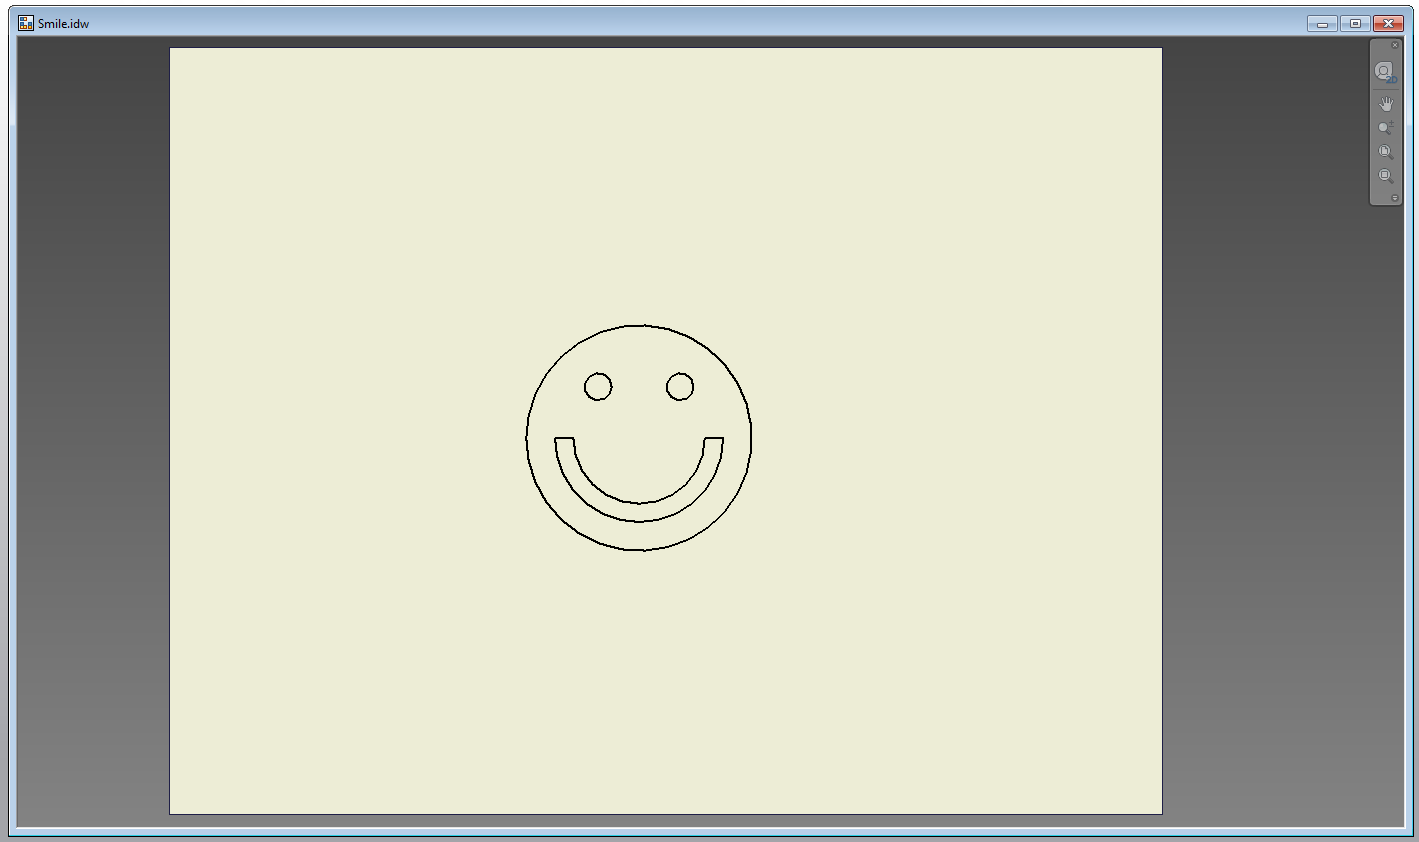
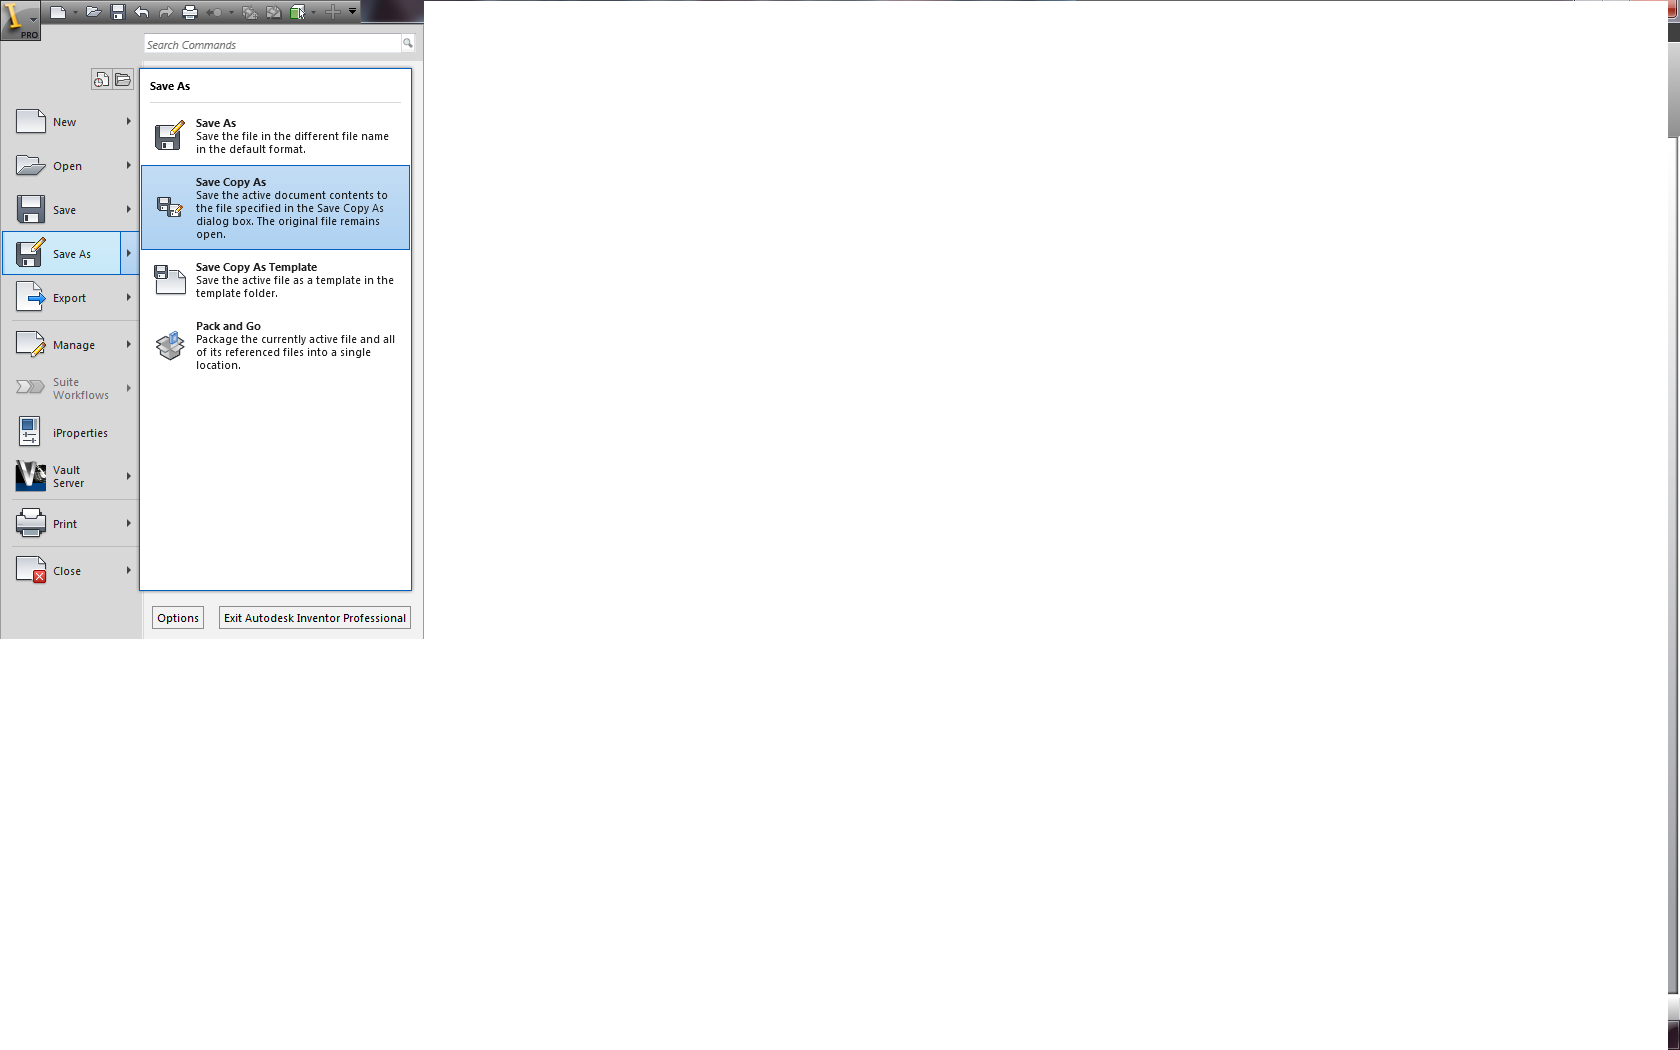
For your part-to-be-cut, make sure your part has a consistent thickness and will actually fit on your table. For your part file, make sure it is compatible with your plasma cutter. For PlasmaCAM, I usually use a .dxf file. To get this, I take a 3D part file, make a projection from the top in a multi-view file, and then save a copy as a .dxf file, but you can make a .dxf however you want. Once you have your part file drawn up and ready, save this part to a flash drive.
Table Setup




Once your .dxf (or other file) is on a flash drive, plug this into the computer that is connected to the plasma cutter. Open up the PlasmaCAM software, initialize the machine, open your flash drive, and file --> import your part. It should appear on the computer rendition of the table. Once your machine is initialized and your sheet metal is in the right place, slide your part around on the computer and check where your part is by moving the machine to it. The machine tip should move on the computer and the machine. Move your part on the table to where it has room and will be cut all around it without interference or running into another hole in your stock. Once you have your part positioned, you can cut.
Cut Setup

To cut, make sure that the torch has power, the machine has power, and all of the ventilation is on. Once your part is in the right place on the table, highlight the part and combine all of the separate entities of the sketch. This means that instead of a lot of small lines holding your part together, you have several continuous lines. The command for this on PlasmaCAM is [Command + K]. Once you have everything joined together, convert it to cut paths. When converting your lines to actual cut paths, start from the inside entities and end with the outside contour. For the inside cuts, select the center of the hole so it knows to start the cut from the inside, and for the outside contour select from the outside so it will cut from the outside.
Cutting and Removal

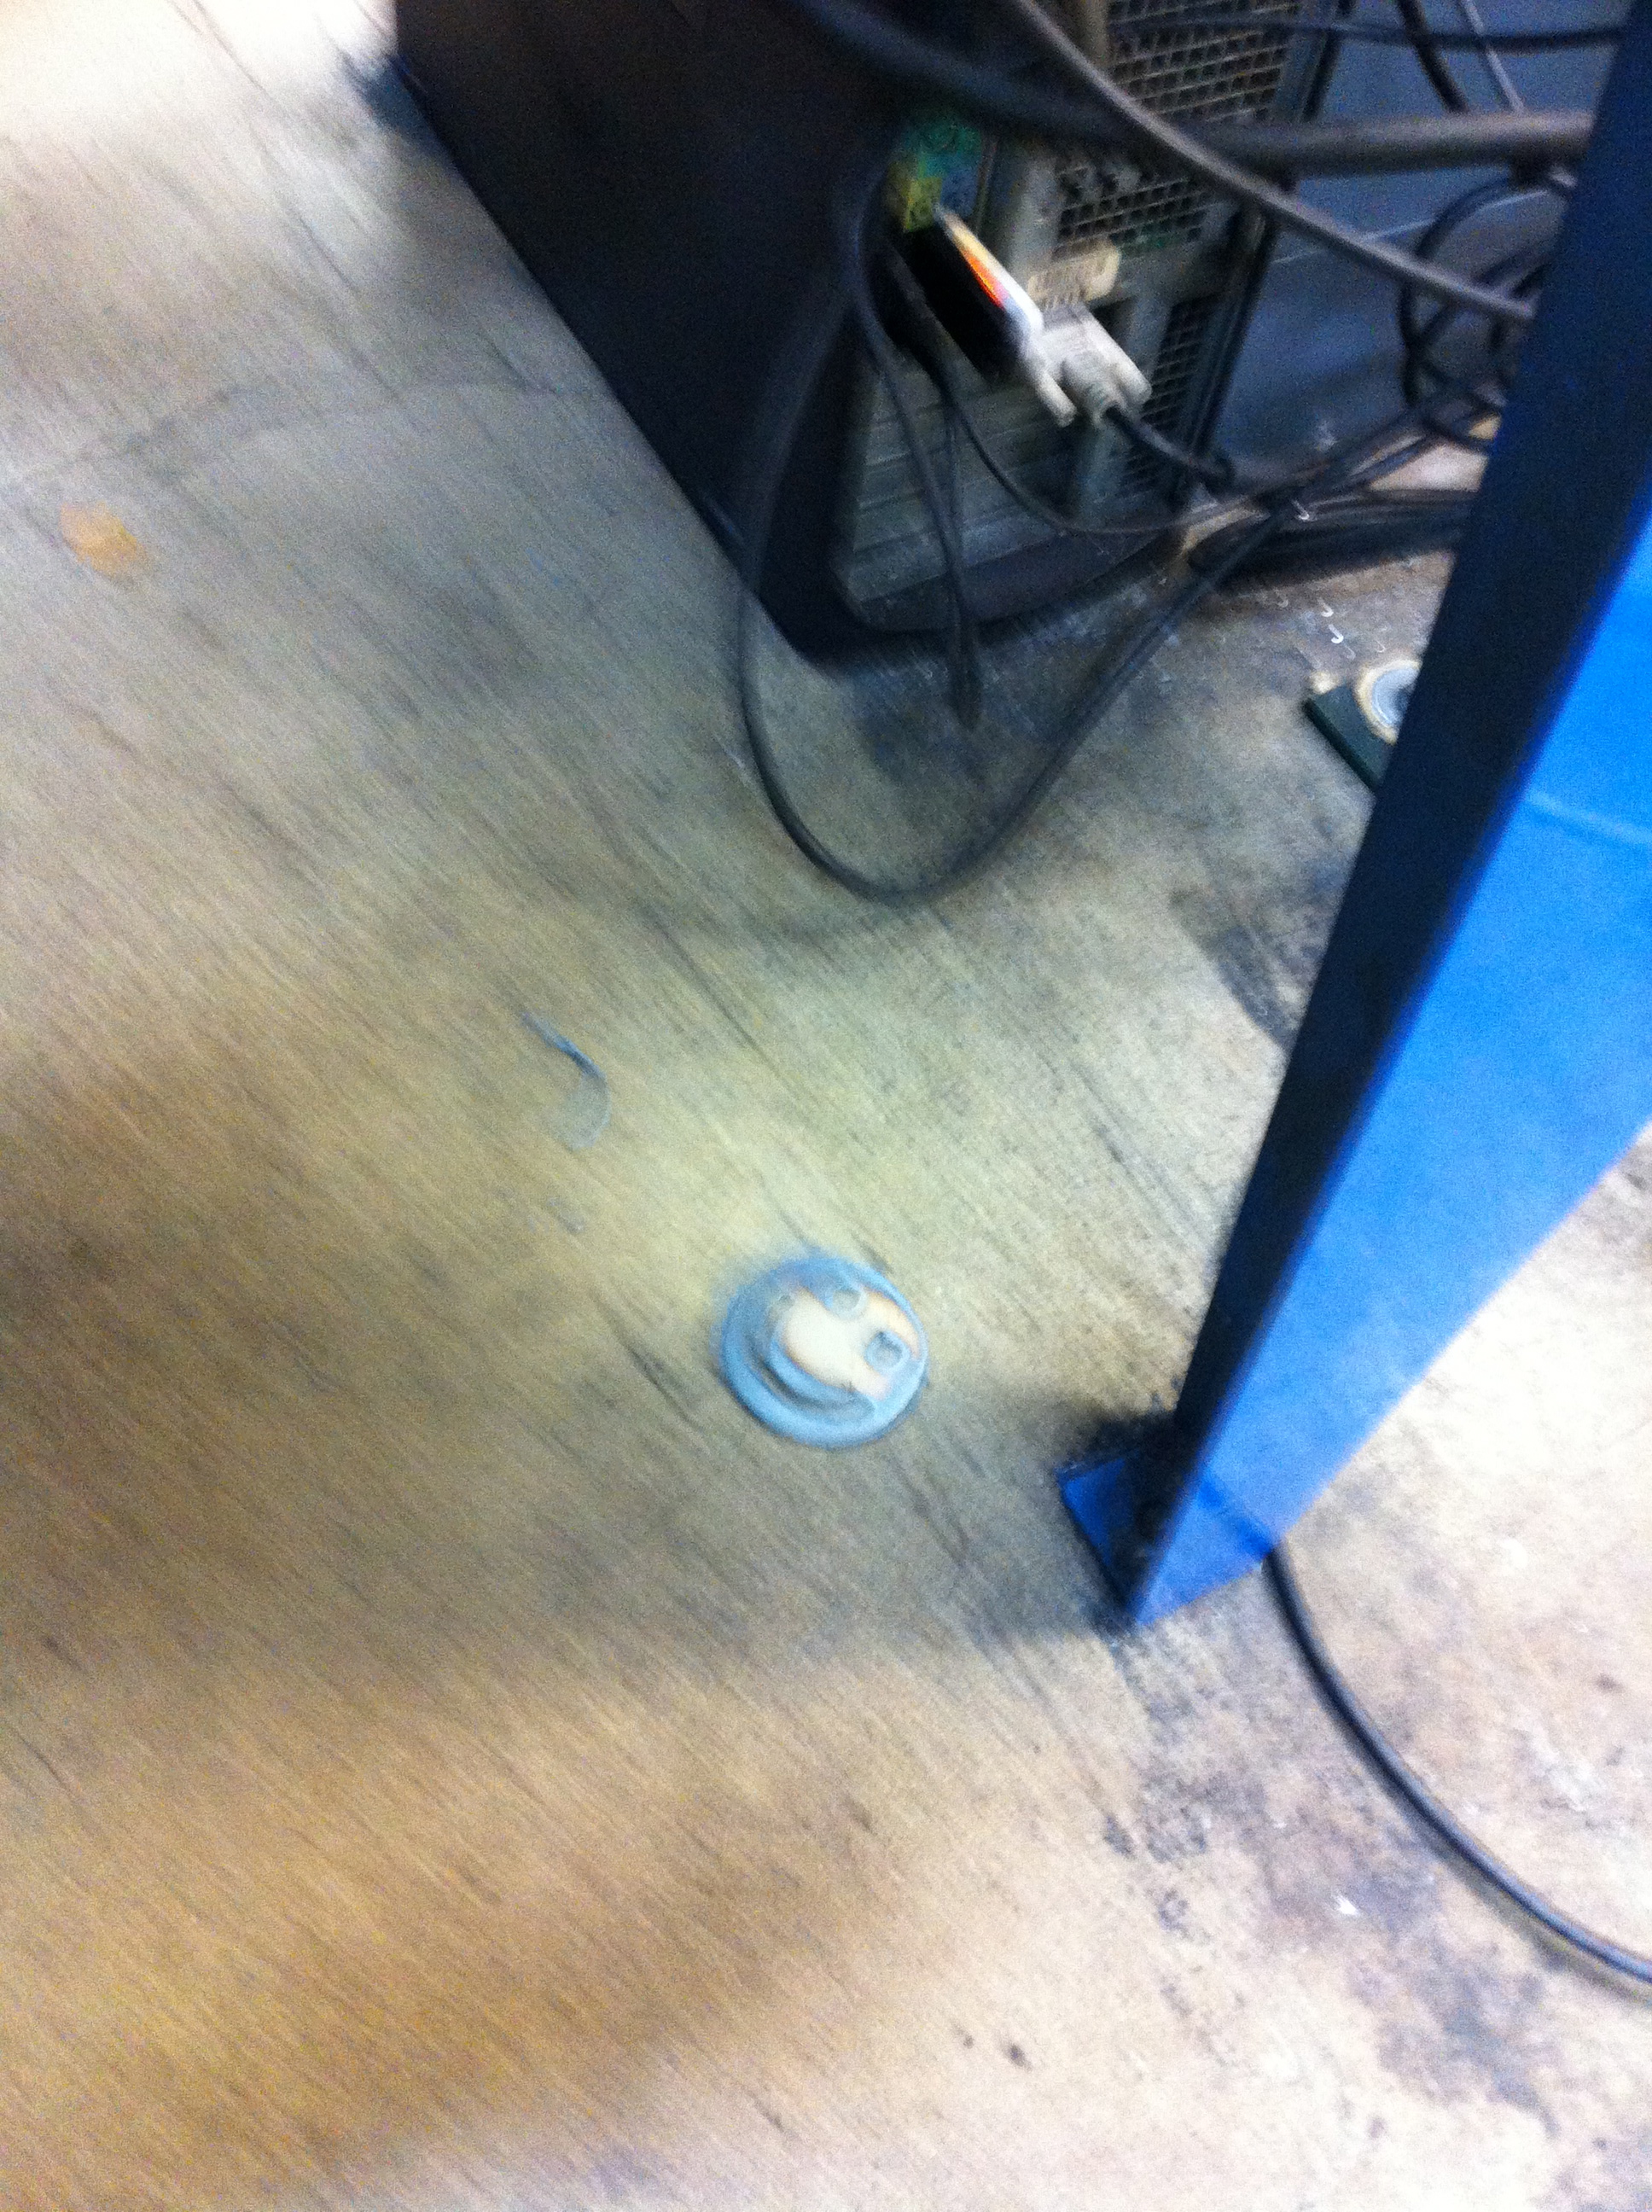


Once you are ready to cut, make sure the machine is on, the area is ventilated and the cutting torch is powered on. Once all of these are good, you can cut out your part. Make sure not to look directly at the torch because the brightness on some torches is similar to that of a welder and may give you welder's eye. Once your part is cut, move the machine head out of the way, get a pliers and wiggle your part out of the hole. For the more complex parts, you may need to wiggle the part a little more or hit it with a mallet to loosen it from the sheet. Once you have it you can either let it cool off or dunk it in water or oil if you want a quick cooling. With the smiley face part, I was lucky enough that it dropped through onto the floor. Once your part is cooled you can hammer off the slag and file or grind the edges down for a smooth finish. Sandblasting will give it a nice finish and take off the burn marks. Now you know how to make parts on a plasma cutter! You can bend your parts or just use them how they are flat. The possibilities are endless with a plasma cutter.