How to Set Up and Prepare a Roland MDX-540 Router for Cutting
755 Views, 0 Favorites, 0 Comments
How to Set Up and Prepare a Roland MDX-540 Router for Cutting
This is a step by step guide on how to set up and prepare a Roland MDX-540 Router ready for cutting. It is an in depth guide on what must be done and how to do it before the cutting process can begin.
Supplies
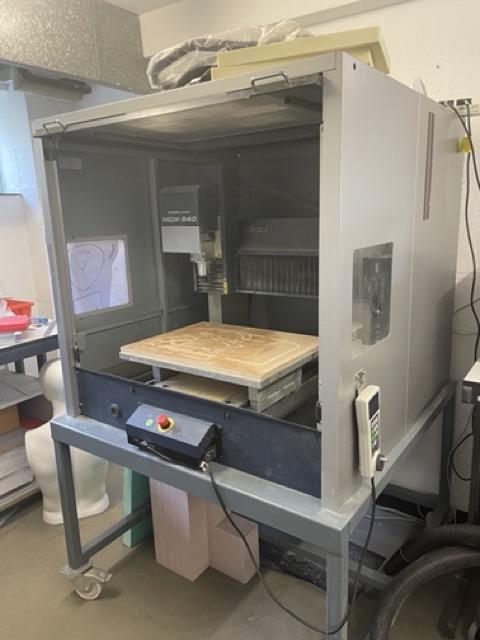
Roland MDX-540 Router
MDF
Desired wood
Spanners
Tool bits
Acrylic bolts
VPanel software
Screw driver
Setting the Bed Height
To set the metal bed to the height needed, you must take the four bolts which are holding the bed in place out using a screw drive. Then take the aluminium bed out of the machine and place somewhere safe. To increase the height of the bed, aluminium blocks must be added in. To decrease the height of the bed, the aluminium blocks are taken out. Place the aluminium bed back into the machine and bolt them back in place once you are happy with the height of the bed. To ensure the bed lies flat, screw the bolts in at opposite corners first.
Preparing the Bed
To ensure the aluminium bed and tools do not get ruined, place a sheet of MDF that has been cut down to the exact size of the bed and predrilled onto the bed. Using acrylic screws, secure the MDF in place. The acrylic screws will ensure that the tool does not get damaged.
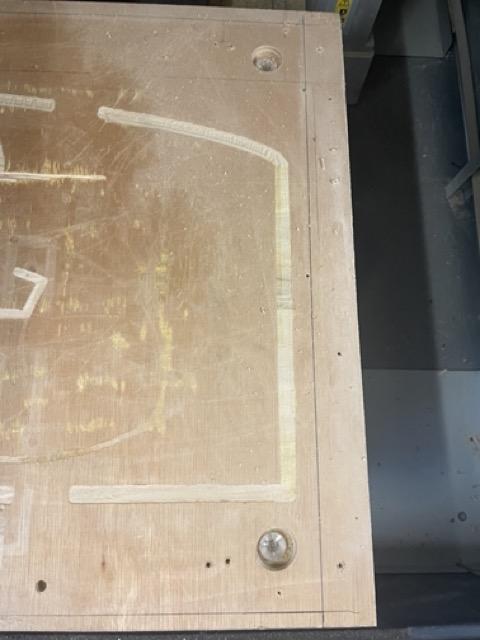
Preparing Your Material
Choose your desired material and cut this to size of the machine bed. Predrill 4 holes, one in each corner and then screw to the sheet of MDF ensuring it is flat. This will ensure that there is no movement when the machine is cutting.
Preparing the Tool
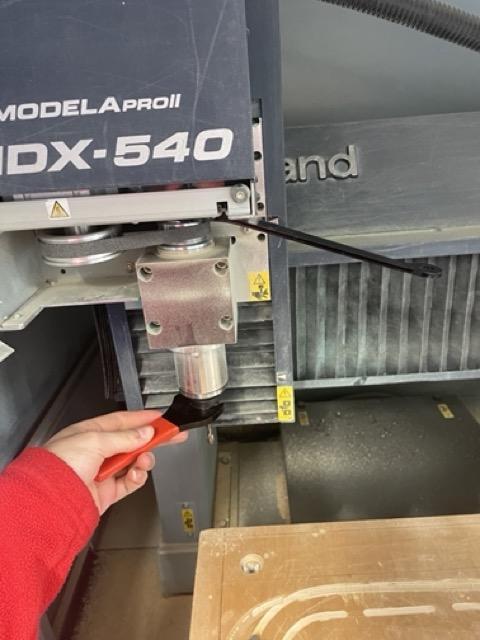

Open the spindle guard. Using two spanners, one at the top and one on the tool, push away fromneach other to losen and towards each other to tighten. If there is an existing bit in the spindle, take this out. Find the size drill bit that you desire and the … that it fits into. Place the collet into the chuck - it needs to go in on an angle and then it clicks in. Place the drill bit into the collet from the bottom. Screw the chuck back onto the spindle and tighten using the two spanners.
Setting Up XY Axis
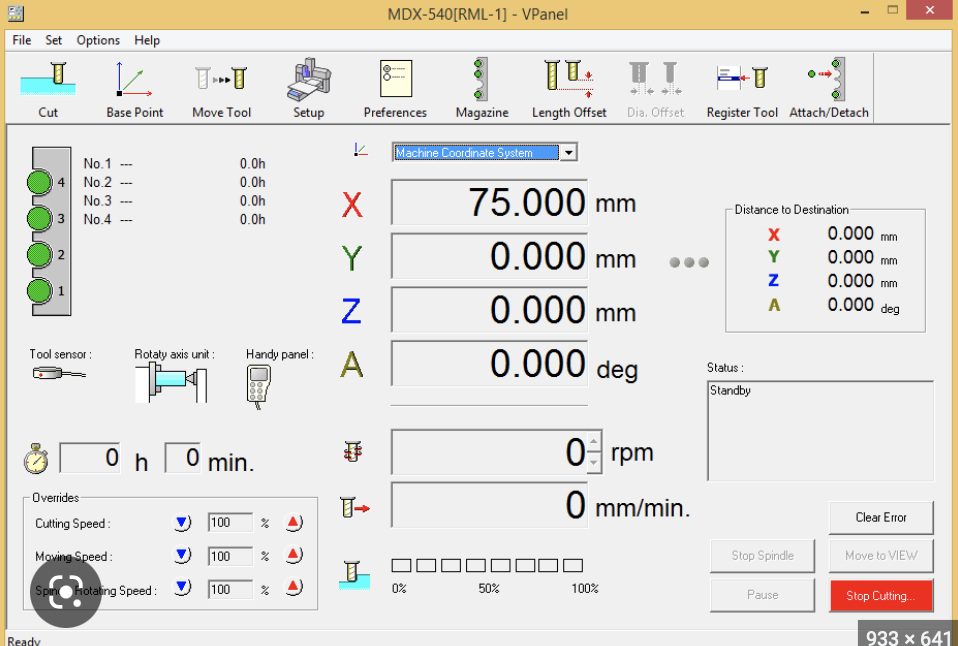

Firstly, switch the machine on. Then, open up the Vpanel software on the computer ensure it is set to G54 and nc code. In the base tool tab, select the drop down tab and choose the “XY axis (home)”. Using the X and Y arrows, set the tool to where it needs to be. Once you are happy with this, click apply. You can check that this is right by opening the move tool tab, select XY axis in the drop down tab and clicking move.
Setting Up the Z Axis
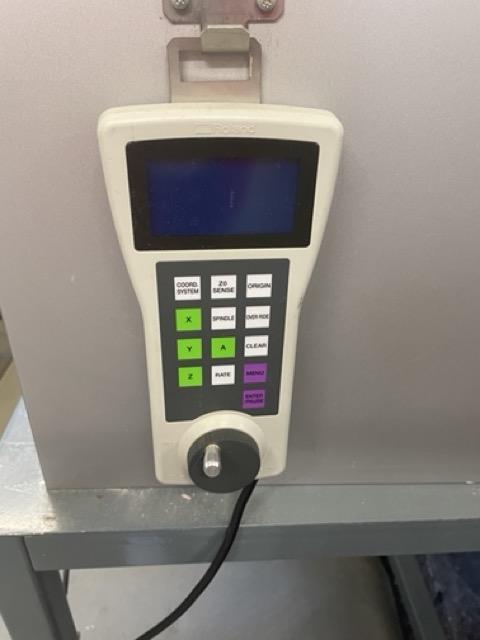
To set up the Z axis, move the tool to the middle of your material using the XY arrows (do not click apply). Once the tool is in the middle of your material, click the drop down tab and select “Z Axis”. Change the speed to slow and use the Z axis arrows the move the tool up or down. Move the tool close to the material and place a piece of paper under the tool. Keep moving the tool down slightly until the paper has some tension but can still move. Take the paper away and press apply on the computer. Again, this can be checked by going onto the move tool tab, selecting the Z axis and clicking move.
Final Step
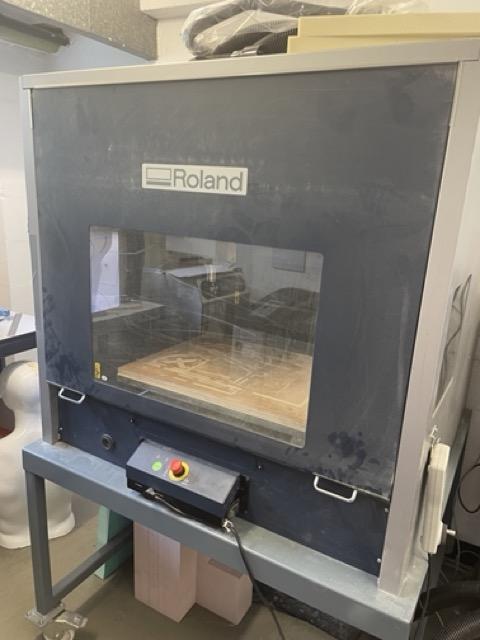

Close the door of the machine. Open up your nc code and click cut and then enter on the machine. The machine will then start cutting your material.