How to Set GPS Up
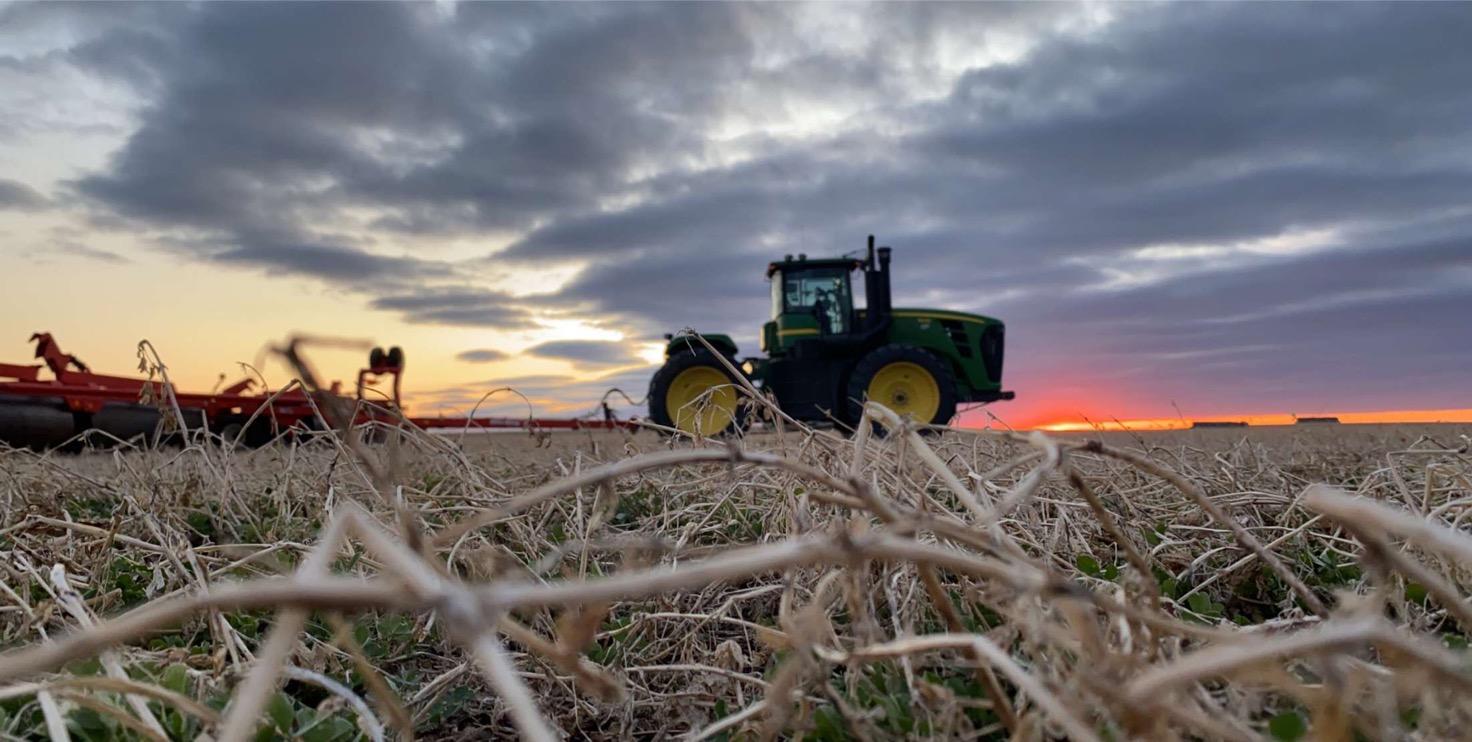
Hi, my name is Corey Resel. Every spring I set Global Positioning Systems (GPS) up for our operation. The GPS helps farmers have a successful planting and harvest. In fourteen easy steps, I am going to show how to set up a system. With the use of the GPS your spring planting will have better outcomes and the stress can be taken off the operator so he can focus more on the productivity of the planter and not so much on the driving.
Supplies
John Deere Star Fire 3000 monitor
John Deere tractor capable of green star
Main Menu
In order to successfully set up a GPS there are fourteen easy steps to follow. The first thing that is required to do is hit the main menu tab.
GS3
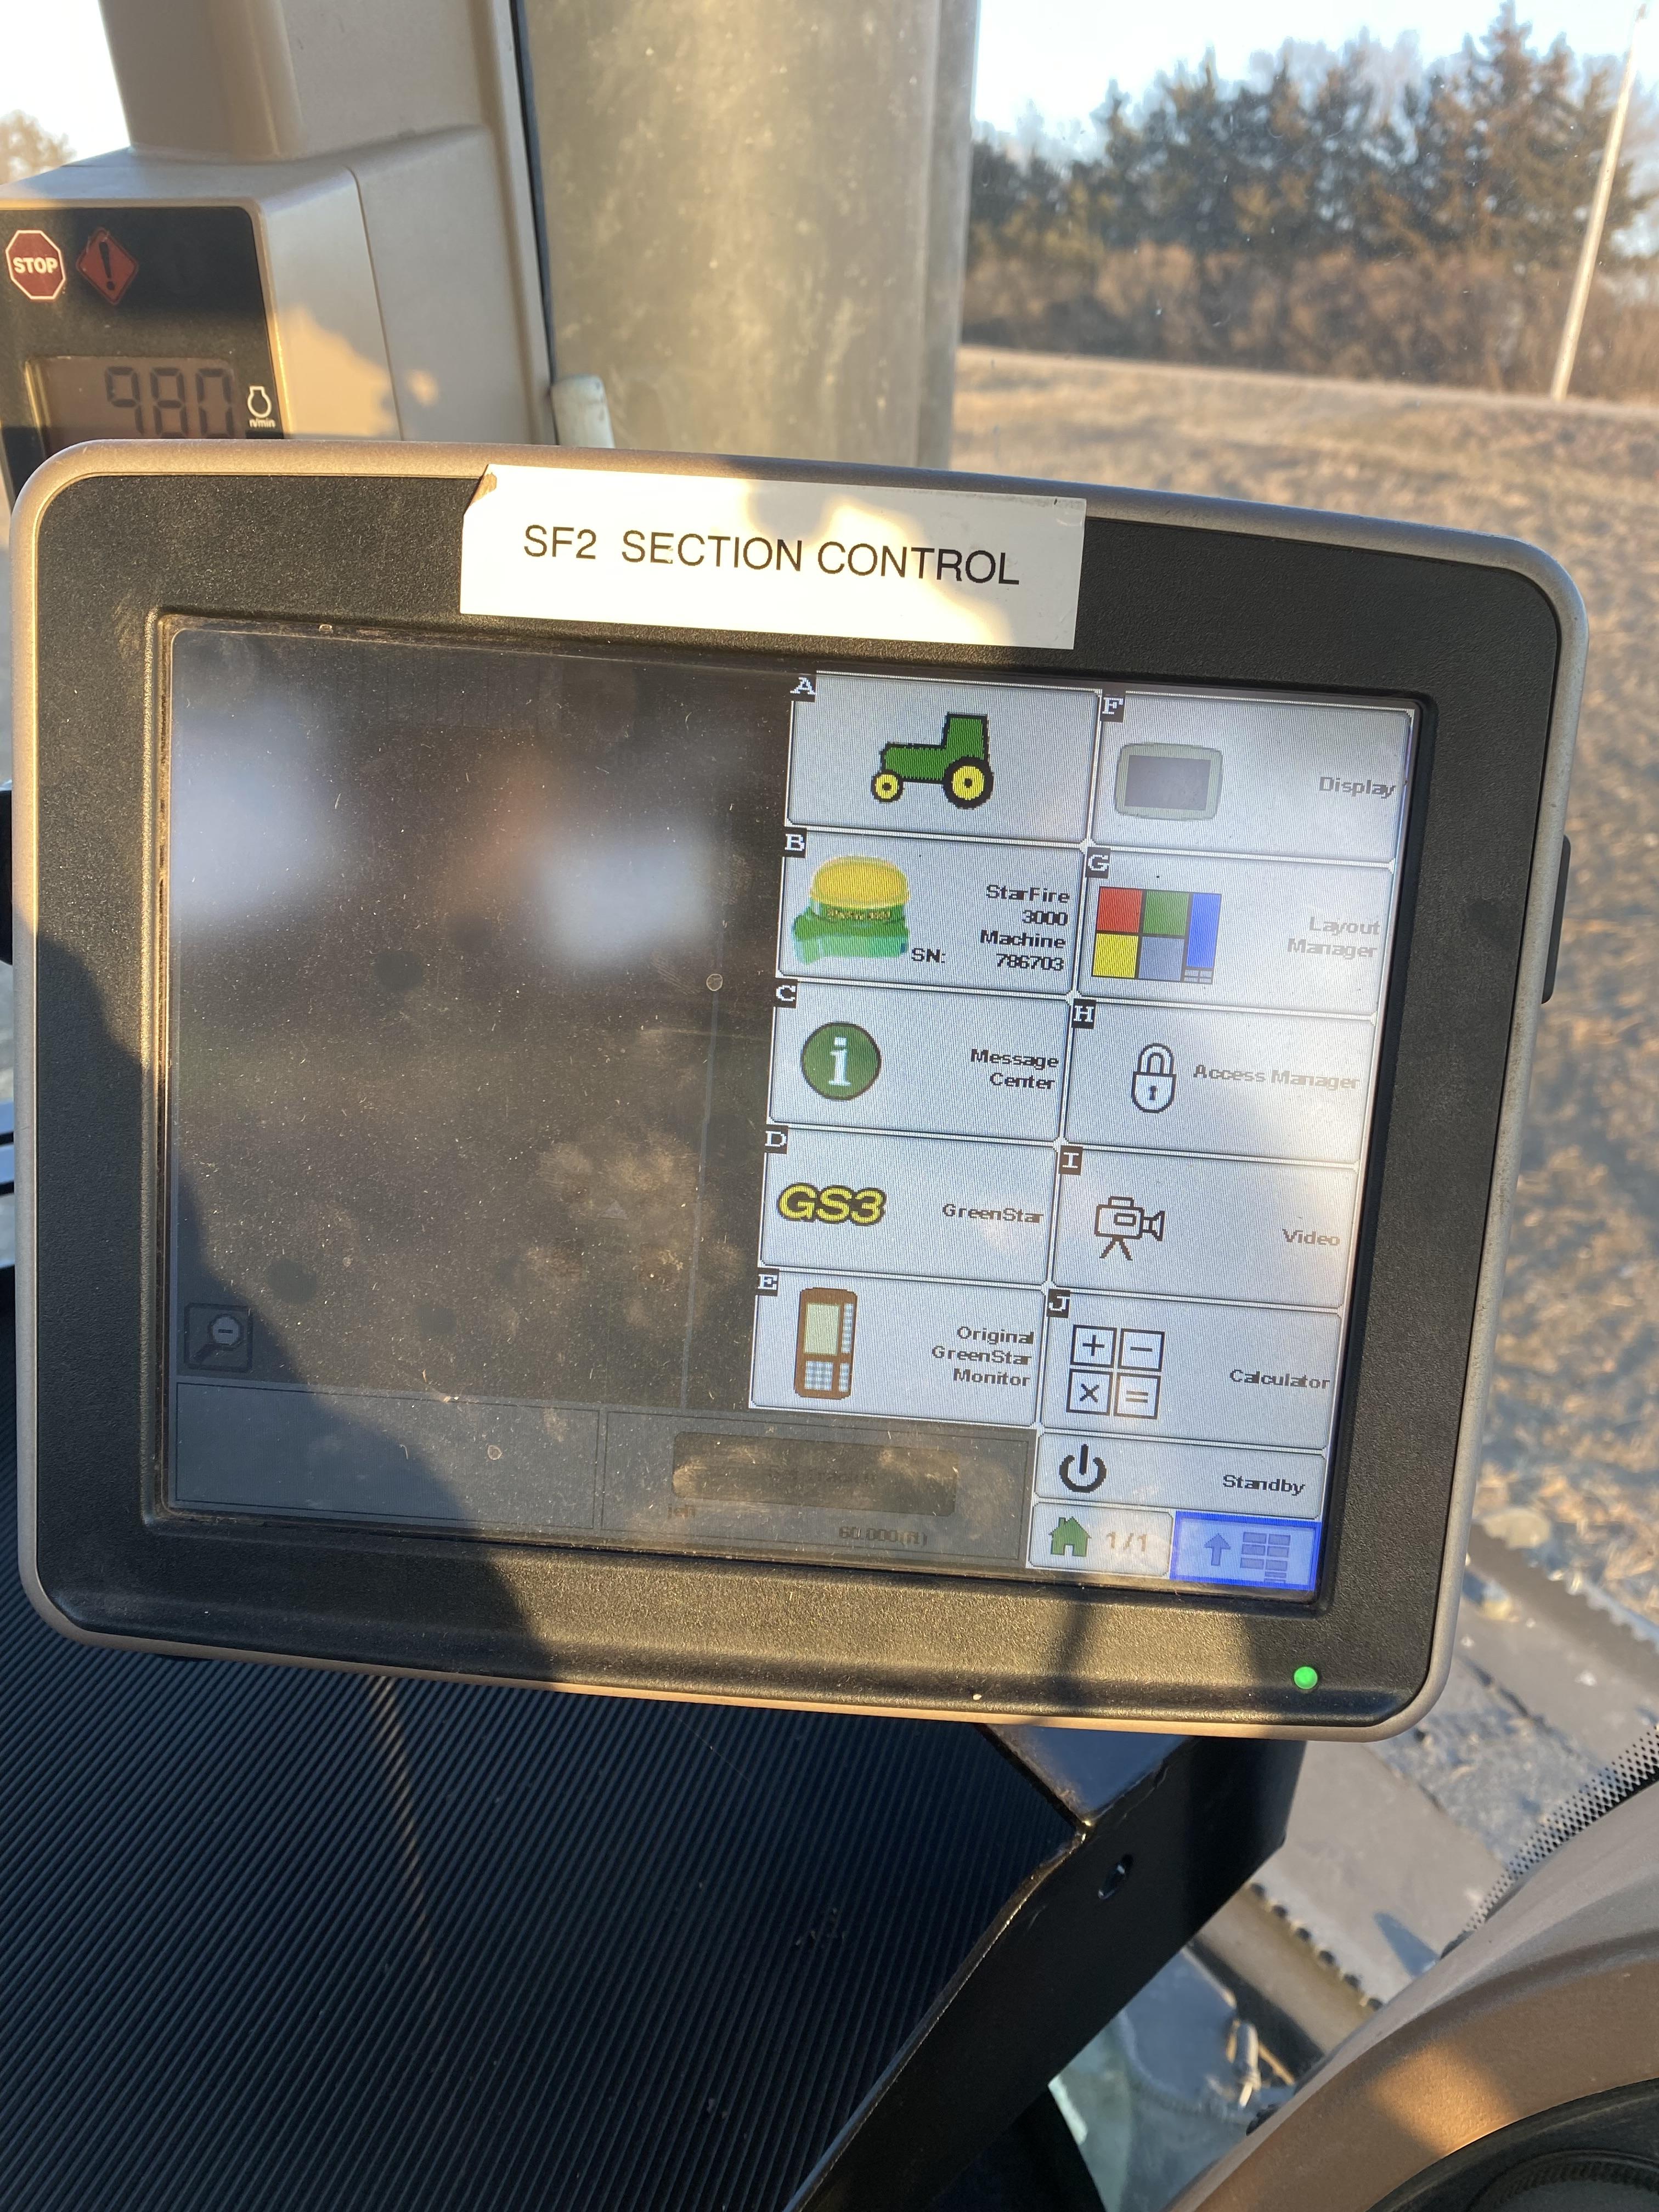
That is going to open a new page with multiple different screen options on the right side. Next hit the GS3 tab next.
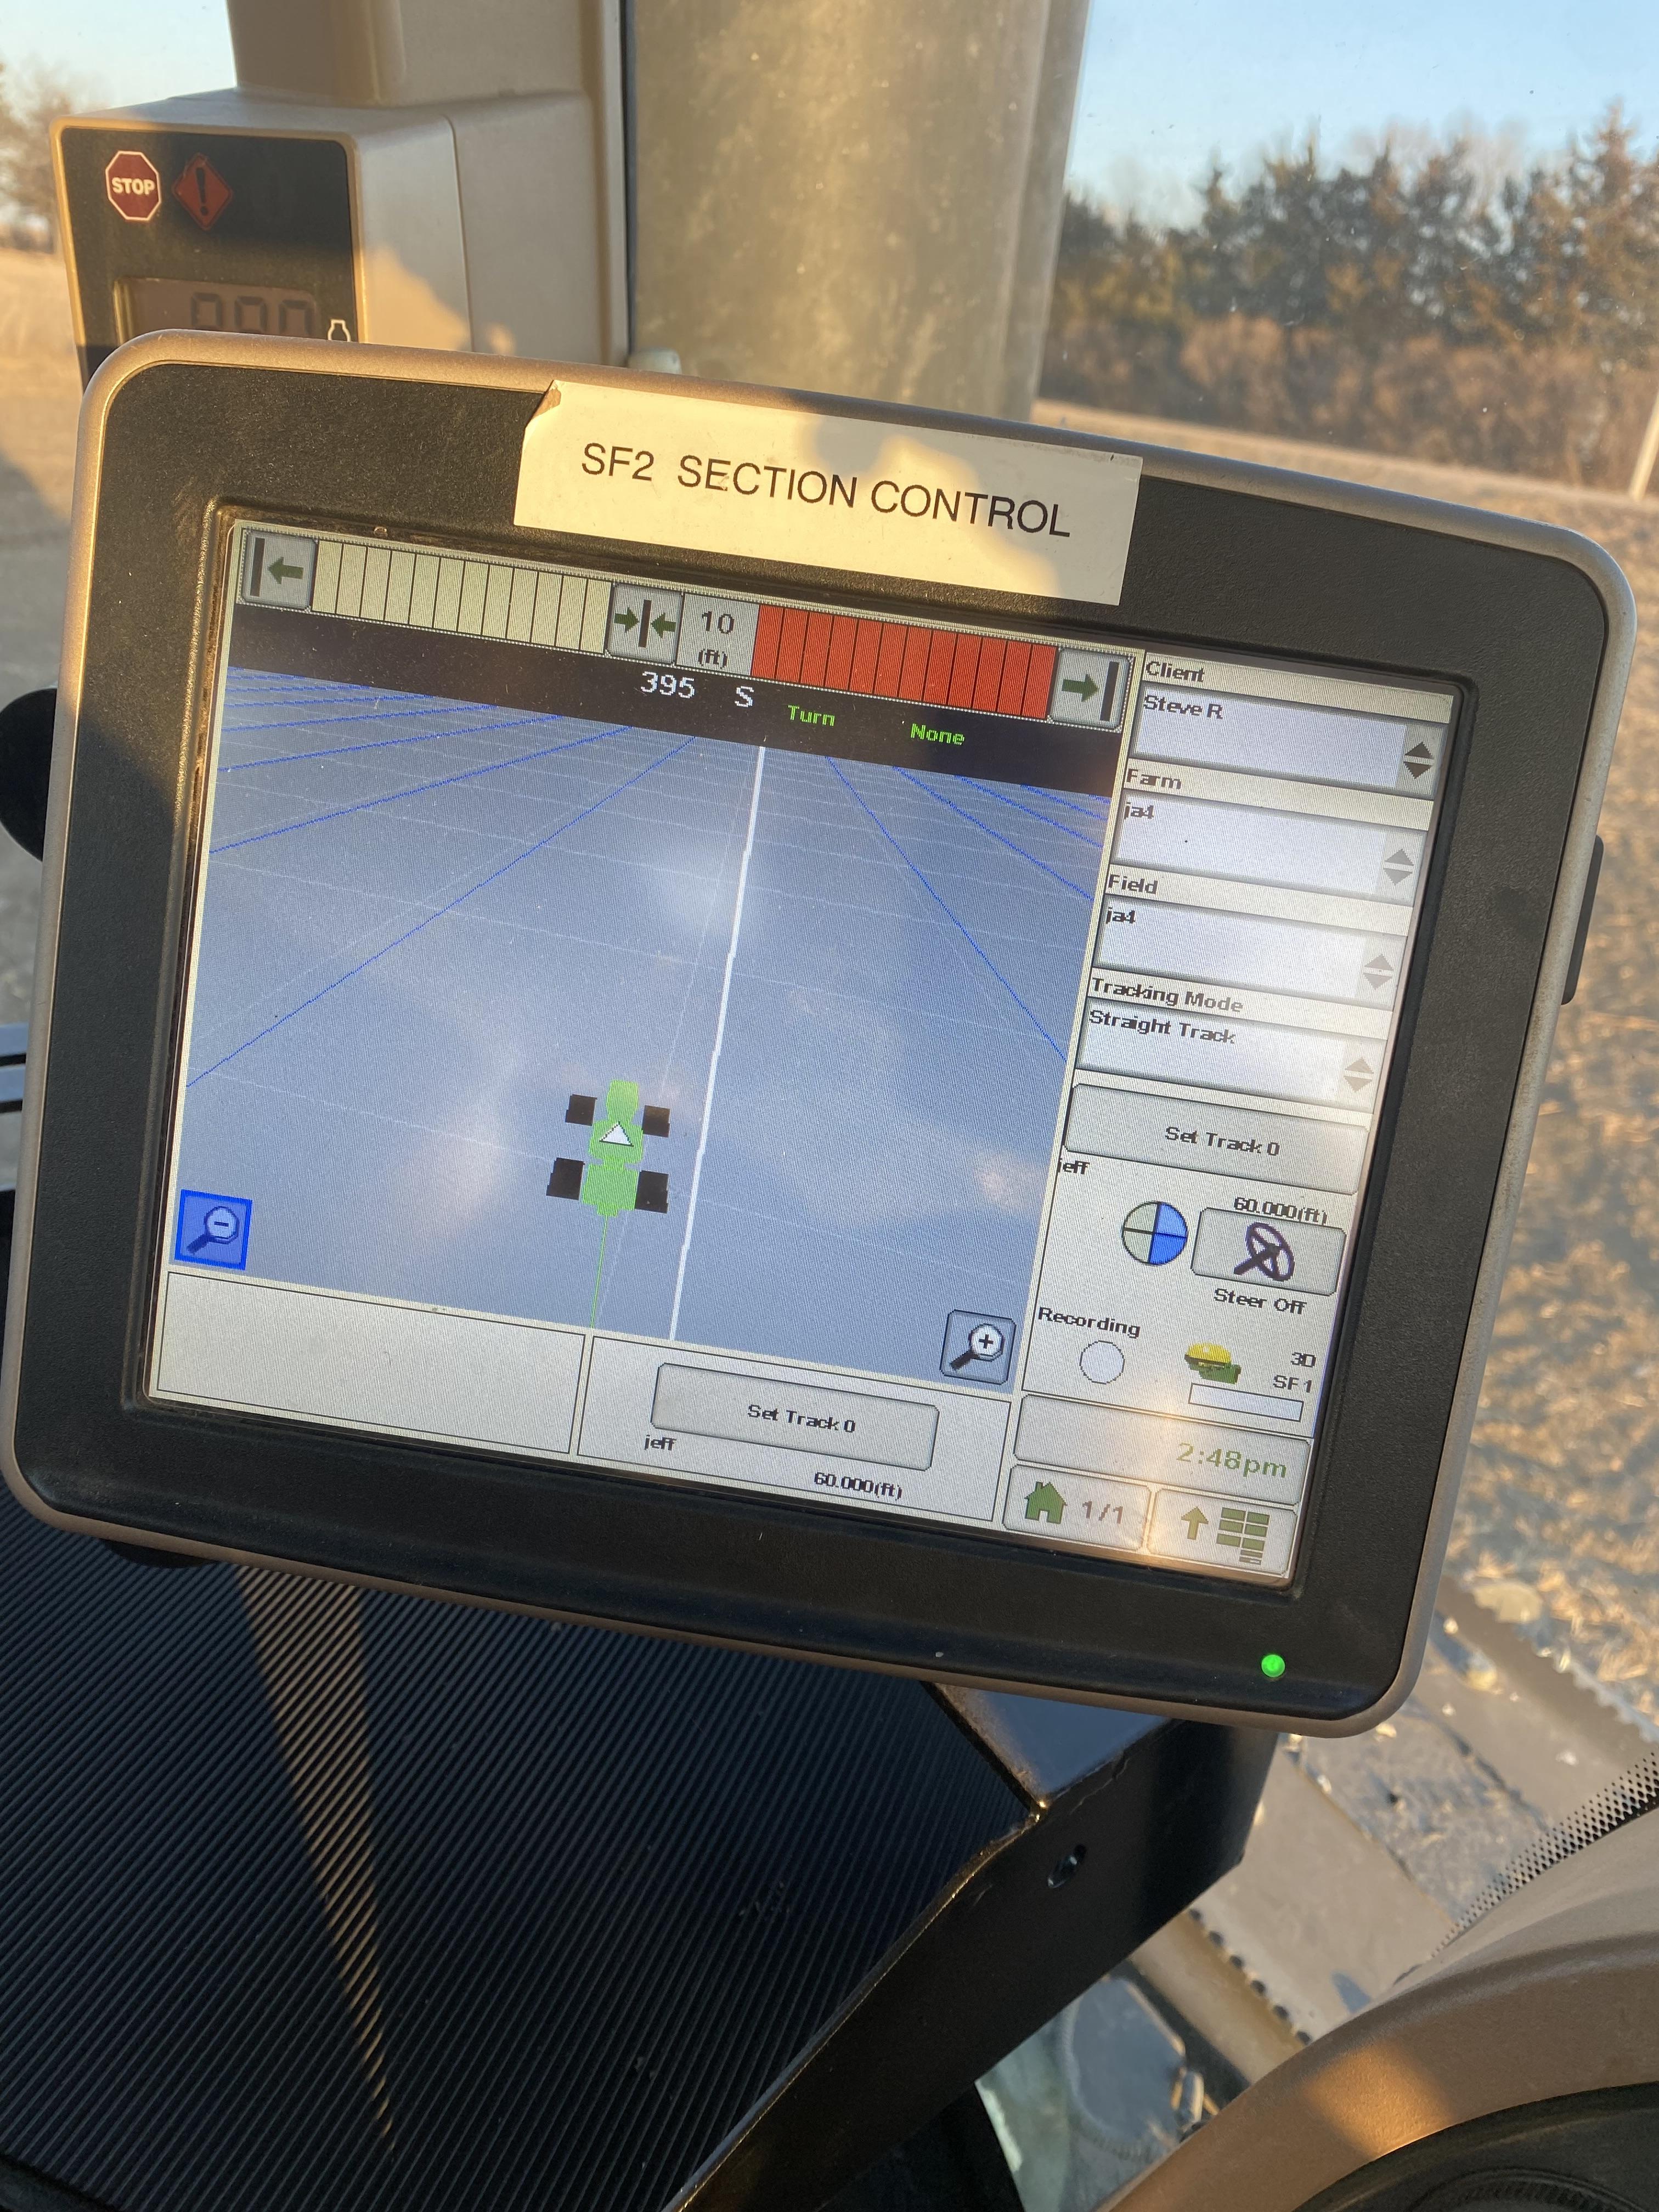
Guidance System
After you have hit that tab go to the guidance setting.
Guidance System
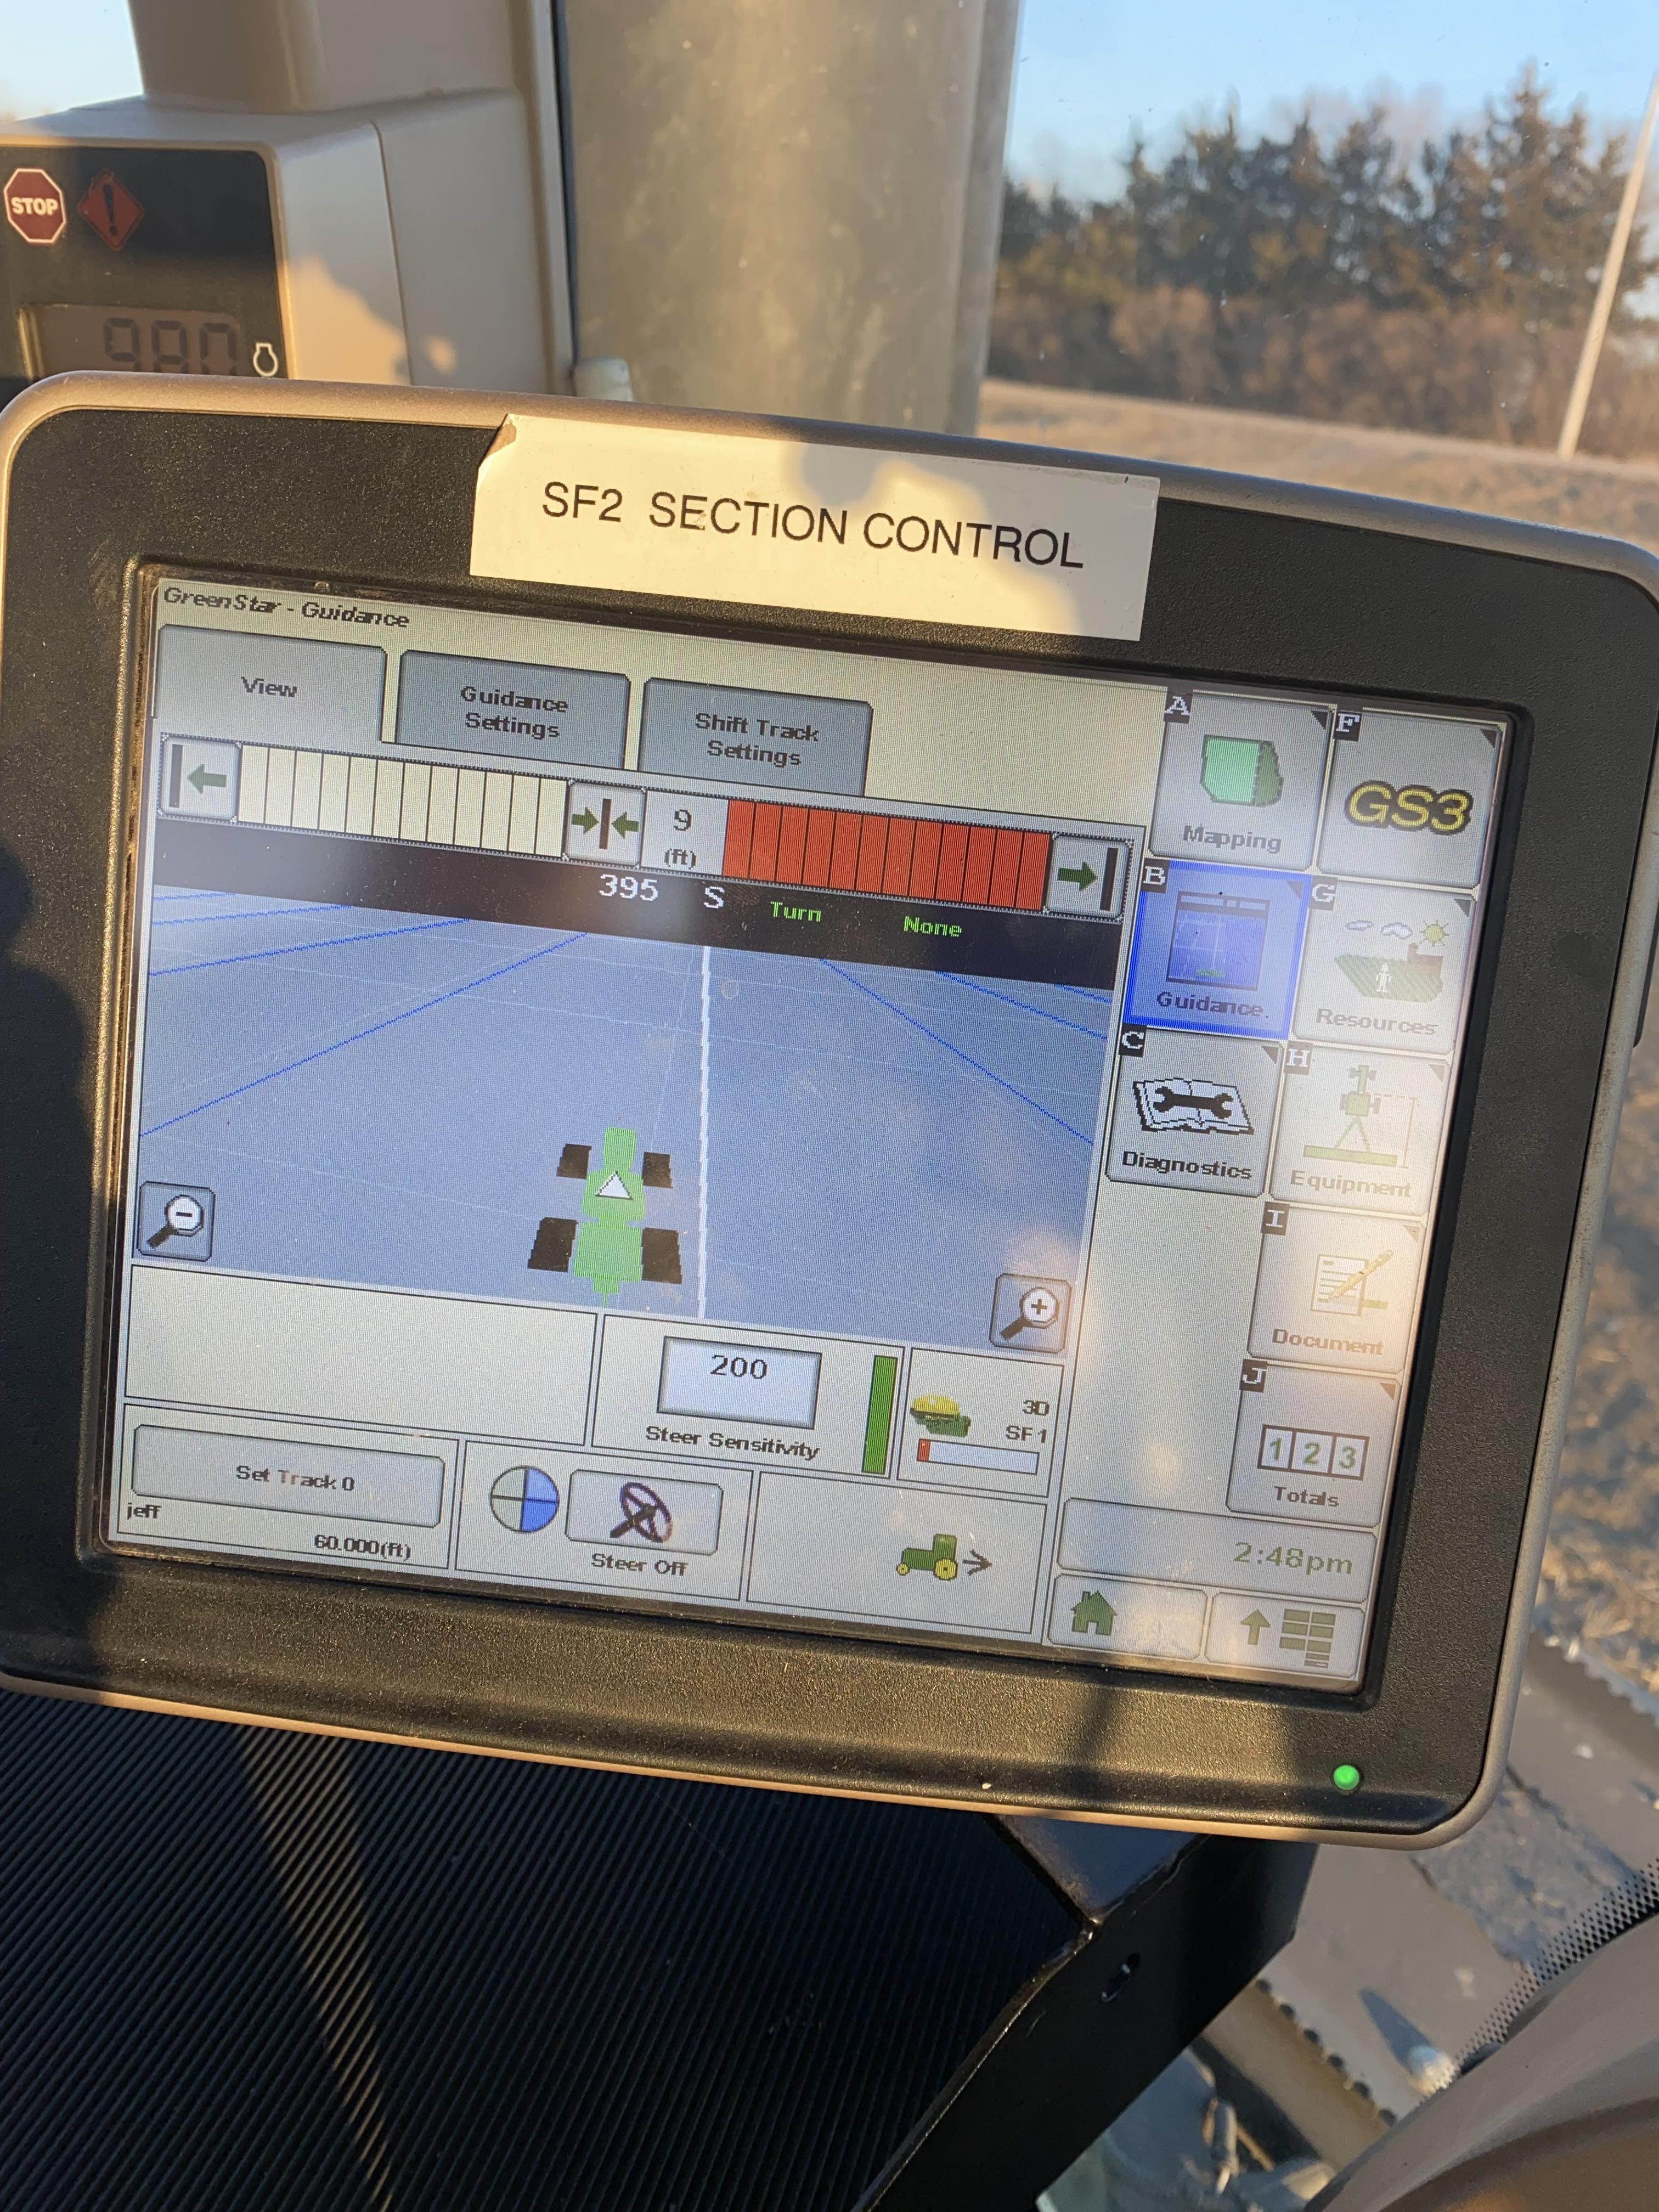
Once you have reached the guidance setting you will have a list of options on what kind of tracking you want to use, for going straight down and back in the field you are going to want to use straight track. After selecting the straight track you want to select the small box on the left to small shifts what way when you shift to the side it is only a few inches, that makes it more accurate when you are getting started to move through the field.
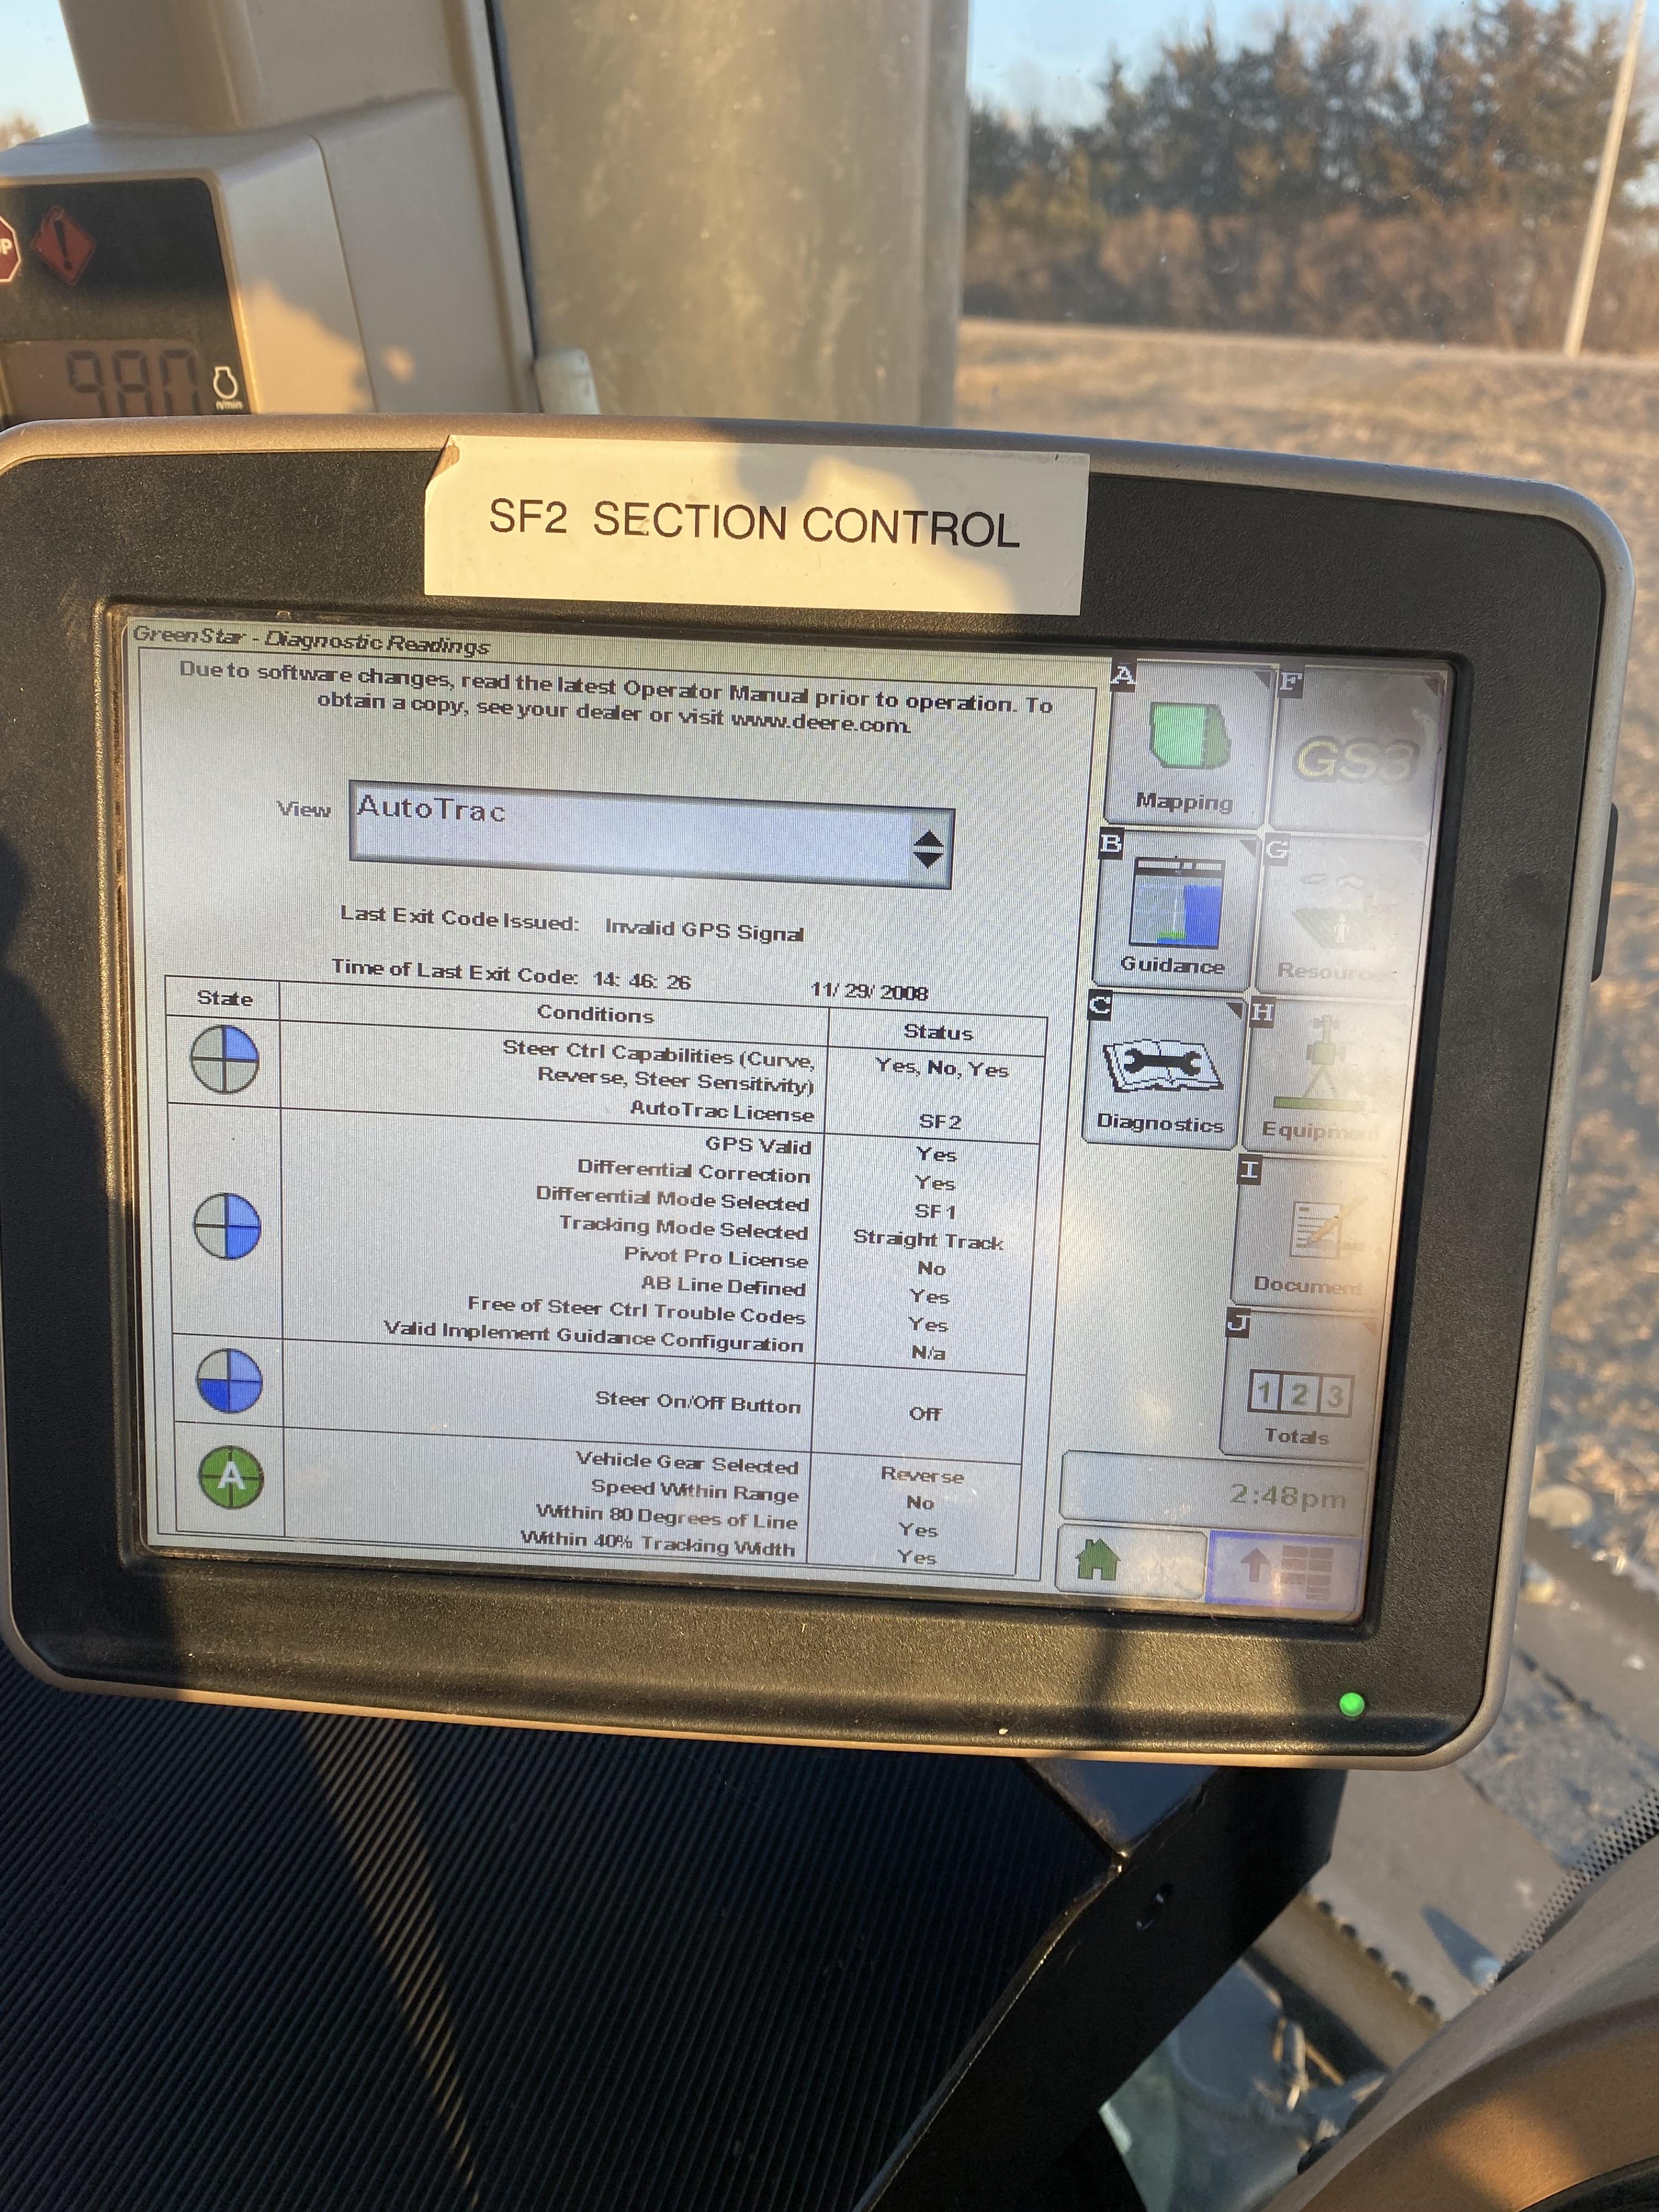
Set Track Zero
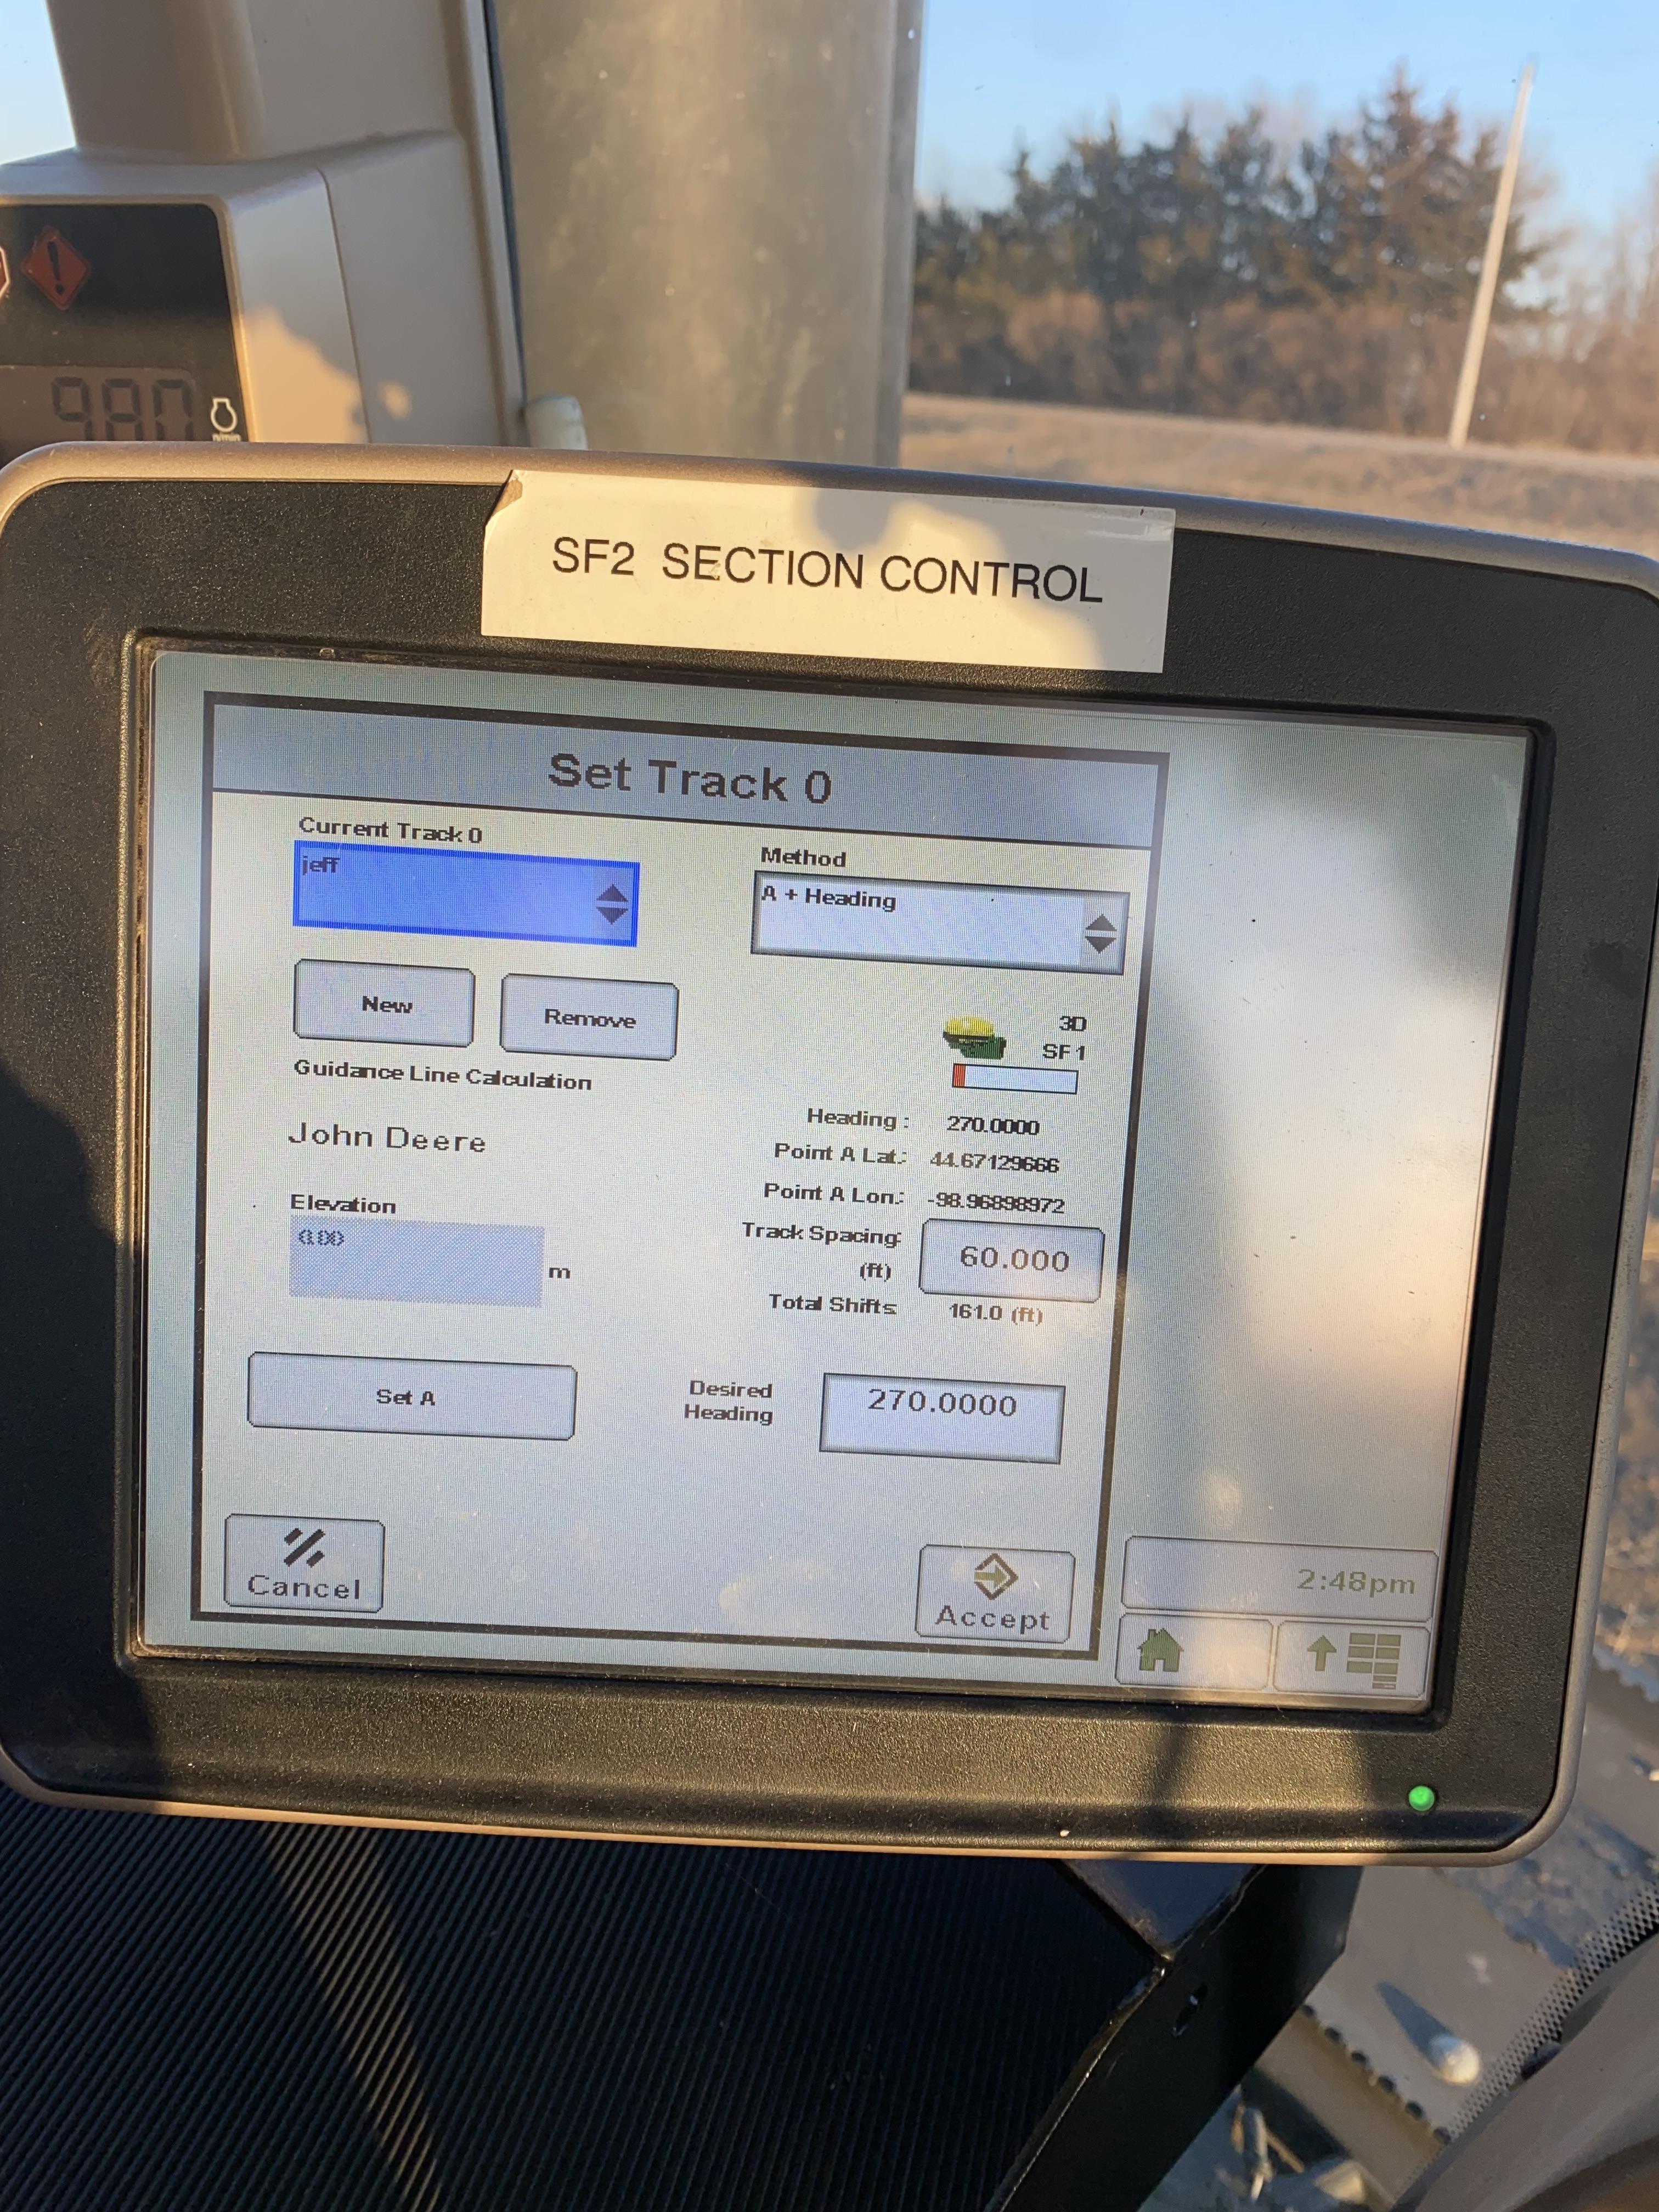
Now that we have decided what type of tracking we want to use the next step is setting the A/B line. This line is what the tractor will follow through the field.
A+ Heading
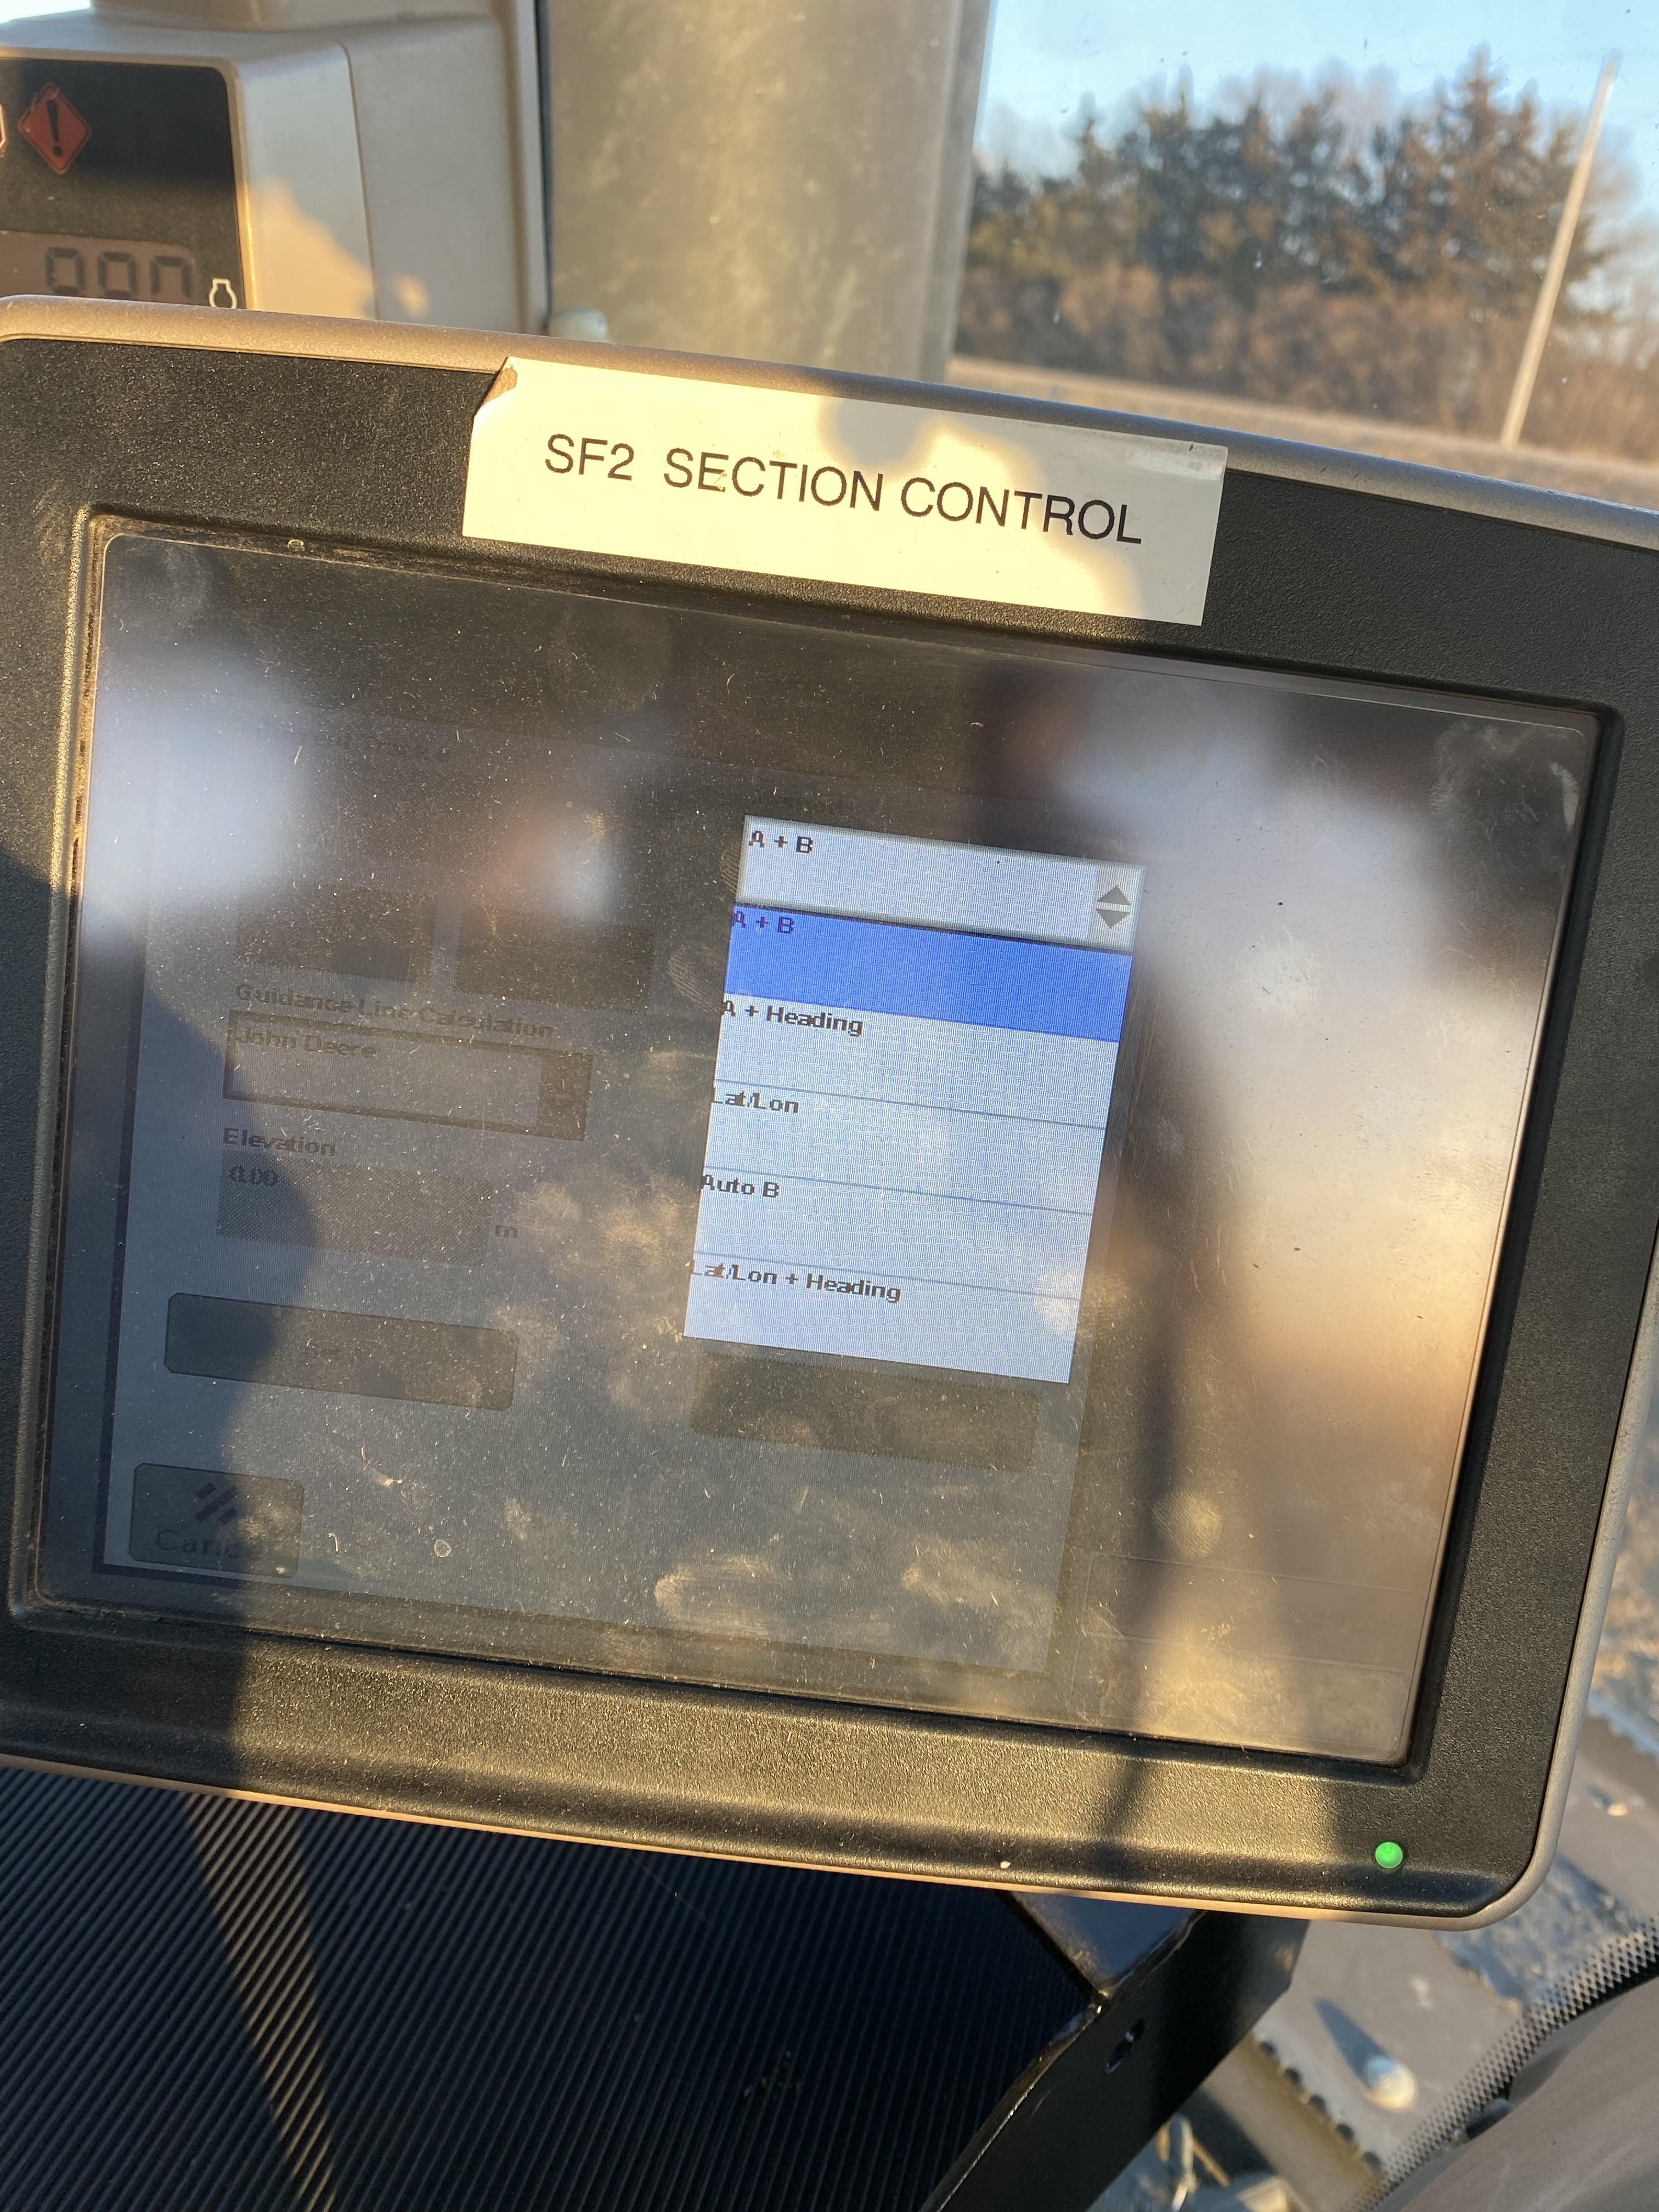
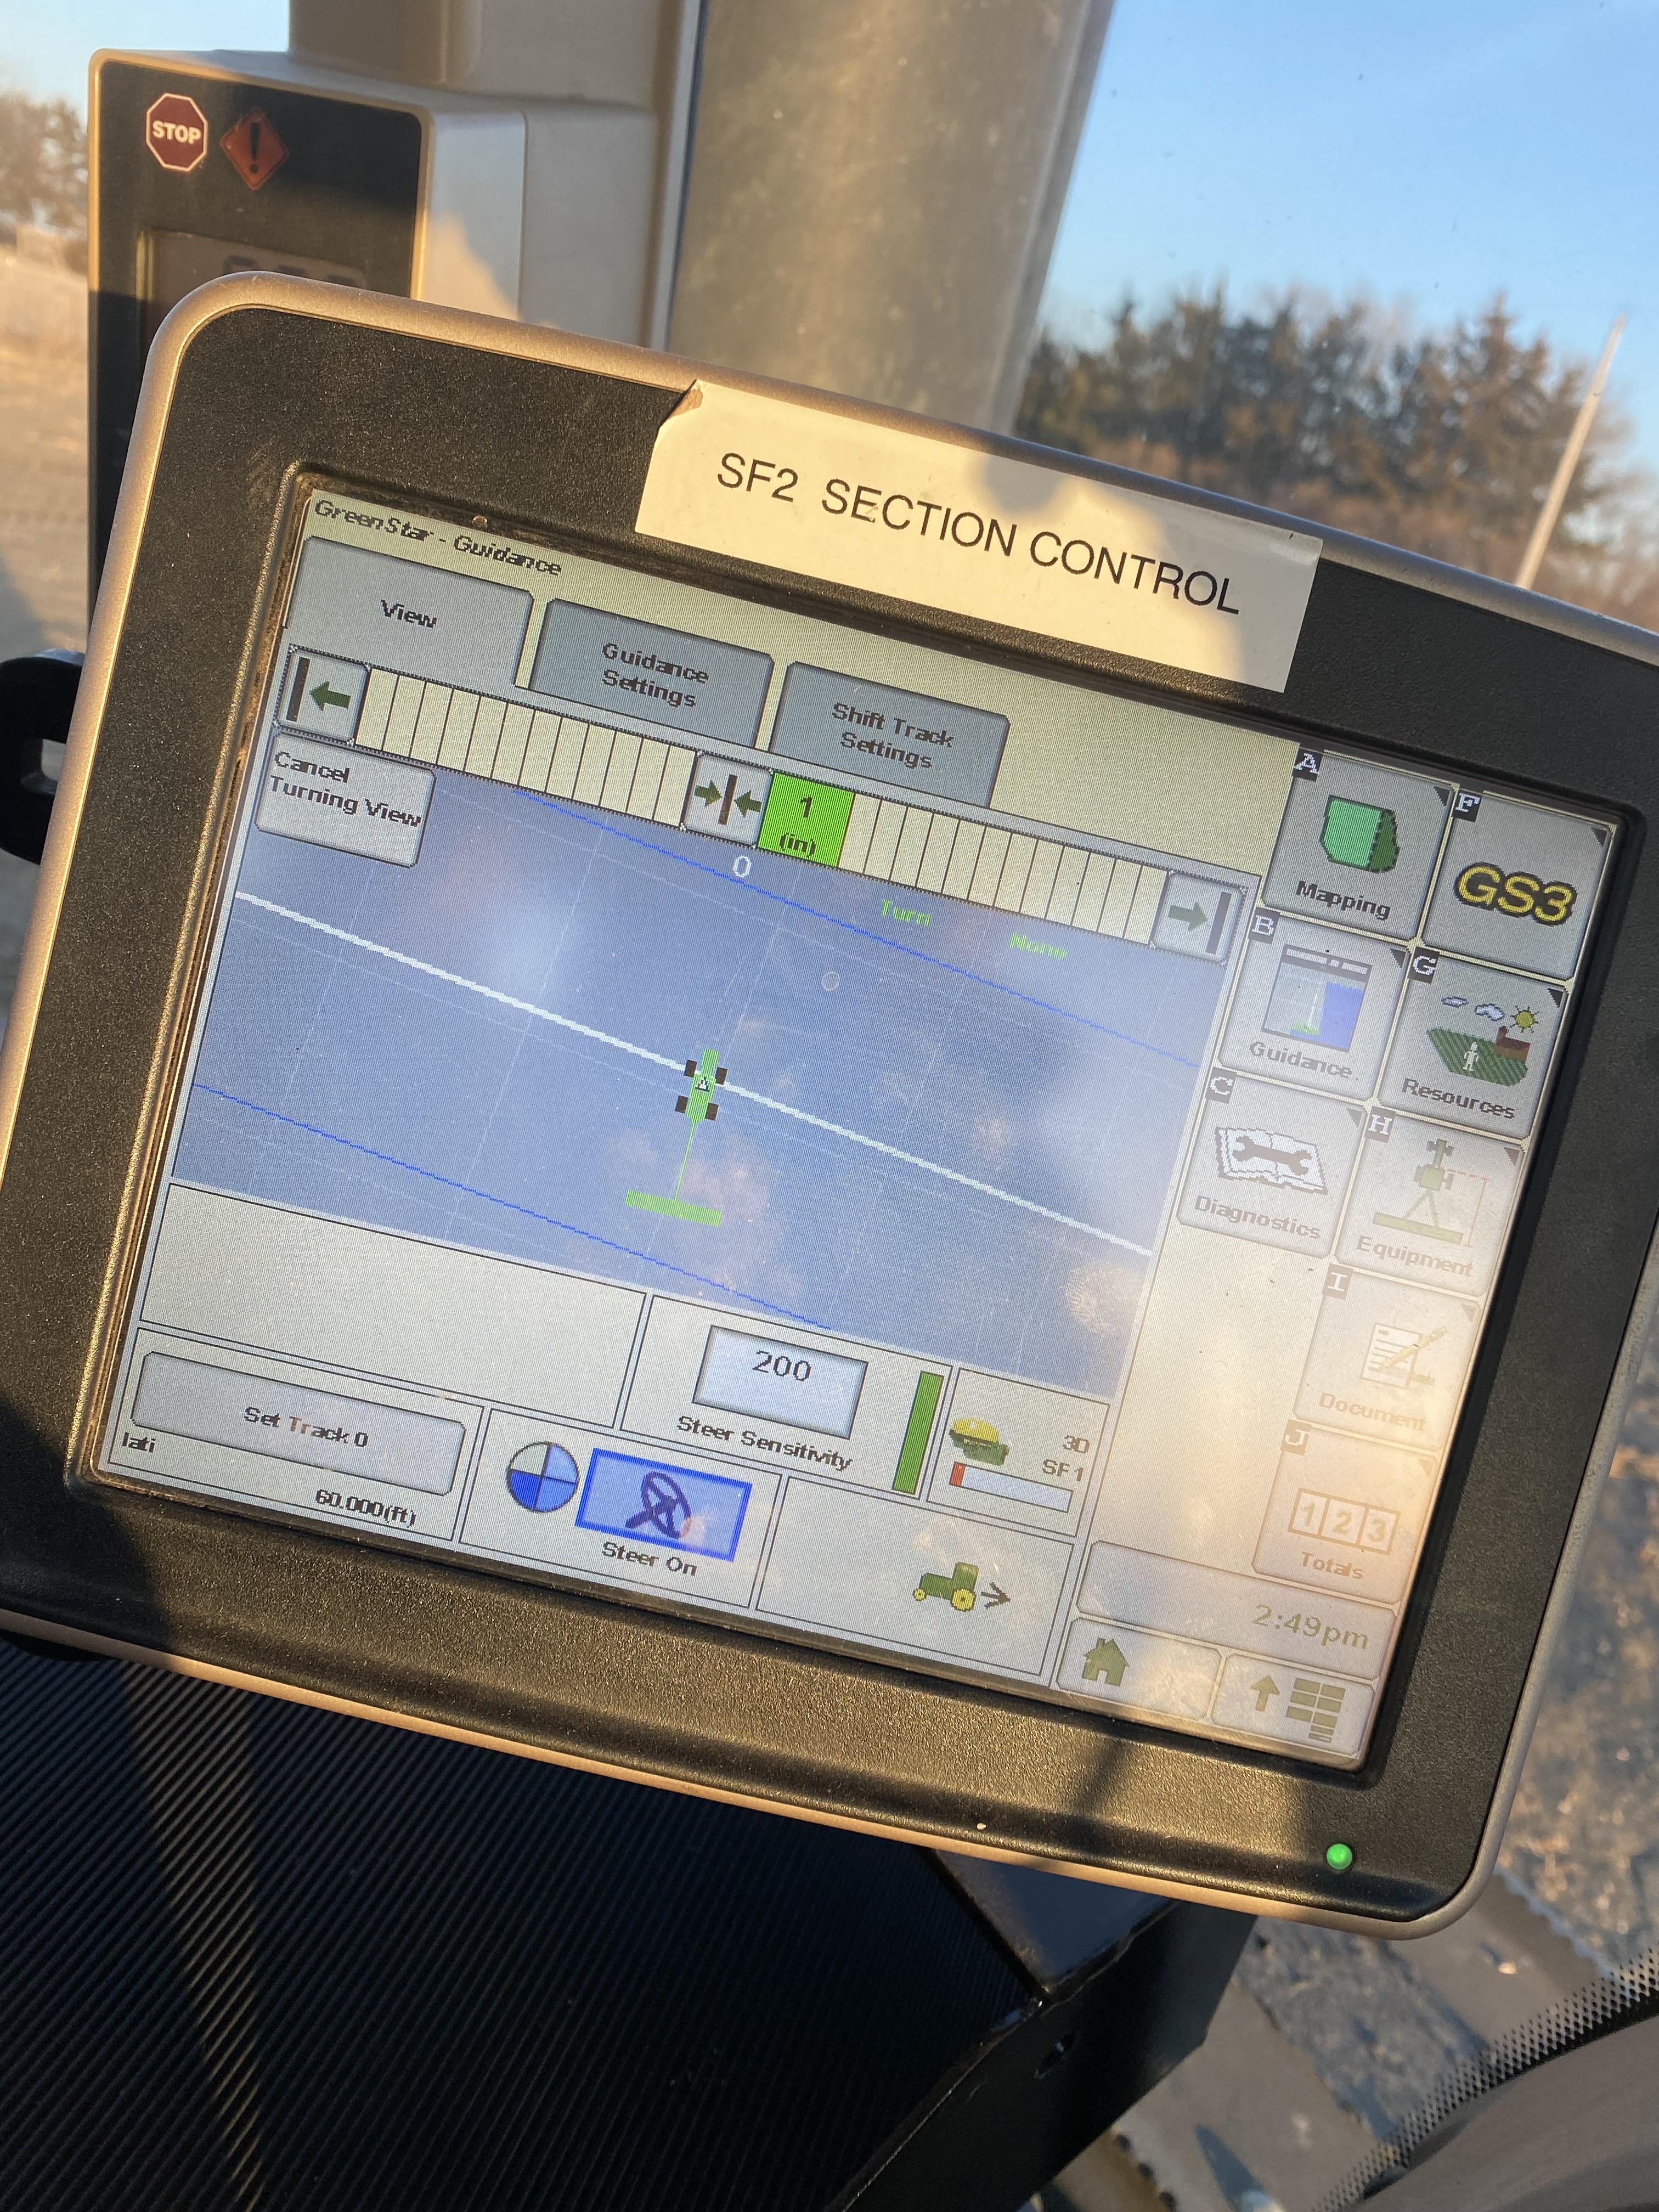
When selecting this there are going to be three options to chose from, the option we want to use is A+ Heading. This allows us to put a degree of travel in. Choosing the degree of travel makes planting and harvesting more accurate.
Set A
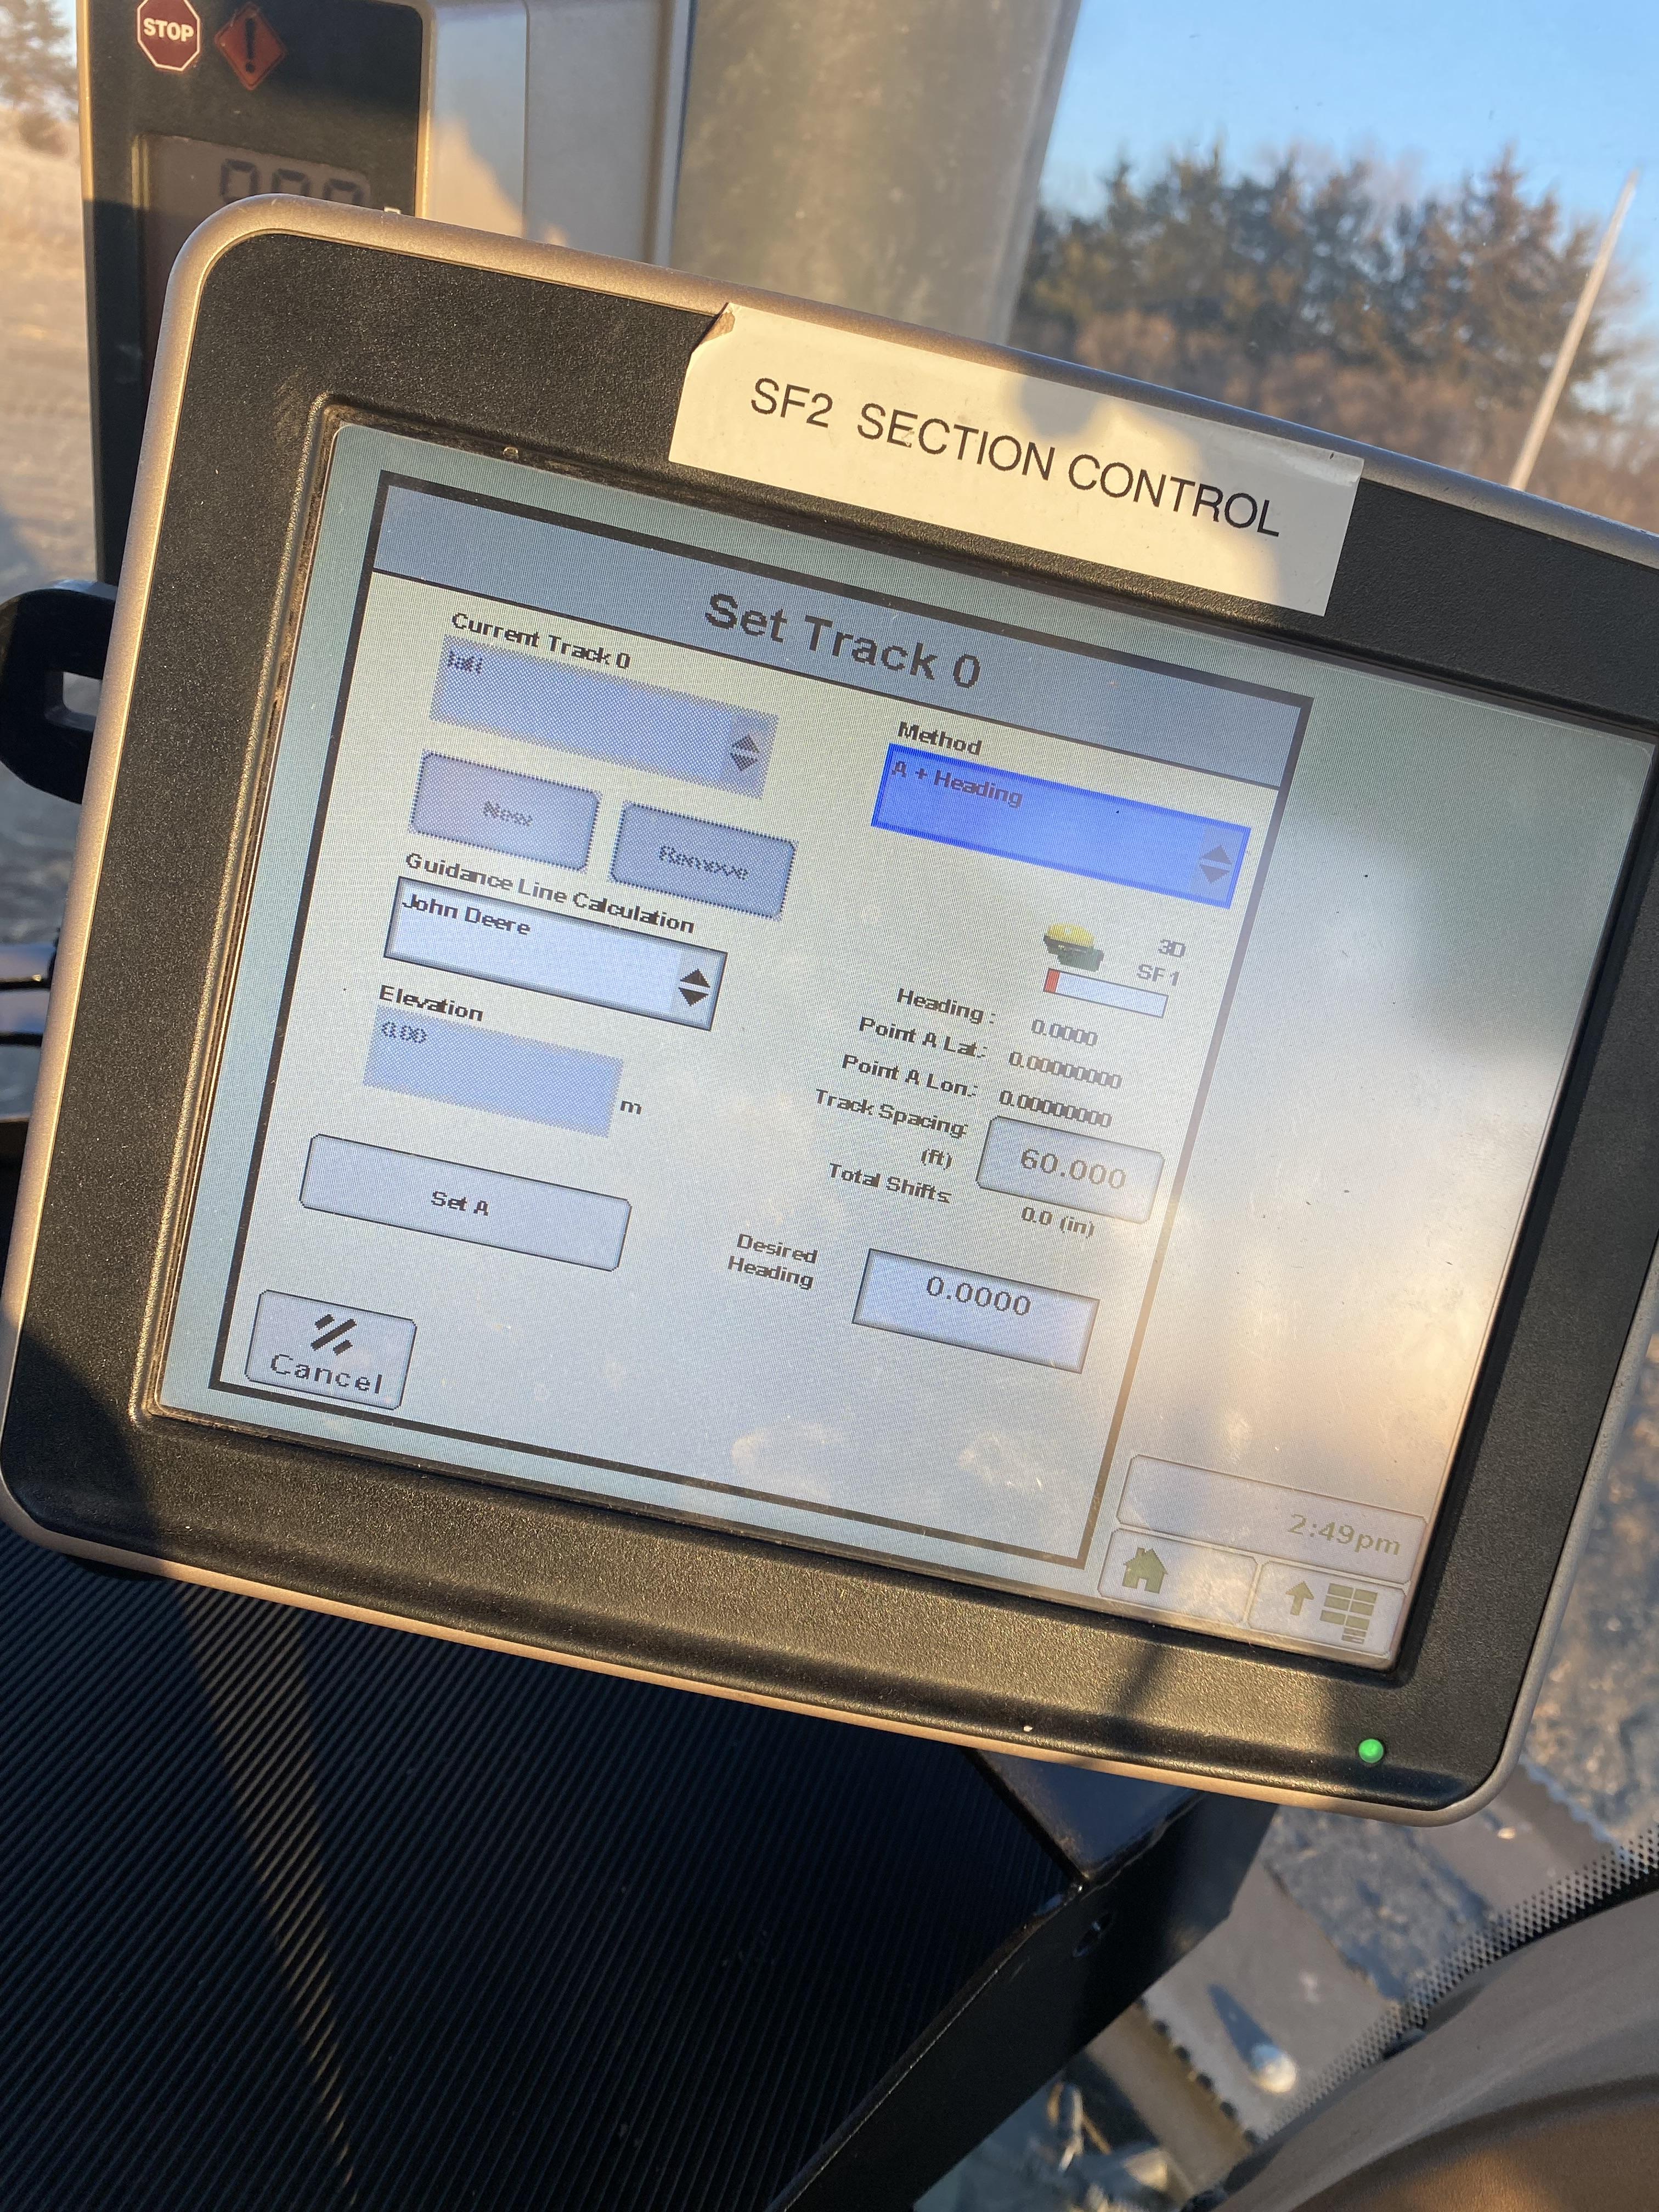
Once you have selected your degree of travel position your equipment in the field like you are about to take off. When you are in position select the large letter A.
Turn Steering On
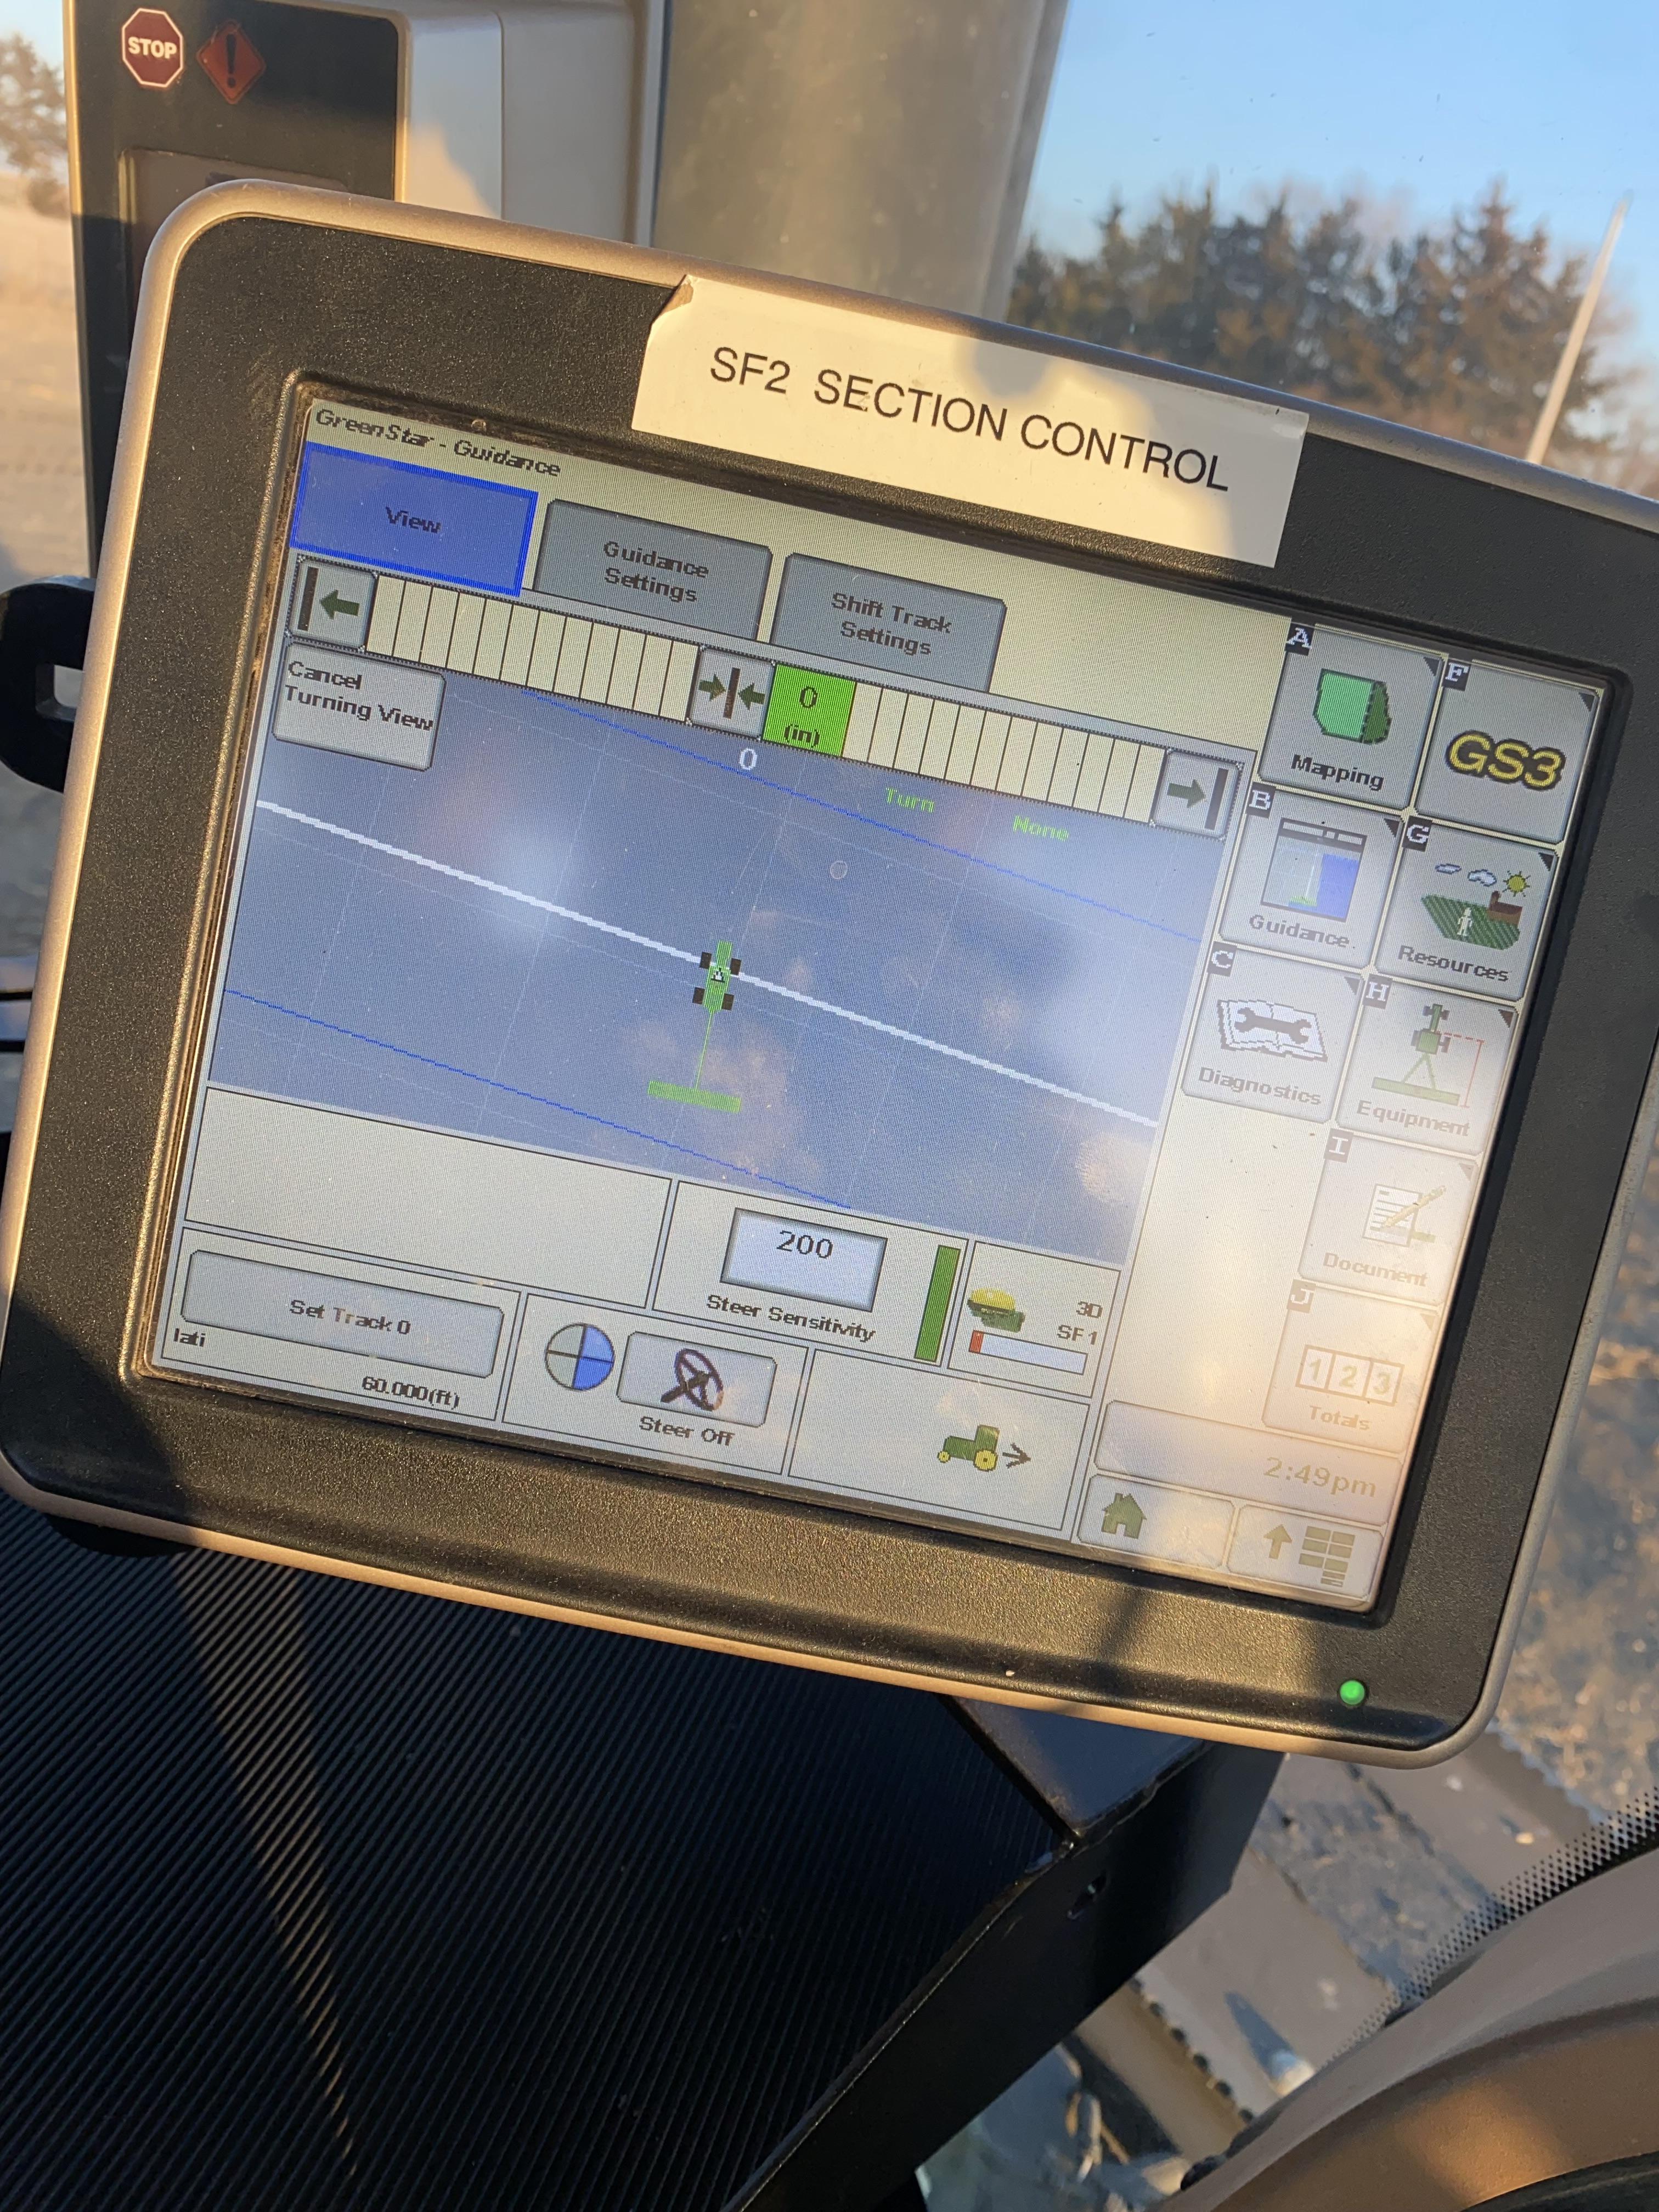
Finally, after all the programing is done, hit your main menu button and get into the main screen. Hit steer on.
Position Tractor
Face tractor in the direction that you want to complete task.
Mapping
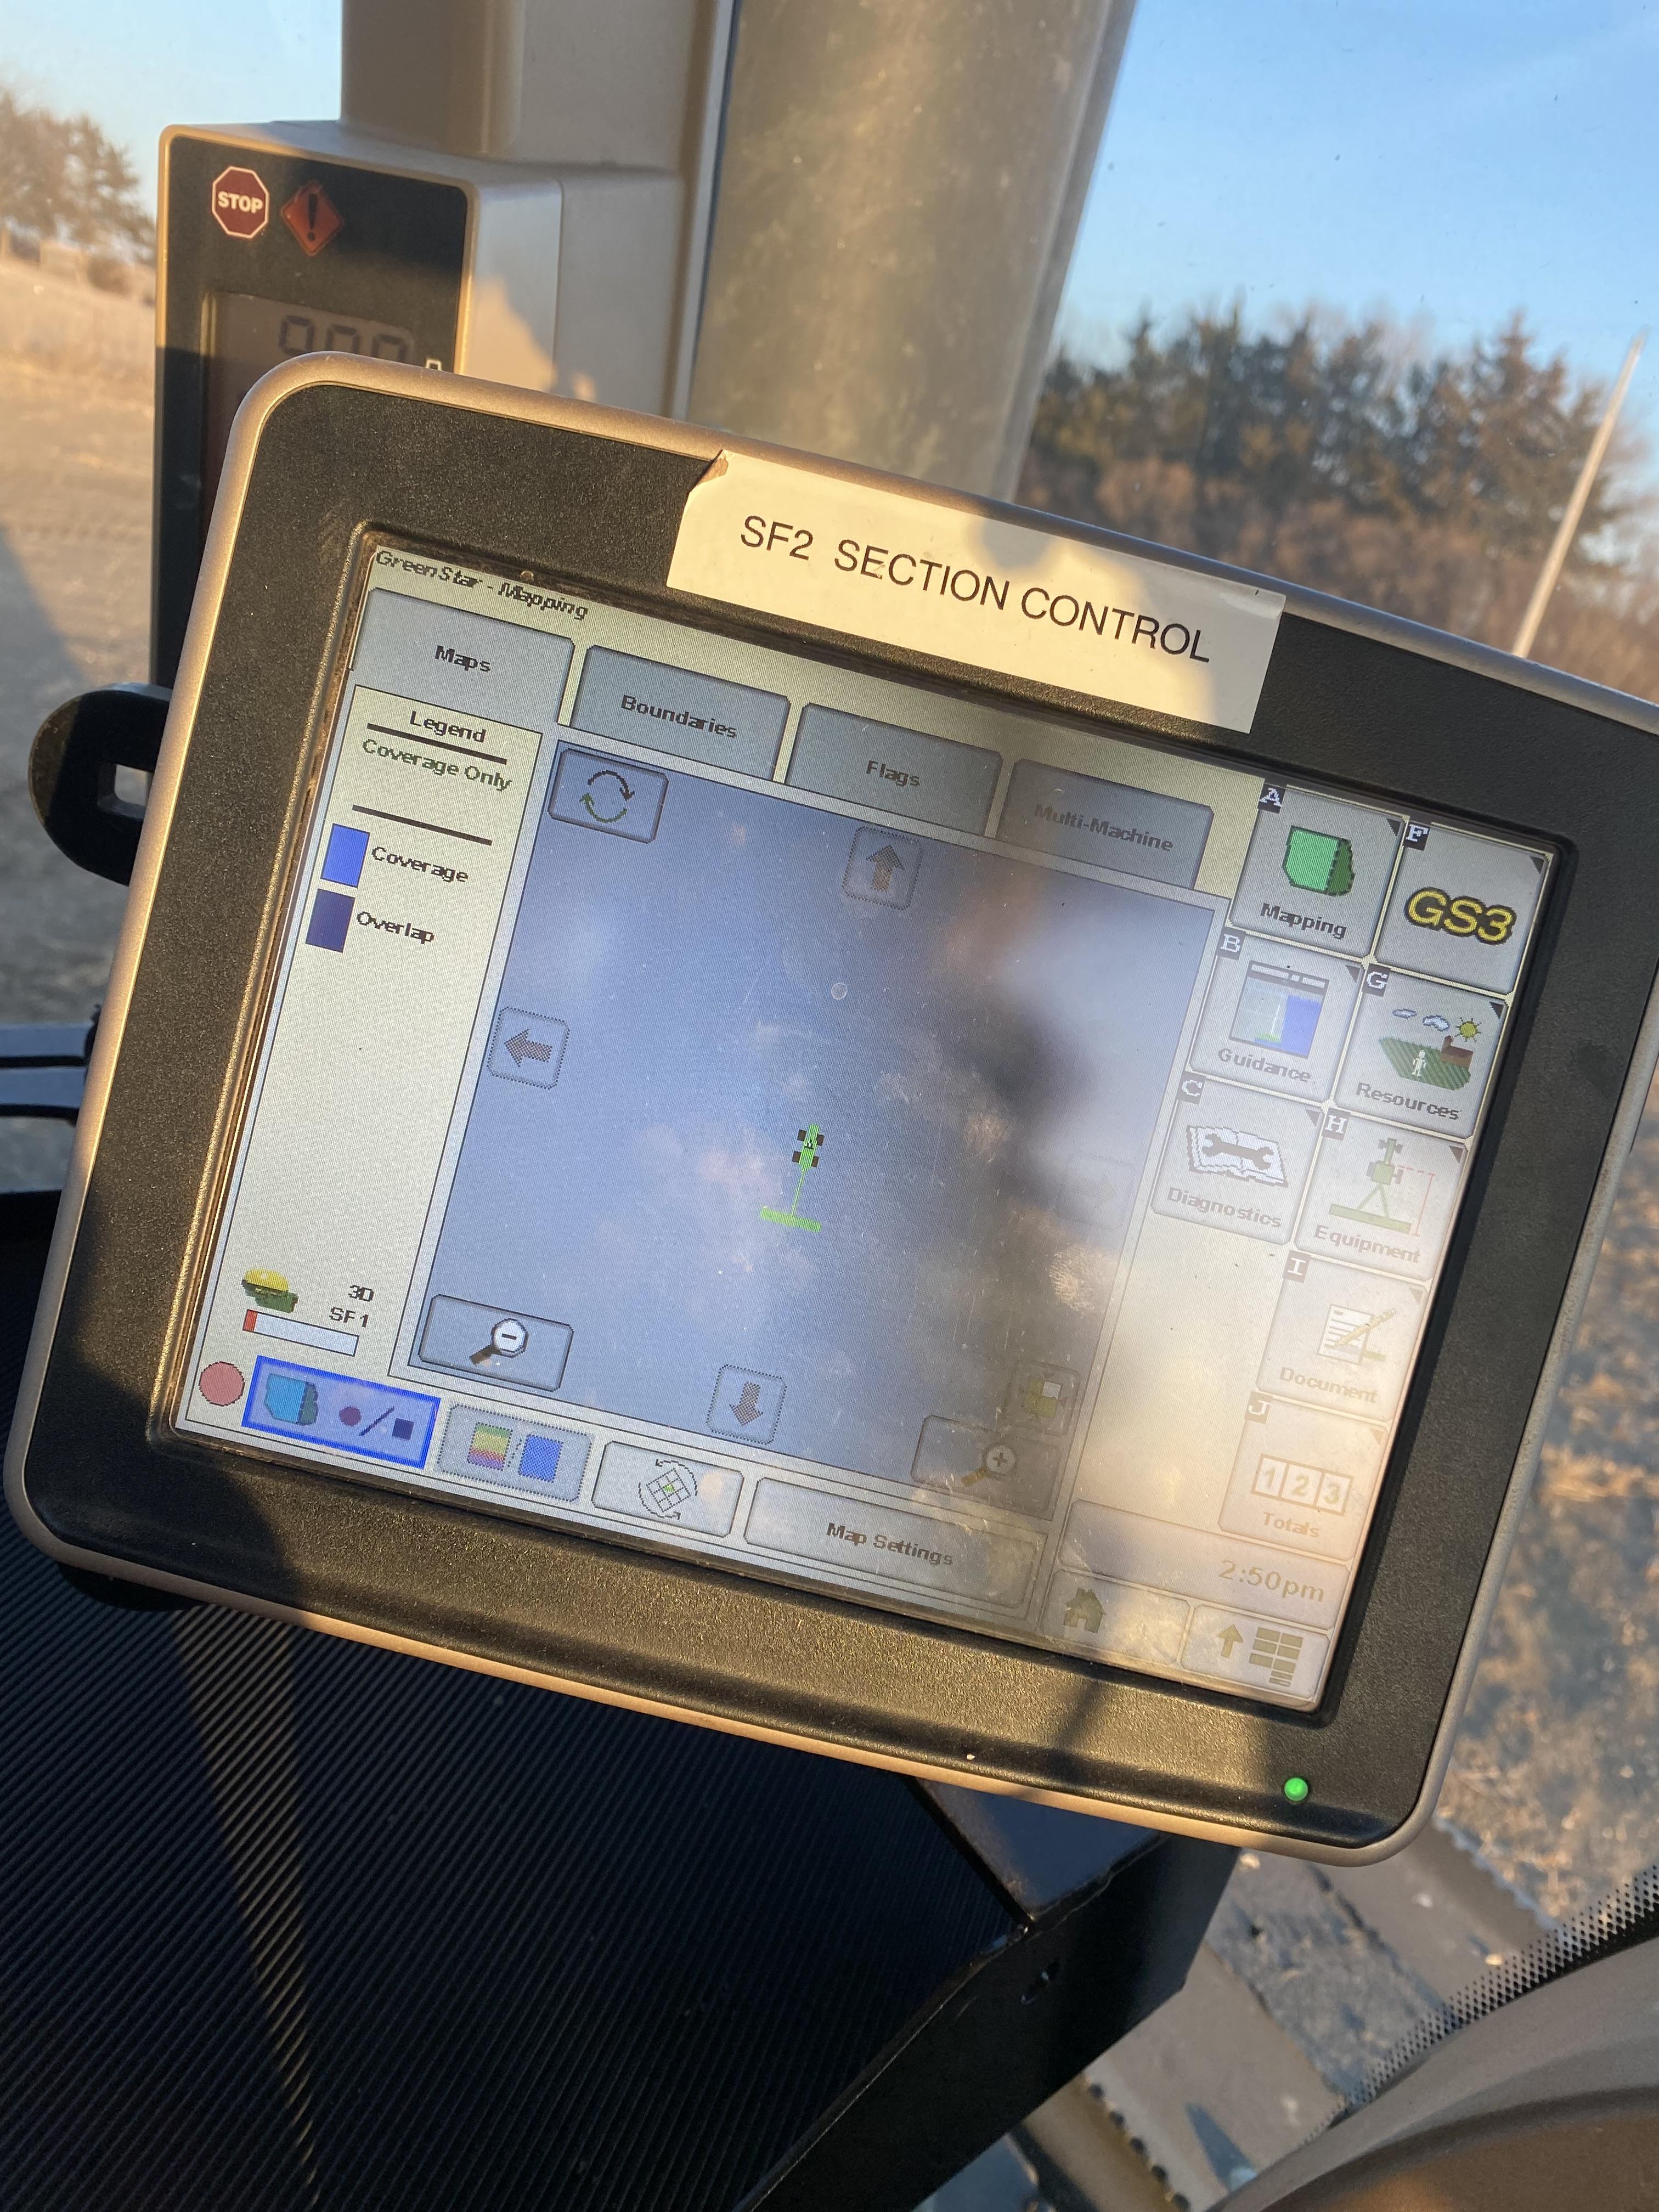
Next you are going to see there is only half of your pie lit up, this means that you need to select the pie, this will tell it you are ready to work. Now that ¾ of your pie is lit up all you need to do now is make sure your tractor is where you want it and hit the resume A button on your council.