How to Set a Permanent Etch a Sketch (like Pros)
58845 Views, 25 Favorites, 0 Comments
How to Set a Permanent Etch a Sketch (like Pros)
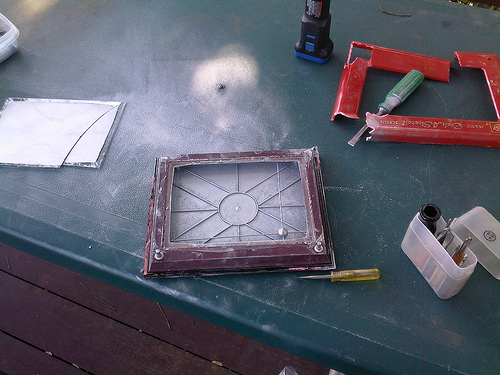
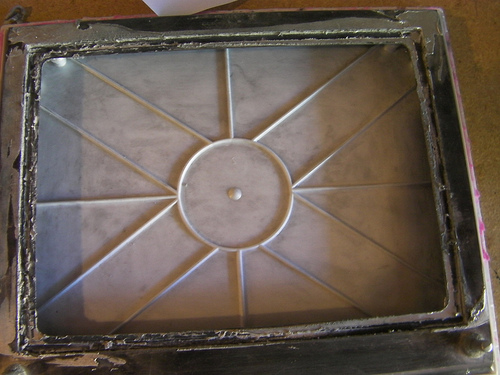
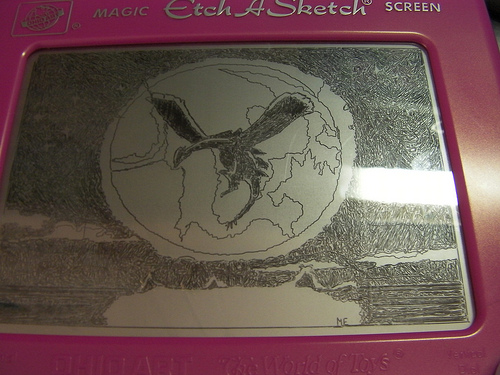
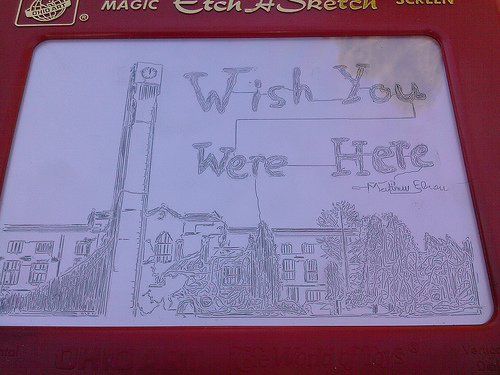
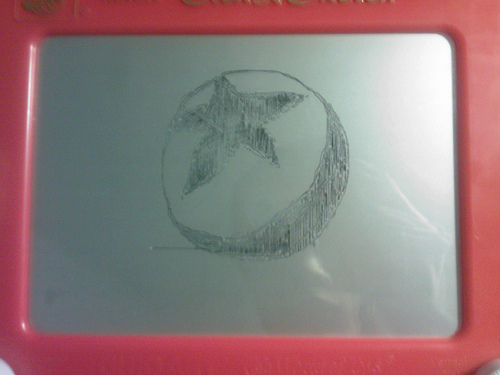
As an Etch A Sketchist myself, I feel that the worst thing any EAS artist can do for themselves is to get too attached to one of their "Sketch Works". I've seen this happen before and artists have gone insane trying to protect their artwork. Just take a picture of it! Remember, an Etch A Sketch is a toy and we all learned from Toy Story that toys are meant to be played with.
However, I also understand that some of you might want to preserve your drawing out of sentimental reasons. So, here's my method on how to preserve your Etch A Sketch artwork permanently so that it can never be erased again. In here I will show you is how to, safely, open up your EAS and remove the powder and deactivate the knobs, so that your artwork will never be damaged.
However, I also understand that some of you might want to preserve your drawing out of sentimental reasons. So, here's my method on how to preserve your Etch A Sketch artwork permanently so that it can never be erased again. In here I will show you is how to, safely, open up your EAS and remove the powder and deactivate the knobs, so that your artwork will never be damaged.
What You Will Need
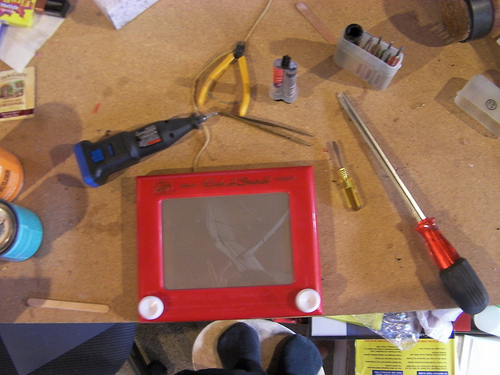
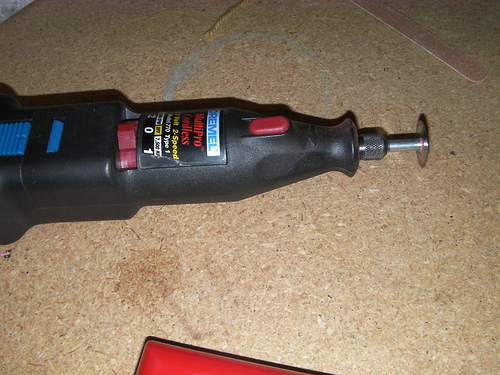
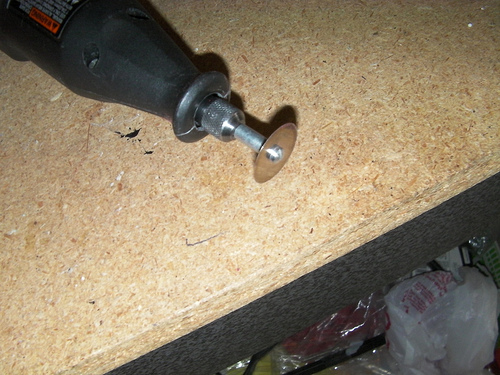
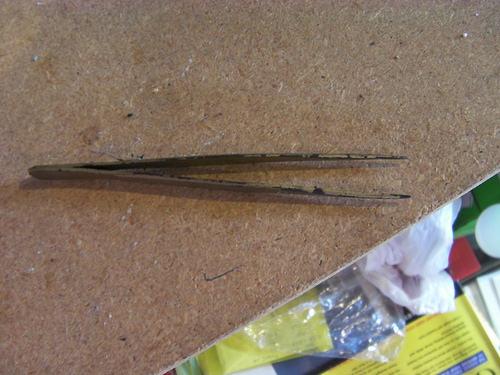
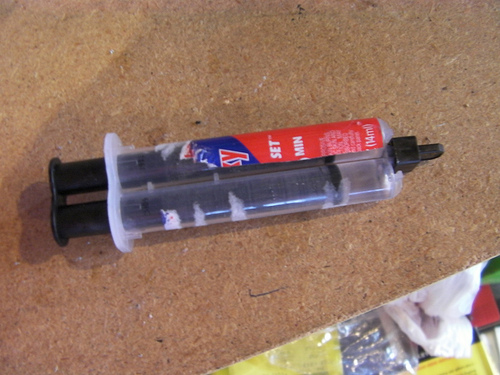
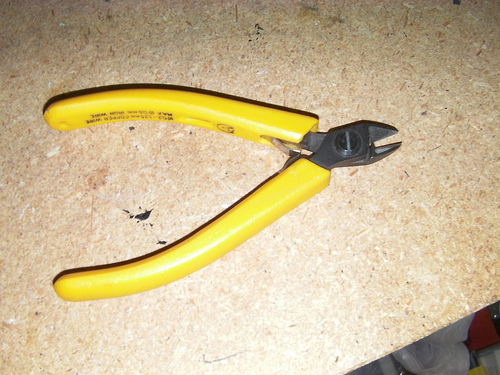

1) Dremel Tool (with circular saw attachment)
2) Screwdriver set
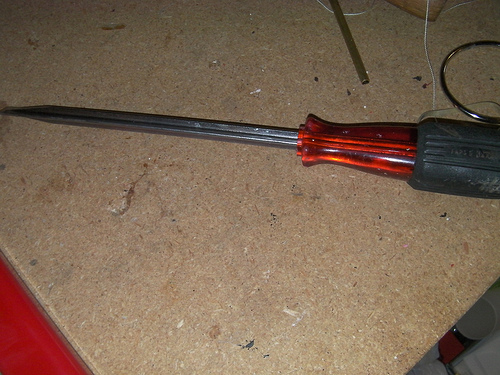
3) Wedge/ Thick Flathead Screwdriver
4) Pinpoint Tweezers
5) Wire Cutters
6) Epoxy (or any other kind of super adhesive)
7) and of course an Etch A Sketch
2) Screwdriver set
3) Wedge/ Thick Flathead Screwdriver
4) Pinpoint Tweezers
5) Wire Cutters
6) Epoxy (or any other kind of super adhesive)
7) and of course an Etch A Sketch
Remove White Knobs
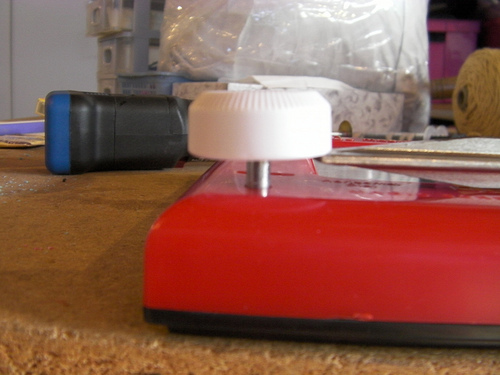
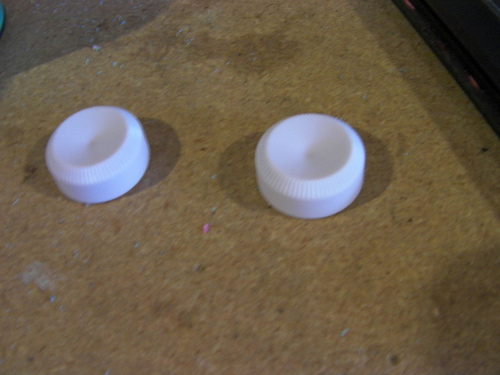
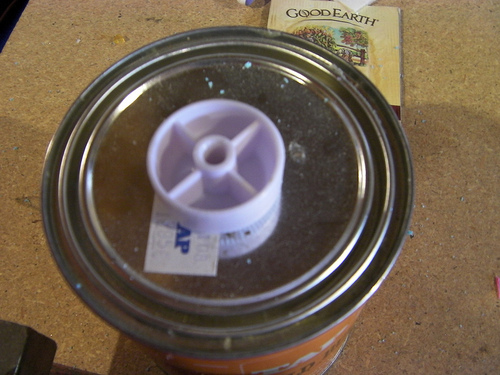
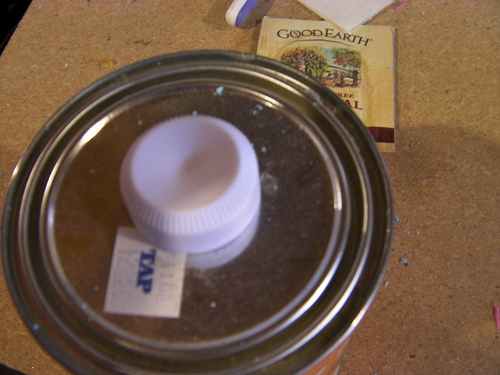
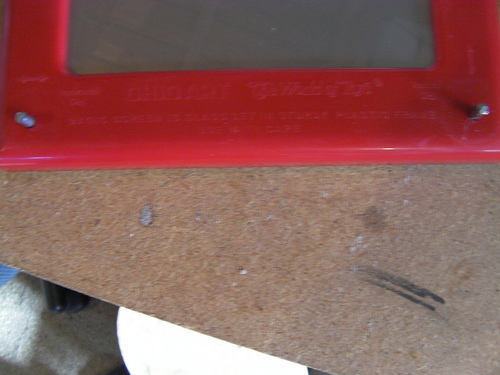
First, remove the white horizontal / vertical knobs controlling your Etch A Sketch. Use the wedge or large flathead screwdriver to simply pry them off. As leverage, I suggest working away from the EAS's glass screen, as not to break it.
Note: If possible, try to do this step and step 3 (removing the Red Faceplate) before you begin drawing on your Etch A Sketch. Believe me, it will make everything so much easier if you do not have to worry about potentially erasing your artwork, when you're trying to open it up.
Note: If possible, try to do this step and step 3 (removing the Red Faceplate) before you begin drawing on your Etch A Sketch. Believe me, it will make everything so much easier if you do not have to worry about potentially erasing your artwork, when you're trying to open it up.
Carefully Remove Red Faceplate
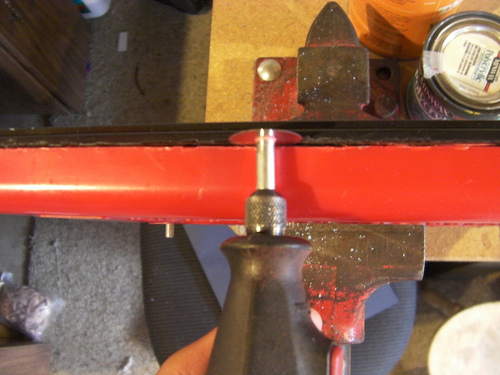
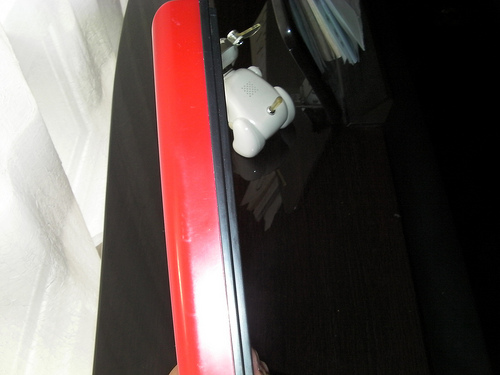
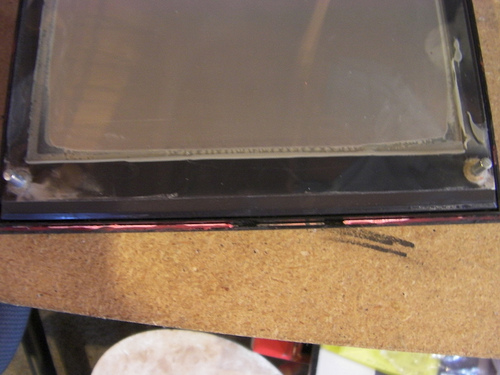
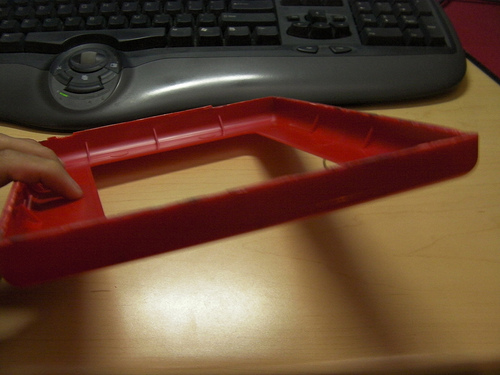
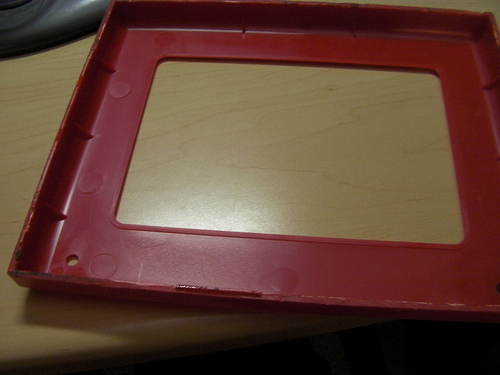
Alright, so against the red section and the black section of the Etch A Sketch there's a fine seam connecting the two. Using the Dremel saw, cut along this line but try not to cut too deeply or too jaggedly (you're going to be gluing this section back together). Then, using both the smaller and larger flathead screwdrivers, try and pry off the faceplate without damaging it.
Note: This is the hardest step in taking apart your Etch A Sketch, because the red faceplate is not easy to remove. If you already started a drawing, it's going to be extremely difficult to preserve your drawing without erasing it, while trying to forcibly remove the faceplate. My tip- Always keep your Etch A Sketch artwork face up when sawing.
Note: This is the hardest step in taking apart your Etch A Sketch, because the red faceplate is not easy to remove. If you already started a drawing, it's going to be extremely difficult to preserve your drawing without erasing it, while trying to forcibly remove the faceplate. My tip- Always keep your Etch A Sketch artwork face up when sawing.
Begin Your Drawing
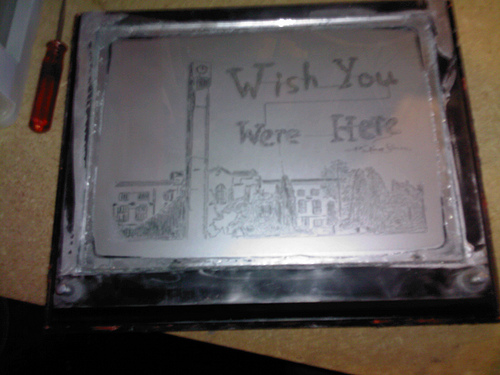
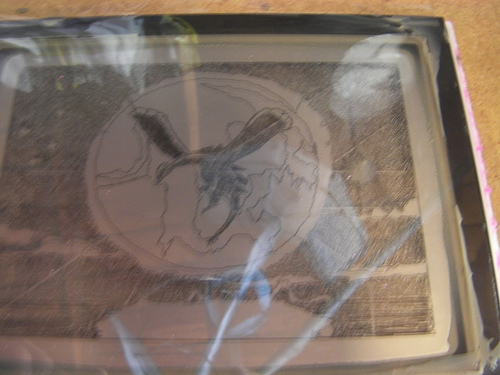
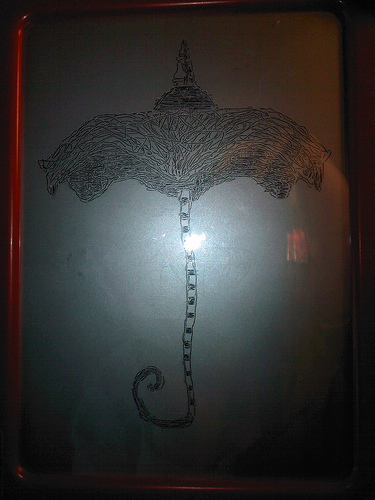
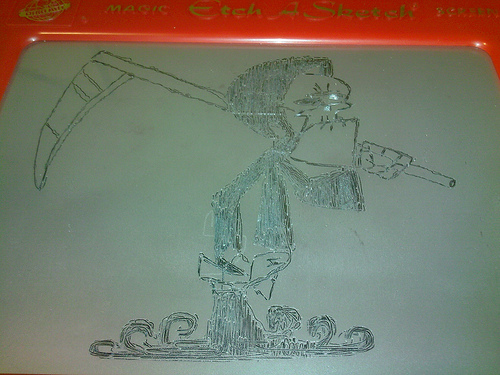
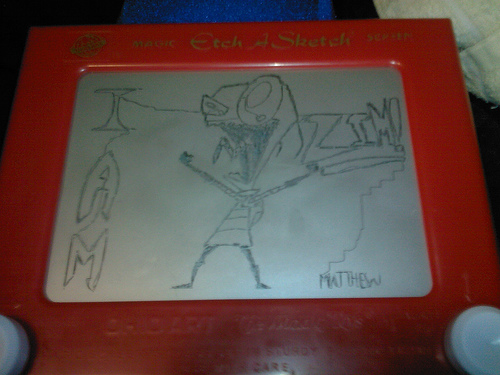
Alright, so now that you've removed the red faceplate it's time to begin drawing your artwork! Just reattach the white knobs to start.
Etch A Sketching may seem like a very difficult and time laborious process (and it is!) but I have a special method for drawing on an Etch A Sketch, that can save you both the time and effort of having to practice beforehand. I will probably post another Instrucable about my method in the future, so stay posted!
Etch A Sketching may seem like a very difficult and time laborious process (and it is!) but I have a special method for drawing on an Etch A Sketch, that can save you both the time and effort of having to practice beforehand. I will probably post another Instrucable about my method in the future, so stay posted!
Carefully Remove the Glass
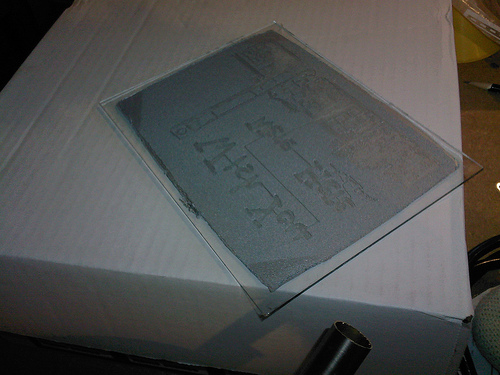
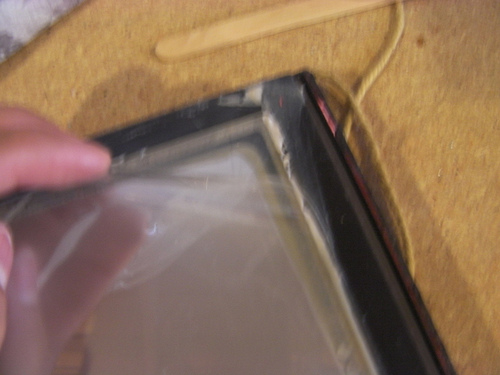
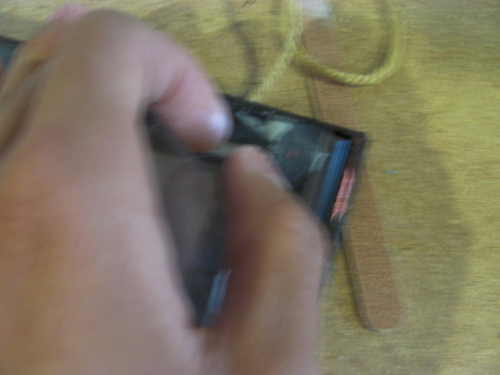
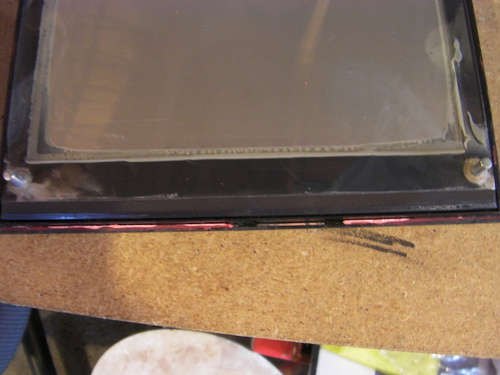
Now that your artwork is complete, it's time to preserve it. You'll notice that the Etch is encased inside a black housing, which is protected by thin plastic sheet. Easily lift up the plastic cover and remove it. Secondly, you should see that the glass is glued in place with some rubberized cement substance. Use your pinpoint tweezers to remove the glue all around, and then carefully remove the glass keeping the drawing face up. Be very, very, very careful not to break the glass! If you do, the art will be completely ruined.
Remove Aluminum Powder

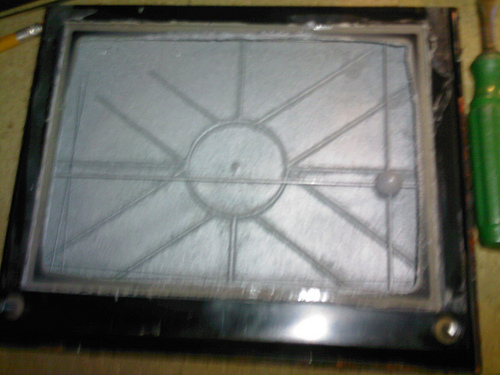
Now you are left with horribly messy, easily staining, extremely radiant aluminum powder. Quickly throw away the powder away, safely. Then use the wire cutters to cut off the driving strings of the etch to remove the drawing pen and the metal rods. Scrub everything inside with soap and water. Then you can use a hairdryer or paper towels to completely dry out the inside. Make sure that there is no water residue left, or it can destroy your artwork!
Note: The back says the powder is "non-toxic". Not wanting to test this statement, I always use a mask and gloves when cleaning the inside. Also, to this guy [1], I am not liable for anything you use the aluminum powder for. Please get rid of the powder as quickly as possible.
Note: The back says the powder is "non-toxic". Not wanting to test this statement, I always use a mask and gloves when cleaning the inside. Also, to this guy [1], I am not liable for anything you use the aluminum powder for. Please get rid of the powder as quickly as possible.
Glue It Back Together
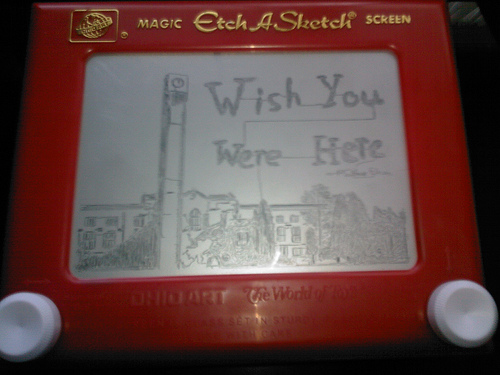
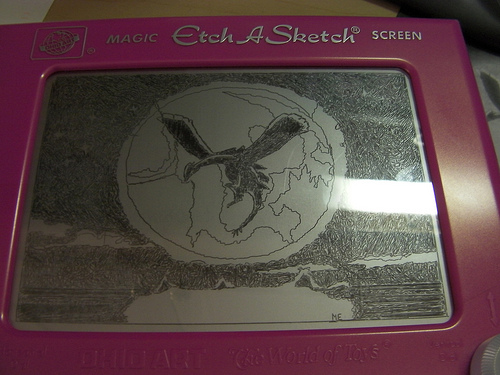
Glue everything back up in the order you removed it (Black container, Glass Etch w/ drawing, Plastic Protector, Red Faceplate and Knobs). I suggest Epoxy to hold the glass to the black container, but for everything else, any other kind of strong adhesive will work.
And now you are finished! I wouldn't suggest doing this too often, as one should not get too attached to an Etch drawing (also the aluminum powder probably isn't the safest material to be exposed to) but good luck with future Sketches! Also stay posted for my next Etch A Sketch instructable where I will show you how to Etch A Sketch easily!
And now you are finished! I wouldn't suggest doing this too often, as one should not get too attached to an Etch drawing (also the aluminum powder probably isn't the safest material to be exposed to) but good luck with future Sketches! Also stay posted for my next Etch A Sketch instructable where I will show you how to Etch A Sketch easily!