Selecting an Aperture in Aperture Priority Mode With a DSLR or a Point-and-Shoot With Manual Modes
by kkolbe2 in Circuits > Cameras
1116 Views, 14 Favorites, 0 Comments
Selecting an Aperture in Aperture Priority Mode With a DSLR or a Point-and-Shoot With Manual Modes
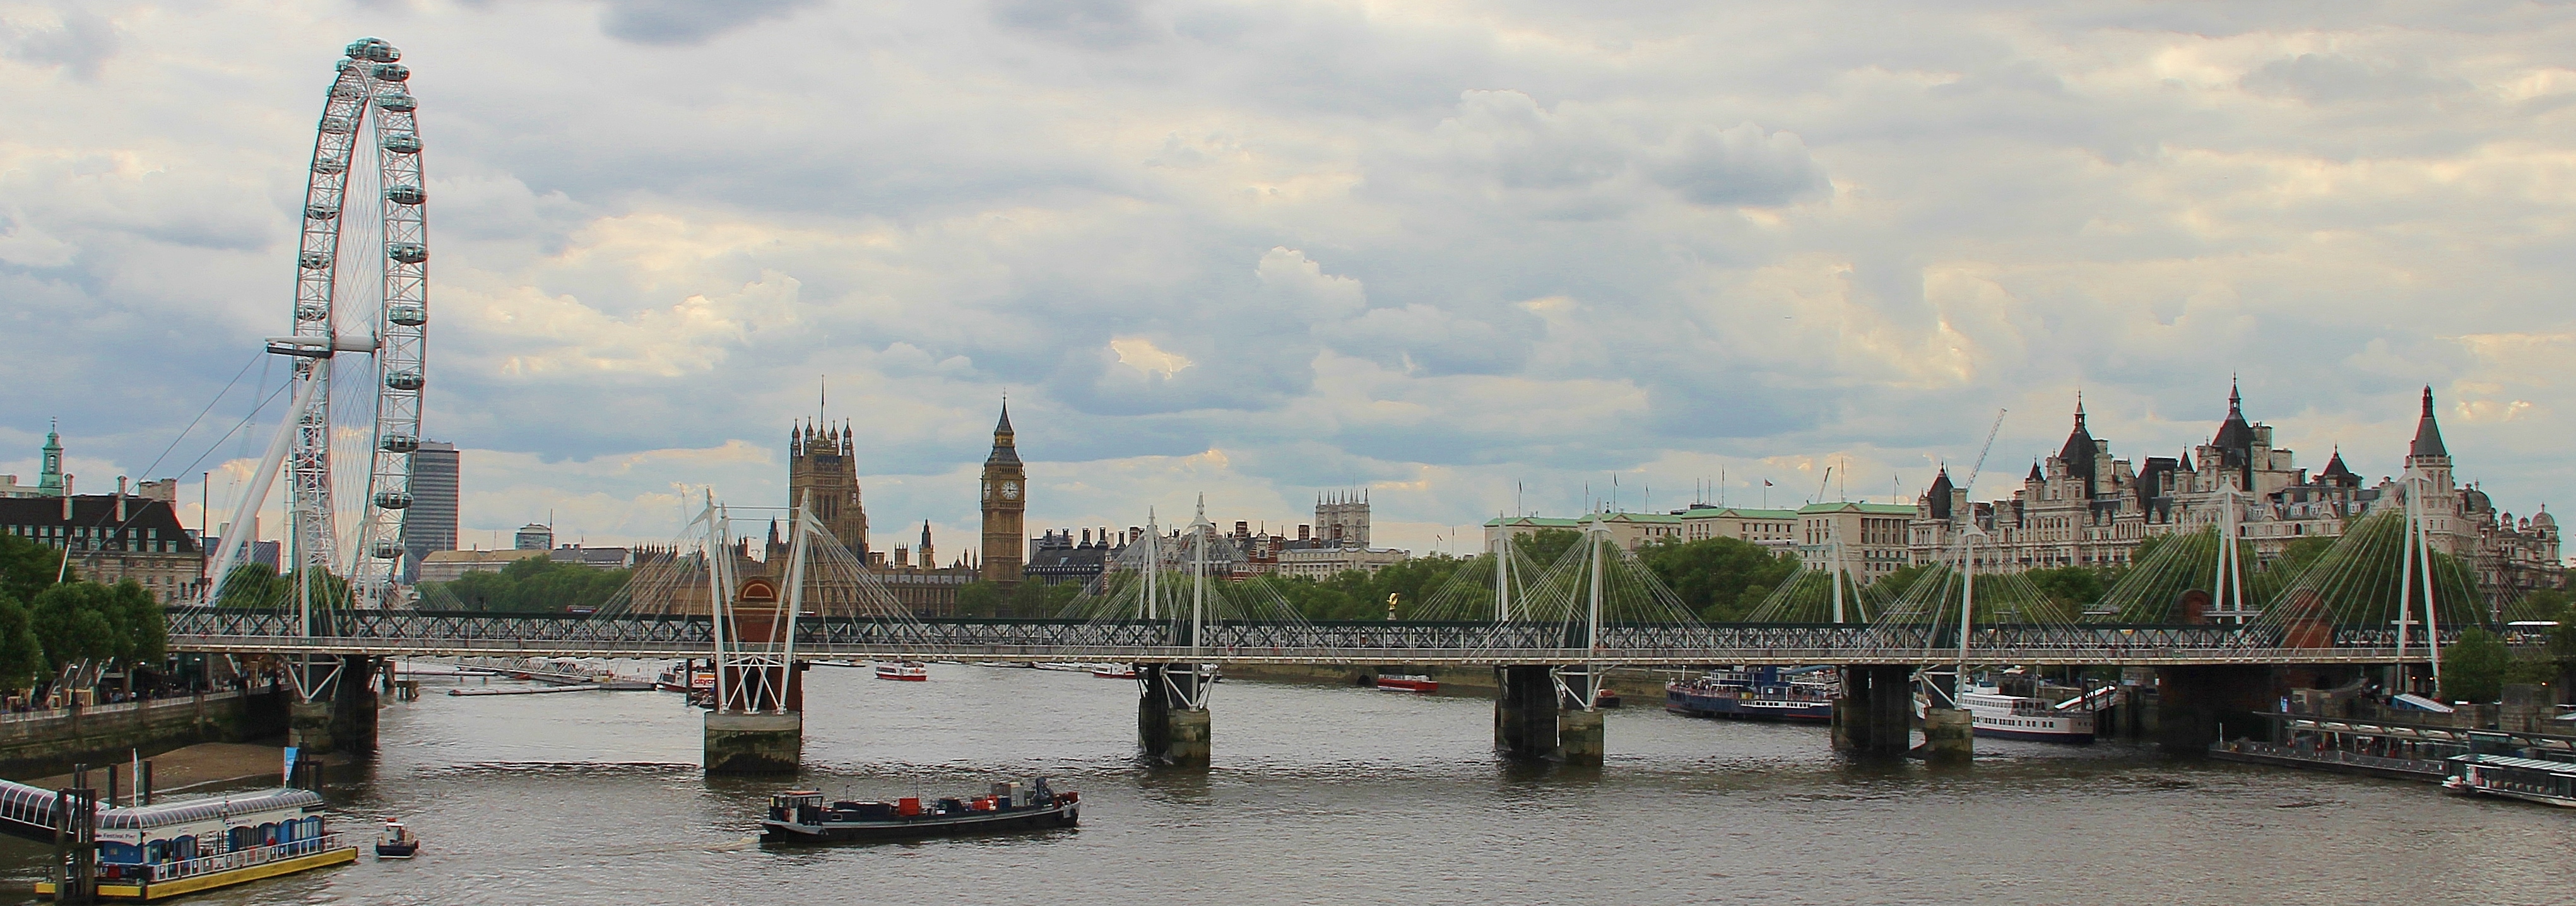

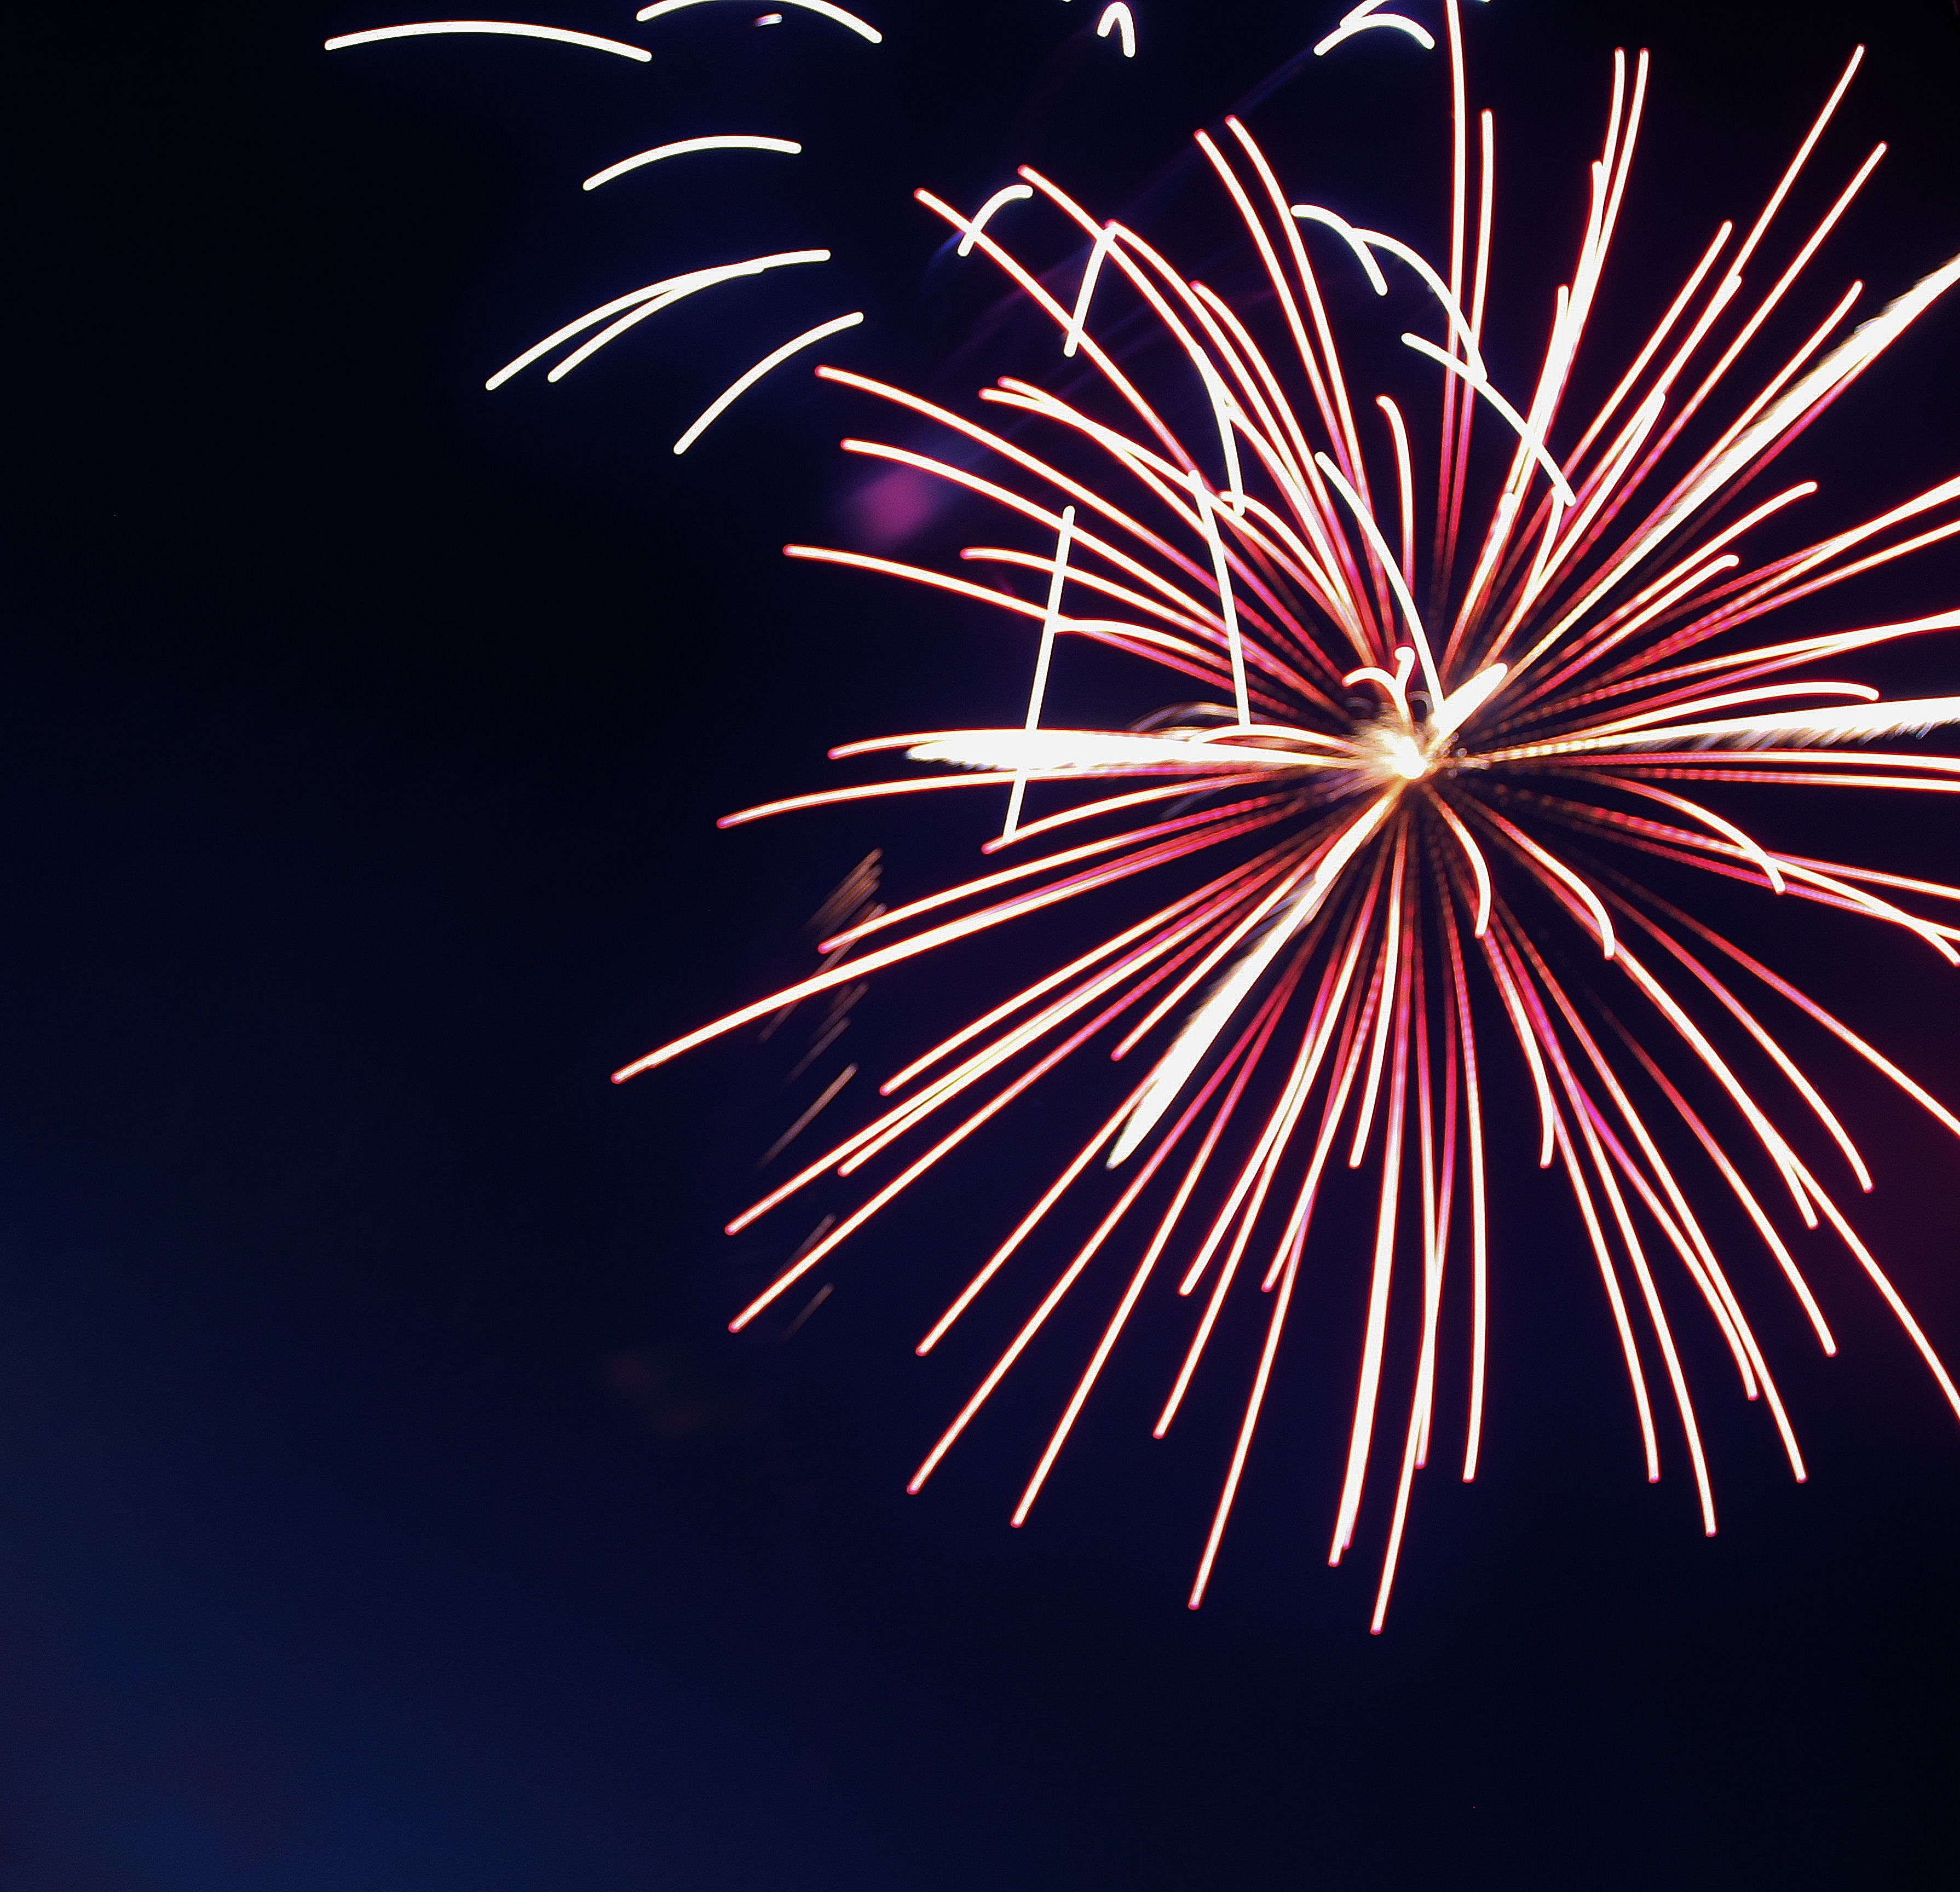
Many people have a camera or want one, but have no idea how to work it. As soon as they start hearing words like Equivalent Exposure or ISO they get turned off. It just seems so complicated right? Let me just point the thing and get the picture. Well with the constant development of camera technology, the cameras are making it easier and easier to take wonderful photos all while staying in Automatic mode. But who hasn’t taken a picture and thought “Wow! That didn’t work out” or “What happened?” Sometimes it’s just better to take a little time and learn how to control the settings yourself.
This tutorial will focus on the Manual Mode Aperture Priority. Aperture (also called F-stop) controls two things. One thing is how much light gets recorded onto your film or digital sensor (depending on the kind of camera you have; film or digital). The best way I have learned to understand this concept is to think about your eye. The iris controls how much light is passing through your eye. The iris will open more when there is little light or close more when there is a lot of light all while copying the image to your brain (the digital sensor). The second thing Aperture controls is what is in focus in the picture. This is known as your Depth of Field. Do you want one or two people in focus? Or do you want everyone in focus?
The Aperture is displayed through a number system. New cameras should have the apertures (f-stops) listed within the camera and within the manual. The aperture could generally be as low as 1 or as high as 90. This really depends on your lens though. Different lenses will have different available apertures. If the number is on the lower end, then that means your Depth of Field is shallow. A specific thing or area will be clear, but everything else will be blurry (or blurred to an extent). If the number is higher, then you have deep Depth of field. Everything or most things will be clearly in view and little to no blur. Now comes the whammy. Are you ready? The smaller the number, the more light you will be letting into your camera. This is called a High Aperture. The larger the number, the less light will be coming into your camera. This is called a Low Aperture. Yes, it’s backwards. Yes, it can be confusing. But just go back to my eye illustration and try to see if it makes since.
Aperture Priority Mode allows the user to pick the aperture that they want while the camera chooses the other camera settings to balance out the picture. This is very helpful, but sometimes the image can be a little dark. Give and take right? There are ways to counteract this, but that is for another day. Something to be aware of is that not every camera has the same capabilities. Depending on your lens or your camera itself, you will have a certain range of apertures that you may use. Just make sure that your ISO is set to auto when in AV mode.
Now on to the fun part. Remember to read your owner’s manual first and figure out what is what on your camera. Every camera is different and each company usually has its own little twist on how they call or label something.
Necessary Items:
• Camera with Manual Modes
• Nice subject to work with
• Tripod (Optional but helpful)
Find Something to Photograph
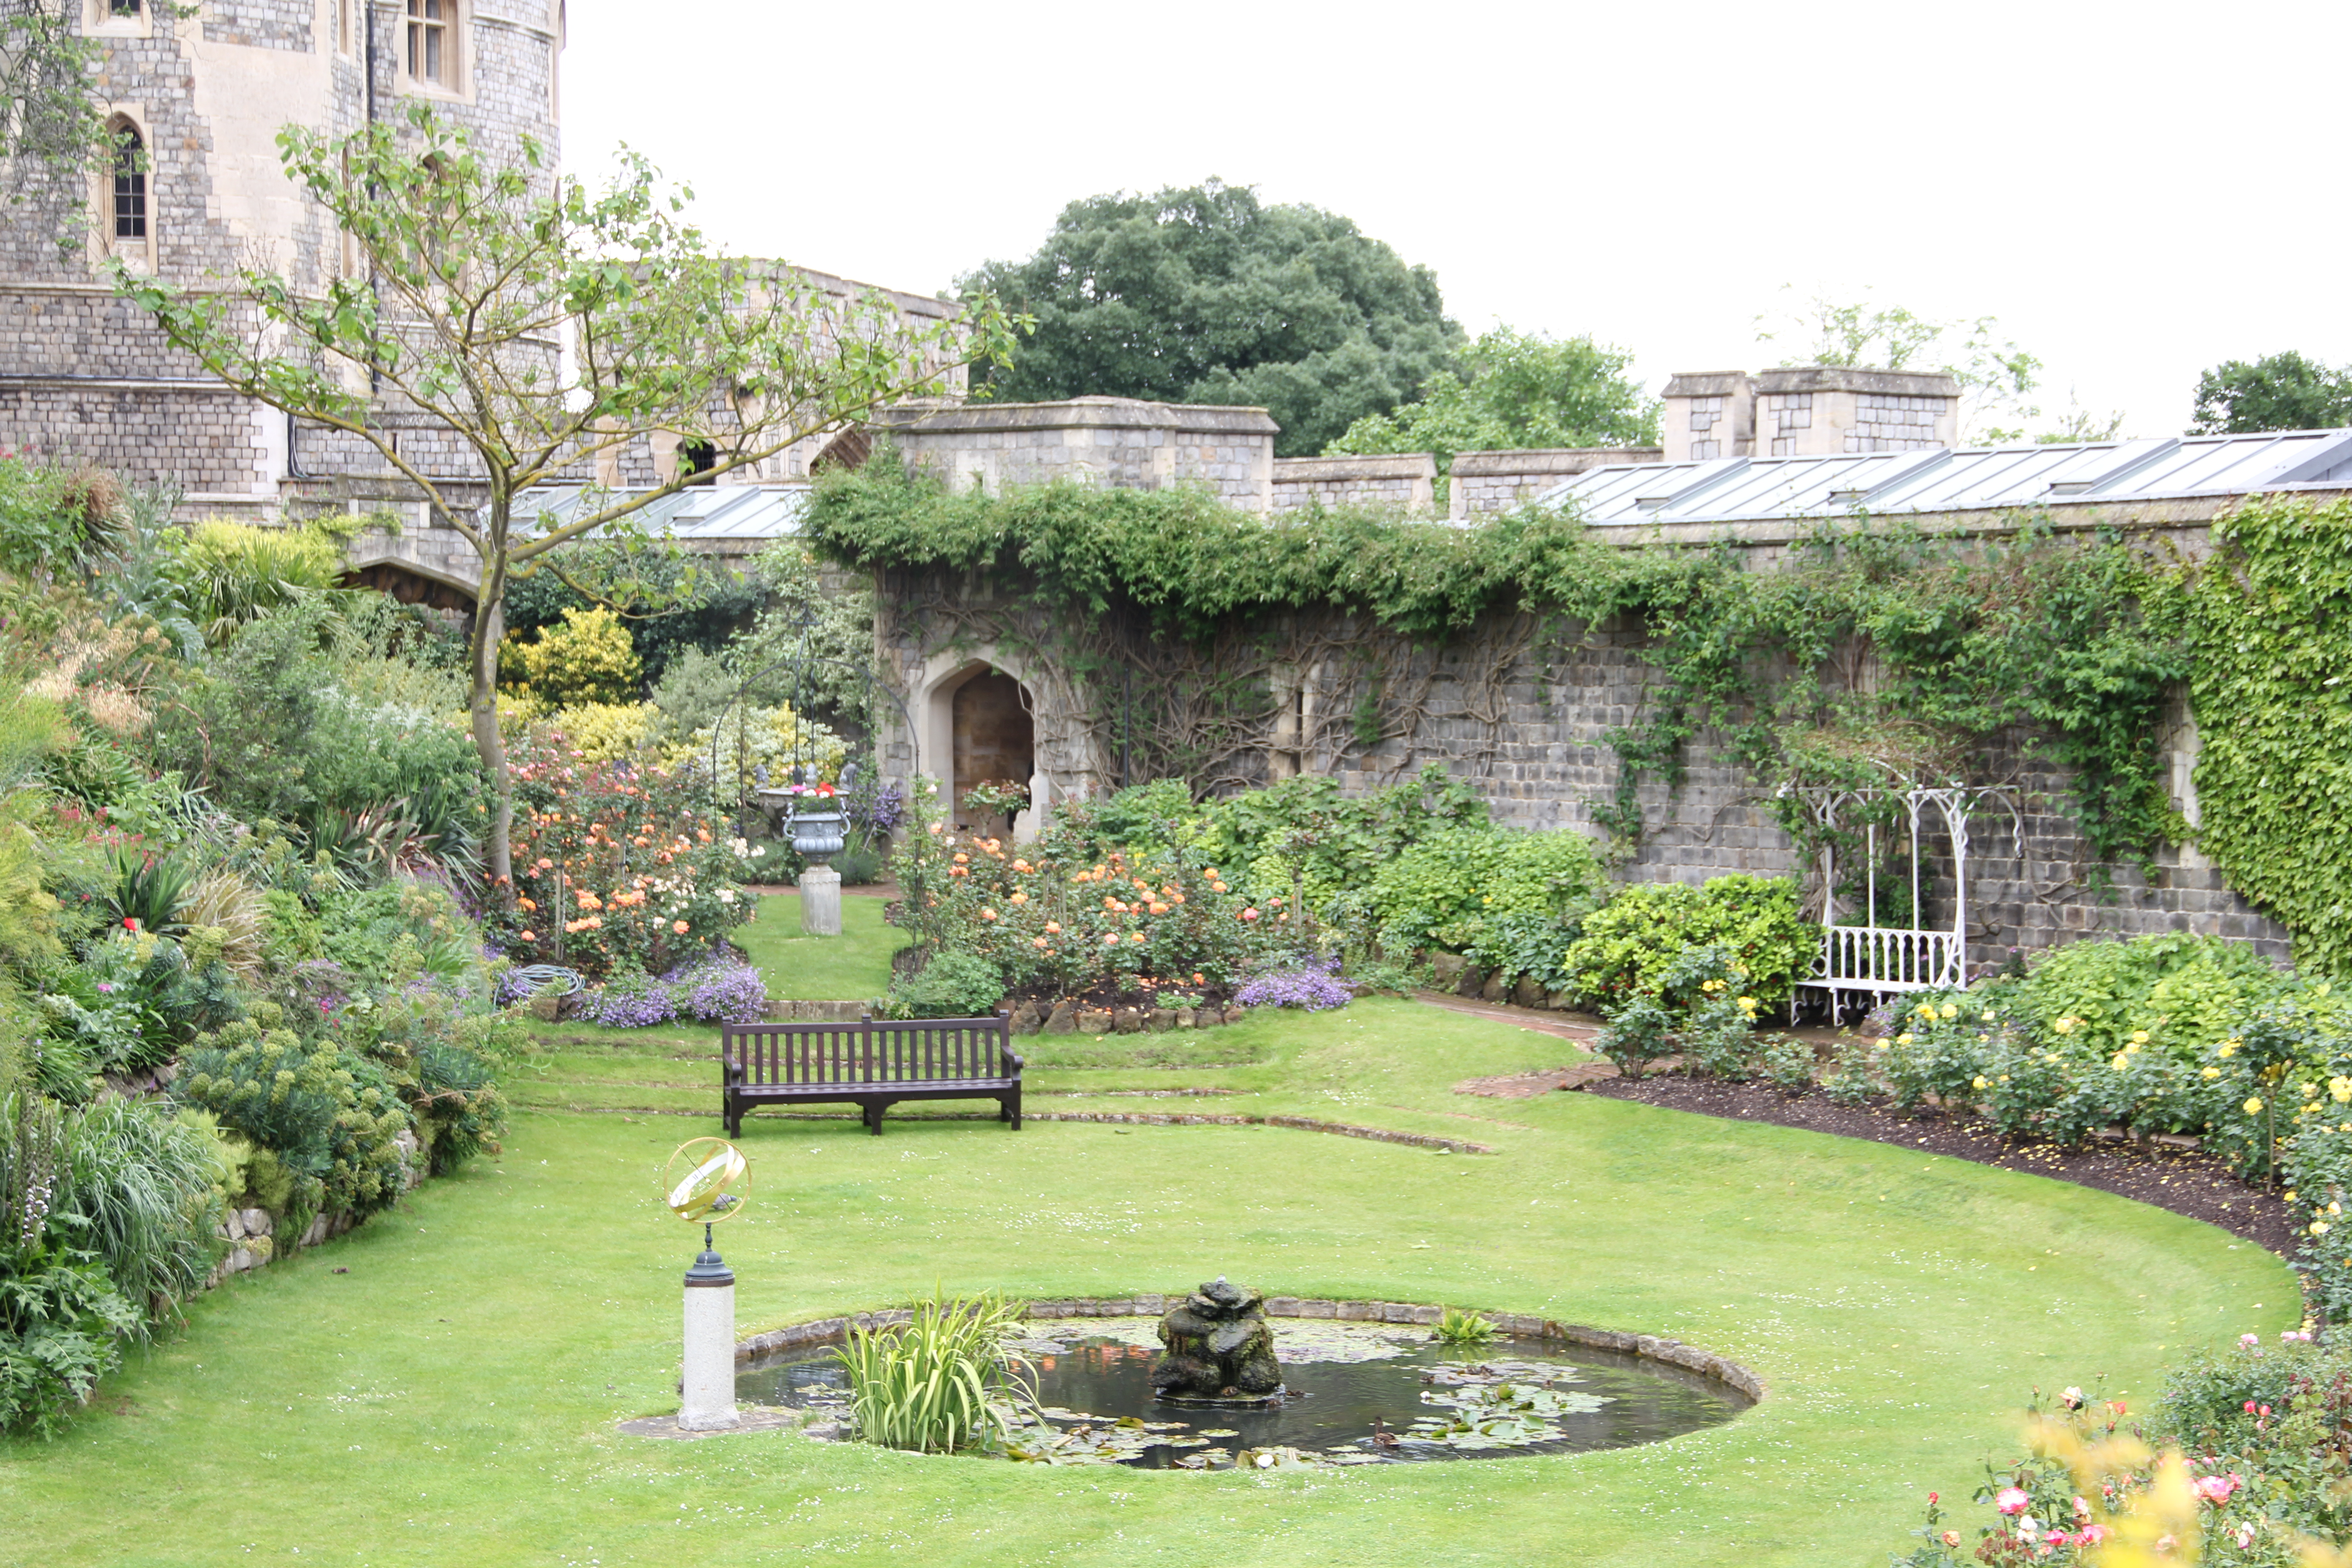

Think about what you want to take a picture of and what you actually want to be in focus (where do you want someone to focus on in the picture).
*To get a good feel of how aperture affects your photo, put a couple feet between you and your objects so you can see the big picture. Try not to zoom in right away. In the picture above, do you notice the yellow flowers? They are blurry while the pink flowers stand out.
*To get a good feel of how aperture affects your photo, put a couple feet between you and your objects so you can see the big picture. Try not to zoom in right away. In the picture above, do you notice the yellow flowers? They are blurry while the pink flowers stand out.
Set to Aperture Priority Mode
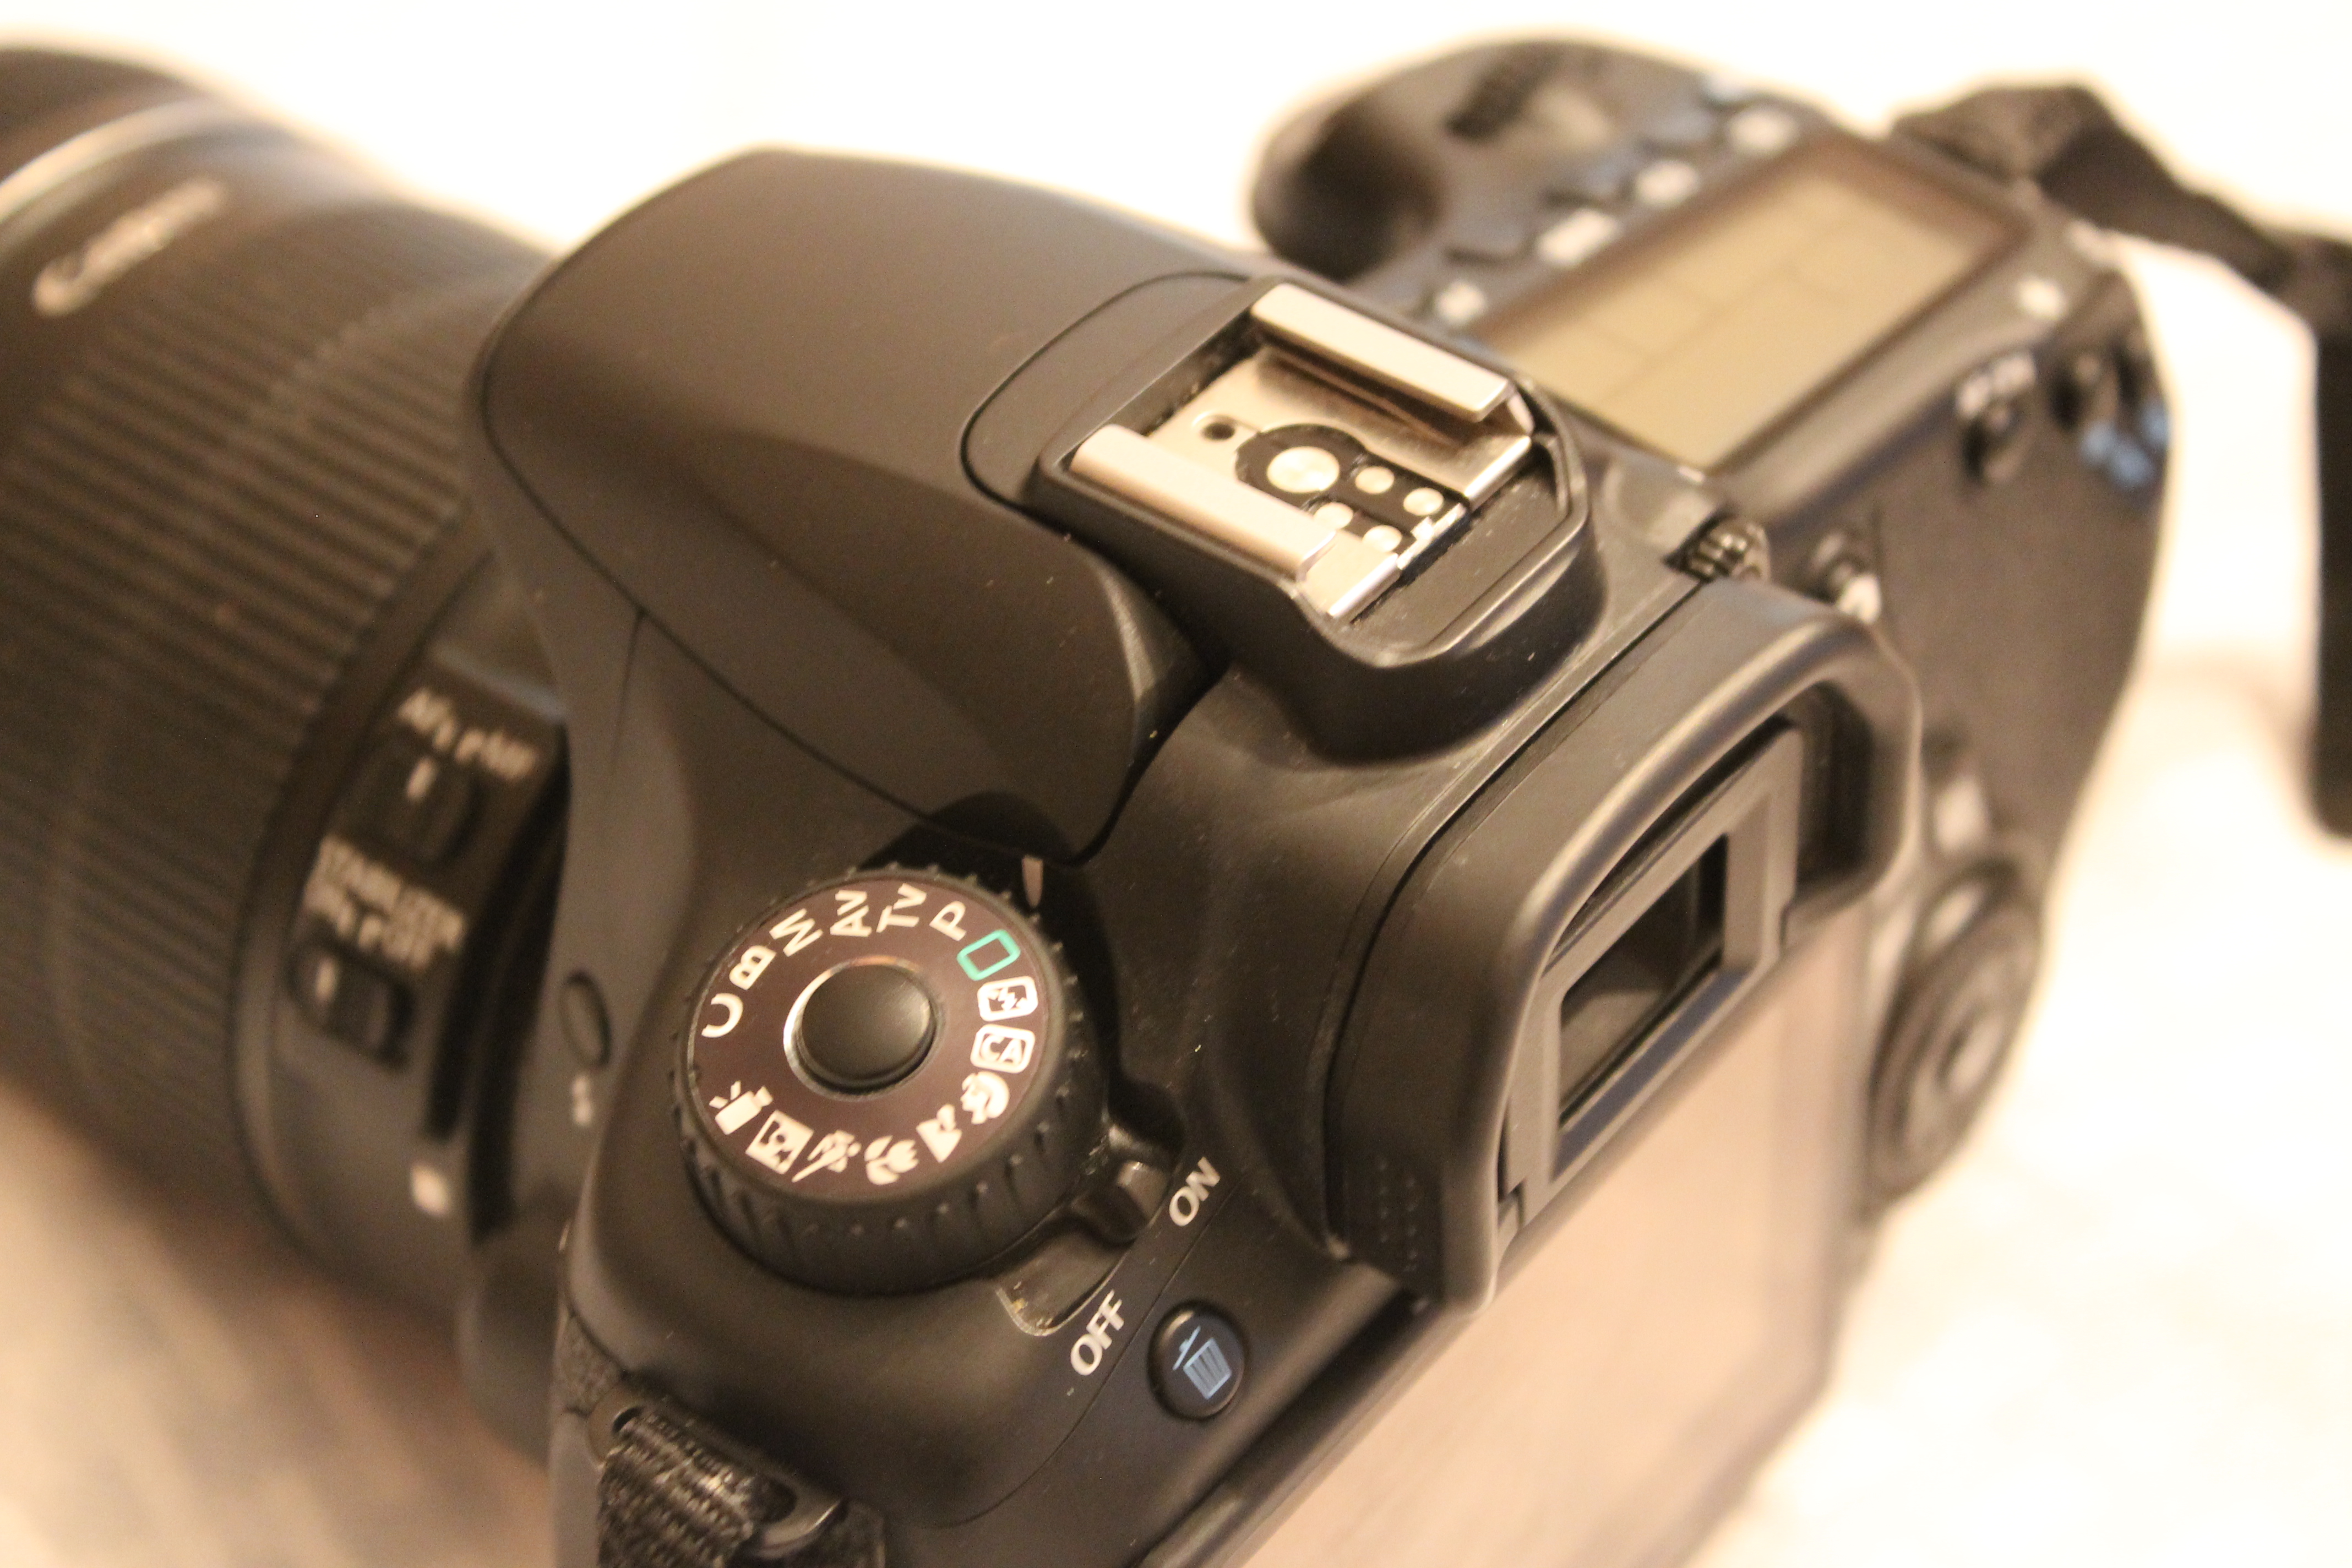
Turn your camera on and change it to the Aperture priority mode. My Canon labels it as AV. Nikon will say A and Sony will say A as well. If your camera does not have one of these labels, it may not support the Manual Modes (Aperture, Shutter Speed, etc…), but may just pick it for you. It could also be under a different name so again just make sure to look at your owner’s manual.
Select the Aperture Menu/Options Button
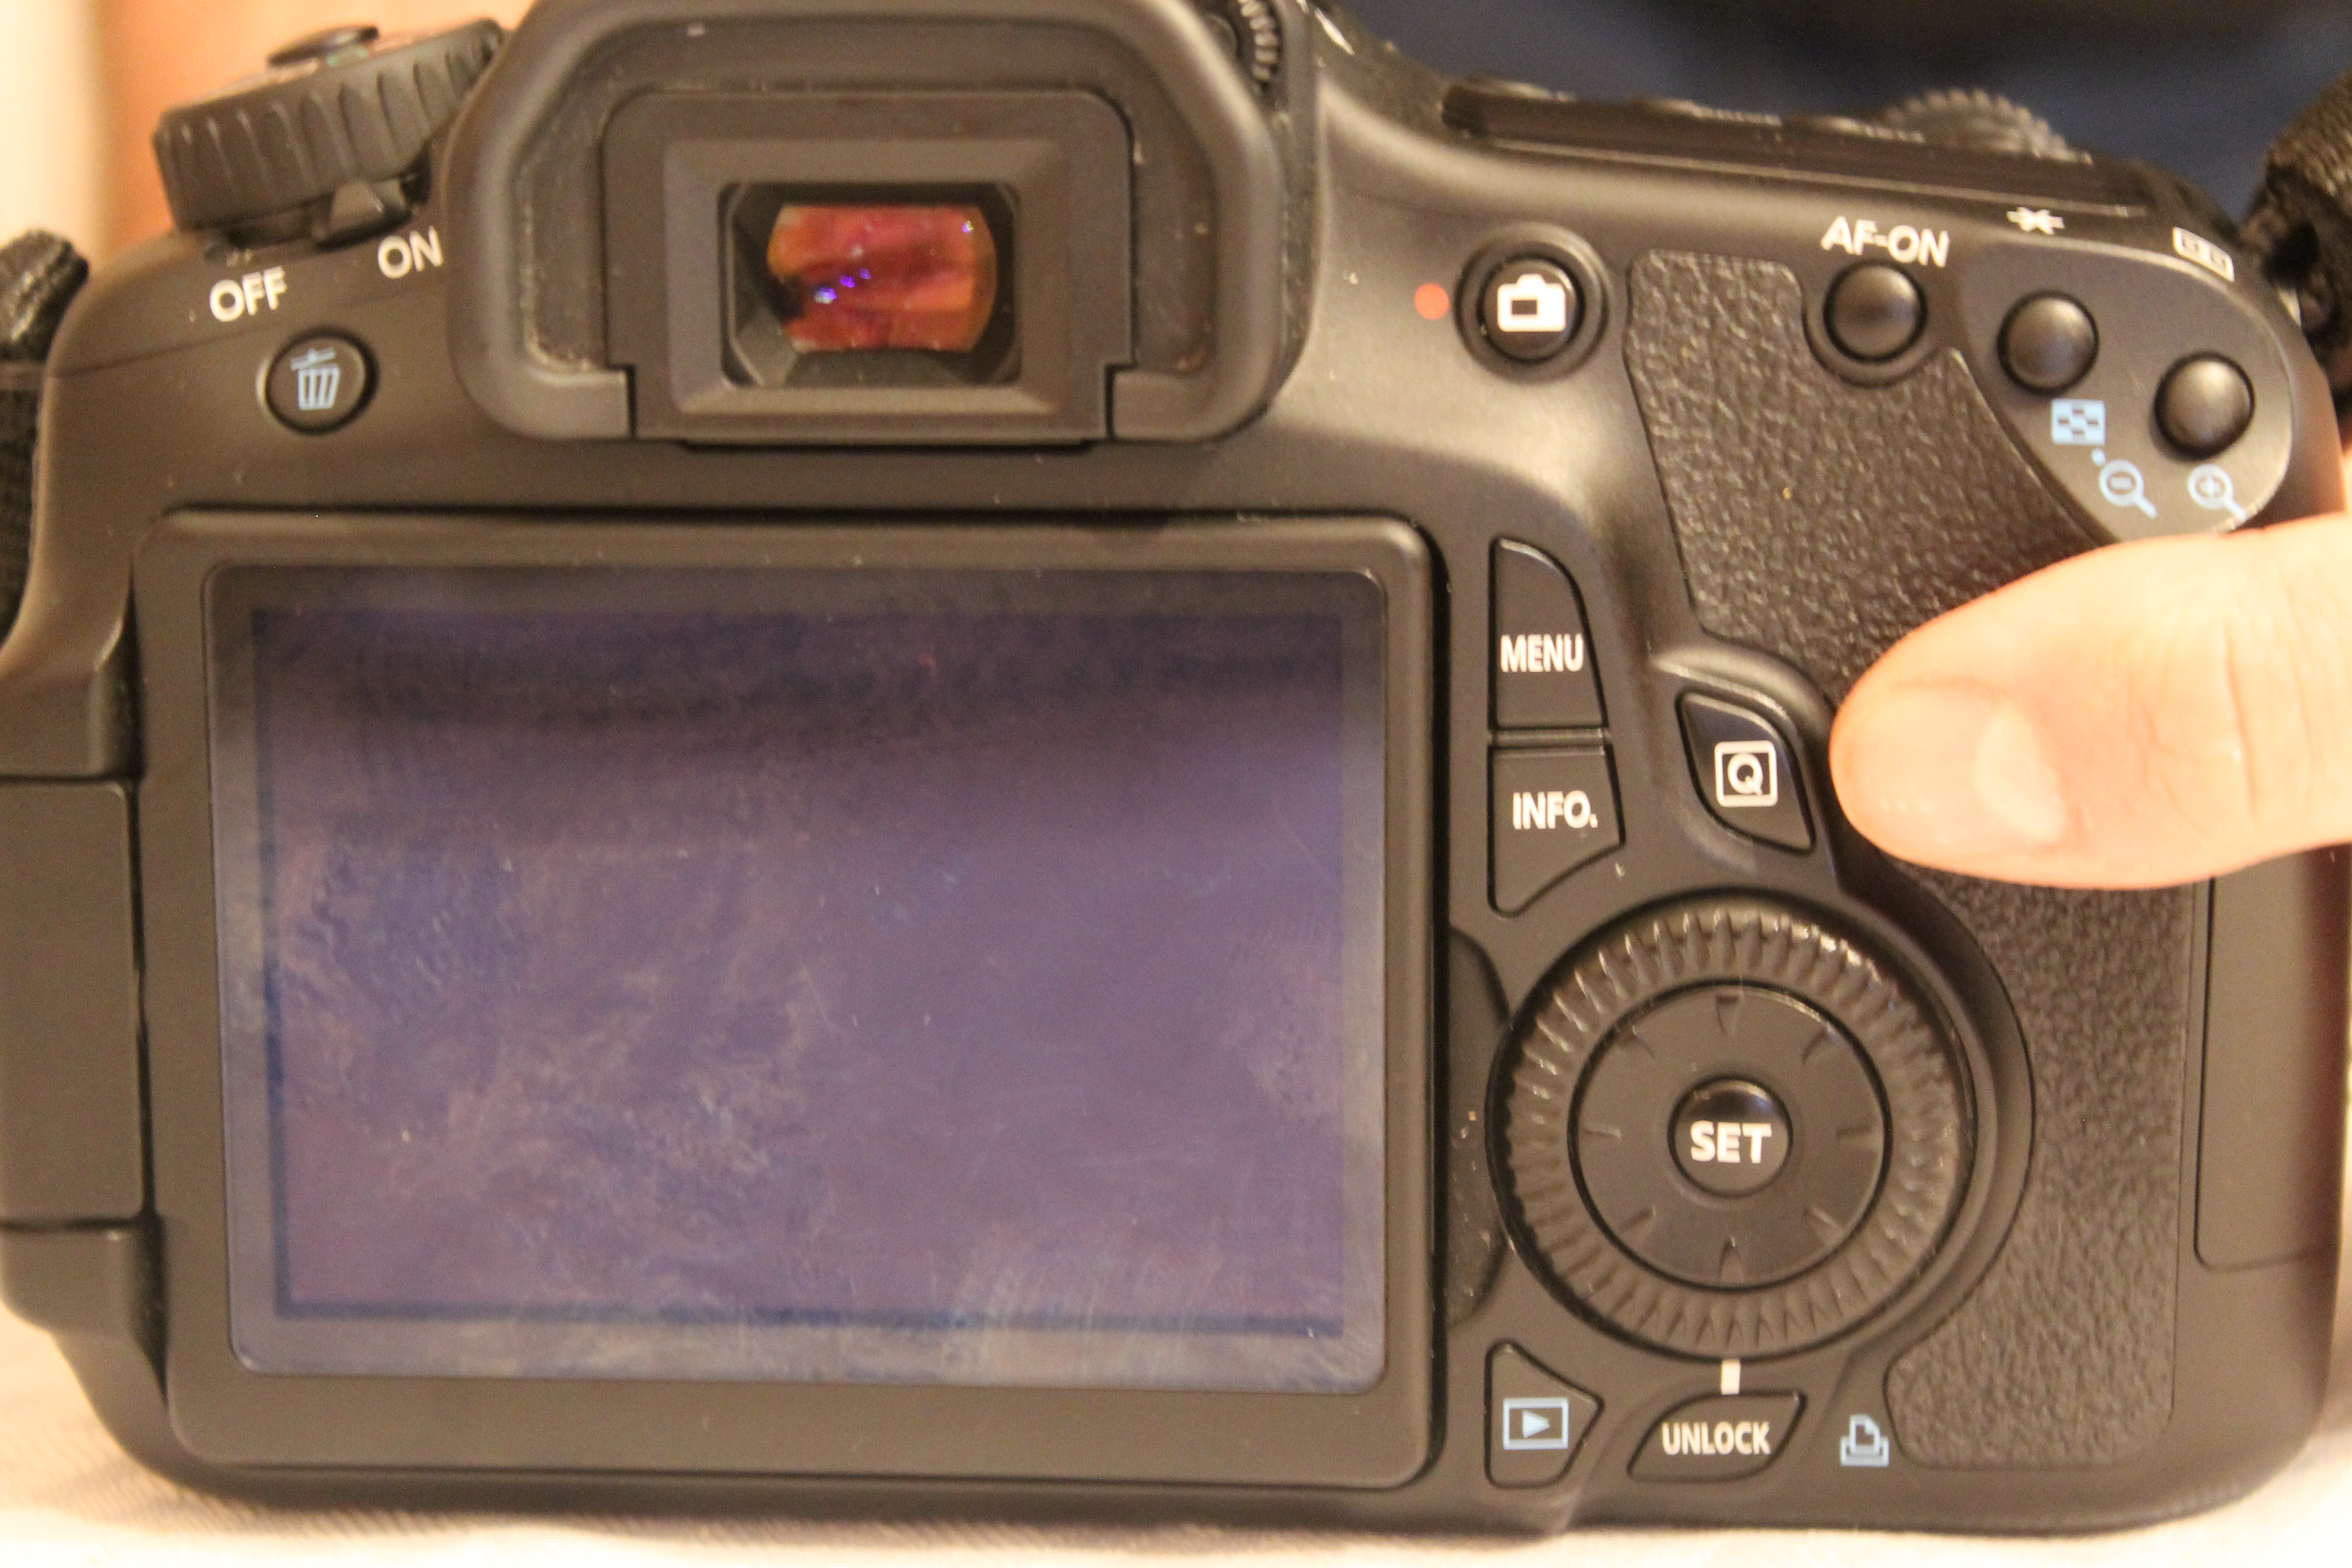
Canon has a “Q” button that lets you select the different options quickly that you would like to use. Nikon has an “INFO” or “i” button. Different cameras will use different names, but when in doubt, just search for the “MENU” button as you can always change your settings there. Again, just consult your owner's manual as it will tell you the best way to review your settings,
Select an Aperture (fstop)
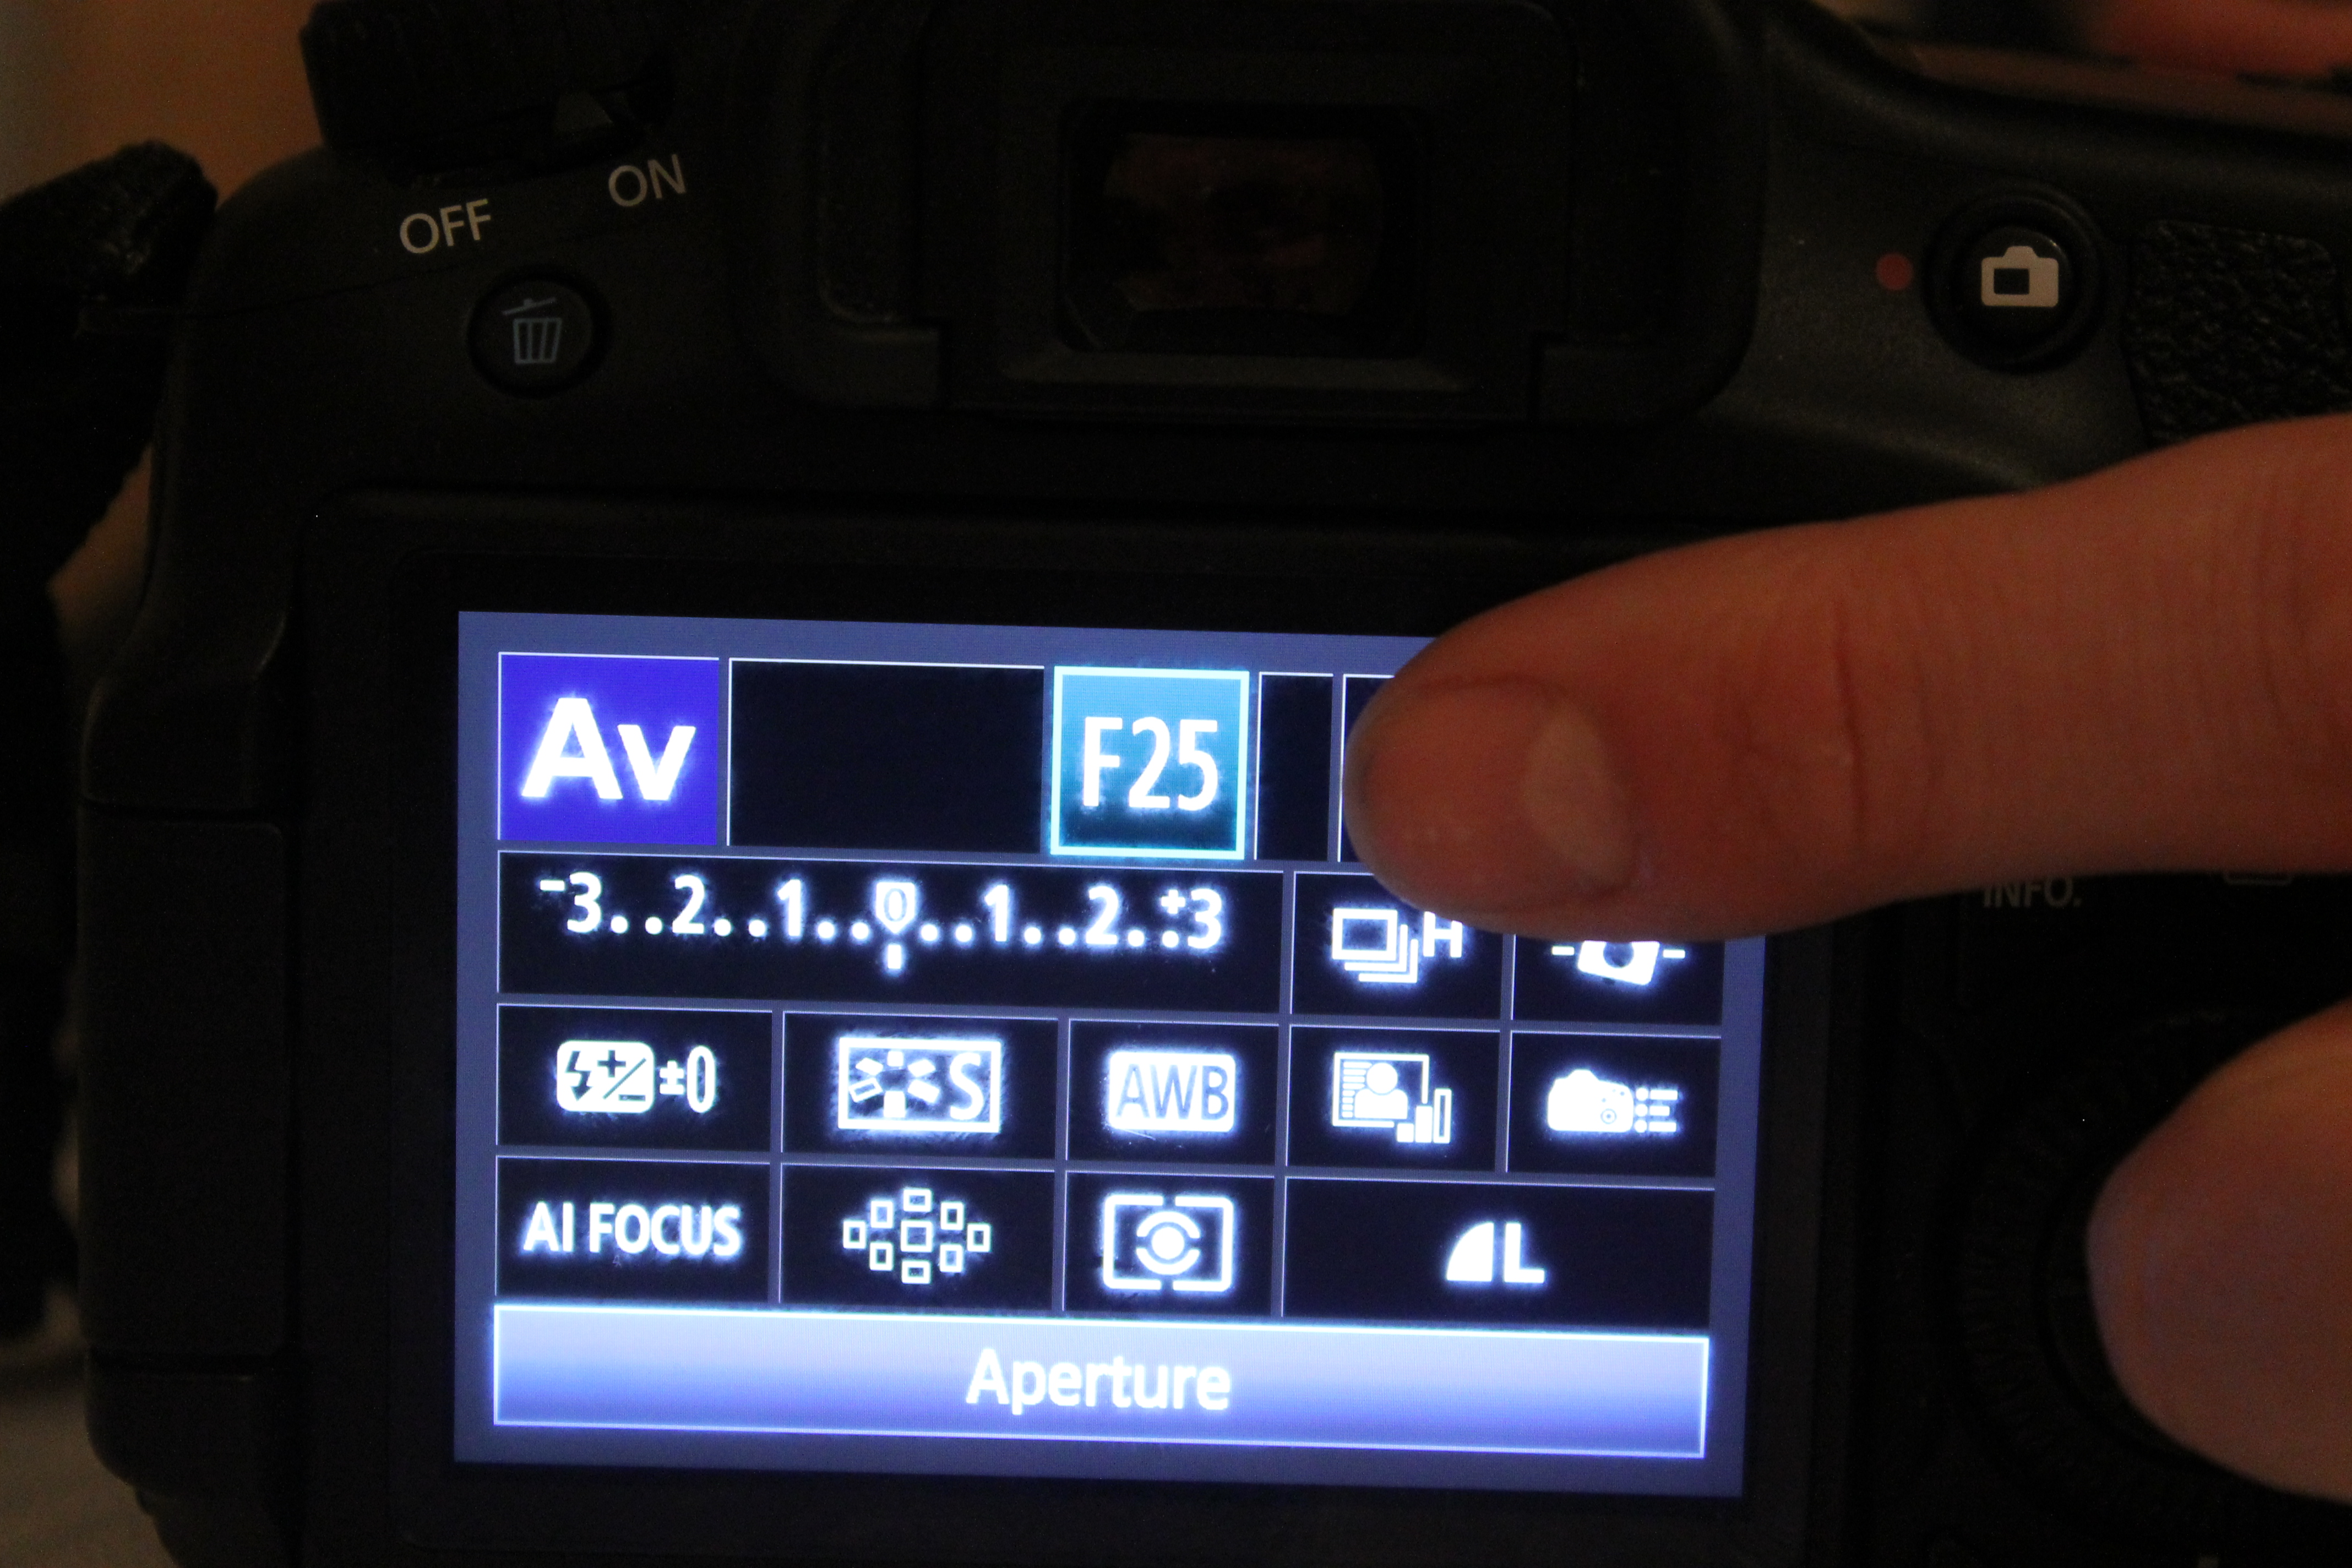
Select the box of available apertures (f-stops) and choose your aperture.
Low Aperture (1-6) – Select this option for something specific or part of something specific you want in focus.
Medium Aperture (7-15) - Select this option for a small group of things or multiple things that you would like to be in focus.
High Aperture (16 and up) – Select this option for many things or everything to be in focus.
*The numbers given are not set in stone. If you have an aperture capability of 64, more things will be in focus than even a 22 aperture which is still higher. It is all relative (bummer) so this is something to get used to.
Focus the Picture
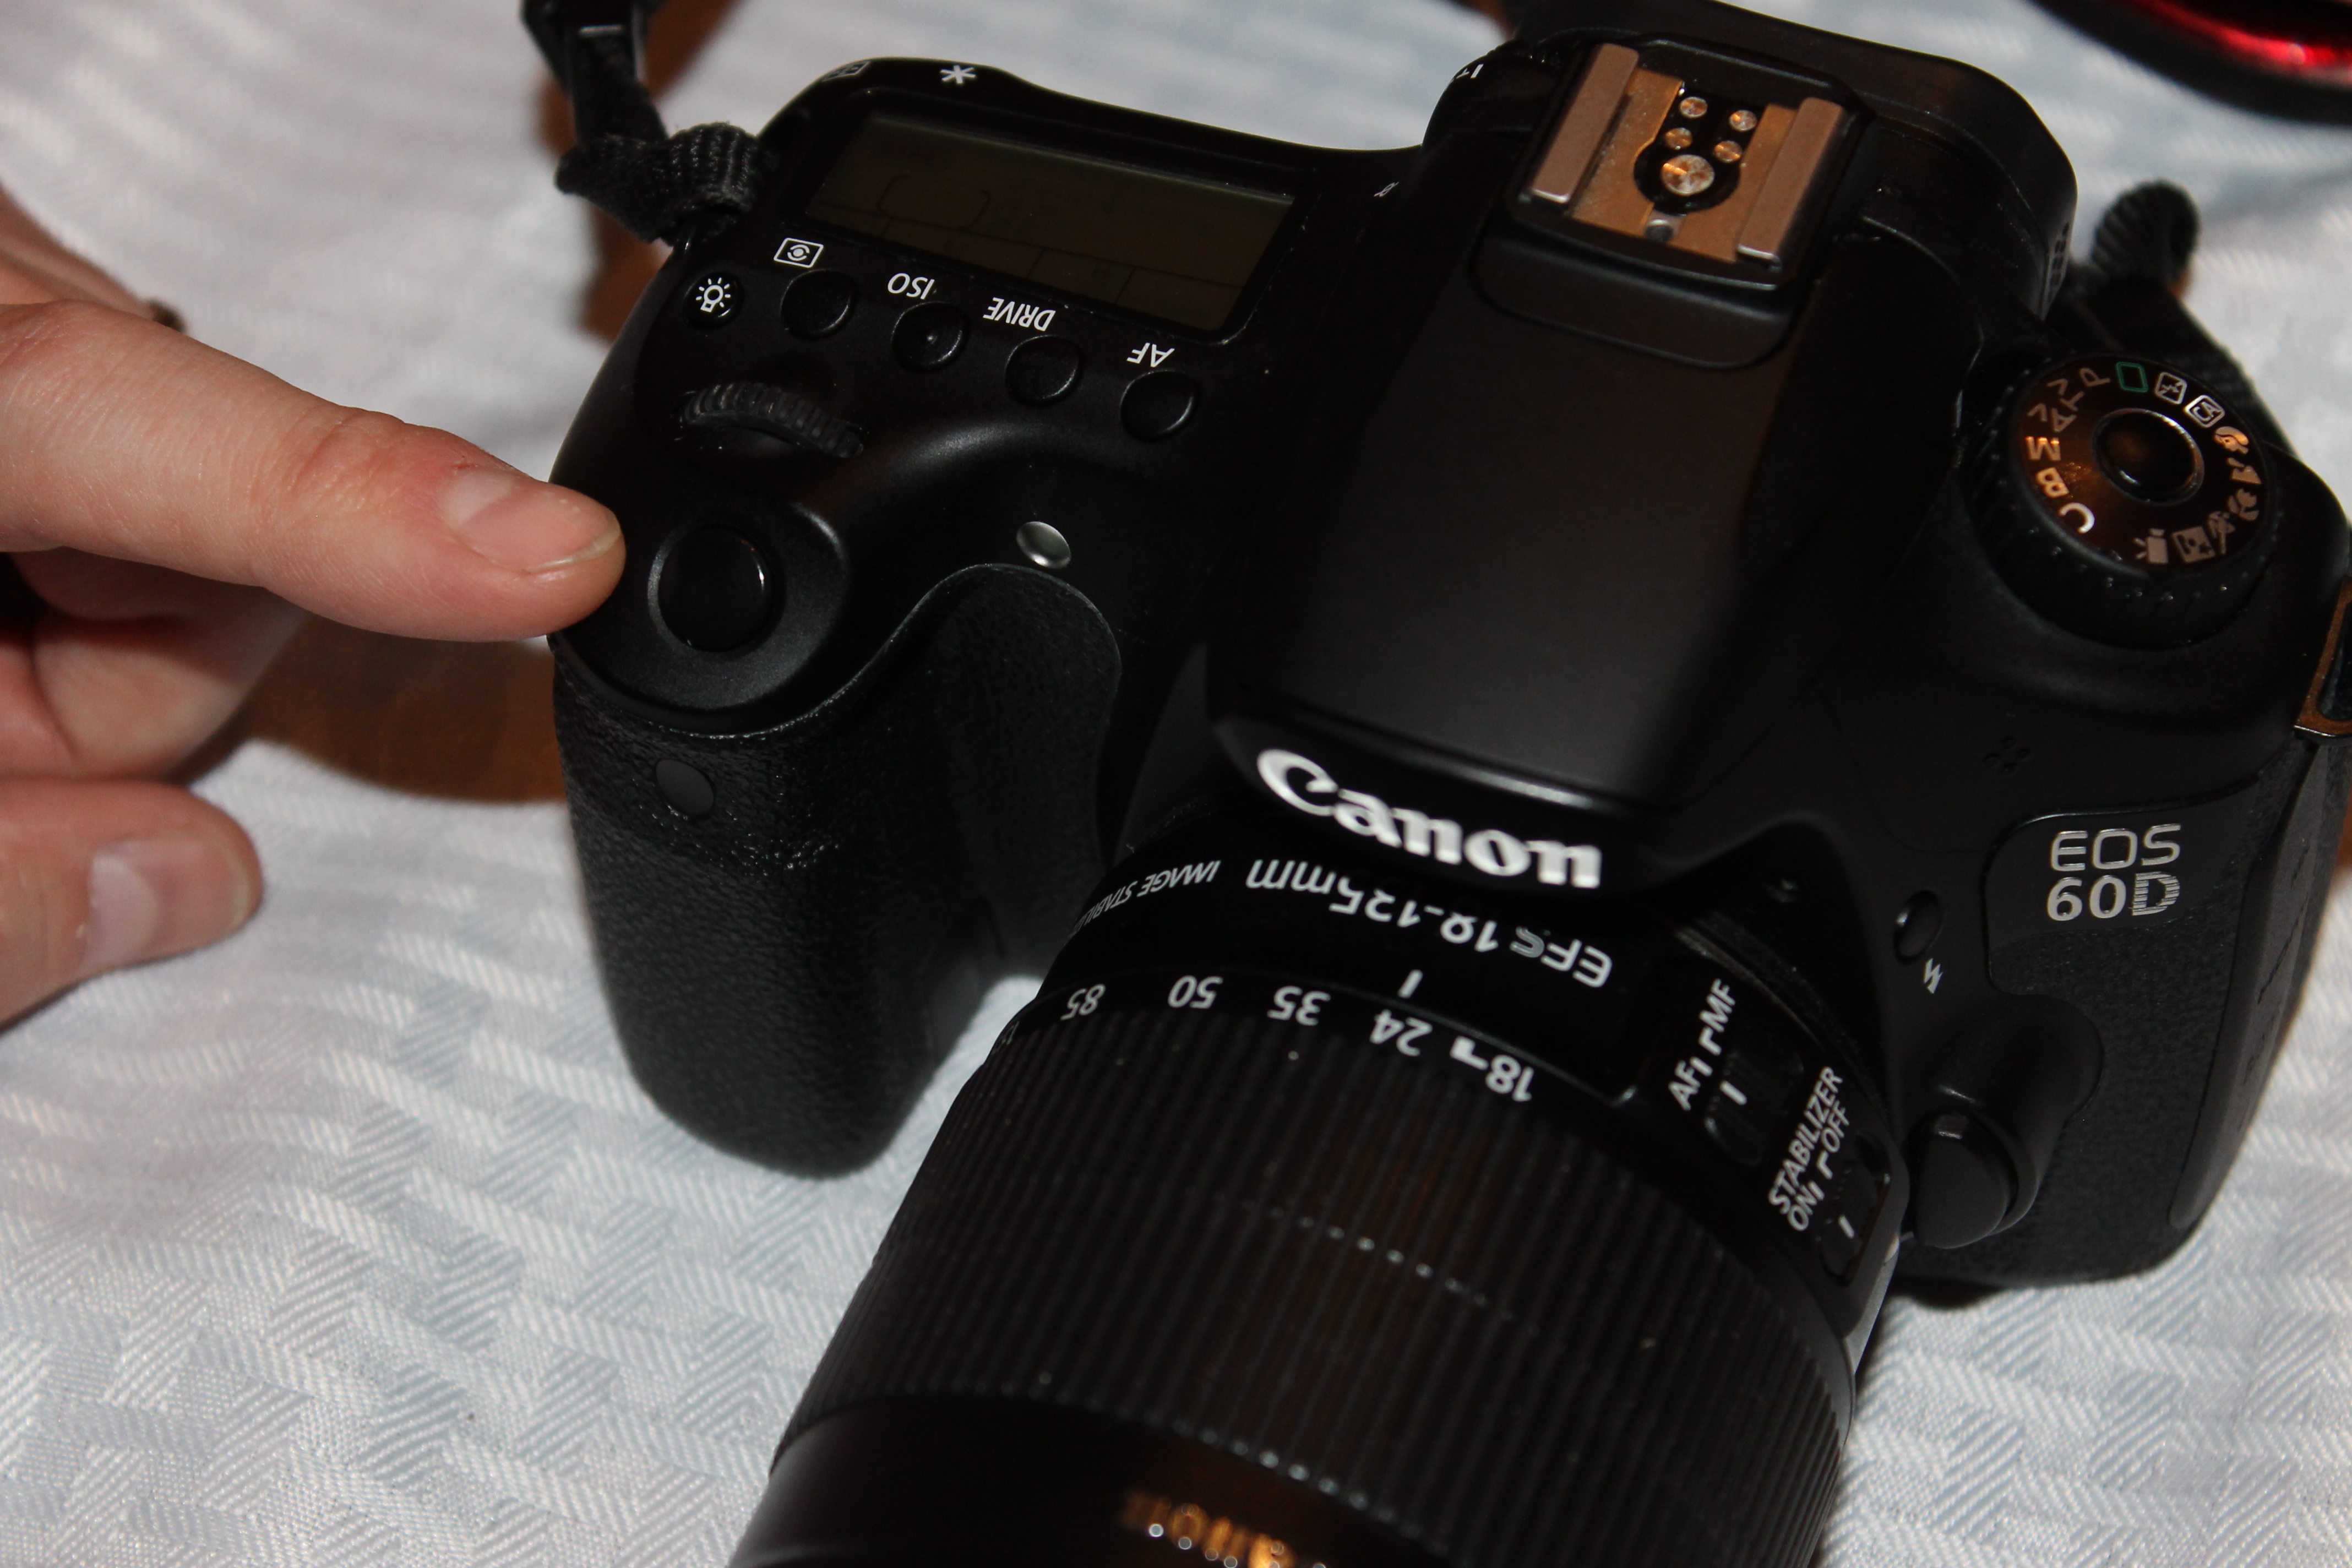
Most cameras default focus will be Automatic Focus. Press the Shutter Release button (the button that takes the picture) down halfway. You will usually see some sort of light pop up in the View Finder (where you look through while taking the picture). This tells you what the camera is focusing on and what will actually be in focus when you snap the picture. Some cameras let you use Manual Focus, but I wouldn’t recommend that unless you are pretty used to your camera. Automatic Focus will do a good job. If you don’t like what it started to focus on, just let go of the Shutter Release button and try again until it focuses on what you want.
Take the Picture
When you are ready and have everything in focus, snap the picture.
Review Your Picture
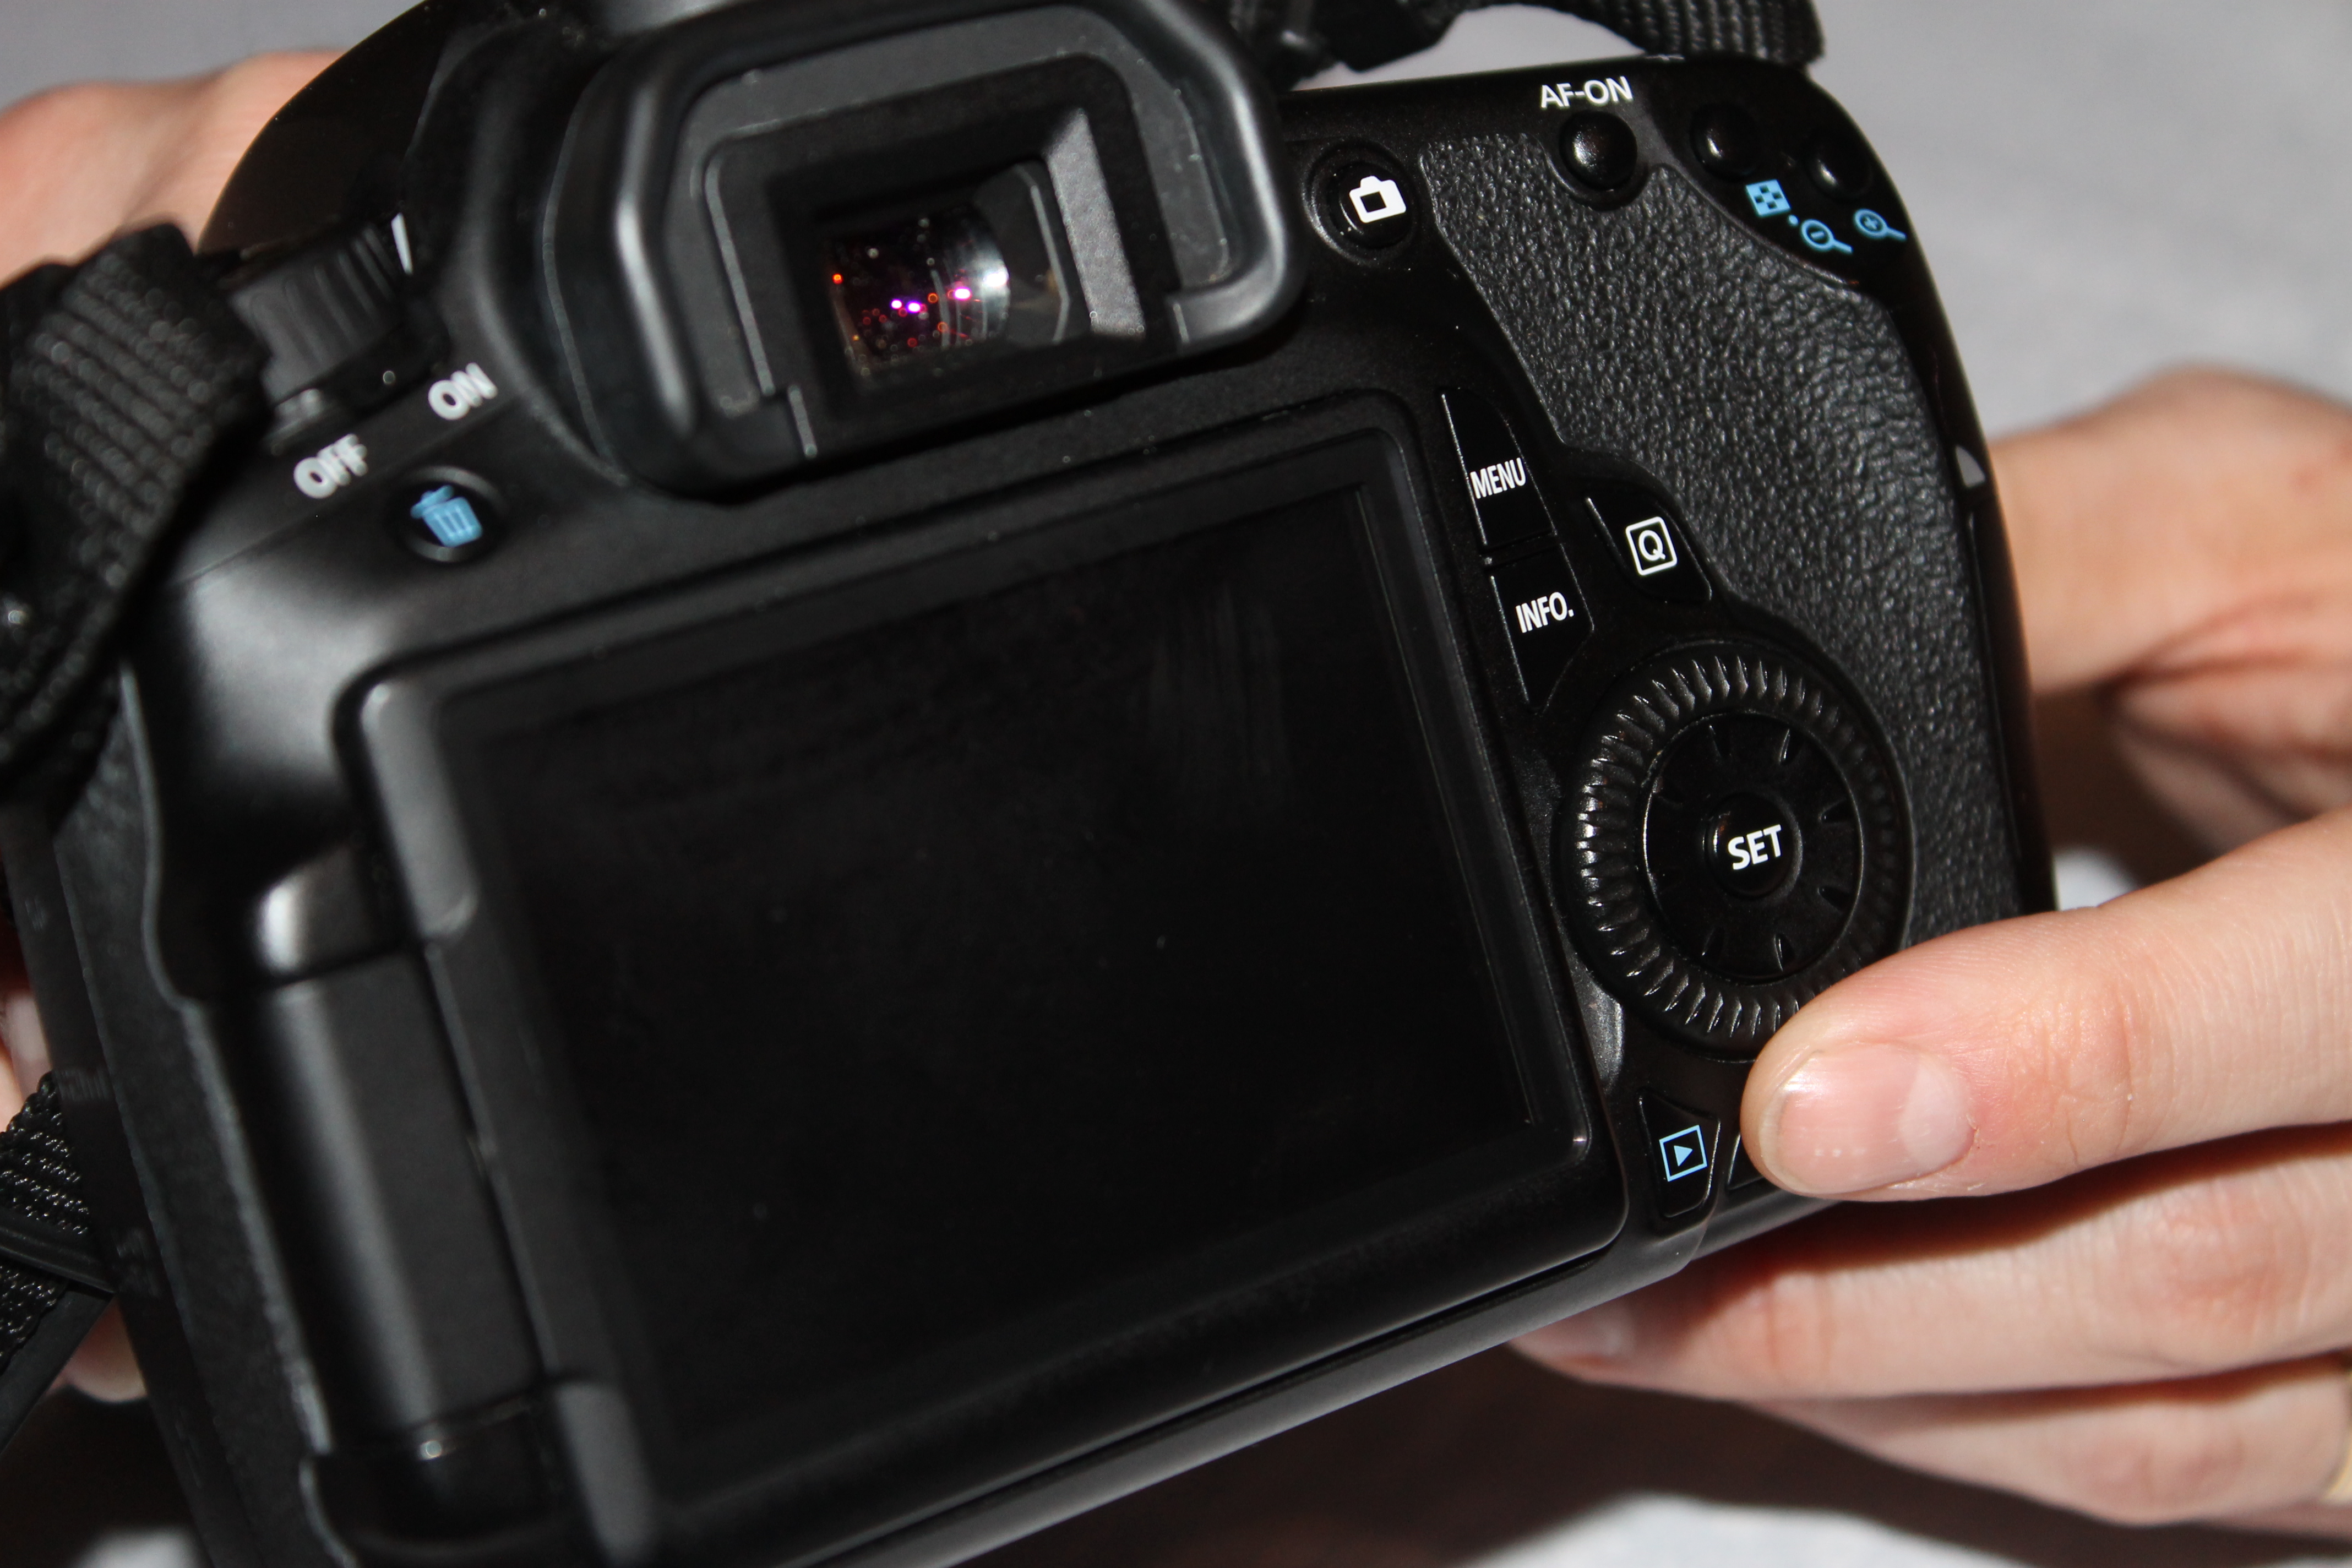
While almost every camera nowadays has the ability to review your photos instantly, it is best to review them on a computer. Not practical I know, but that is where you can really analyze your photo and see things much clearer. Regardless, take a look at the monitor either on your camera or the computer and look at your subject. Now look at the background. Did it come out like you wanted? Did you want to focus on something more specific? Did you want to have a little bit more in focus? Go back and repeat steps 4 through 7 until you have your ideal image.
Practice
Photography takes a lot of time and patience. These settings seem complicated, but are totally worth it in the long run. Beauty is in the eye of the beholder so figure out what looks good to you and go for it.