How to Reuse Old CPUs and Make Beautiful Keyrings
by taste_the_code in Craft > Reuse
2275 Views, 8 Favorites, 0 Comments
How to Reuse Old CPUs and Make Beautiful Keyrings


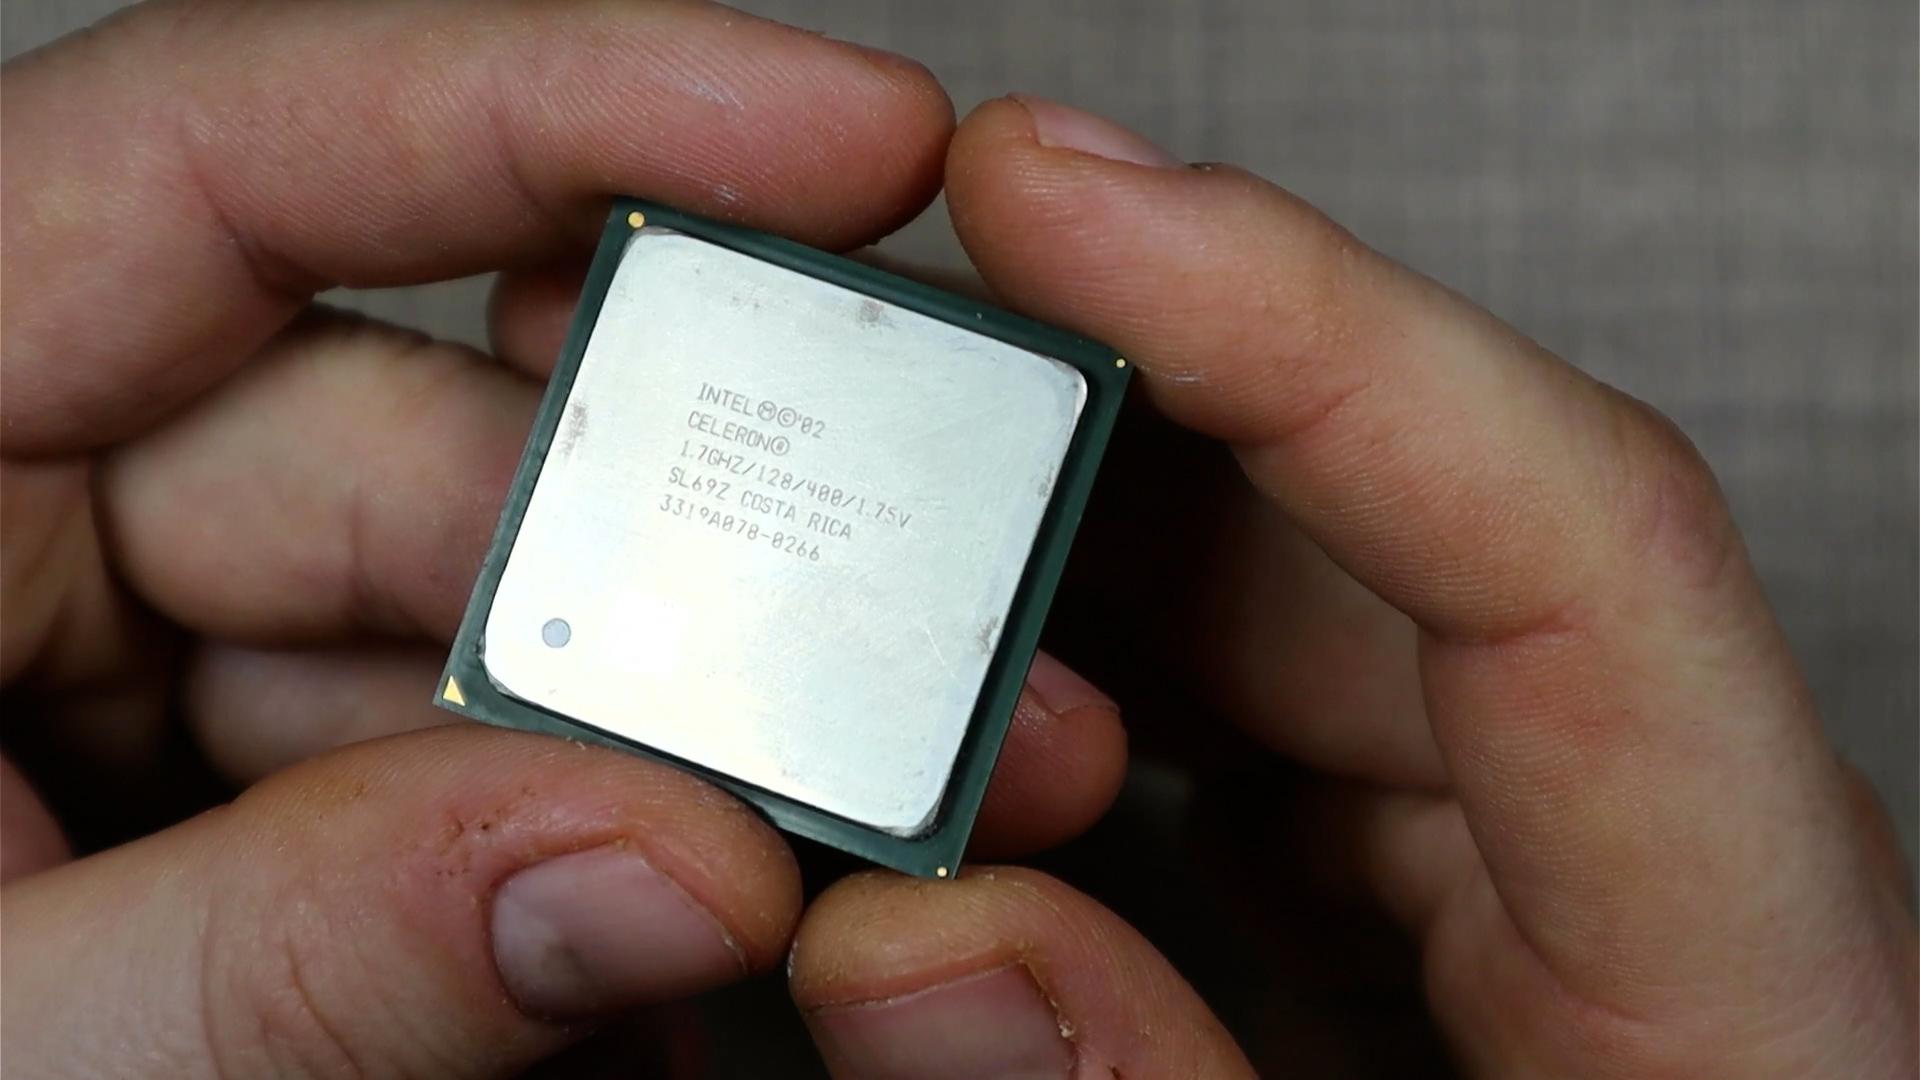
I had a few old CPUs laying around and since they are no longer useful to be used for their intended purpose, I wanted to give them a new life and make pendants out of them.
This is far from their original purpose but because of their size and weight, they are a perfect match for keyrings.
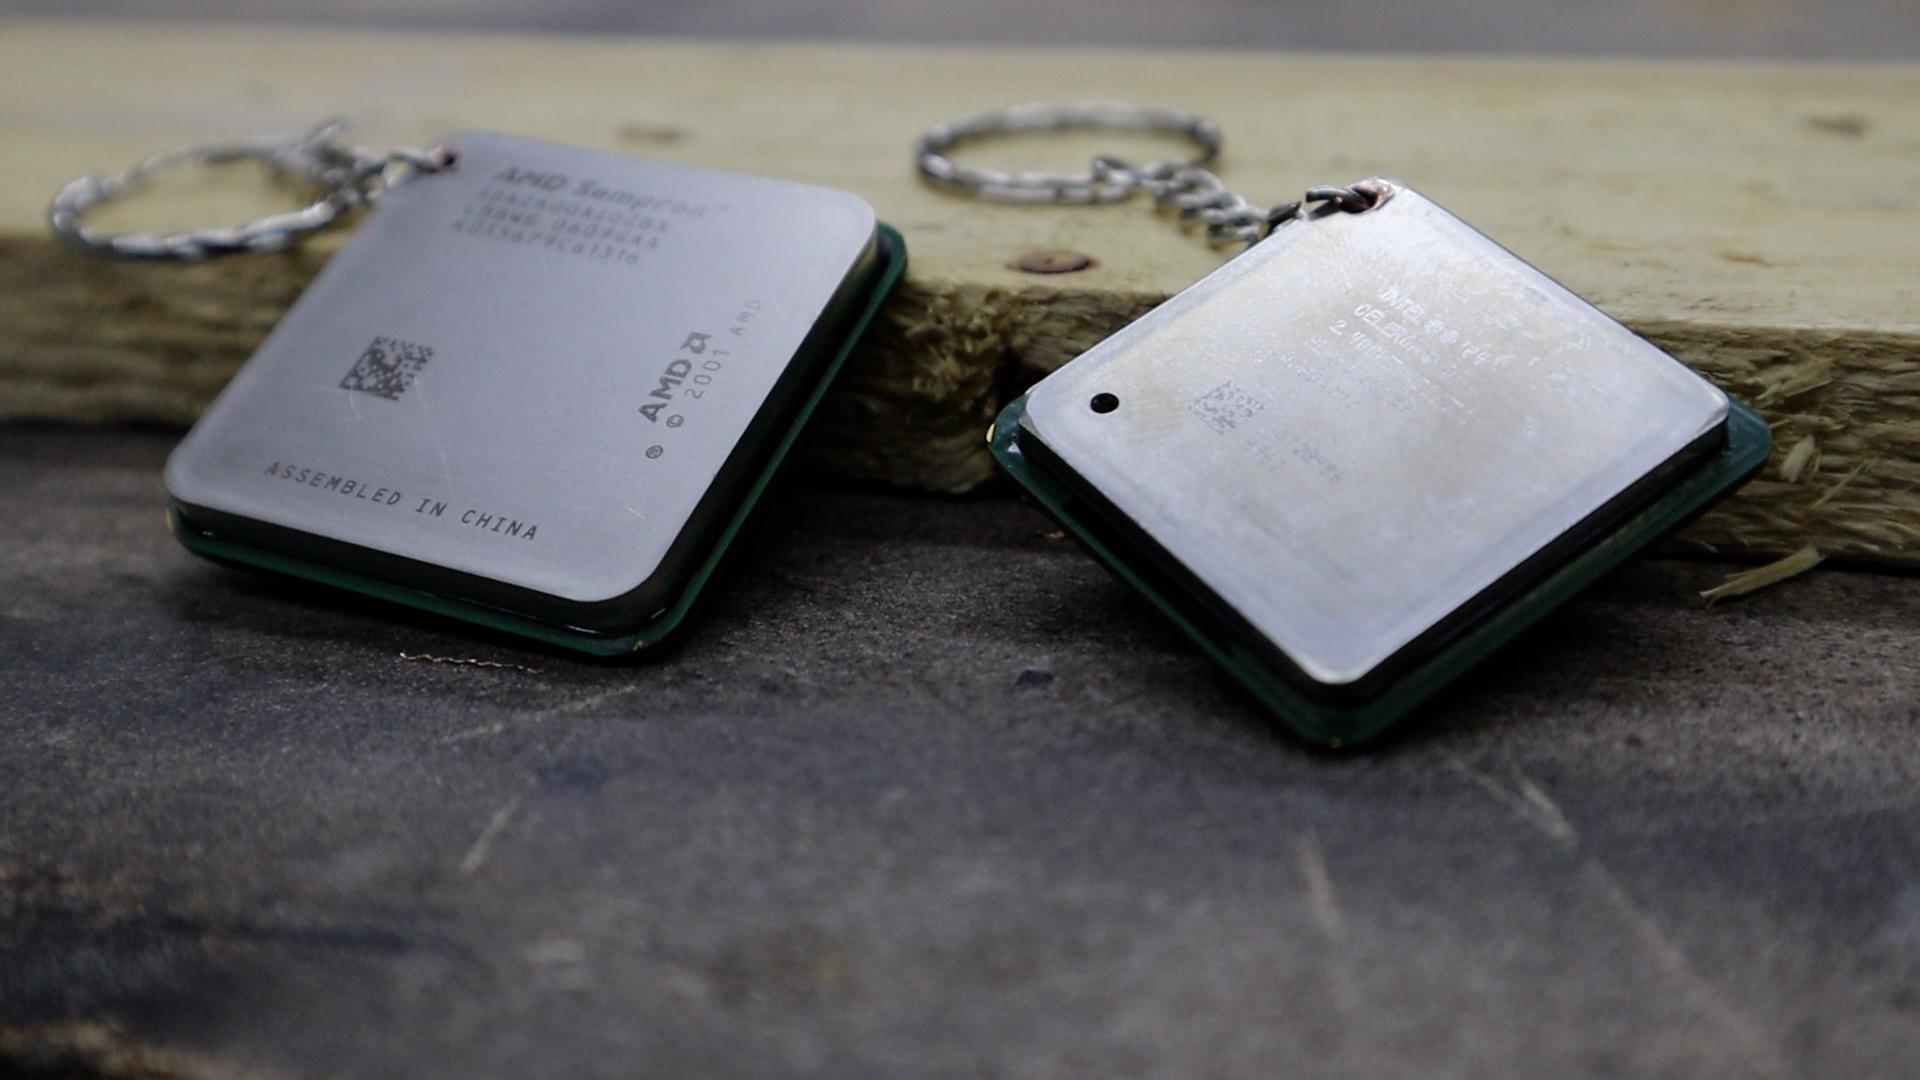
Not only that they function well, but they also look cool and they are sure to cause some interest in other people once they see them.
Supplies
- Soldering station - https://www.banggood.com/custlink/vmKdjiYfv
https://s.click.aliexpress.com/e/_AFSRtQ - Soldering helping hand - https://s.click.aliexpress.com/e/_A4okCY
- Fumes Extractor - https://s.click.aliexpress.com/e/_AoP4bq
- Battery Drill - https://s.click.aliexpress.com/e/_A4pMFq
- Assorted Drill Bits - https://s.click.aliexpress.com/e/_Ar8mK8
- Keyring chain - https://s.click.aliexpress.com/e/_AprHwg
Remove the CPU Pins


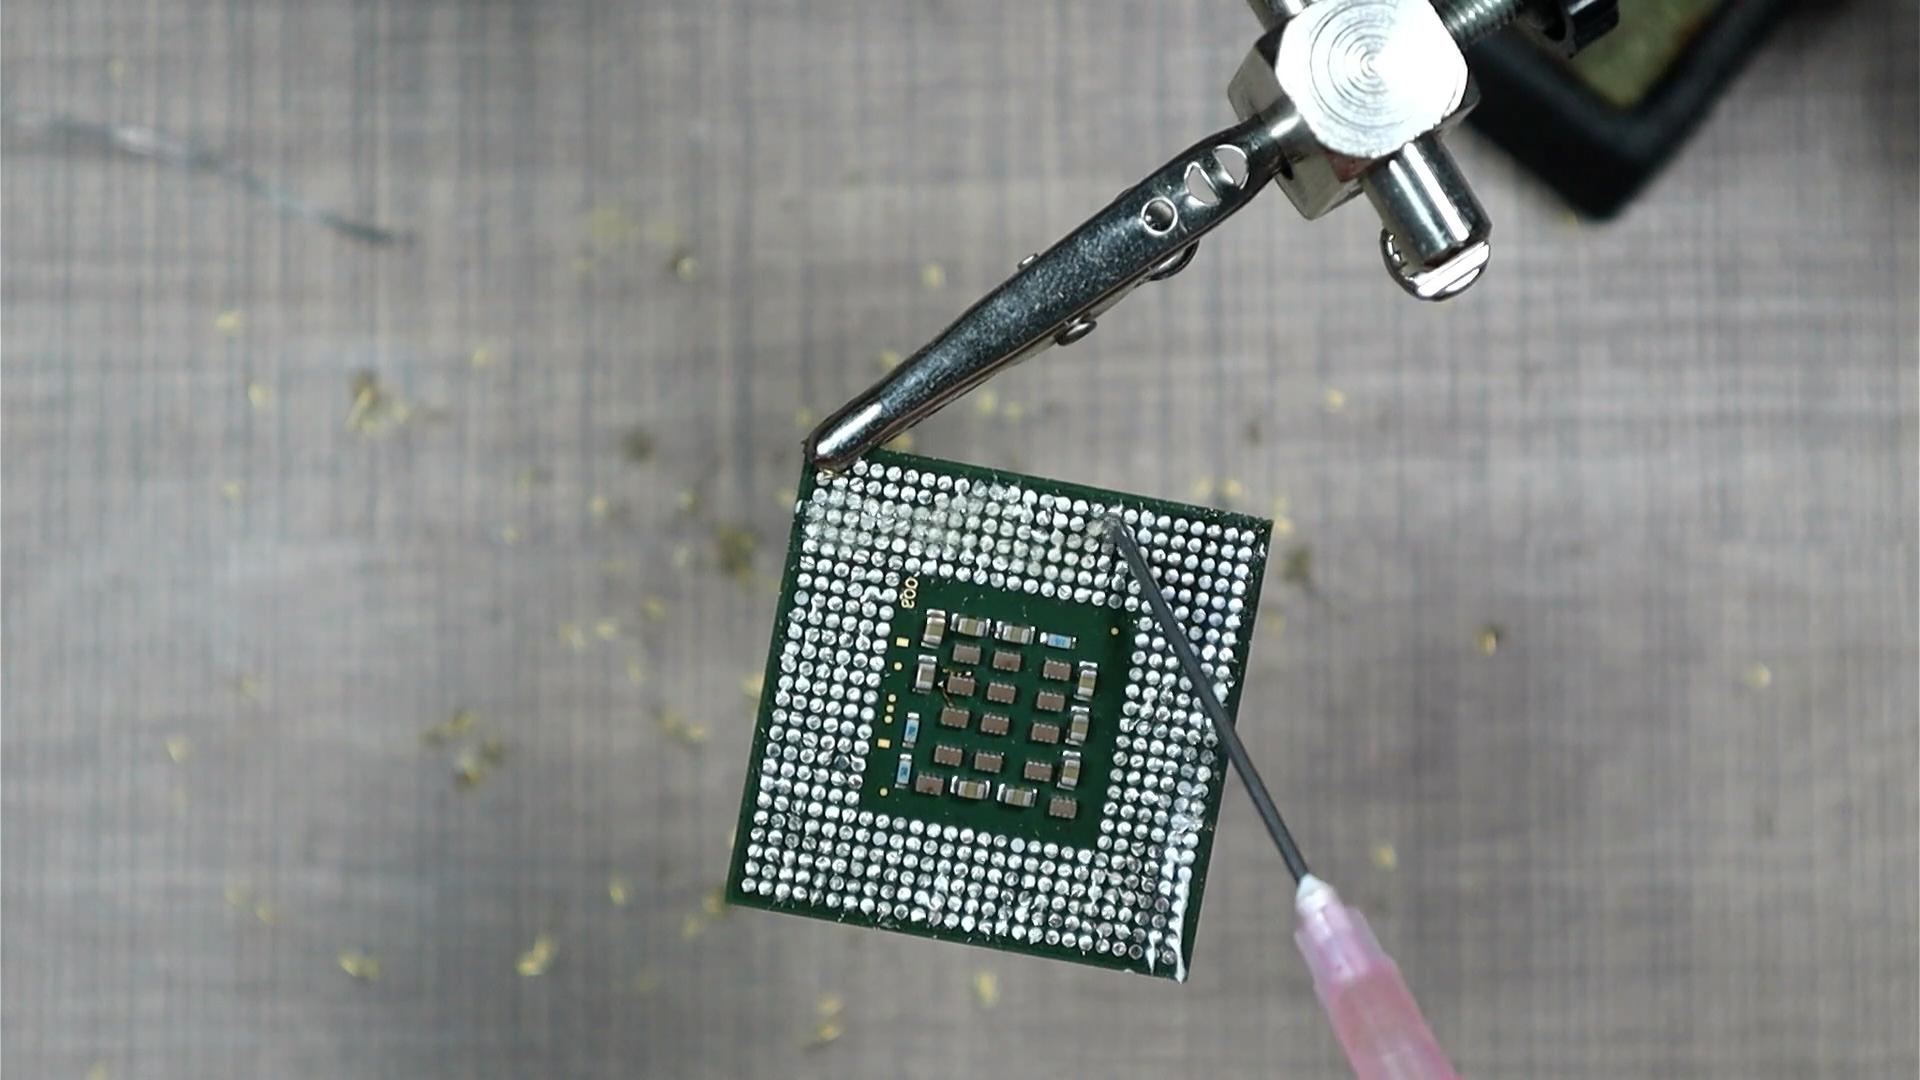
The CPUs I have come with pins on the bottom that are then inserted into the appropriate socket on the PC motherboards.
Since these pins are sharp and can cause damage to the pockets, I decided to remove them.
I first tried removing them with a soldering iron but since the backside of the CPU is made out of a huge chunk of copper, a lot of heat was removed through the copper and the soldering iron was struggling to remove the pins.
So, I switched to my hot air gun, and with it, I first applied heat to the entire CPU and I then started focusing on one section at a time. When the CPU was brought to a higher temperature, the solder started melting on the section where the hot air was focused and I then removed the pins by using a screwdriver.
Once all of the pins were removed, I used my soldering iron to clean up the remaining pads and add a small bead of solder to them.
This process leaves an interesting texture on the underside of the CPU that makes it interesting and nice to the touch.
Clean Flux Residue


All of the soldering leaves a lot of flux residue on the CPUs and I used some q-tips and isopropyl alcohol to clean it up.
Remove Sharp Corners


Since the CPUs are rectangular, their sharp corners can be dangerous and unpleasant to be held in pockets so we need to round them off.
For that, I used my drum sander to quickly round them off, but this can easily me made by hand with a sanding pad or a file.
Drill a Hole Through the CPUs


In order for the CPU to be attached to the keyring chain, we need a hole where we can thread the final link through.
For this, I used a 2mm drill bit and I carefully drilled a hole on the edge of the metal cover of the CPU. It is very important that we leave a layer of the copper intact on the outside of the hole so the keyring can be a lot stronger than by holding by the PCB only.
Once the hole was drilled, I used a larger drill bit to clean up the hole from both sides so we can thread the chain more easily and not have any sharp edges.
Attach the Keyring Chain


With the CPUs prepared, we can open the final link of the keyring chain with some needle nose pliers and thread that link through the hole that we just made.
Once through, we can use the pliers to close that link and with that, we now have a fully functional keyring.
I'm really pleased with how the keychains look and I will definitely be using them on my keys.
If you like it as well, be sure to check out my other Instructables and also check out my YouTube channel for more ideas on electronics and making.