How to Replace PEI on a Print Bed
by MrErdreich in Workshop > 3D Printing
7351 Views, 12 Favorites, 0 Comments
How to Replace PEI on a Print Bed
These days, many 3D printers utilize a PEI film for bed adhesion rather than tape or raw material as there are many benefits to PEI. But what is PEI? Well Polyetherimide, or PEI, is a thermoplastic that provides excellent adhesion with minimal to no surface prep for many different types of 3D printer filaments. When heated above 45 degrees C, PEI expands which provides a good surface for your parts to stick to. When the film cools below 45 degrees, it then retracts which releases the parts for easy removal. PEI bonds differently to different plastics, and definitely works best with lower temp plastics like PLA. But PETg, ABS, and Nylon can all be printed on PEI. For some of these materials, they may stick too well so surface prep, like a layer of PVA glue stick. I also reccomend using a bare glass bed with PVA glue for TPU filaments as they bond aggressively to PEI.
But overtime, the PEI will begin to wear and need replacing. How can you tell its time to replace your PEI? Well poor bed adhesion is usually not a sign its time to replace. Poor adhesion could be due to a million things, like faulty print temperatures or misaligned Z-offsets, or a dirty bed as well. You can clean PEI easily with isopropyl alcohol, and you can even scuff it up using really fine sandpaper to increase its abrasiveness. Typically, PEI needs to be replaced when it begins effecting print quality due to rips, gouges, or peeling / bubbling.
Through this instructable, I'll walk you through the steps!
Supplies
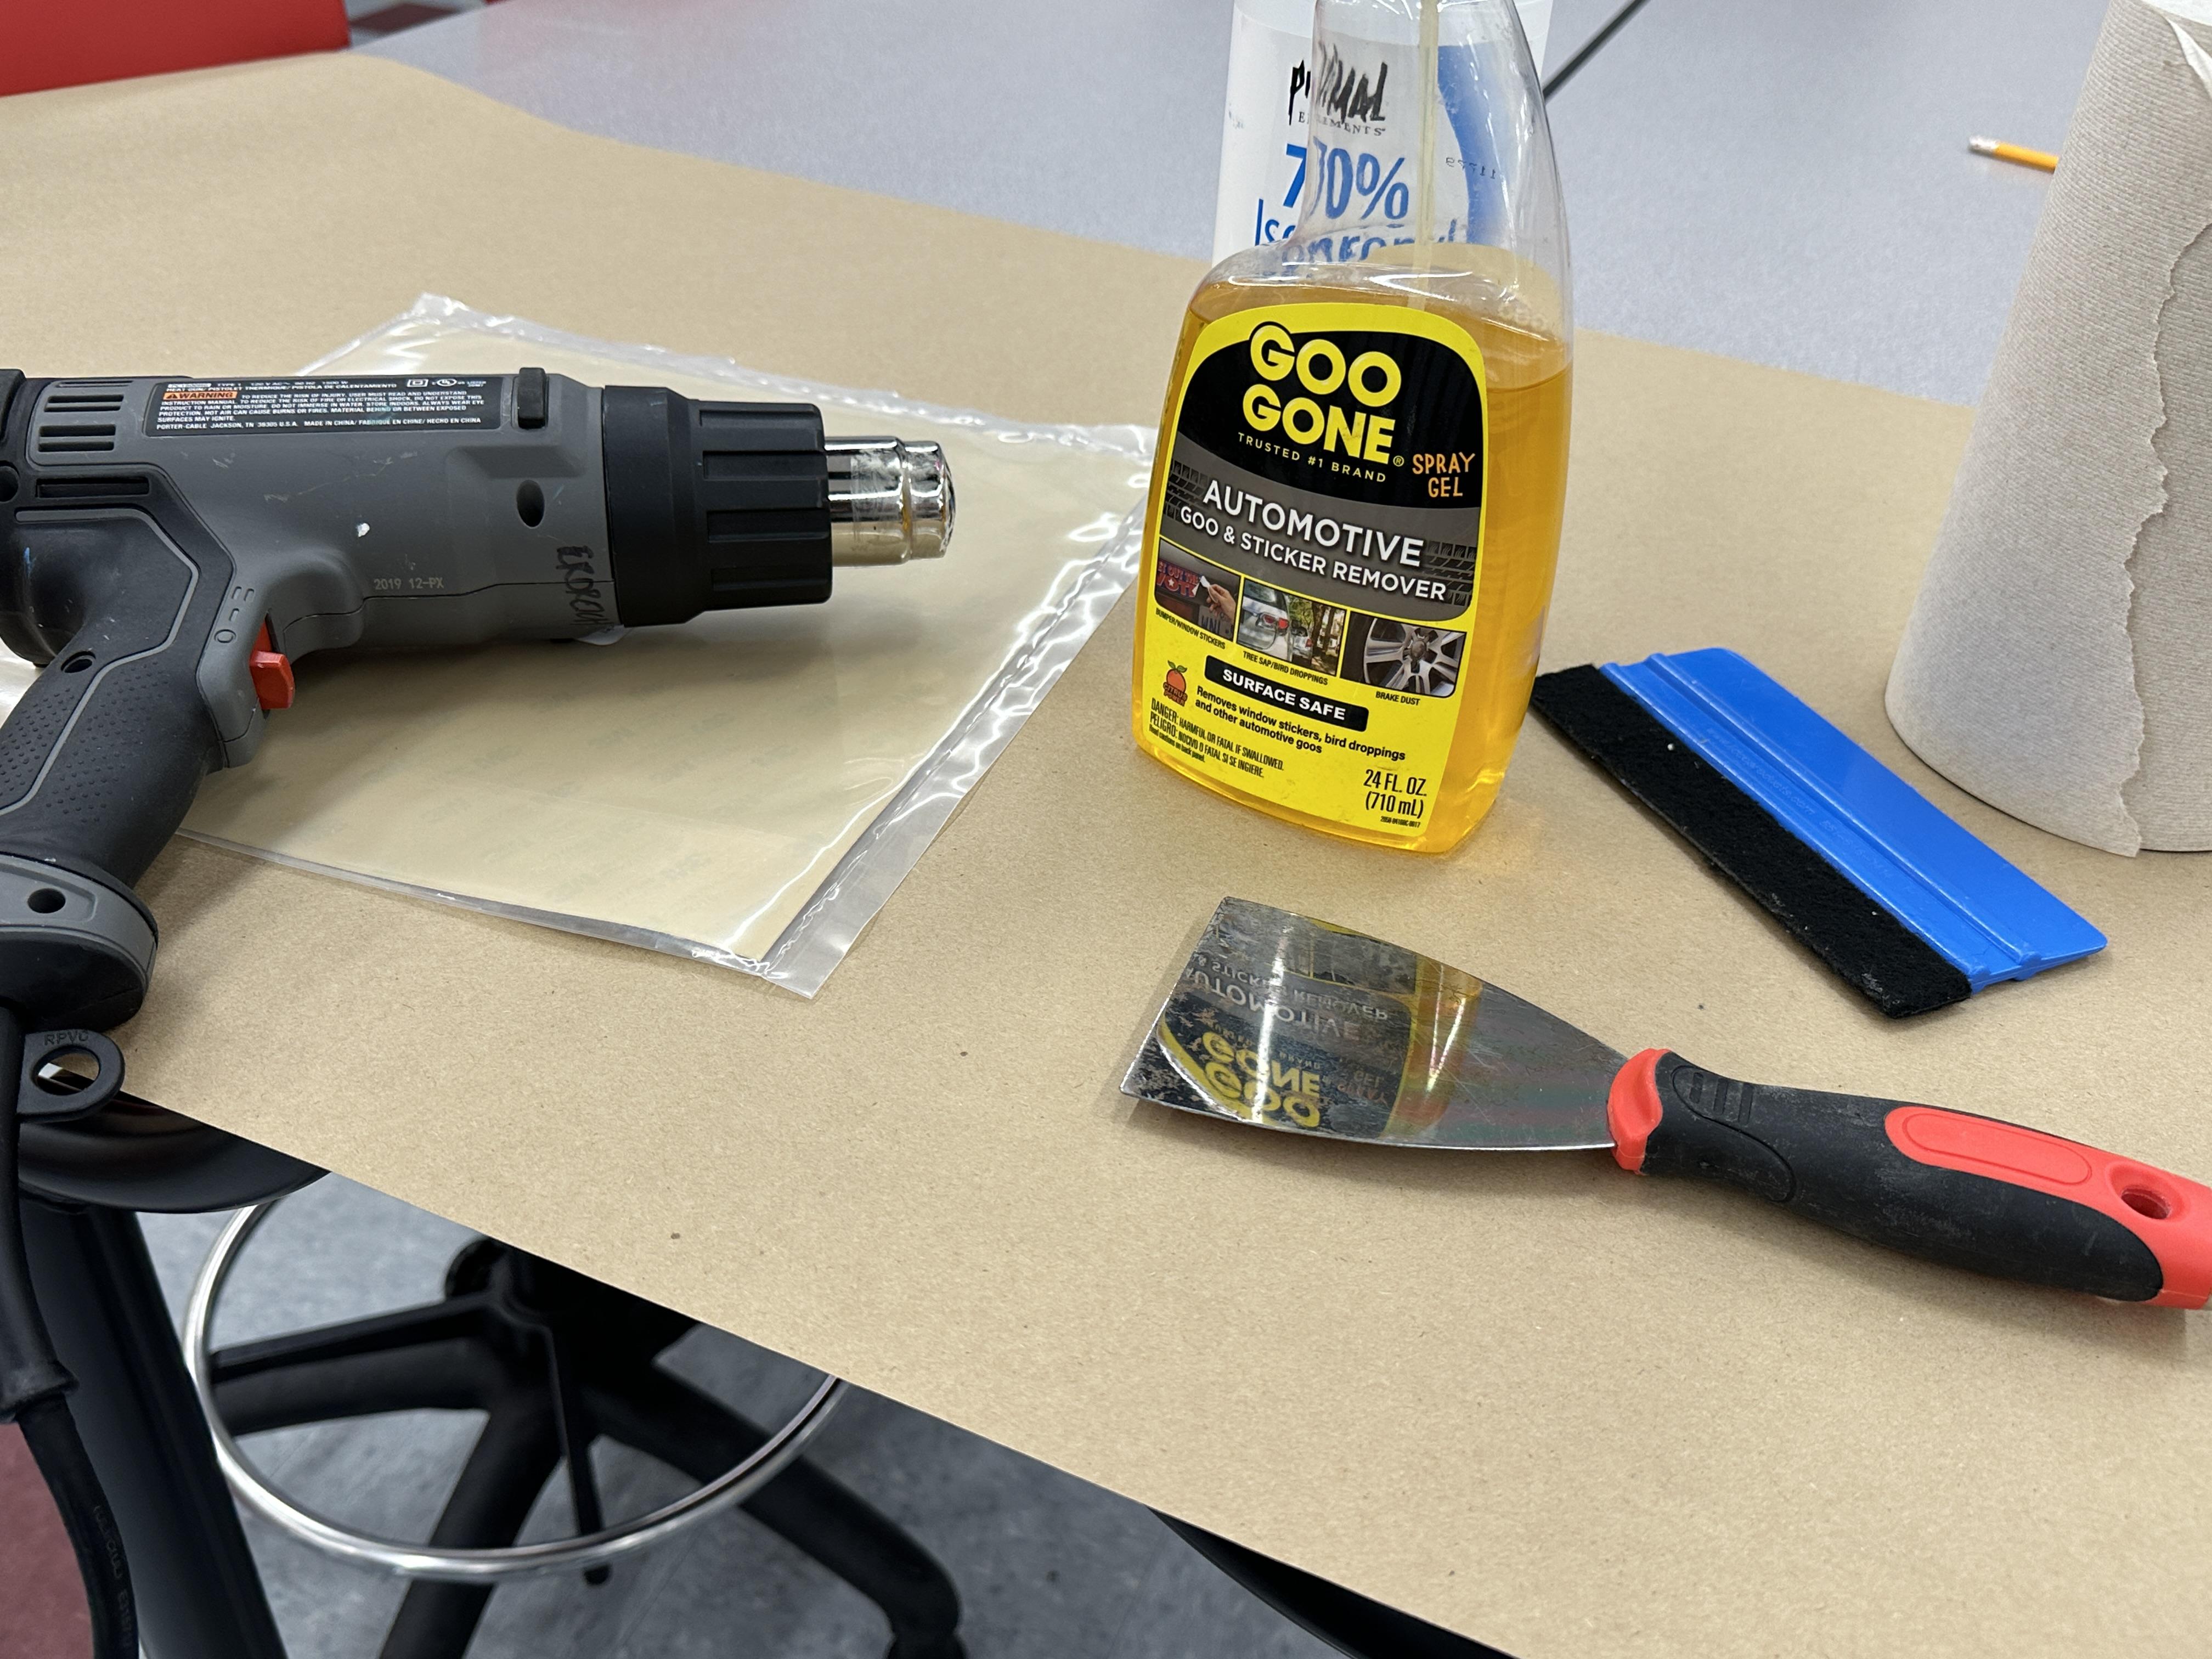
To remove and replace the PEI layer on your print bed, you will need the following supplies and tools:
- A replacement PEI sheet
- 70% Isopropyl alcohol
- Goo Gone
- Flat Scraper or Metal Putty Knife
- Razor Blades
- Squeegee
- Heat Gun
- Paper Towels
- Protective Gloves
Removing the Print Bed
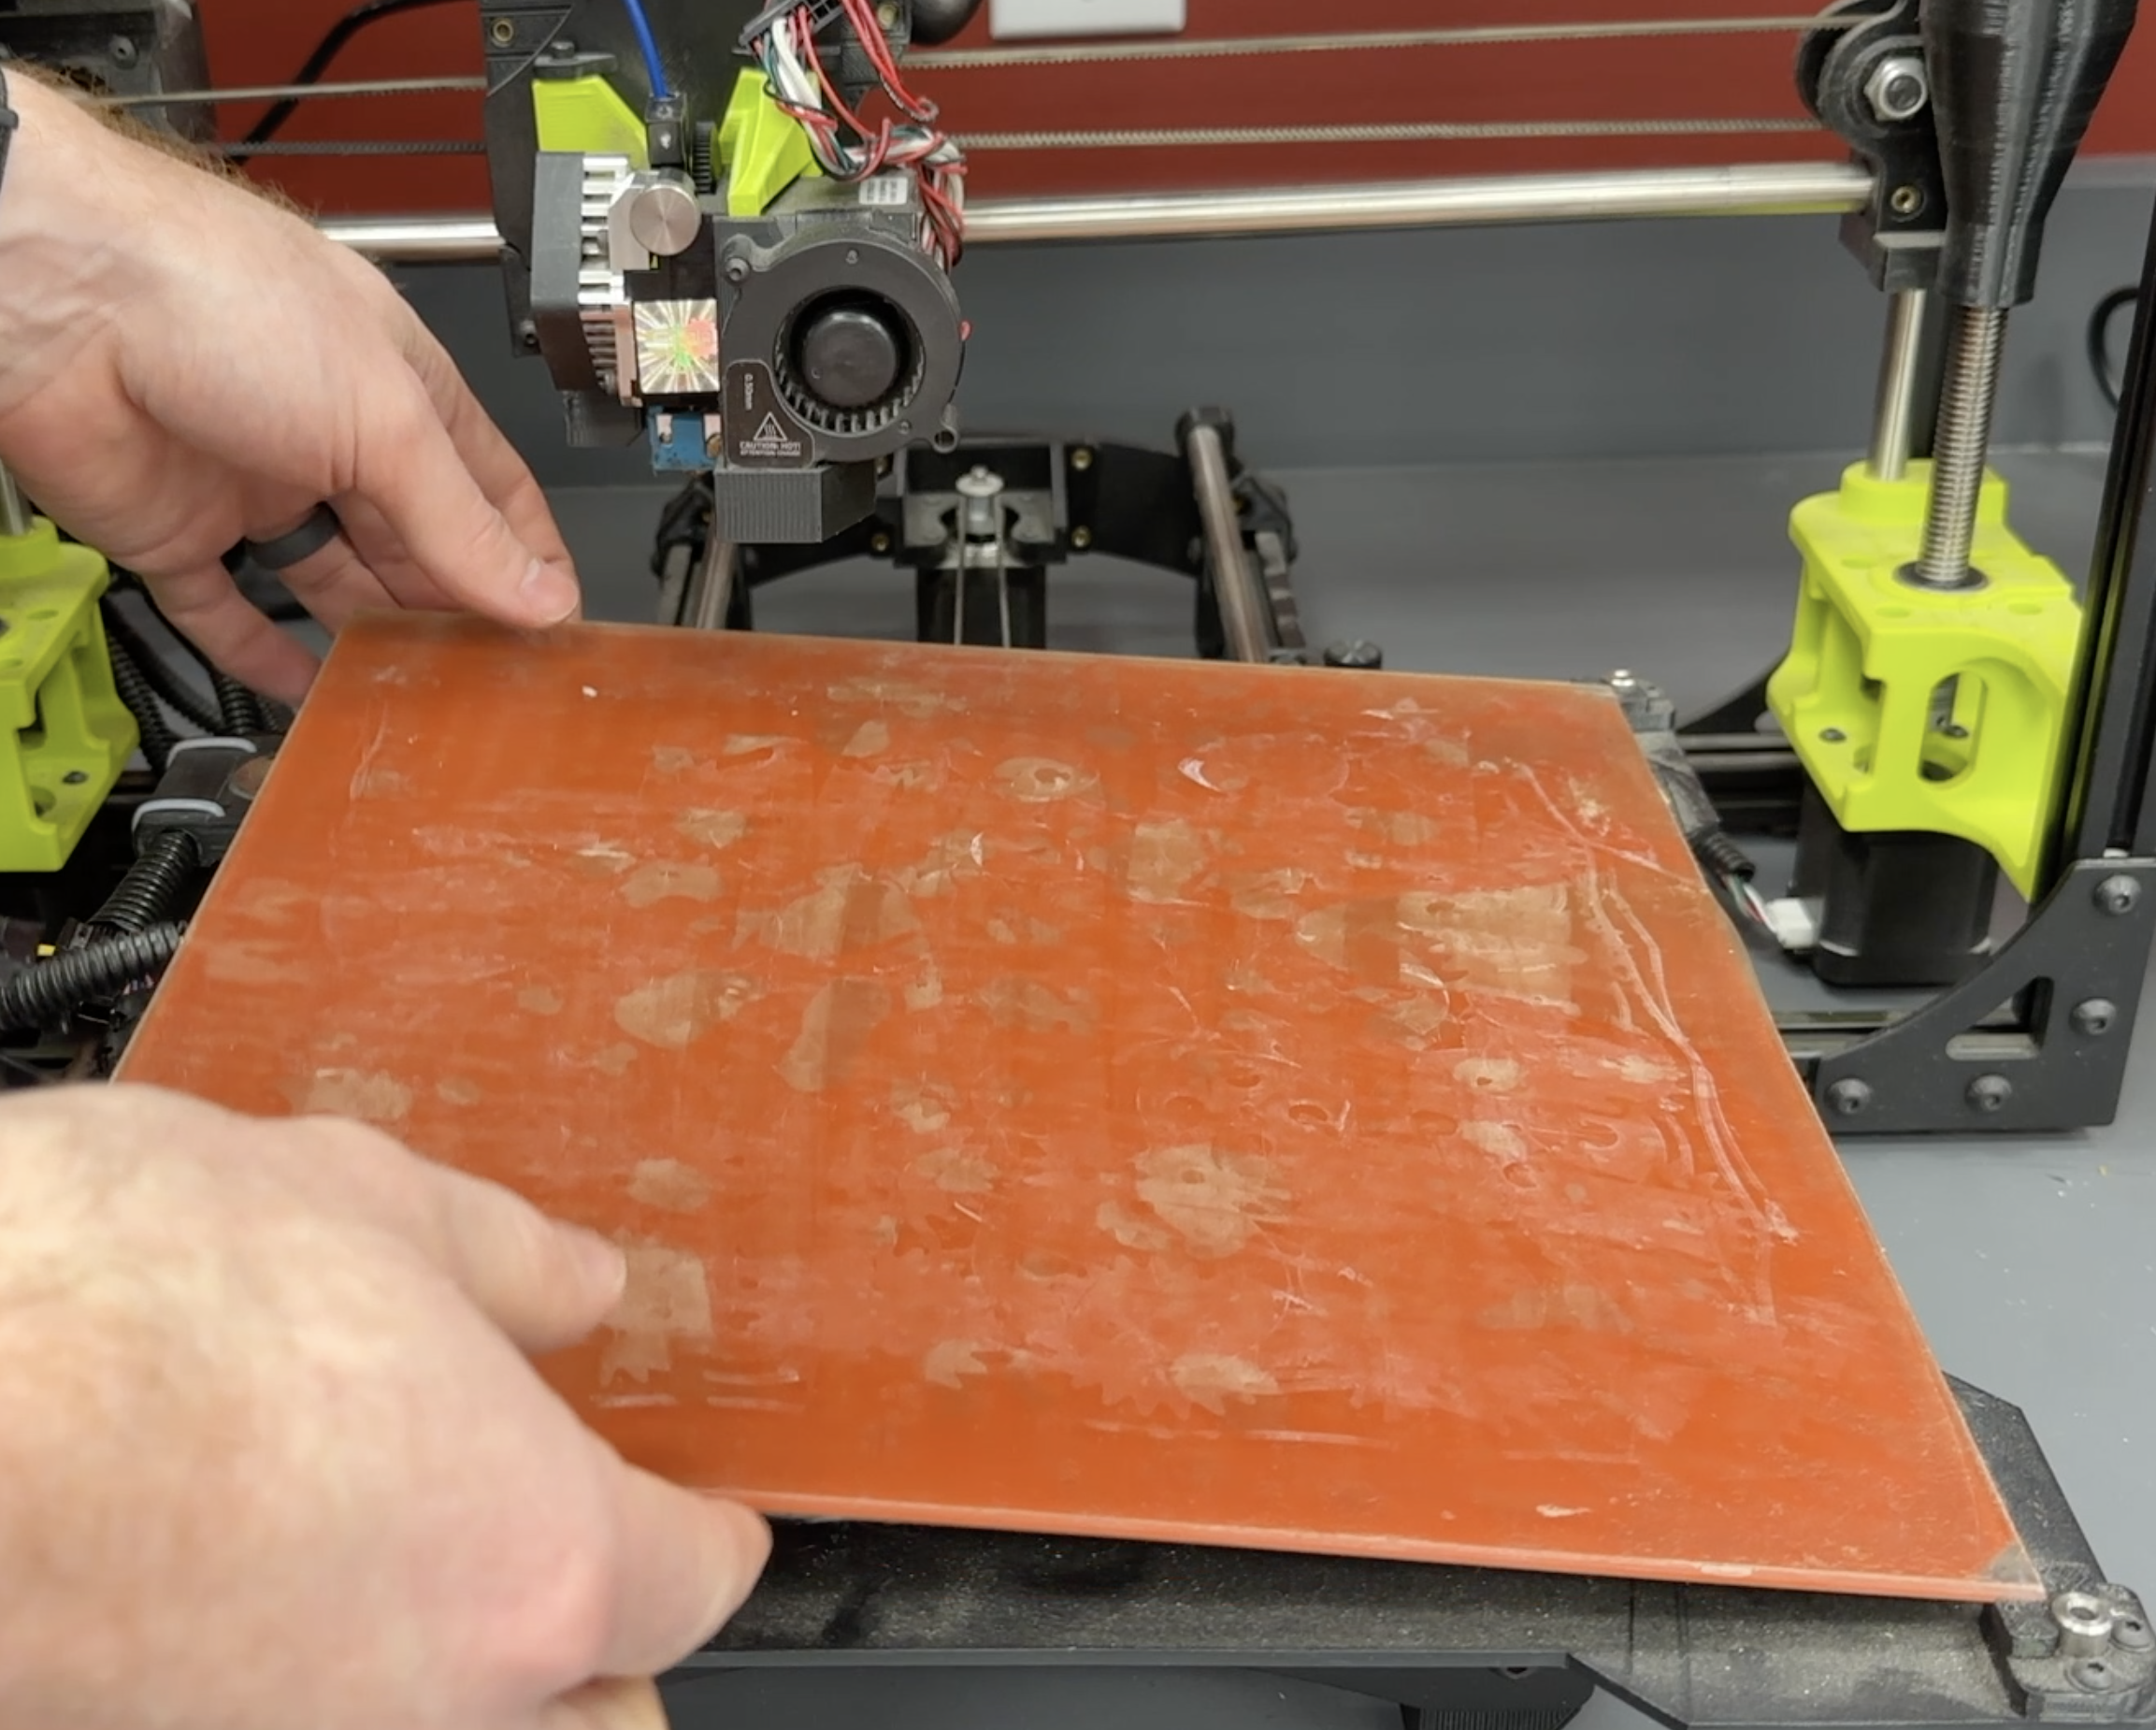
This will vary a bit from printer to printer, but we first need to remove the print bed. There are some guides out there that replace the PEI on the printer so you can use the printer's heater for the removal process, but I do not reccomend this. The amount of isopropyl and liquid we need to lay down, as well as the rather aggressive scraping, may cause unnecessary damage to your machine.
For my older LulzBot TAZ 6 shown in this guide, the heater is actually bonded to the bed. As a result I removed both the glass bed with damaged PEI film, as well as the heater and heater harness. Prior to moving to the next step I wrapped and sealed the harness to protect it during the refurb process.
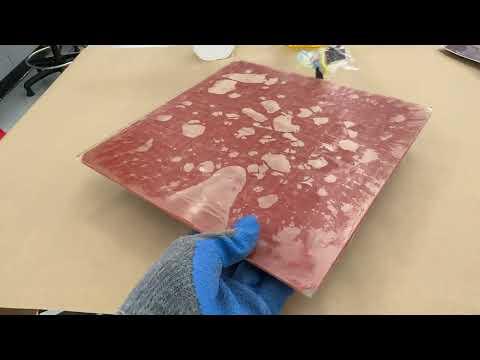
Removing the Old PEI
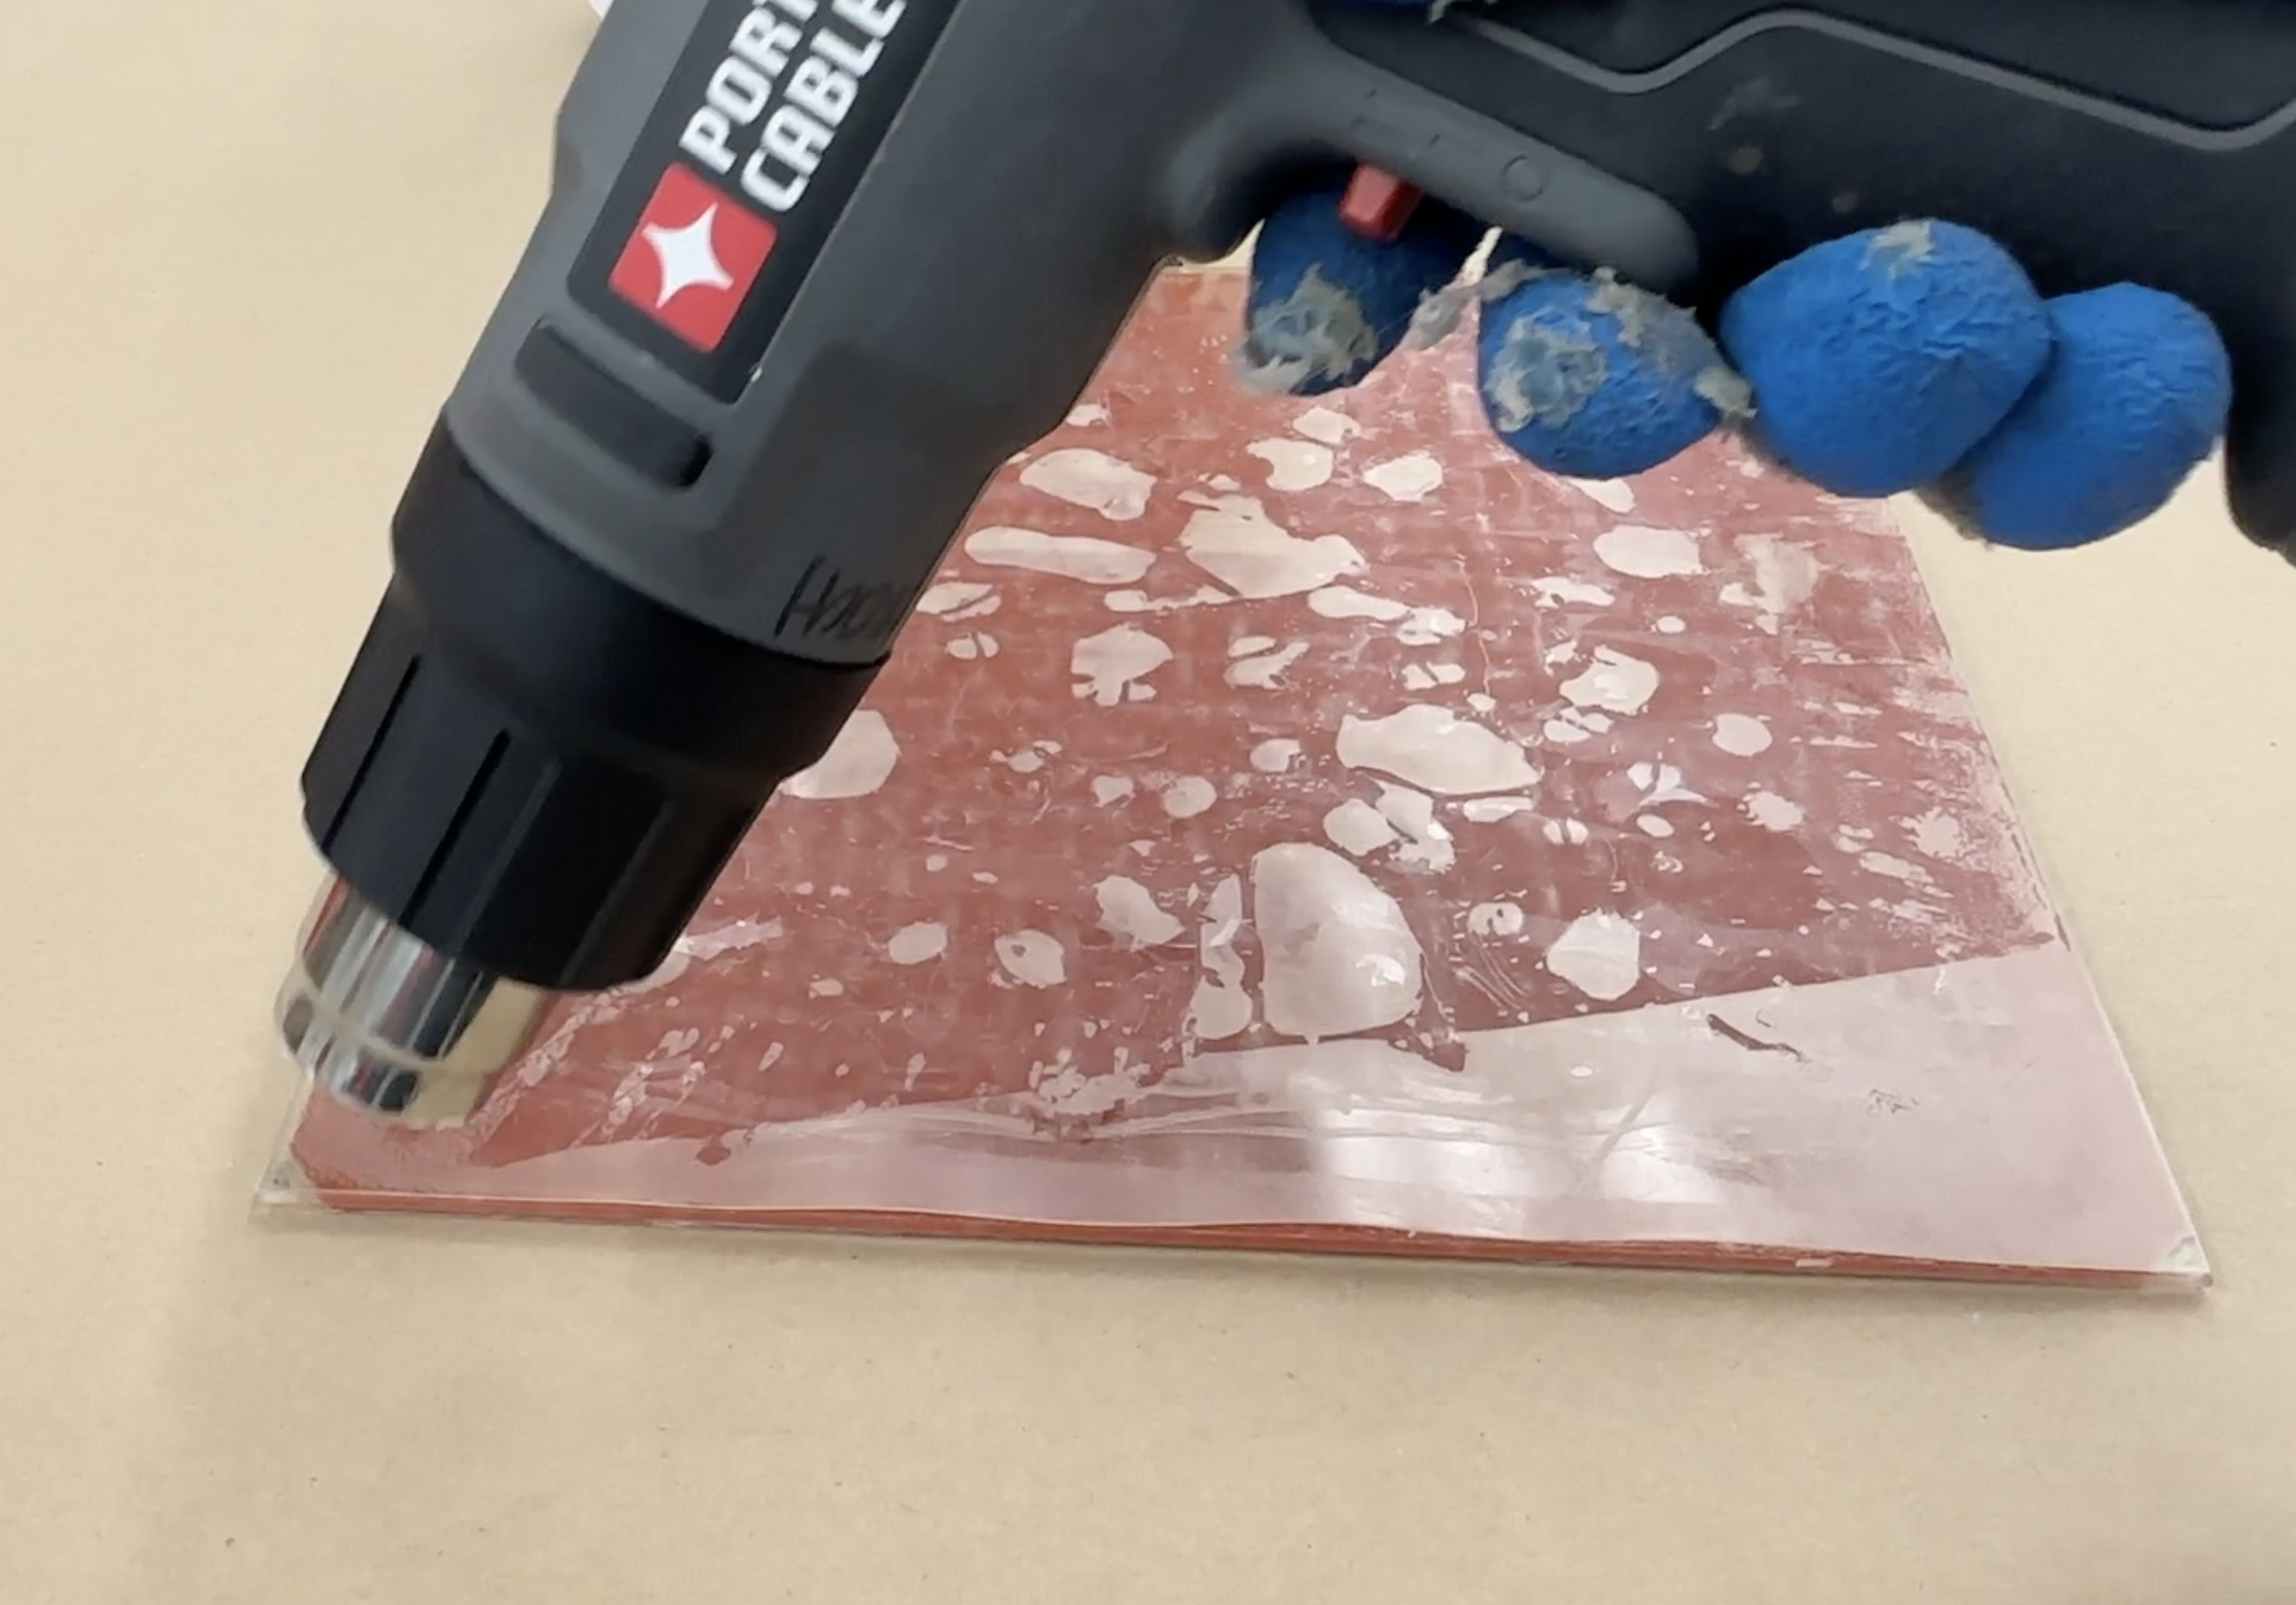

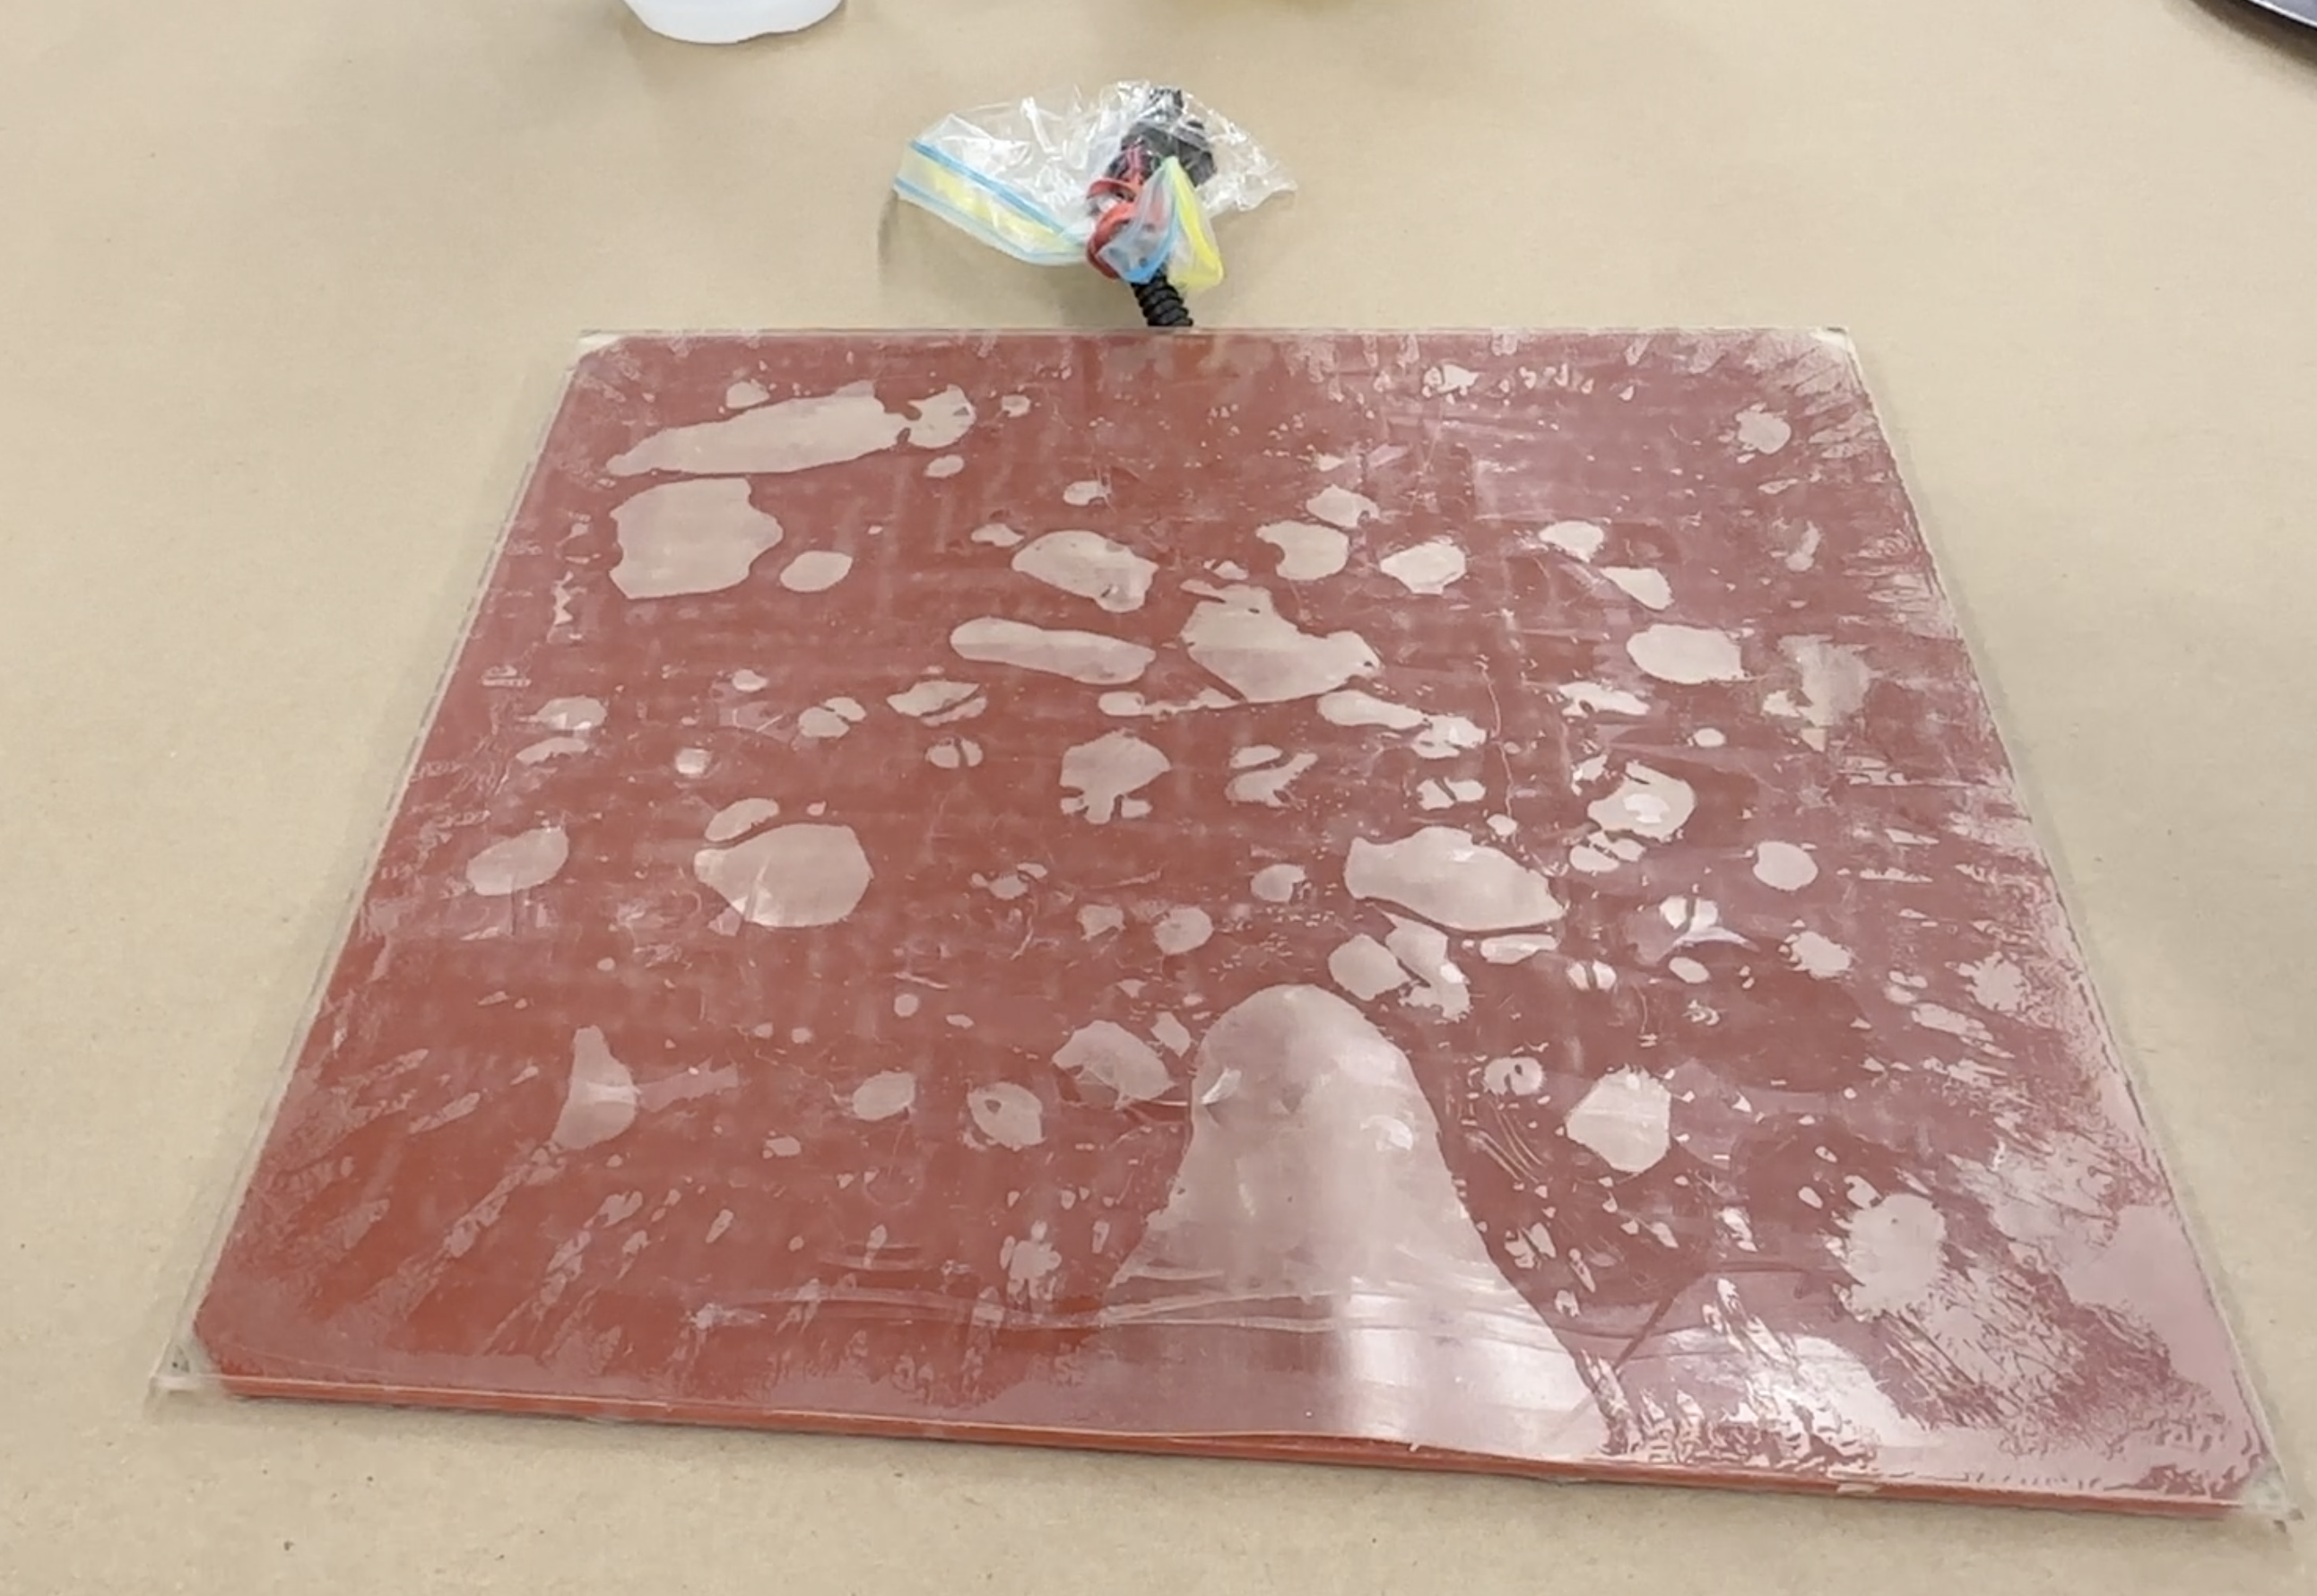
Next, we need to remove the old PEI film. Before diving in, make sure you are protected from heat and sharp edges with protective gloves! For the removal, repeat the following steps until all of the old PEI is off the bed:
- Evenly heat a section of the bed using a heat gun at a high temperature
- Pick and peel the PEI using a flat scrapper as needed
- Remove the PEI film from the bed
As you remove the PEI, it may rip into smaller sections. Keep peeling and removing until all pieces of PEI are off the bed.
Removing the Adhesive
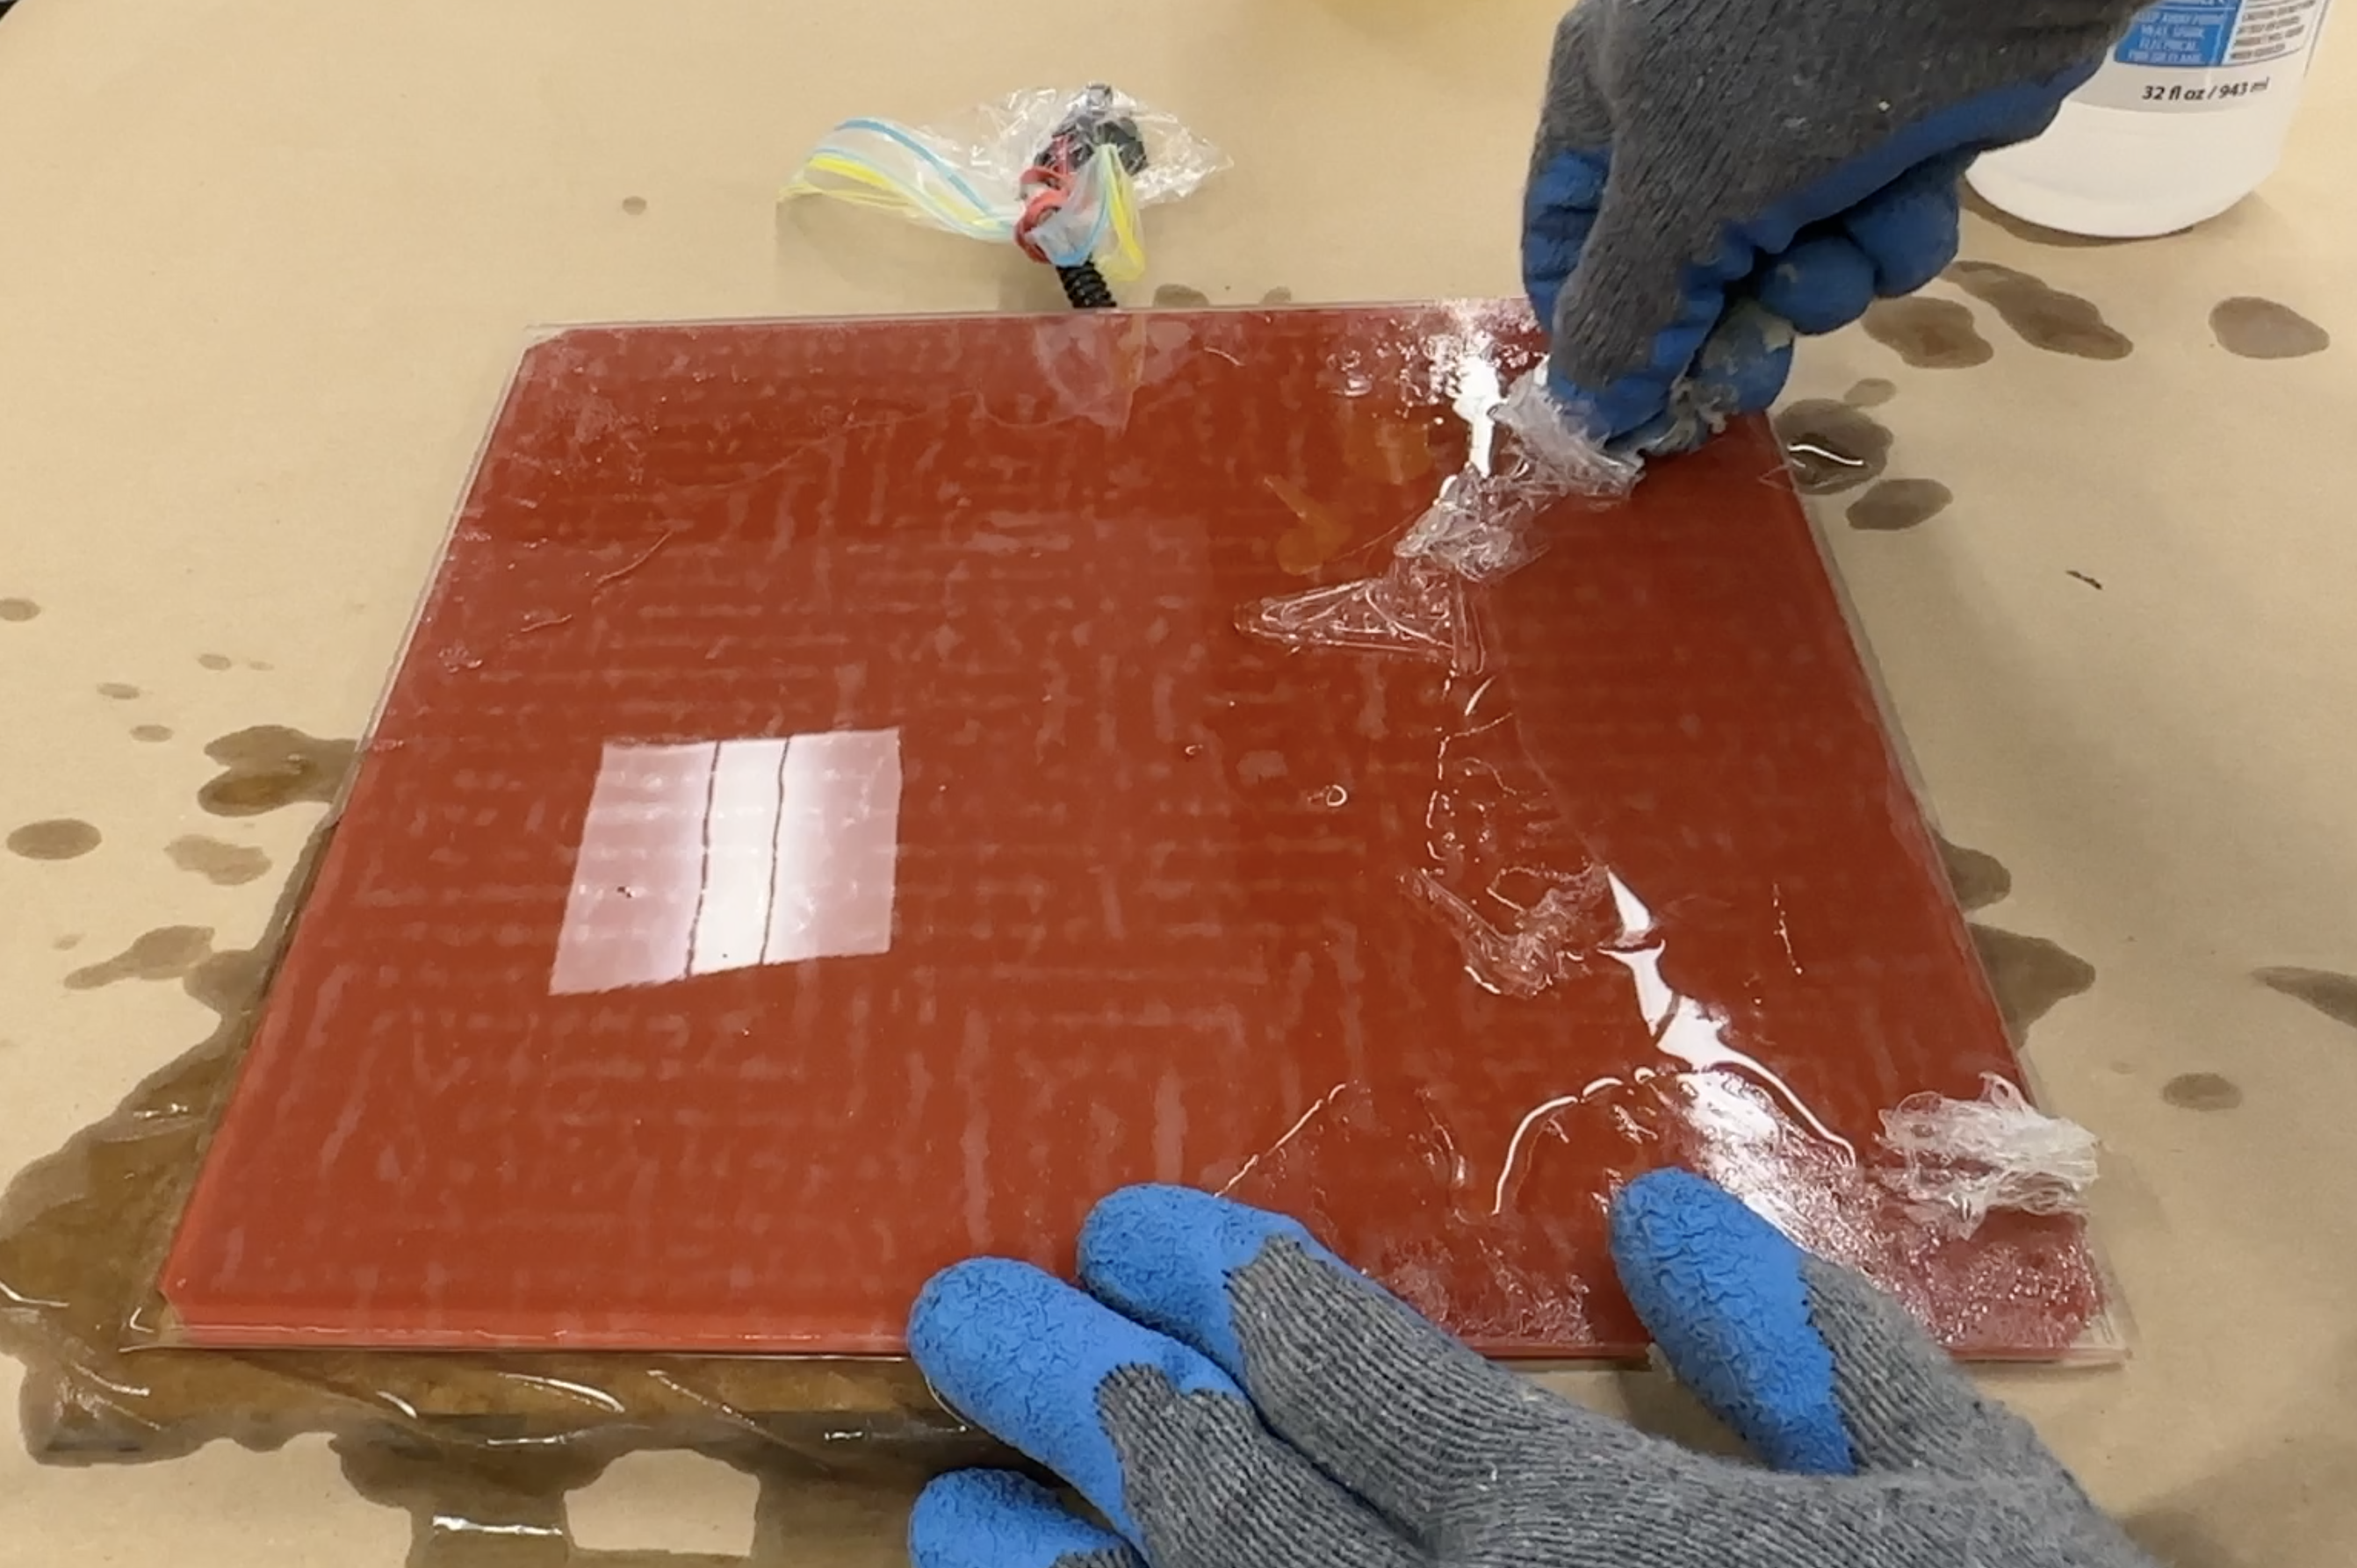
Now the tedious part, removing the old adhesive. Like the previous step, this is going to be repetitive until adhesive is gone. Again, make sure your hands are protected using protective gloves before proceeding. Repeat the following steps until most of the adhesive is gone:
- Evenly heat a section of the bed using a heat gun at high temperature
- Spread an even coat of isopropyl over the heated area
- Using a razor blade, carefully scrap the adhesive off in a consistent patter to avoid missing any spots
After most of the adhesive is gone using the steps above, spray the Goo Gone across the whole bed and wipe clean with paper towels to remove all remaining adhesive residue. Once completely cleared, clean and dry the bed using isopropyl and paper towels.
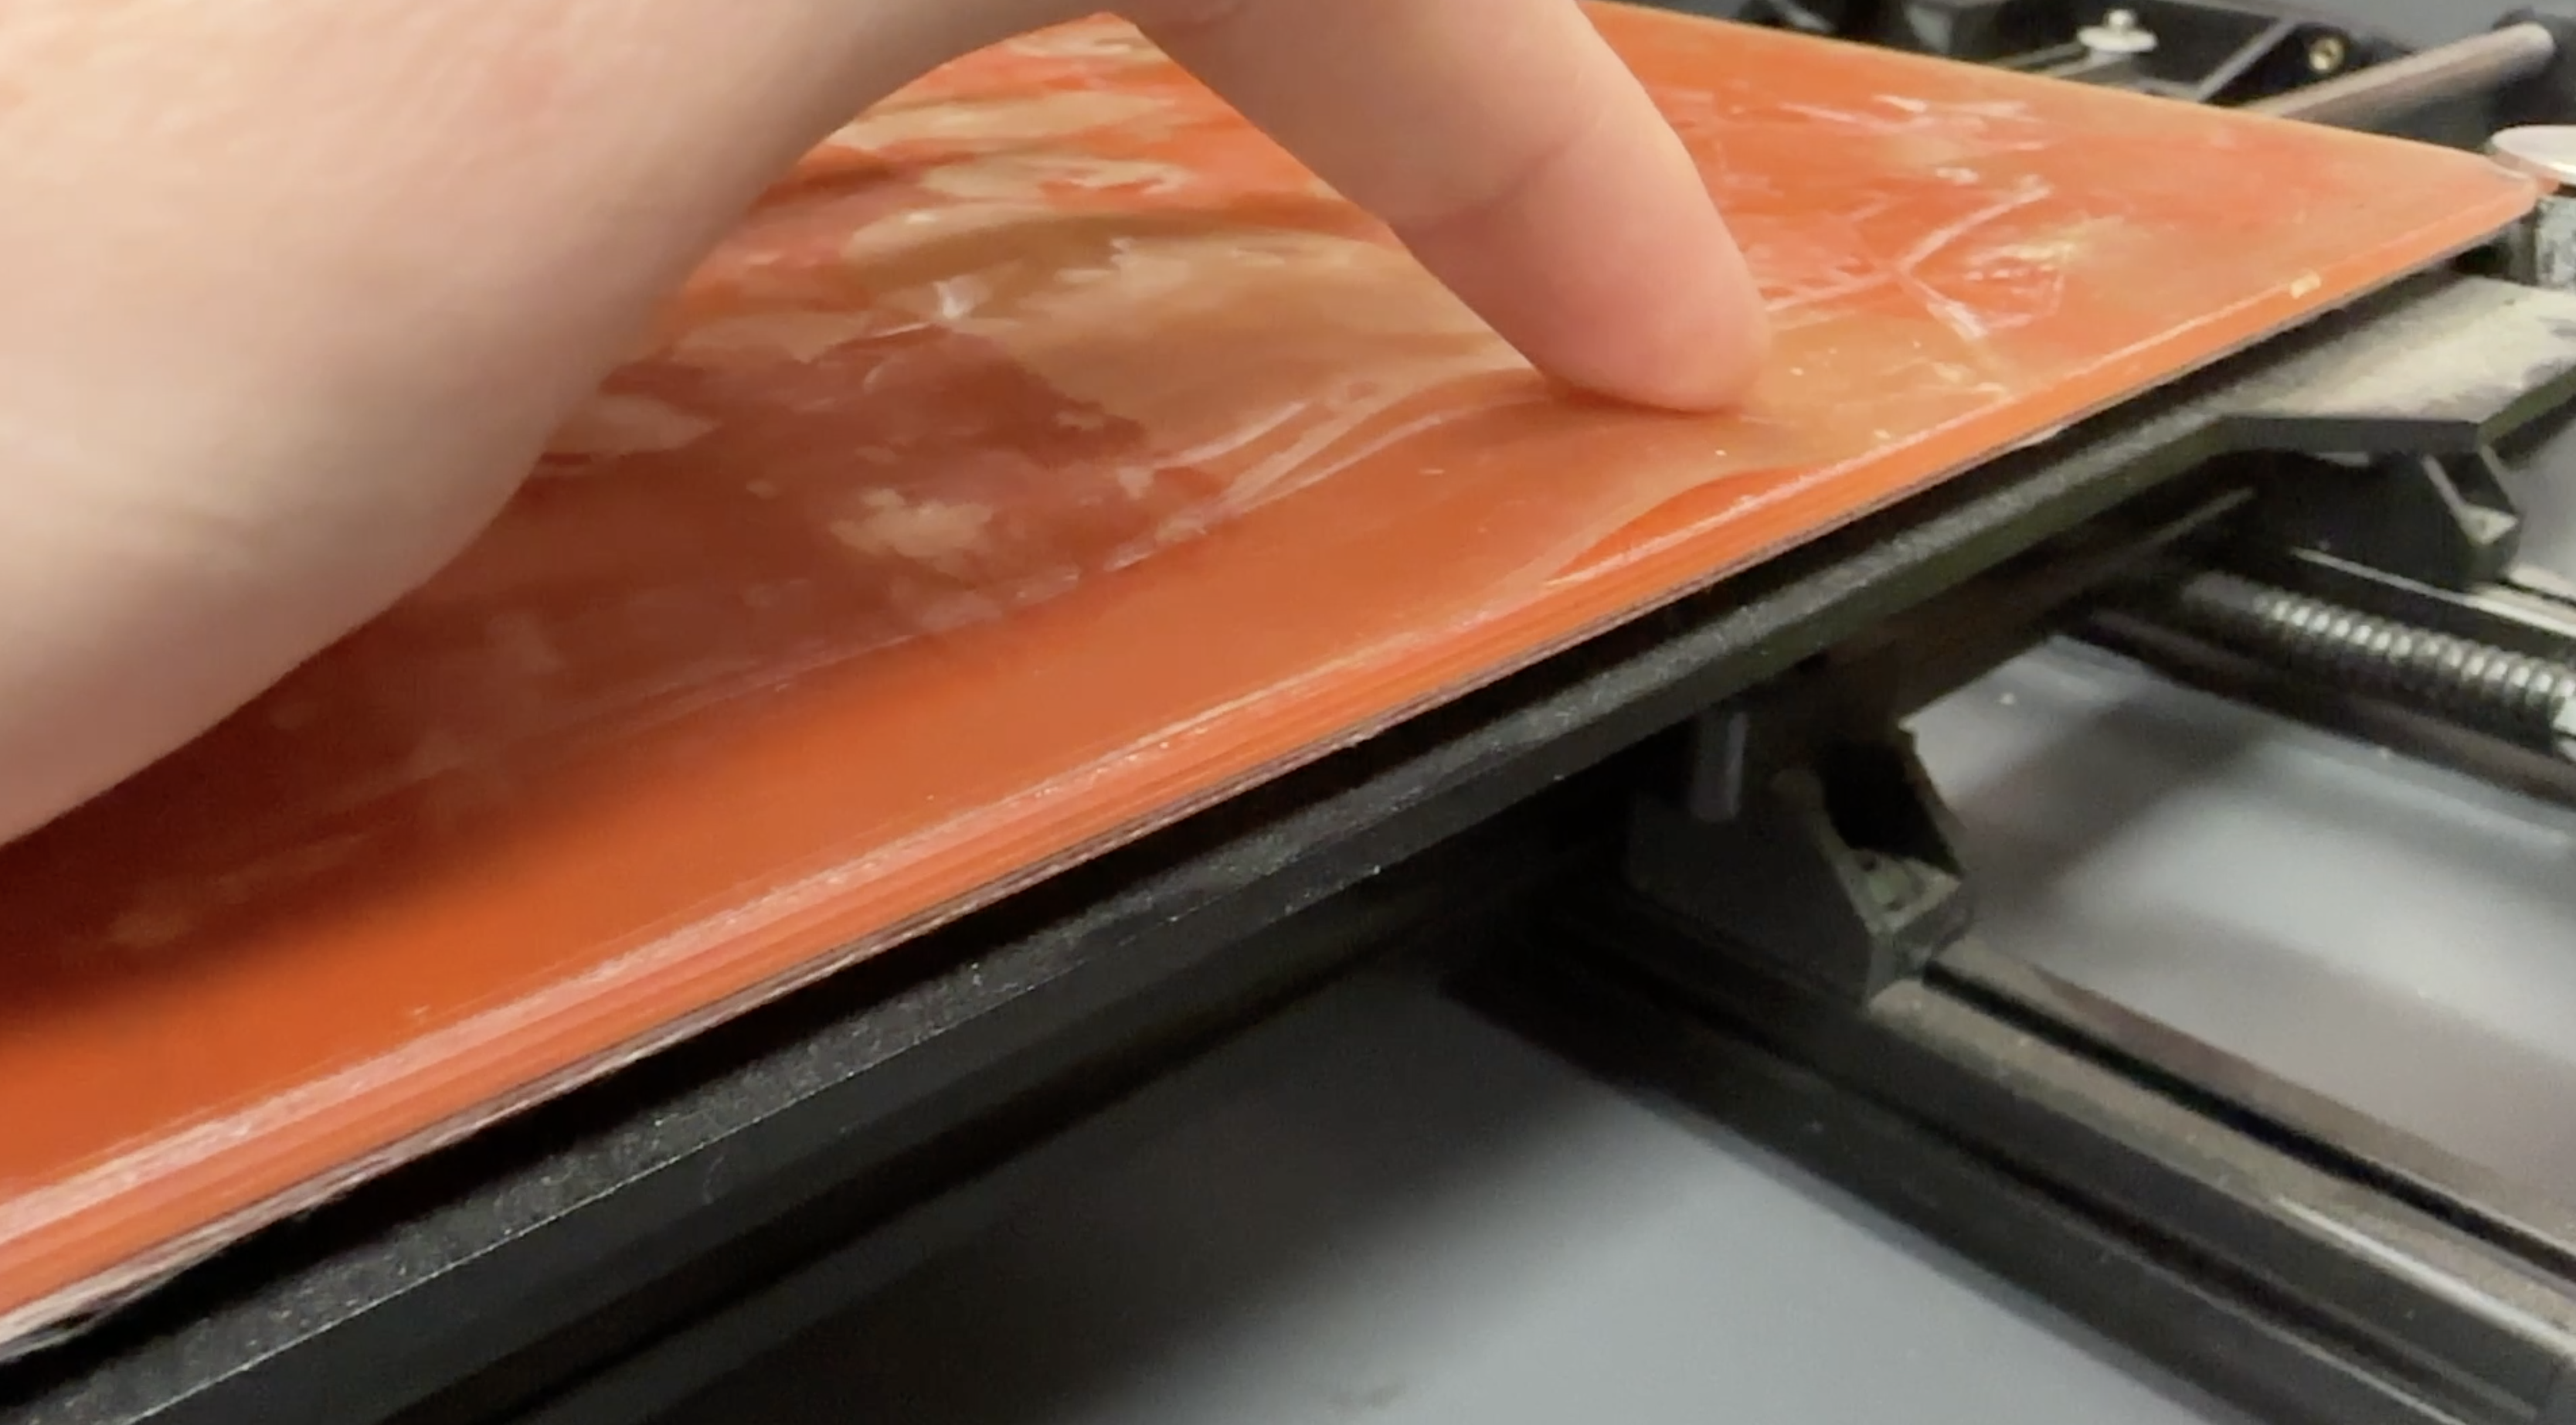
Applying the New PEI

Once the bed has is completely clean and cleared of any old adhesive residue, its time to put on the new PEI sheets! I've worked with some PEI that is rather thin, and some that is thicker. The thicker sheets are definitely a bit more durable and easy to apply in my experience as the thinner sheets tend to get bubbles. Some PEI also does not come with an adhesive backing, which is a bit more difficult as you need to lay the adhesive down first. I like the PEI LulzBot uses personally, even on my non-LulzBot 3D printers.
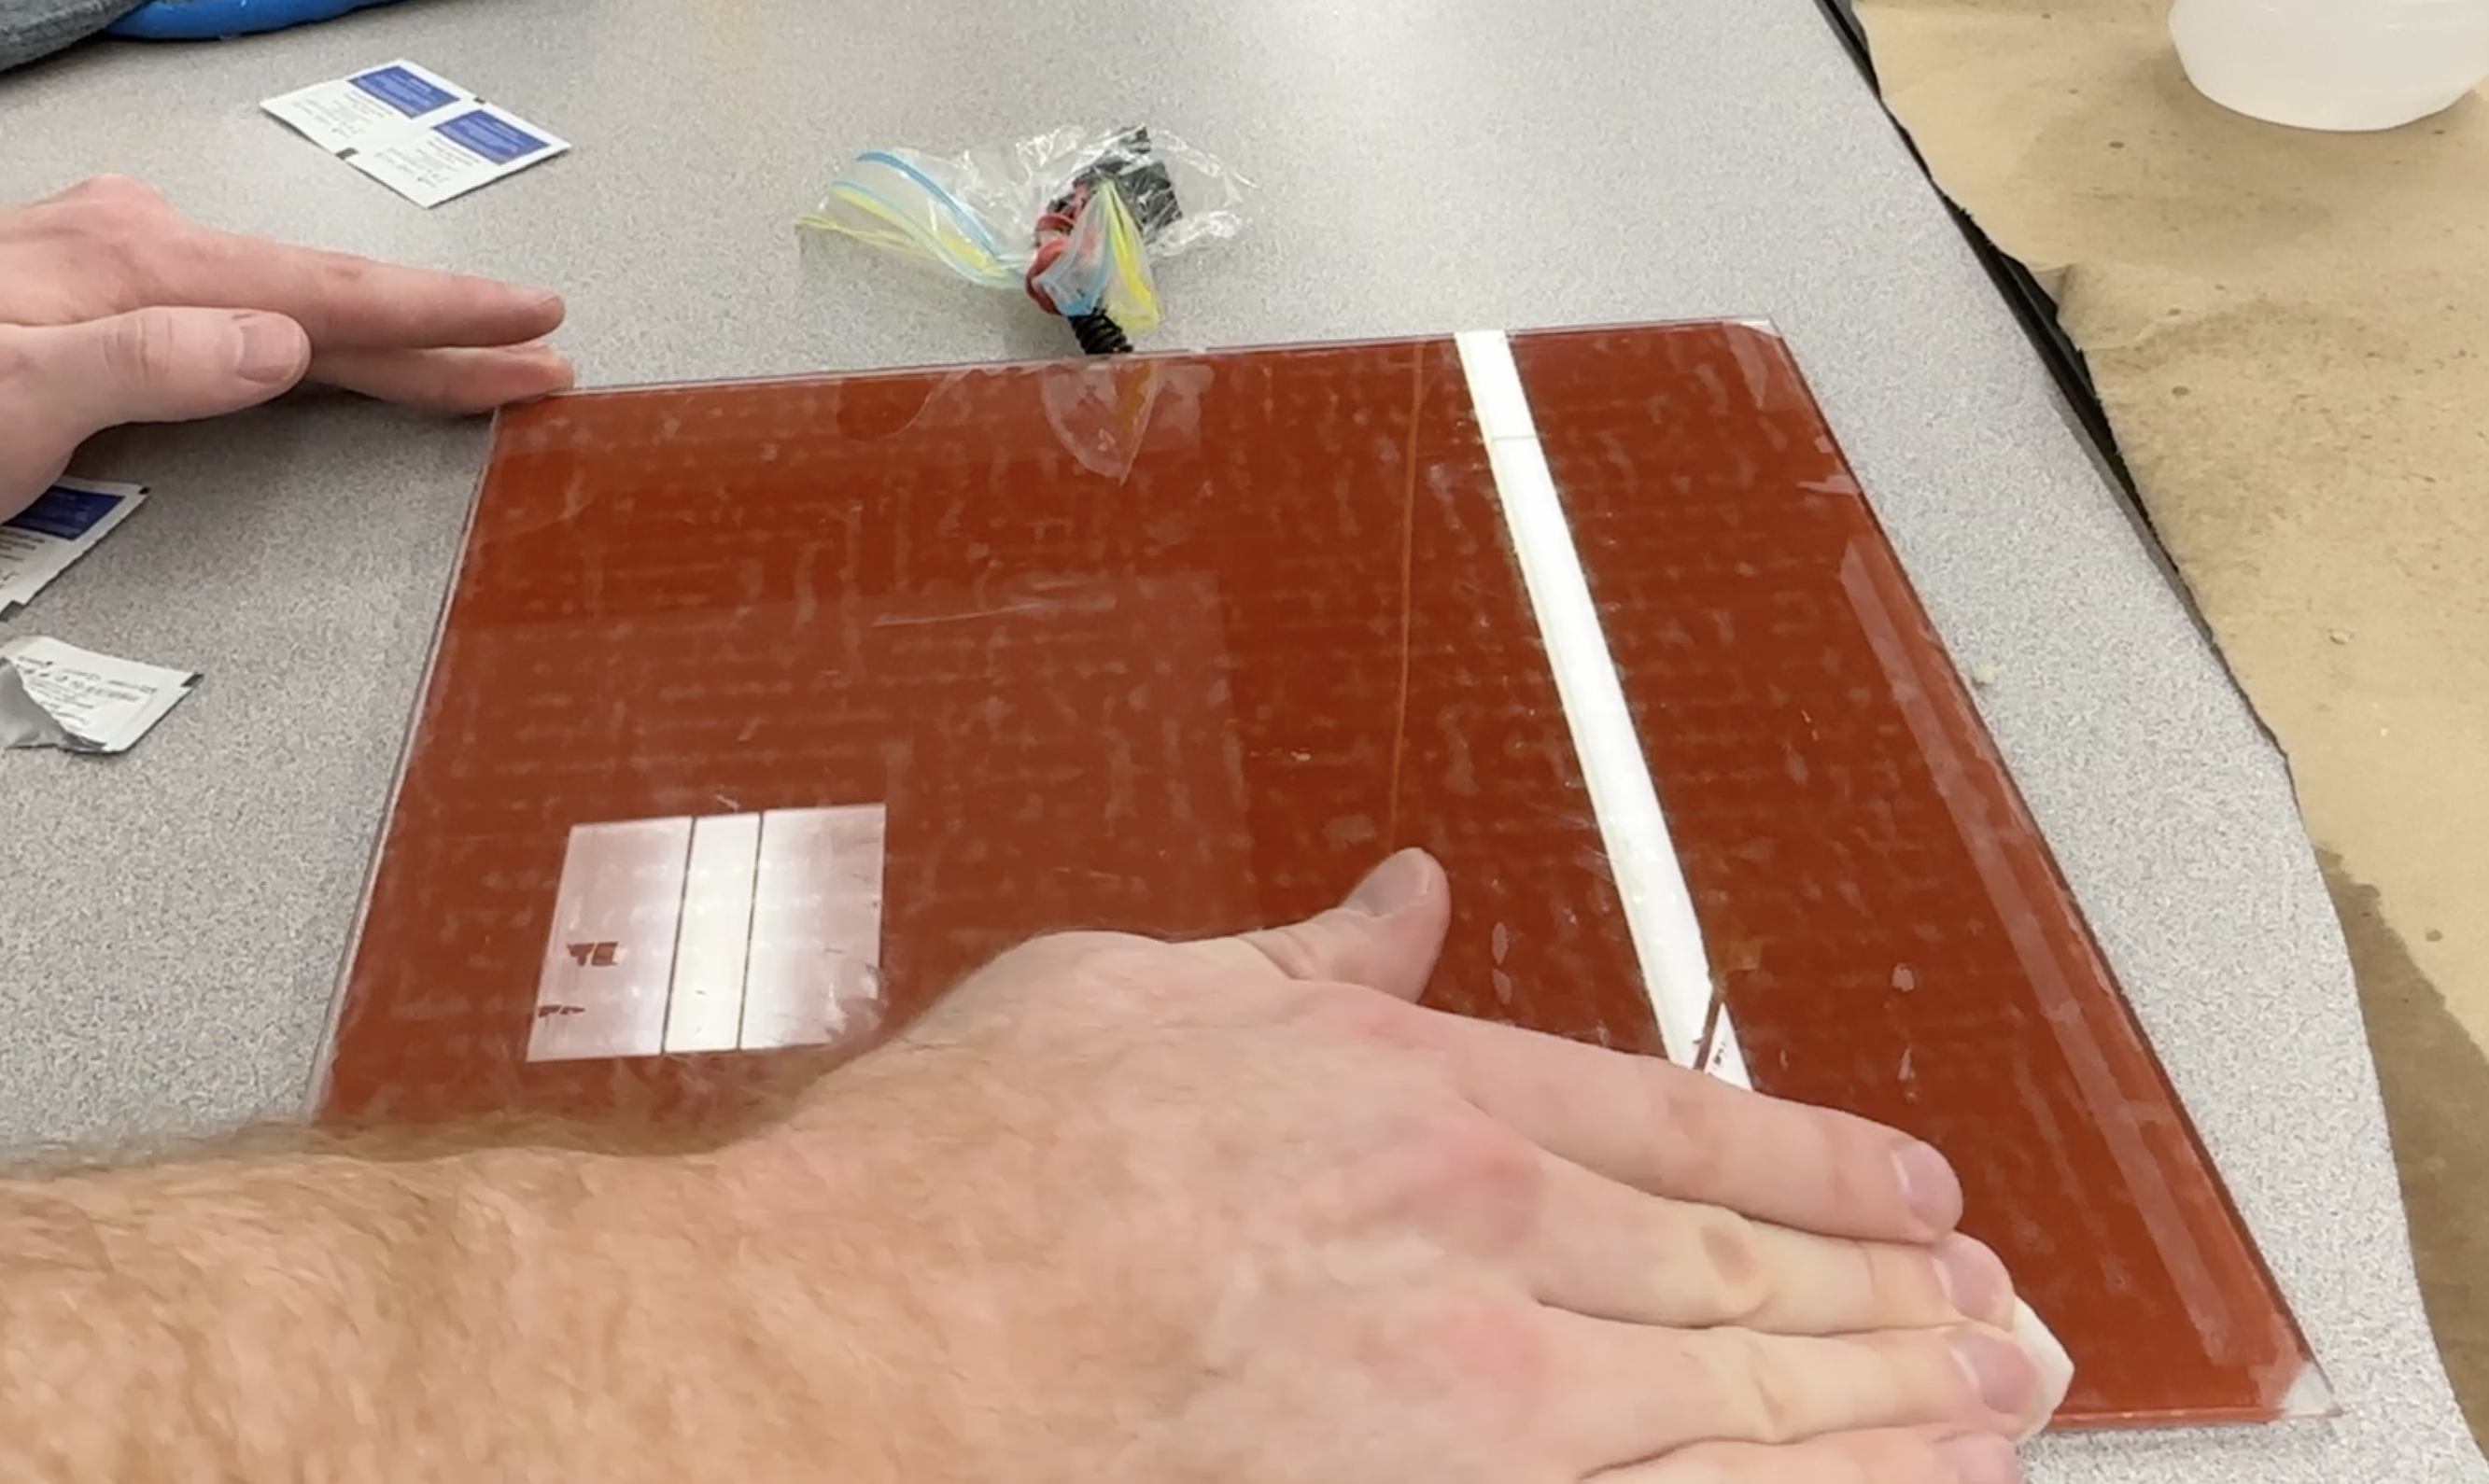
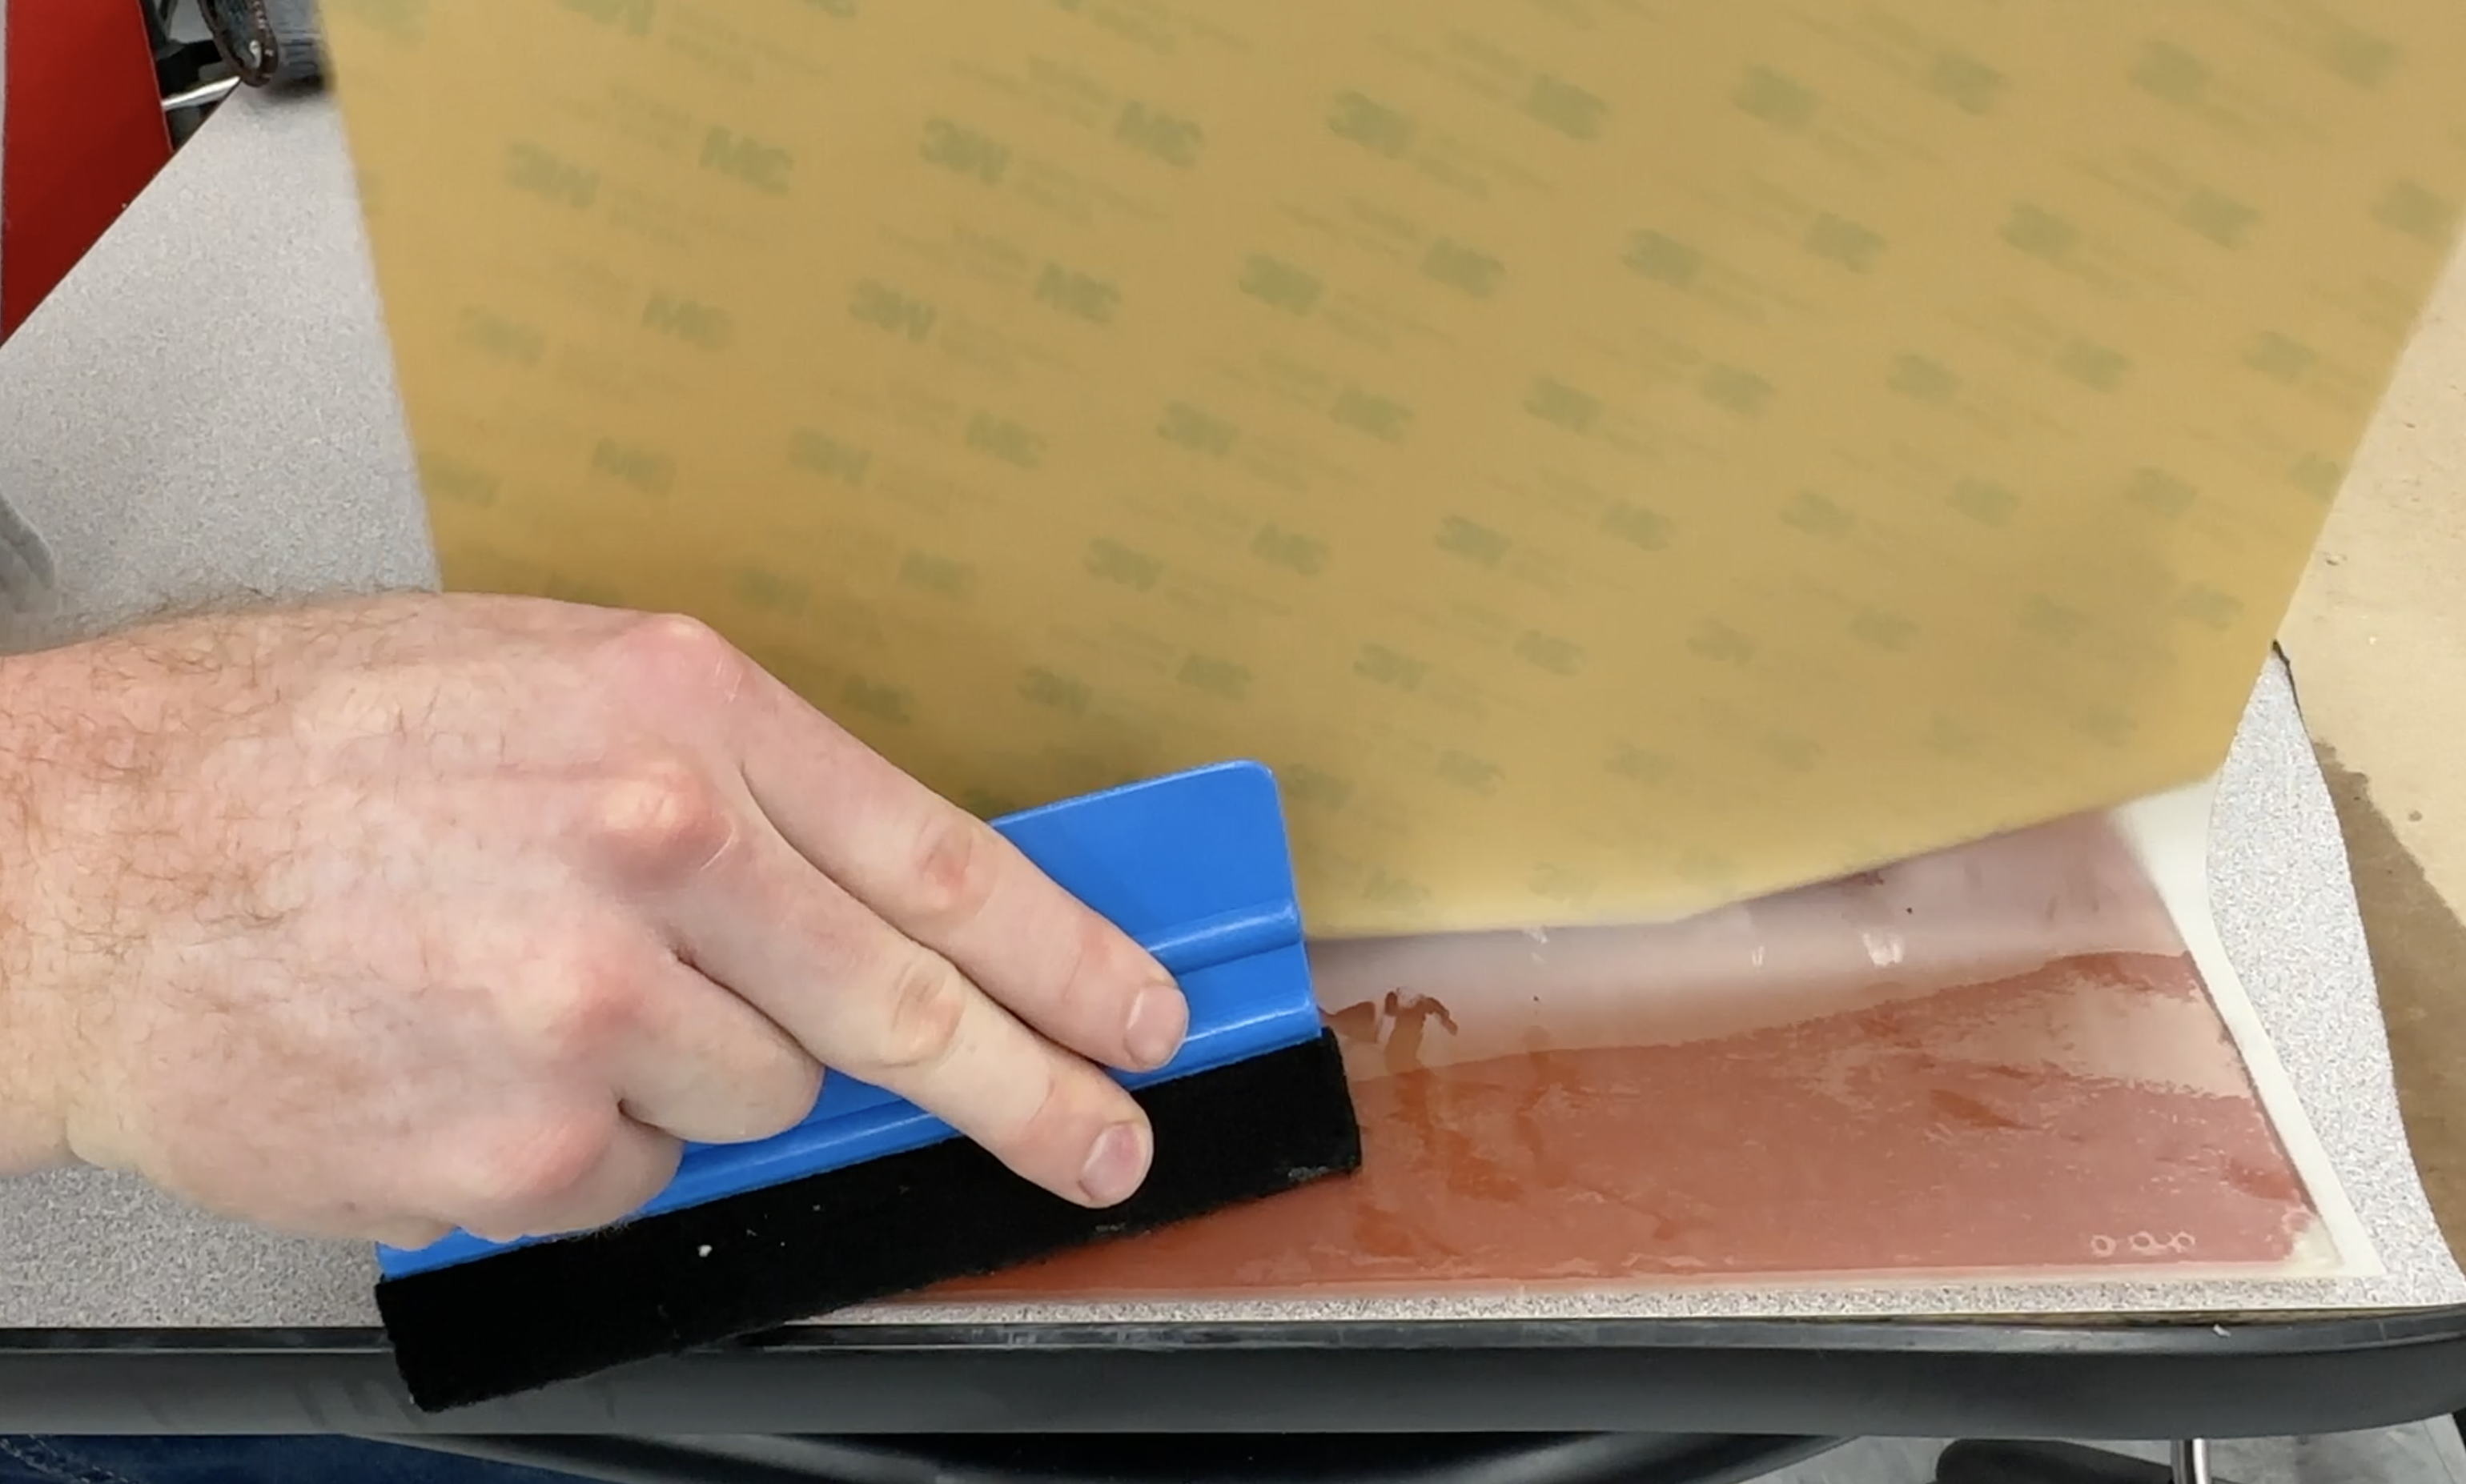
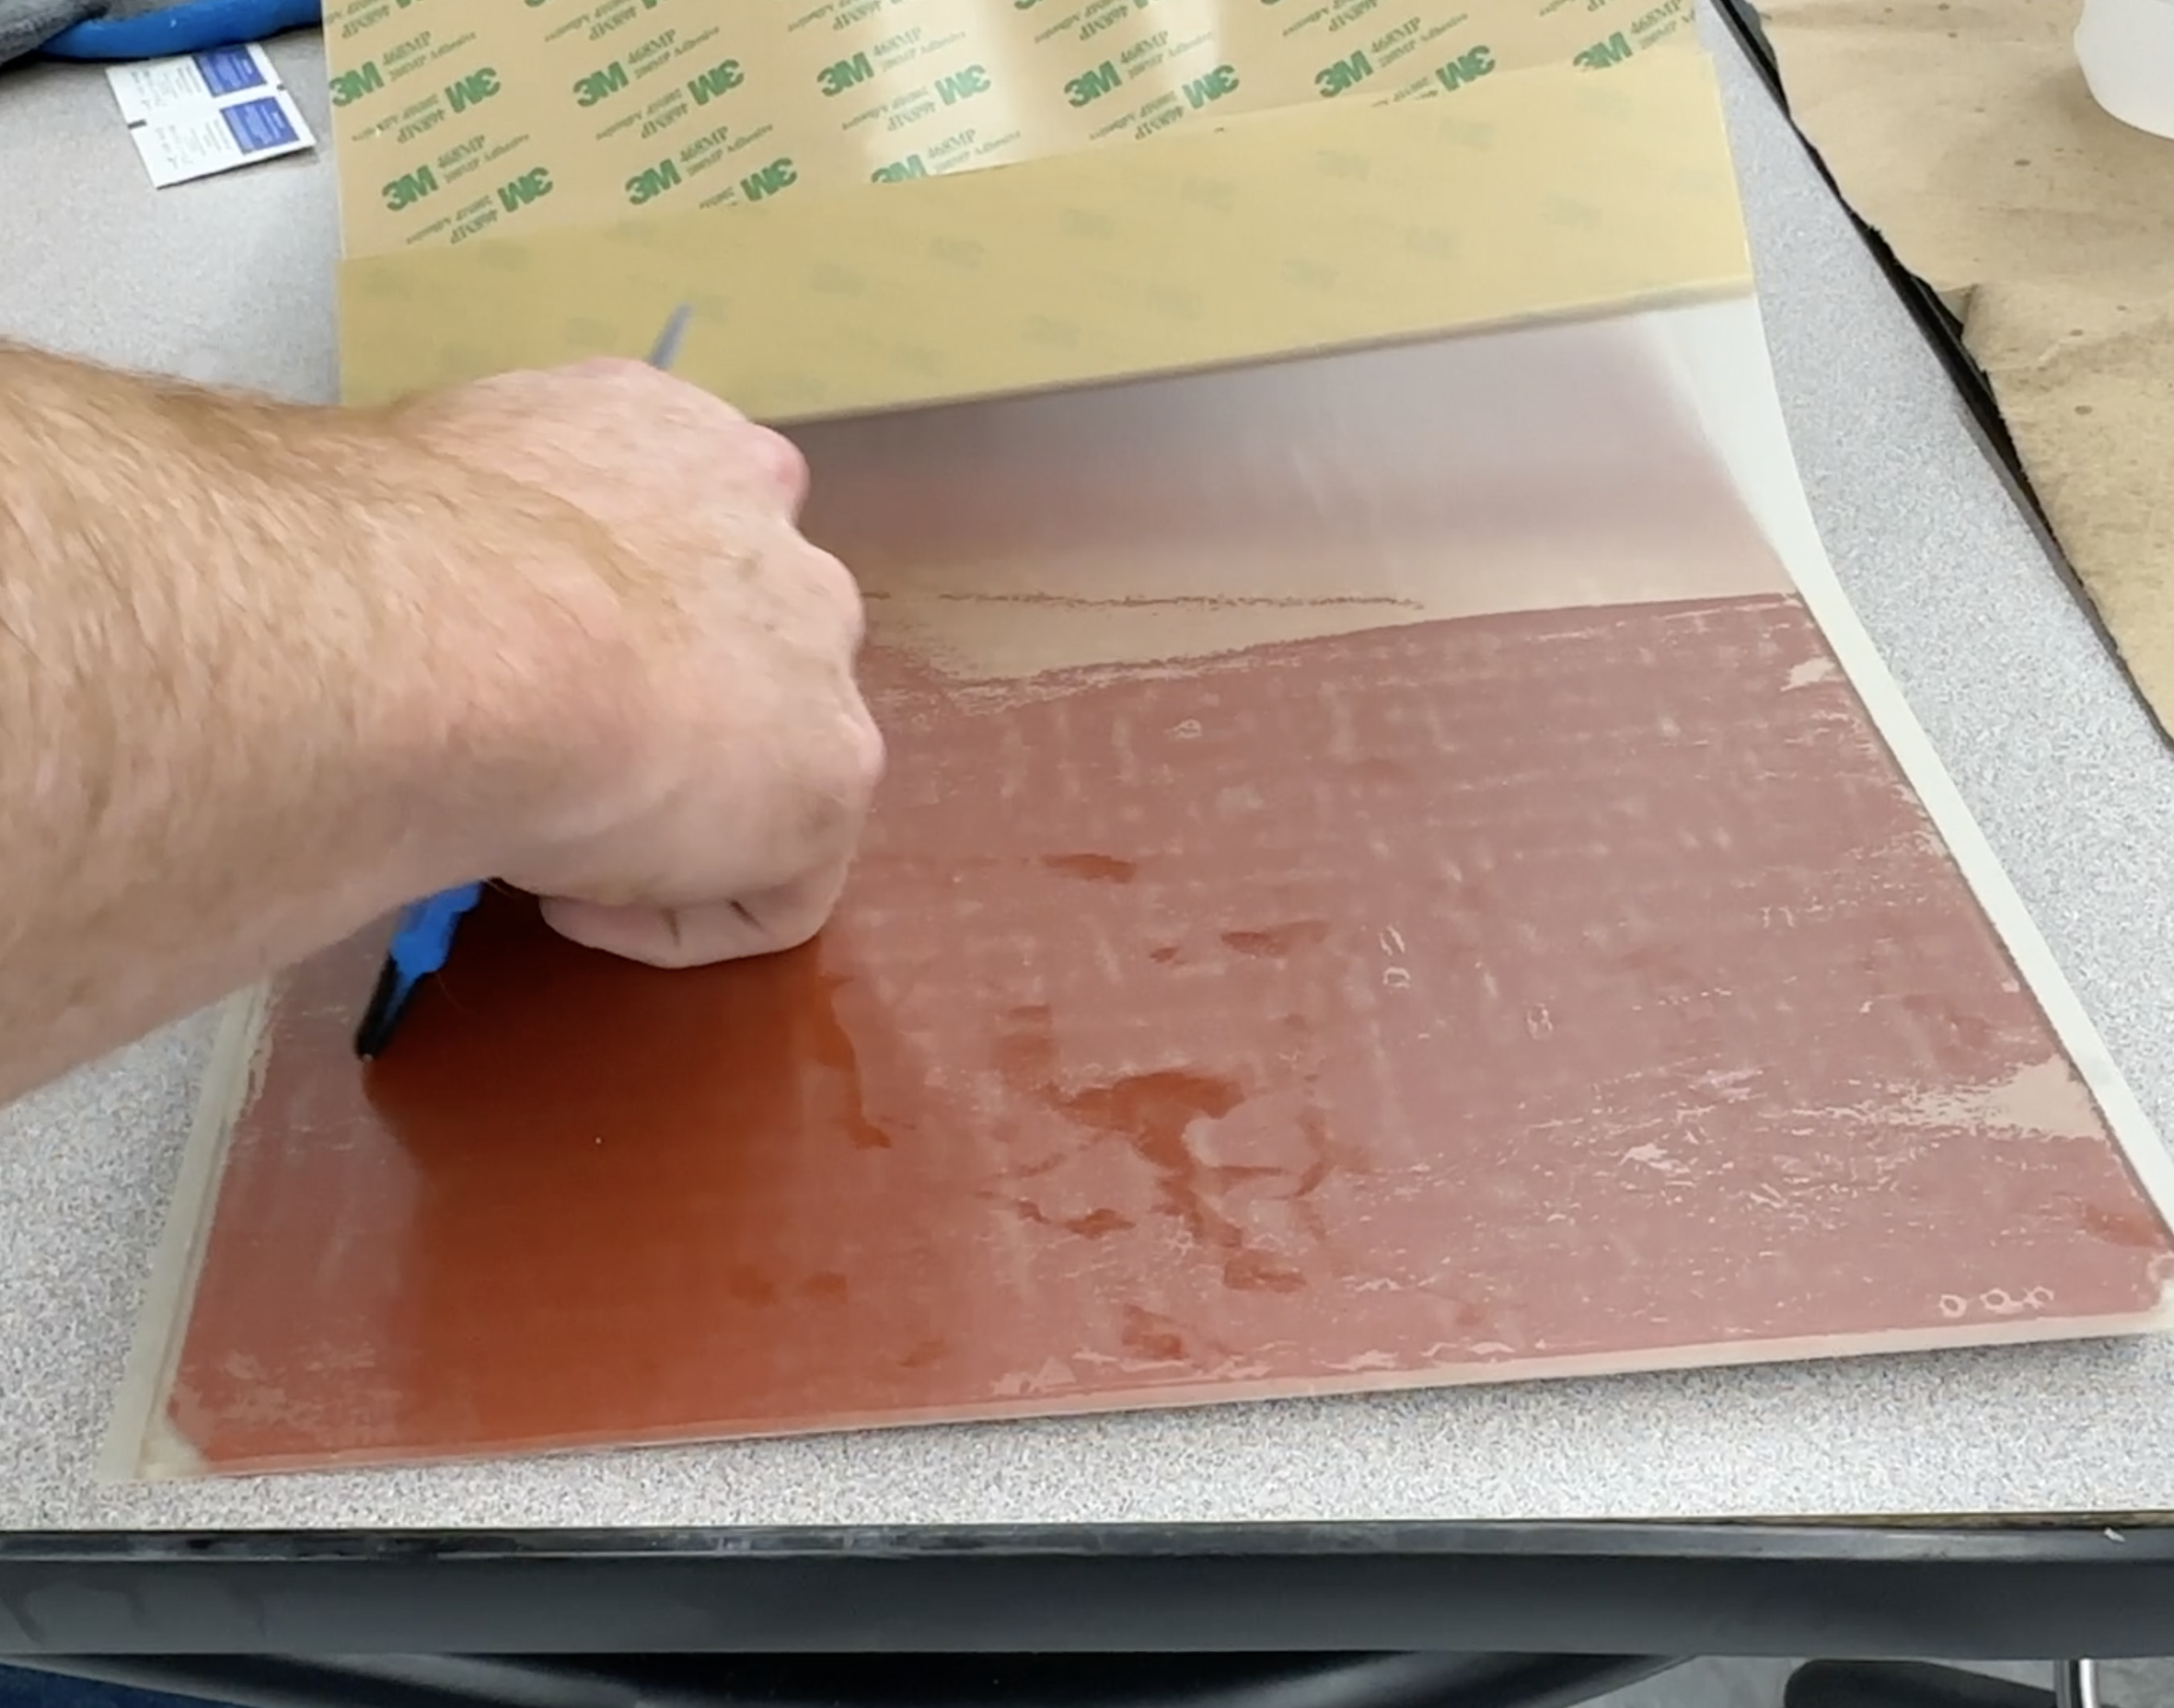
The PEI sheet should be a bit bigger that the bed, which makes alignment easy. First, peel the backing paper on just the first 1.5" or so on one side the PEI. Lay this edge down along one side of the bed and use your squeegee to apply this firmly to the bed with a small amount hanging off the front and two sides.
Now, proceed by removing a section of the backing at a time while evenly applying the PEI film using your squeegee. I like to make a V pattern, starting from the center, moving out to one side, then from the center out to the next side (see the video for details). This makes sure that I don't miss a spot while applying the film to avoid bubbles. Once all of the film has been applied, double back to make sure that it is adhered firmly.
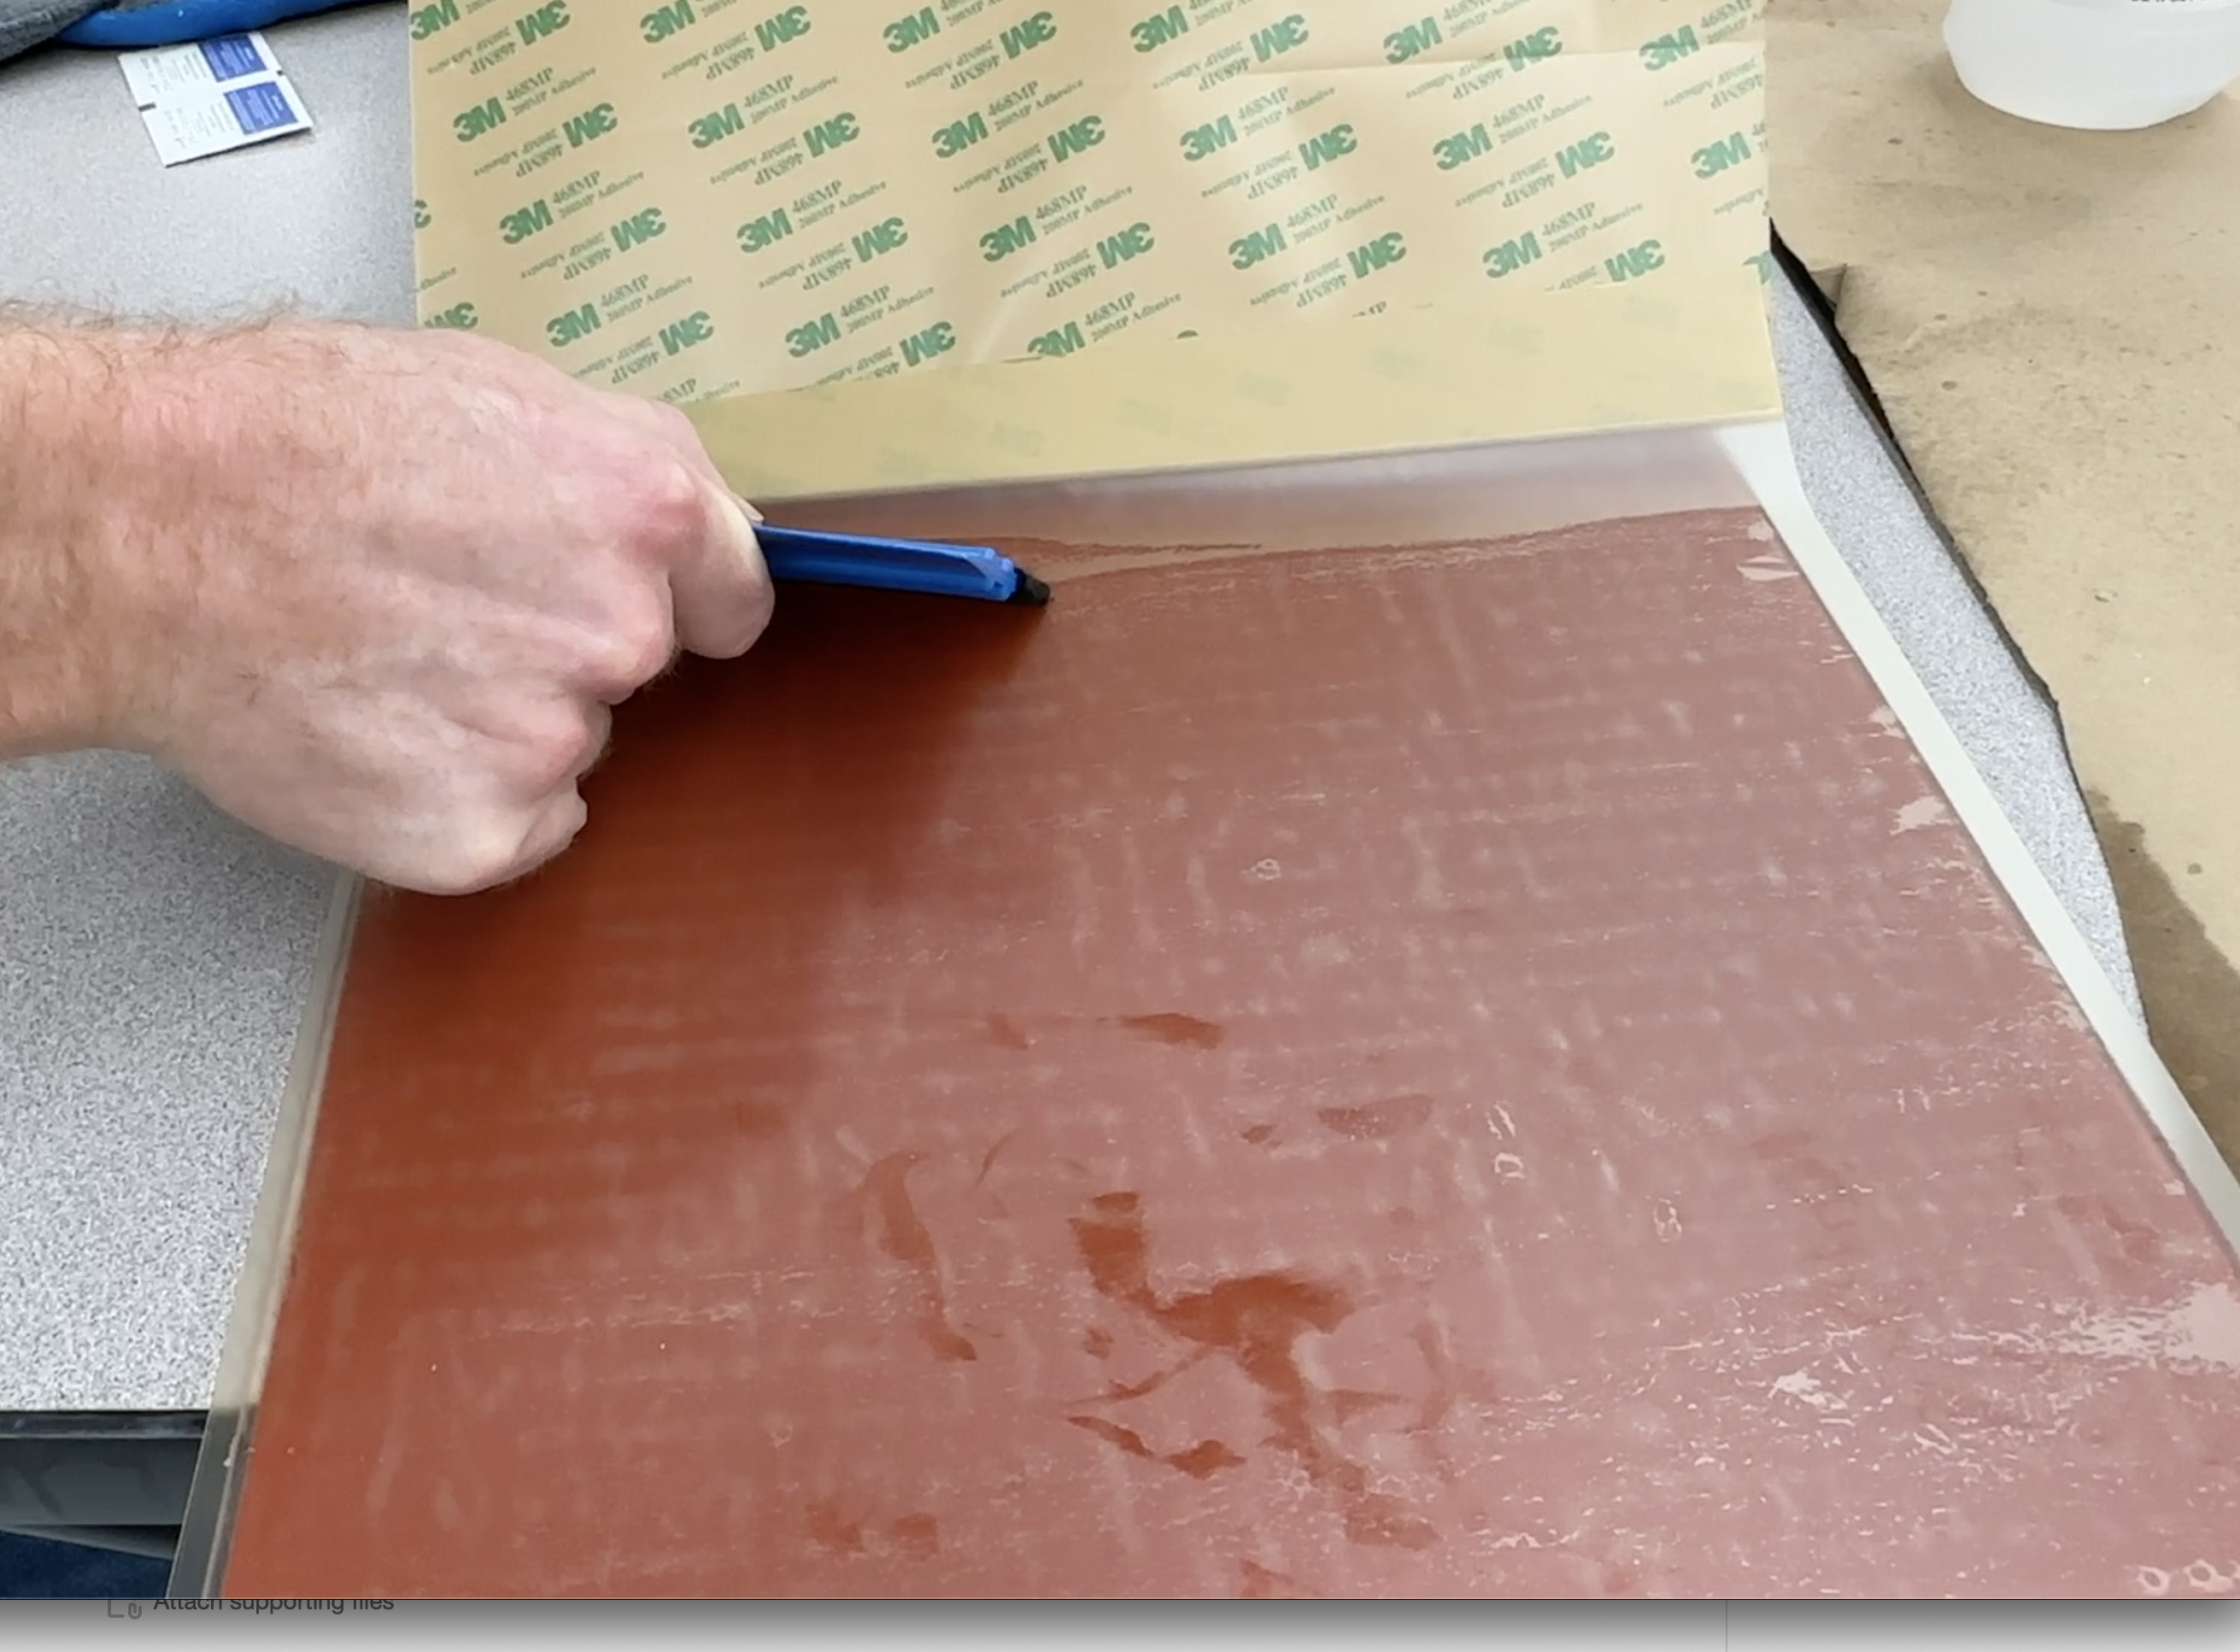
Lastly, trim the edges flush using a razor blade CAREFULLY. Both the razor and the PEI are really sharp! I like to rest the razor on the glass bed as I run it down the edges. Take extreme care around the harness if you have one attached like me.
Reinstall and Calibrate
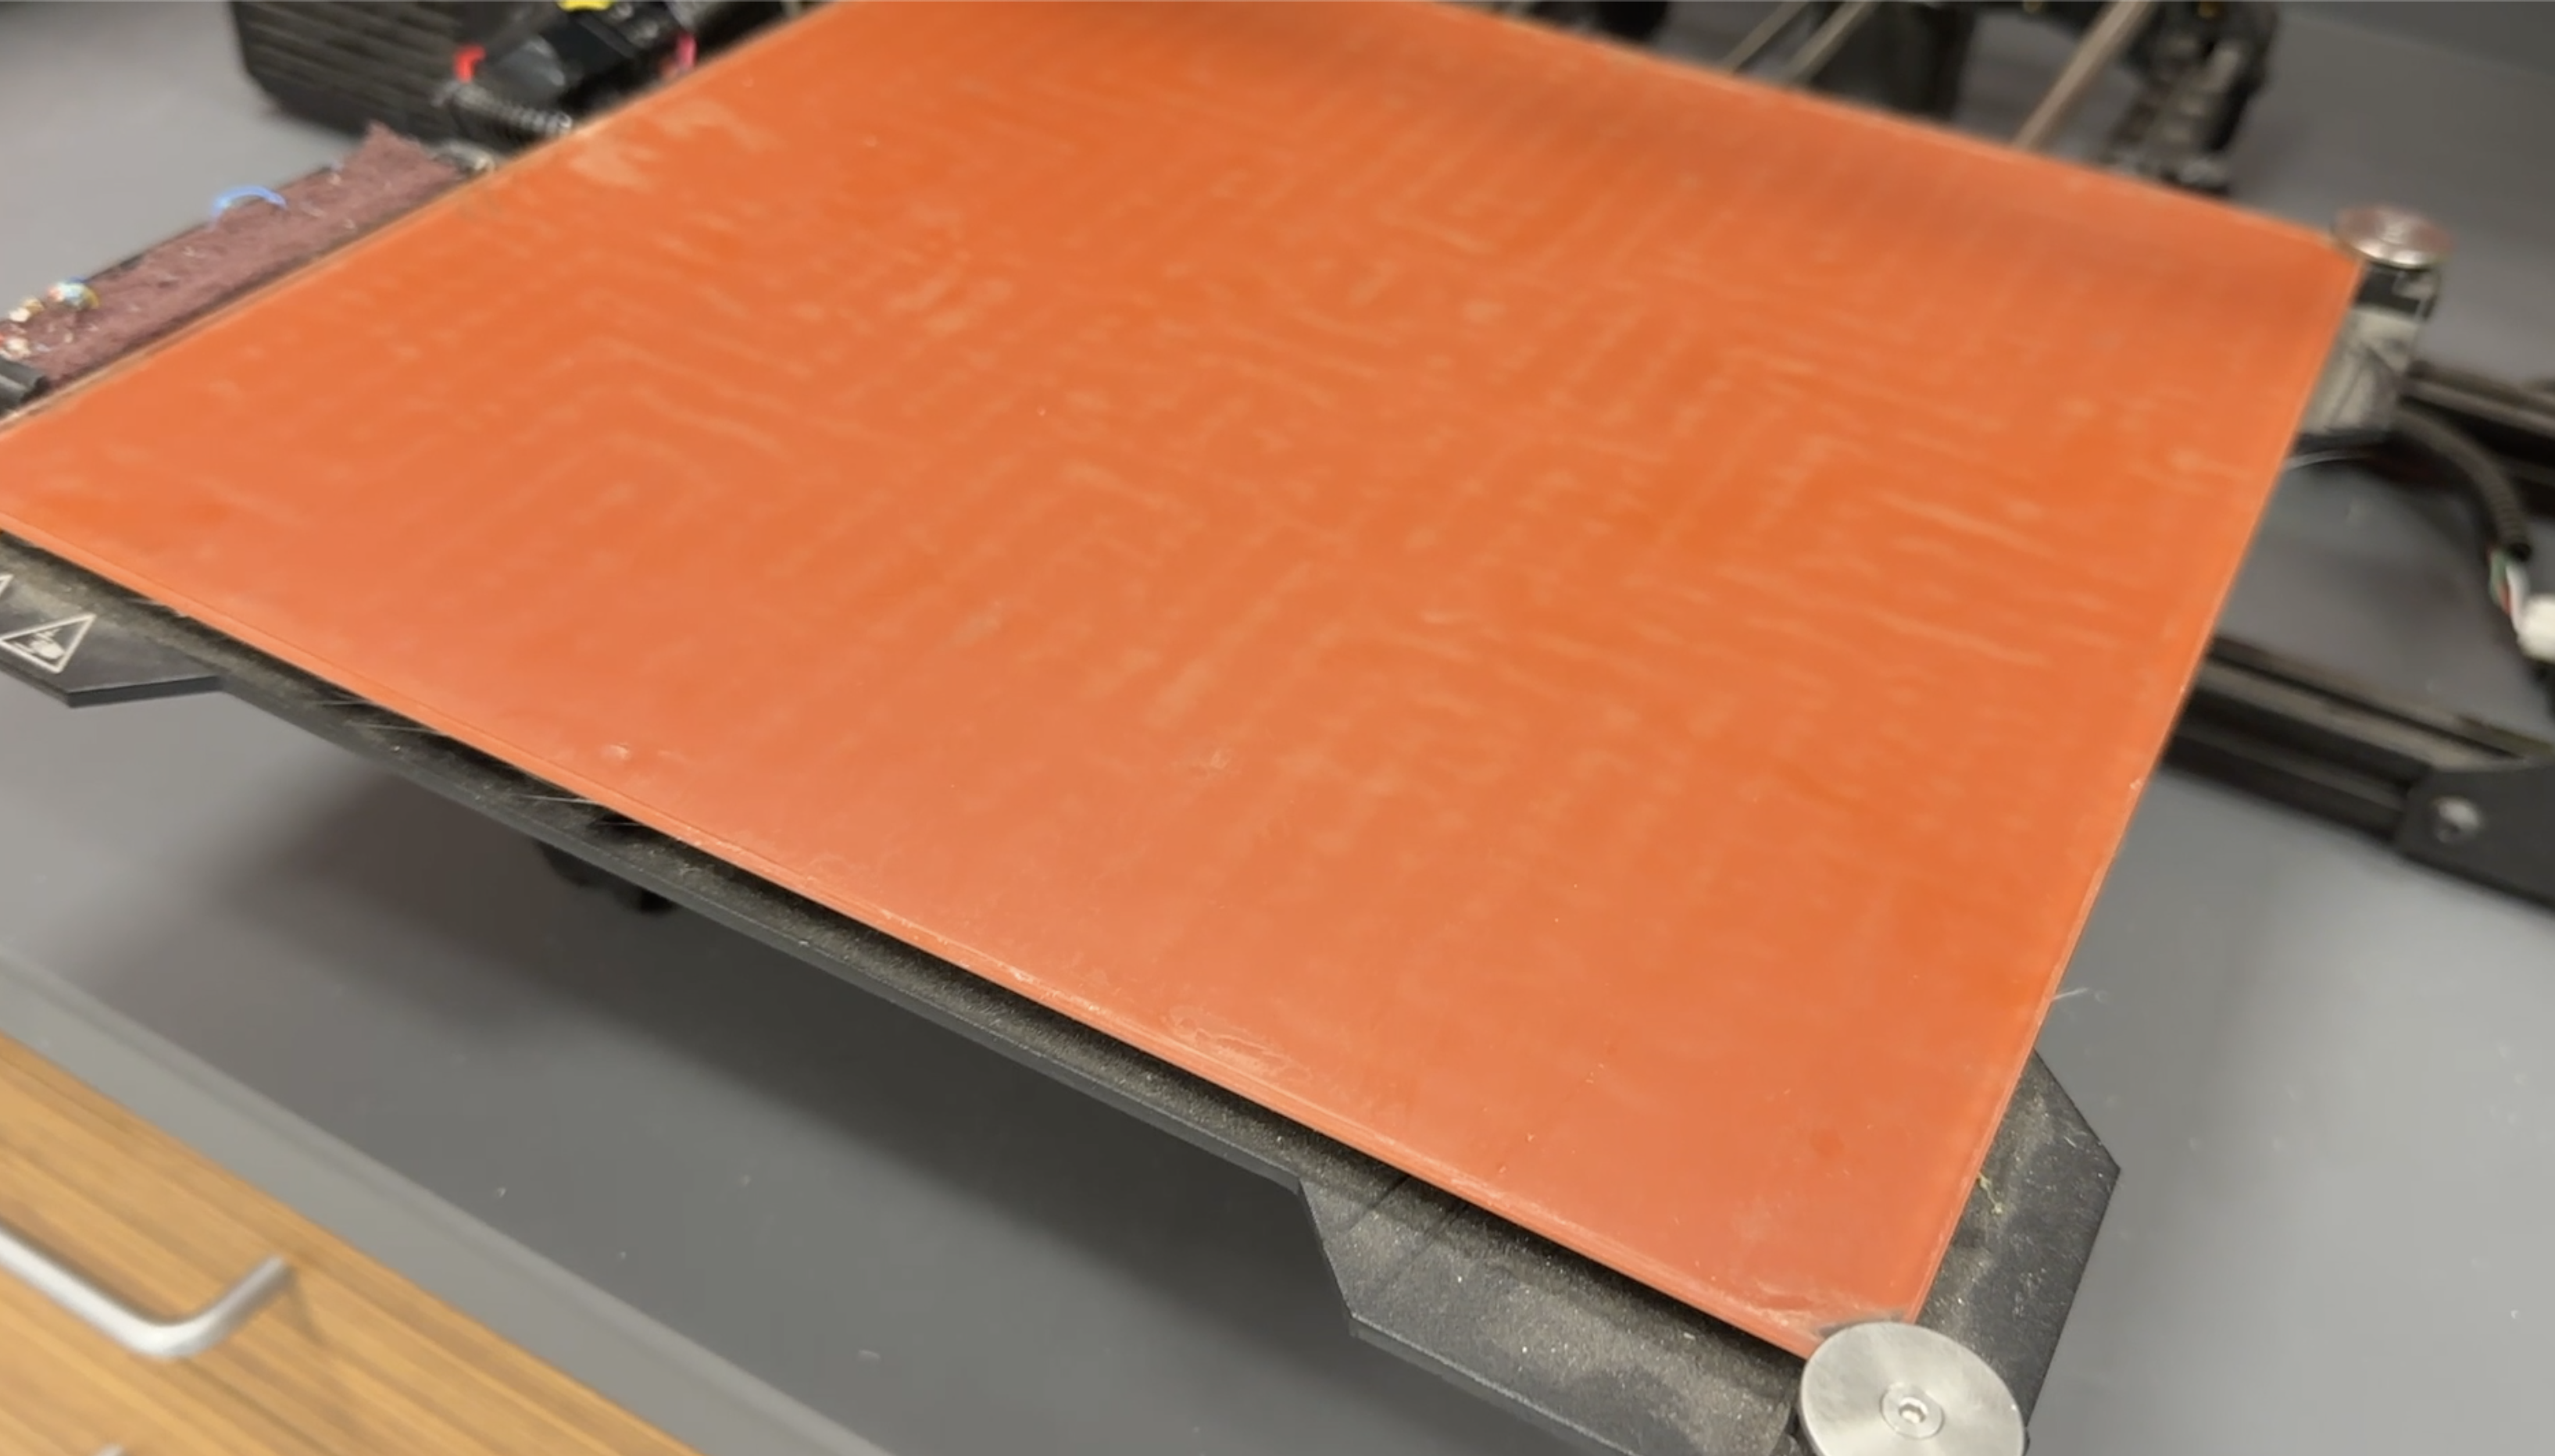
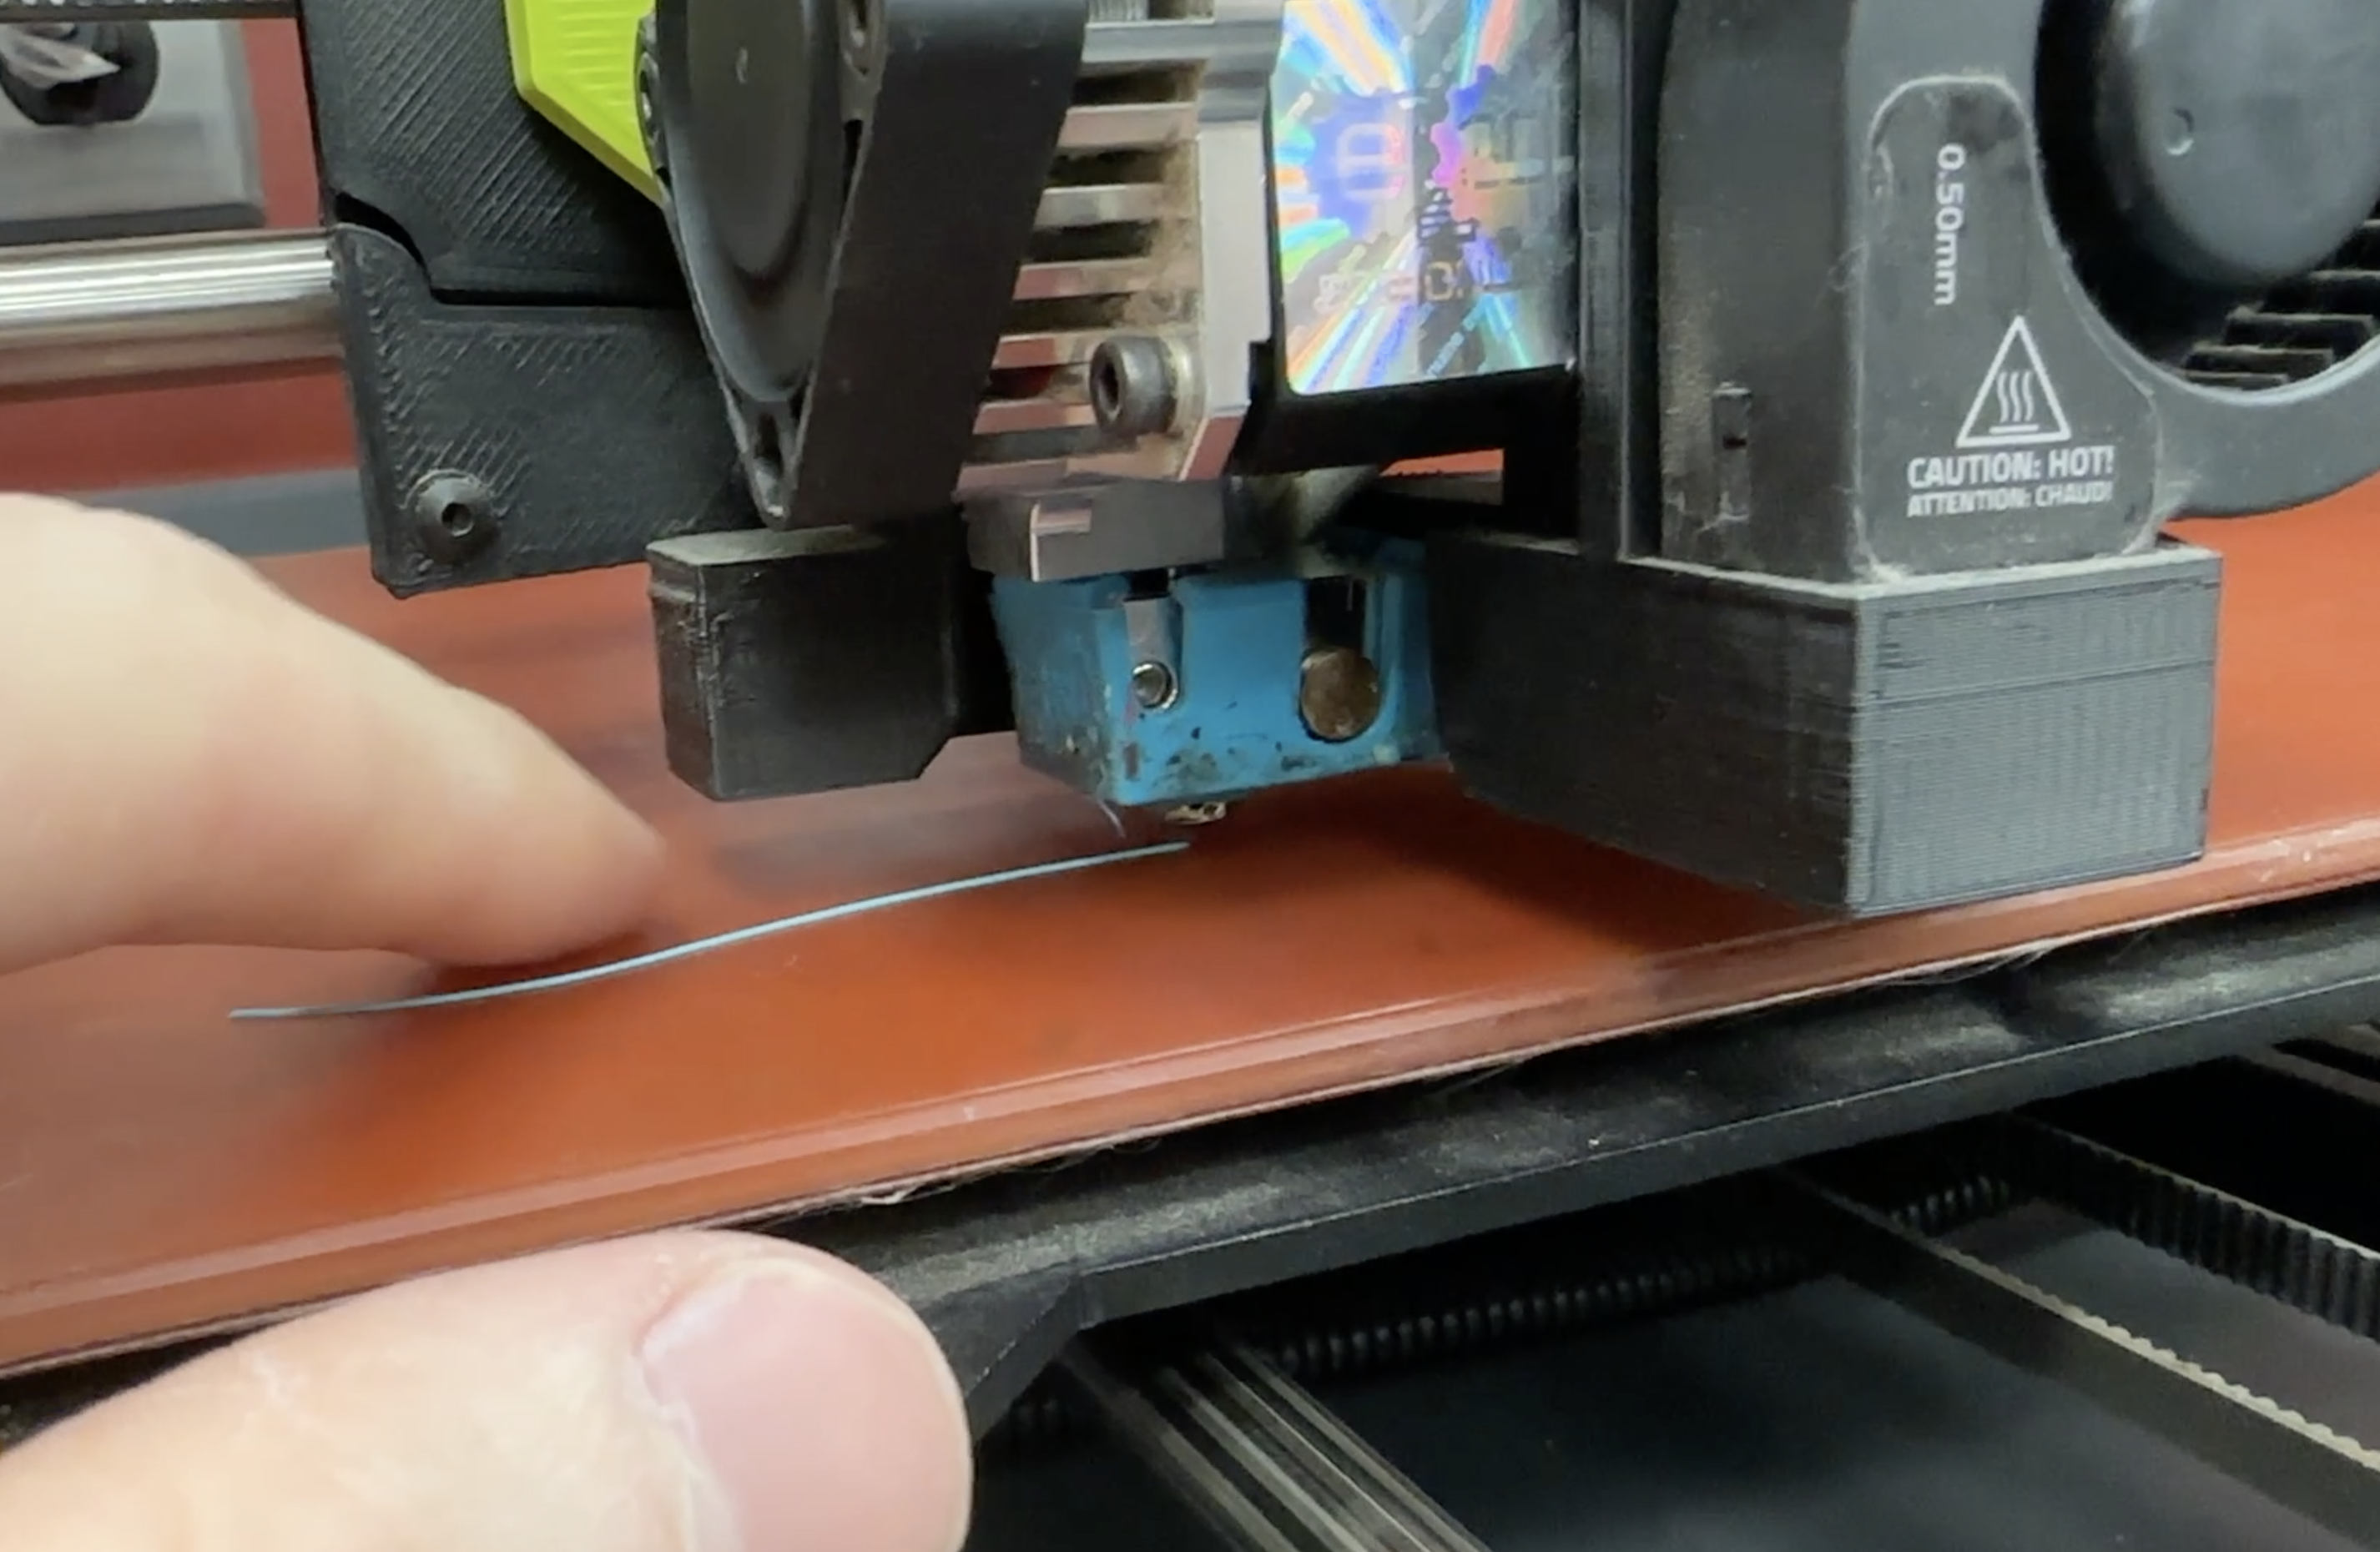
The last step is to reinstall and recalibrate your 3D printer! Installation will vary from printer to printer, but after installation it is really important to check your first layer settings. For my LulzBot, this included setting the "z-height offset", or the difference between the nozzle and the bed after the initial calibration is done. As this bed is new and was removed and then reinstalled, the tolerance may have changed a bit and the last thing you want to do is dig your nozzle into your brand new bed!
I hope you find this guide and attached video useful! Make sure you maintain your PEI by cleaning it using isopropyl, checking your first layer settings frequently, and avoiding scrapping tools that may cut into it. This spatula is my personal favorite!
Thanks for reading, and happy printing!