How to Repair a Damaged or Frayed Cable
by Mr_TV_Cable in Circuits > Electronics
1034 Views, 4 Favorites, 0 Comments
How to Repair a Damaged or Frayed Cable
.jpg)

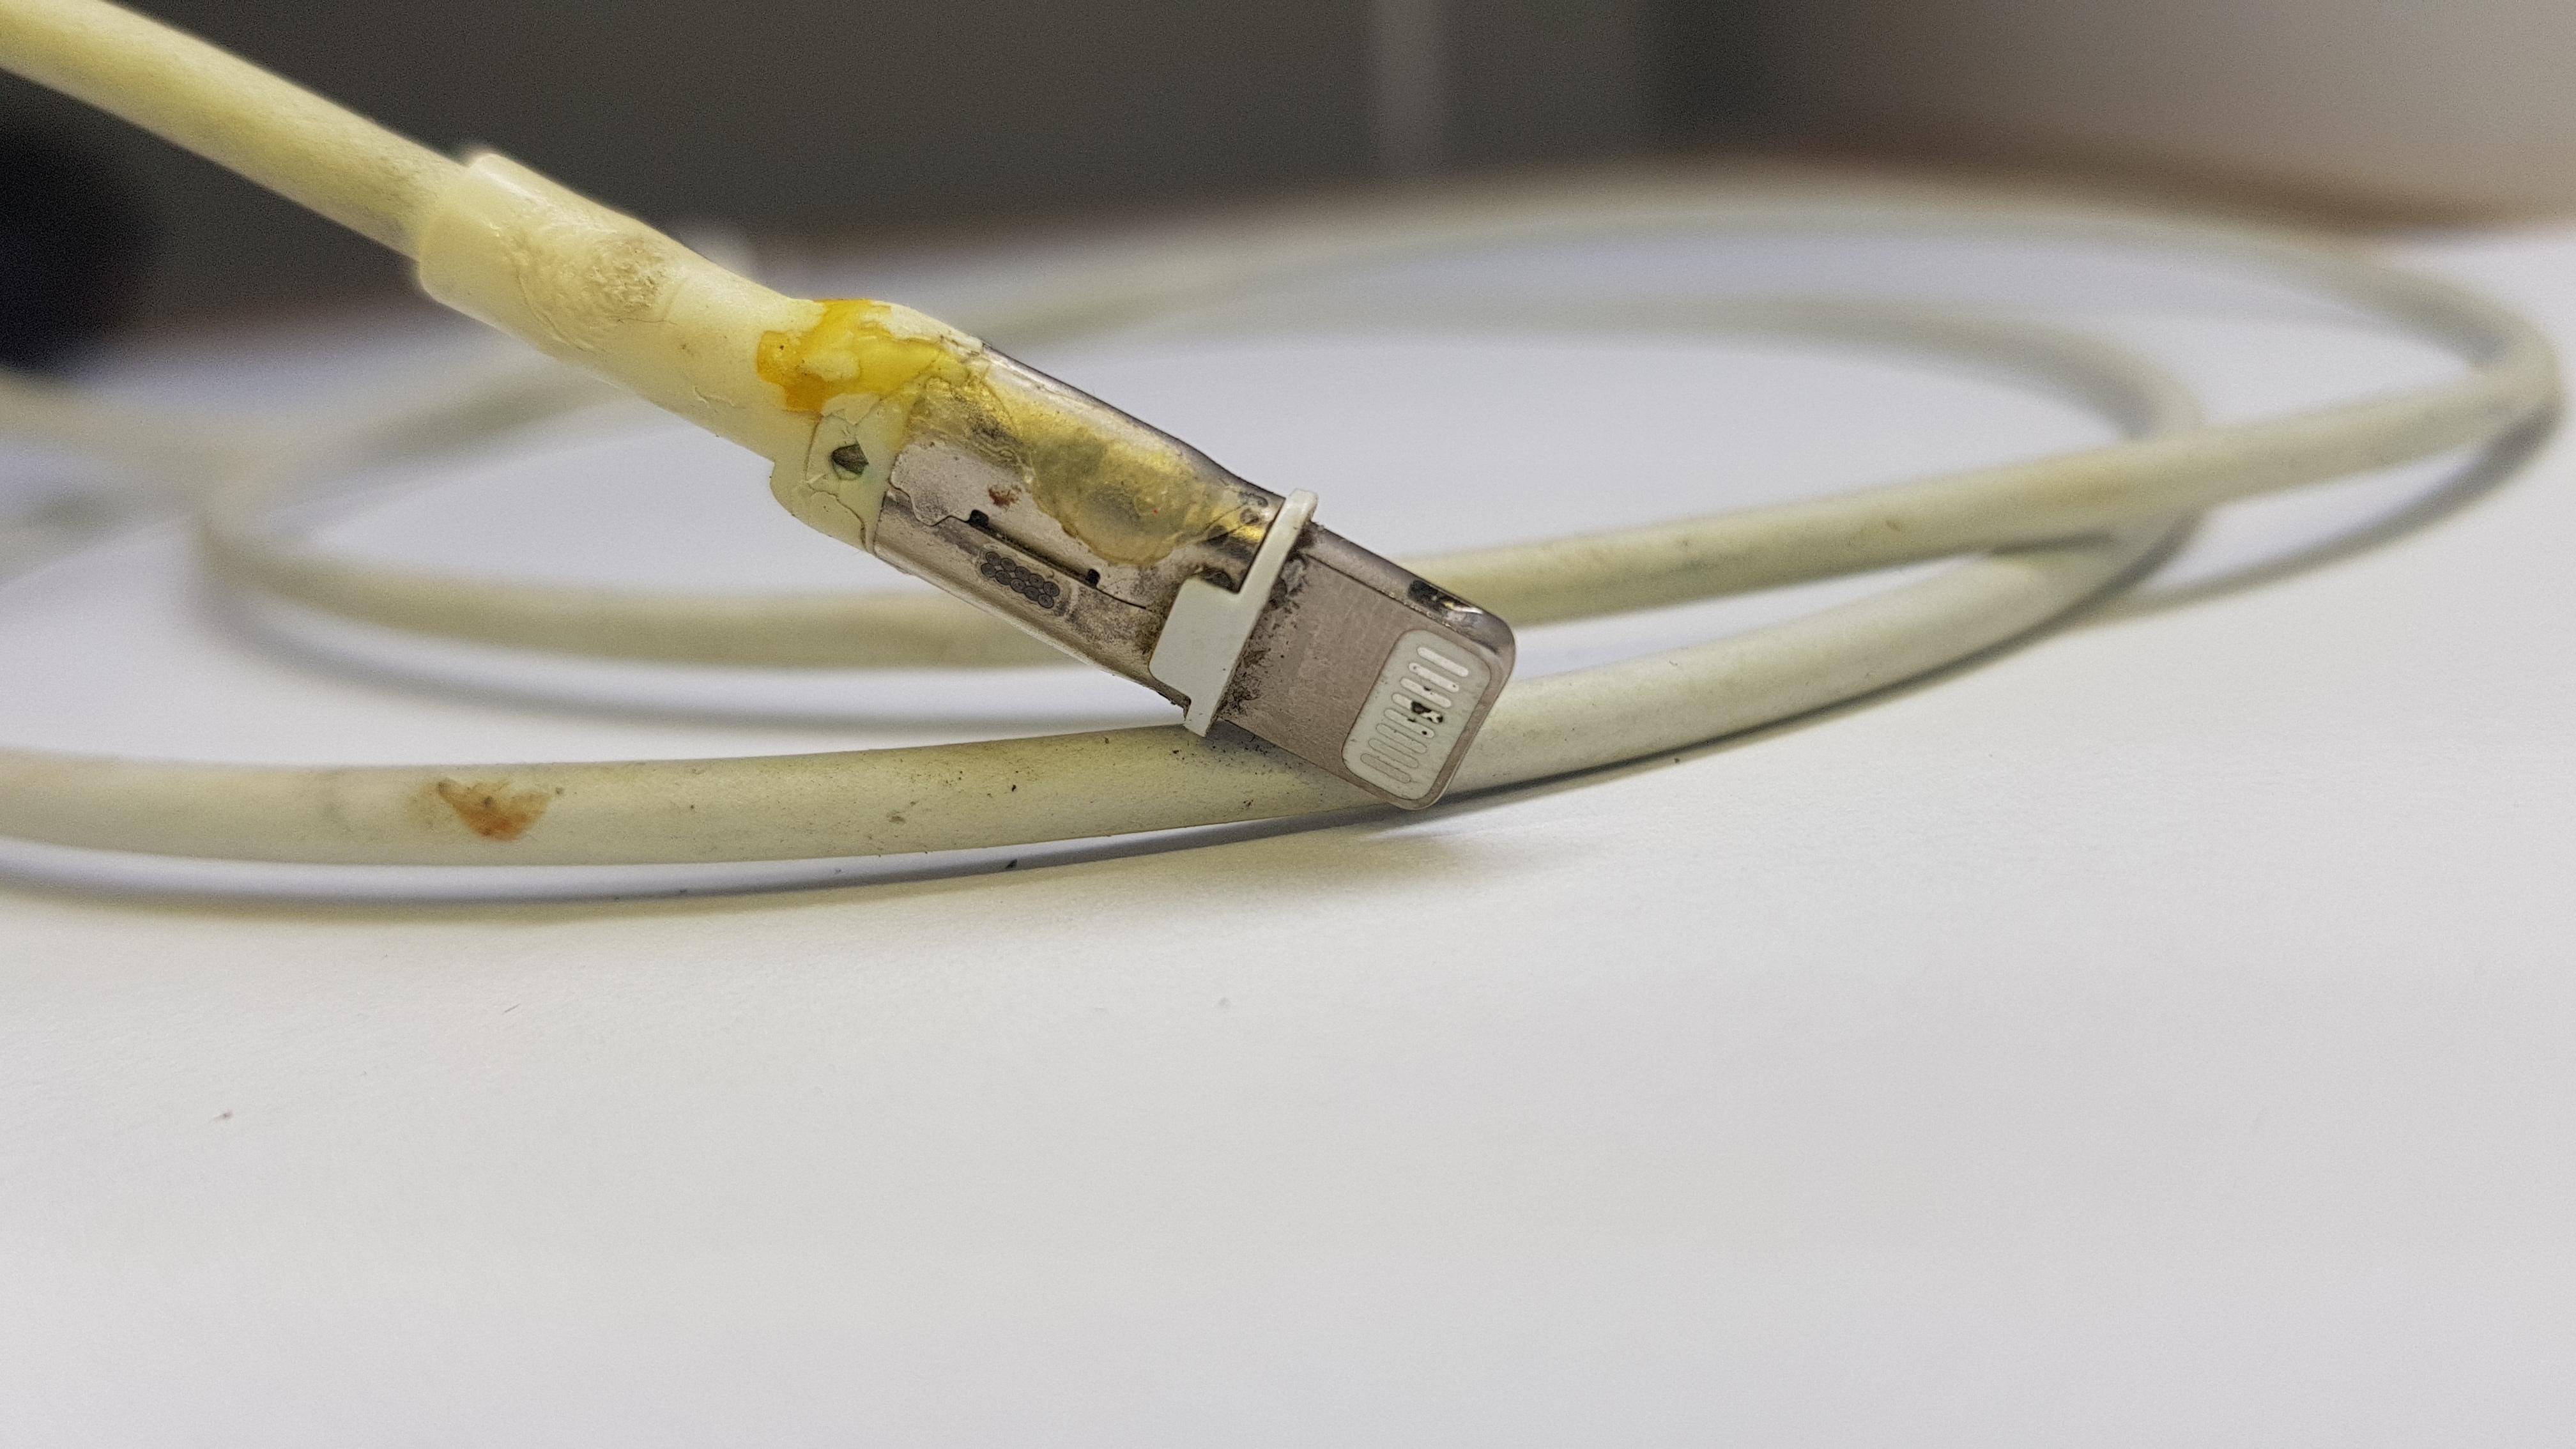
We all have had frayed or broken cables that still work, although leaving them like this can speed up the process since they are more susceptible to more damage once they have been damaged. There are various other reasons you should probably cover up or repair damages or frays. The cable must still work for this repair to be done. This repair will work on various cable sizes and is for damaged or frayed cables. This repair will give you a tidy and professional-looking repair if done correctly.
Supplies
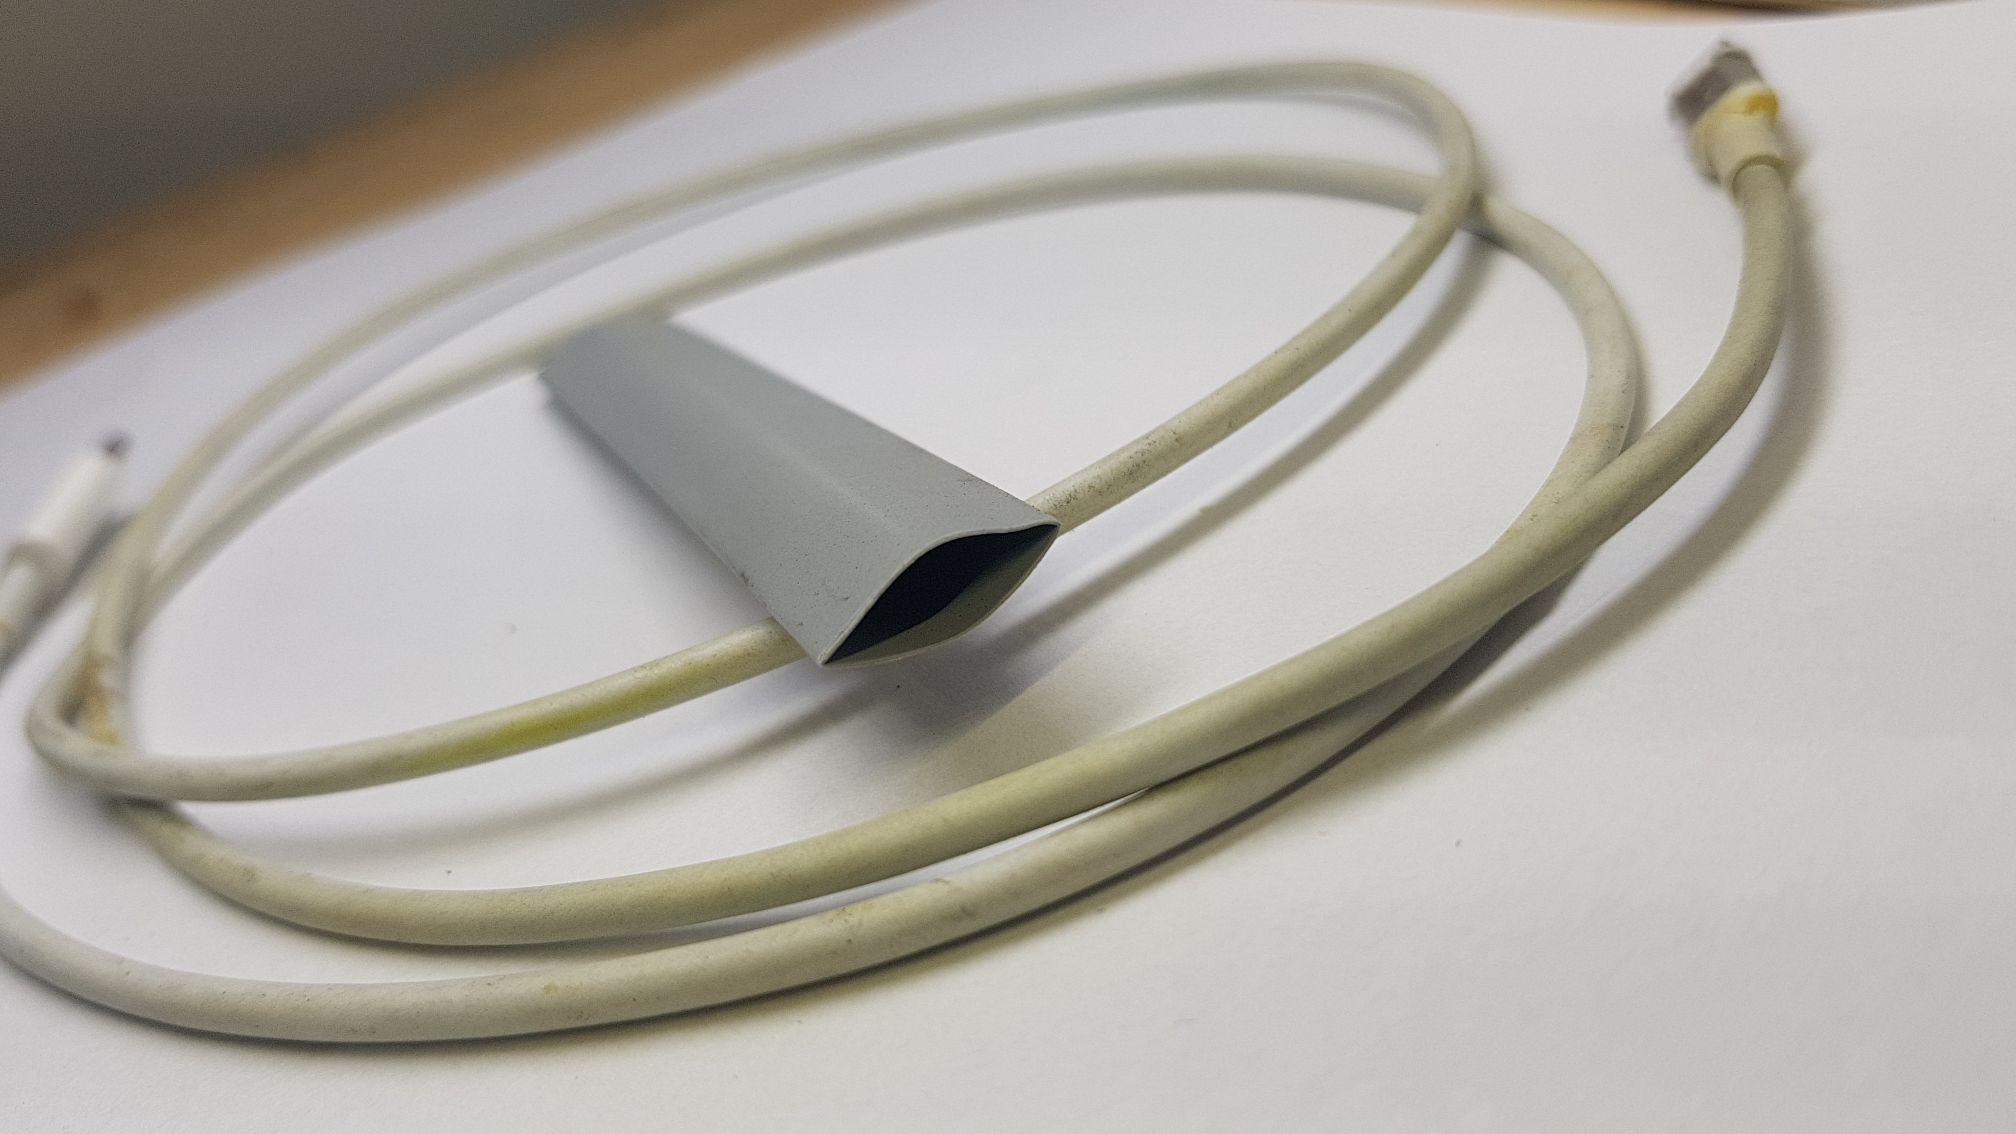
Measure the Heat Shrink


Depending on the diameter of the damaged section of your cable, you will want to use a size of heat shrink that gives you a slightly loose or slightly snug fit. You also want to test fit and ensure the heat shrink can go over the first connecter and onto the damaged section. Then you want to measure how much you need to cover your cable, then leave a bit of room on the side if you can. It should be around a few millimeters, be sure to measure twice
Cutting the Heat Shrink

Use scissors to cut the heat shrink as straight as possible, and be sure to cut accurately.
Put the Heat Shrink Over the Damaged Area

Put the heat shrink over the damaged area and position it as accurately as possible this will affect your final results.
Heat the Heat Shrink


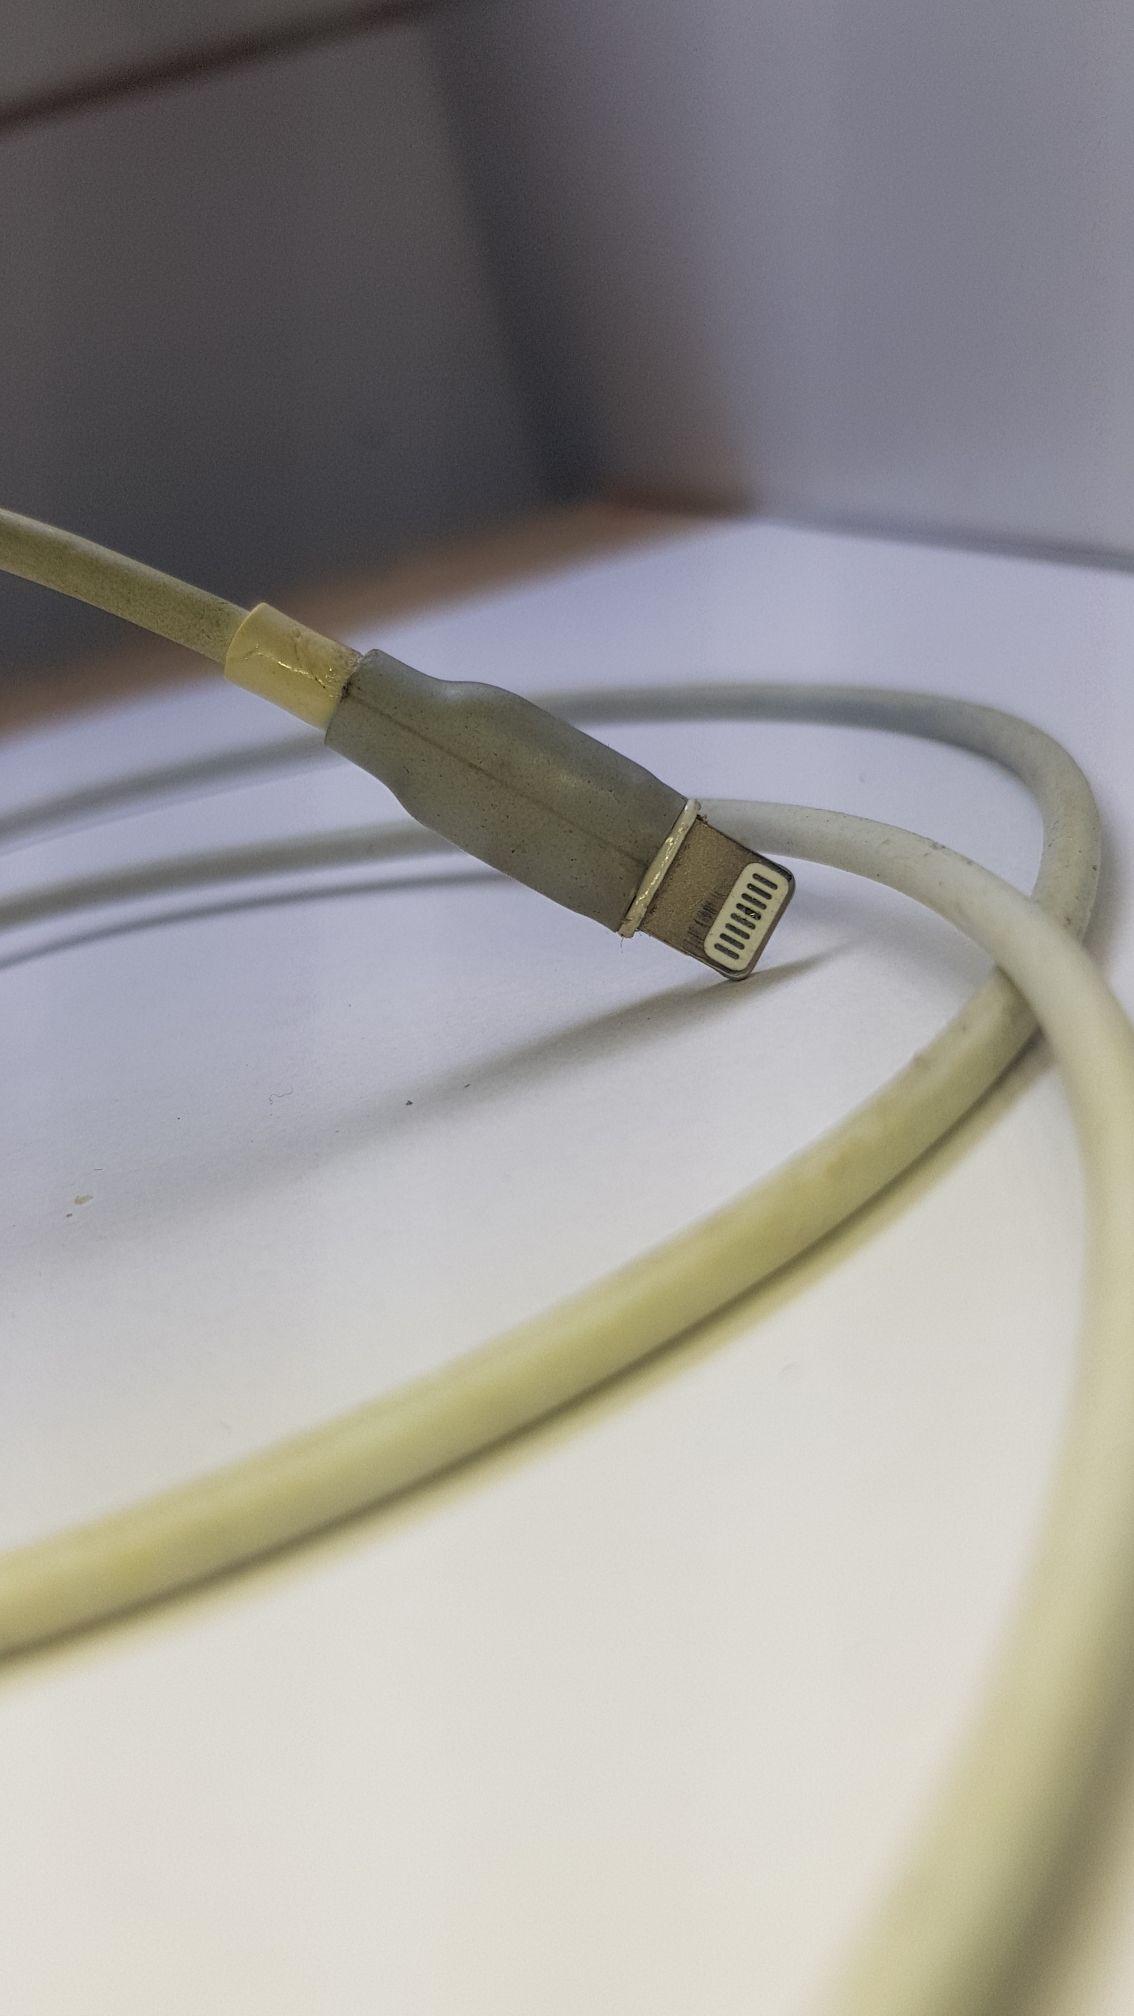
Heat the heat shrink using a lighter or a heat gun. Be sure to follow the manufacturer's instructions if provided. Be careful when doing this as you may burn yourself if you are not careful, be sure to watch closely, and if you see the heat shrink moving out of place, stop waiting for it to cool down completely and push it back into position. Be slow and steady with this step, as blasting it with heat will further damage the cable.
Conclusion

Now, if you have done everything correctly, you can wait for it to cool down and wipe down the heat shrink with a dry tissue if there is any soot, and you are done. Test to see if it still works. If you have bought a heat shrink kit, you can save cables down the road and save money. It is a straightforward process, even for a beginner.