How to Repair Your Doorbell
by brozky in Workshop > Home Improvement
2945 Views, 5 Favorites, 0 Comments
How to Repair Your Doorbell
There are several problems that can cause a doorbell to stop working. Almost none of them are complicated or expensive to repair.
The most difficult part of repairing a doorbell is diagnosing the problem, so this guide offers some trouble shooting advice along with tips to fixing each problem.
Tools Required
- Screw driver
- Voltage tester
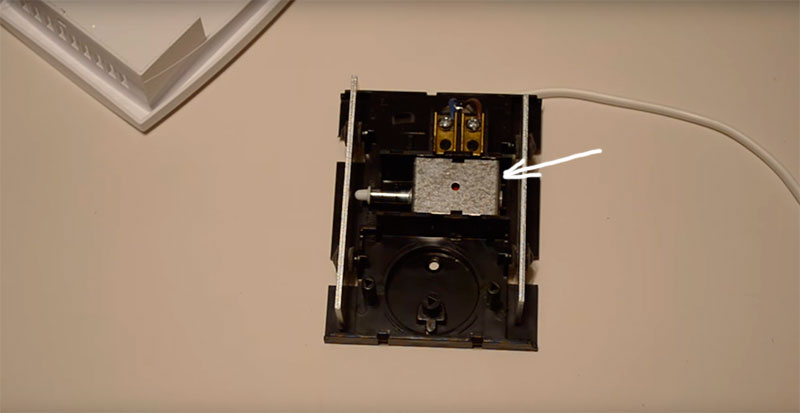
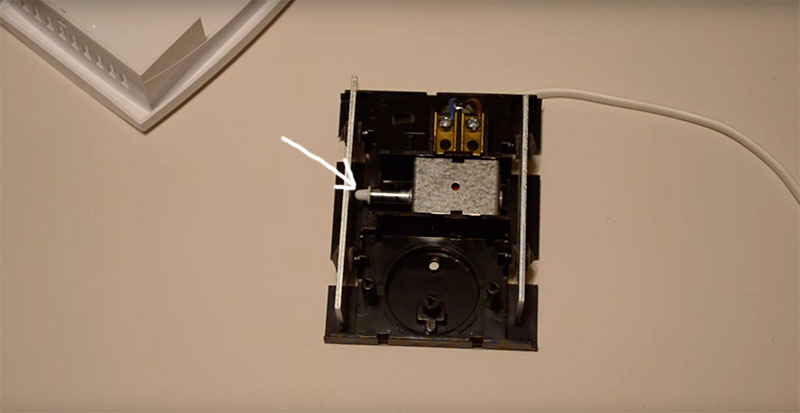
Dismount the Doorbell Button/switch

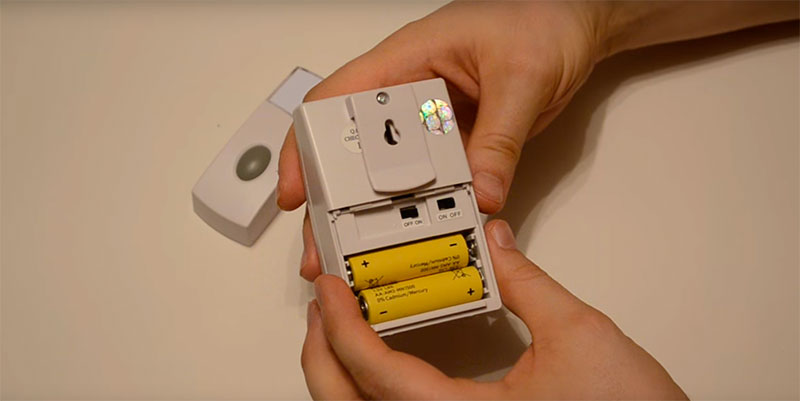
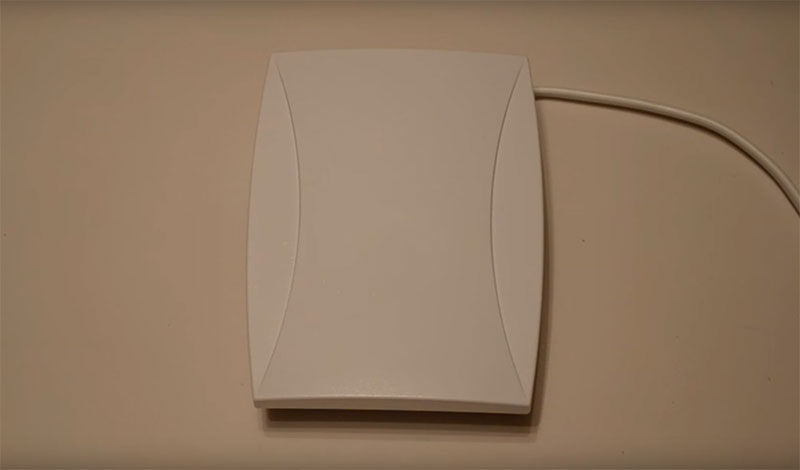
(Note: There are two major types of doorbells, hard wired and wireless. This guide describes hard wired bells. If you don't see wires when you dismount the button, you have a remote. The most common problem for remote bells is a dead battery.)
Remove the screws from the mounting bracket and pull the switch away from the wall. Do not disconnect it from the wires at this time.
Tighten the Wires
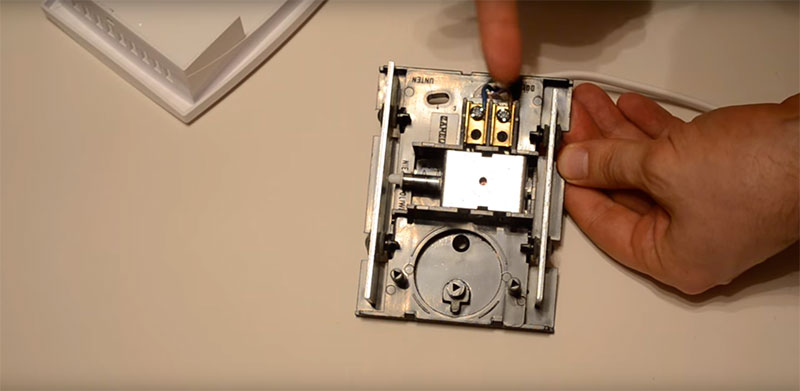
Loose wires are a very common problem with doorbells. If tightening the wires doesn't work, move on.
Check the Wires for Power
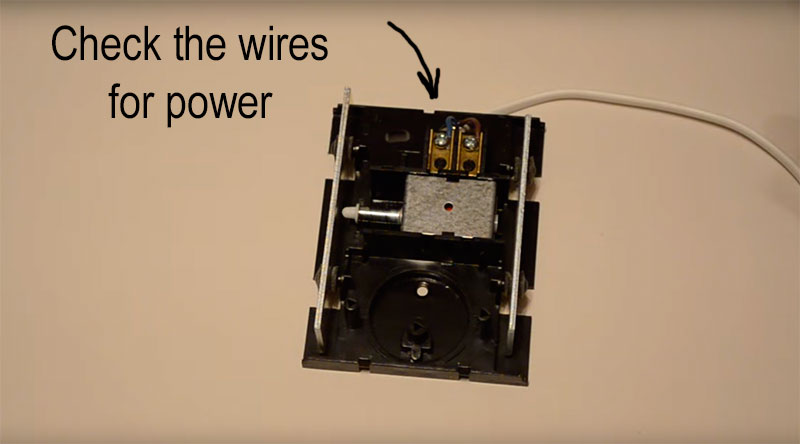
Use a voltage tester or no touch line tester. Check both wires without pushing the button. One of them should have power. If neither does, your problem is in the transformer, or circuit (possibly a blown breaker).
If one of them has power, this is the power in. Check the other wire (Power out) while pressing the button. If the second wire doesn't get power while pressing the button, you need to replace the switch as described in step 4. If the second wire is getting power but the bell isn't sounding, your problem is most likely in the chime.
Replacing the Switch

Loosen the wire connection screws and disconnect the wires from the existing switch. Wrap the bare wire around the connecting screws on the new switch clockwise, so that it wraps more as the screw tightens.
Tighten the screws and push the button to see if it works. Remount the bell if it is working. If it isn't you may also have a problem in the chime or transformer.
Check the Transformer
You will need a multifunction voltage tester to check the transformer. Tighten the low voltage connections before checking the voltage.
Set the tester to 50-volt AC and check if the transformer is within 2 volts of its rating. If it is, your transformer is functioning and the problem is in the chime (step 7). If it isn't, shut off the power to the transformer and tighten any wires that appear loose.
Turn the power back on and check the transformer. If it is still not working, you need a new transformer.
Replace the transformer
Shut off all power to the transformer and check it with a tester to make sure none of the wires are live. Disconnect all of the wires, using different color markers or tape to mark each wire and the place it was connected to.
Connect each wire to the corresponding connections on the new transformer, and mount it.
Check the Chime
Remove the chime cover plate and tighten any wires that appear loose. Check the wires with a voltage tester while someone else pushes the bell switch.
If it is getting power, but not ringing, you need to replace the chime in the same manner as described for a transformer. If power is leaving the bell switch, but not reaching the chime, you have problems with the actually wiring.
You could replace the wiring if it is easily accessed, but it most often won't be. Your best bet is to replace your existing bell with a remote bell that doesn't require wiring.