How to Repair ATAG Combination Microwave
by Jakwiebus in Living > Kitchen
1645 Views, 0 Favorites, 0 Comments
How to Repair ATAG Combination Microwave

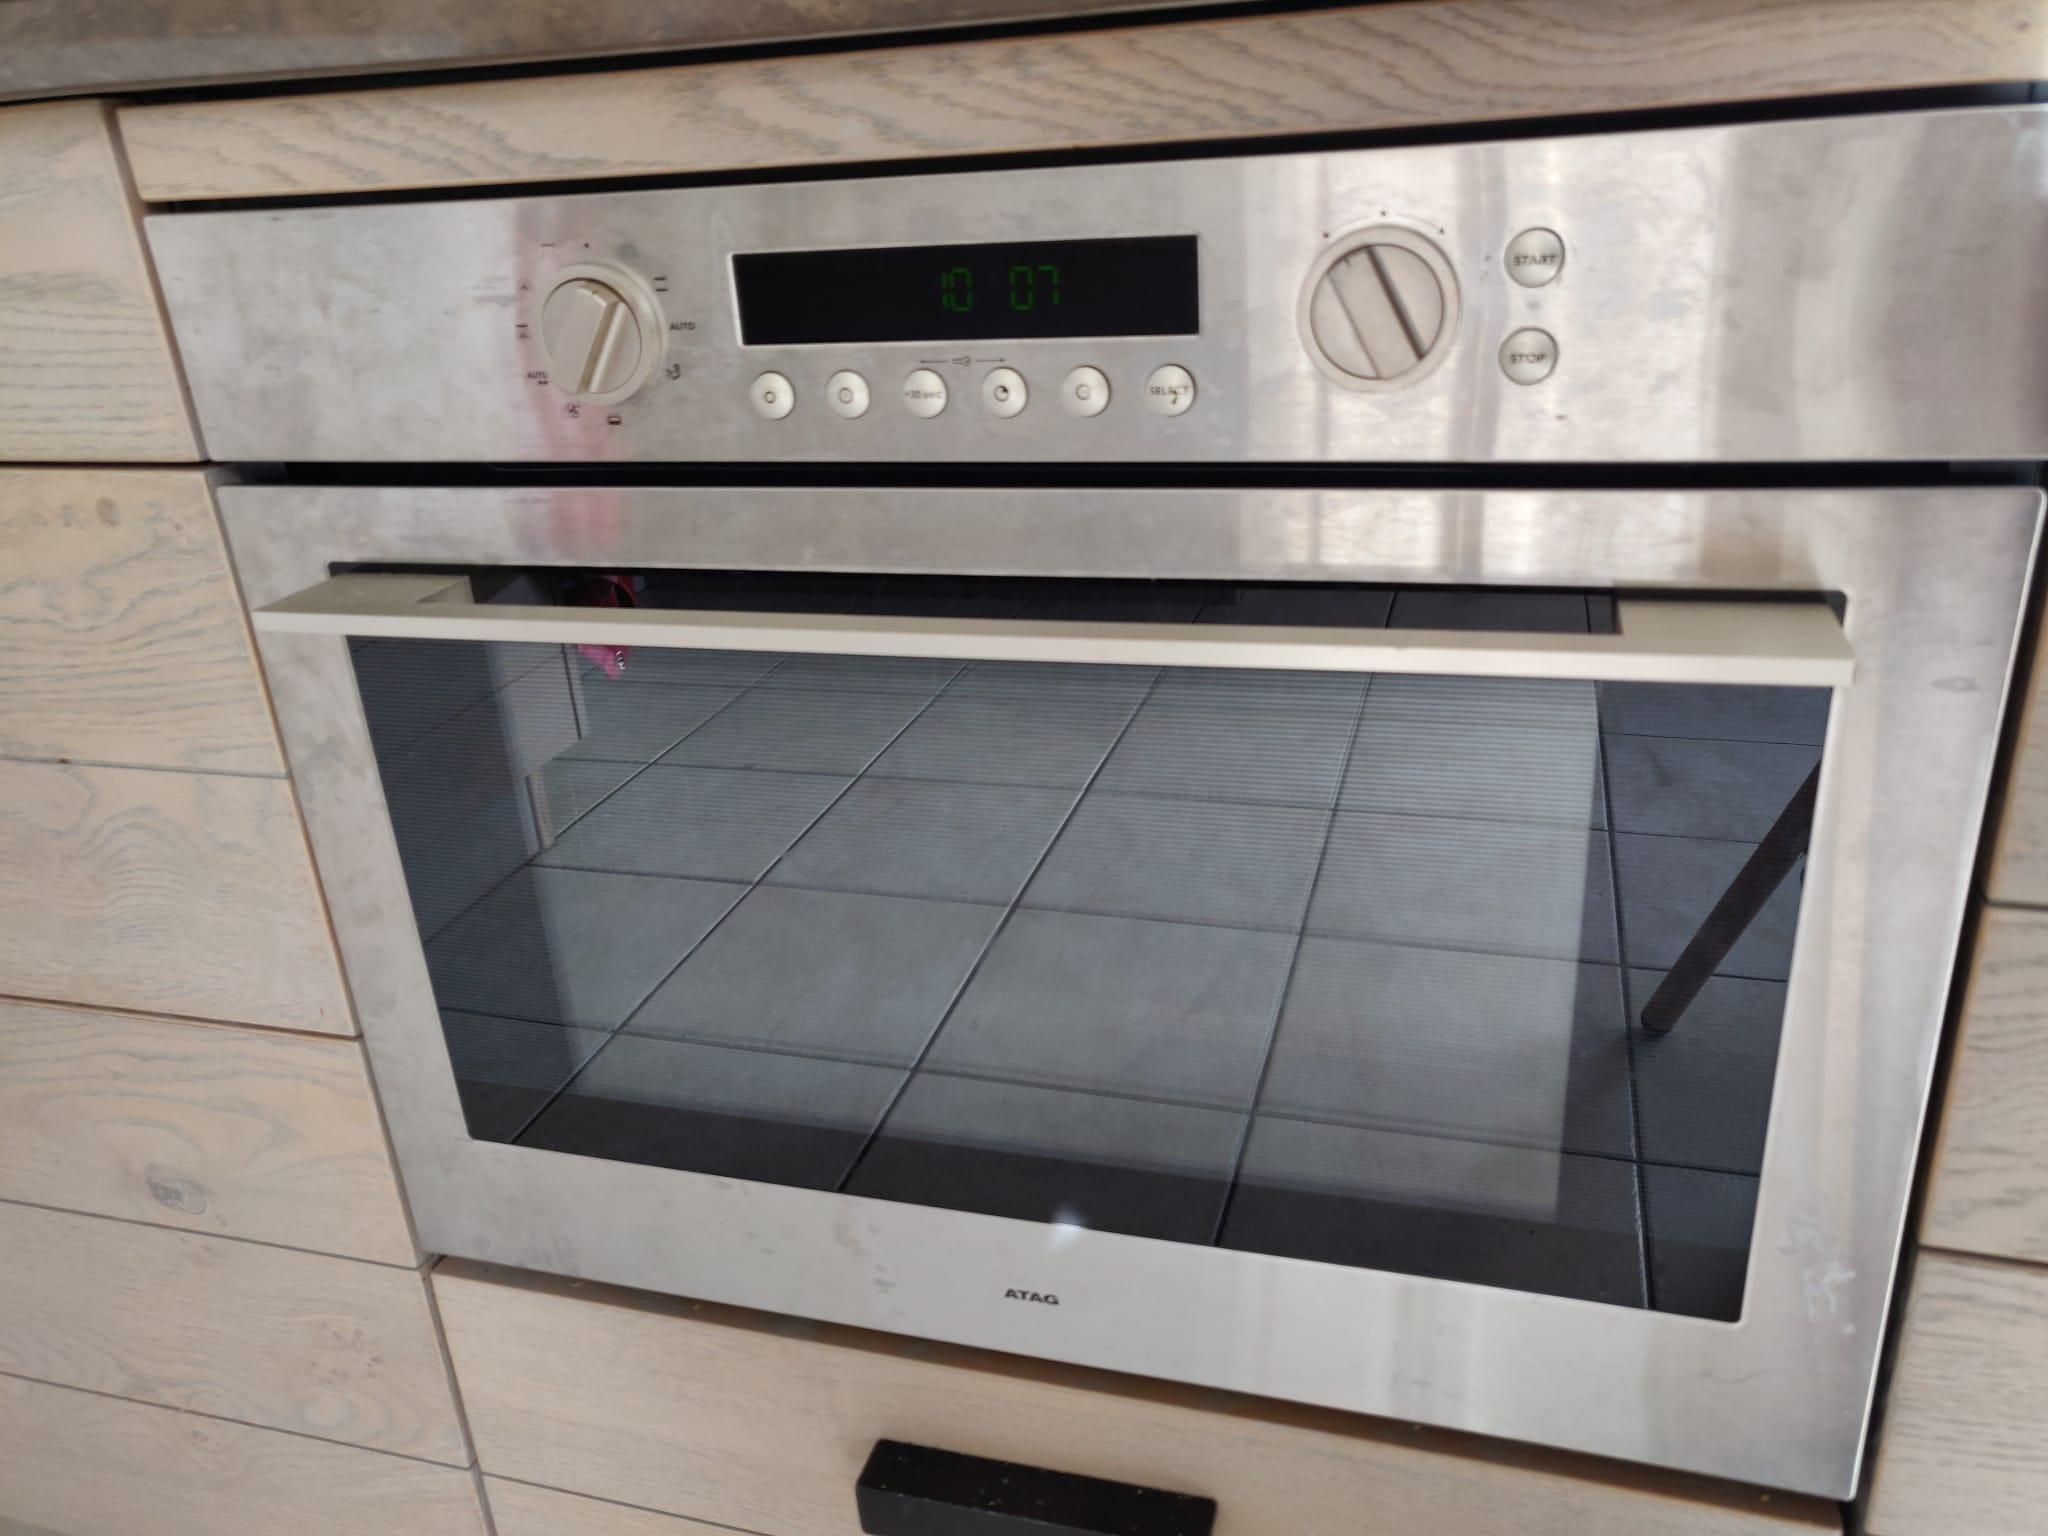
Our kitchen currently has an ATAG combination microwave (model number CX4411B/A01) that has been in service for 10 years since 2013. Despite its age, it still works fine, but we've experienced a few minor malfunctions. The internal light has stopped working and the menu selection button has been acting up.
According to the manual (attached), only a qualified service technician should perform any repairs. However, since our oven is no longer under warranty, the cost of repairs would have been quite expensive.
We searched the internet for instructions on how to fix it ourselves, but couldn't find any. So we looked at some part schematics (attached), which were not very clear, and decided to take matters into our own hands. Armed with a screwdriver, we started poking around in our oven.
Supplies
tools
- crosshead screwdriver.
- needle nose pliers
- (cut resistant) gloves
spare parts
- light: G4 40W halogen light. (be mindfull of the max operating temperature of this light, most if not all LED variants will not be resistant to the high temperatures of the oven)
- rotating switch: Samsung DE96-00994A
If you have other defects it is often worth taking a look at the defective component, often there are labels and partnumbers written on the components, your favorite search engine can do wonders when provided with these partnumbers.
Getting the Oven Out

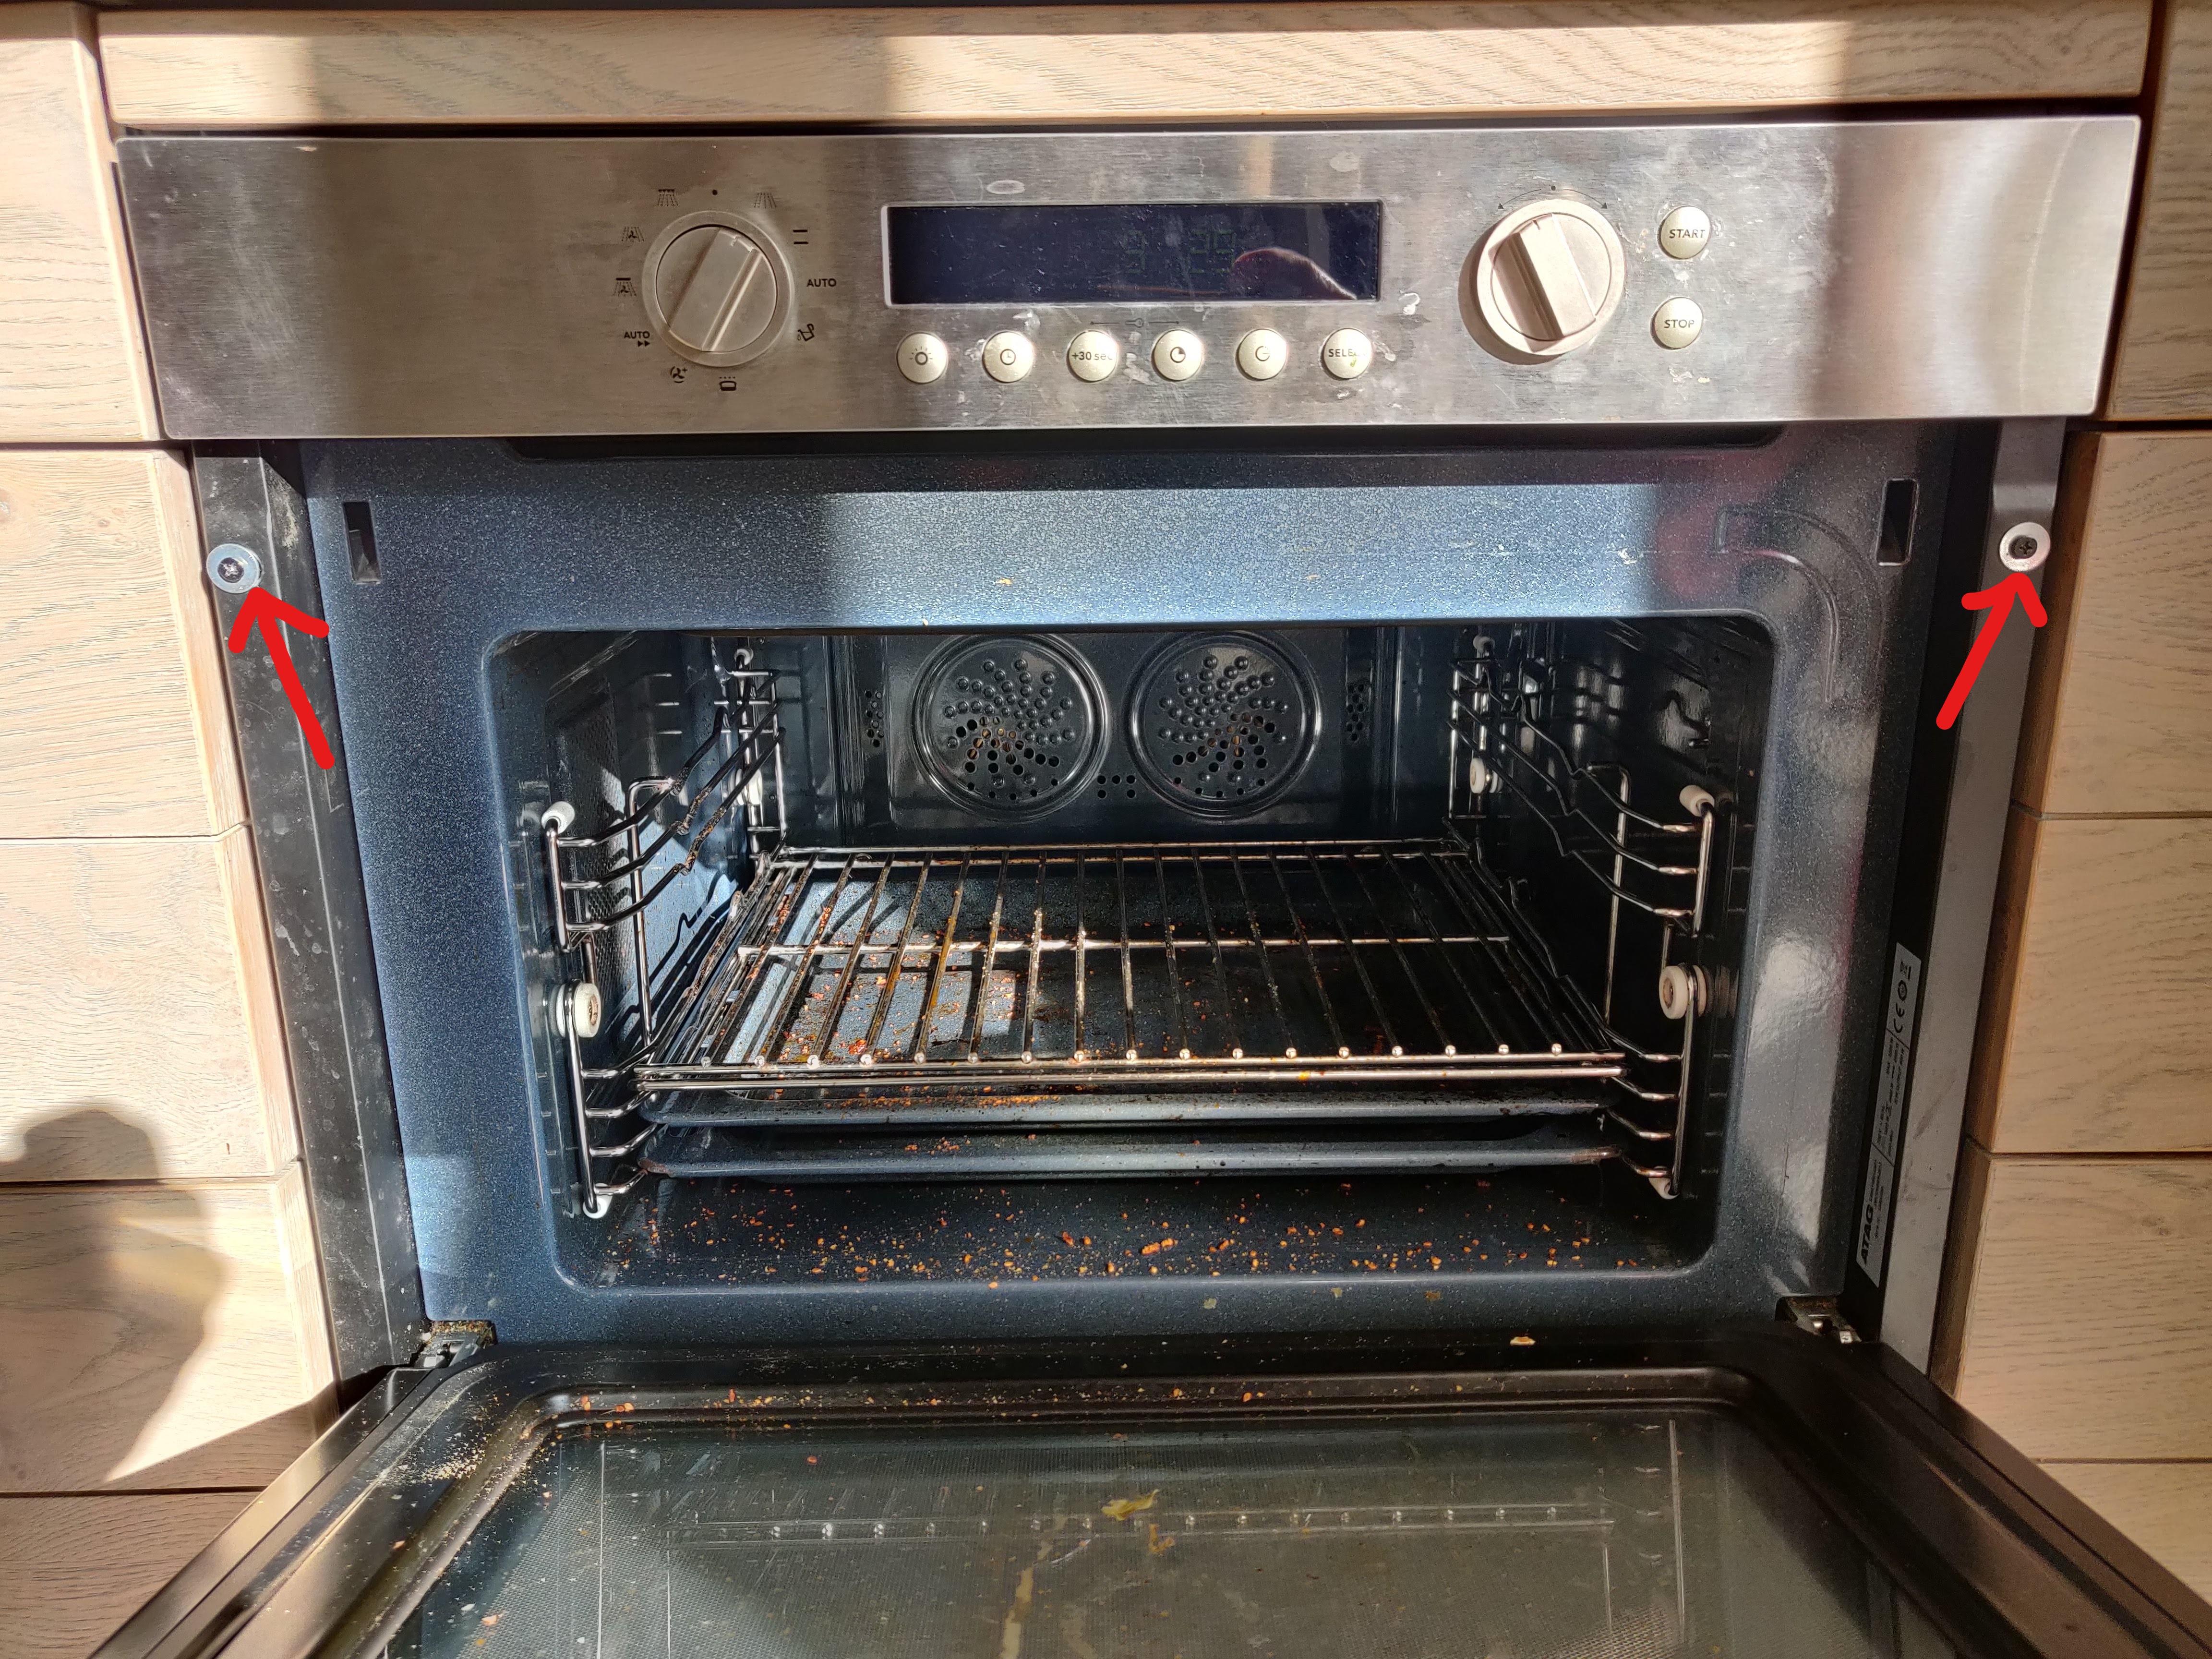
The ATAG oven is a built-in model, which means you'll need to remove it from its frame before attempting any repairs. To do this, start by locating the two screws that are holding the oven in place. These screws are shown in the picture.
Once you've found the screws, use a screwdriver to remove them. With the screws removed, you can carefully pull the oven out of the frame. However, it's important to note that lifting the oven is a two-person job to ensure safety. Once you've lifted the oven out of the frame, you can place it on the floor on a piece of cardboard.
Be sure to also pay attention to the cable at the back of the oven and unplug it from the wall socket before you lift the oven out of the frame. This will ensure that you can safely work on the oven without any electrical hazards.
Replacing the Light


To begin, let's replace the oven light. Most ovens allow you to access the light from inside the oven, but our ATAG model is different. The light can only be reached by removing the side panel from outside the oven. For this reason, it's recommended that repairs be done by a qualified service technician. We will of course ignore this warning and do the repairs ourselves.
removing the side pannel
To remove the side panel, you'll need to unscrew several screws. Almost all the screws on the left side of the oven, as well as some on the back left side, need to be taken out. I've indicated which screws to remove in the pictures I've provided.
Once the screws are removed, you can gently lift up the upper panel and push back the back panel slightly before being able to slide up and out the left side panel. You may need to apply some force, but no excessive force is necessary. I suggest wearing cut-resistant gloves to protect your hands from any sharp edges on the sheet metal.
replacing the light
Once you've removed the left side panel, you'll see the insulation underneath. Look for a recessed pocket with two wires coming out - this is where the light is connected. You can unplug the light, but it's not necessary. The light is held in a white ceramic holder that's secured by two bent metal wires. You'll need to straighten these wires with your fingers or needle-nose pliers before you can slide out the light holder.
With the light holder removed, you can take out the old bulb and replace it with a new one. Be careful not to touch the glass of the halogen bulb. The type of bulb you'll need is a G9 40W halogen bulb. Although there are some LED alternatives available, they may not be suitable for use in ovens due to their operating temperature limitations. For this reason, I recommend using a halogen bulb.
To reassemble, simply follow the steps in reverse order. After inserting the light holder, make sure to rebend the metal wires to securely hold the light in place. Once the light is back in its proper position, screw the outside panels back in tightly.
That's it! Your oven light should now be working properly again.
Replacing the Rotating Button


With the oven removed from the frame, you can loosen the entire control panel with two screws, as shown in the pictures. Once the screws are removed, the whole control panel can slide up and out.
After removing the control panel, I unscrewed the malfunctioning module by removing the screws indicated in the picture. One of these screws also holds a small hook in place that holds the cables.
The button module we just unscrewed is connected to the mainboard by a connector, which is very convenient because we don't need to use a soldering iron to replace the module. We simply need to unplug the old module and plug in the new one. Replace all the screws and don't forget the small hook for the wires.
In my case, the part that was malfunctioning was the rotating switch: Samsung DE96-00994A. If you have other issues with your oven, it's often worth taking a closer look at the defective component. There are usually labels and part numbers written on the components, and you can use your favorite search engine to find replacement parts based on that information.
When reinstalling the control panel, be mindful to not pinch any electrical cables.
Test and Reinstall the Oven
Before placing the oven back into the kitchen frame, plug it back in to ensure that everything is working as intended. Only if the oven and all the replaced components work properly should you proceed to place the oven back in its frame. Don't forget to replace the two screws that hold the oven in place.
Afterthoughts
Repairing my own oven cost me just under €70 (€60 for the rotating button and €10 for the light). If I had hired a qualified service technician to do the job, it would have cost me at least five times this amount.
The steps above are specific to my situation, but the general idea is applicable to all defective household appliances:
- Identify the broken component, look for part numbers on the components.
- Search for the broken component online or in local stores. There are specialized stores that sell replacement parts for a wide range of appliances. It's worth noting that sometimes a replacement part for a specific device may be priced higher than the same part that is not listed as specifically compatible with your device, even though it's 100% the same component. Therefore, it's worth looking for the specific component and its part number instead of replacement parts for your device.
- Replace the broken component(s) and test your appliance.
- Enjoy the benefits. You have successfully repaired your device for a fraction of the cost of a new one or a professional repair, and you have also gained valuable knowledge about the inner workings of your appliance.