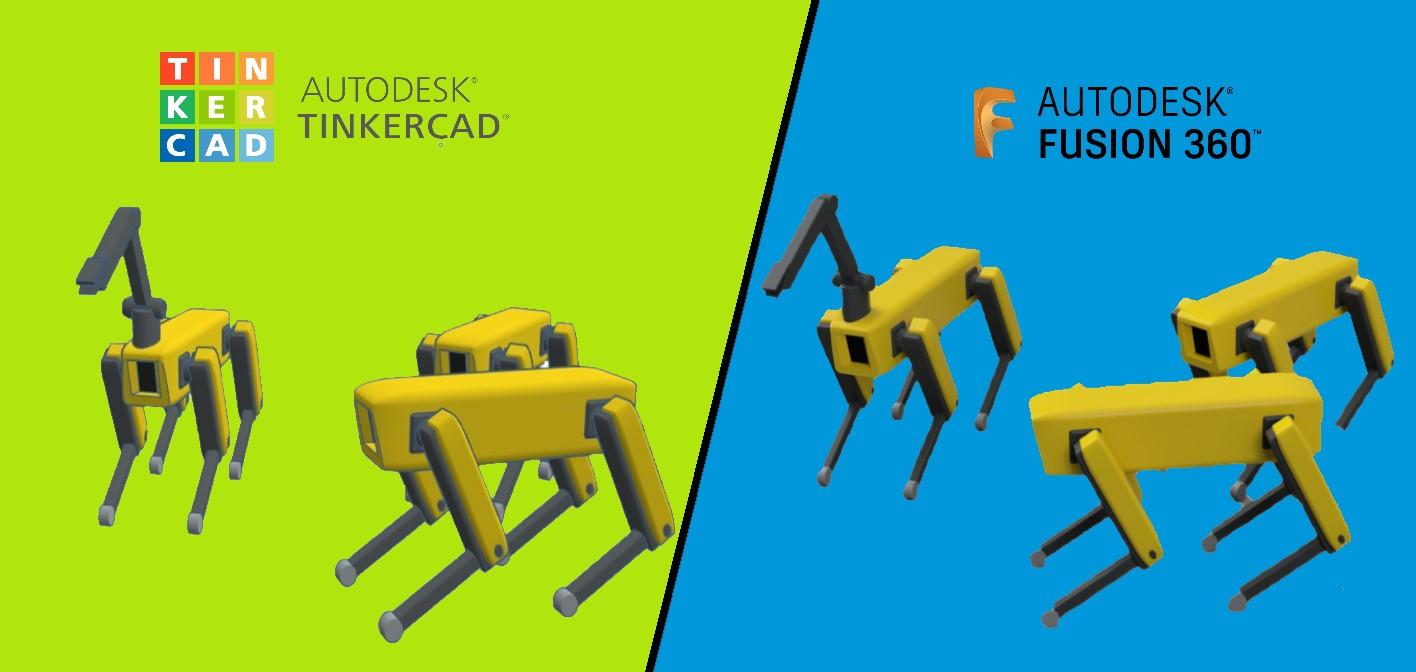
How to Render Your Design From Tinkercad to Fusion 360
by VCreations in Design > Digital Graphics
2035 Views, 6 Favorites, 0 Comments
How to Render Your Design From Tinkercad to Fusion 360

Hello everyone..
In this instructables we're going to learn how you can Render your designs from Autodesk Tinercad to Autodesk Fusion 360 and how you can Take your design to next level.
One of the best things about both the software is that with Tinkercad you can easily create your designs and can import in fusion 360 which gives your design a new level of brilliancy.
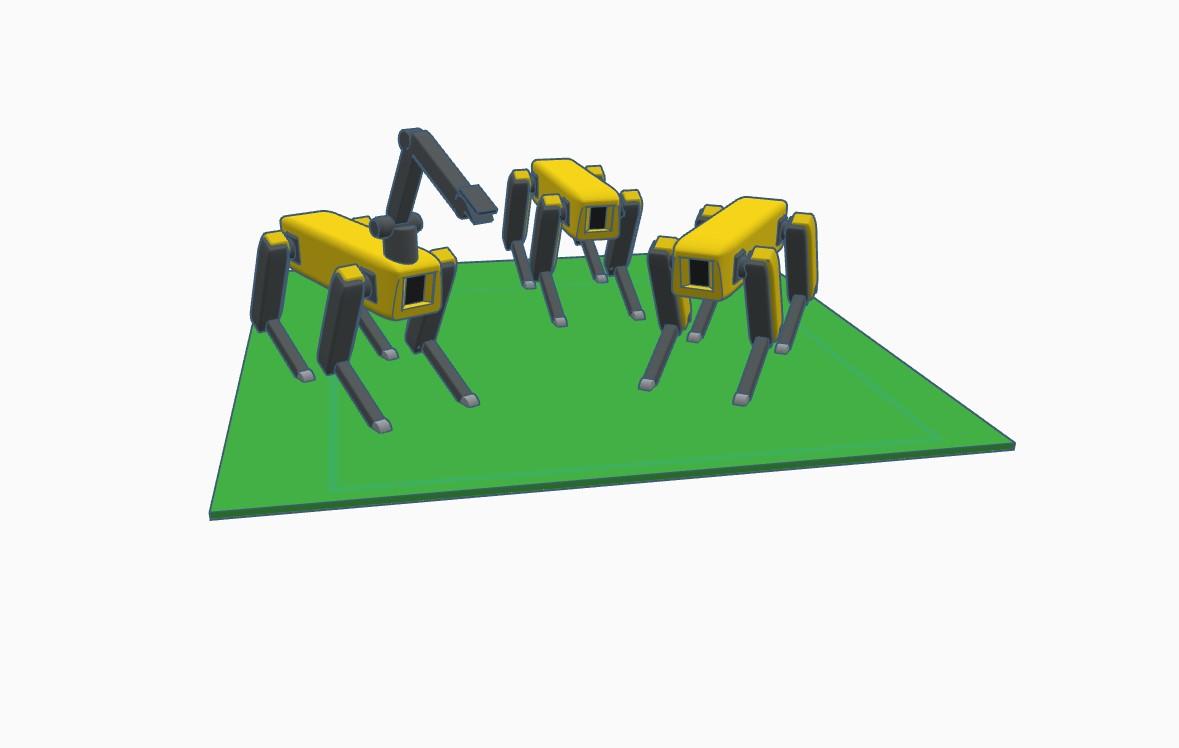
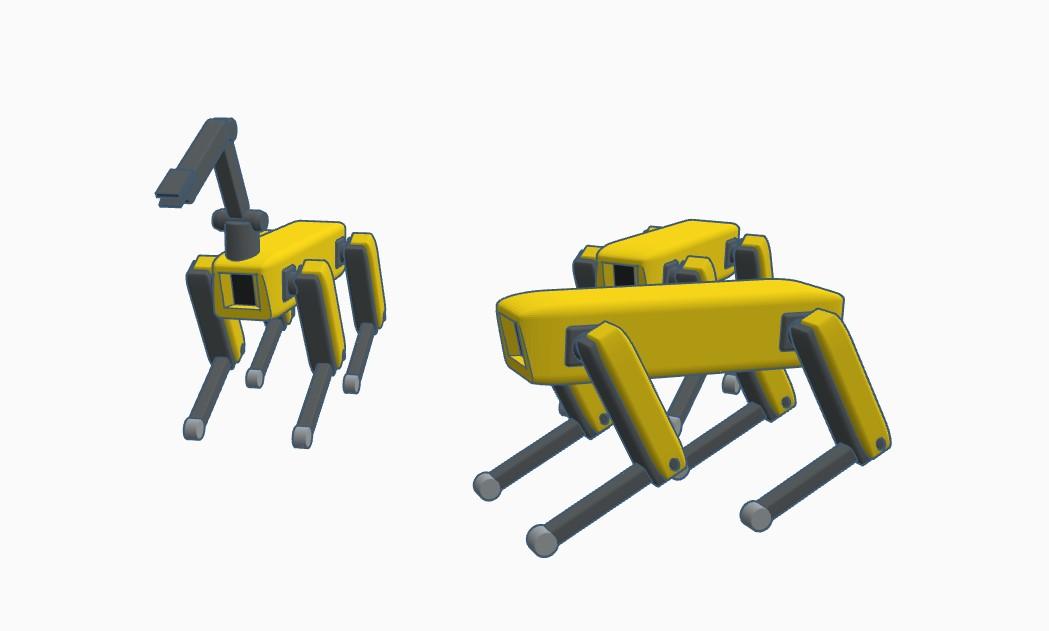
For this instructables I'm using my Mechanical Robot dogs design.
Supplies
- Autodesk Fusion 360
- Autodesk Tinkercad
Selecting the Design From Tinkercad
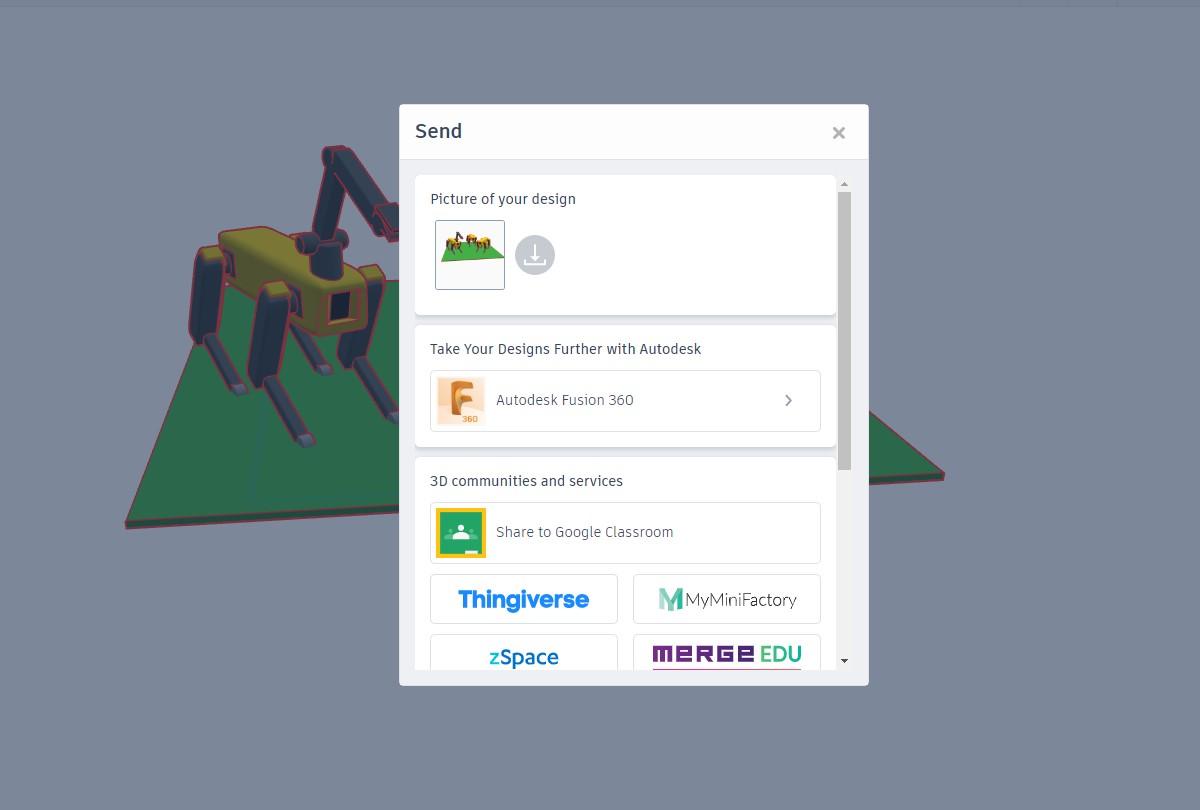
- From the Home menu select your desired design which you want to send in fusion 360 and export your design to fusion 360 by choosing the select option as shown in the above image.
- TIP - You should remove surplus objects that you do not wish to export and are not a part of it.
Importing the Design to Fusion 360
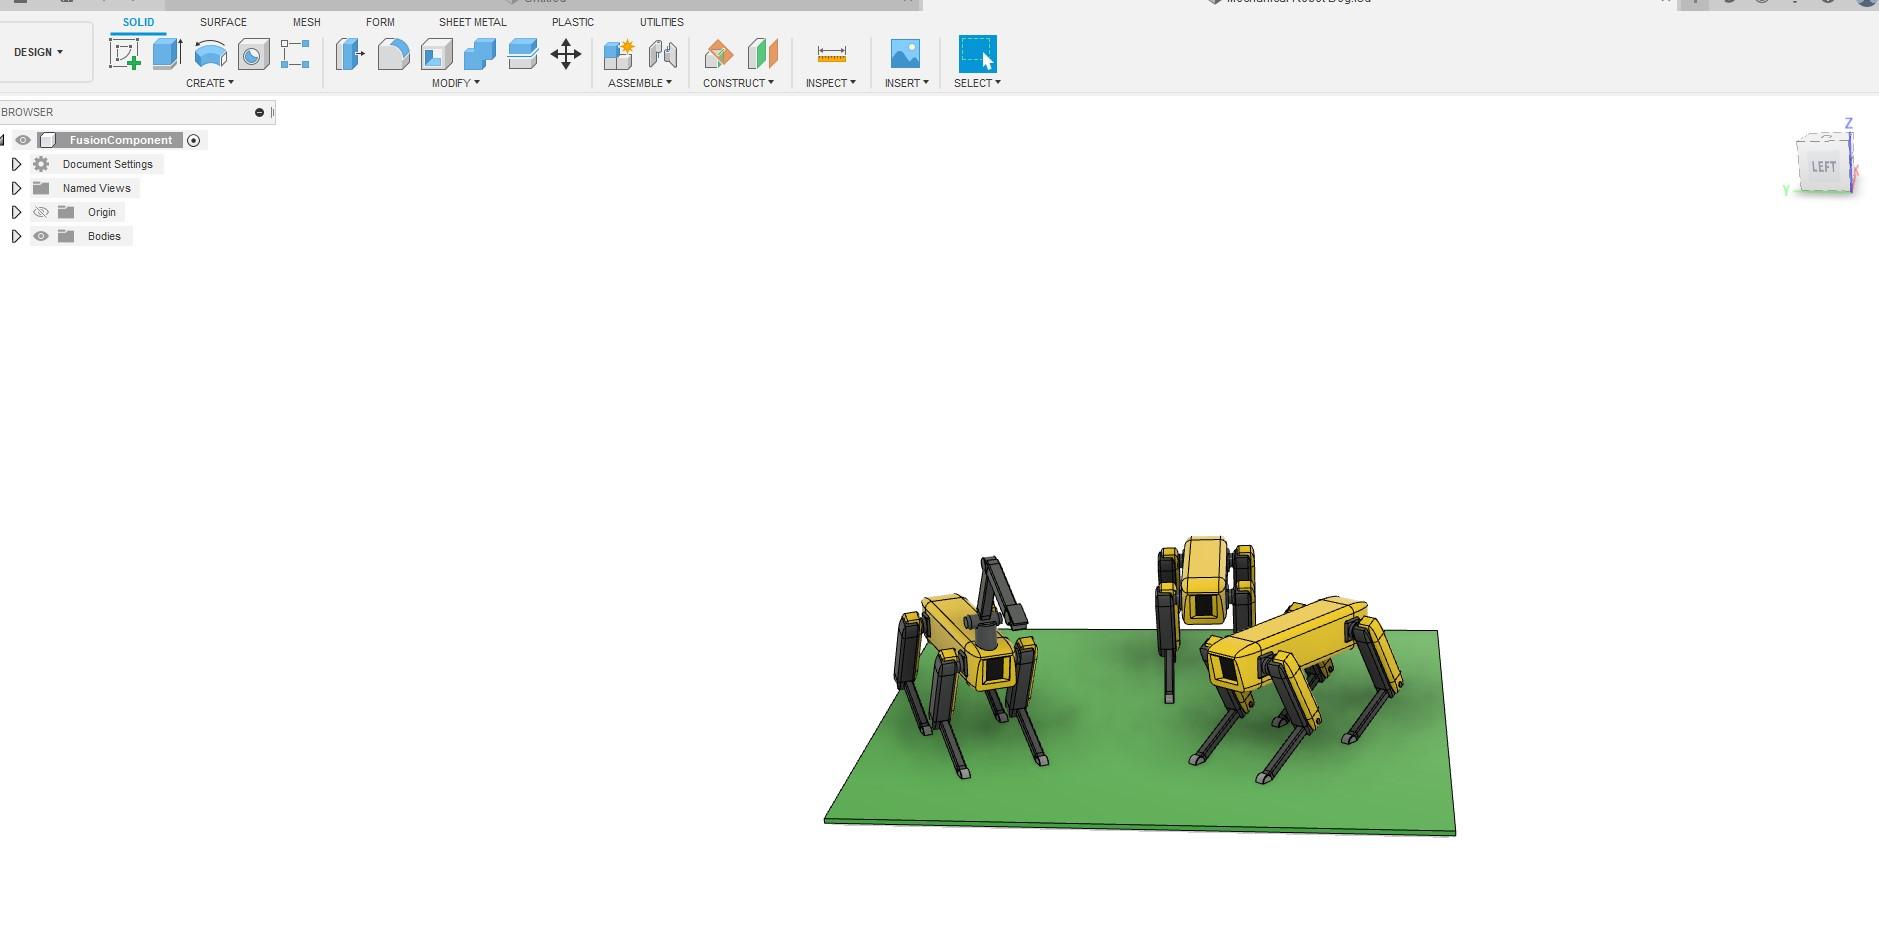
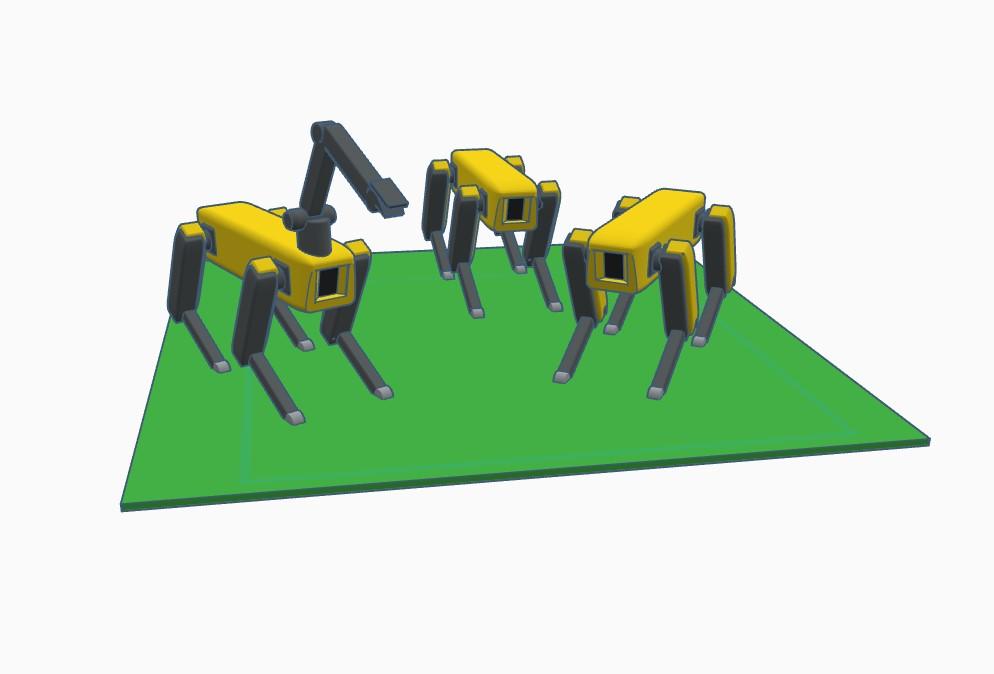
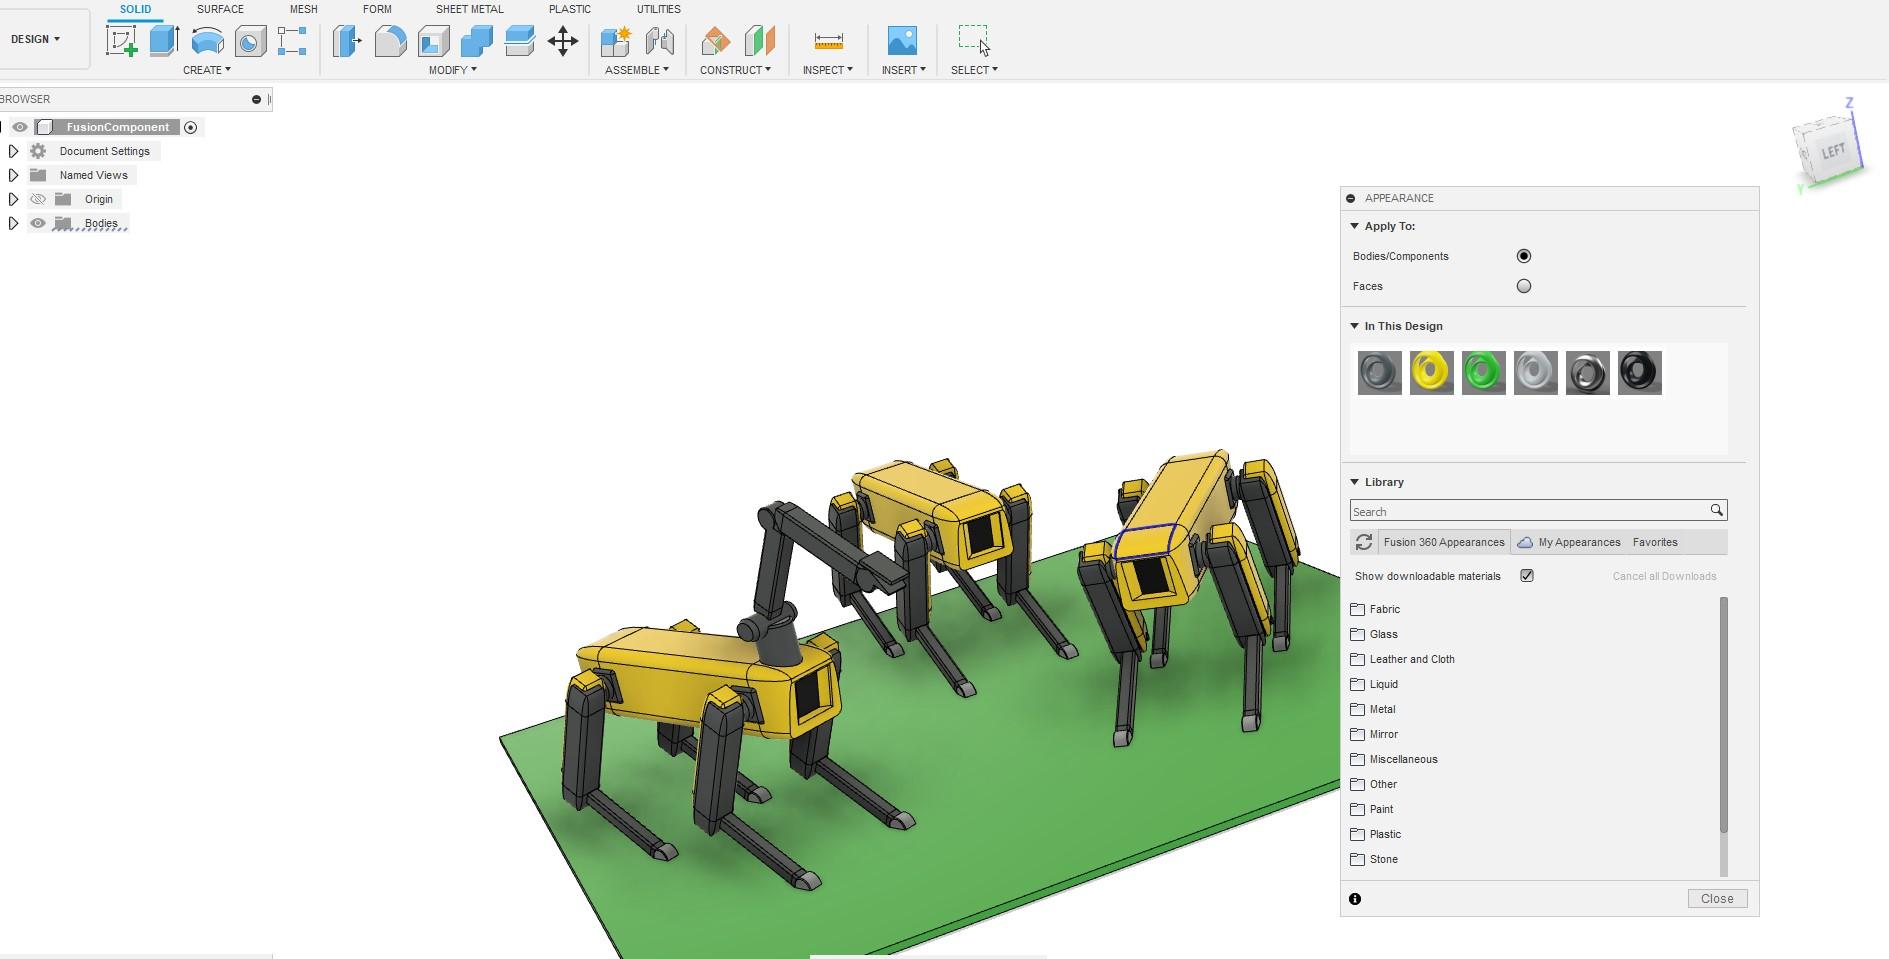
- Once your design comes in fusion 360 you can adjust the appearance and other effects of your design.
- Before rendering remove excess objects of your design.
- Adjust the position and background of your design.
Rendering in Fusion 360

- From the left hand side click the toolbar and then click the Render option.
- Now there are so many options of rendering your design in the Render settings but we'll do the most basic render for our design as this will give you the glimpse of Rendering in Fusion 360.
- As you click the Render option the rendering will start and you can adjust the quality of rendering by using the advanced Render option.
- You can adjust the shadows and the background in render option.
Taking the Final Image Out

- For the Final Image choose "Capture Image." Then click "Save" after giving it a name and specifying the type of file you want the exported version to be.
Done !!!

- Congratulations!! You've made it.
I hope you enjoyed !
Now you can bring your Tinkercad design to the next level by using Fusion 360 :D