How to Render Through Rhino
by studio_daniels in Design > Software
1856 Views, 0 Favorites, 0 Comments
How to Render Through Rhino
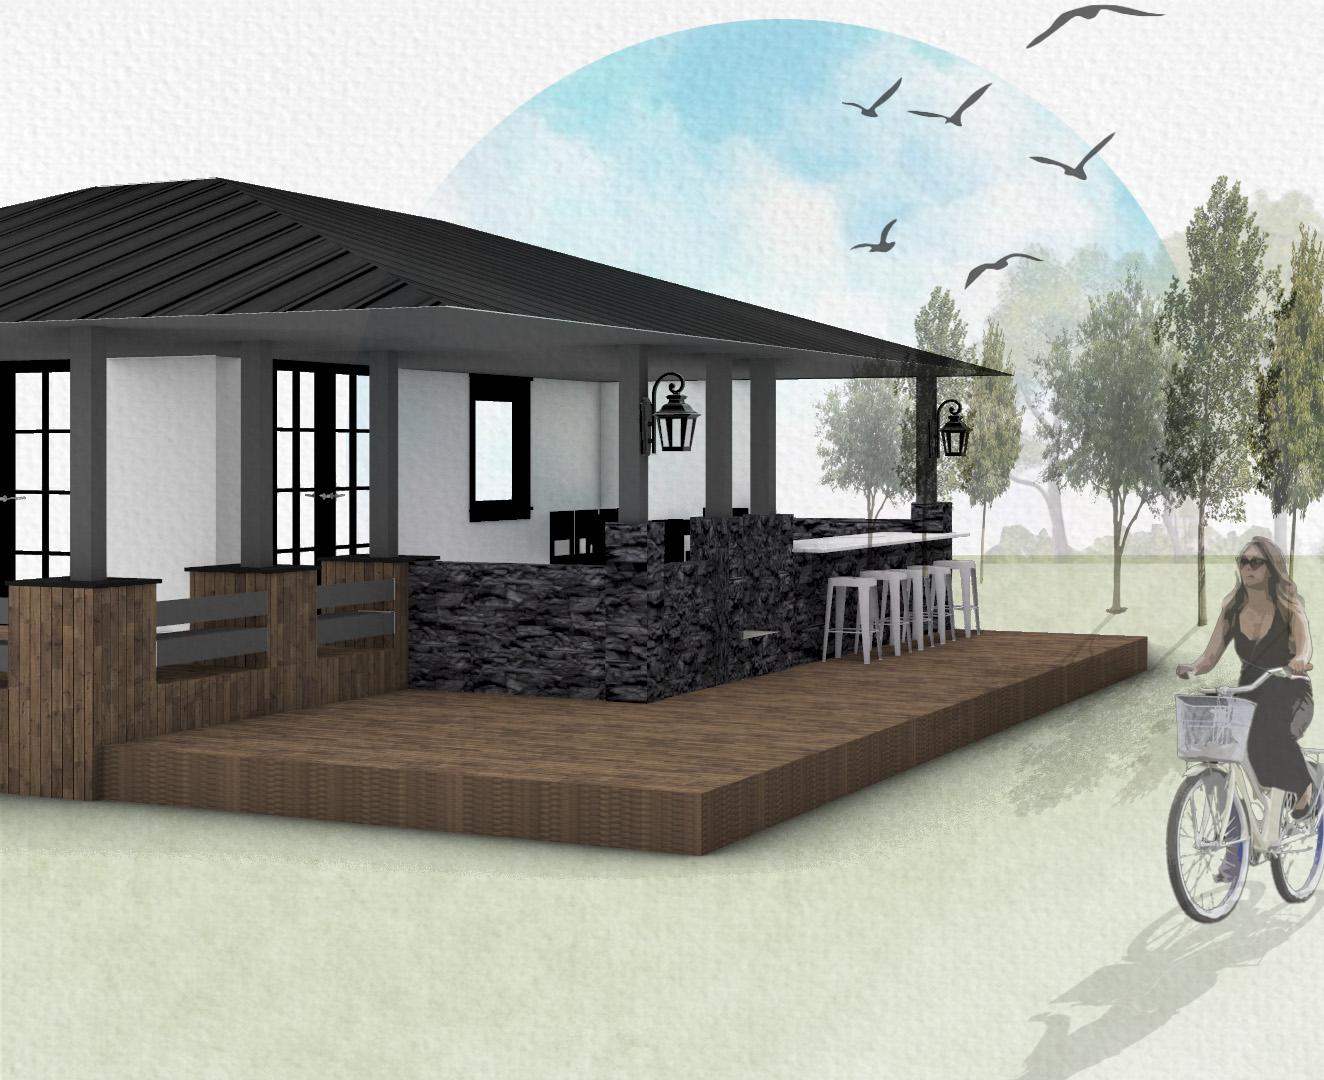
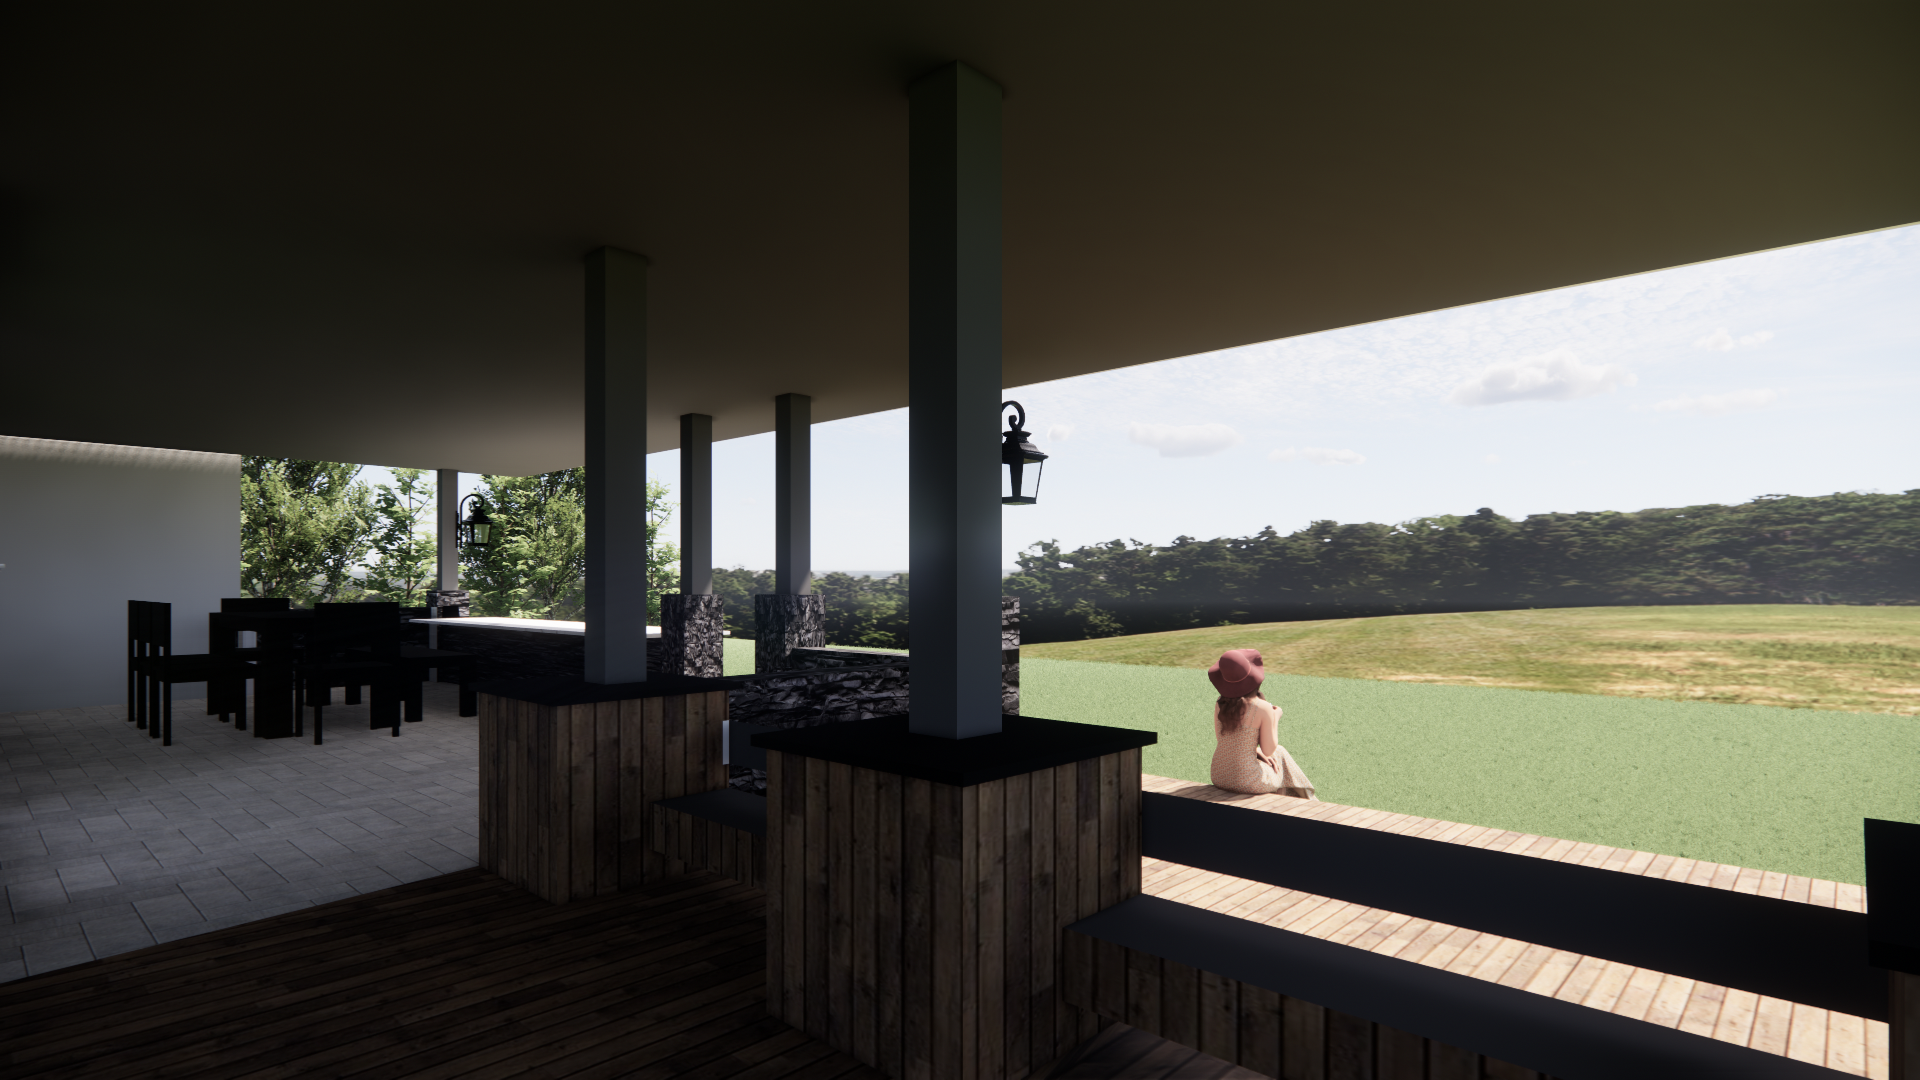
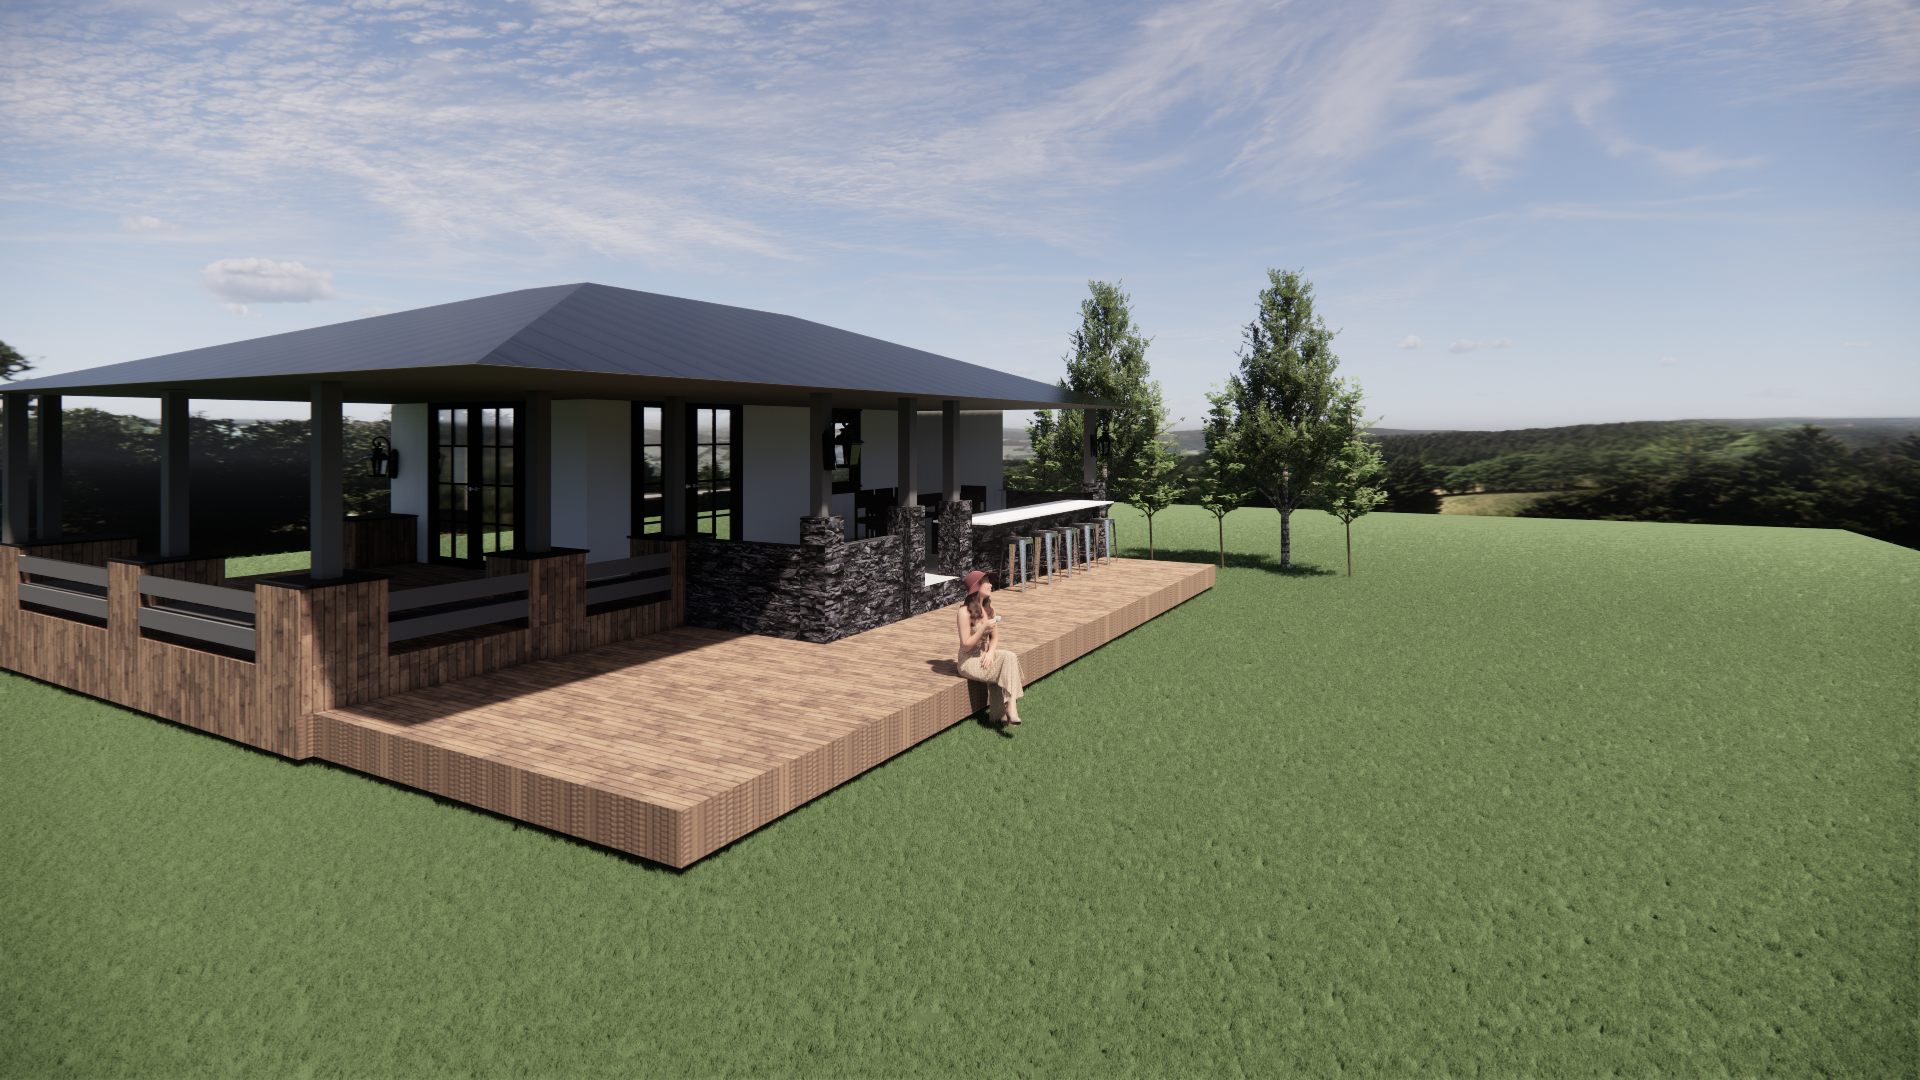
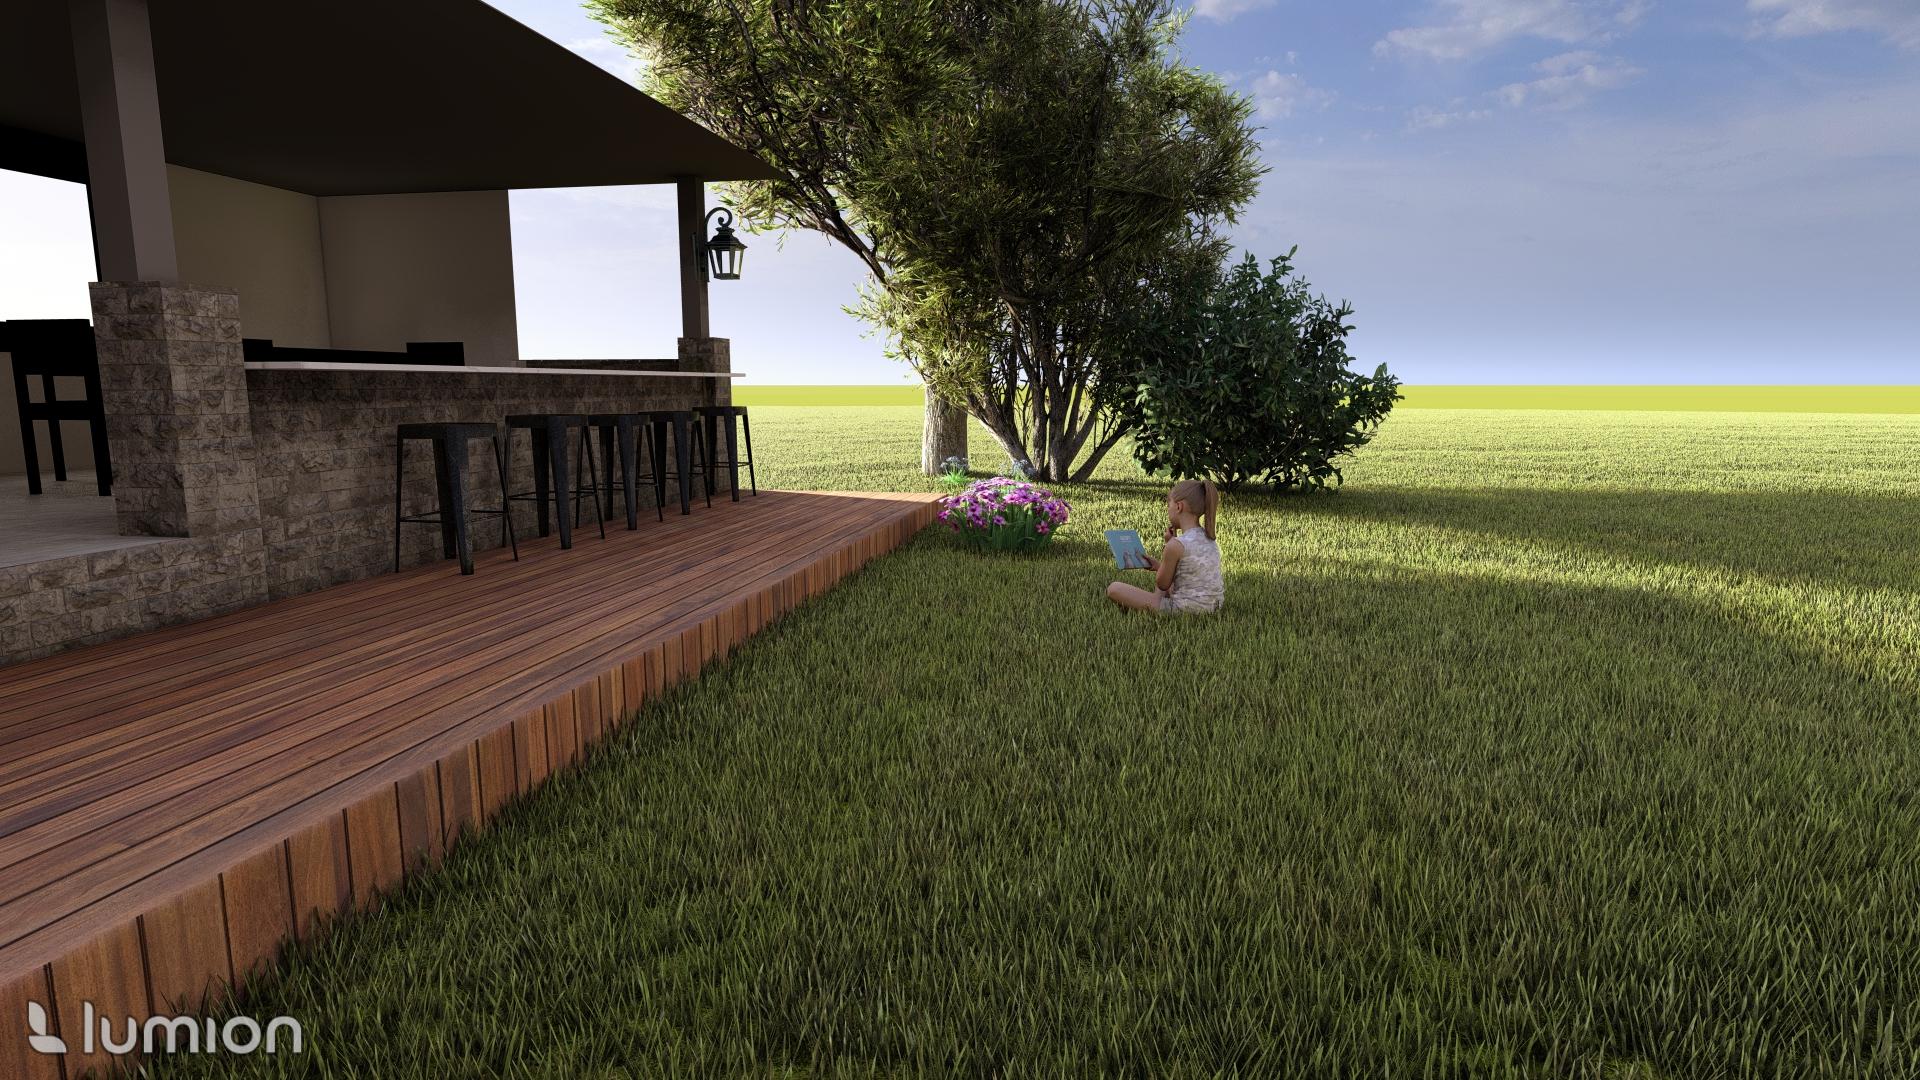
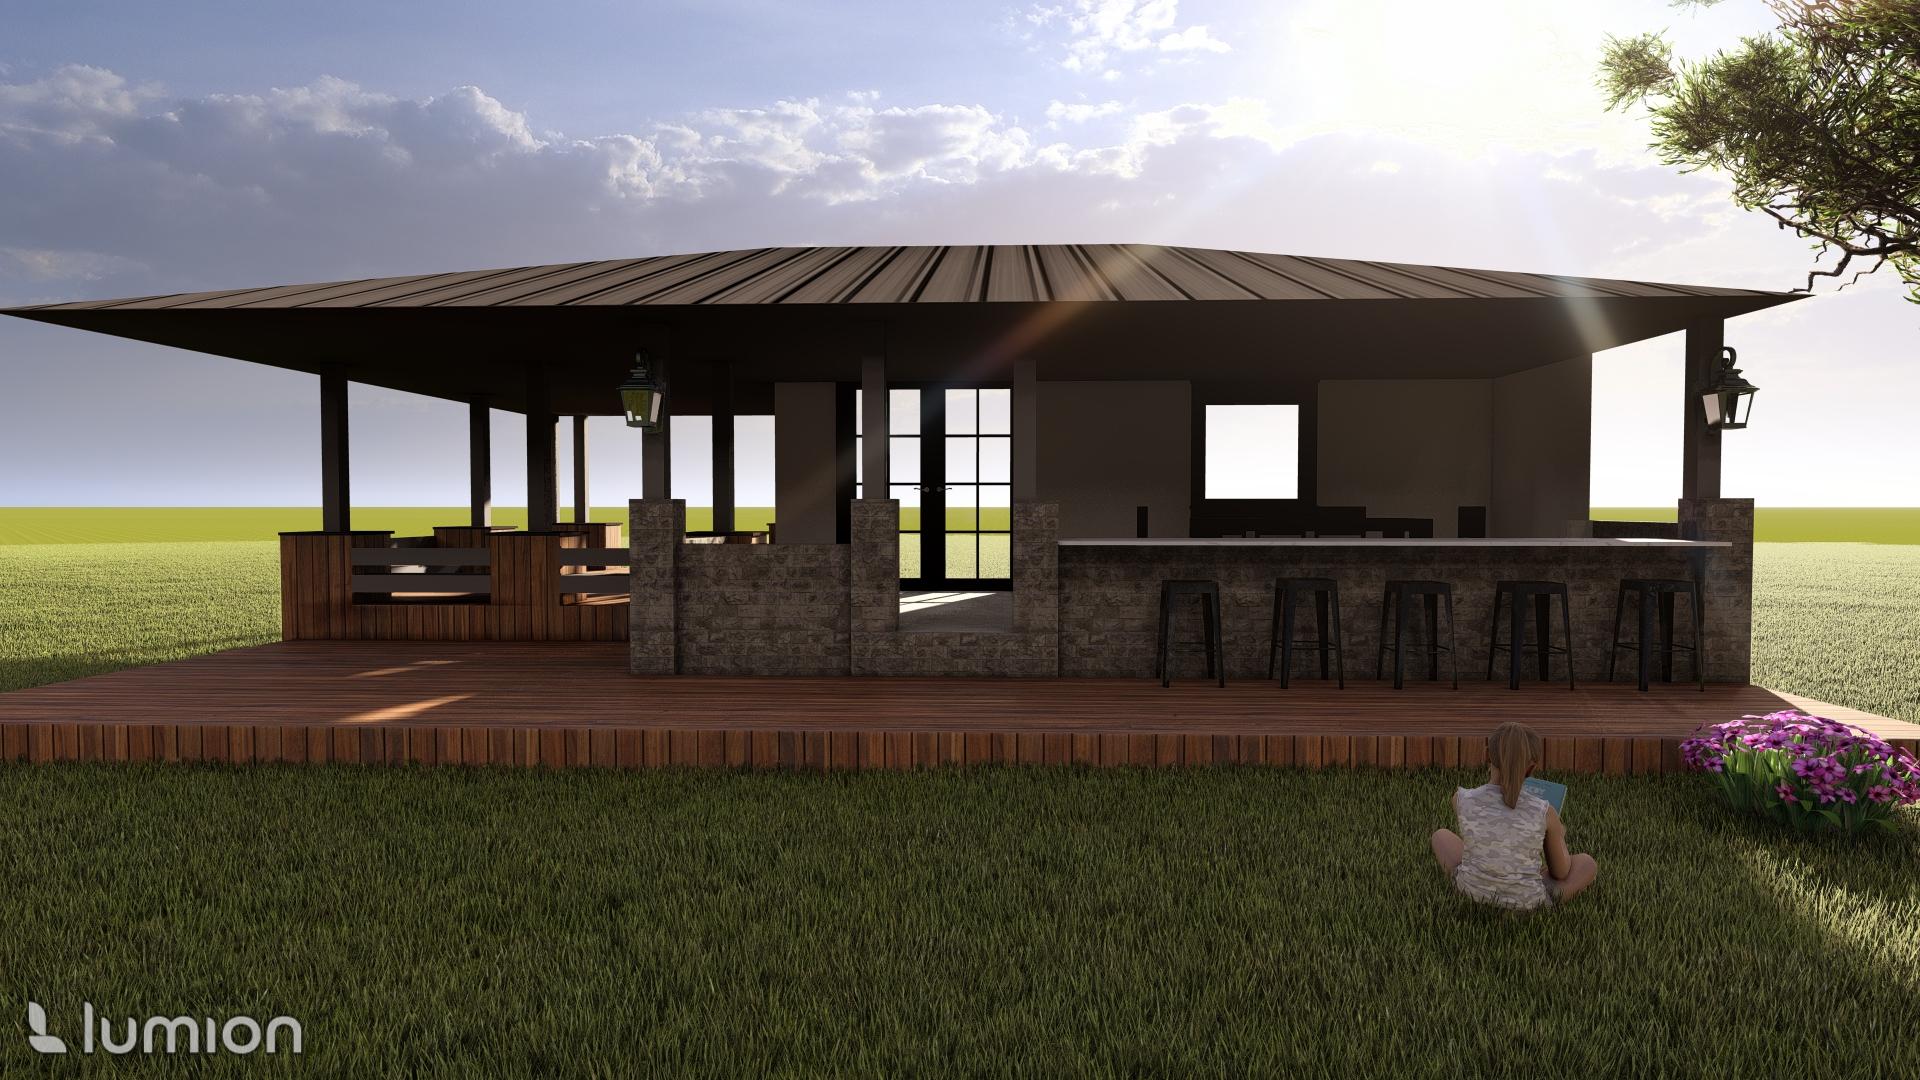
This is a quick introduction to rendering using Rhino (via. Rhino Render, Enscape, Lumion) as well as a brief introduction to collaging for hybrid rendering.
Supplies




MANDATORY SOFTWARE: Rhino
OPTIONAL:
- Enscape (educational license available)
- Lumion (free educational license available)
- Adobe Photoshop (educational pricing available)
Rendering in Rhino
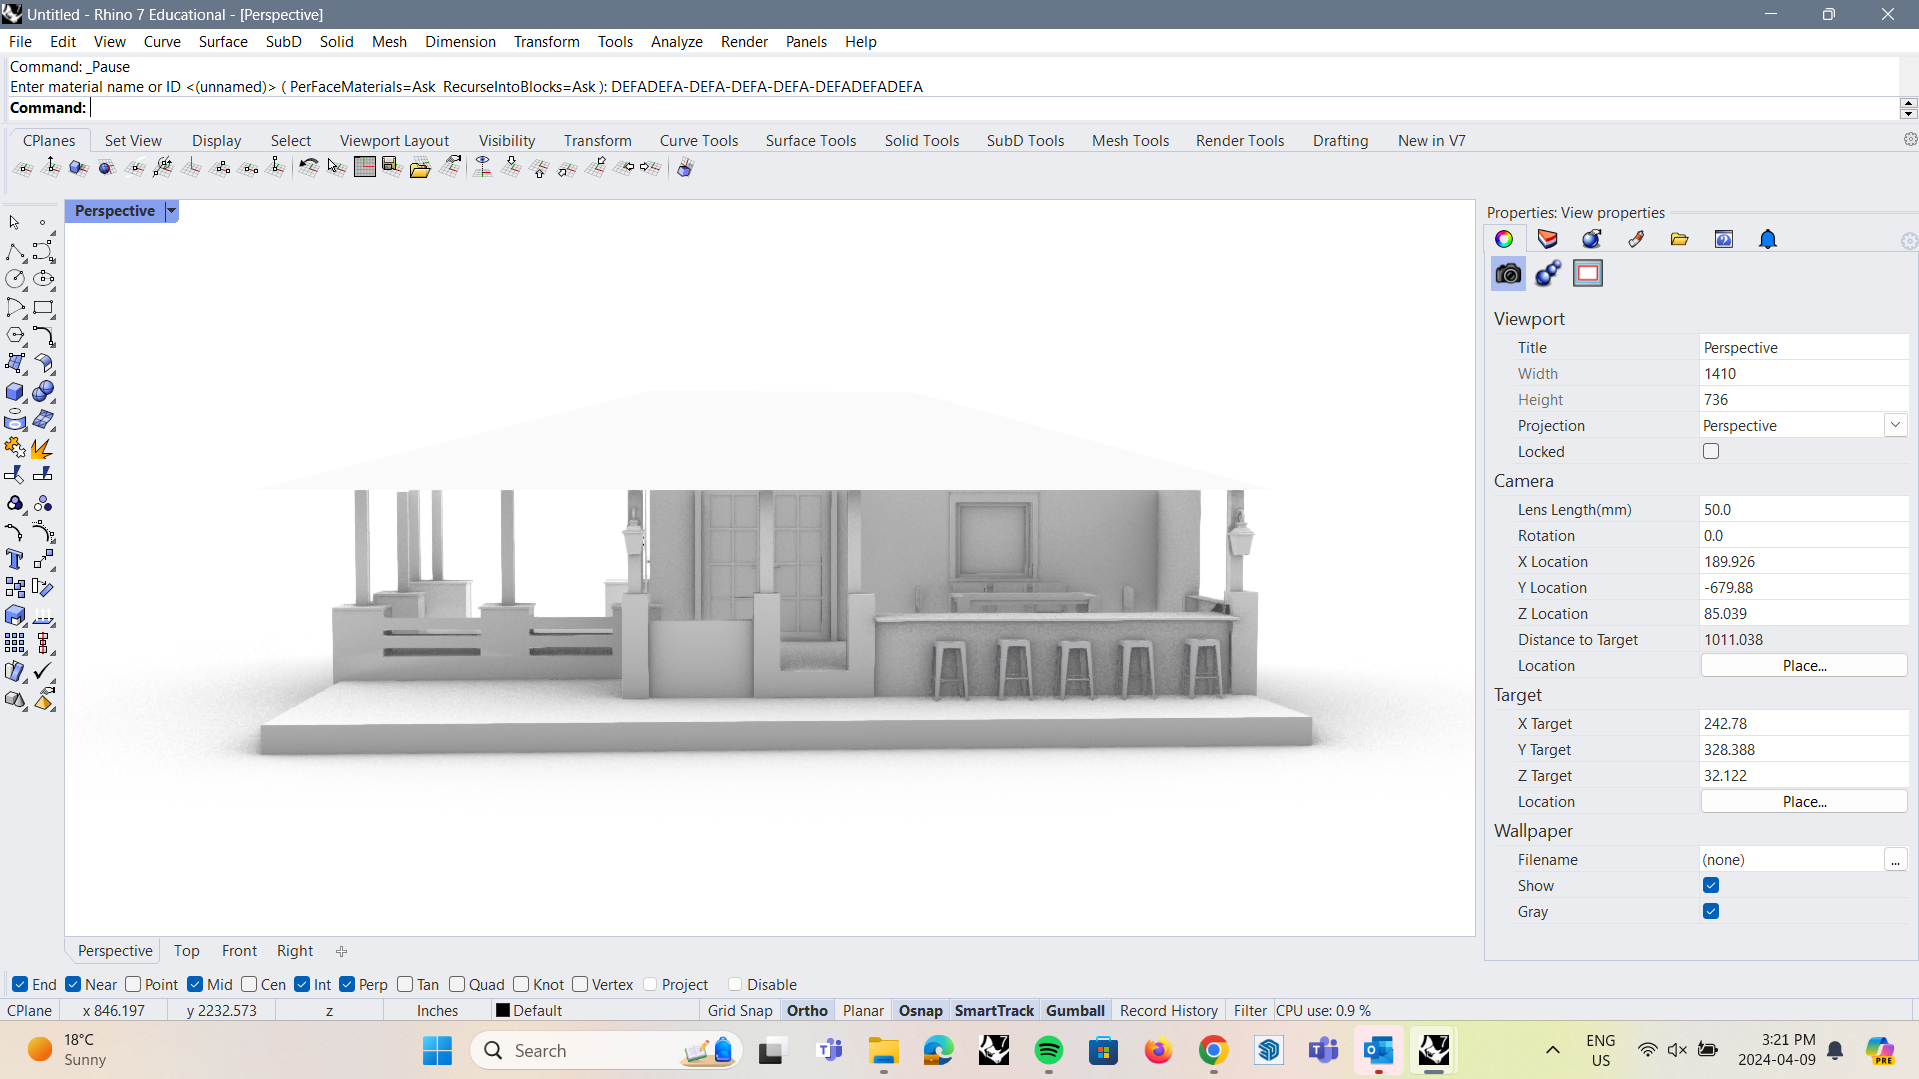
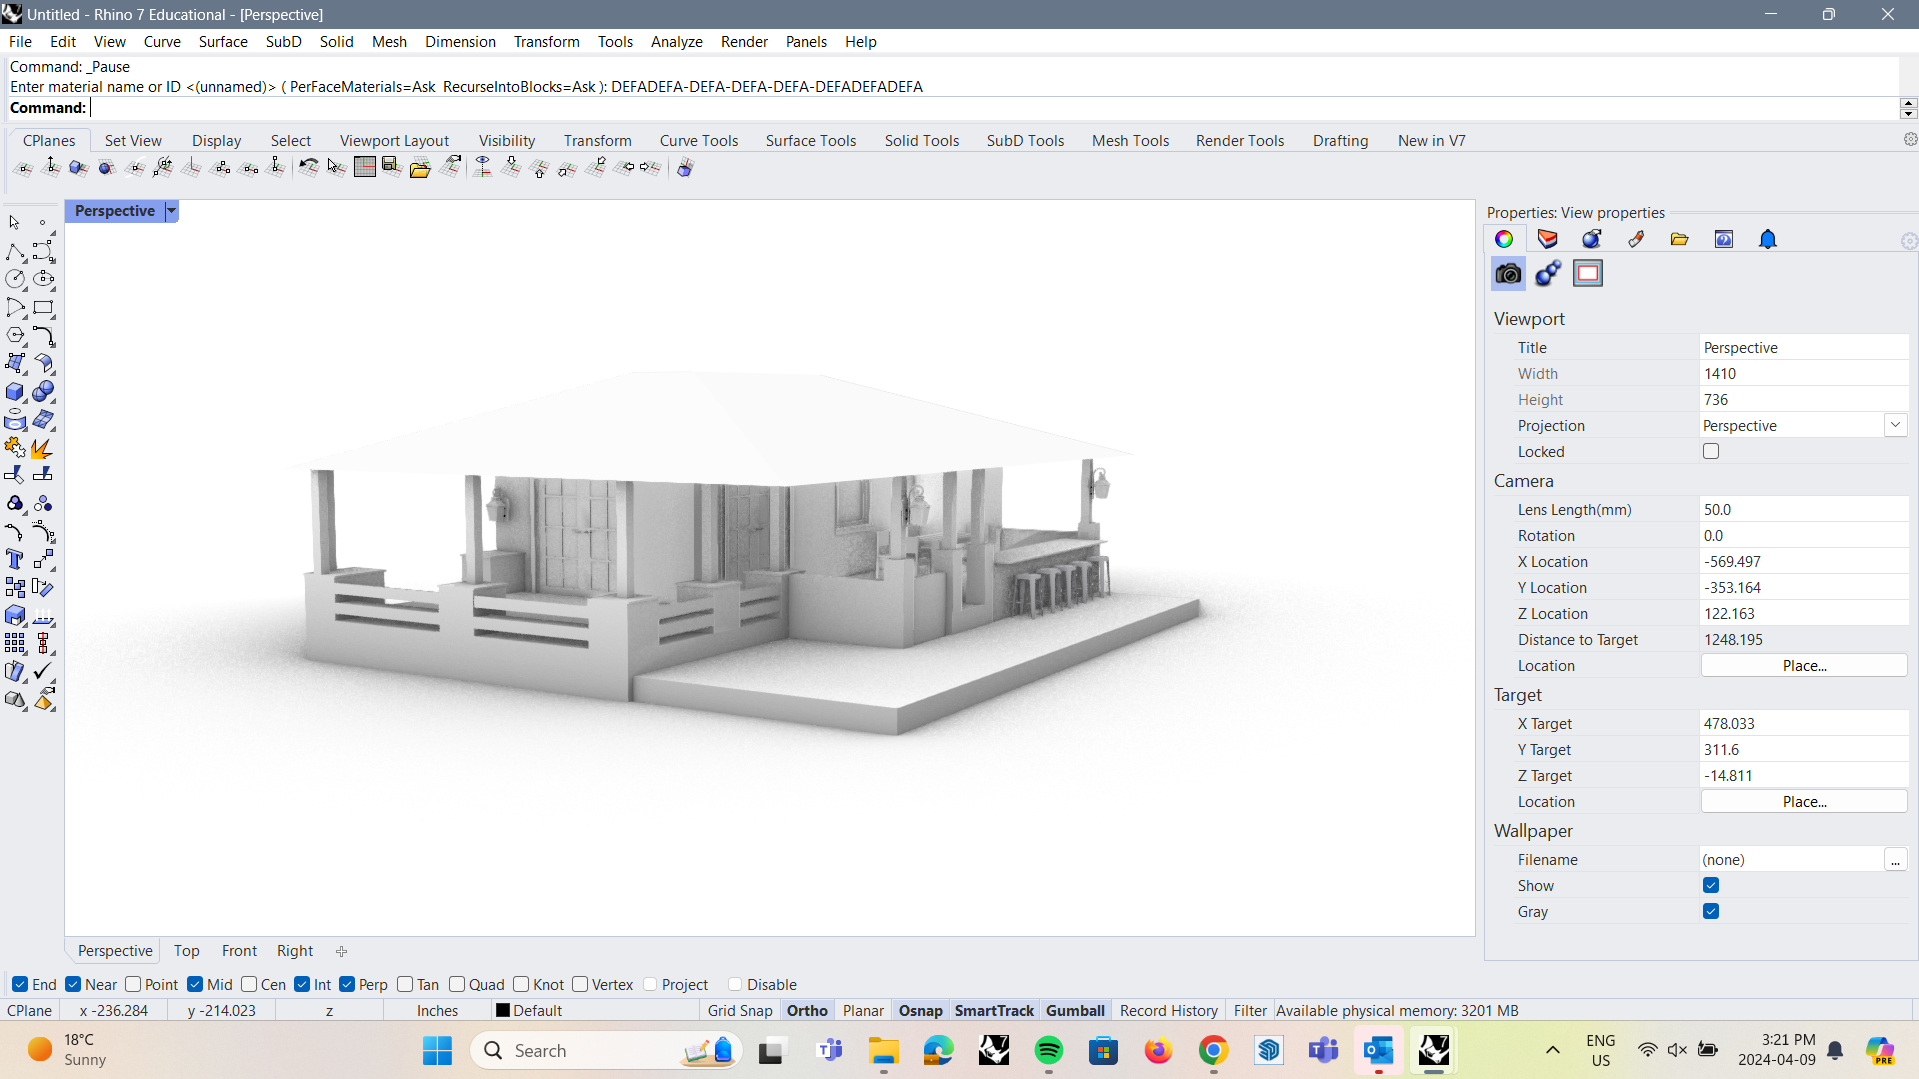
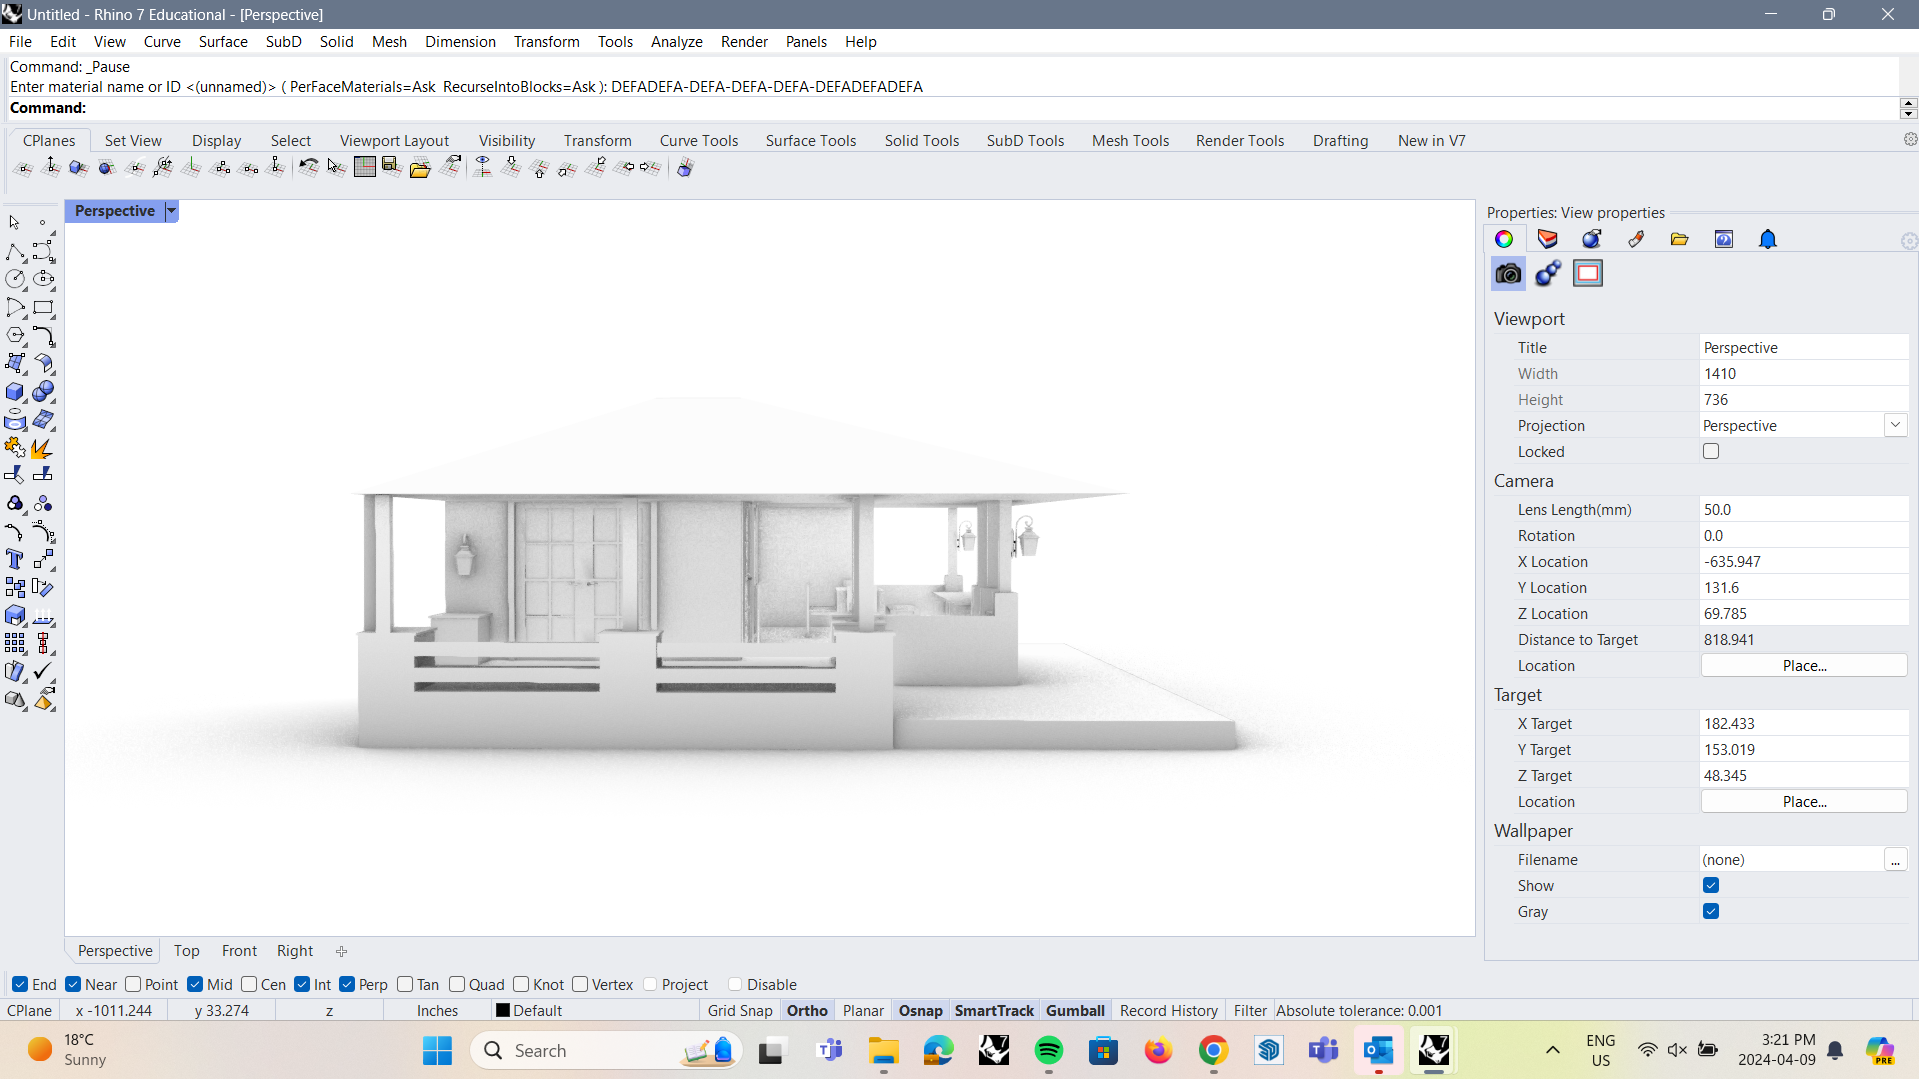
- In Rhino, have your model in perspective view and under rendered mode
- Having your model in this viewport will allow you to see the textures as well as any lighting adjustments you may make
Rendering in Rhino: Importing Textures (wood, Stone Etc.)
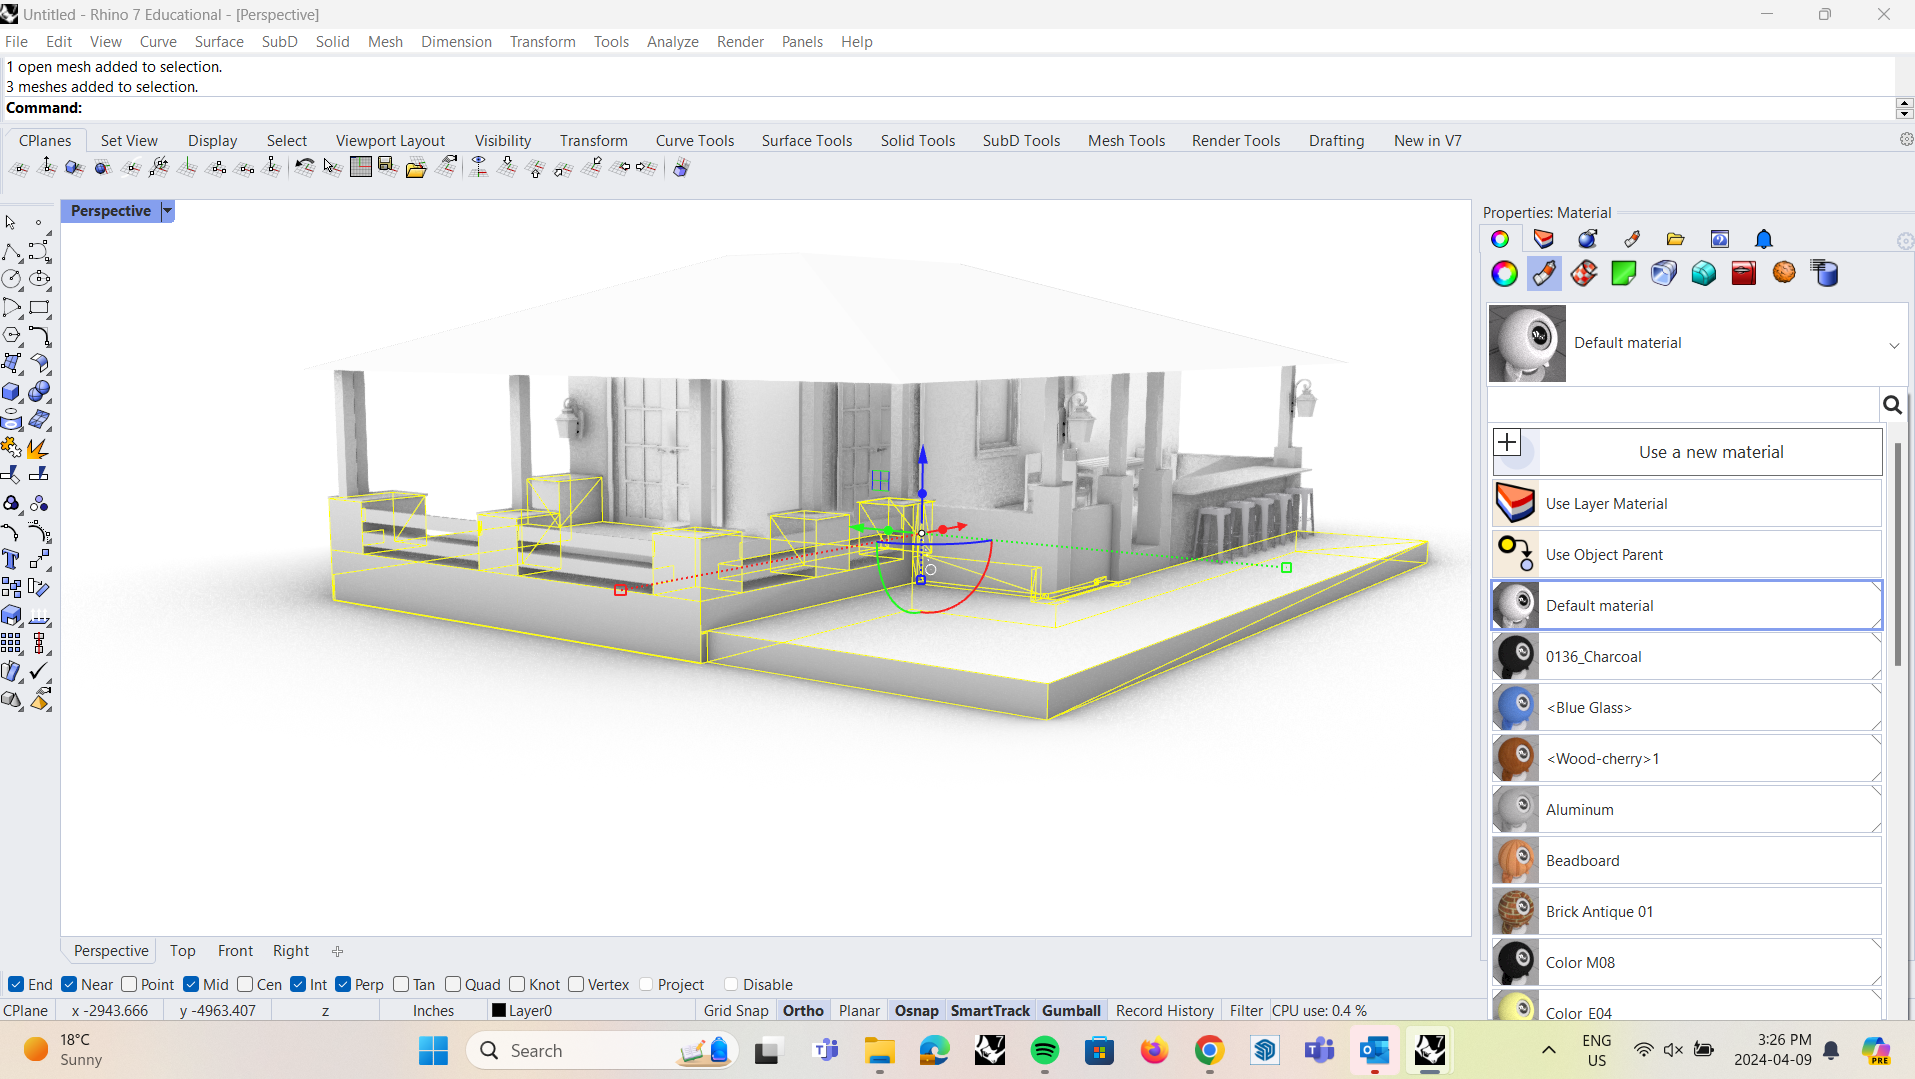
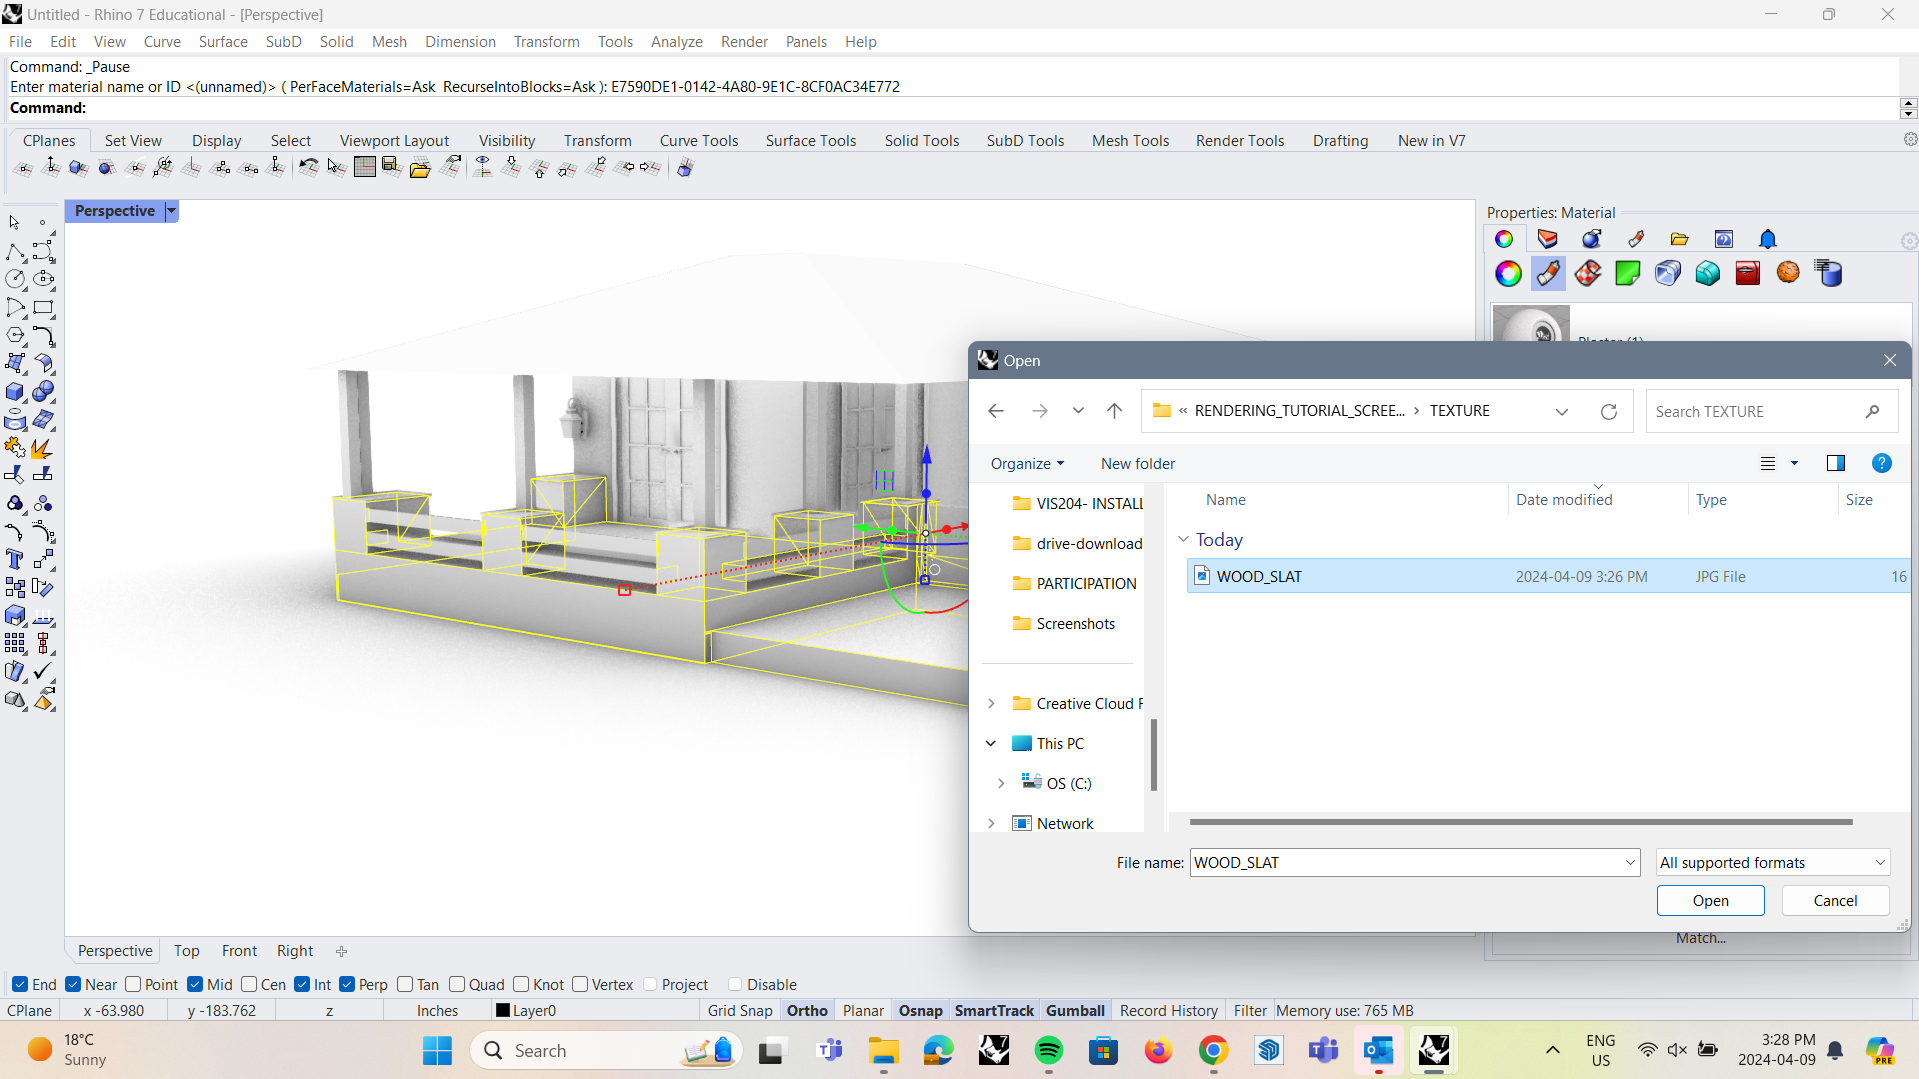
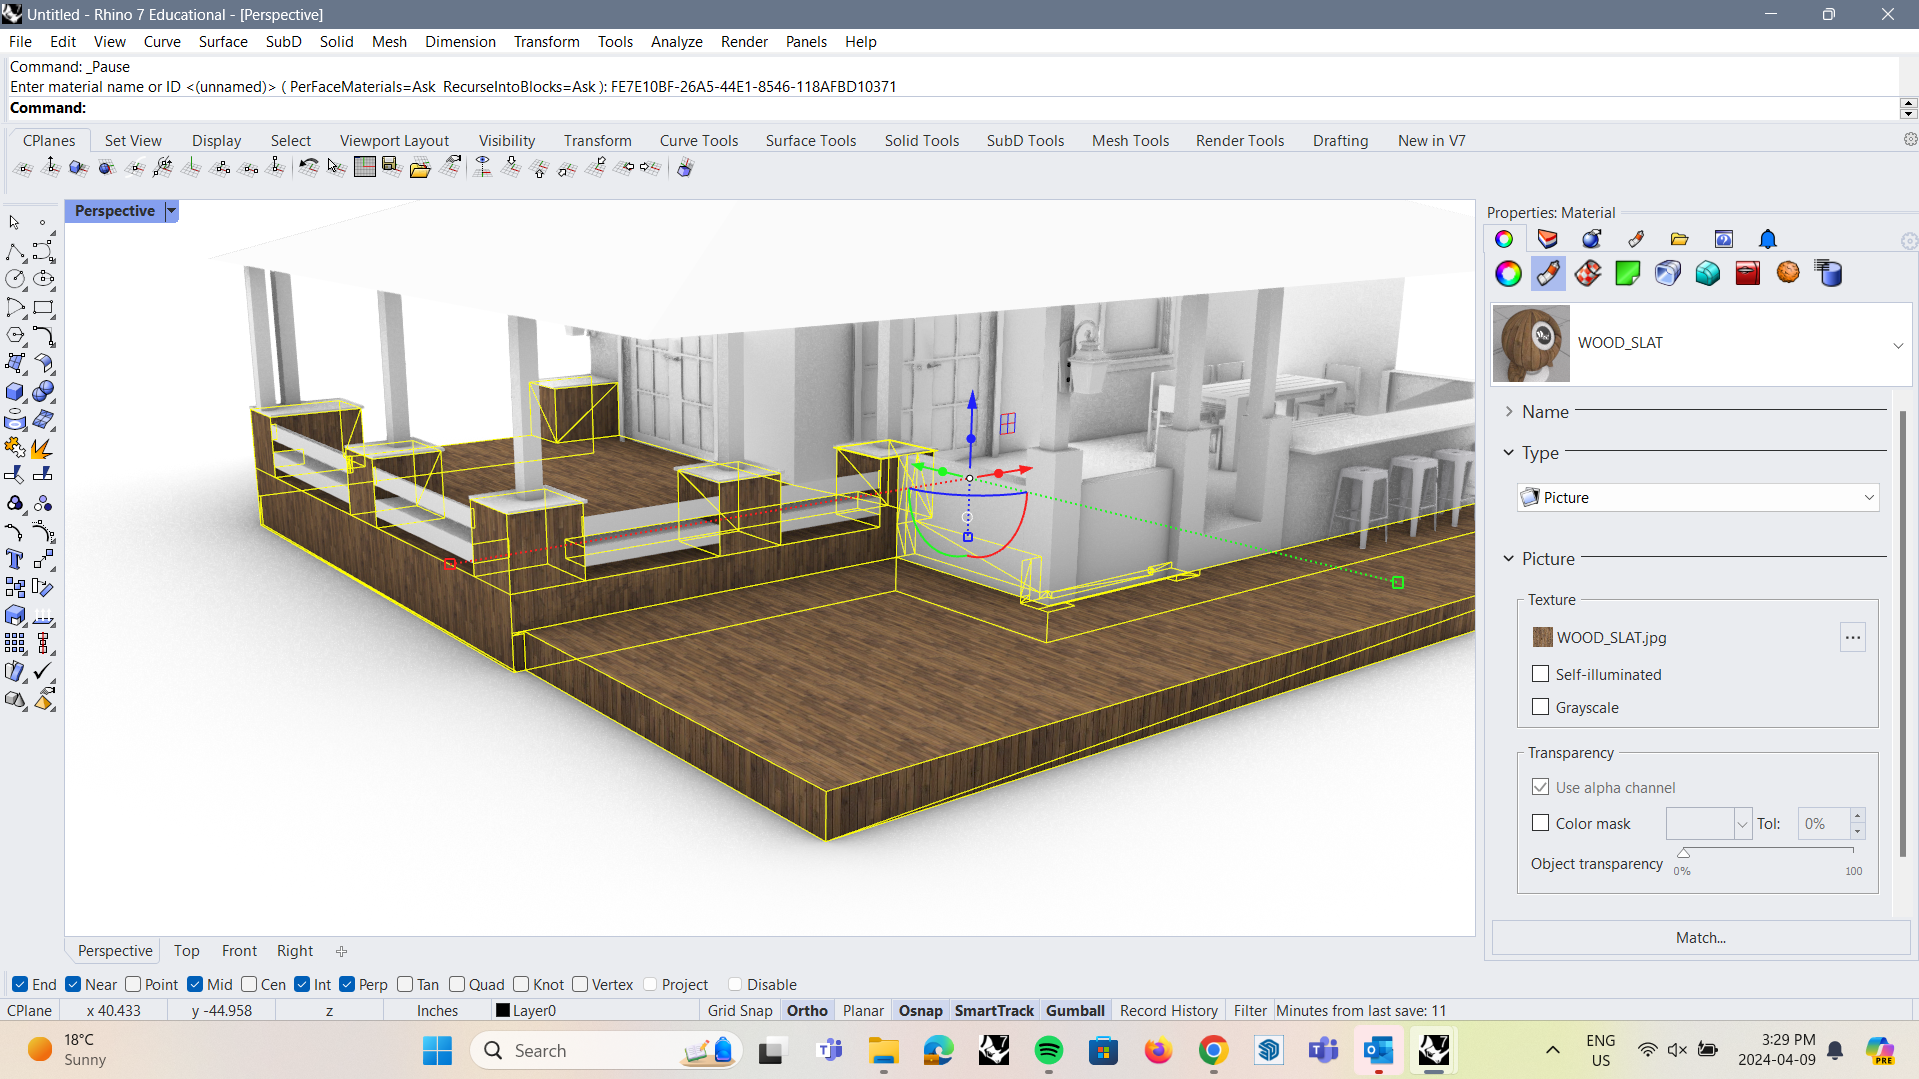
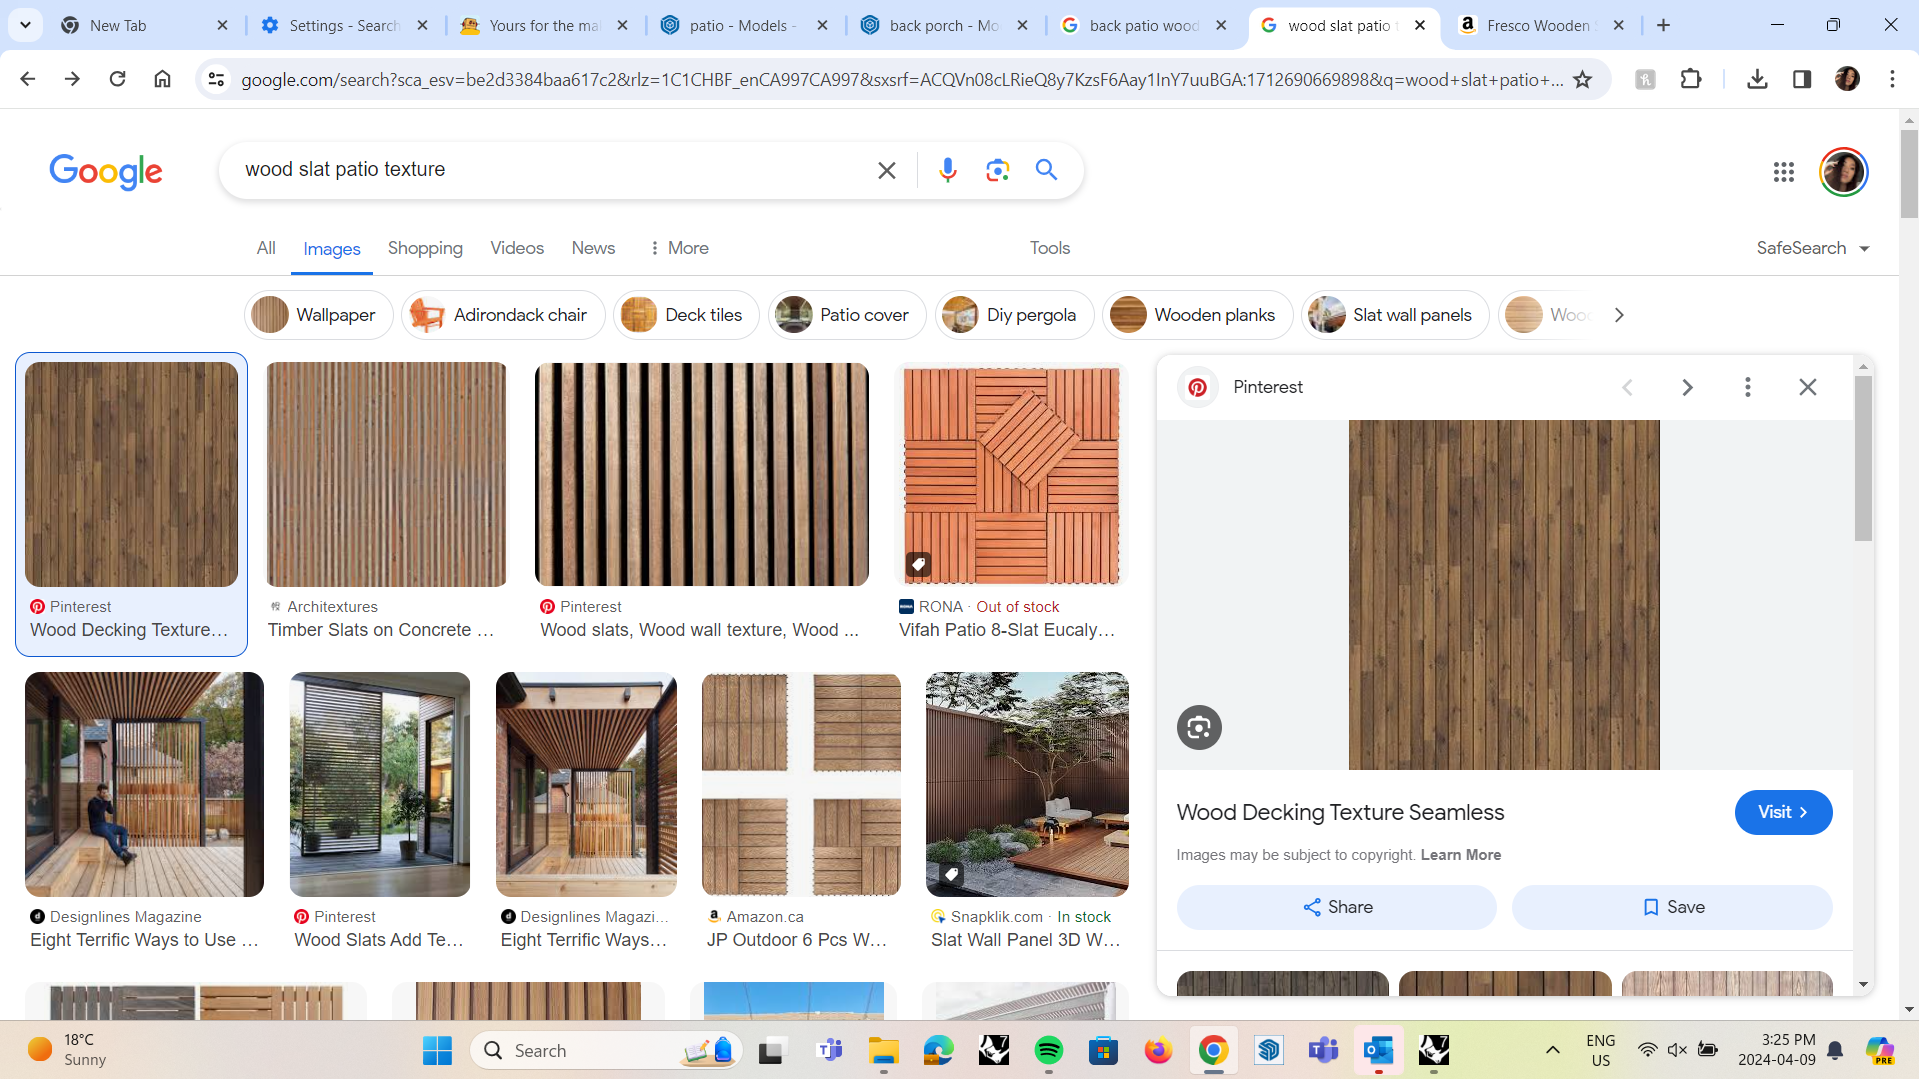
- Select the object
- On the right side of your screen: Properties > Material Editor
- Under the Materials Tab, click on the 'Default Material' and select 'Use a new material'
- For textures like wood, stone (not, glass or metal), select 'Picture'
- Select your jpg. or png. file of the texture
- Textures can be found through Google searches
Rendering in Rhino: Texture Mapping
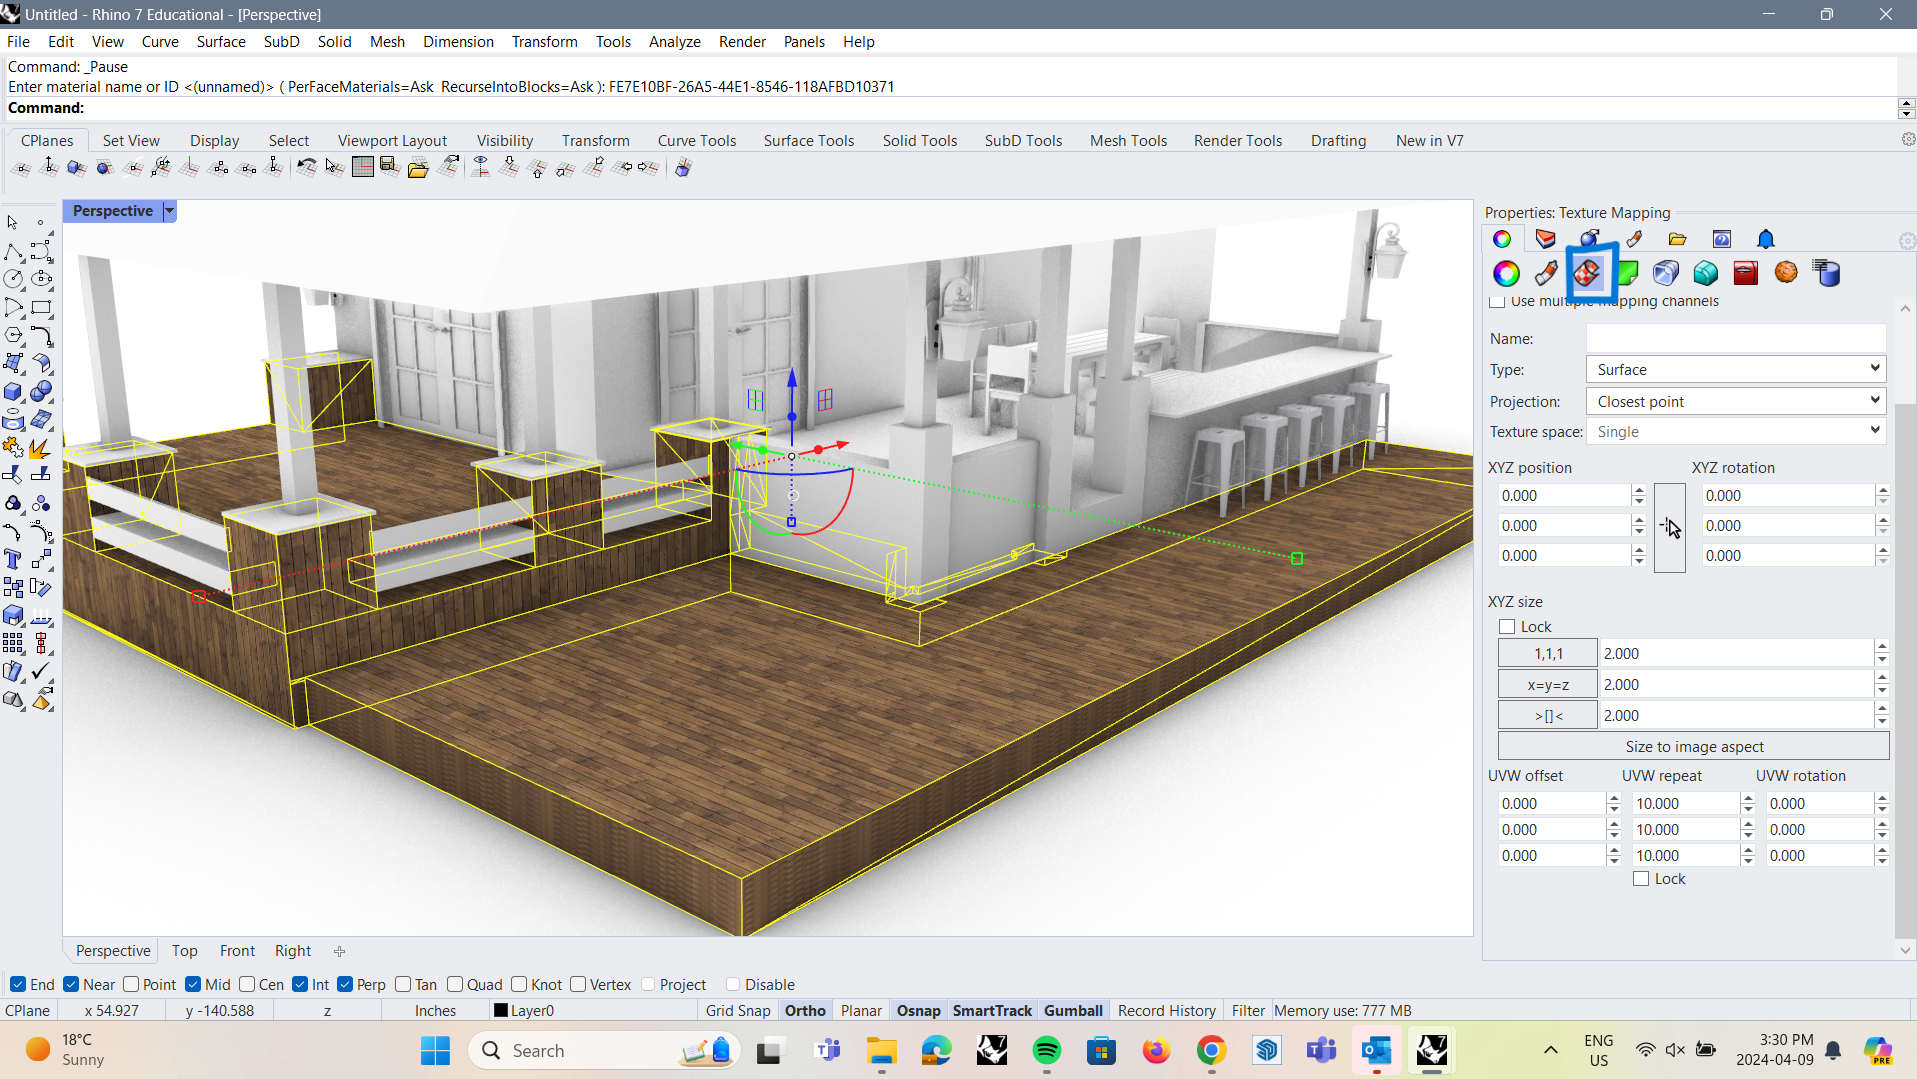
- Under 'Properties' > 'Texture Mapping', you can adjust the scale and rotation of the texture
Rendering in Rhino: Metal & Glass
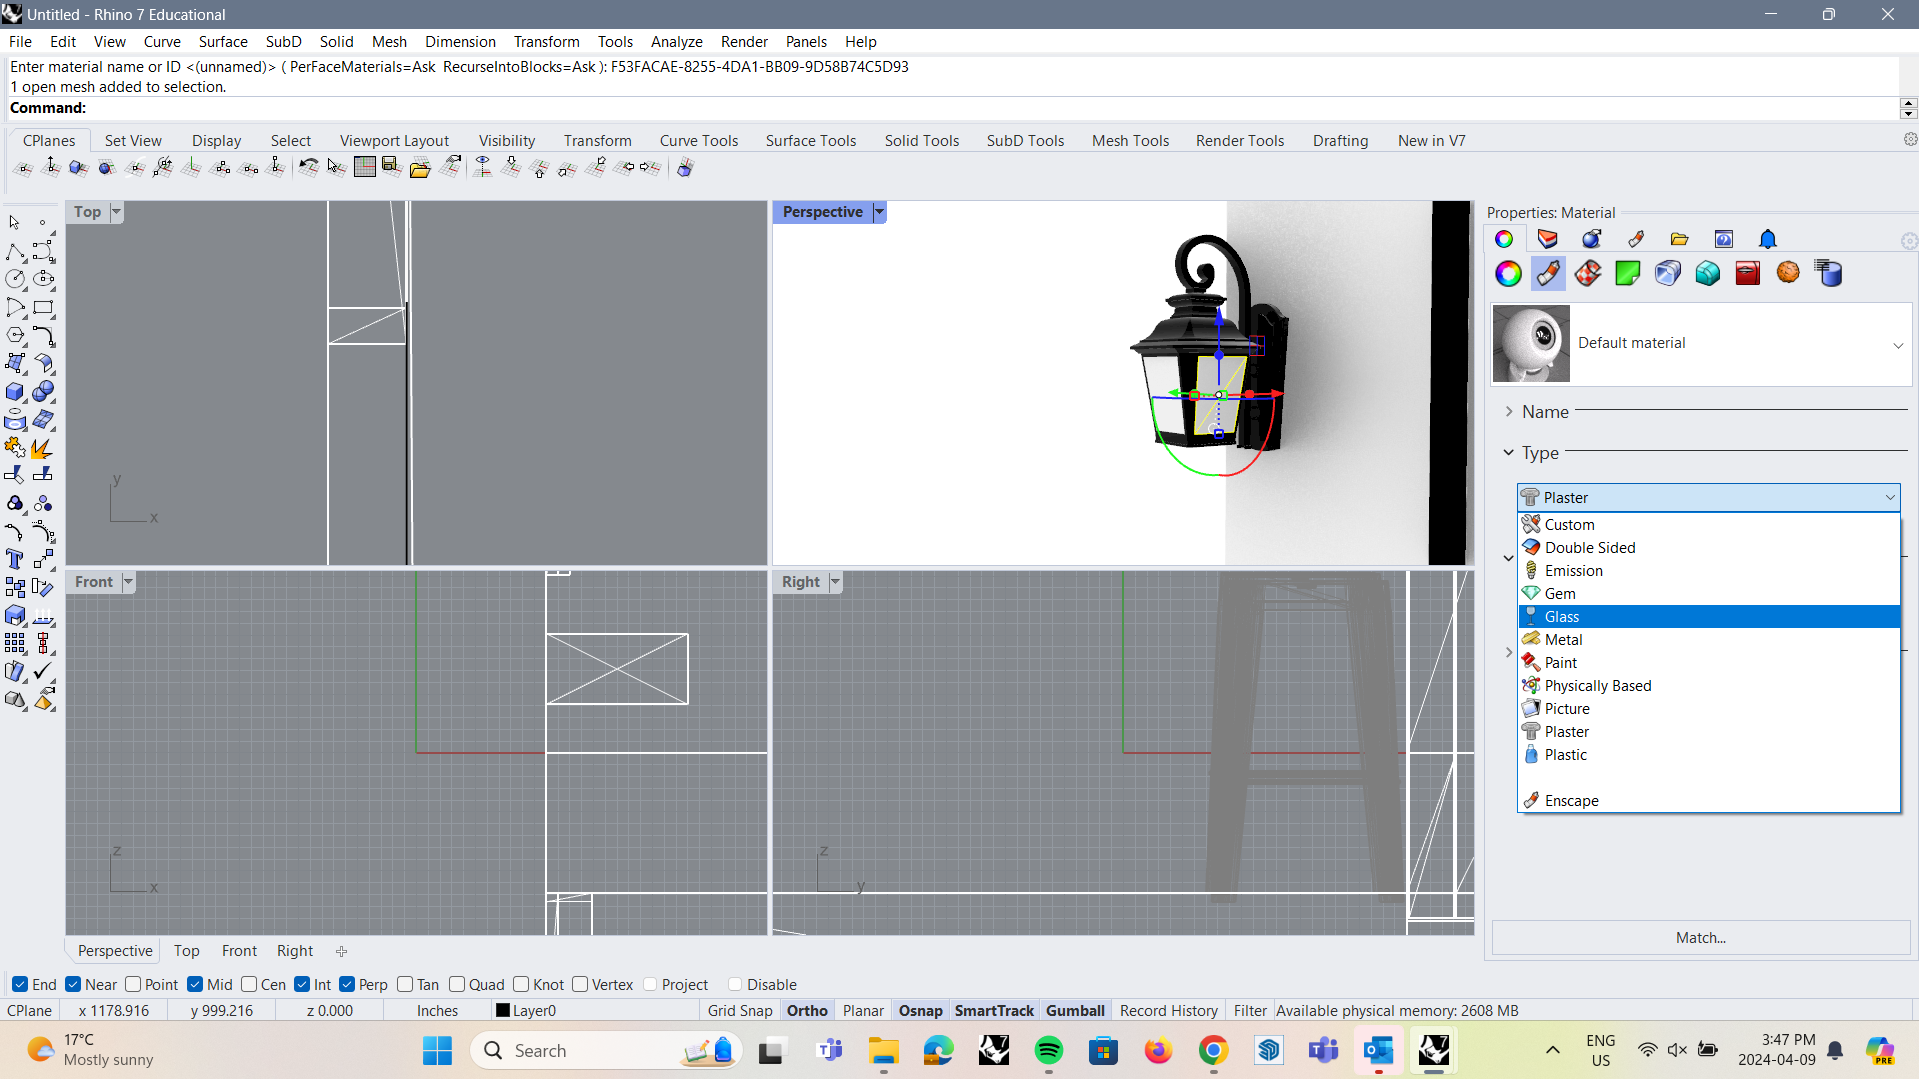
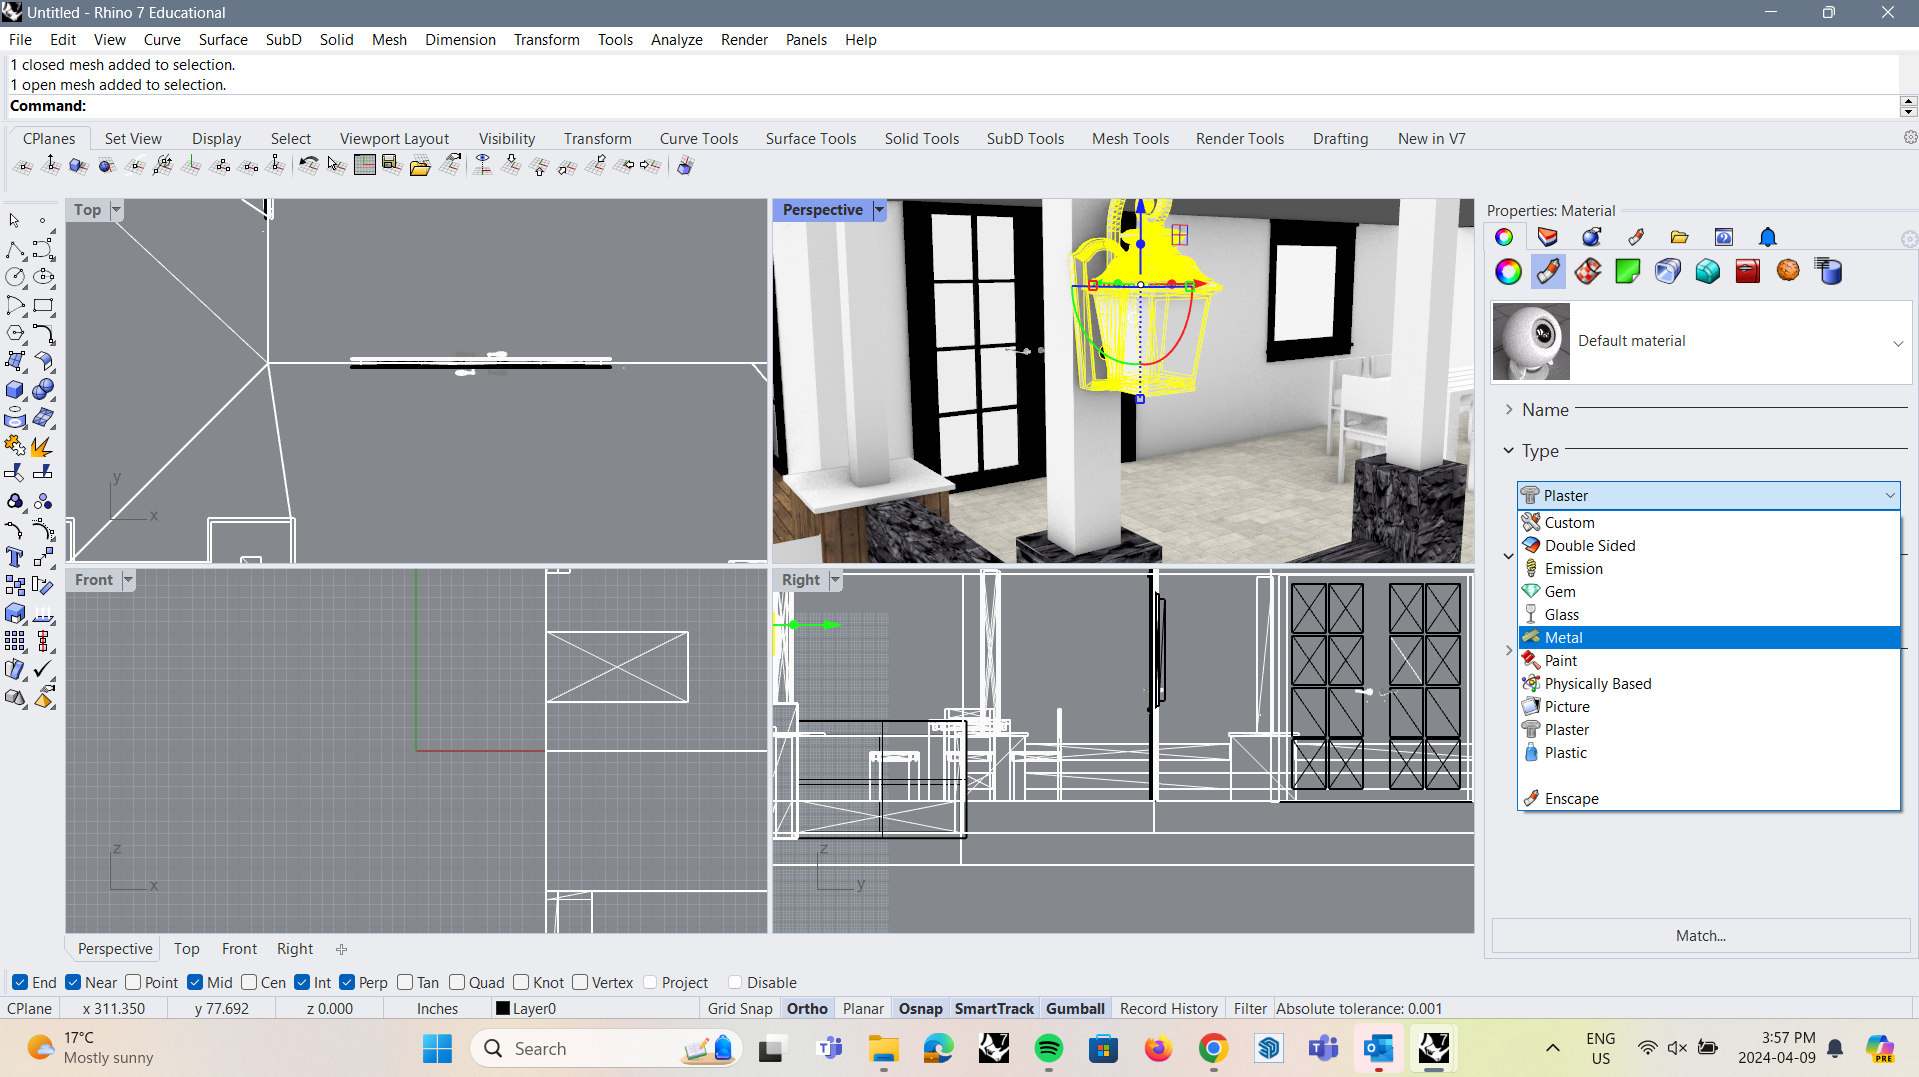
- Under the 'Material Editor' tab, you can also change the materials to metal or glass
- You can also change the 'transparency' of the glass and the 'roughness' of the metal
Rendering in Rhino: Exporting Renders
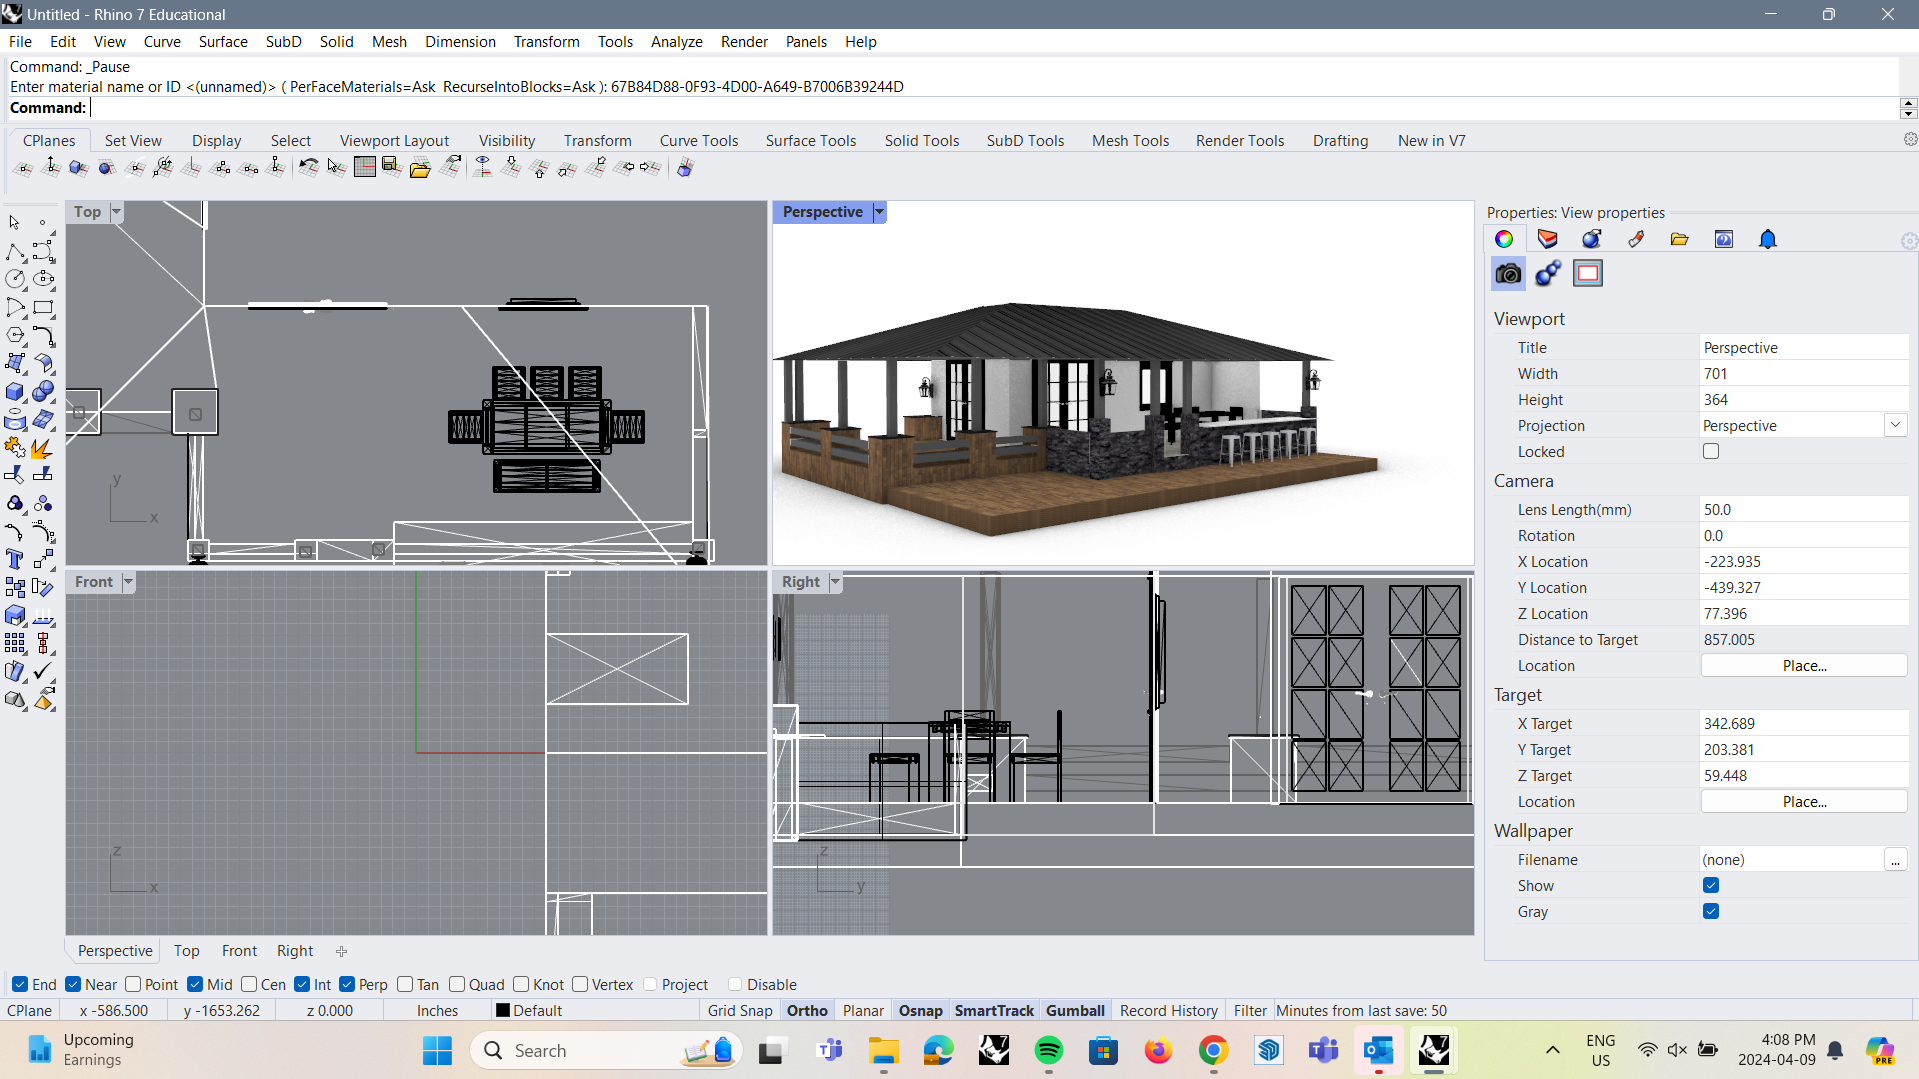
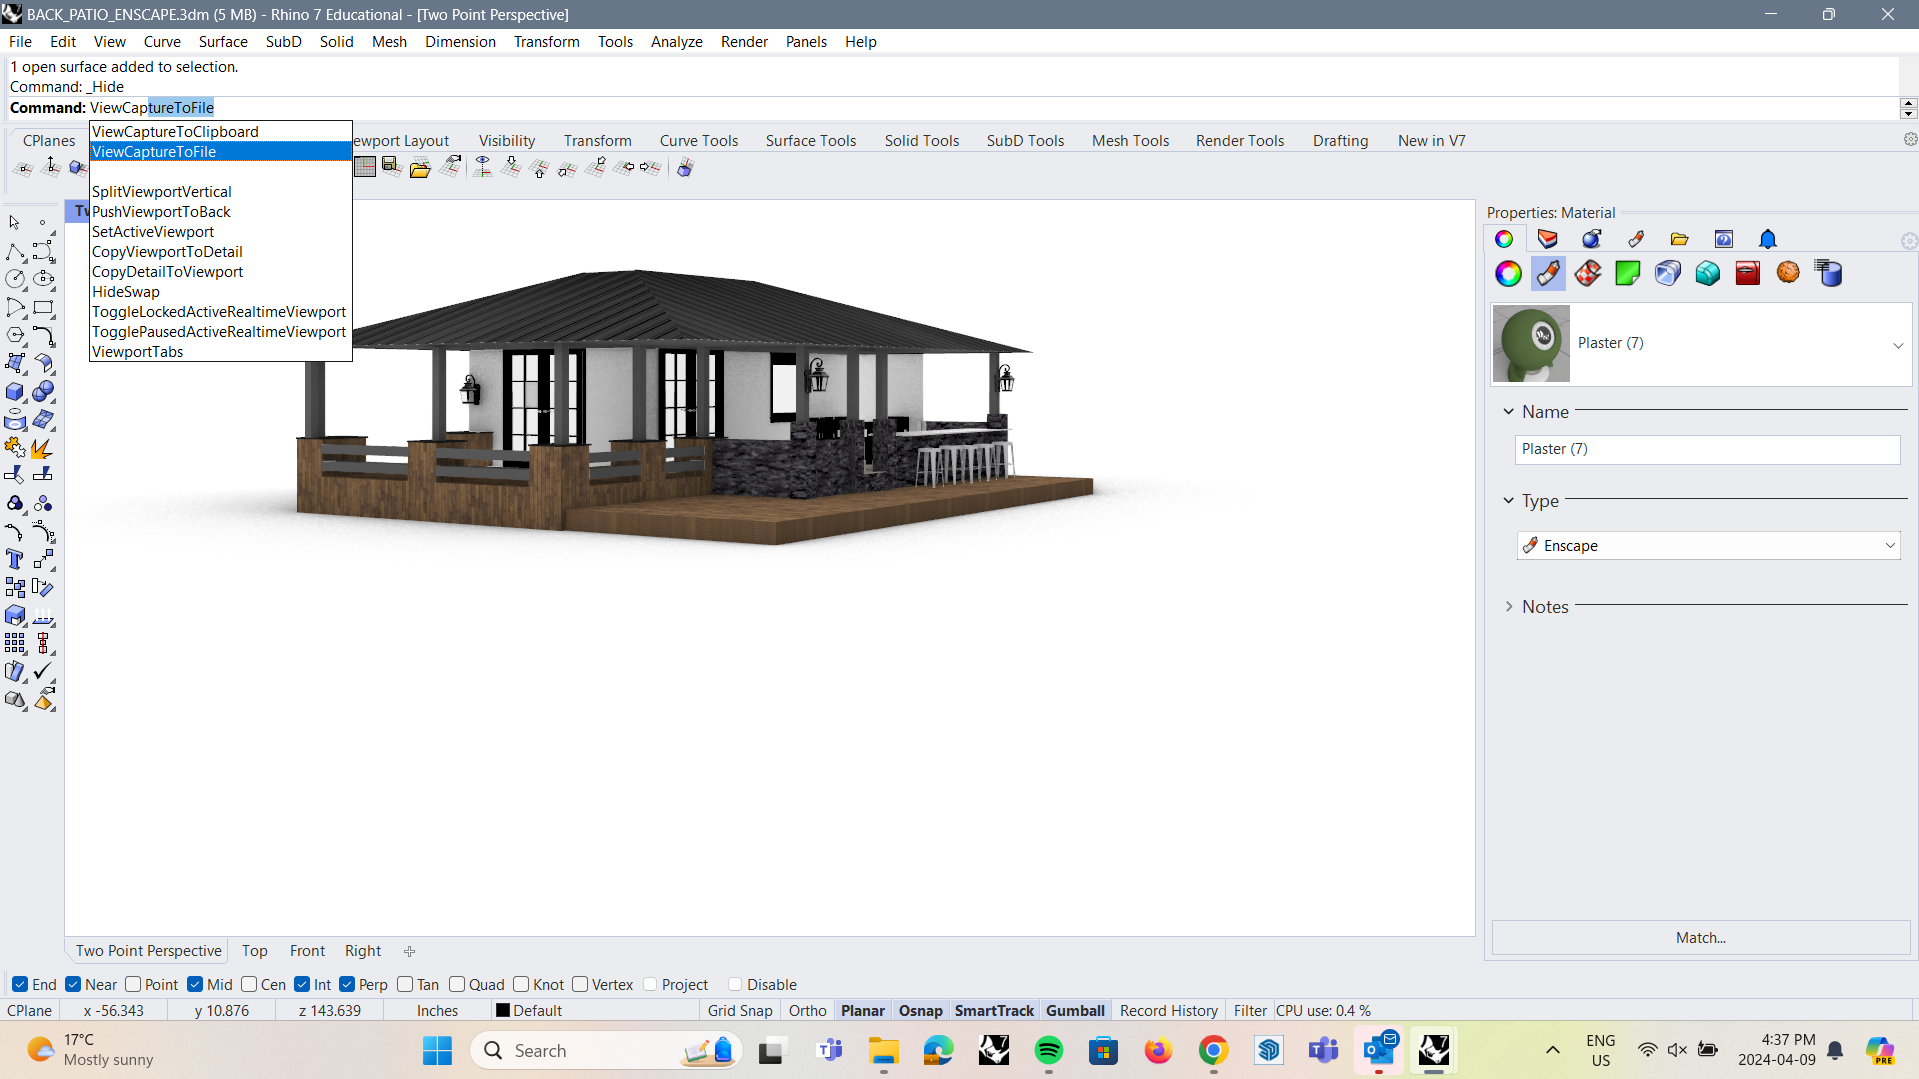
- In your 'Rendered' viewport, arrange the view to your liking and 'ViewCaptureToFile' to save your image
- You can then use the image for hybrid renders to add other elements to your renders, such as lighting, foliage, people and furniture
Rendering in Rhino: Enscape Basics
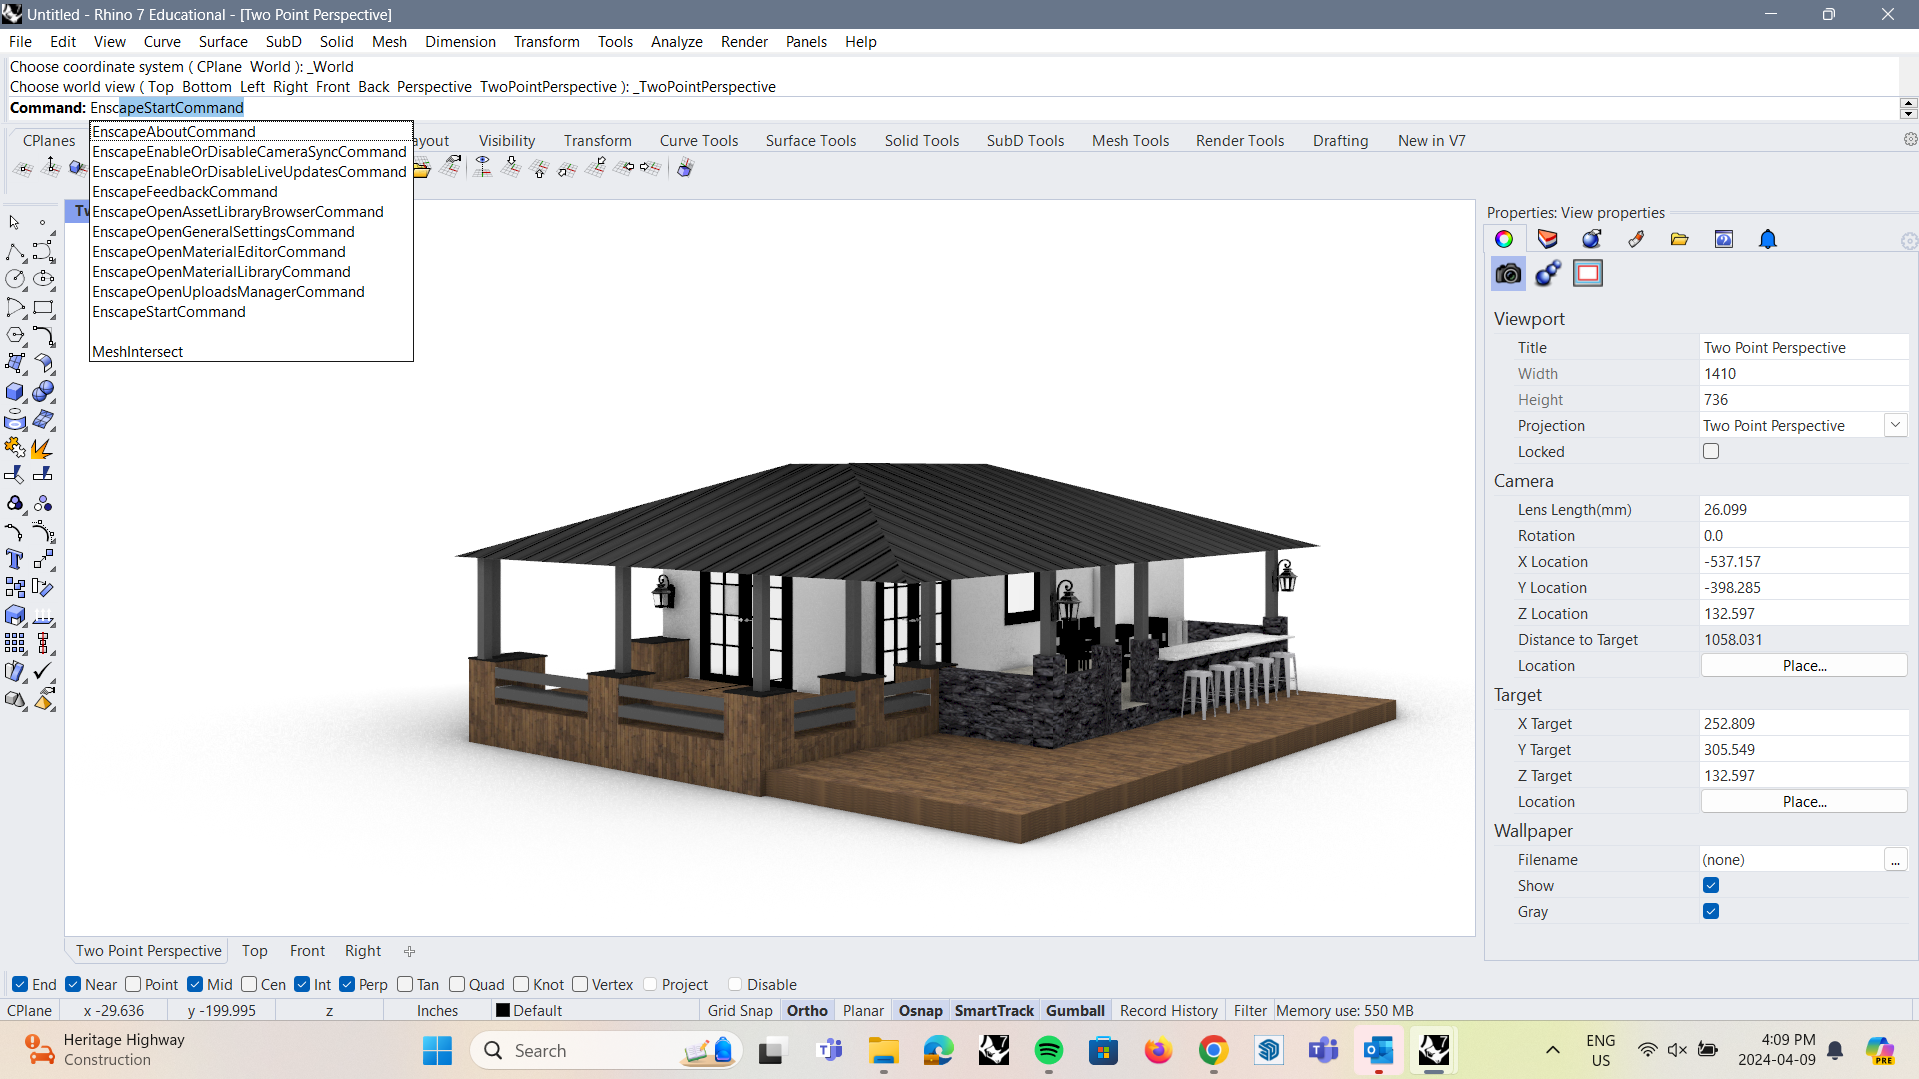
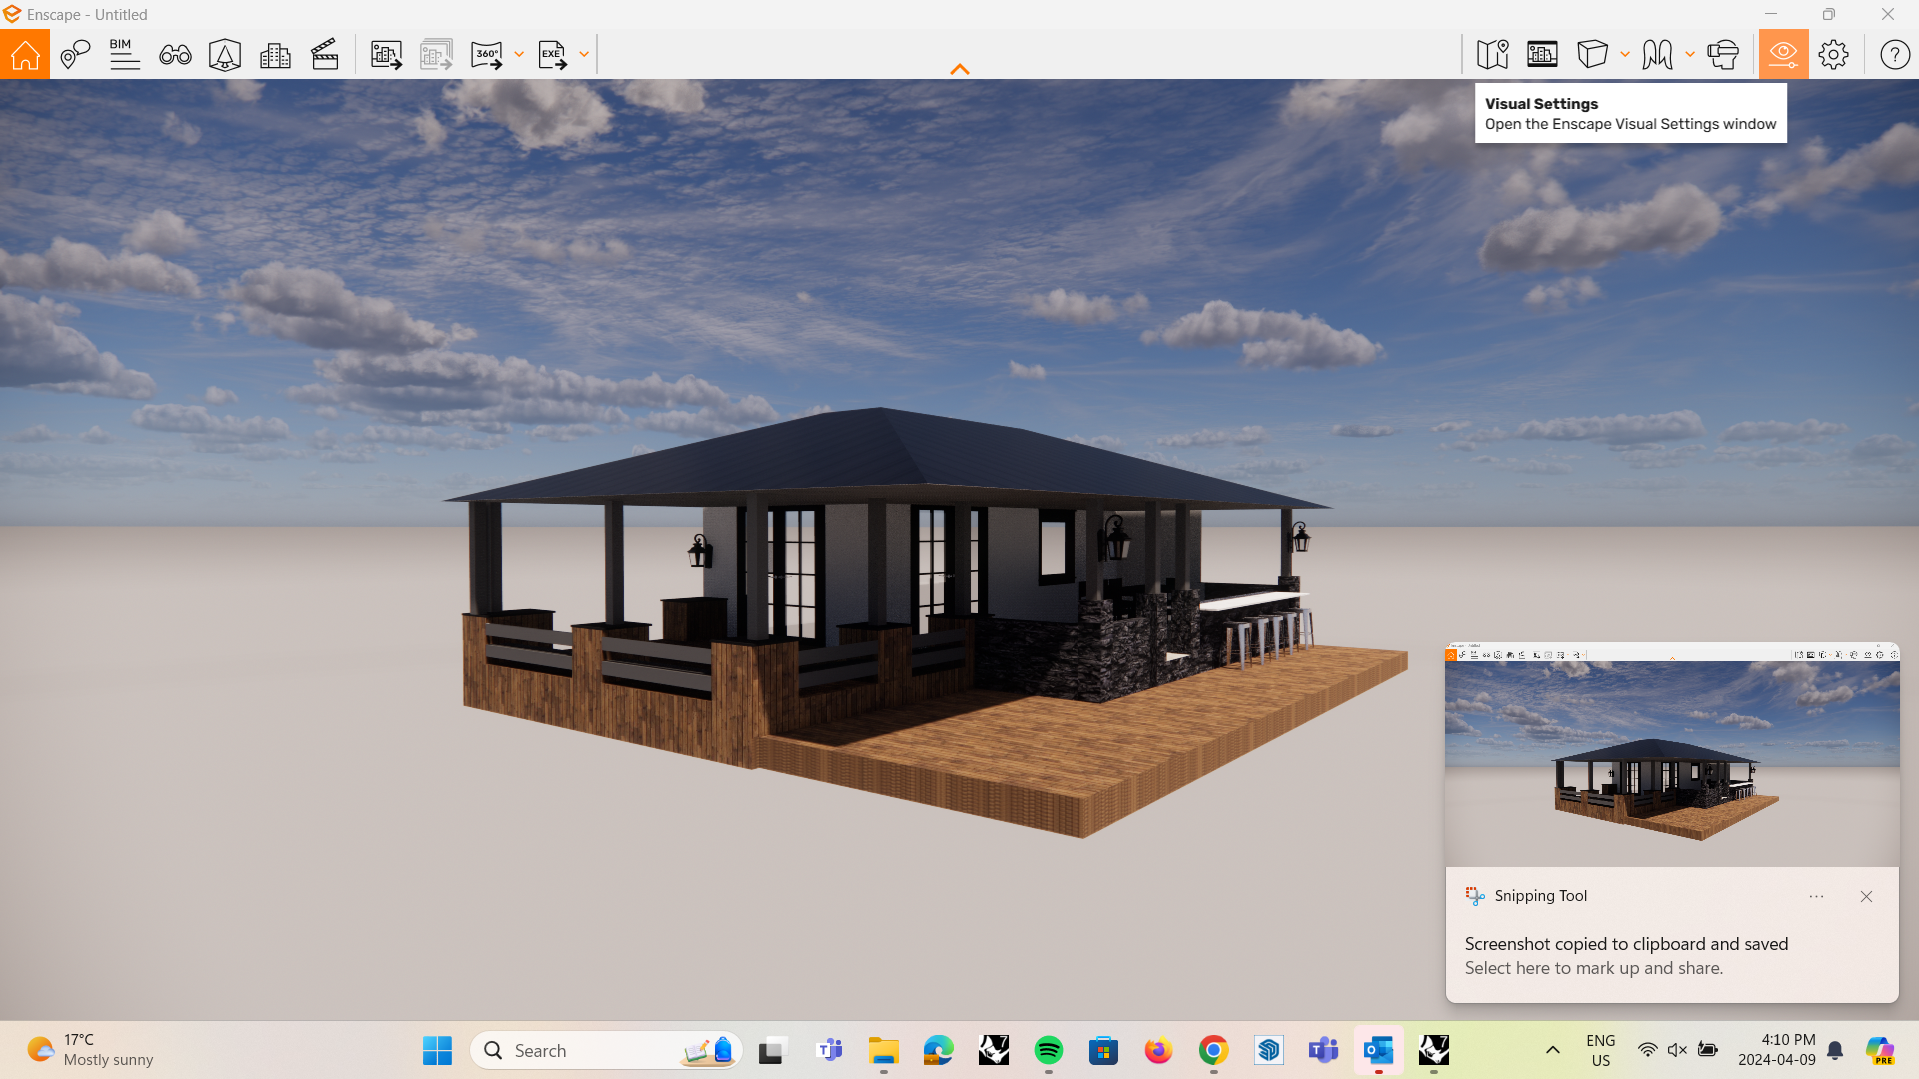
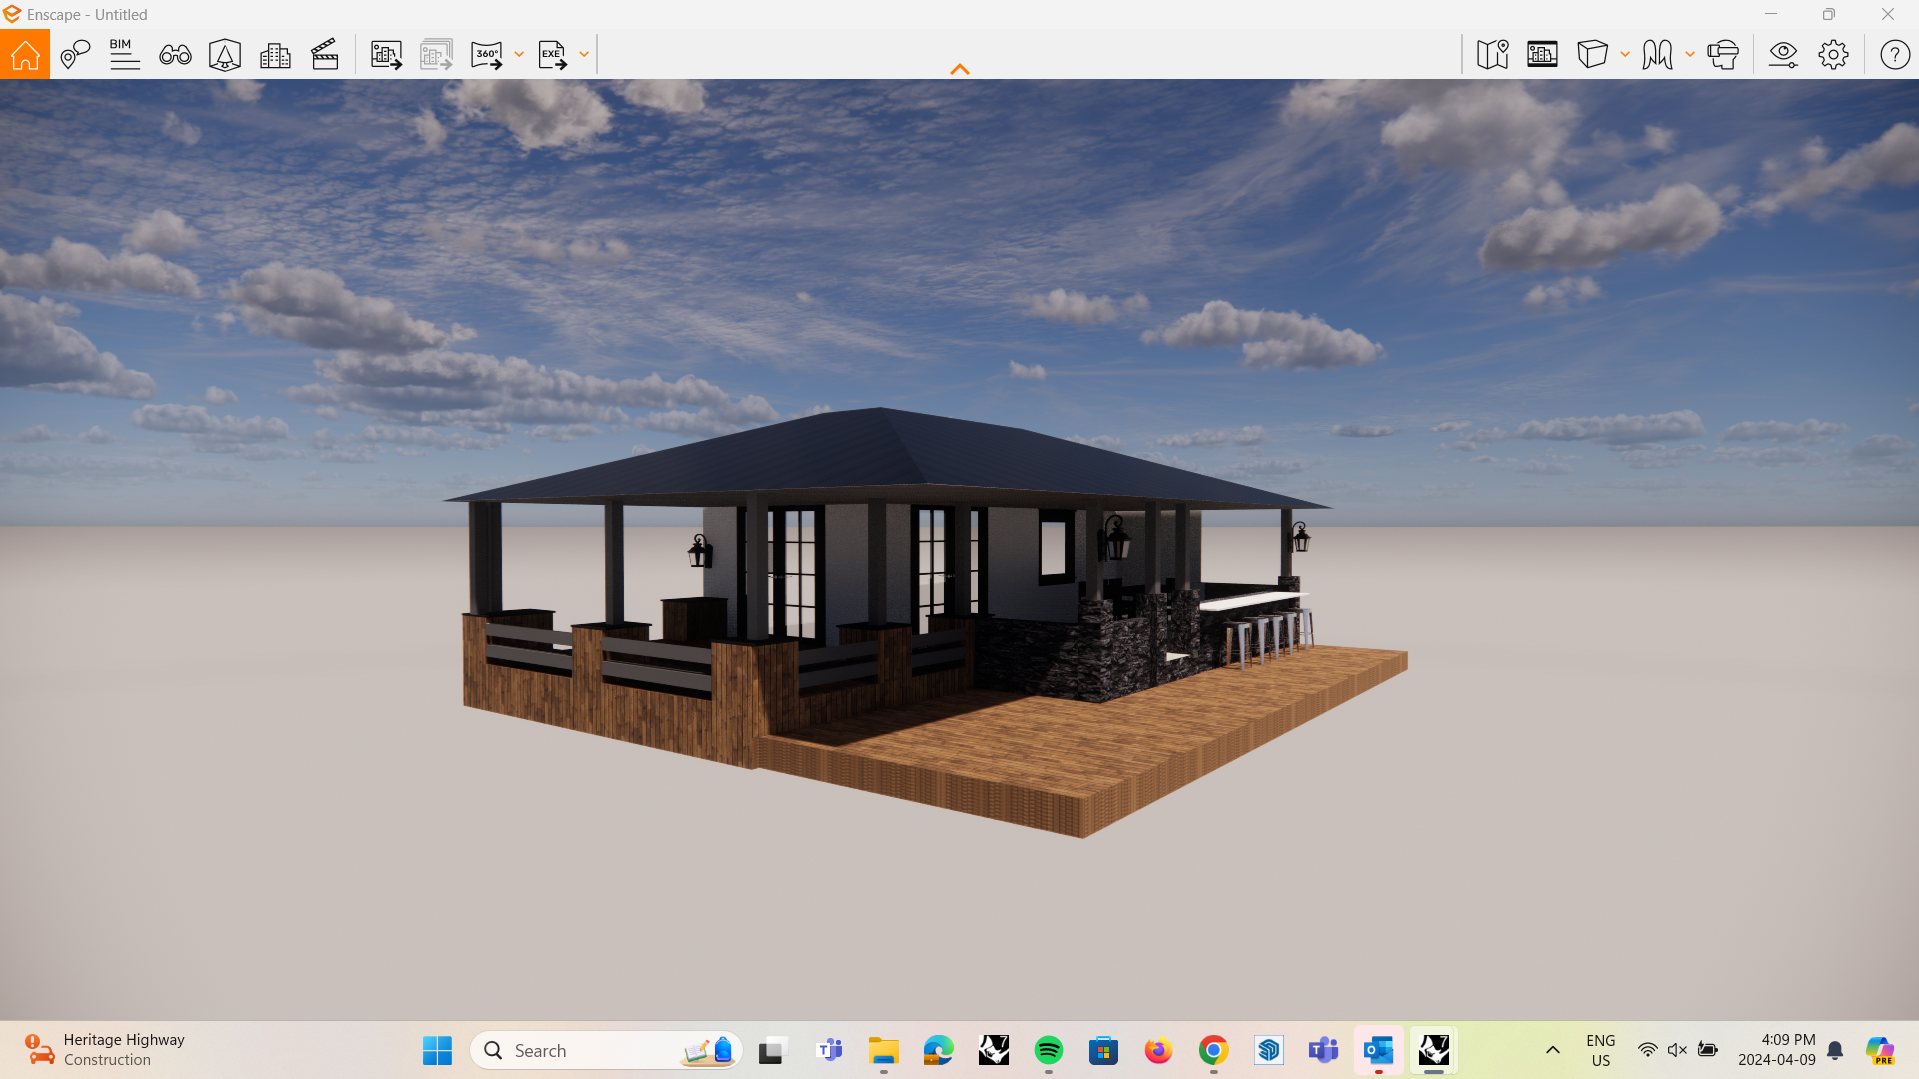
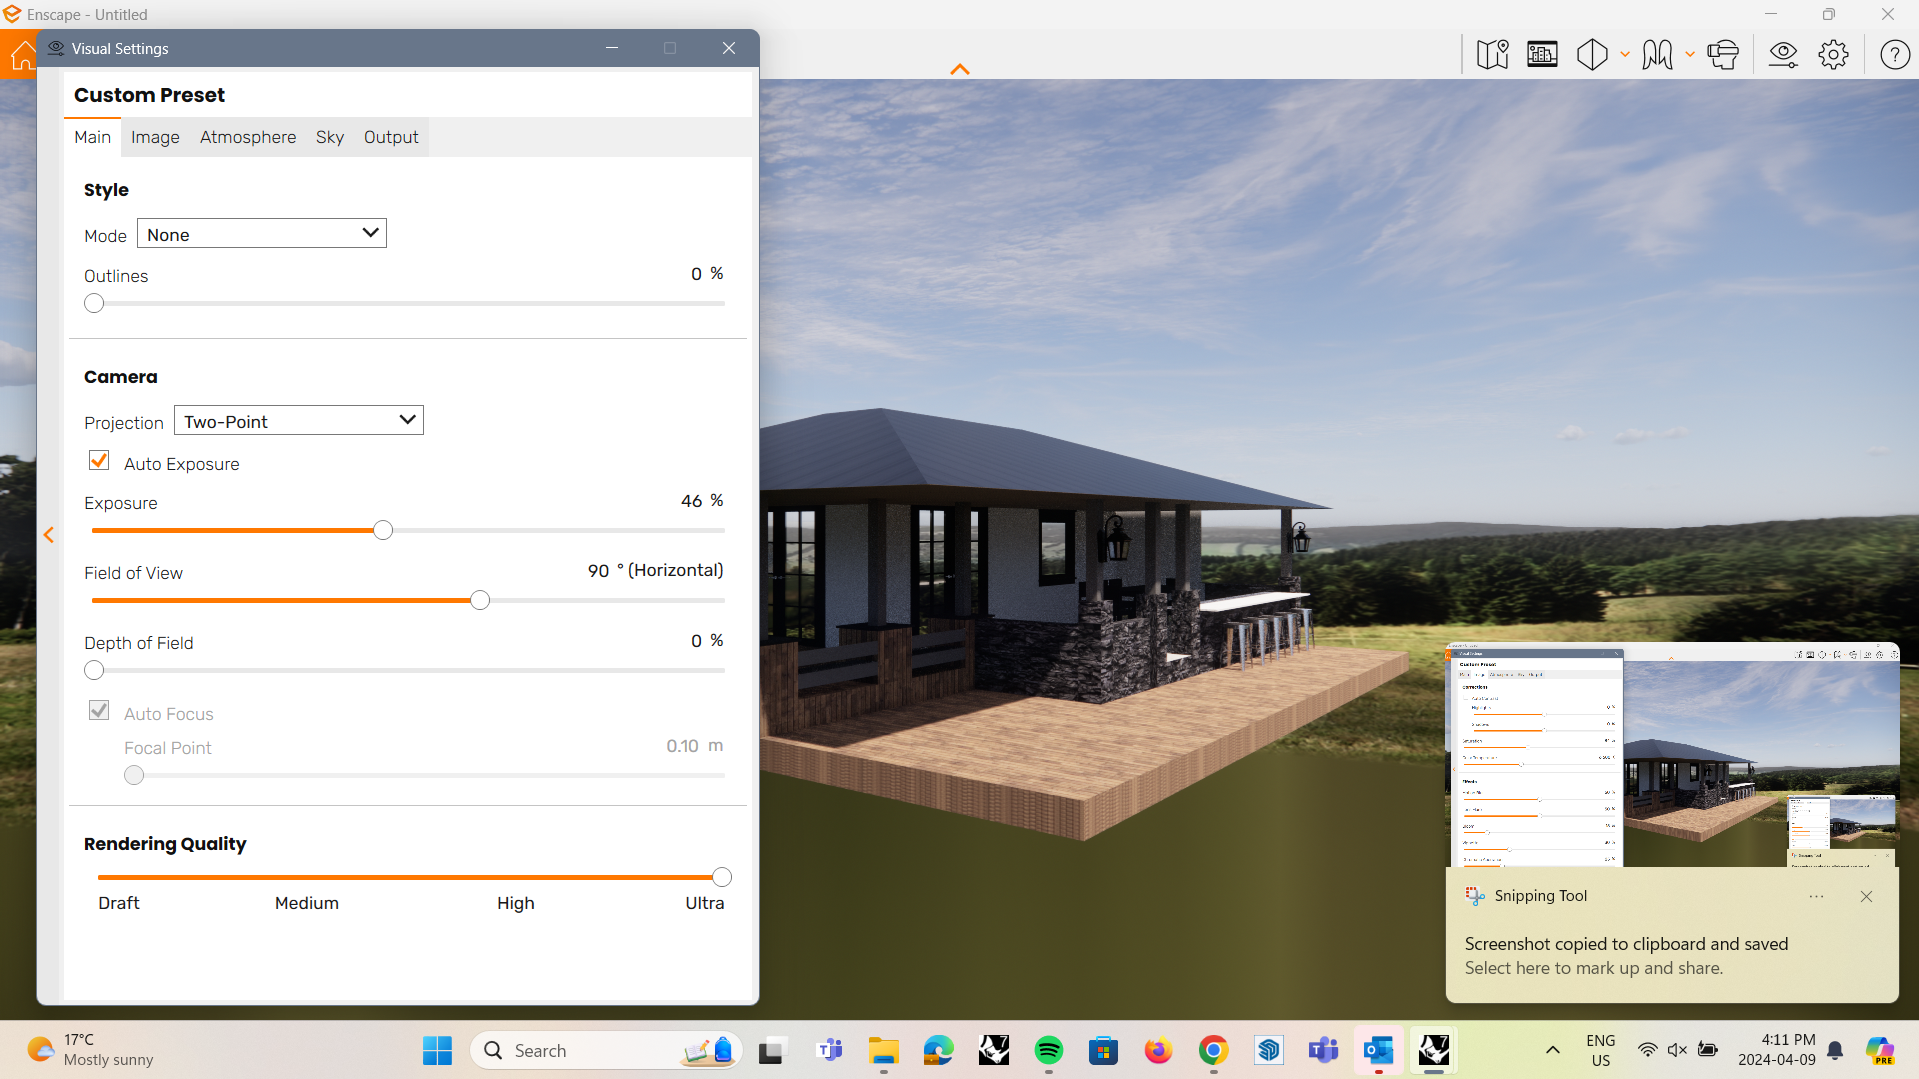
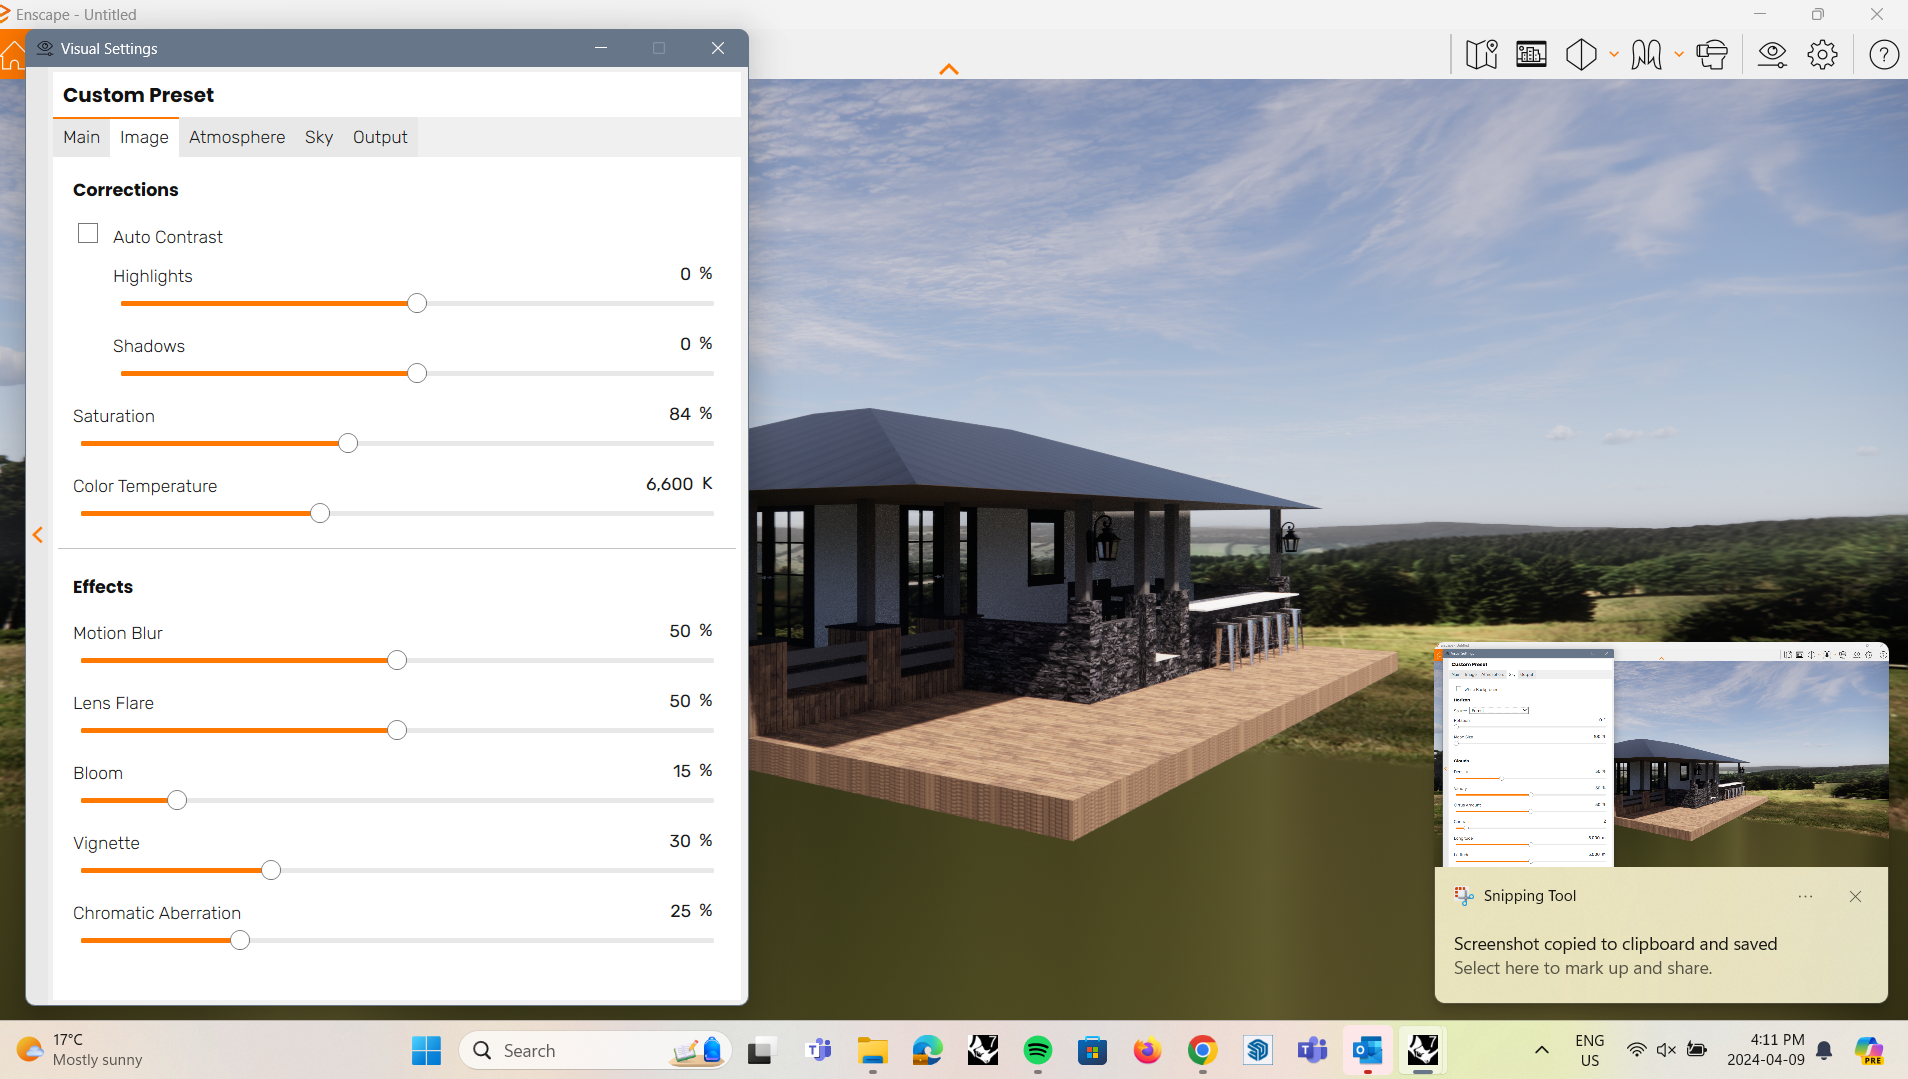
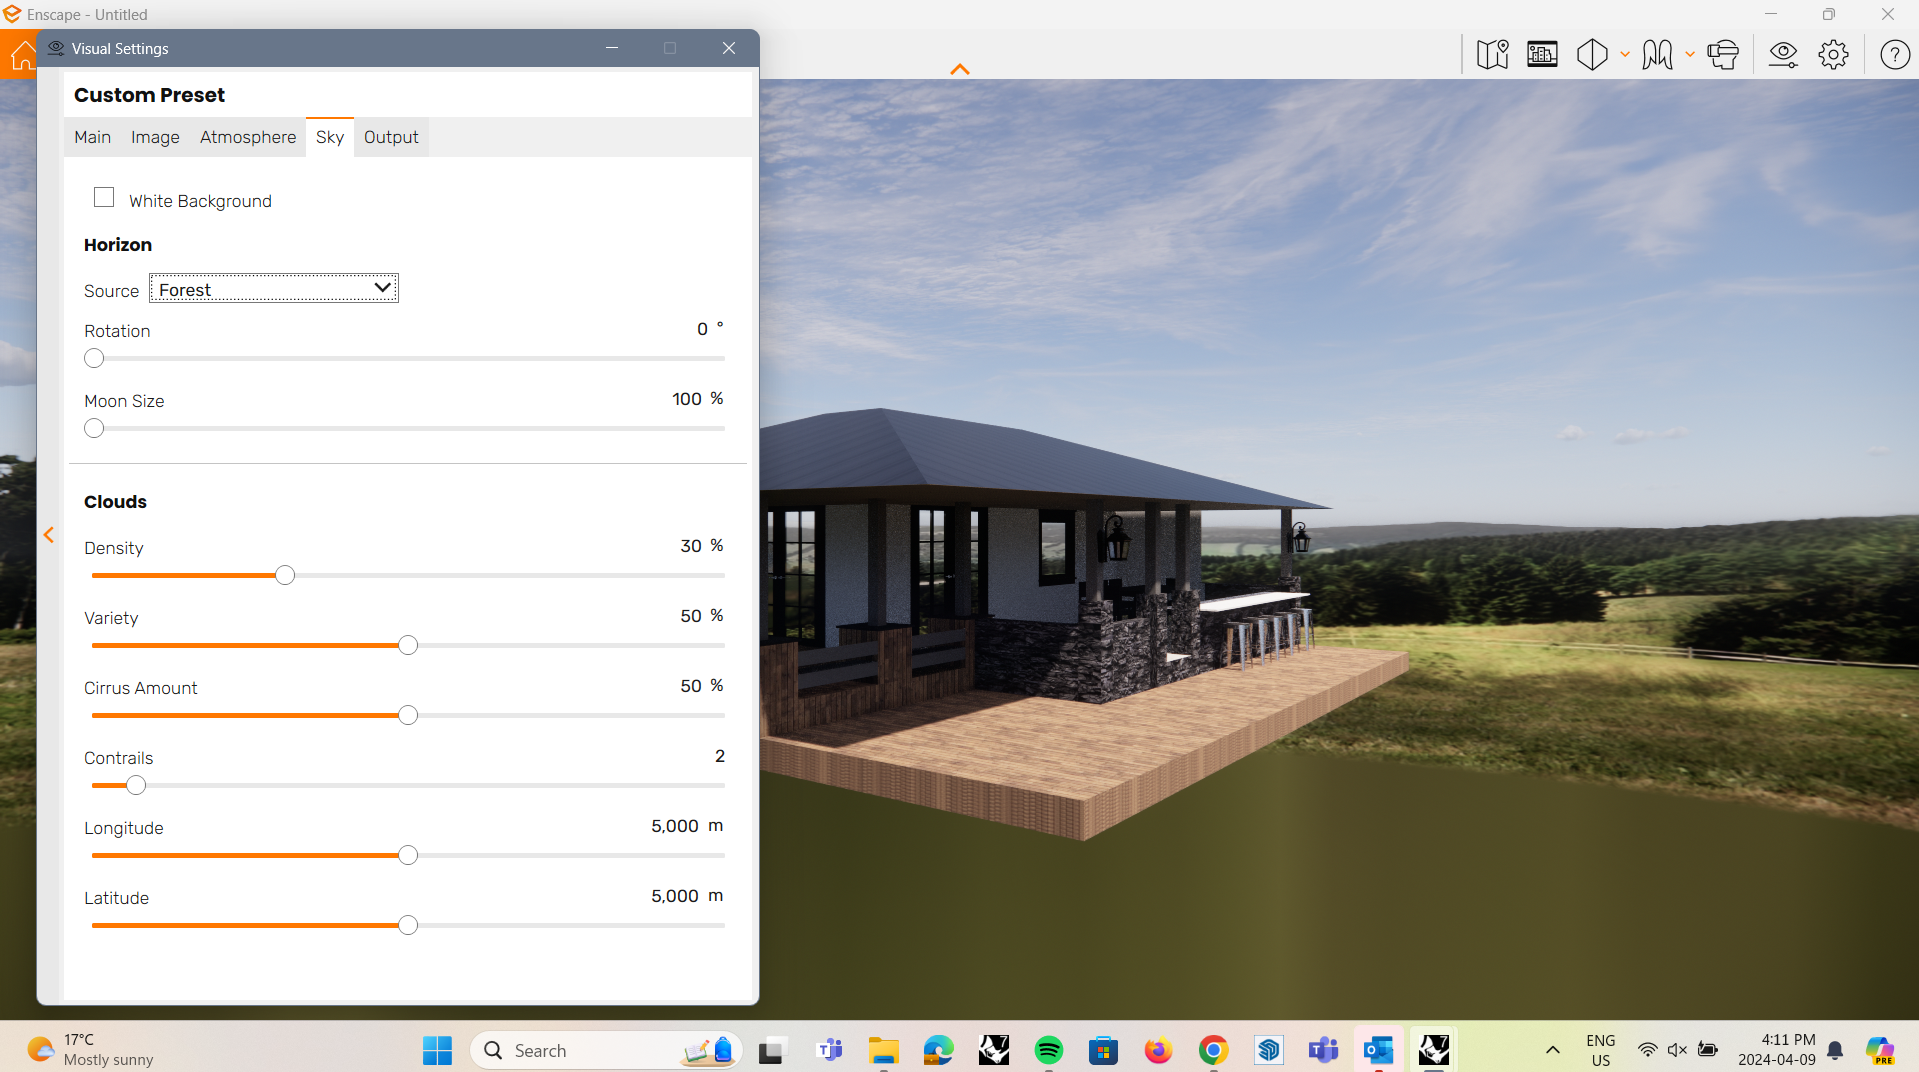
- Enscape is a rendering software that can be opened directly from Rhino
- If you have Enscape installed, type 'EnscapeStartCommand' to open the Enscape render
- Under the 'View Settings' you can adjust lighting, image and background settings, and make any camera and view adjustments that you would like
Rendering in Rhino: Enscape Material Editor
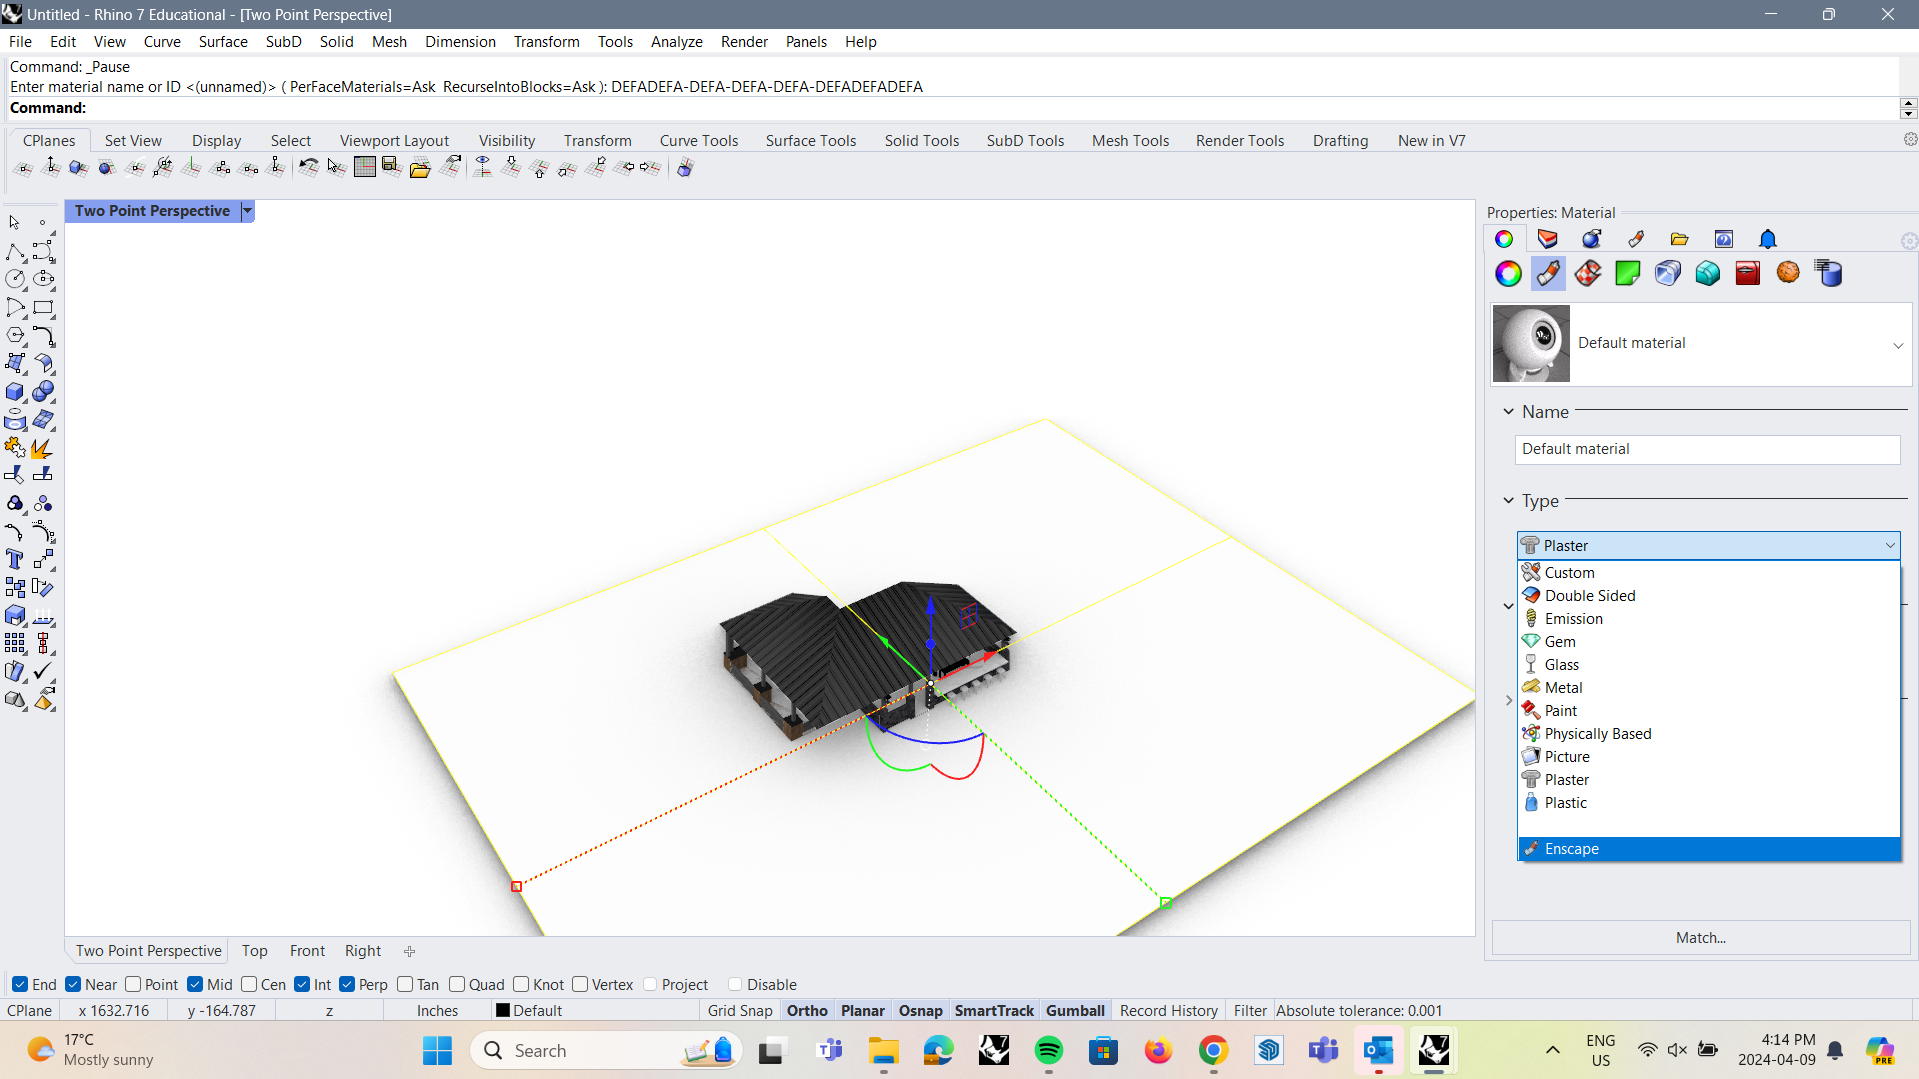
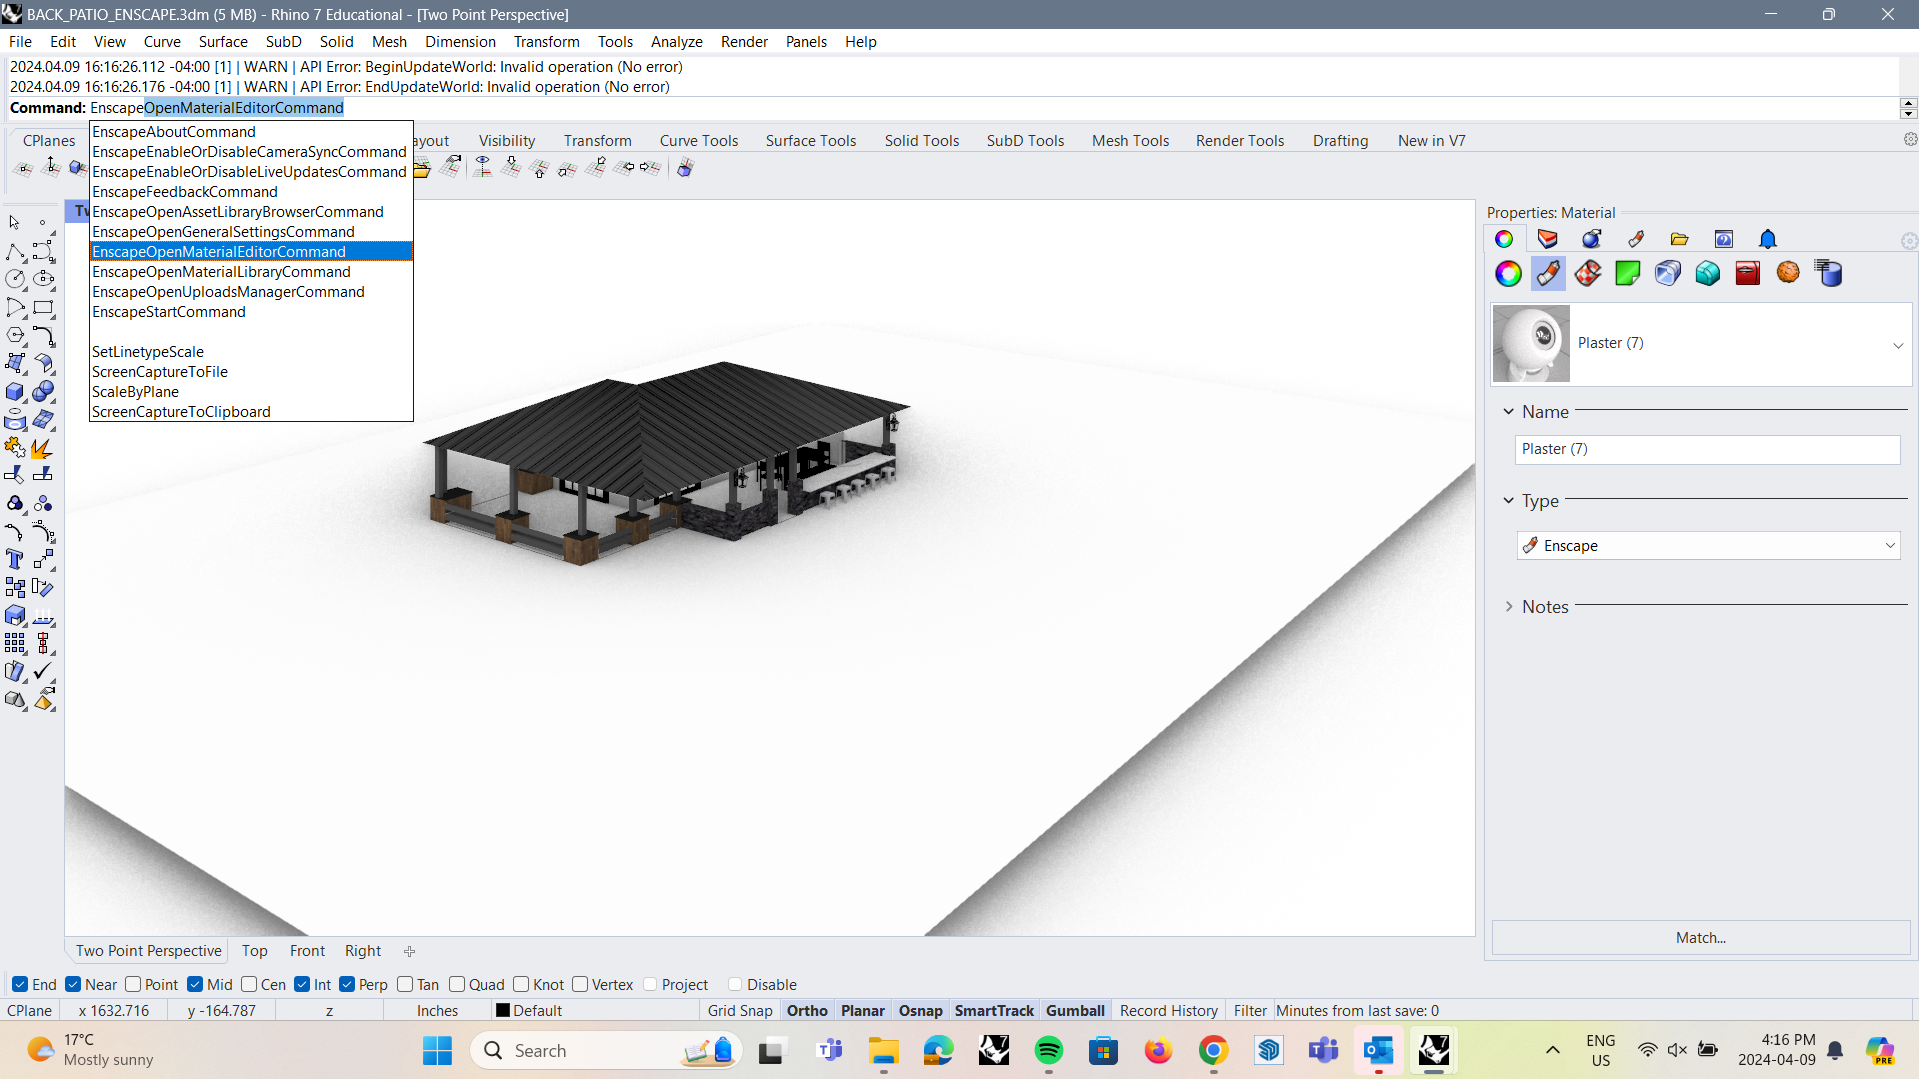
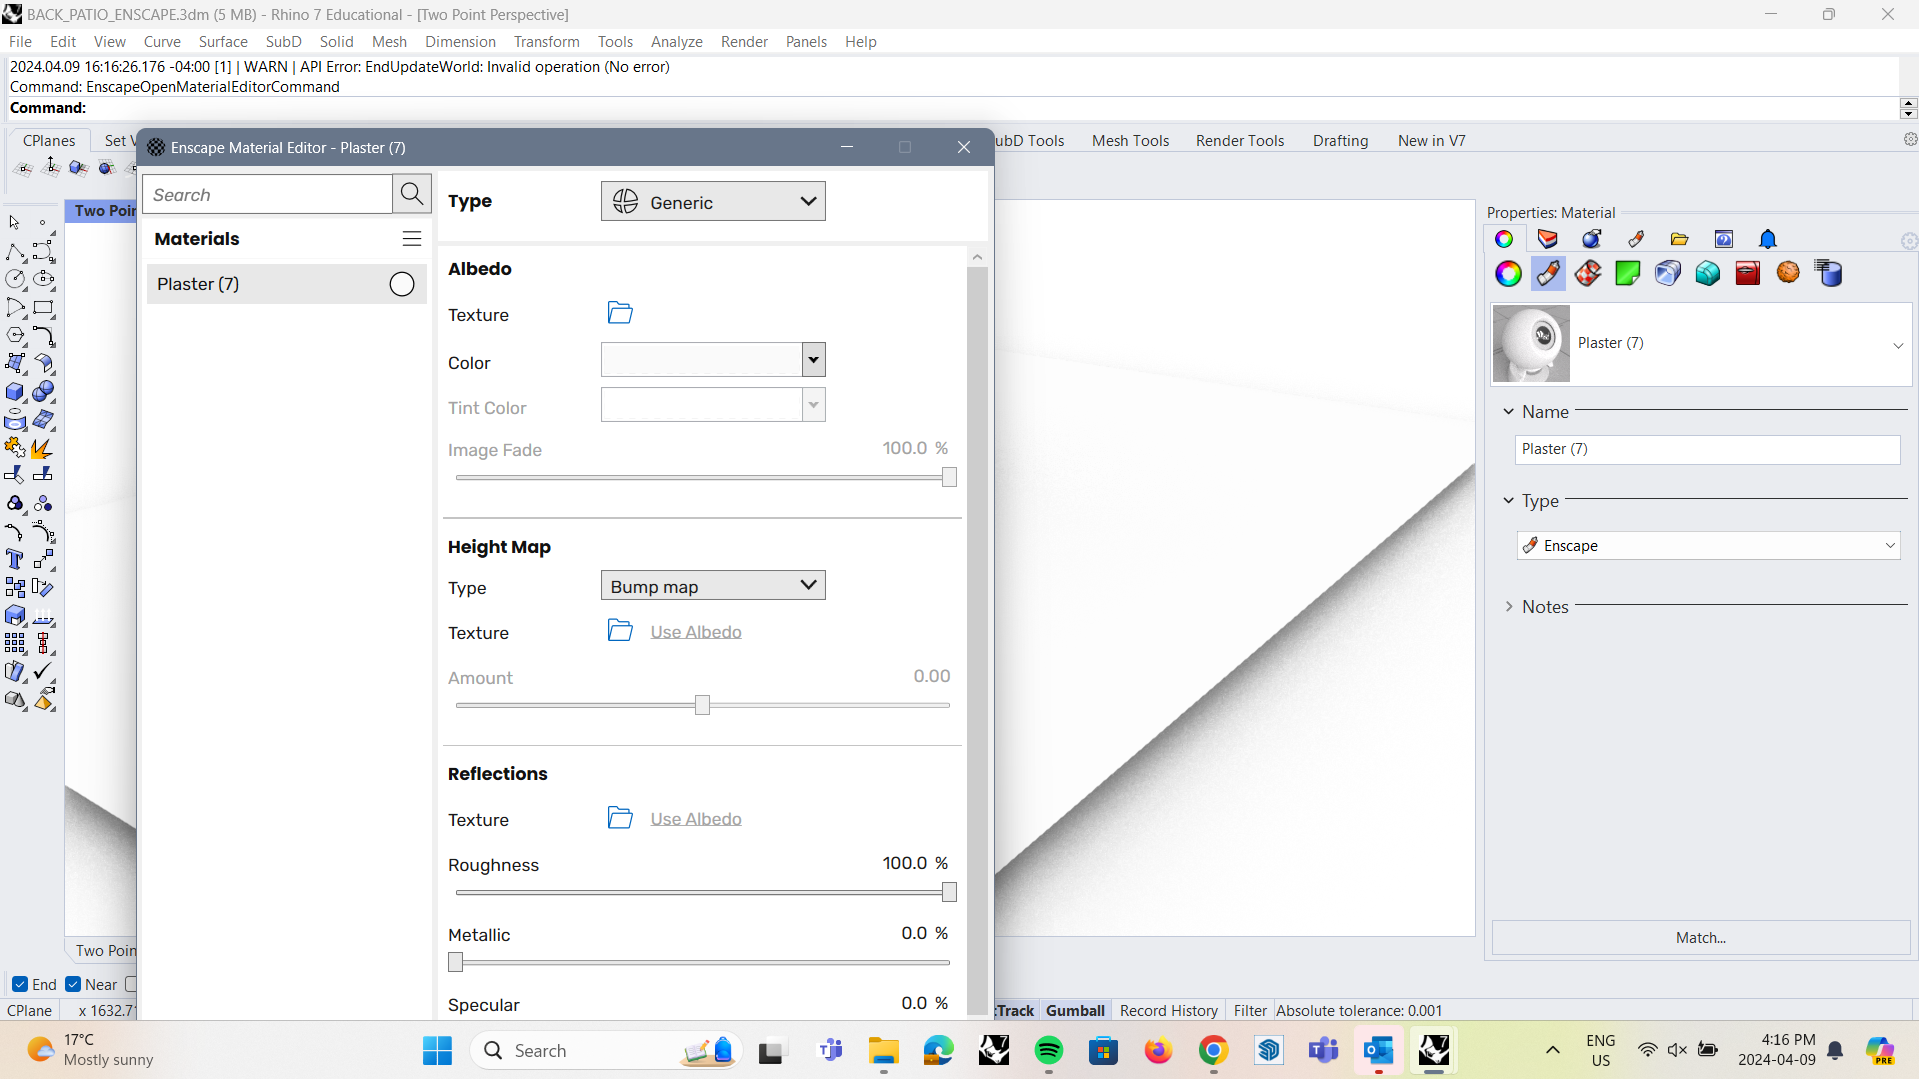
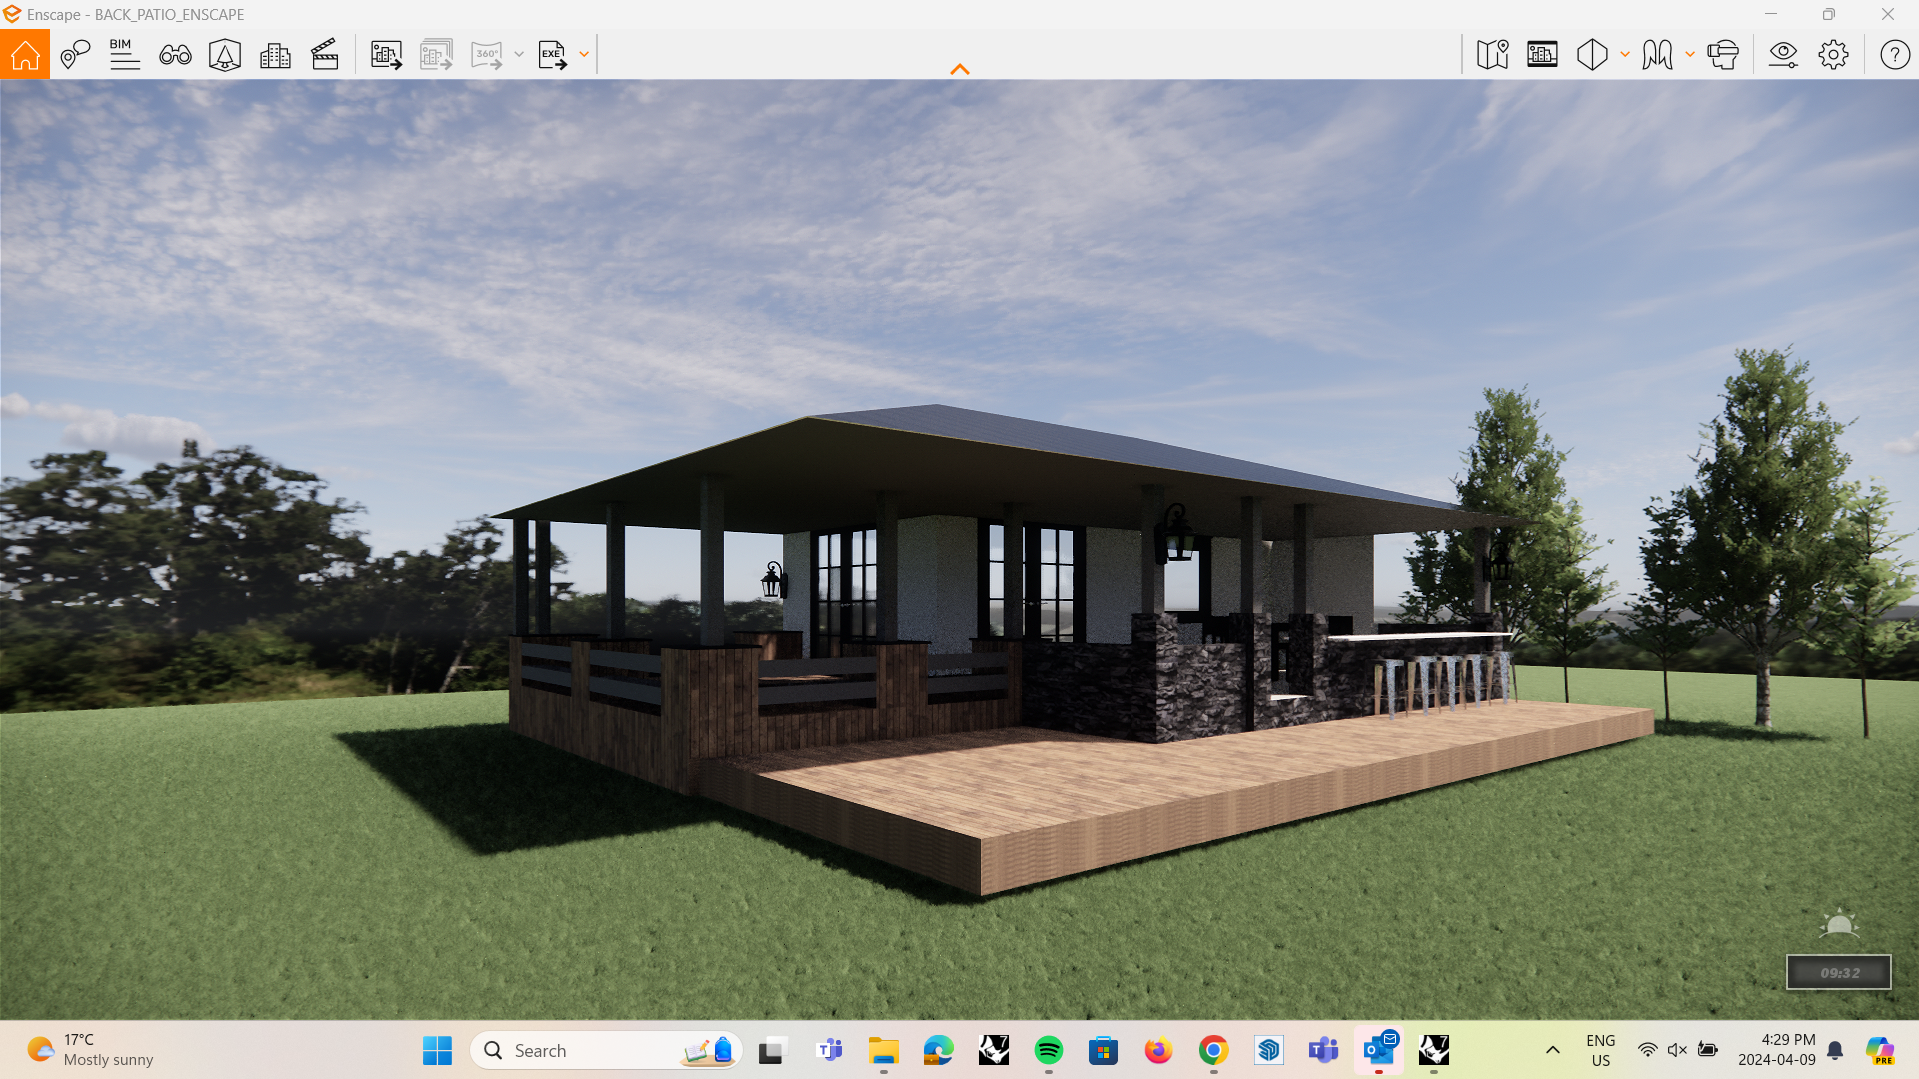
- Under the 'Material Editor' in Rhino, you can select 'Enscape' Material
- This material can be edited under the Enscape material editor when you type out 'EnscapeOpenMaterialEditorCommand'
- Using the Enscape material has the ability to change your object into various realistic textures, such as grass, reflective surfaces, water, and more.
Rendering in Rhino: Enscape Asset Library
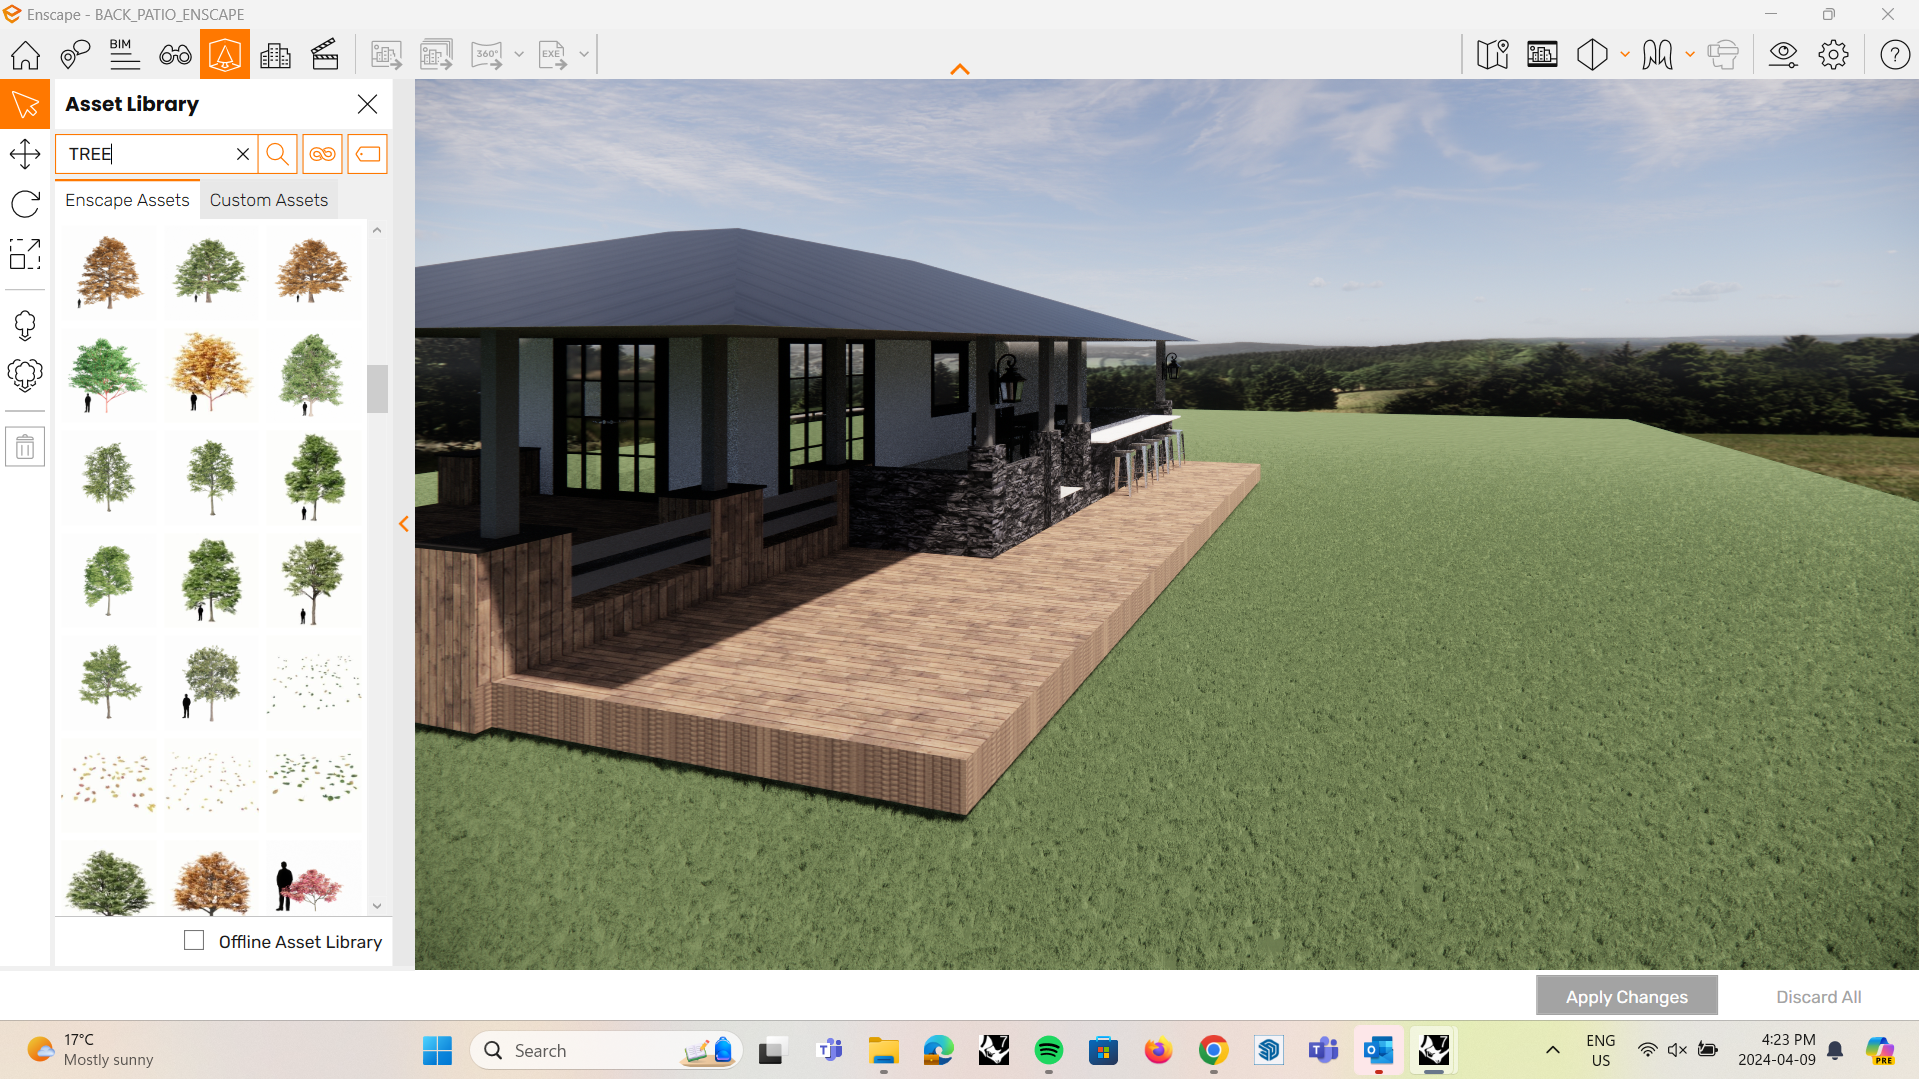
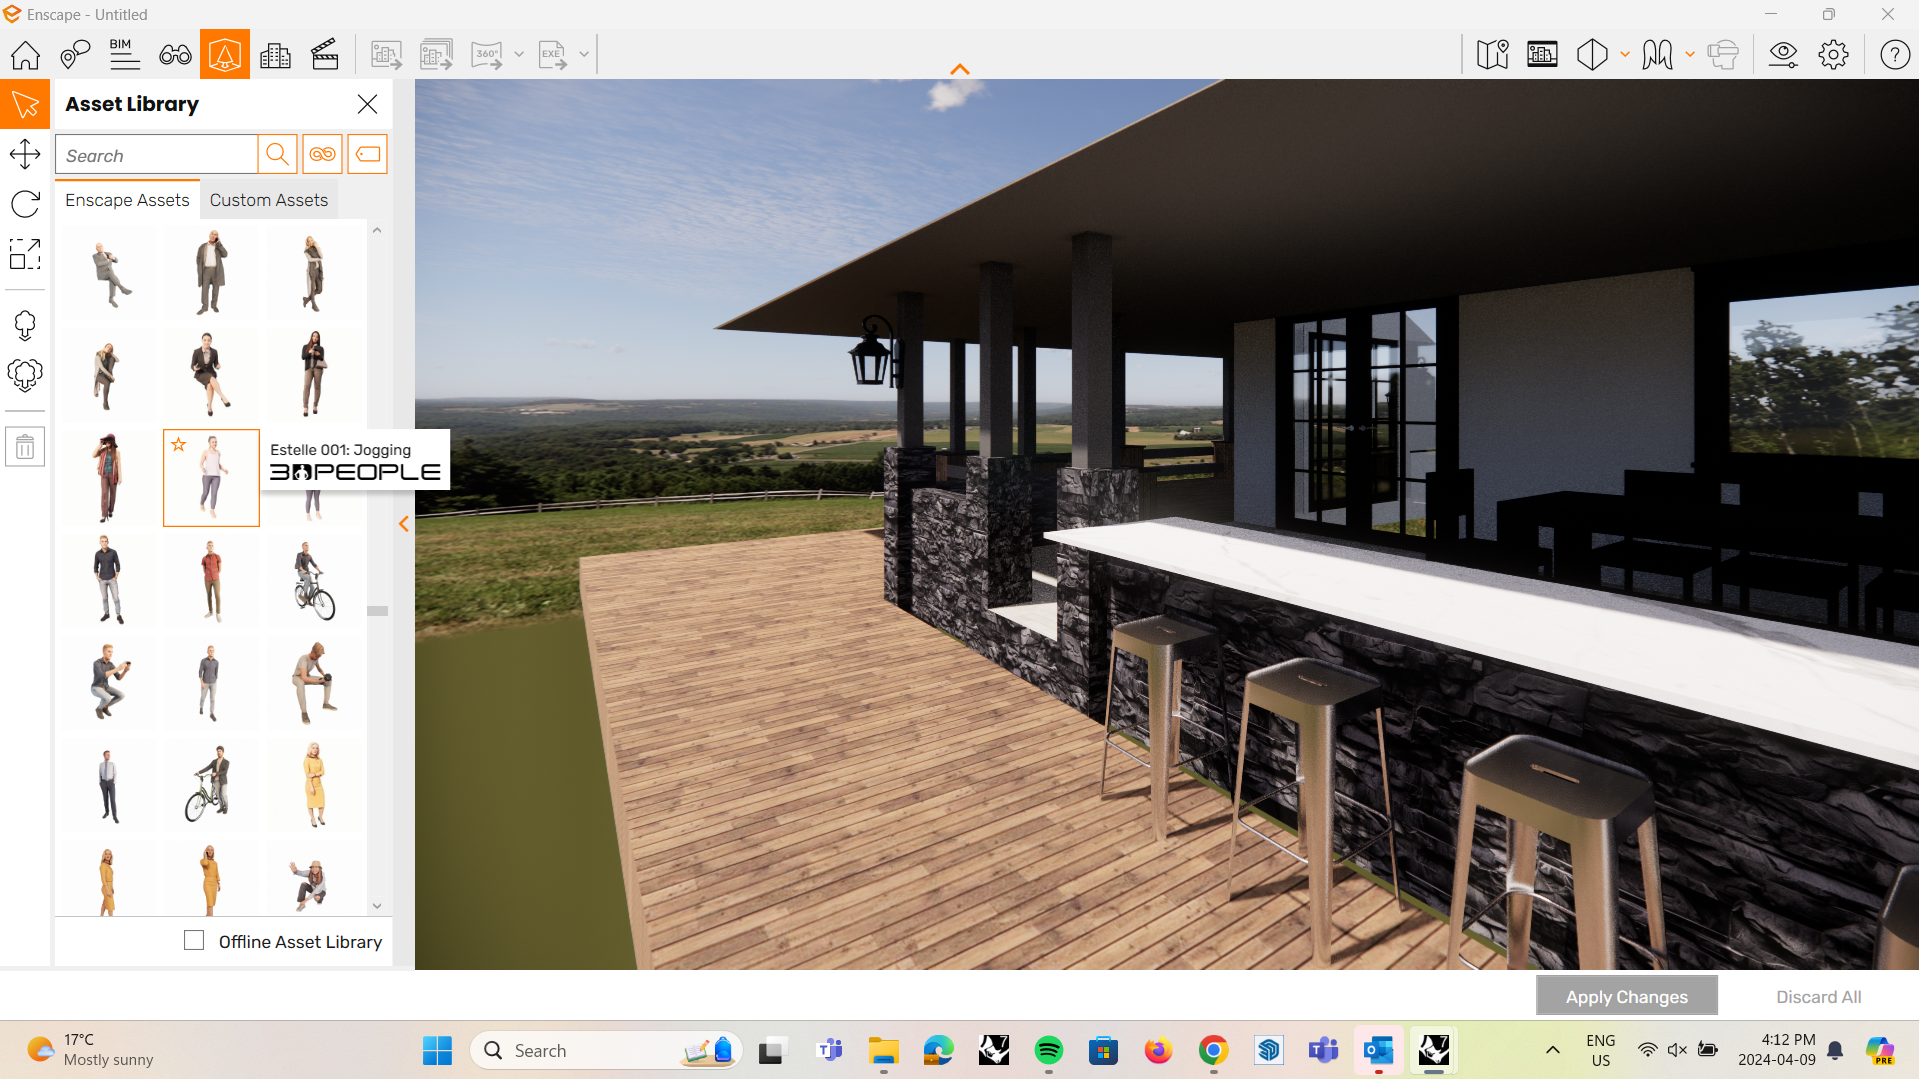
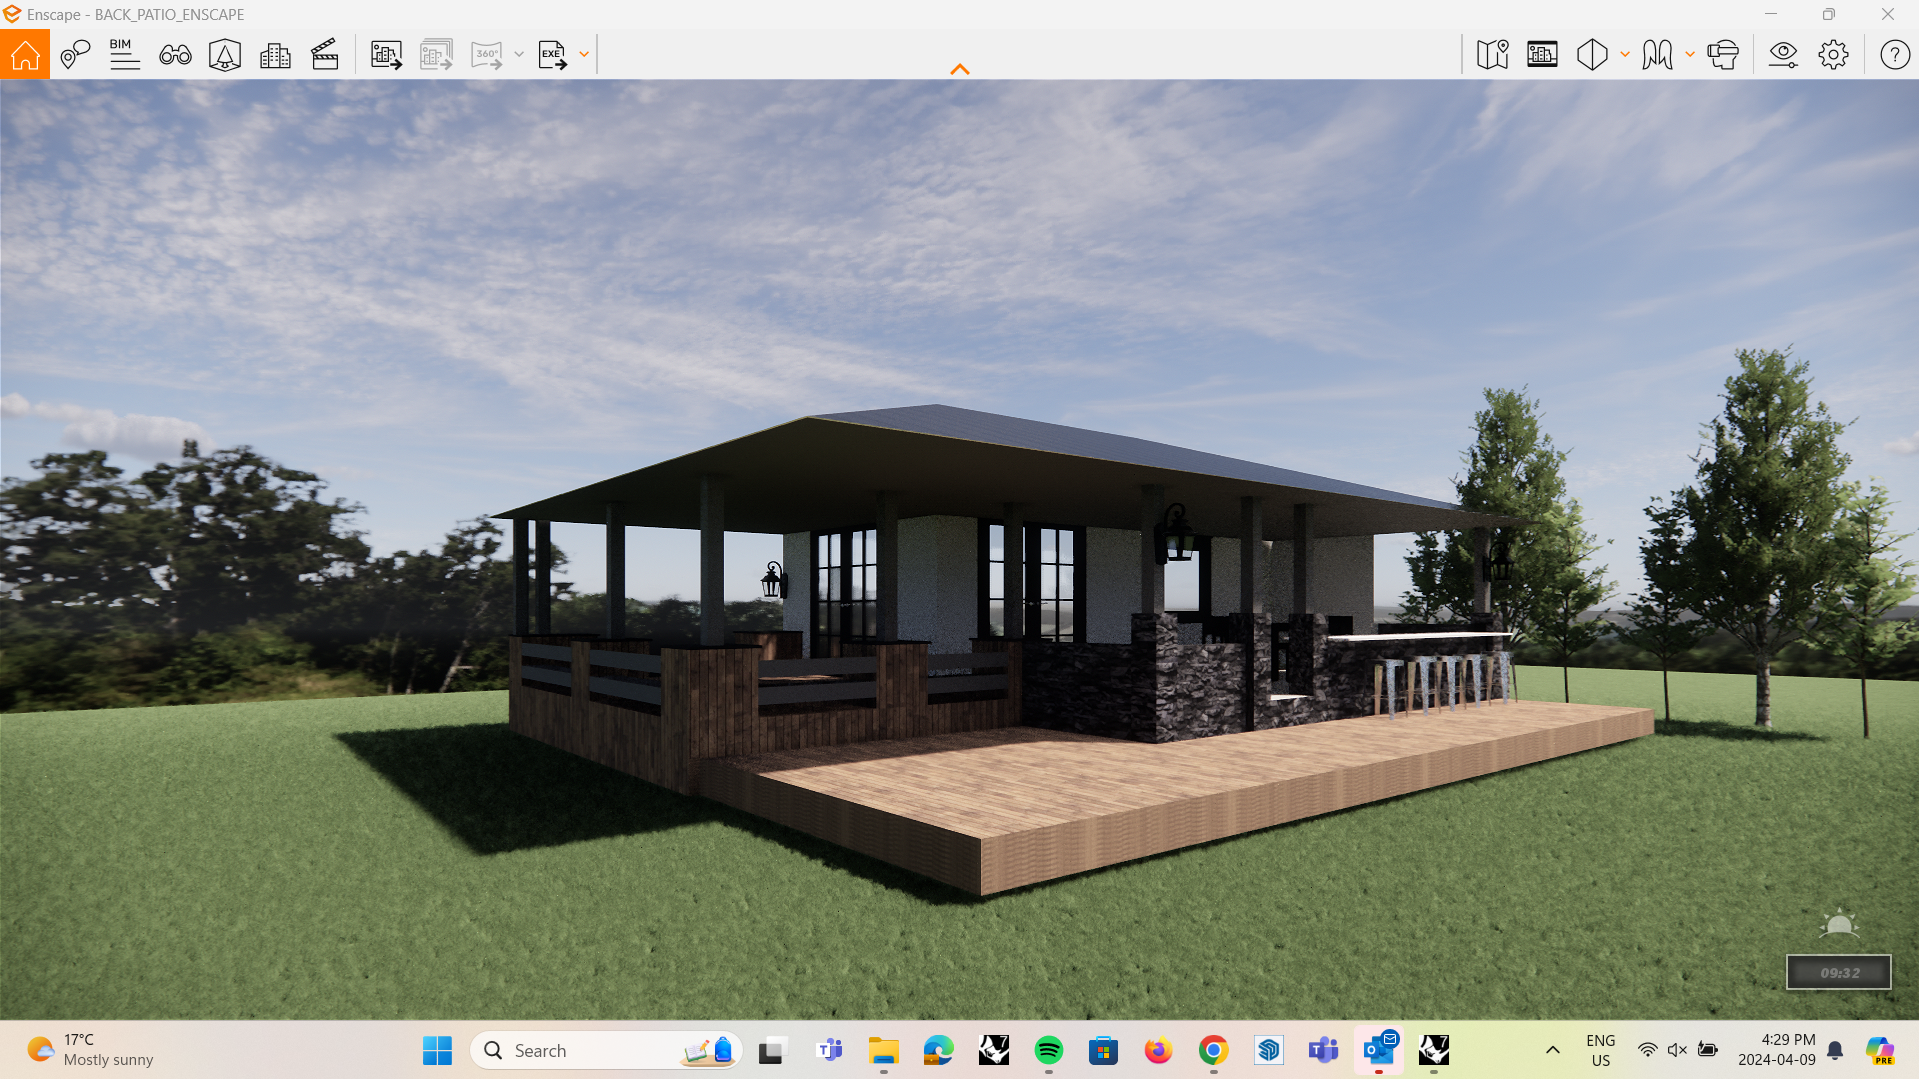
- Enscape allows the option to drop objects from their asset library into your model to enhance your render
- The options range from landscaping (trees, plants etc.) to people to various furniture types
Rendering in Rhino: Enscape Exporting Renders
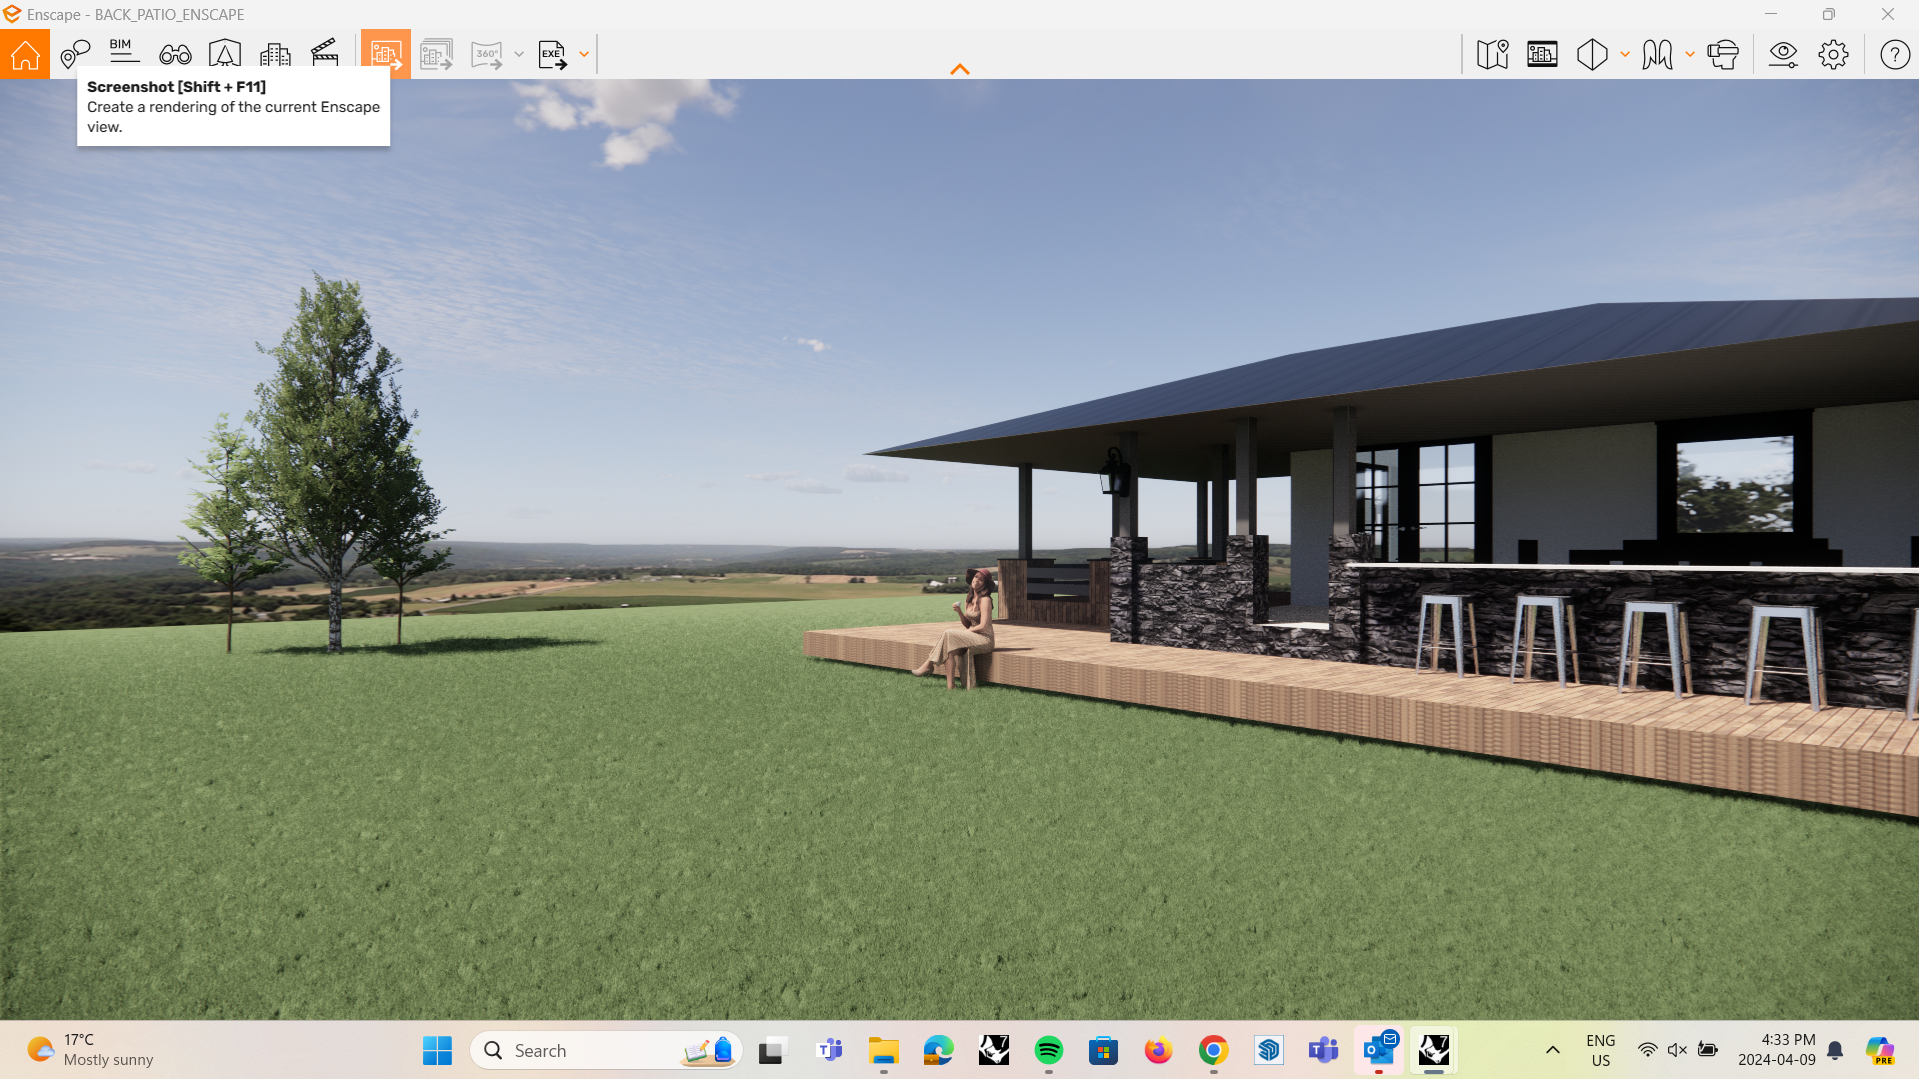
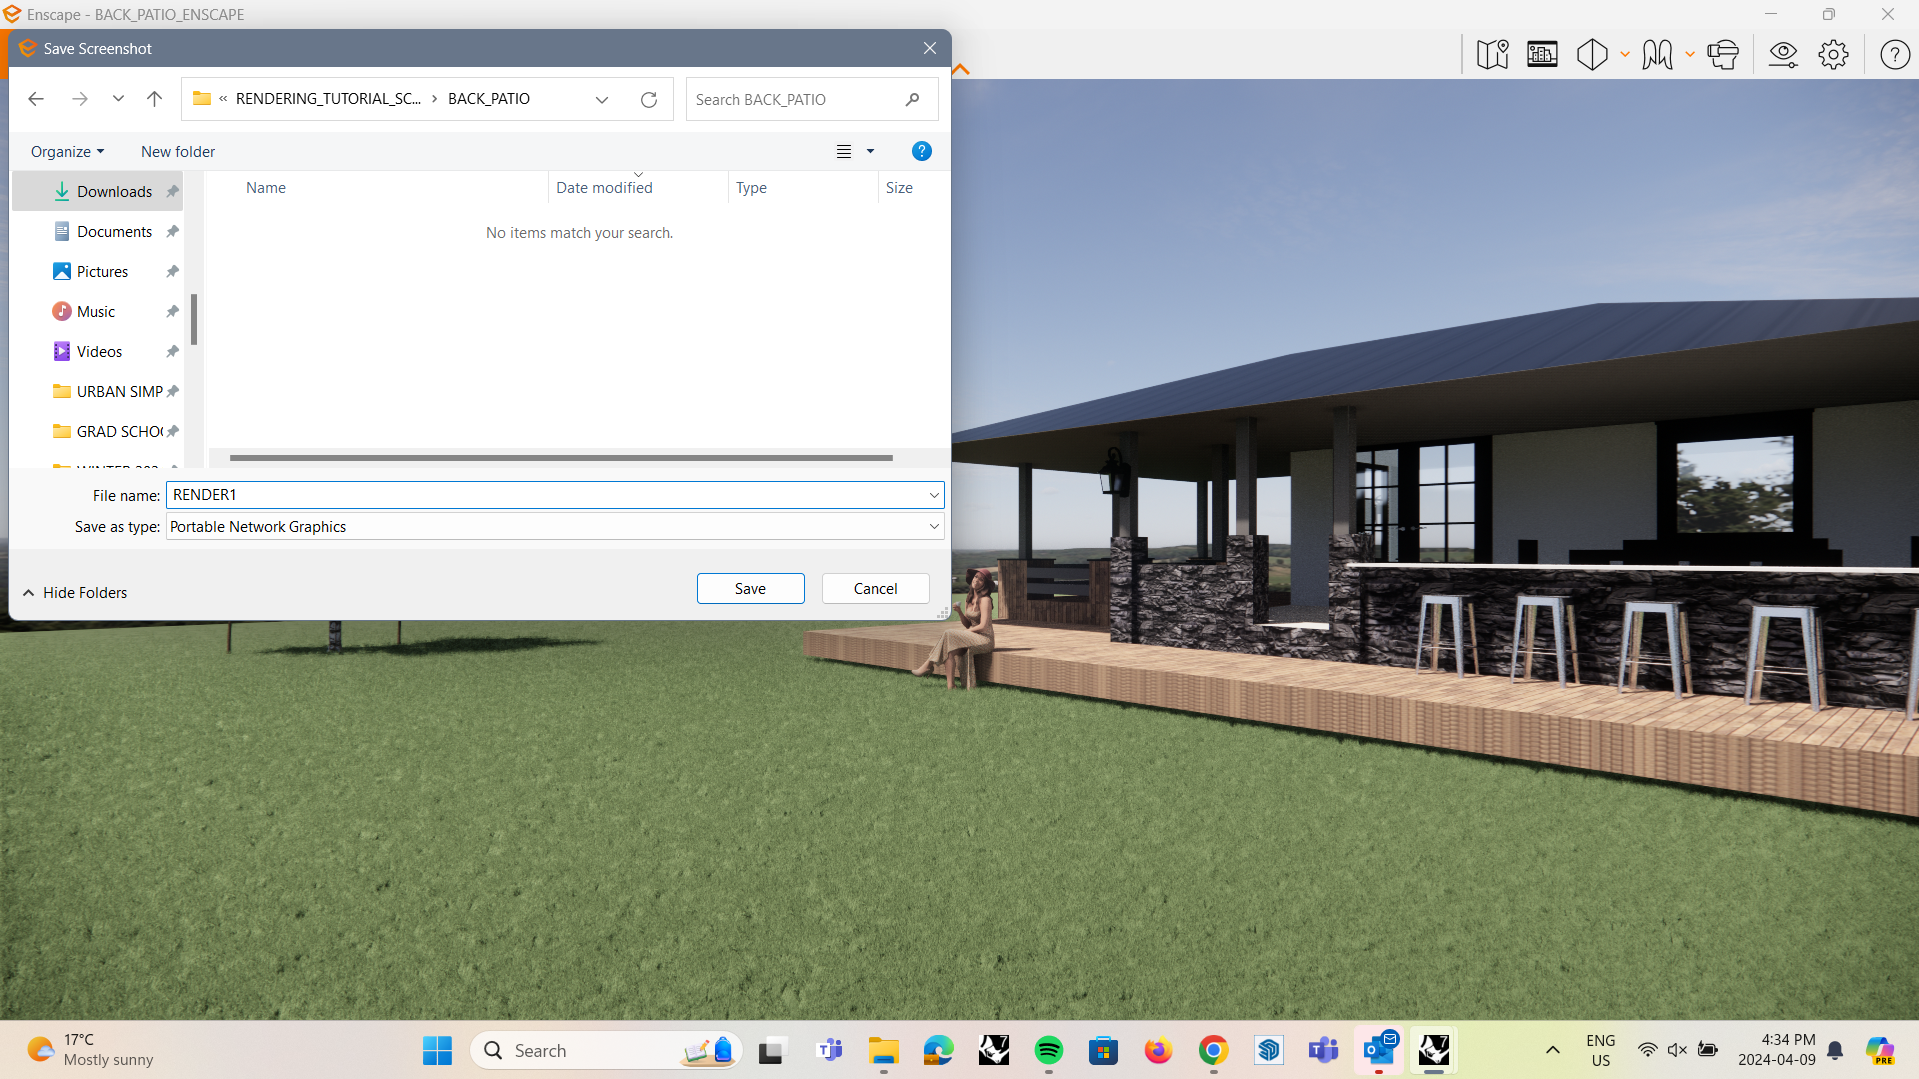
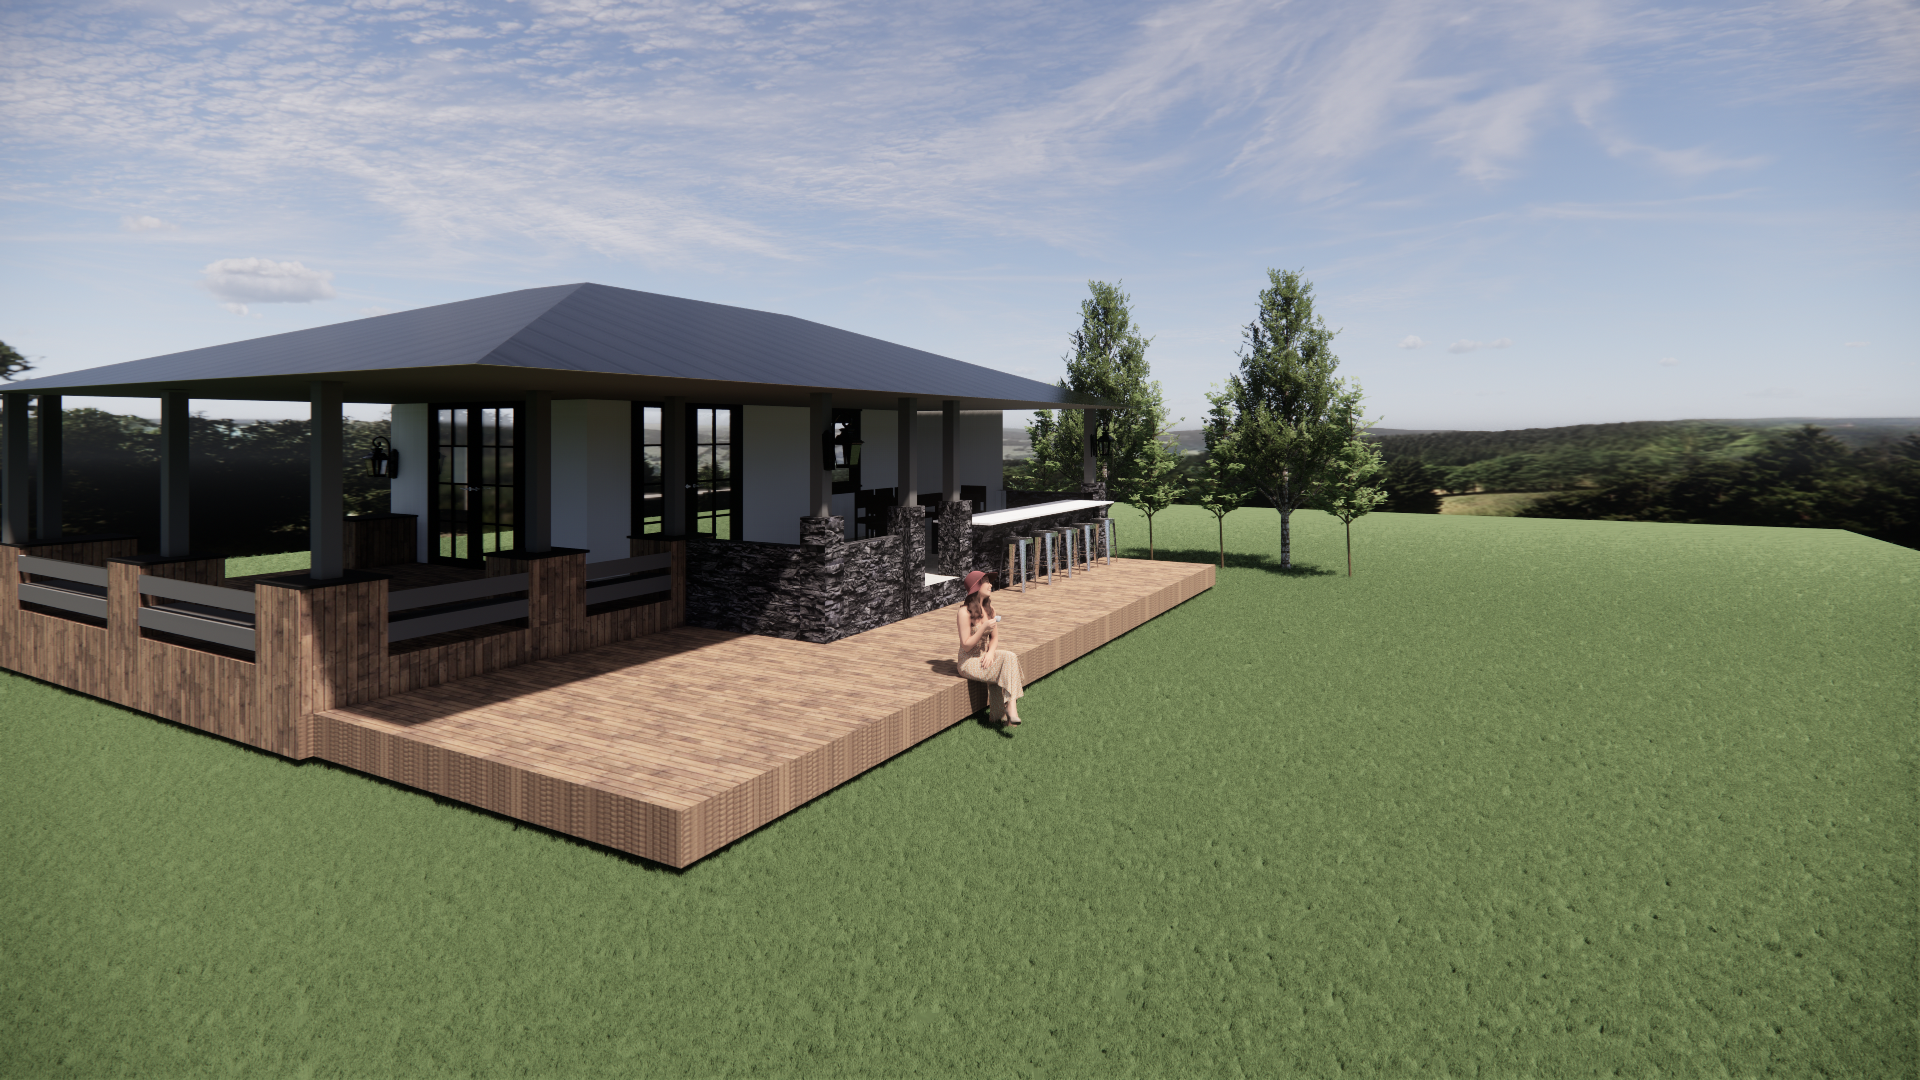
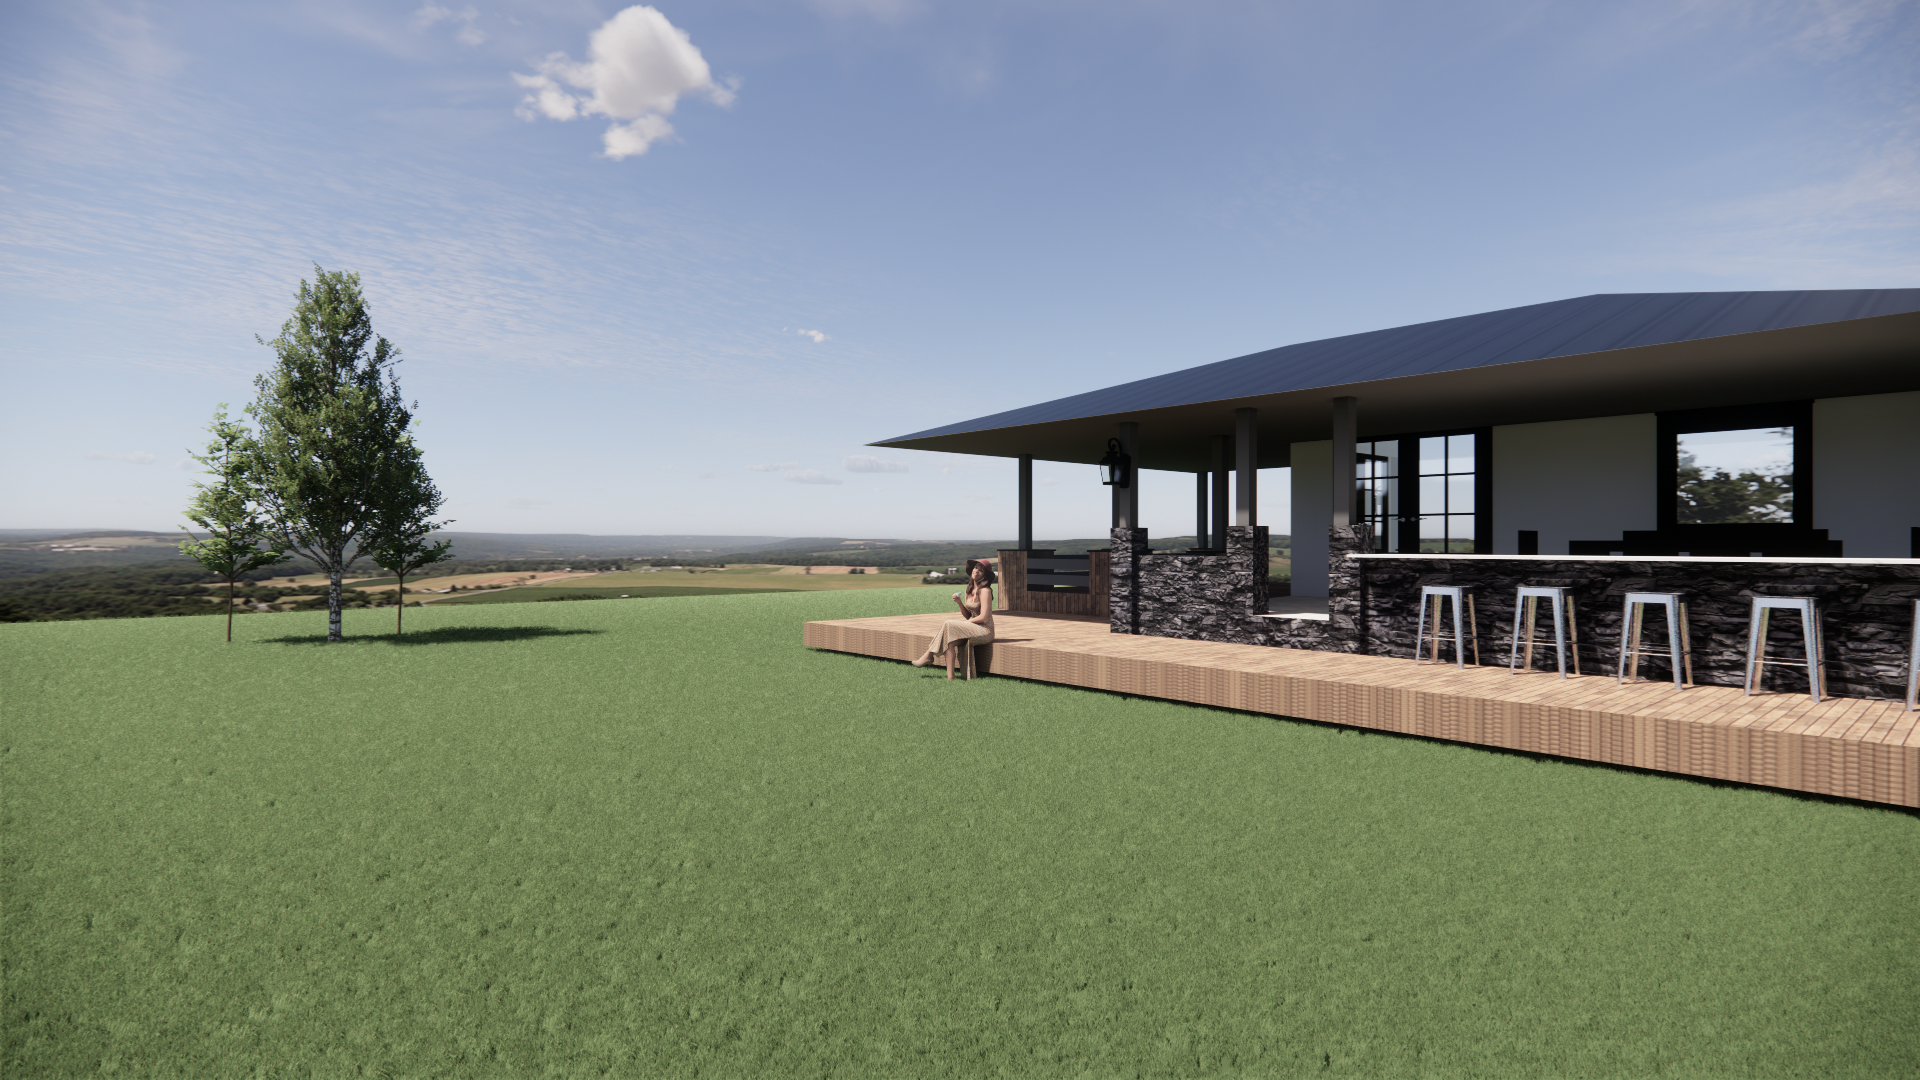
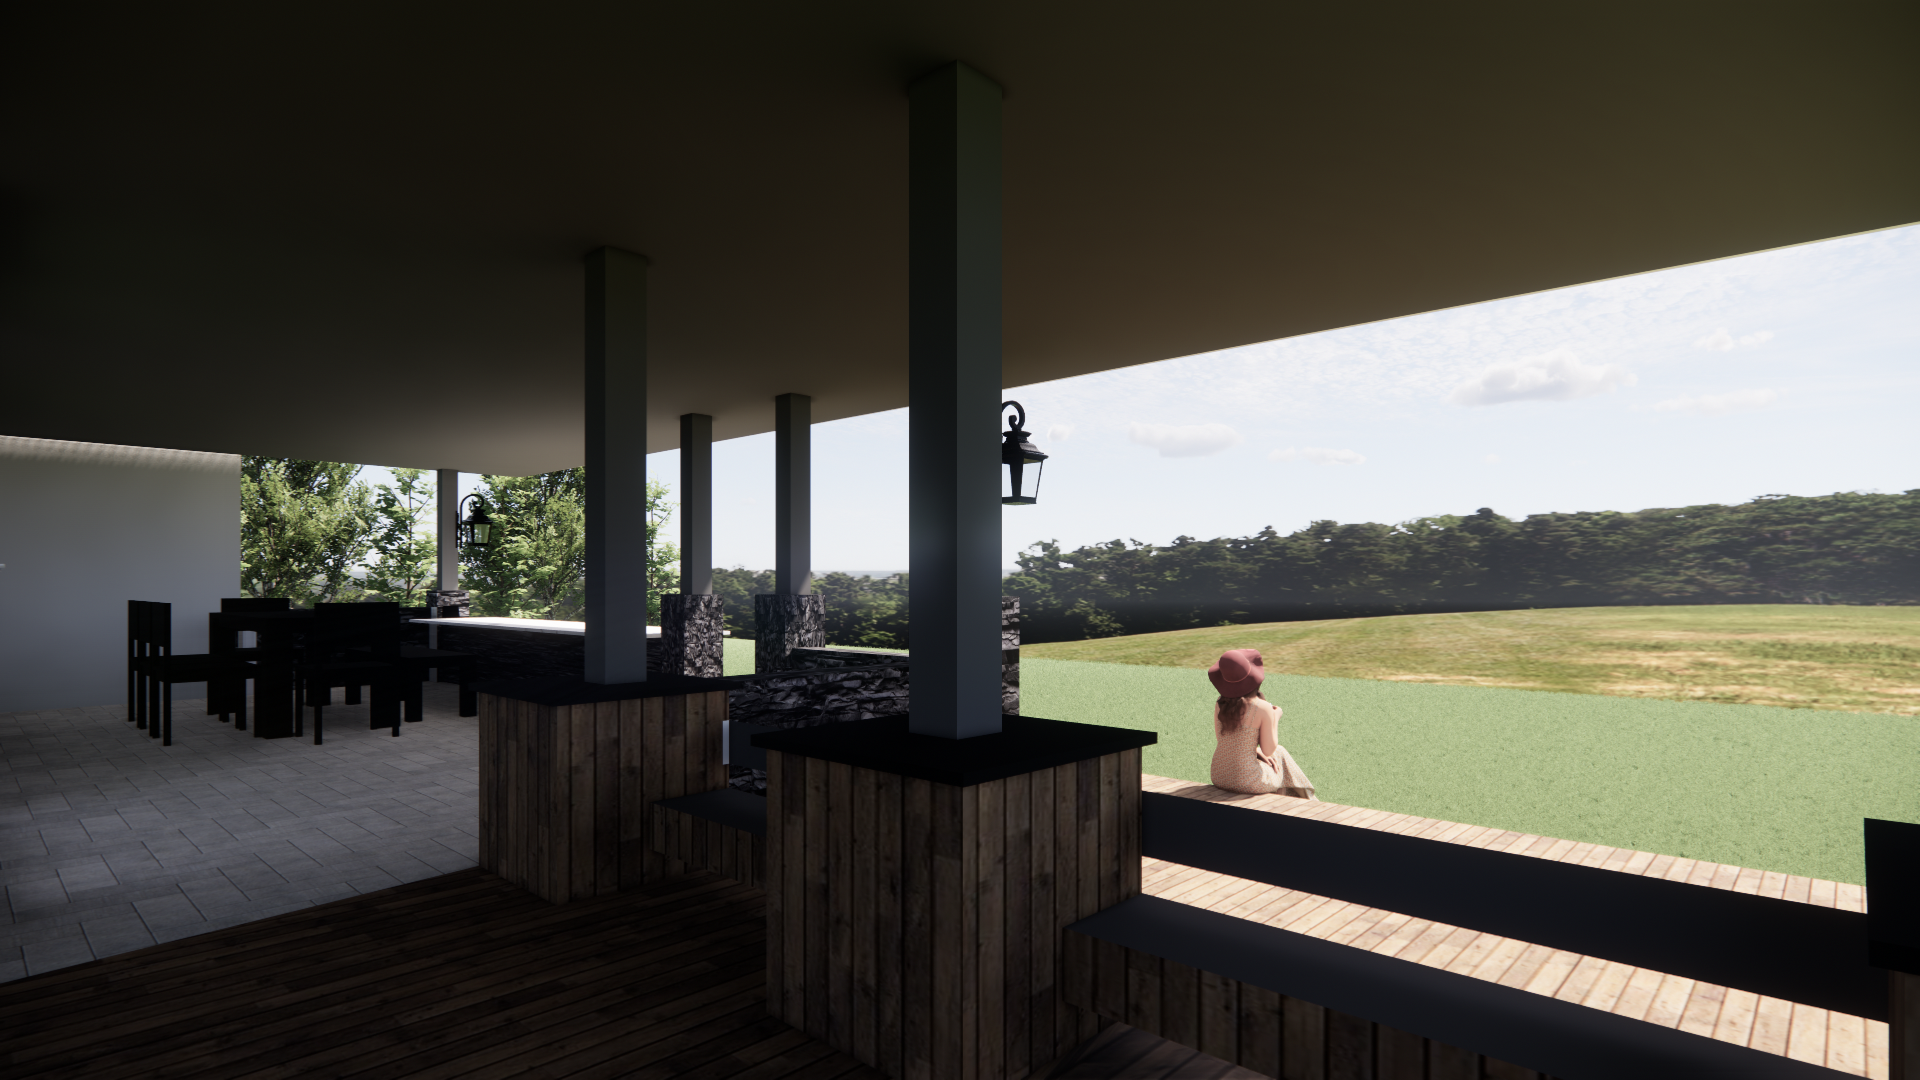
- You can find the export button under the top tab to save your Enscape render
Rendering in Lumion Through Rhino: Exporting From Rhino
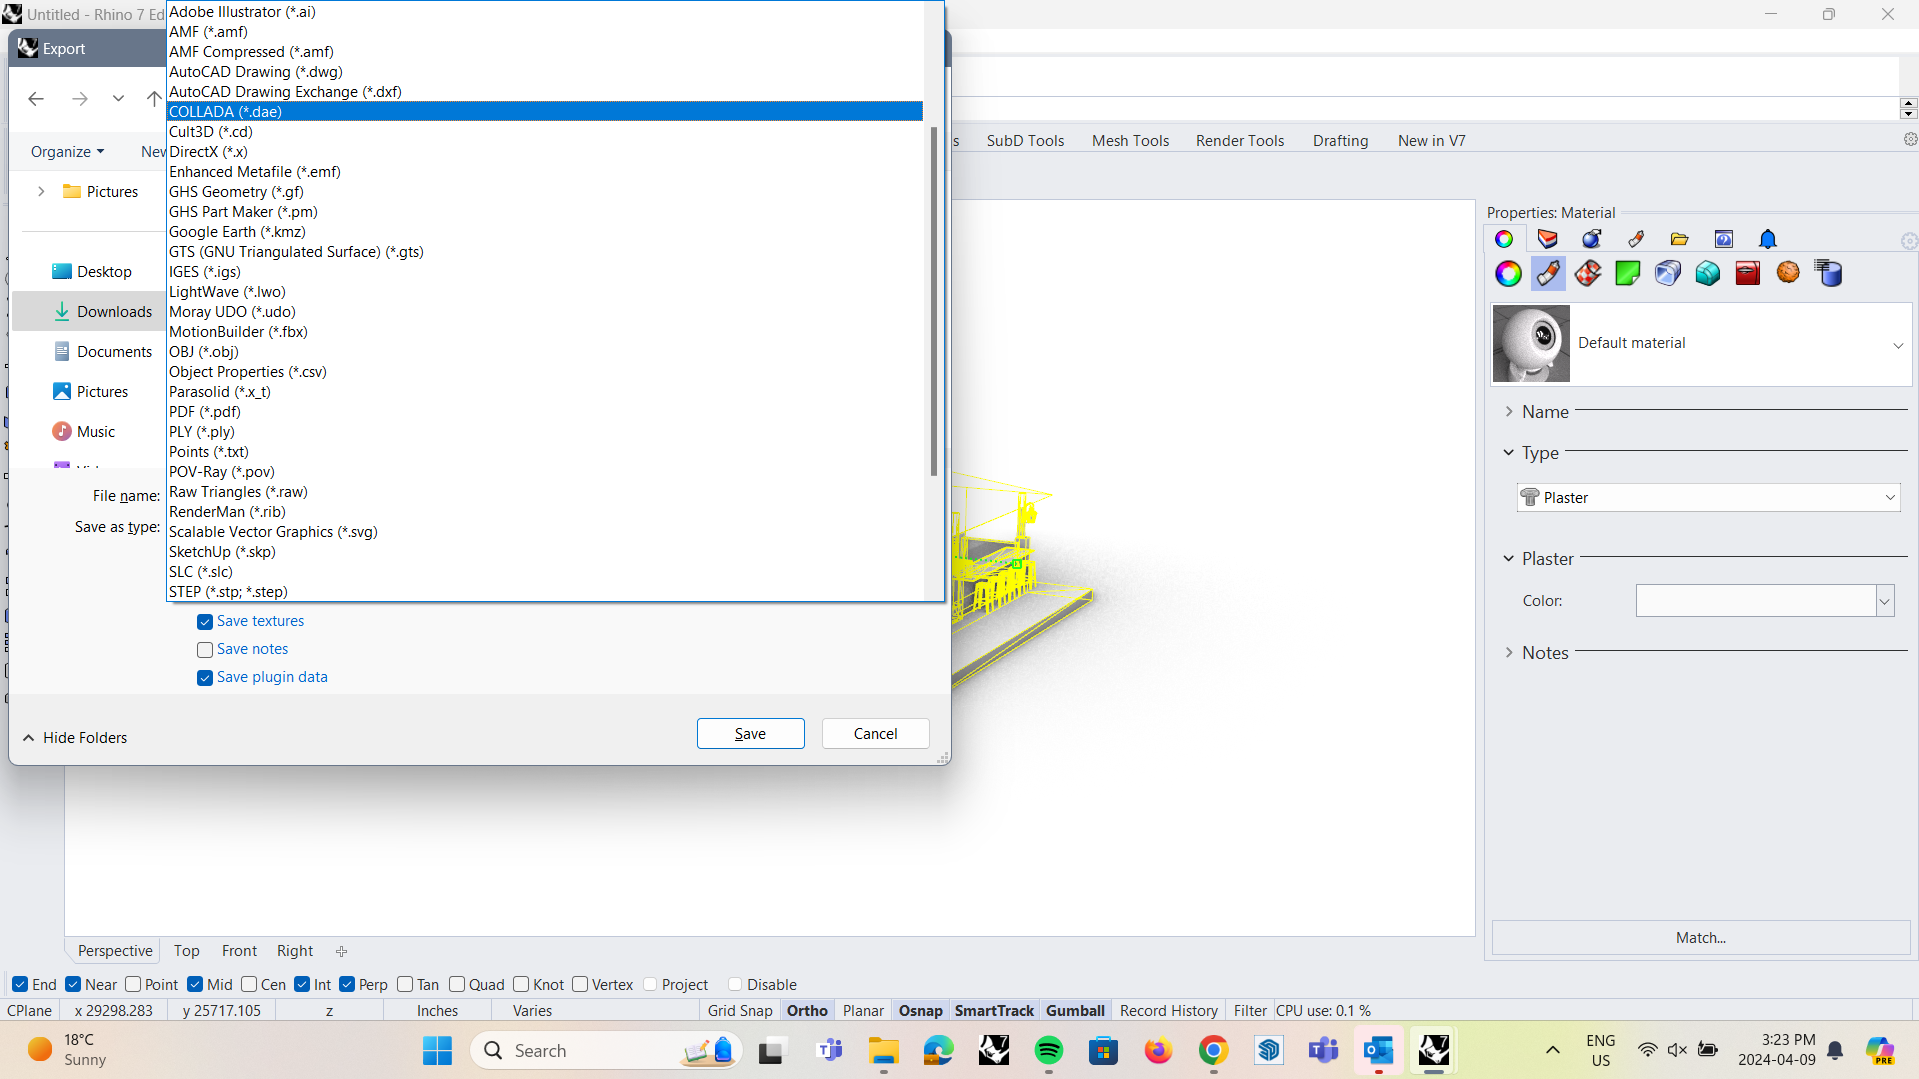
- From Rhino, export as a COLLADA (.dae) file
- NOTE: make sure there are various textures in this file. Lumion will group each material to one layer
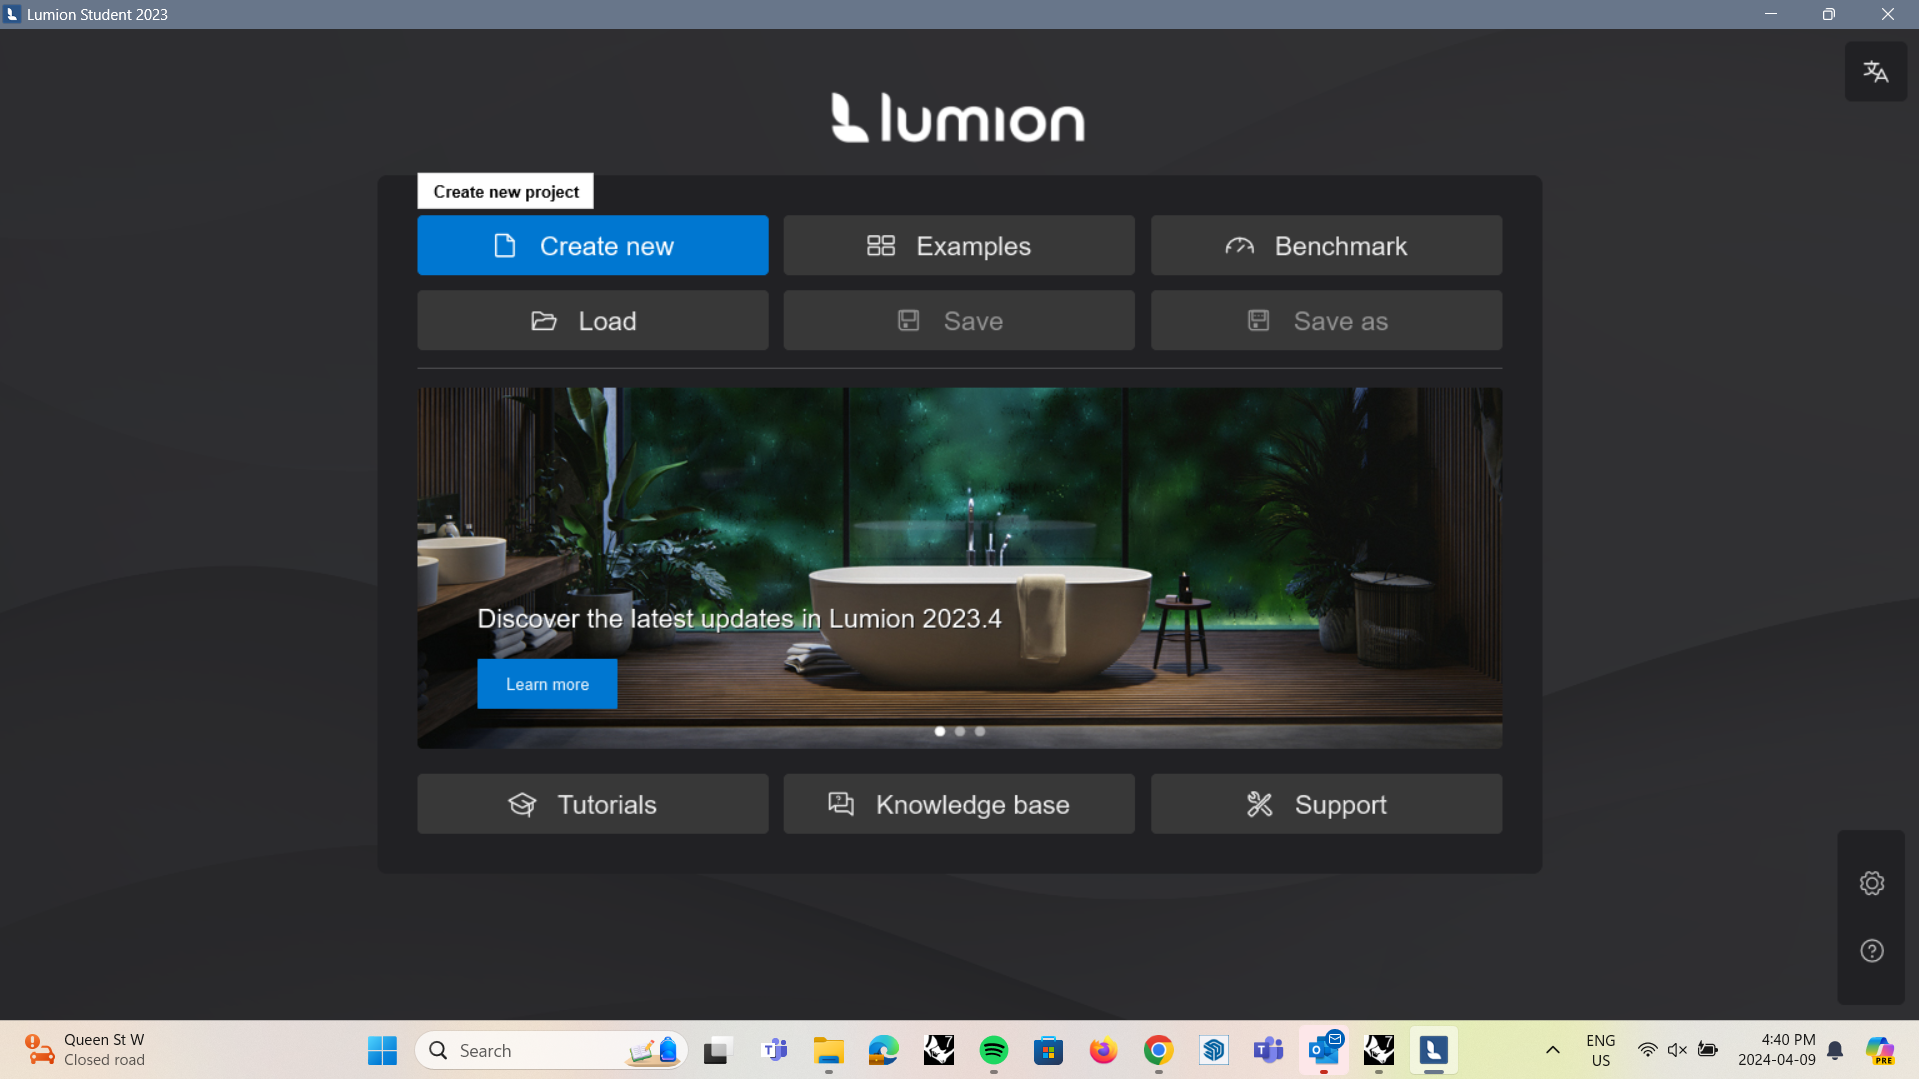
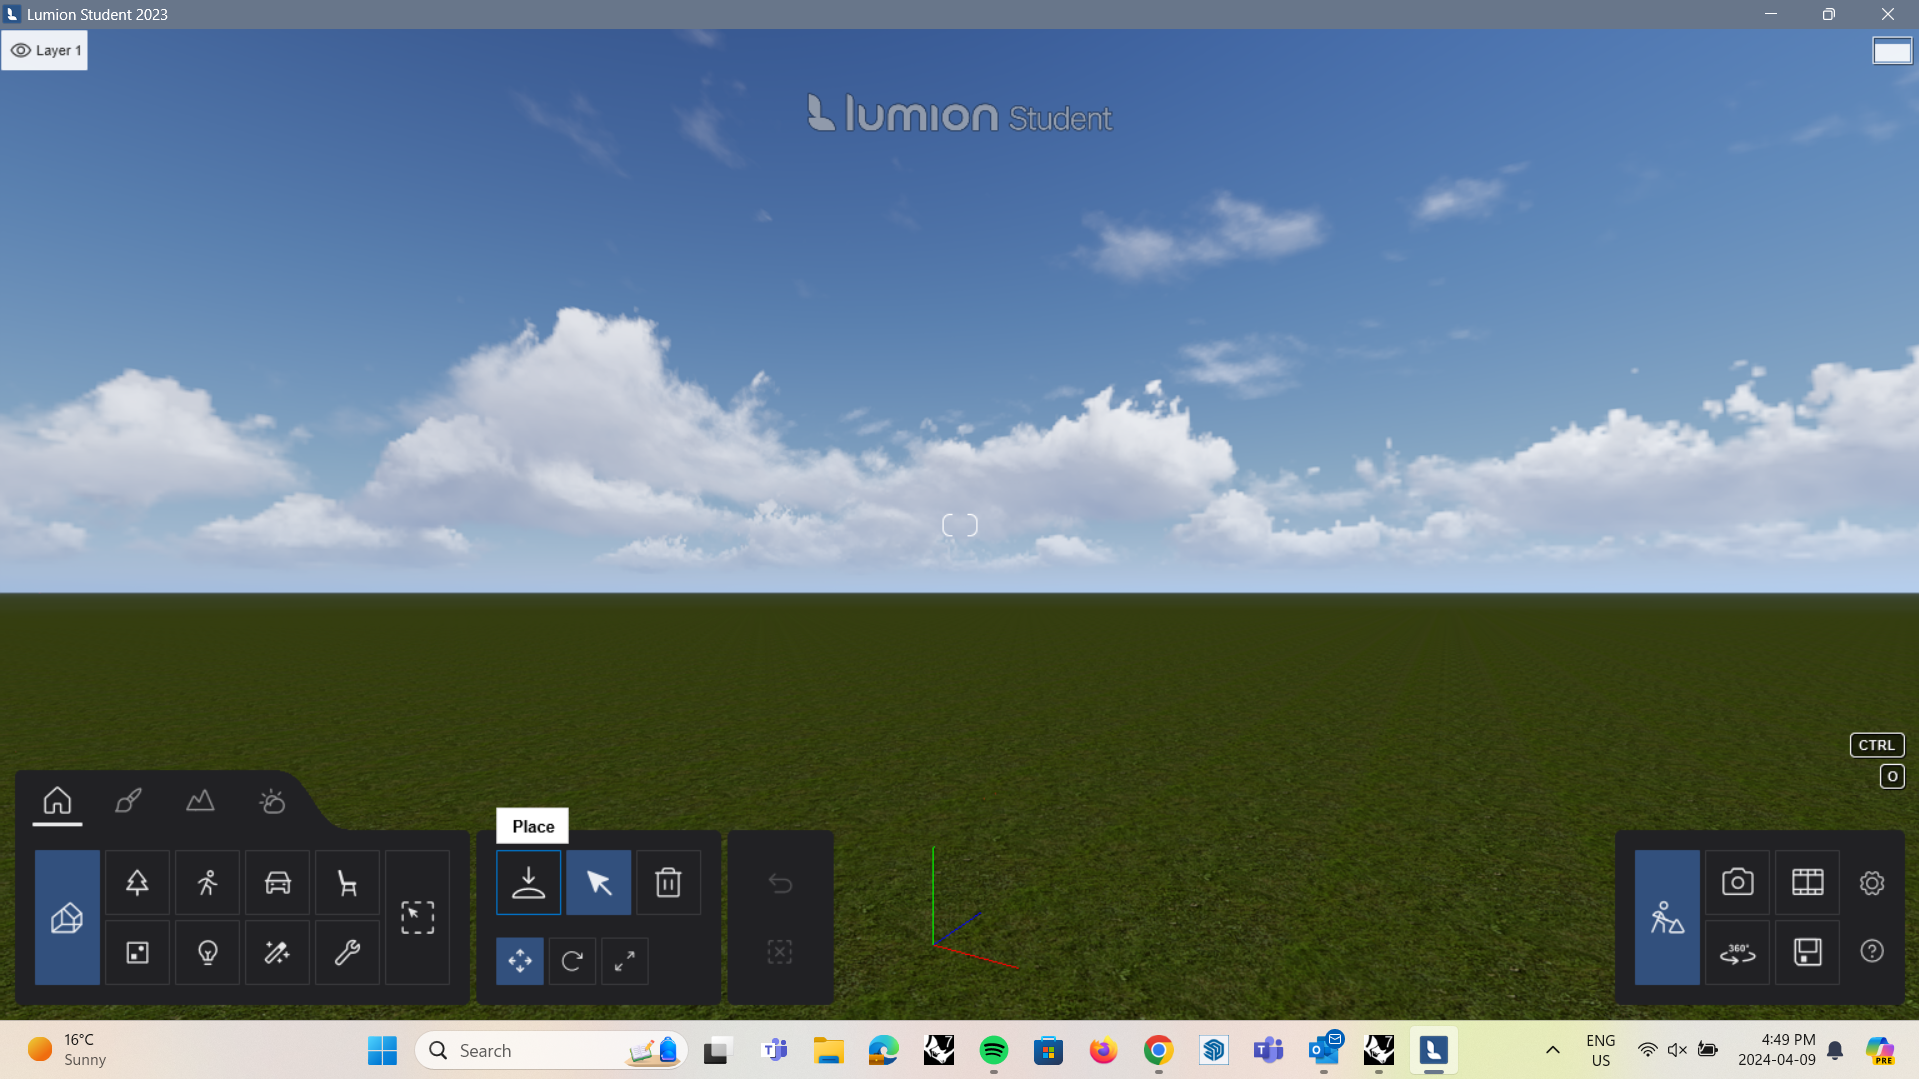
- On Lumion, create a new project
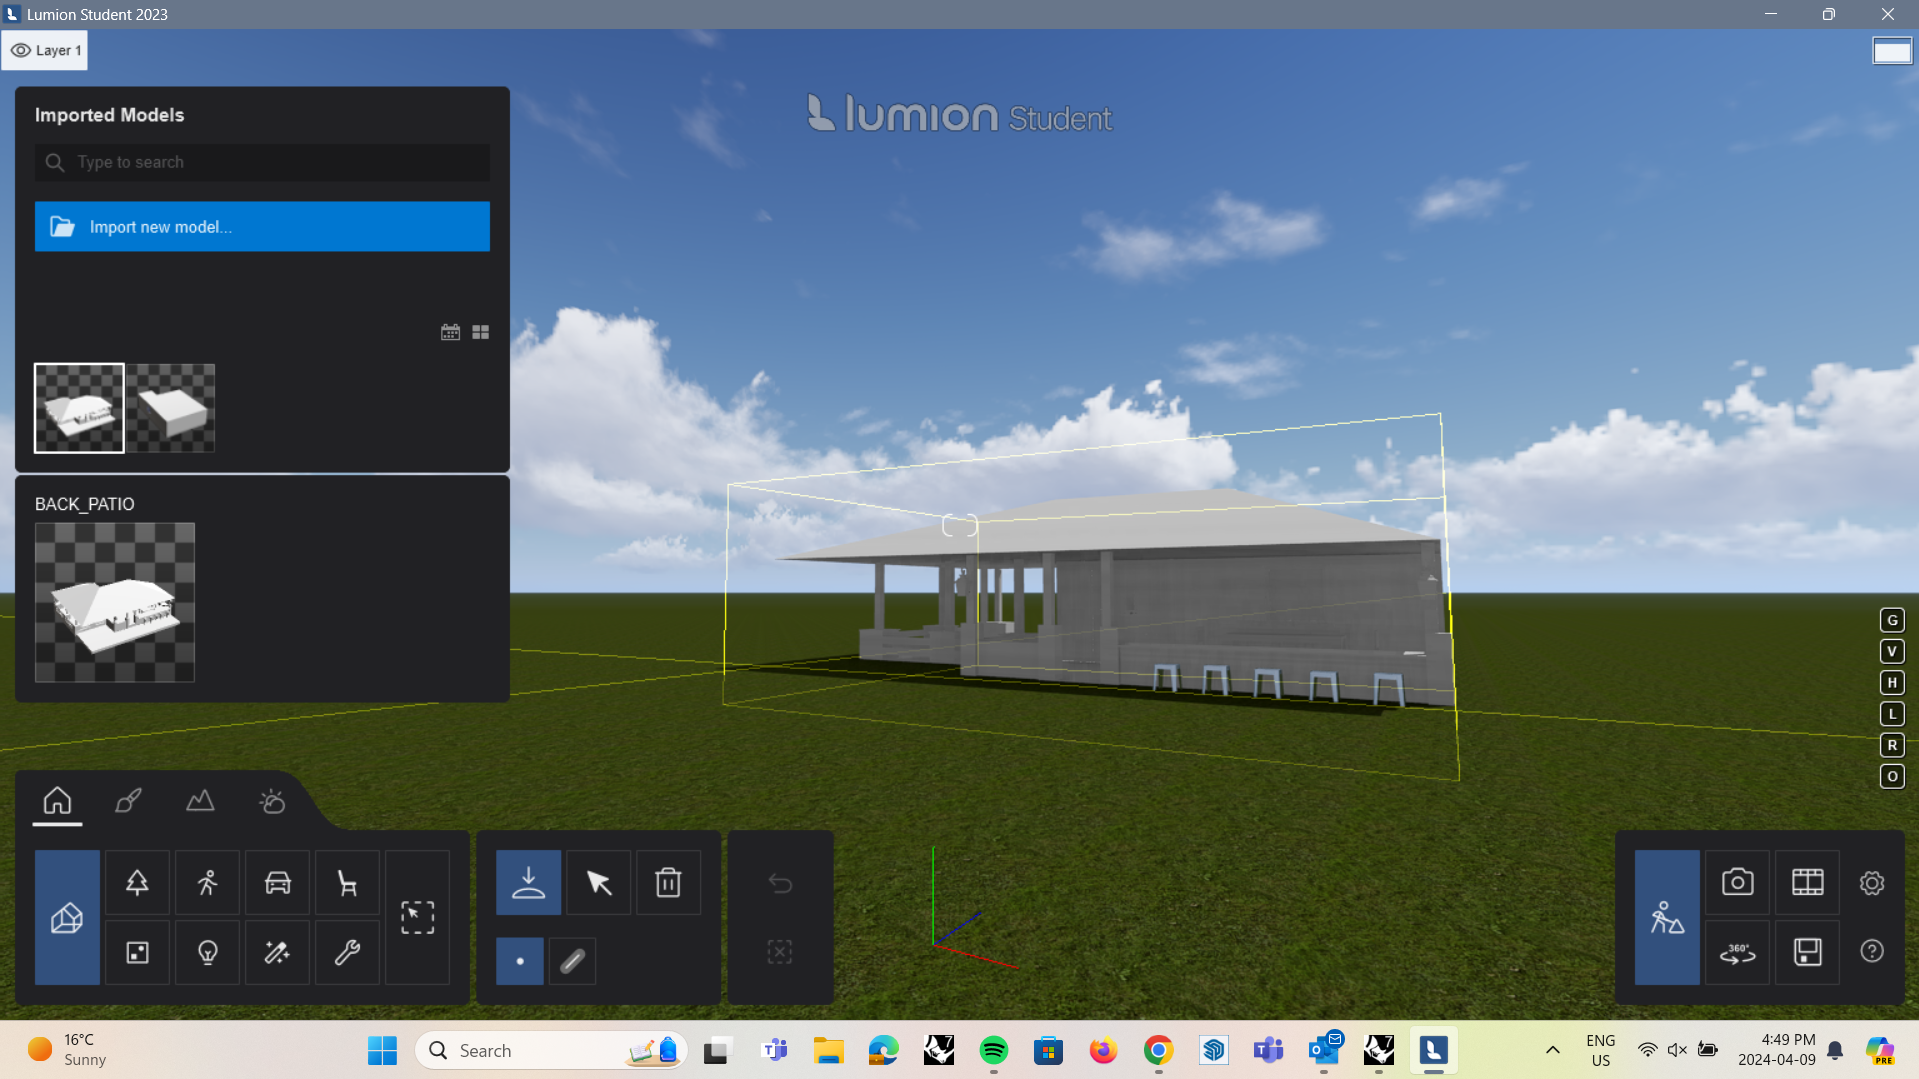
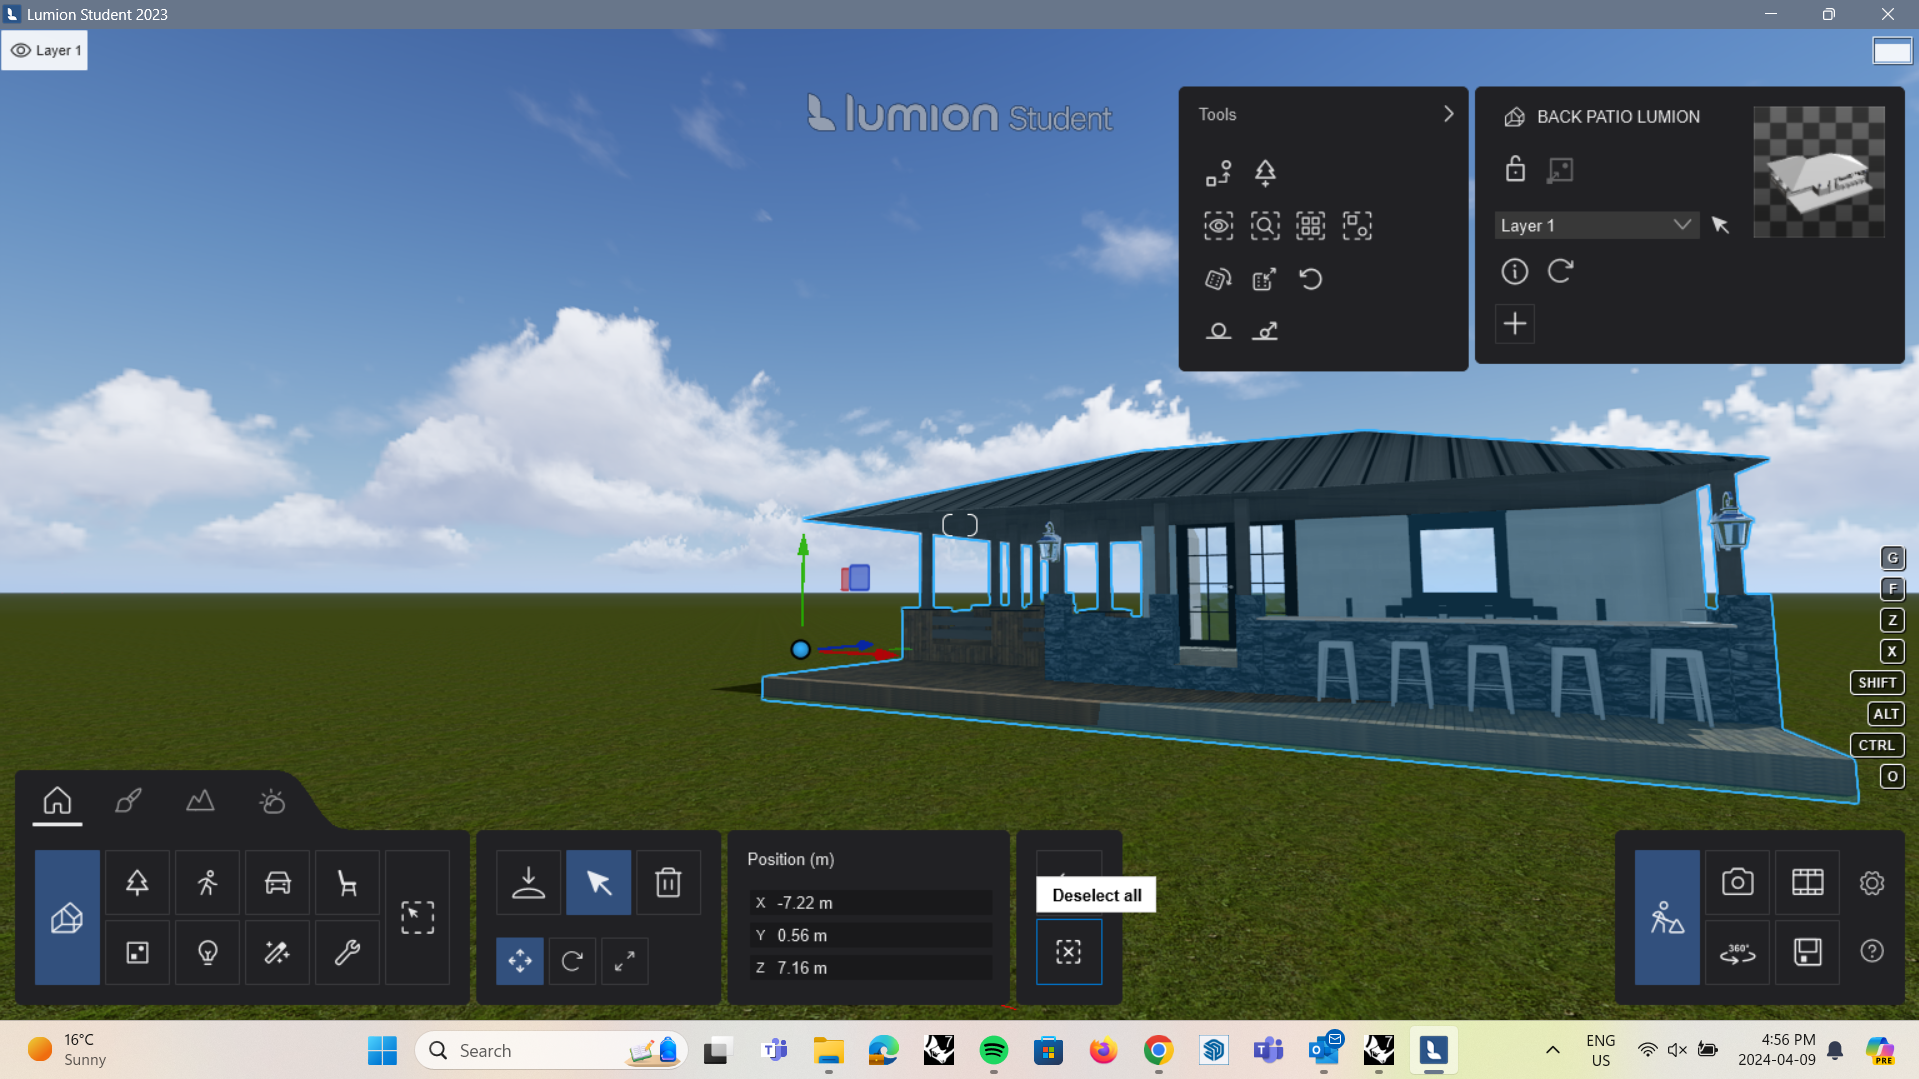
- In the project, you can then import and place your exported file into the Lumion landscape. To adjust the model, double click on the model to move or rotate accordingly
Rendering in Lumion: Material Editing
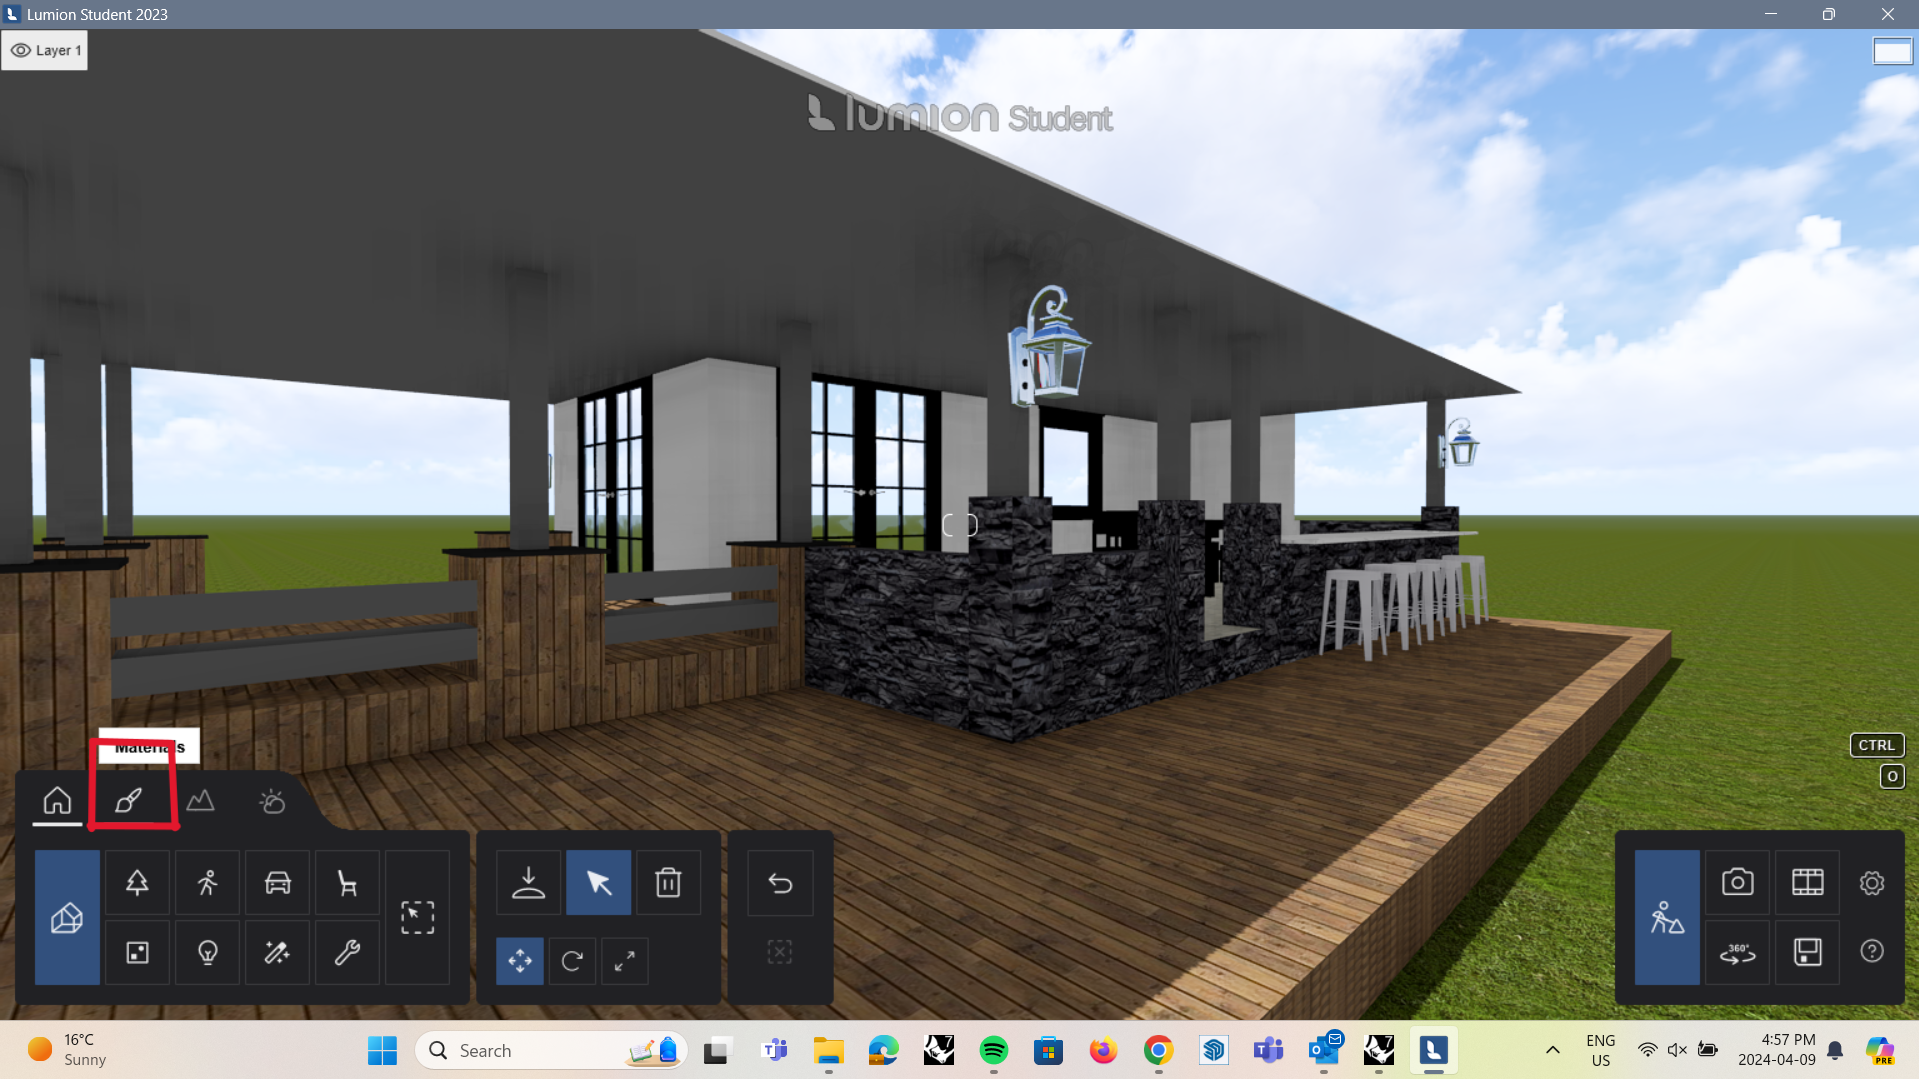
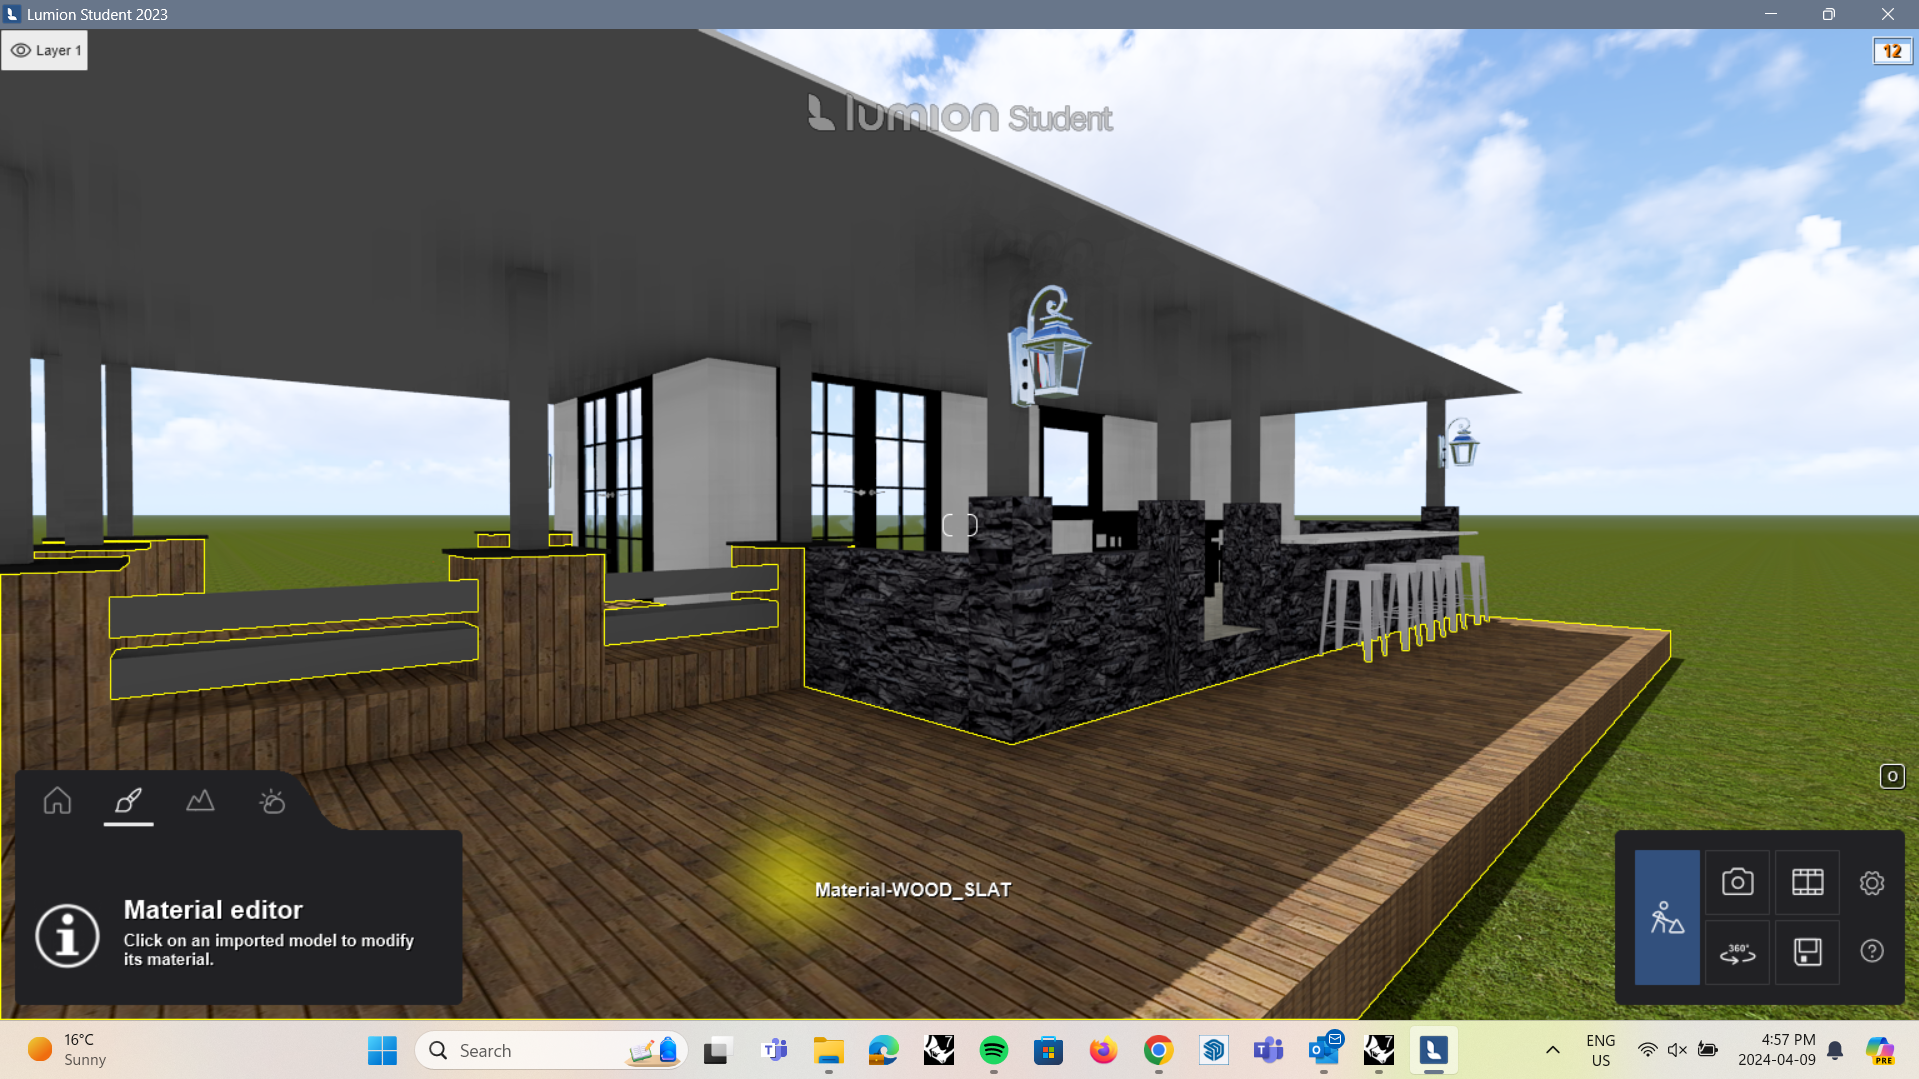
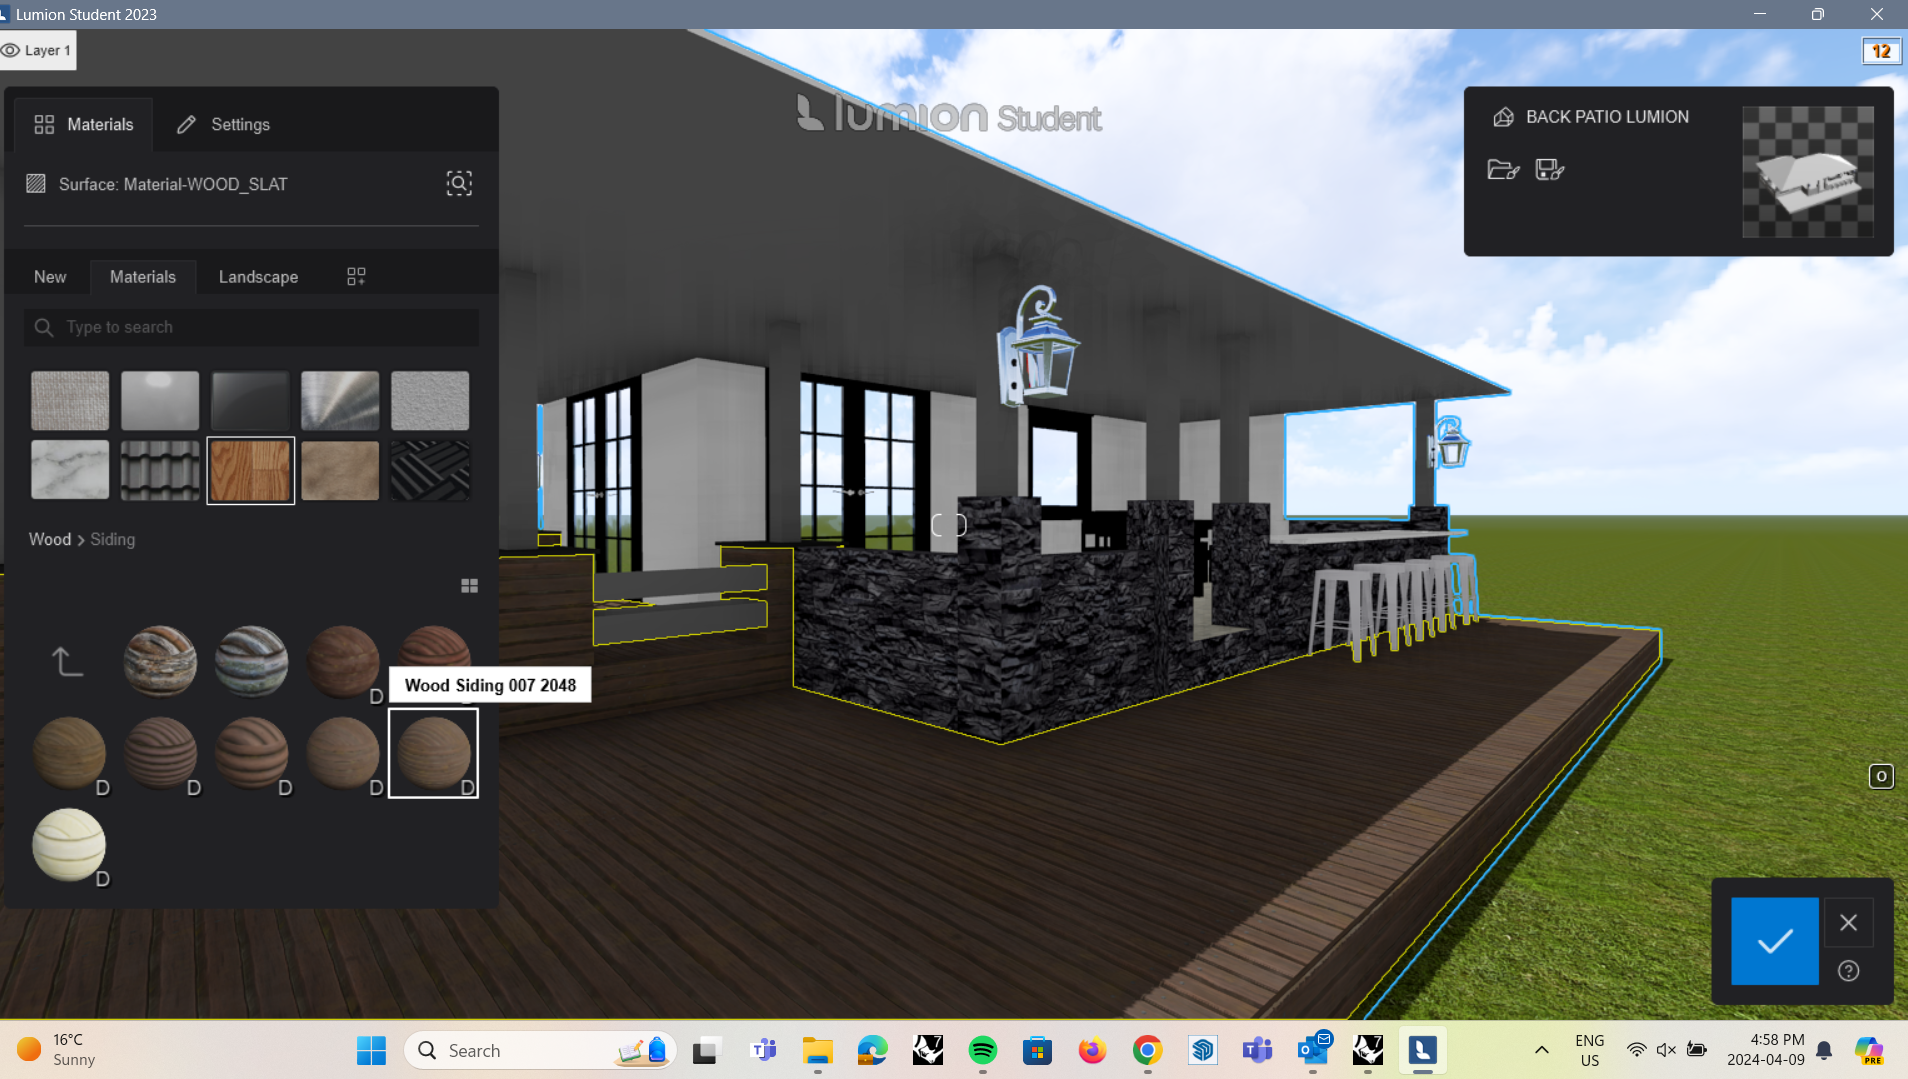
- Open the 'Material Editor' located on the bottom left control panel
- This will allow you to select the objects to adjust the materials
- Lumion has a plethora materials preloaded for selection
Rendering in Lumion: Material Editing (texture Edits)
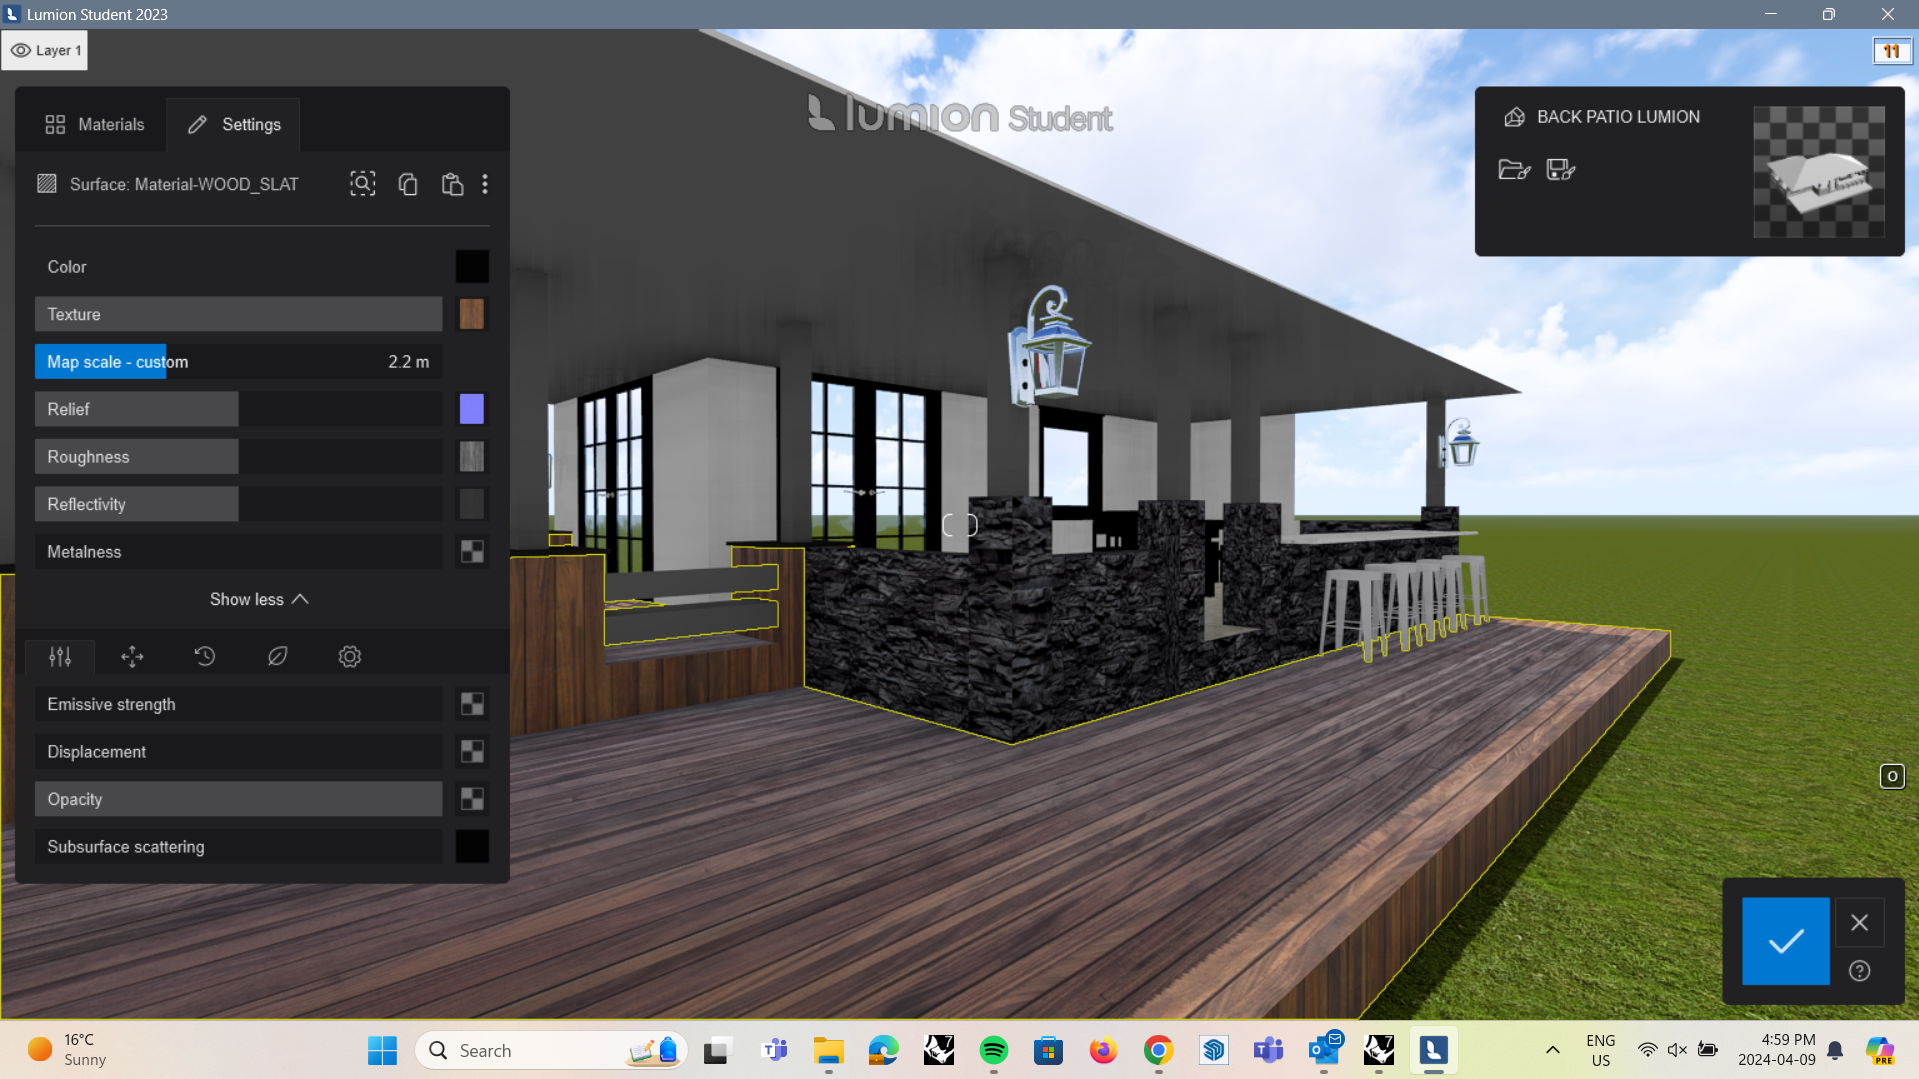
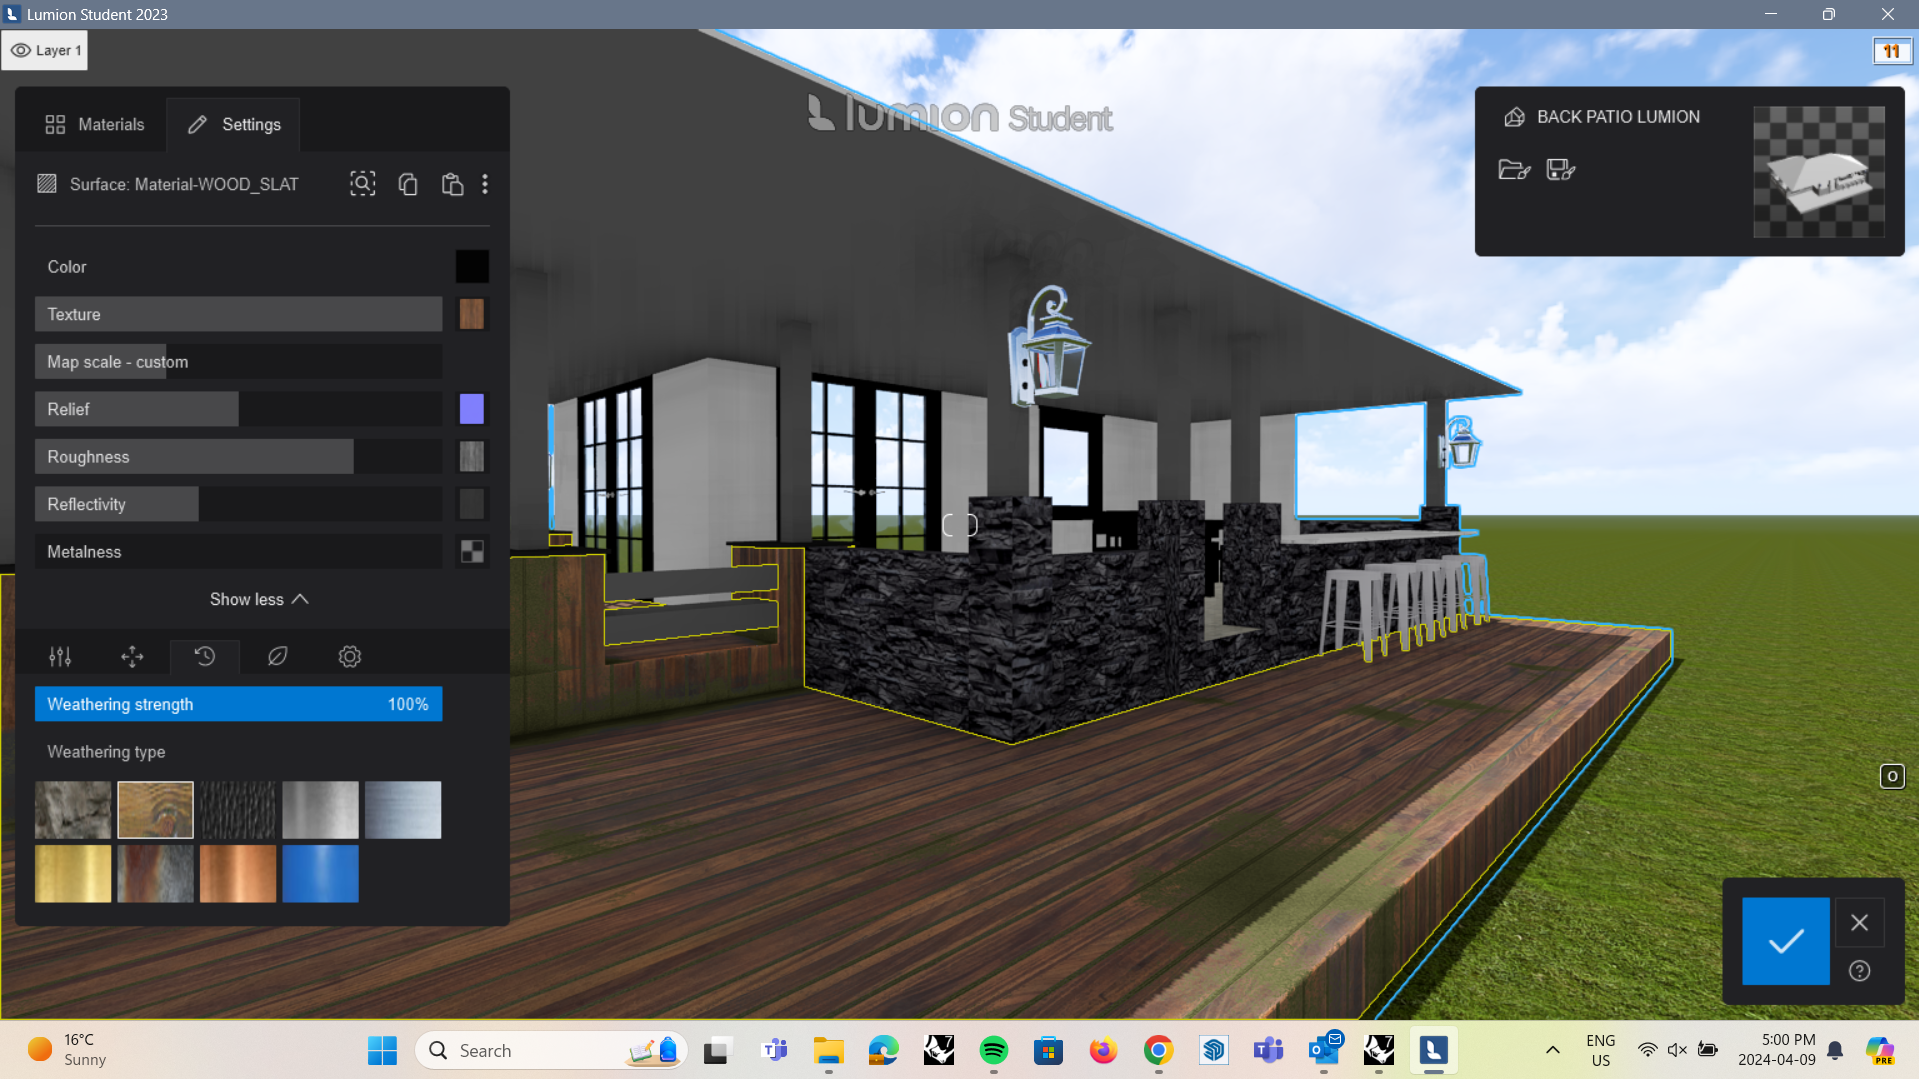
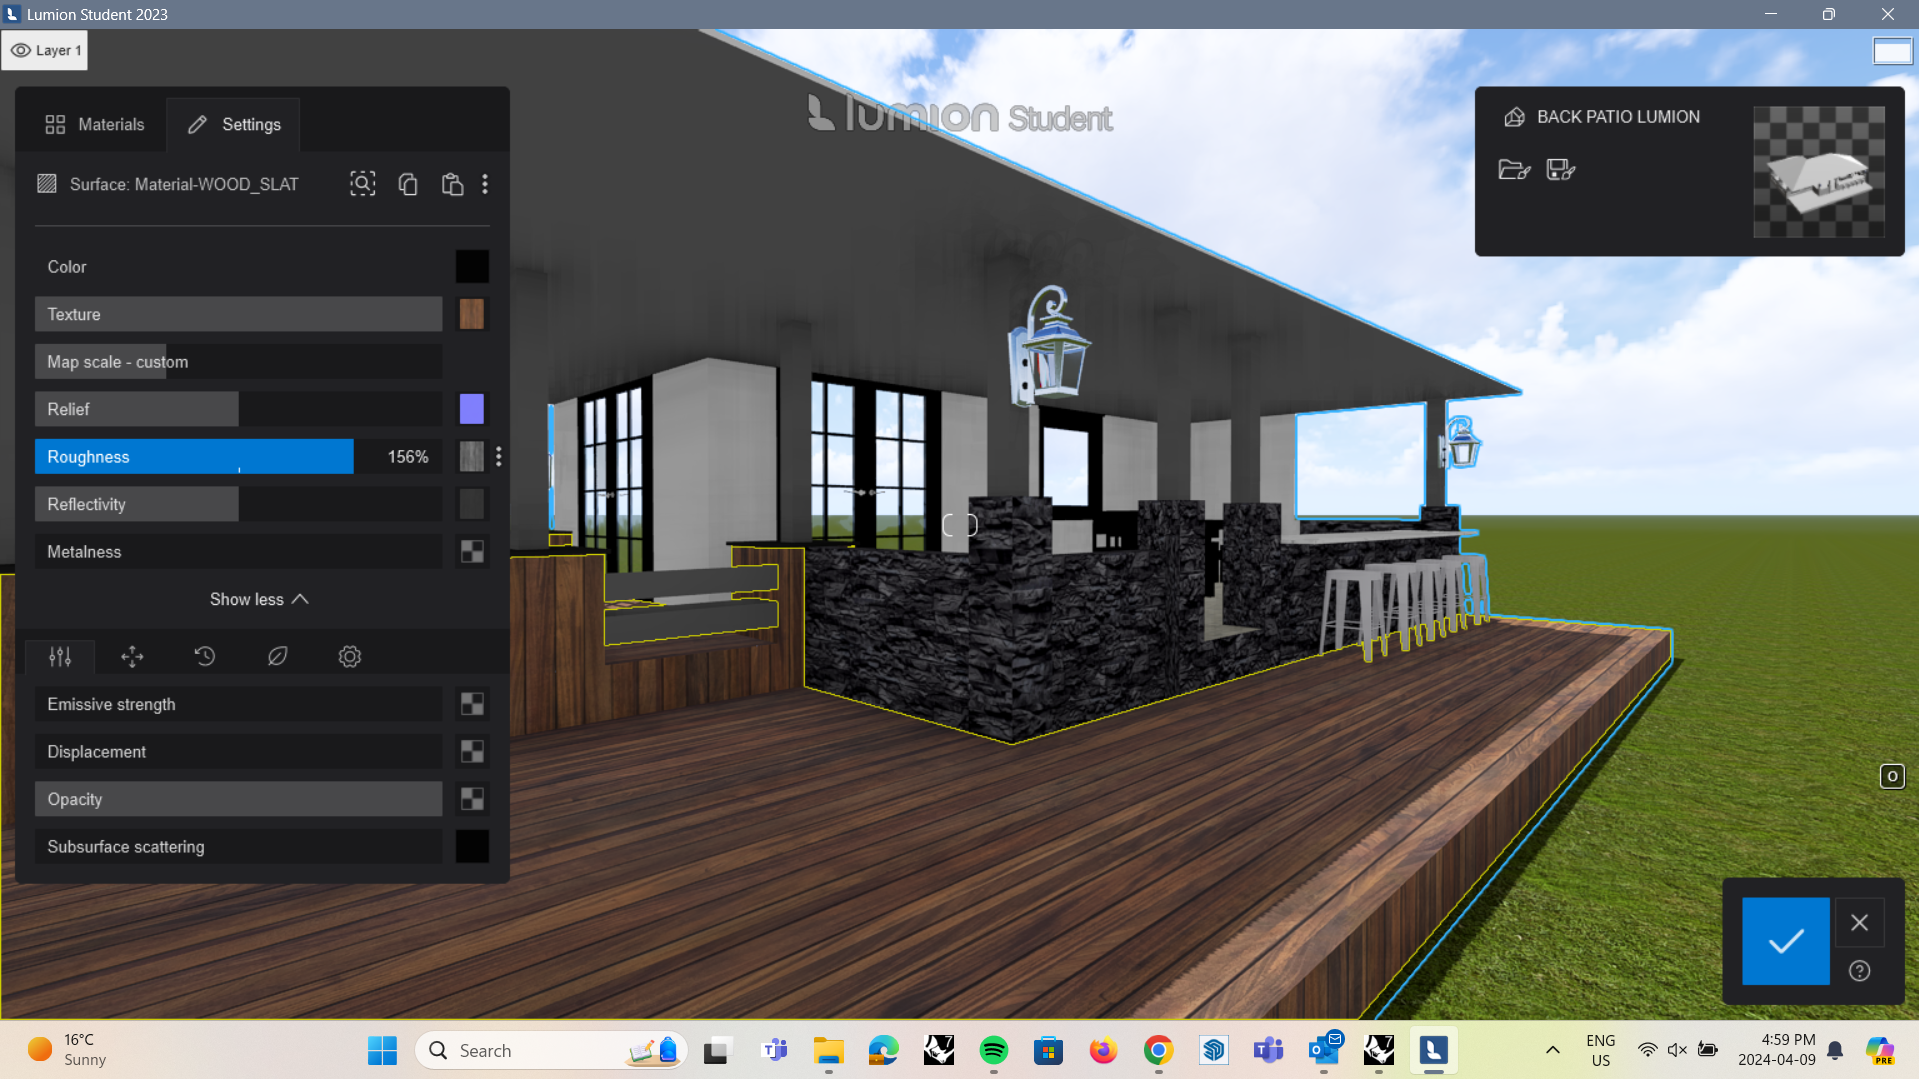
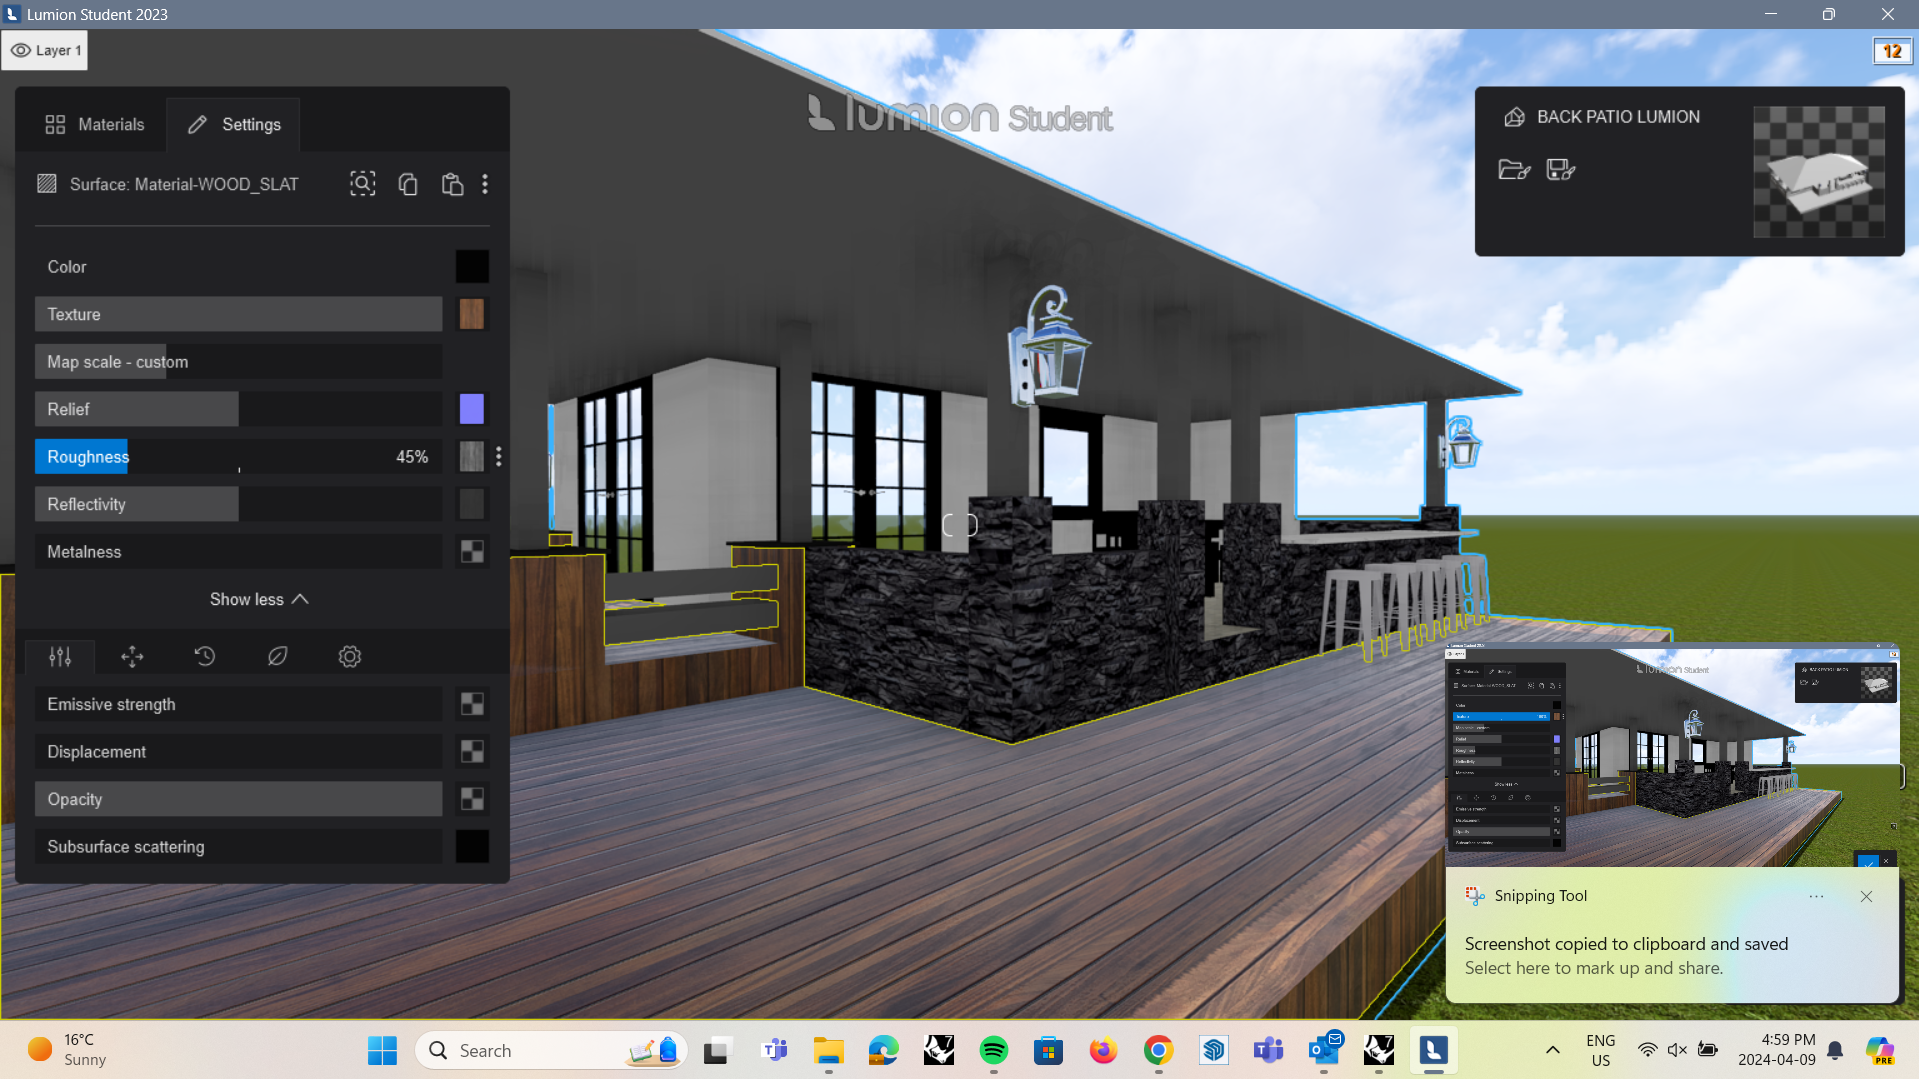
- On the right tab, the material can be edited from its scale, to the reflectvity and the weathering of the material
- This creates a more hyper-realistic look to your render
Rendering in Lumion: Landscape and Lighting
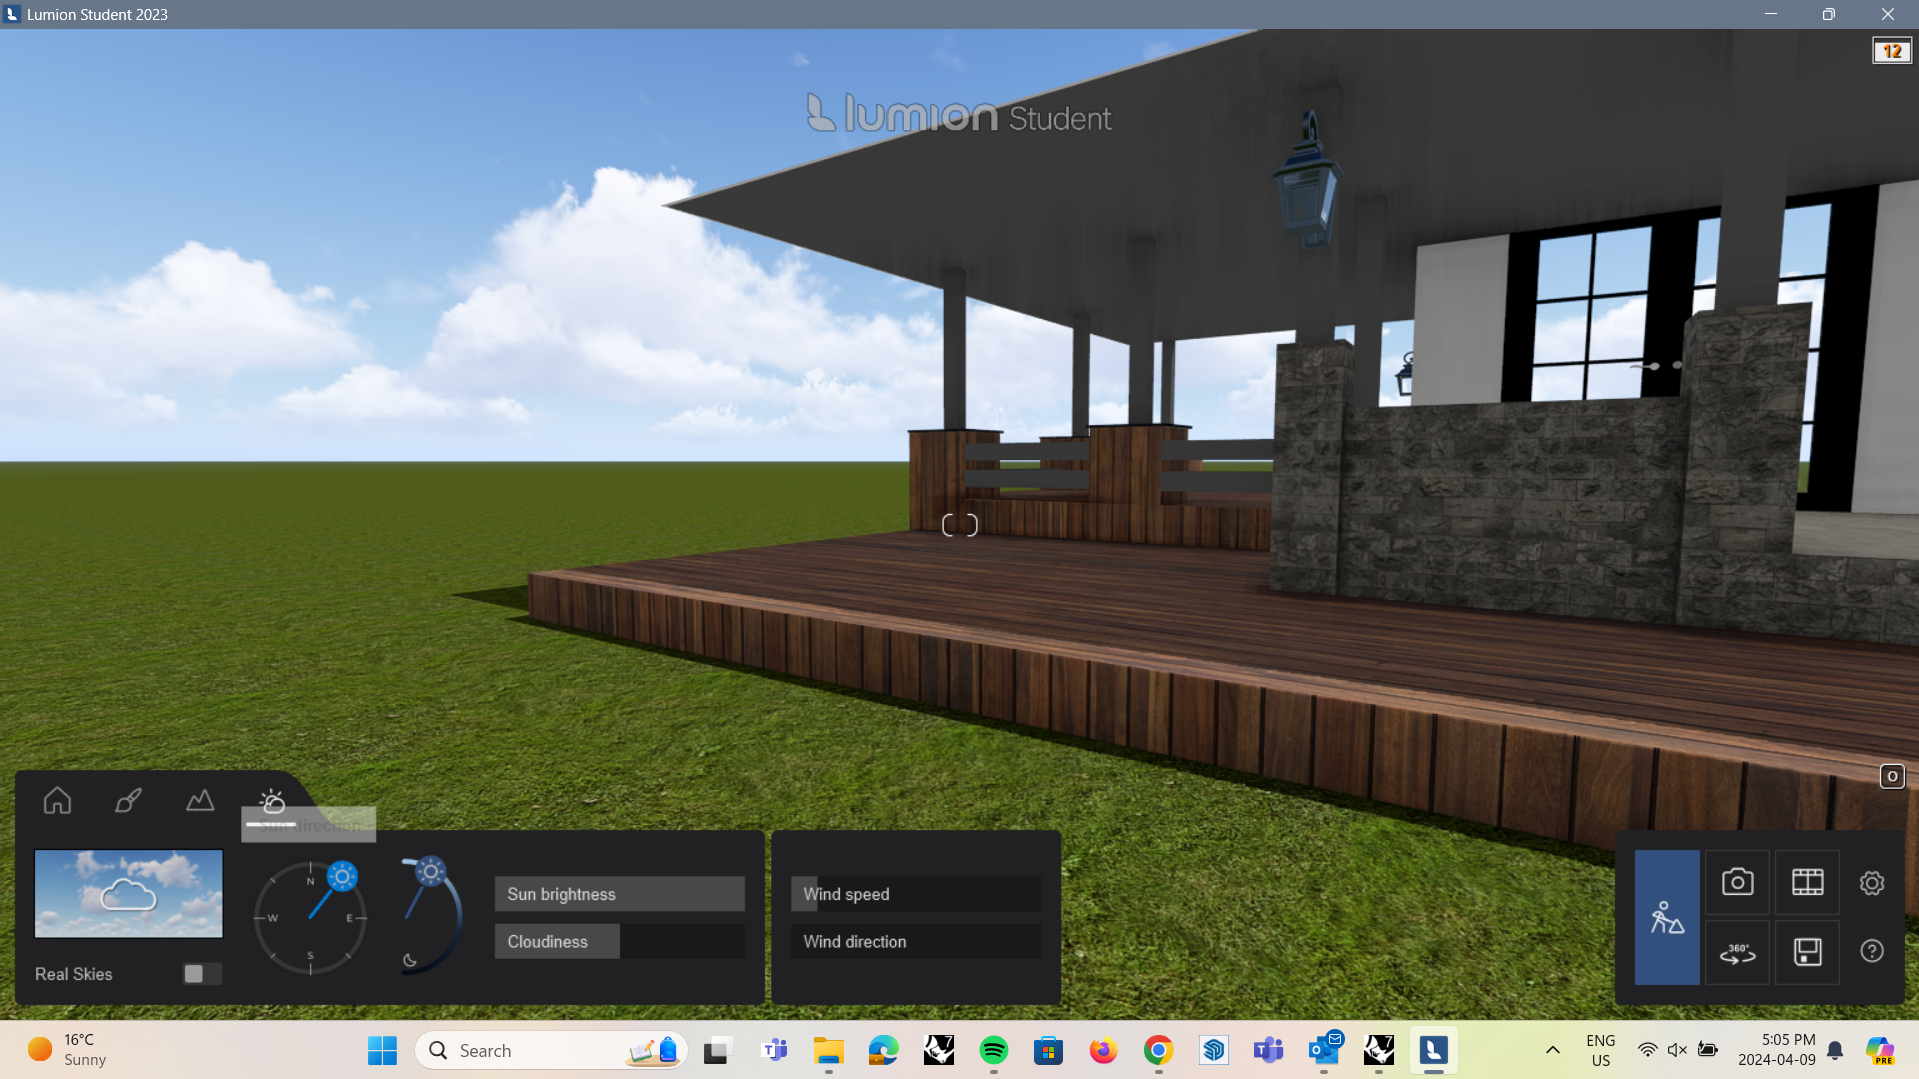
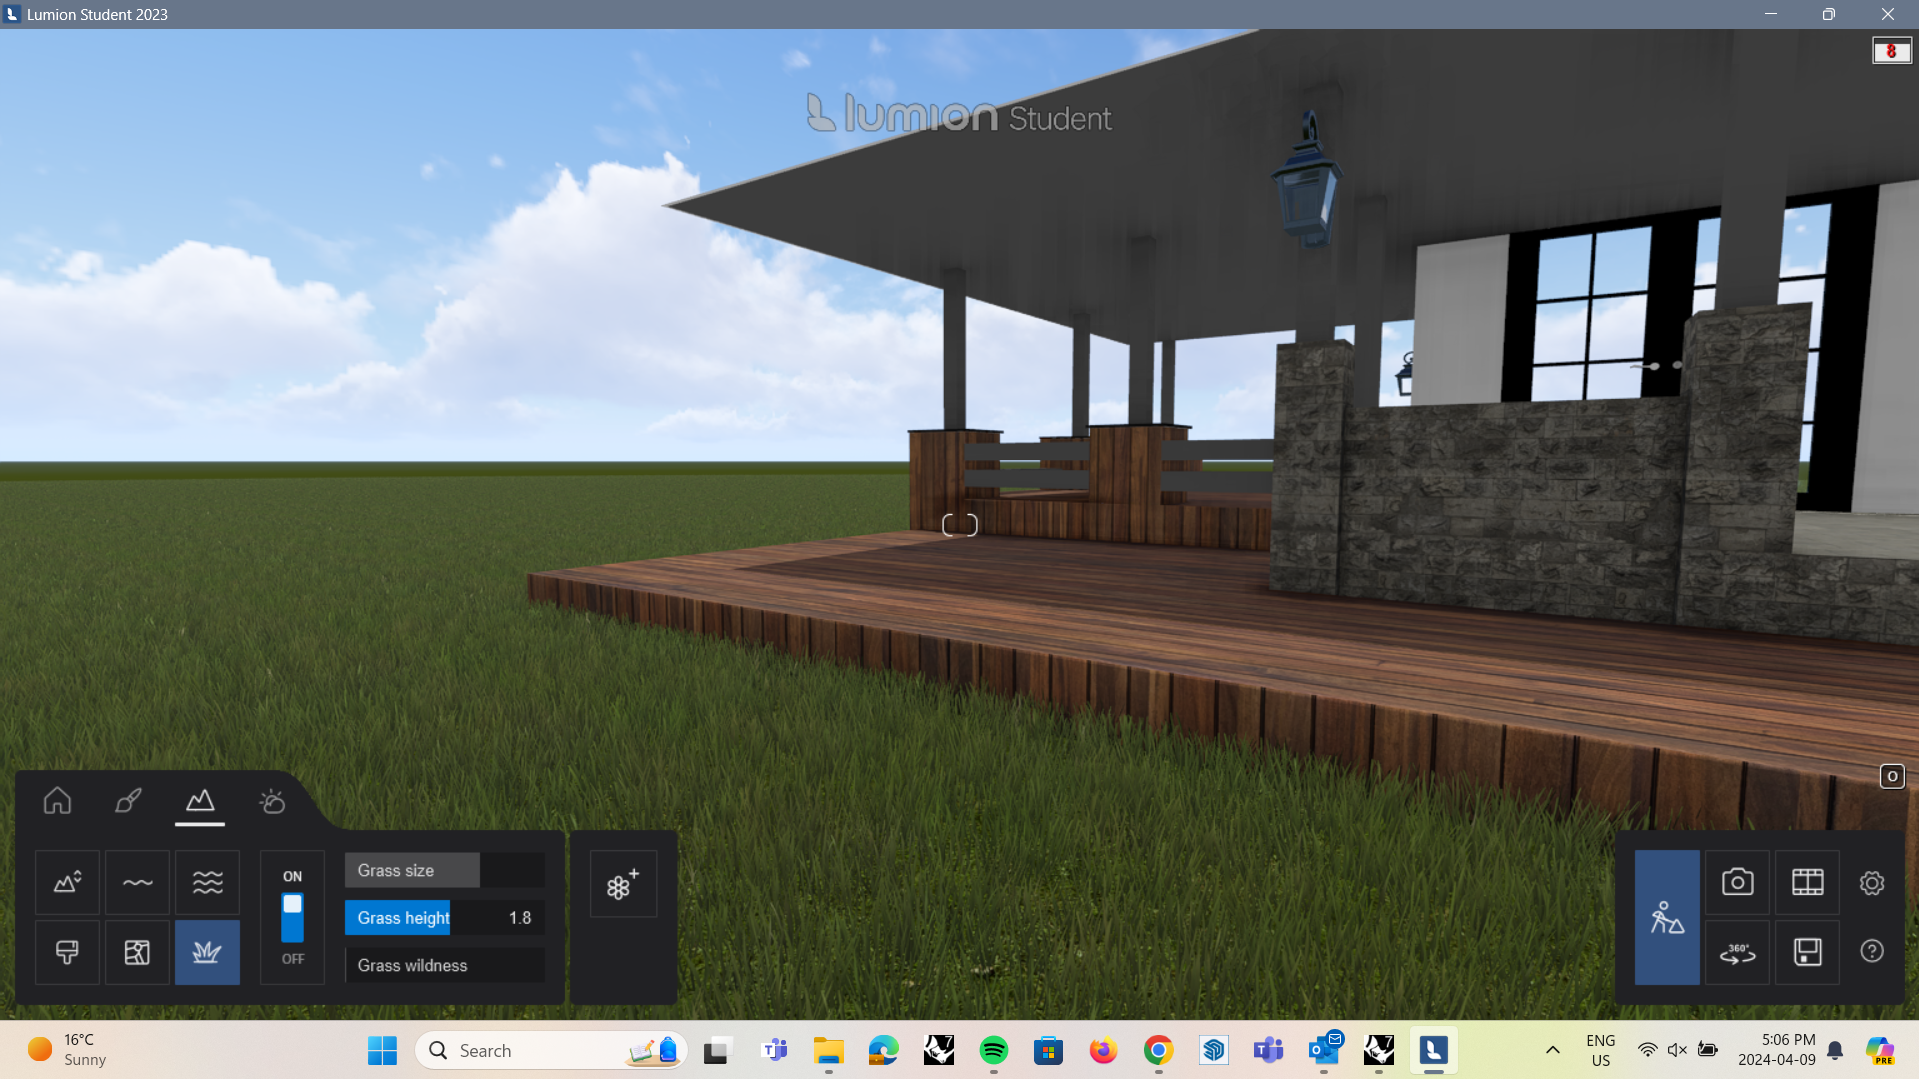
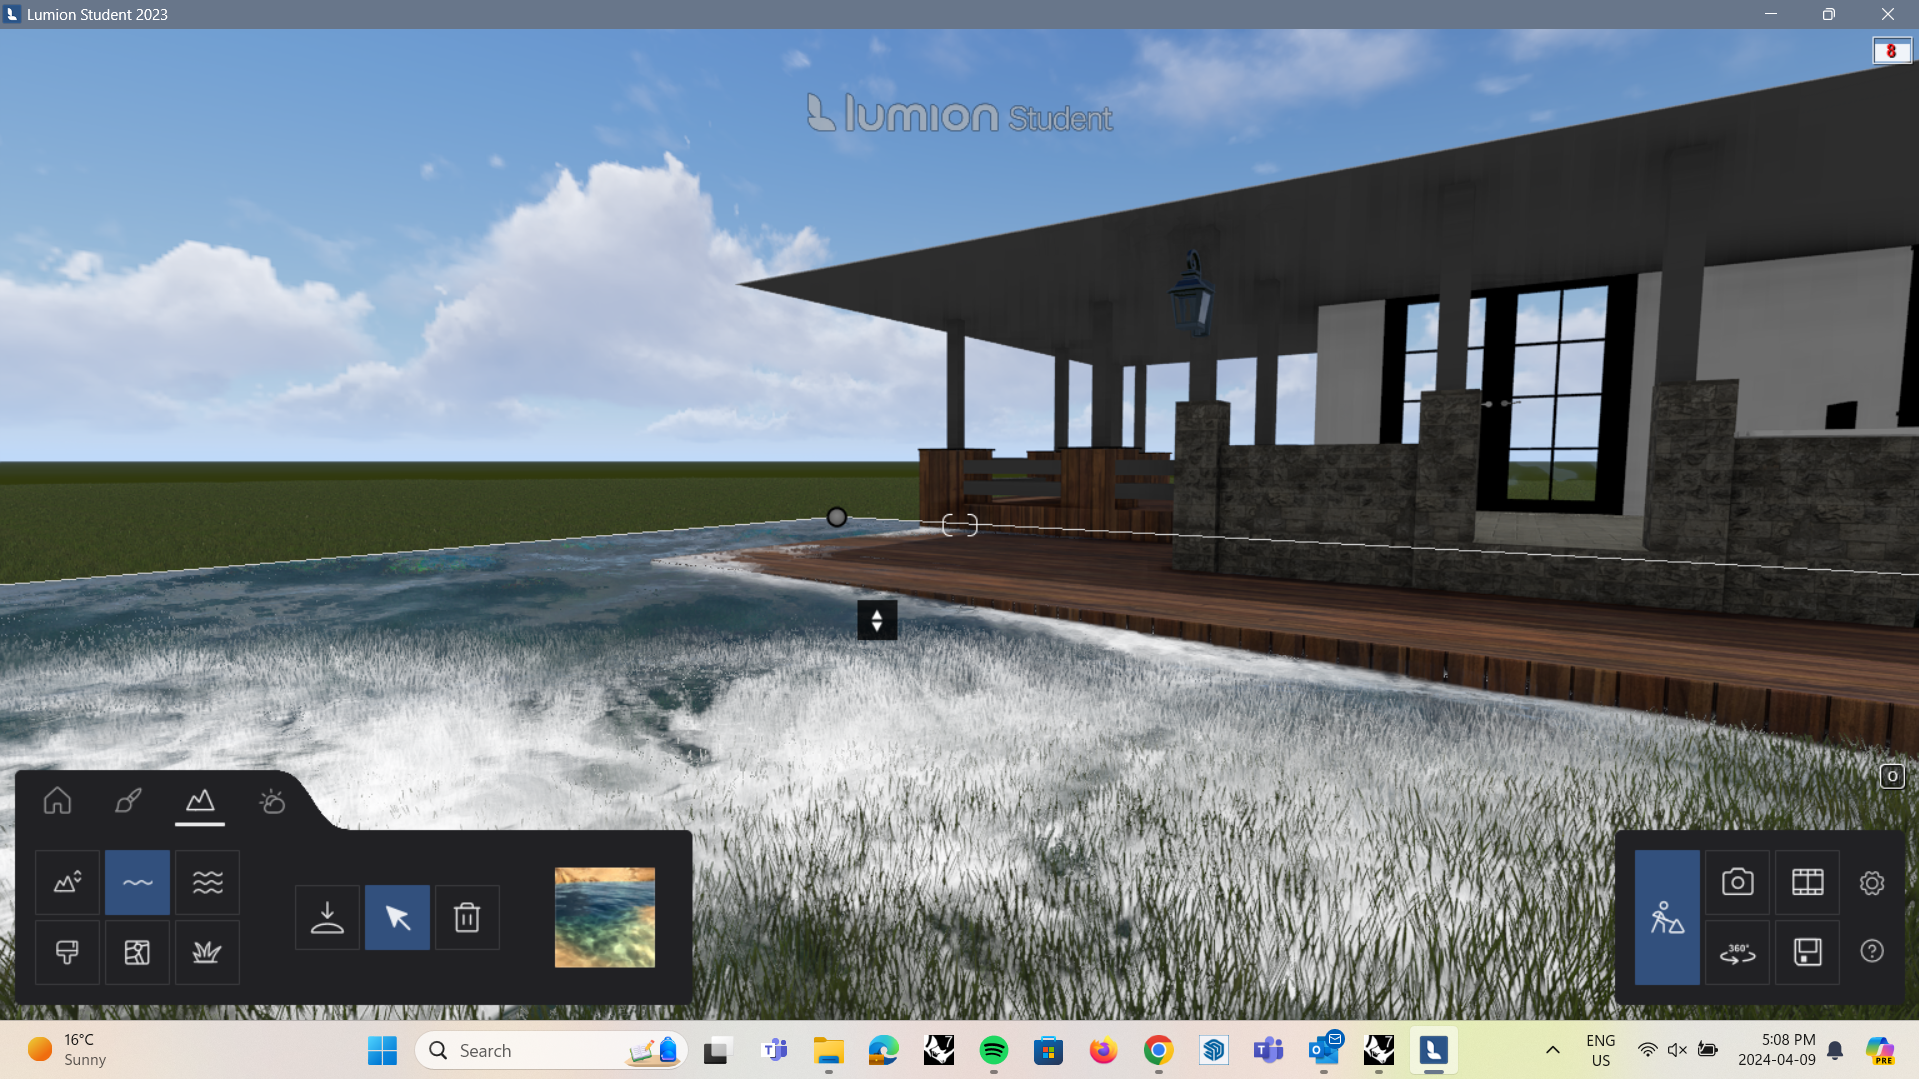
- on the right tab of the control panel, it will allow you to edit the sun direction, lighting and the time of day in the render
- The next tab over will allow you to edit the surrounding landscape, such as the grass and foliage or add water elements to the render
Rendering in Lumion: Adding Objects (landscaping, People Etc)
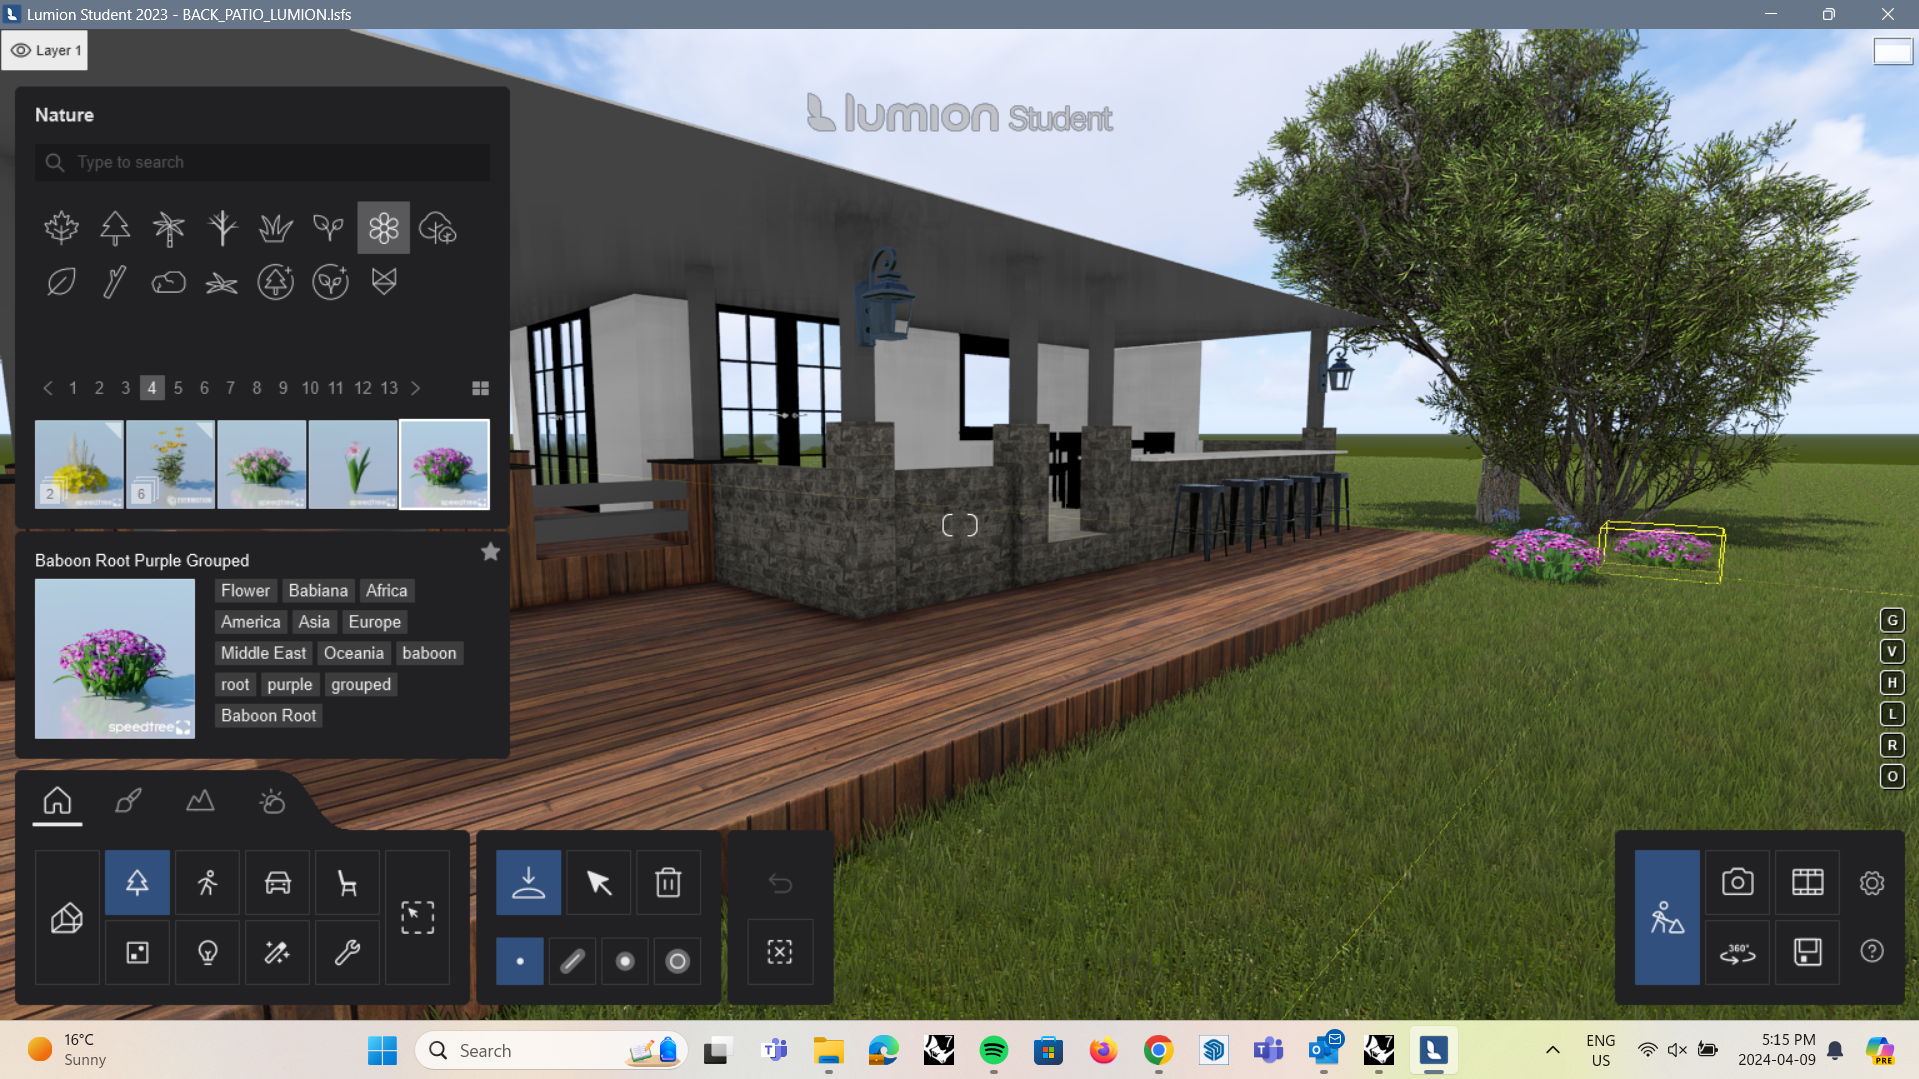
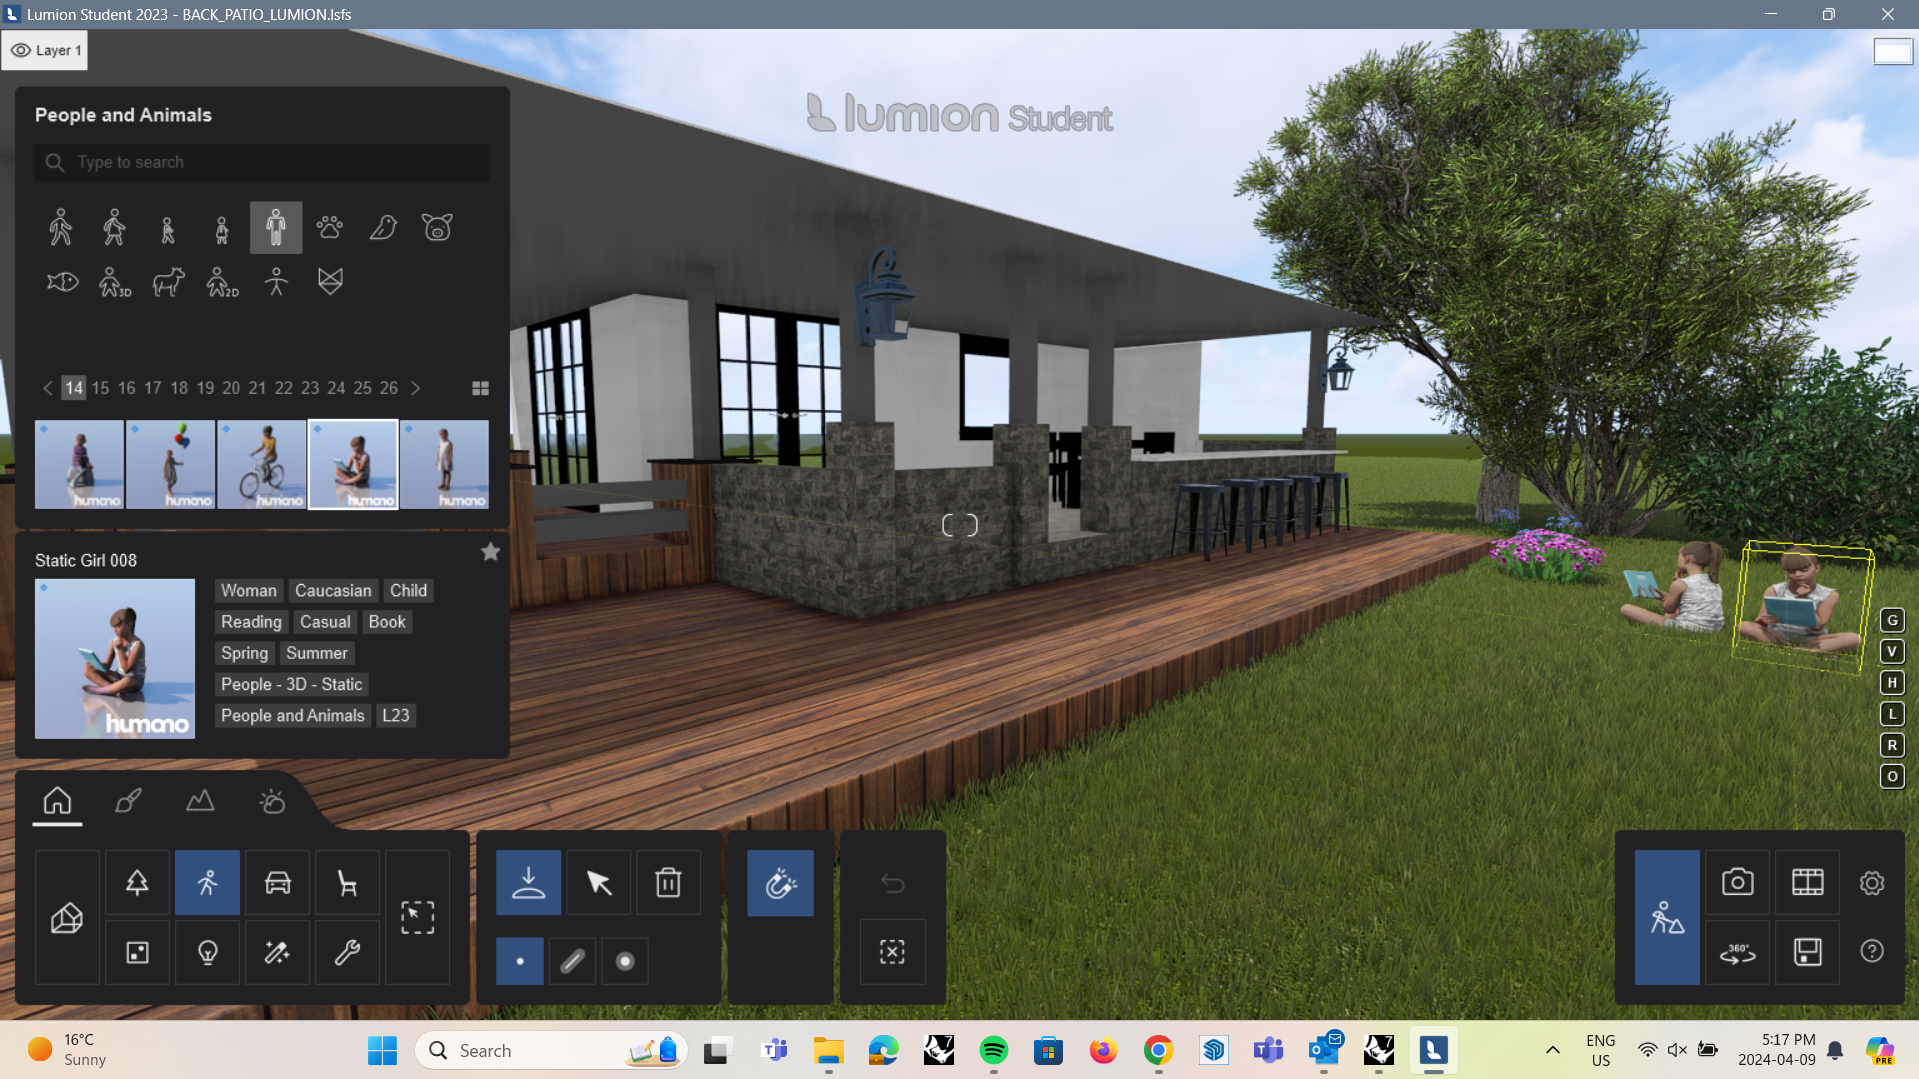
- To enhance your render, Lumion also has a library of natural landscape elements, people, transportation and other objects that you can drop into your render
Rendering in Lumion: Exporting Your Renders
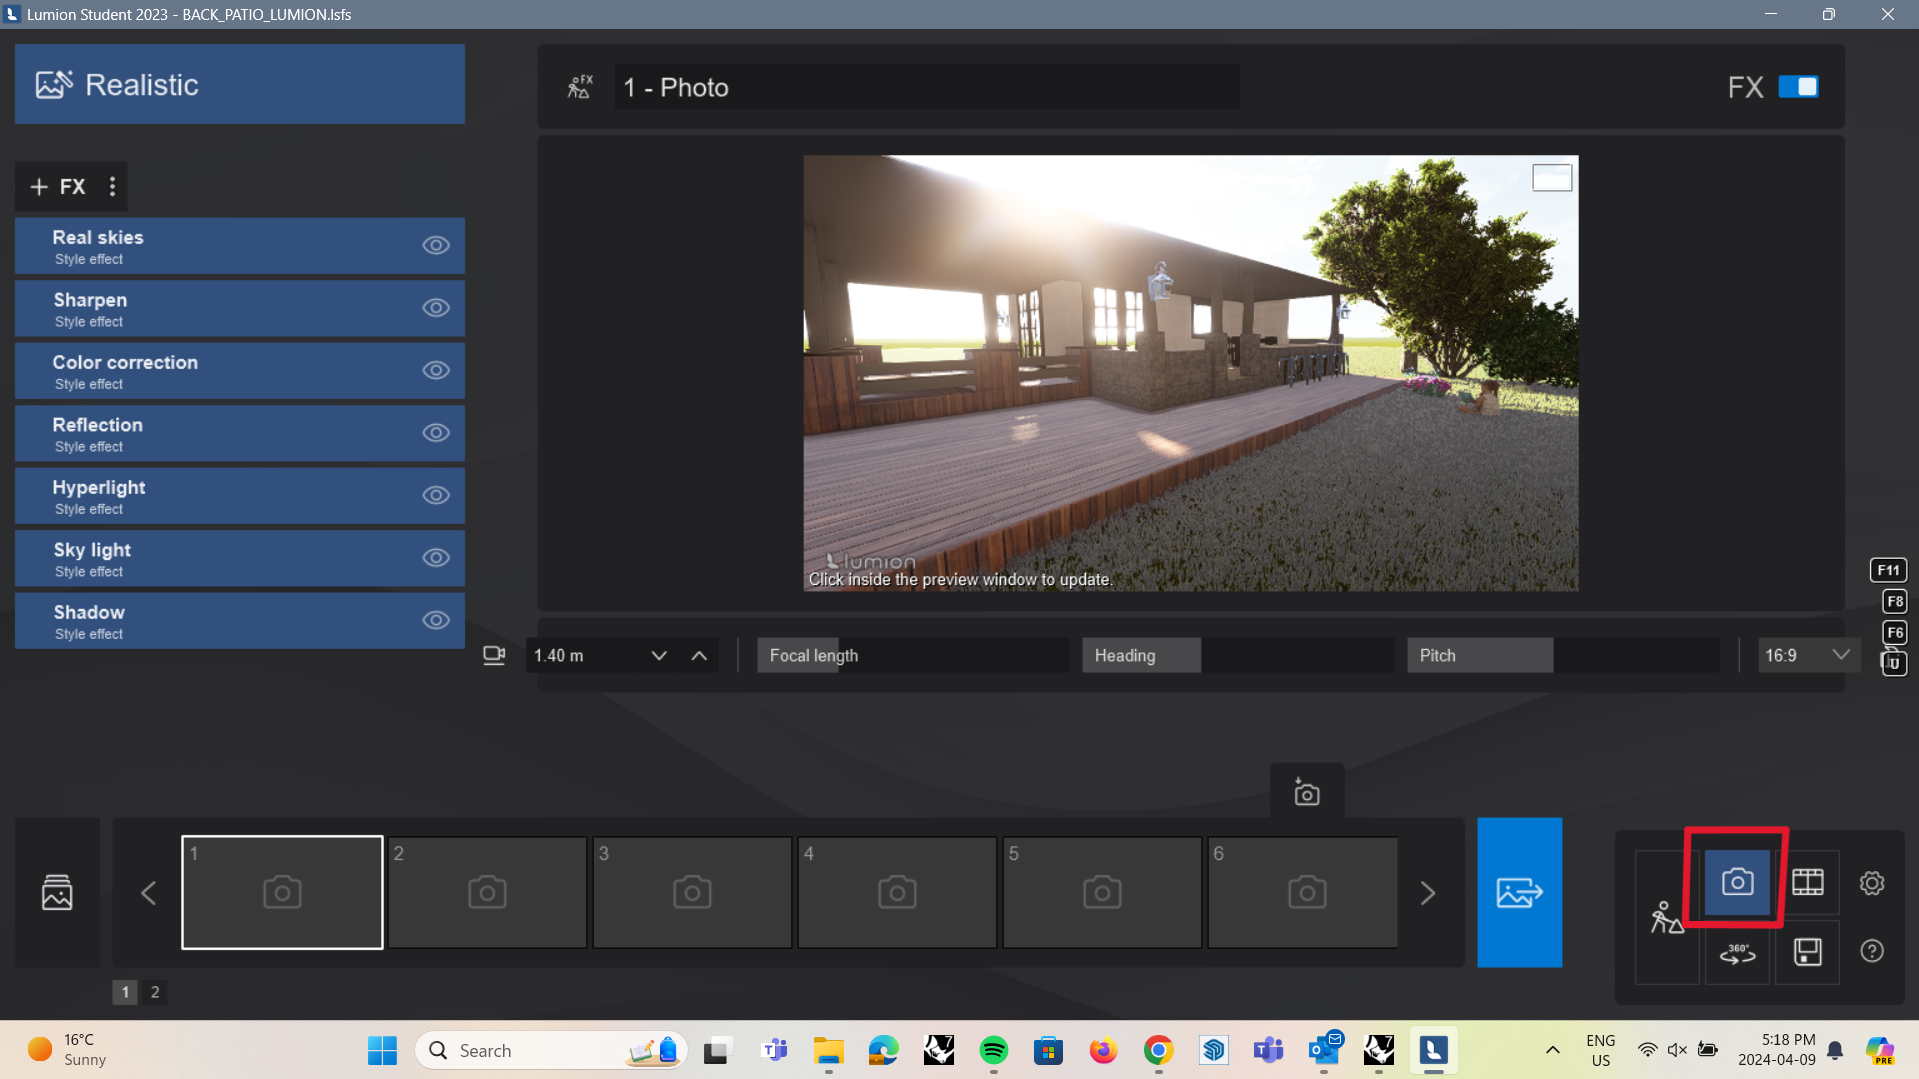
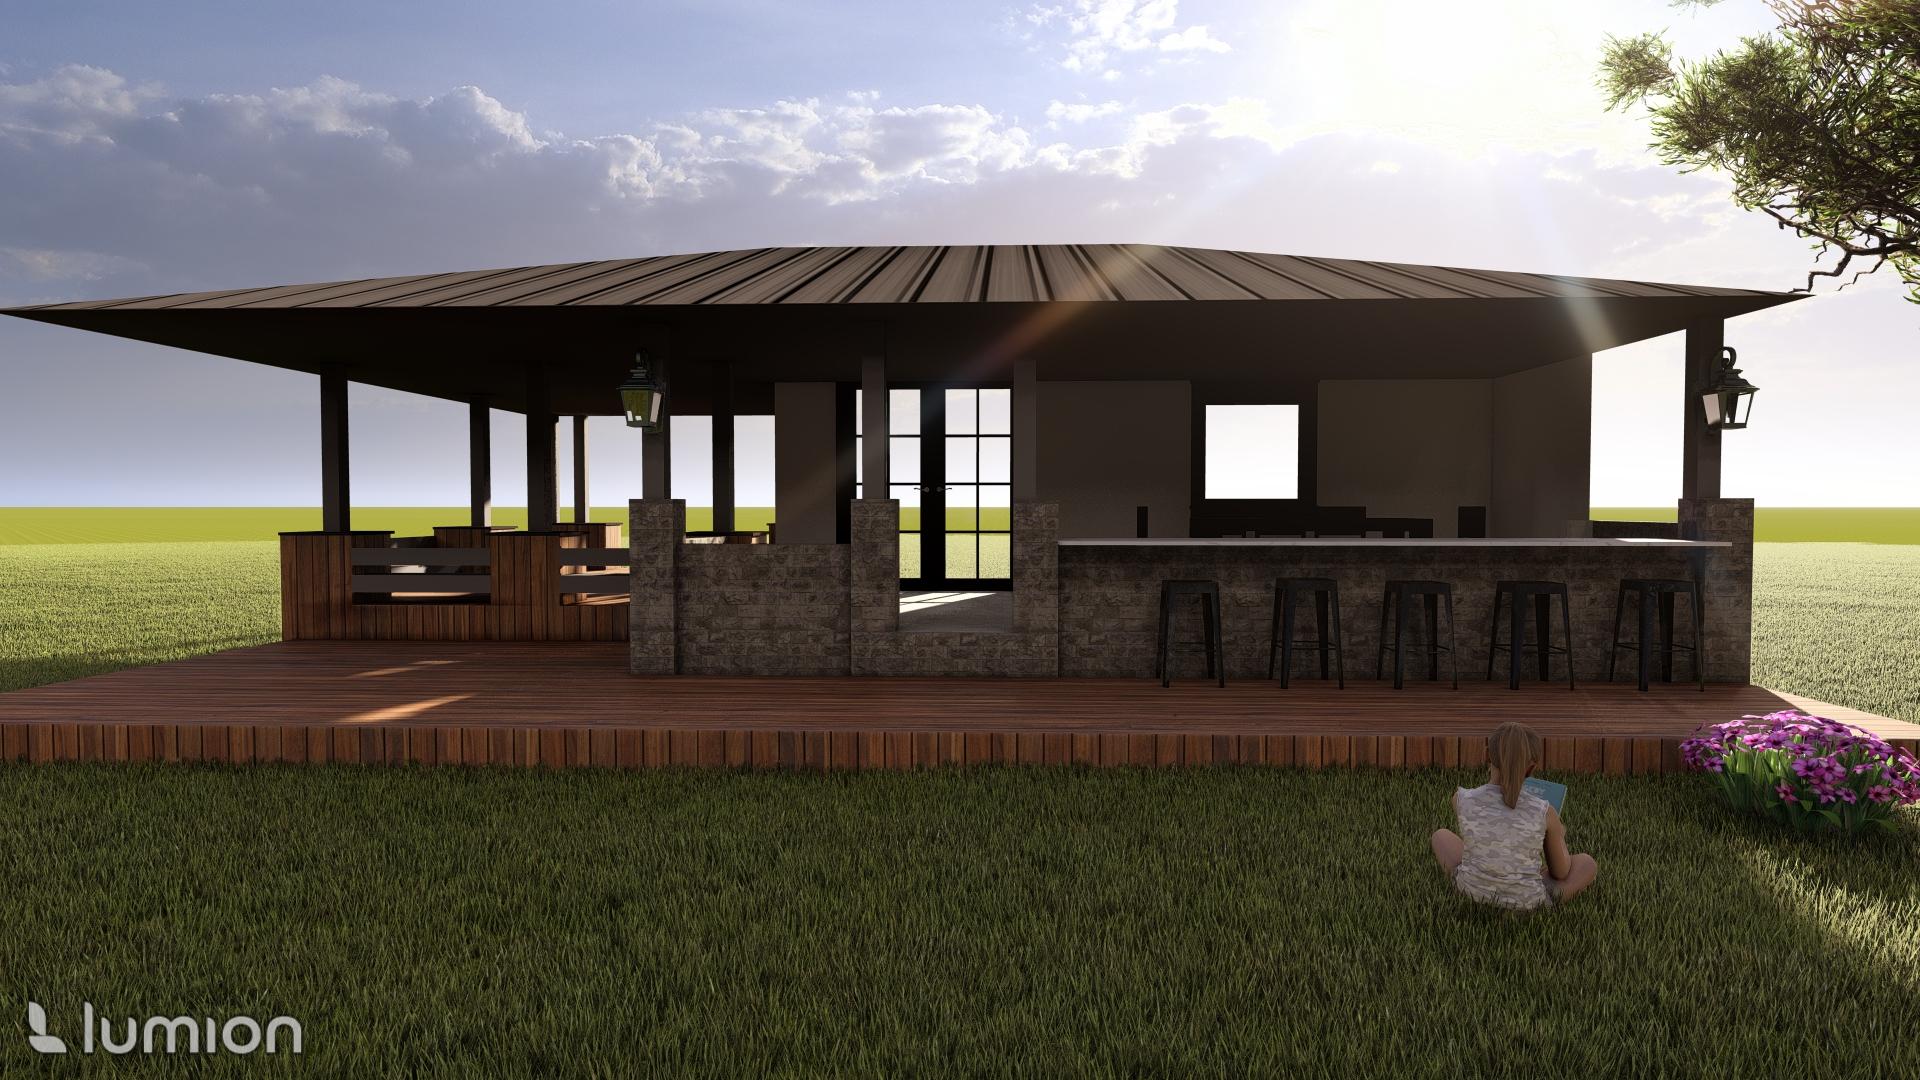
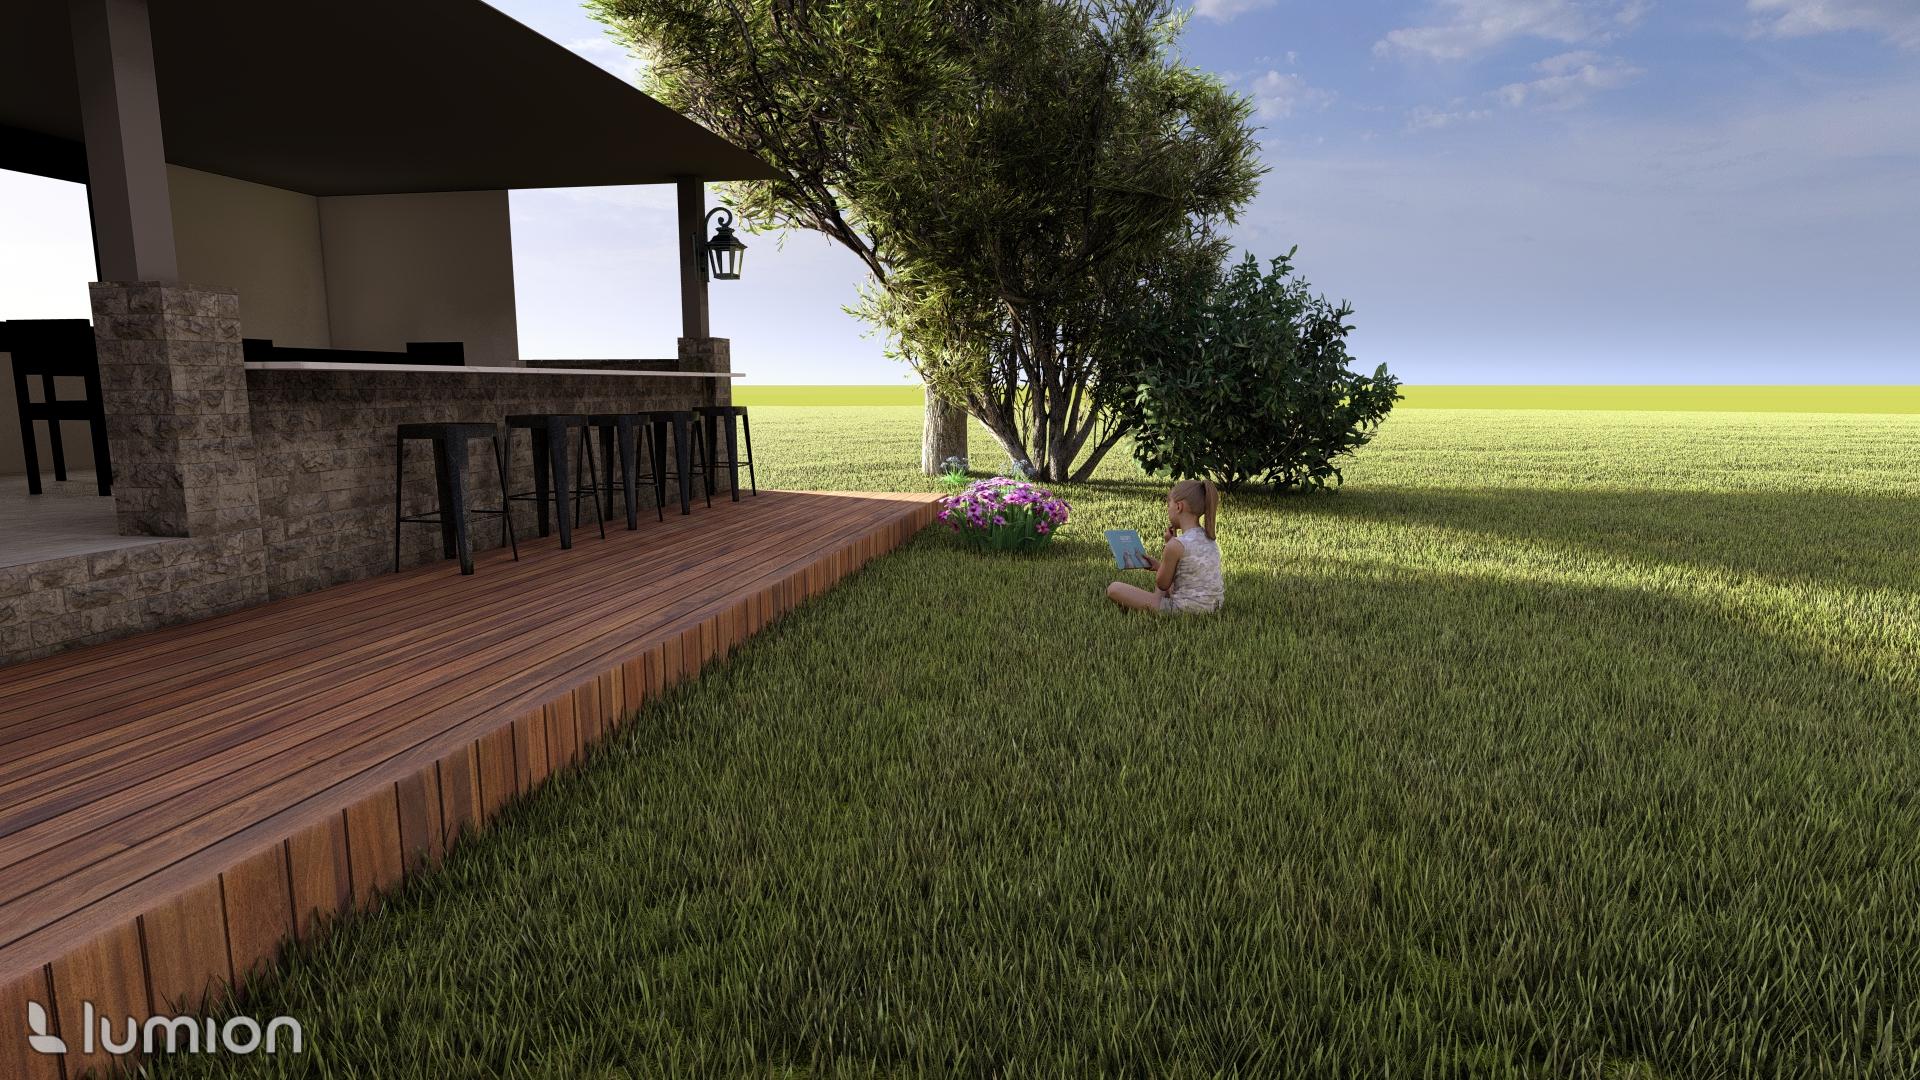
- The camera icon on the bottom right control panel will begin the exporting process of the render
- From here, the camera and image settings can be adjusted accordingly
Hybrid Rendering: Photoshop (adding Textures)
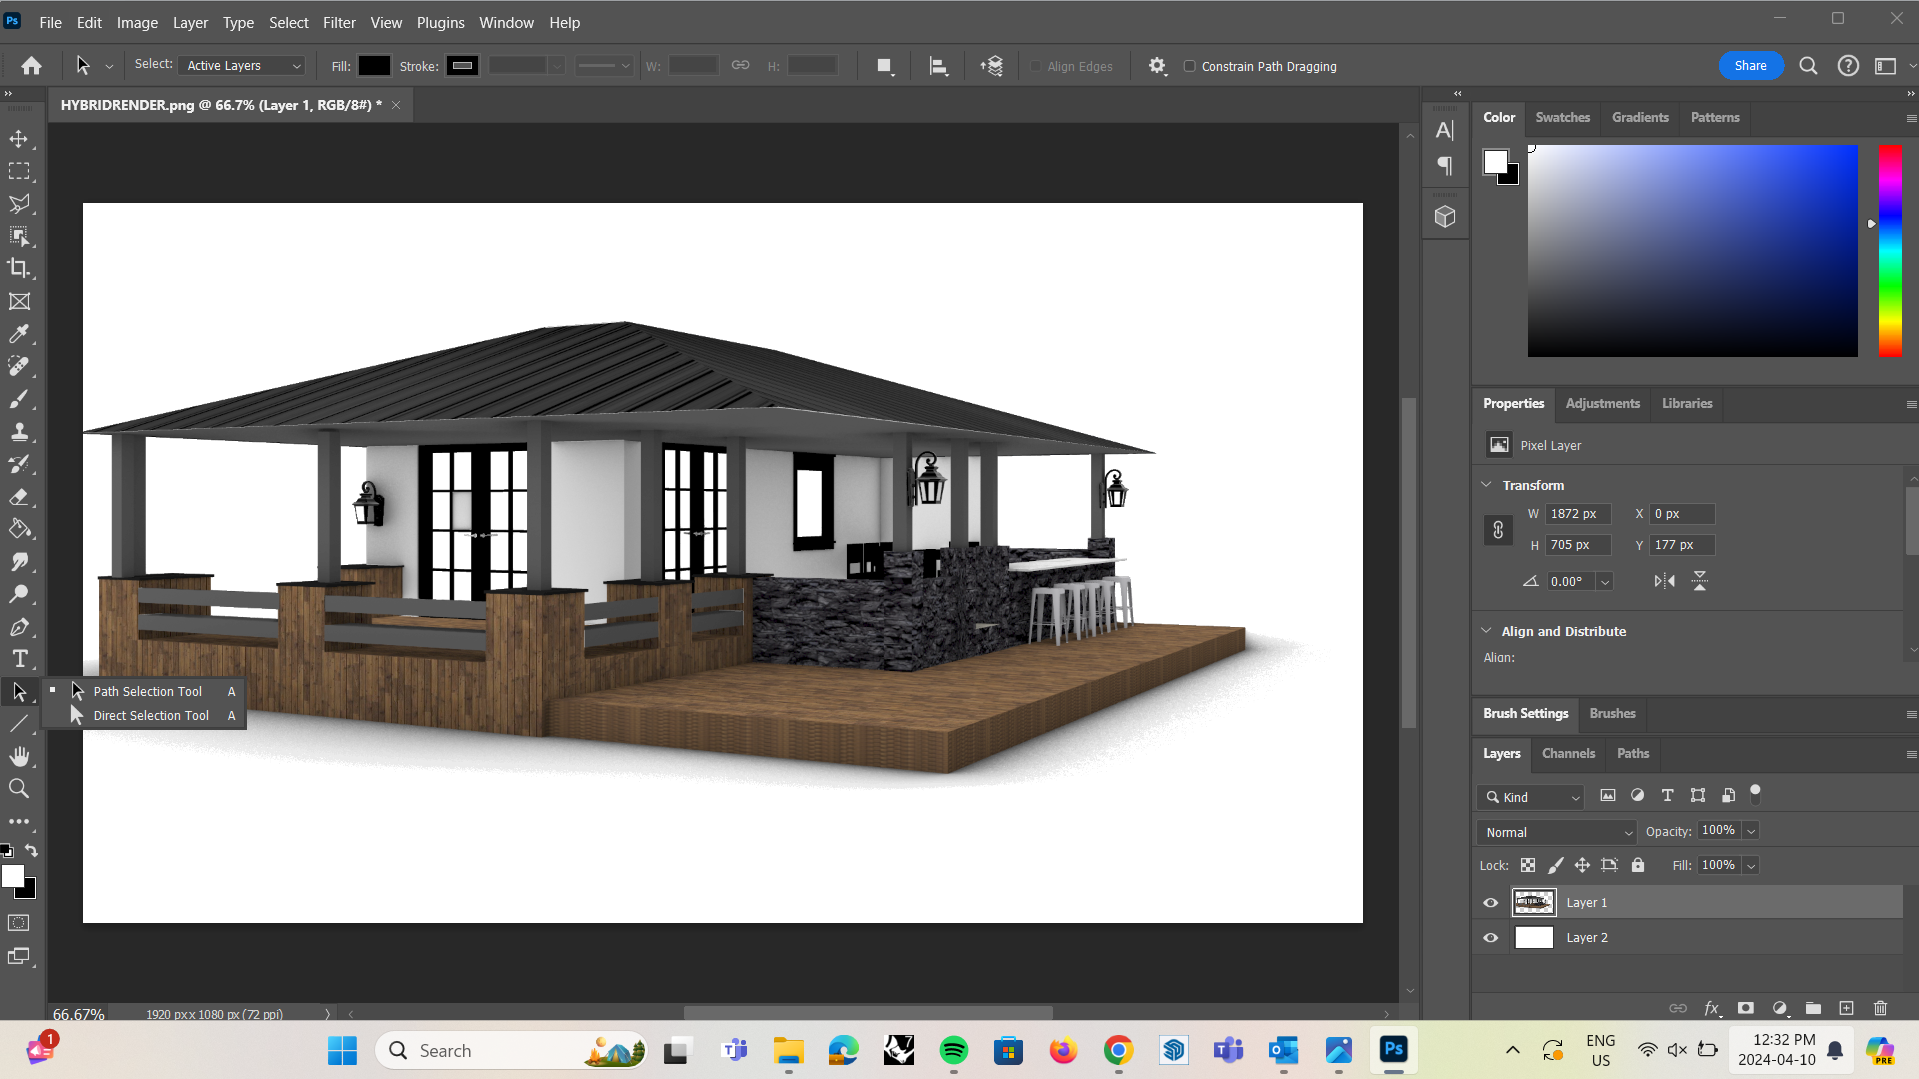
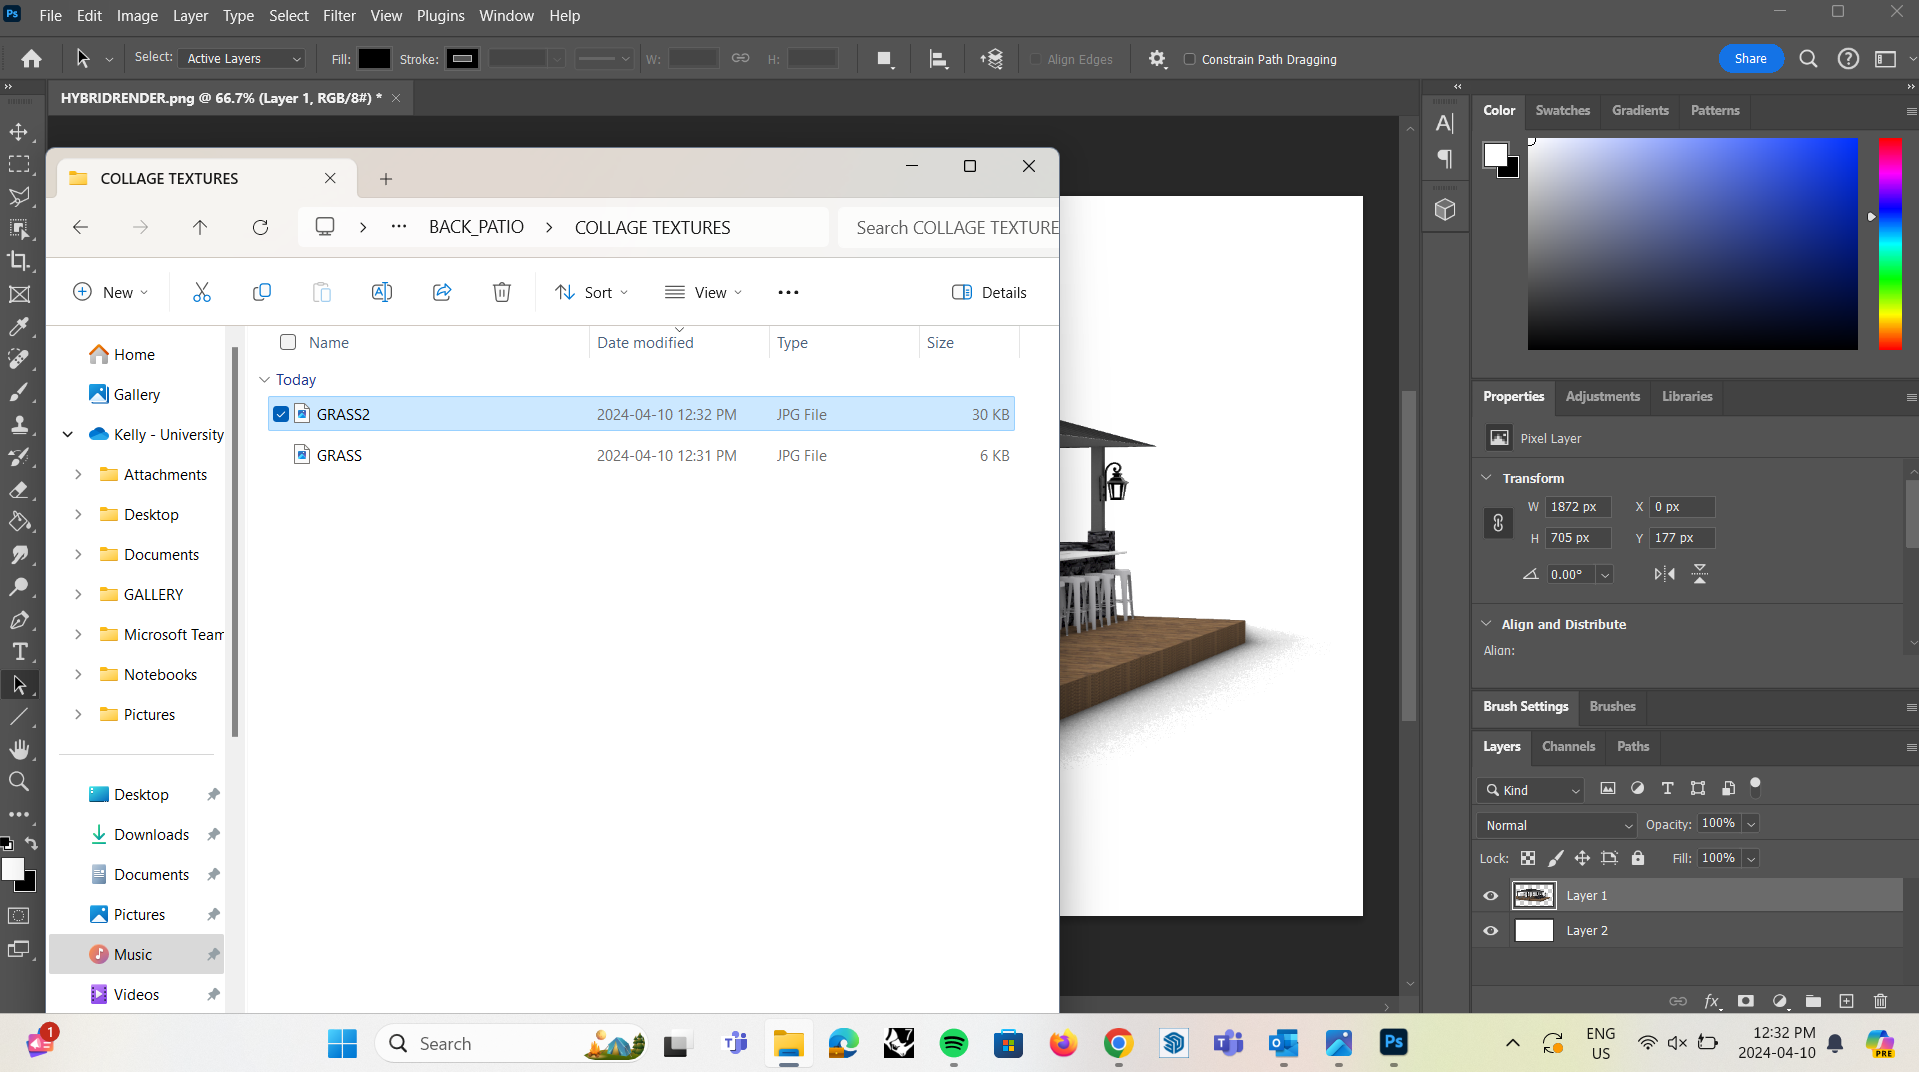
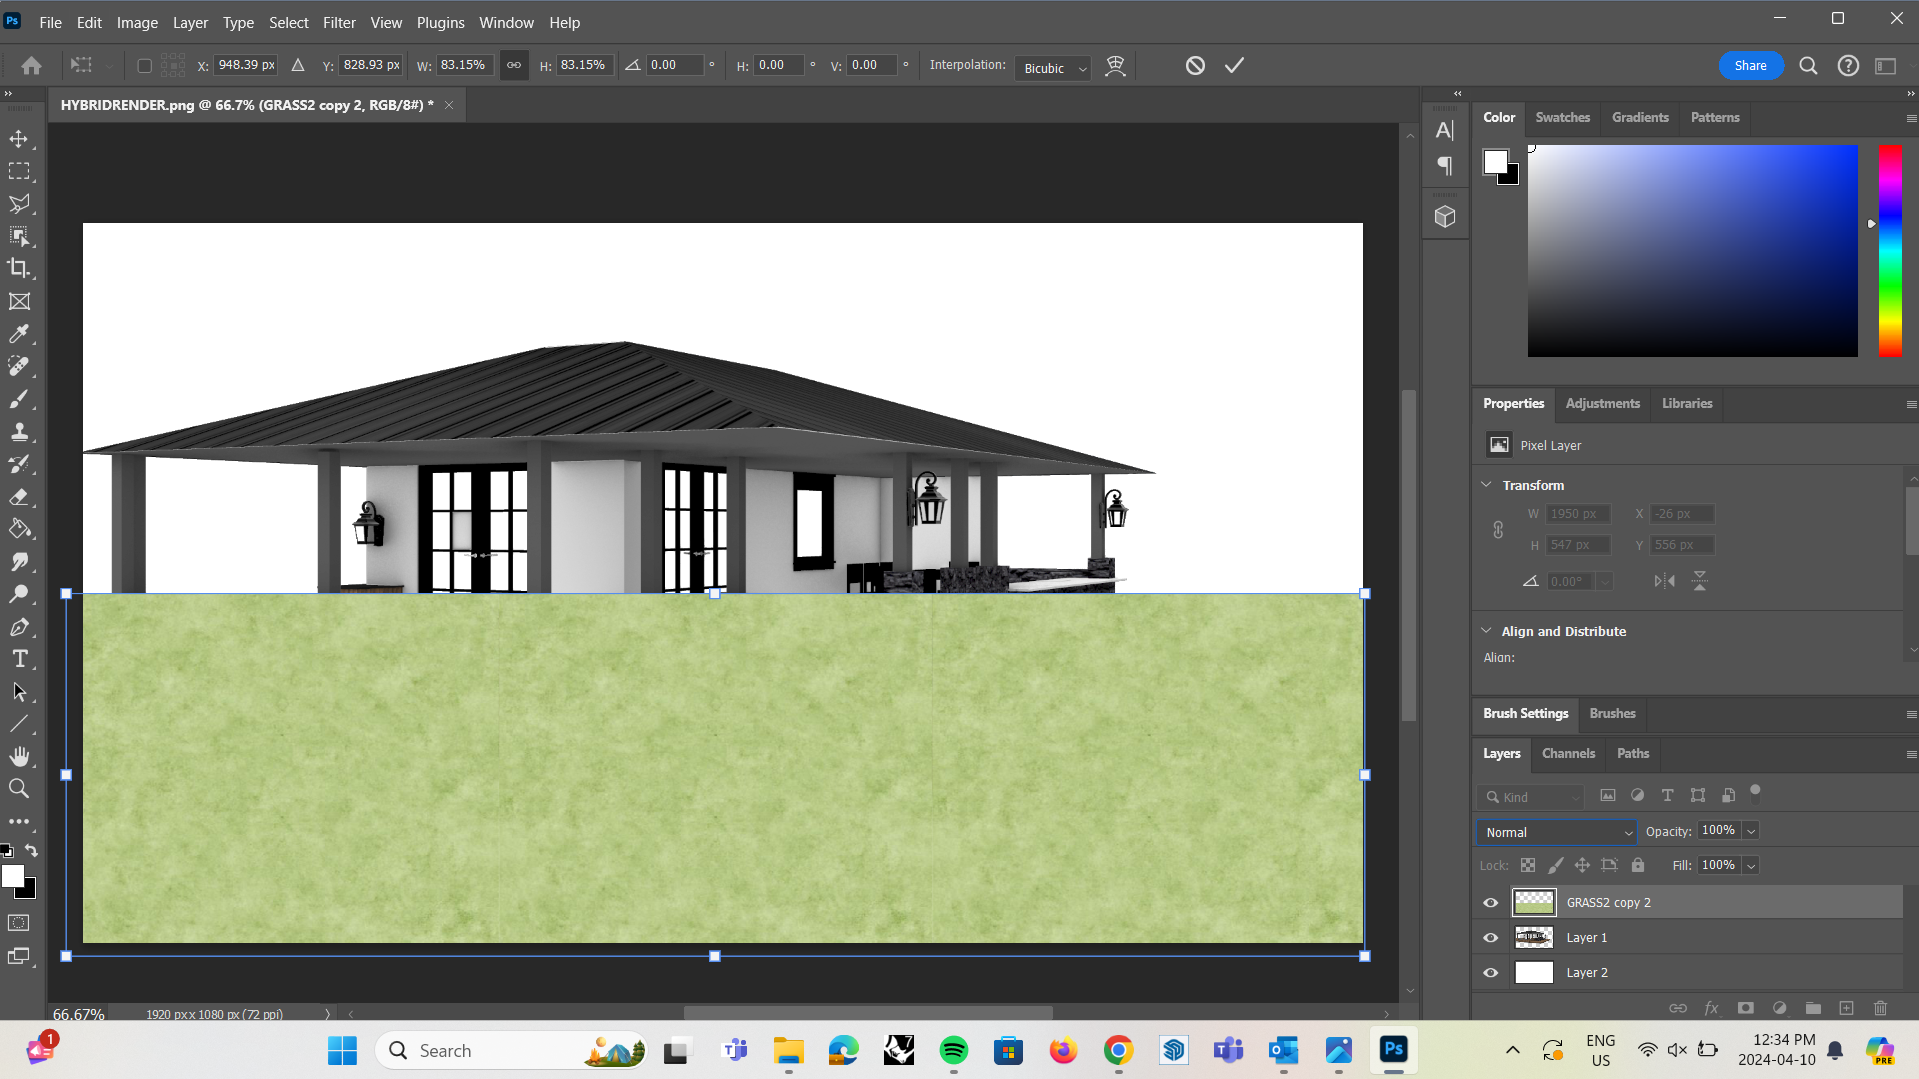
- Open the .png or .jpg of the render in Photoshop
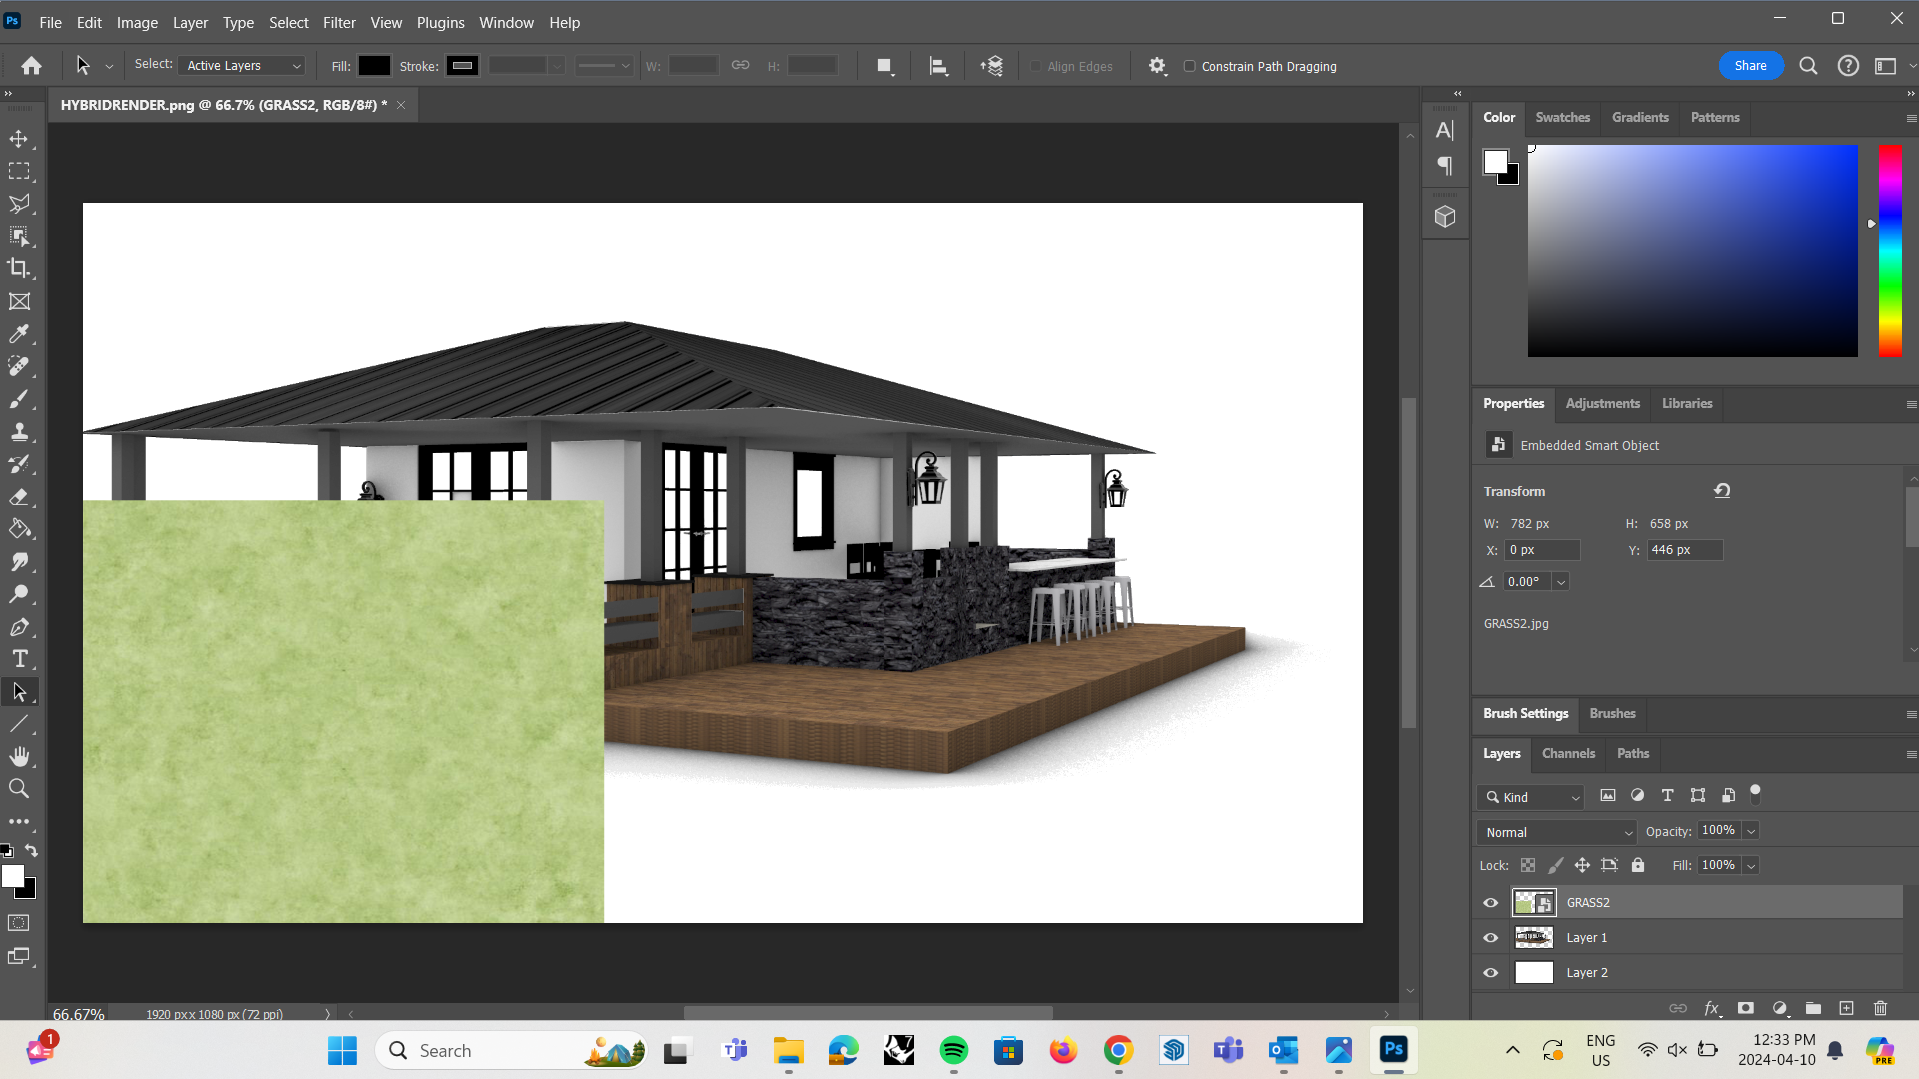
- Drag + drop the texture (Google searches are helpful in finding textures. By typing something such as 'grass texture', it should generate a variety of grass texture .pngs or .jpgs that you can save onto your computer)
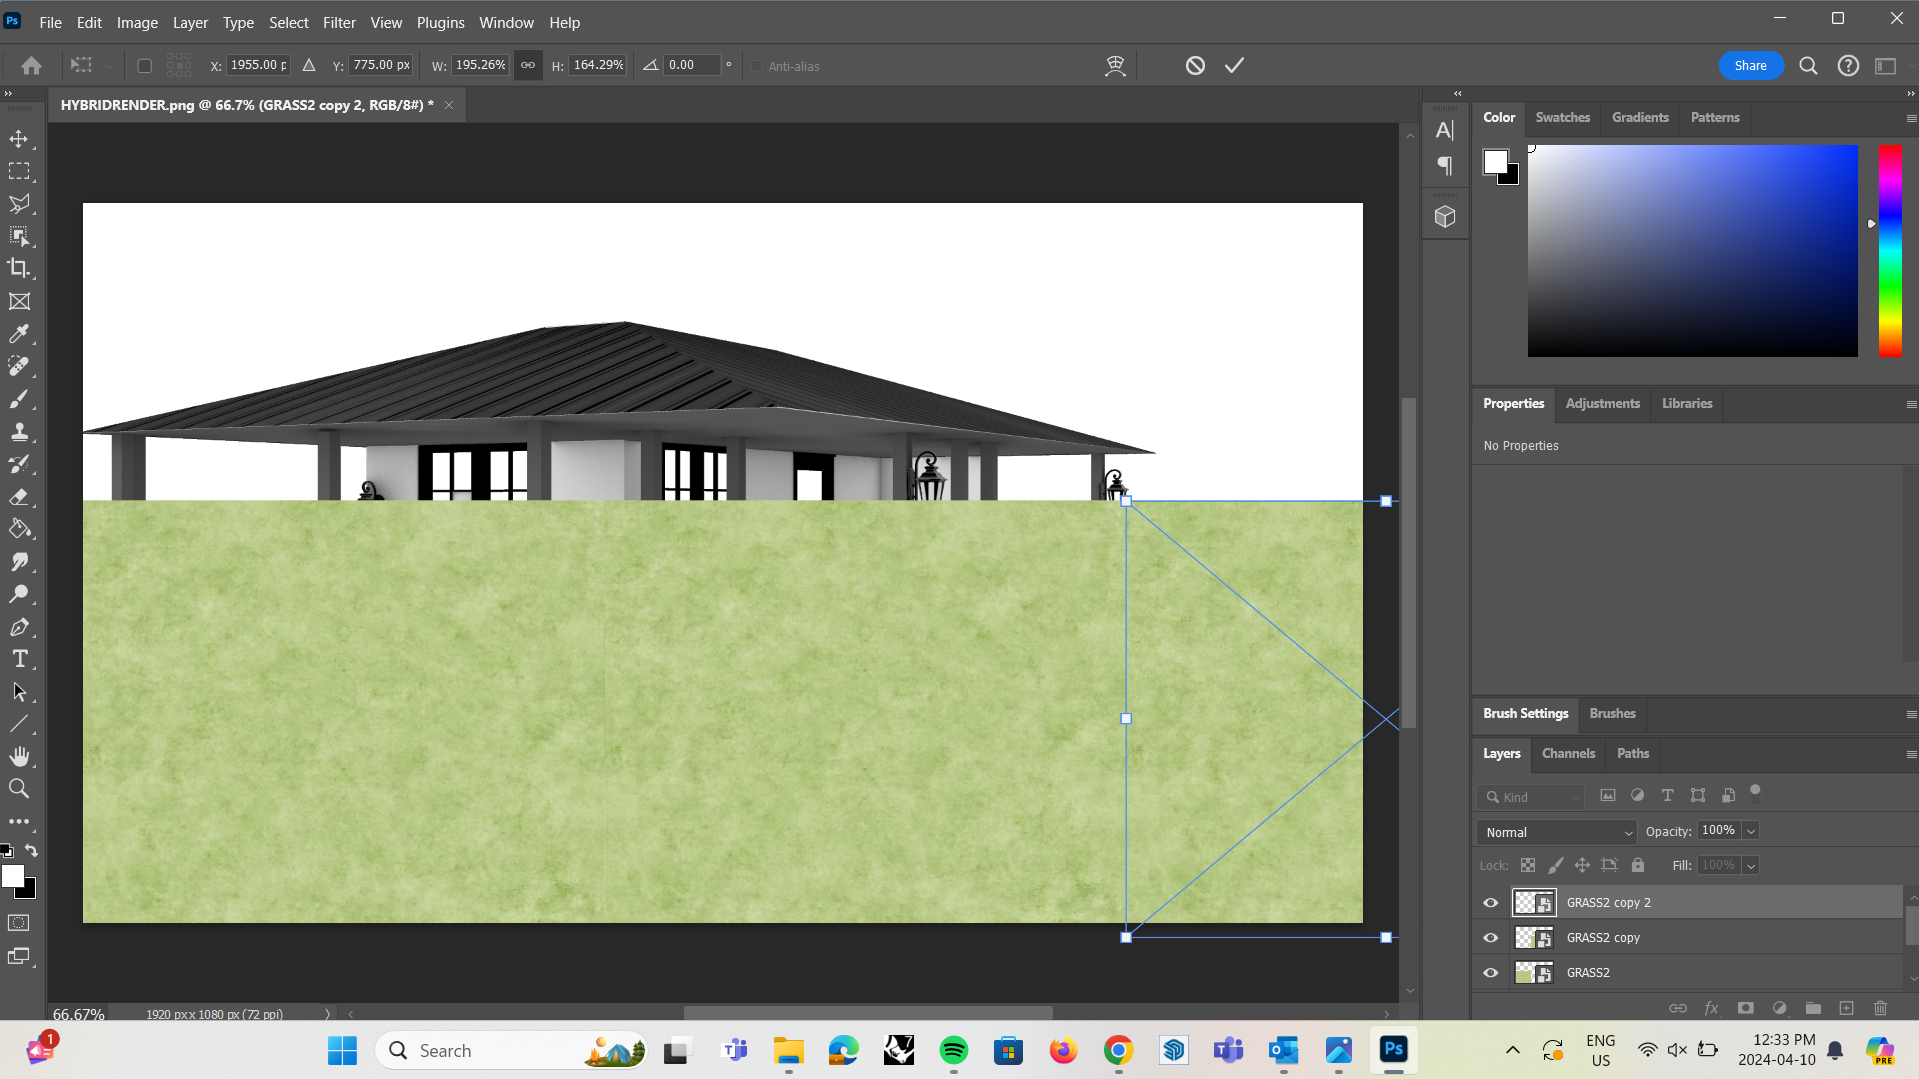
- From here, you can play with scale of your texture by using 'Ctrl + T '
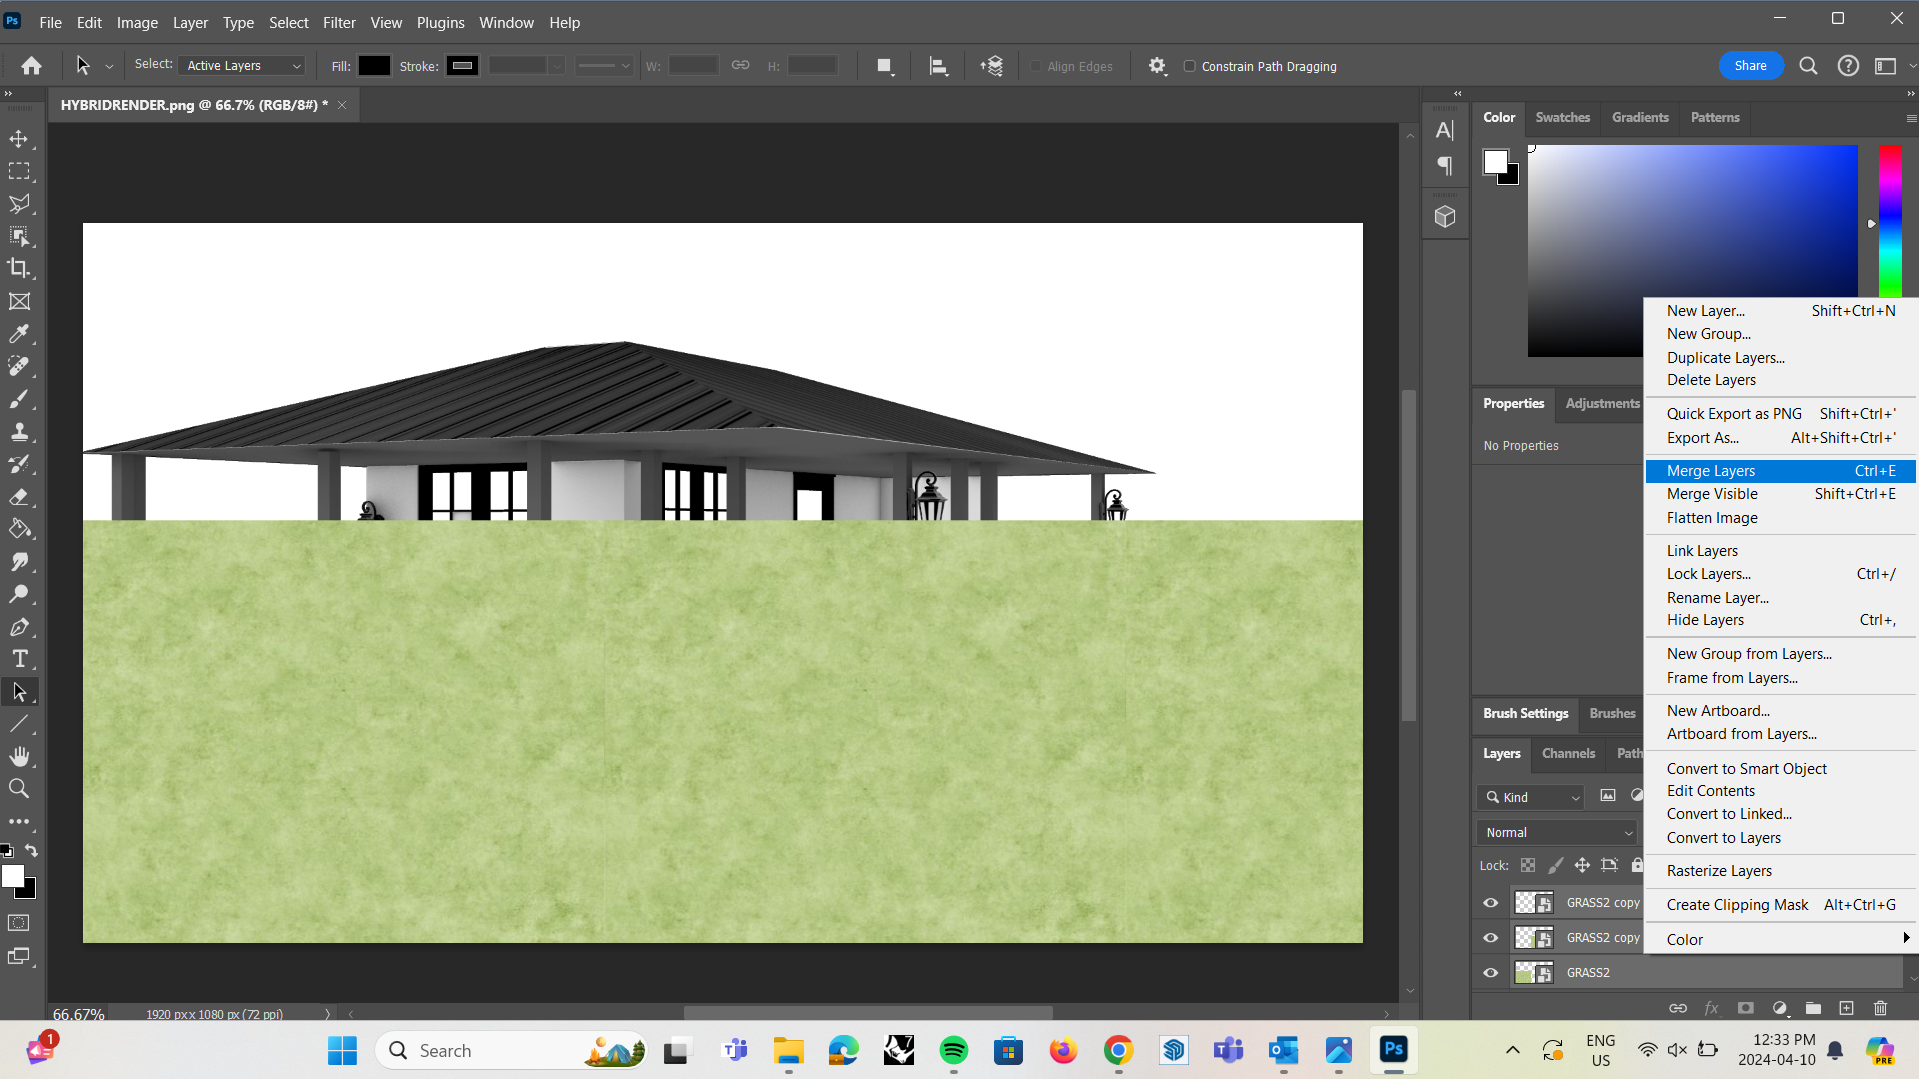
- NOTE: sometimes your texture will need to be repeated several times so that they aren't skewed when you scale them. 'Ctrl + J' to duplicate your layers, arrange your tile of textures accordingly and then you can select the copies and merge these layers together.
Hybrid Rendering: Photoshop (Masking)
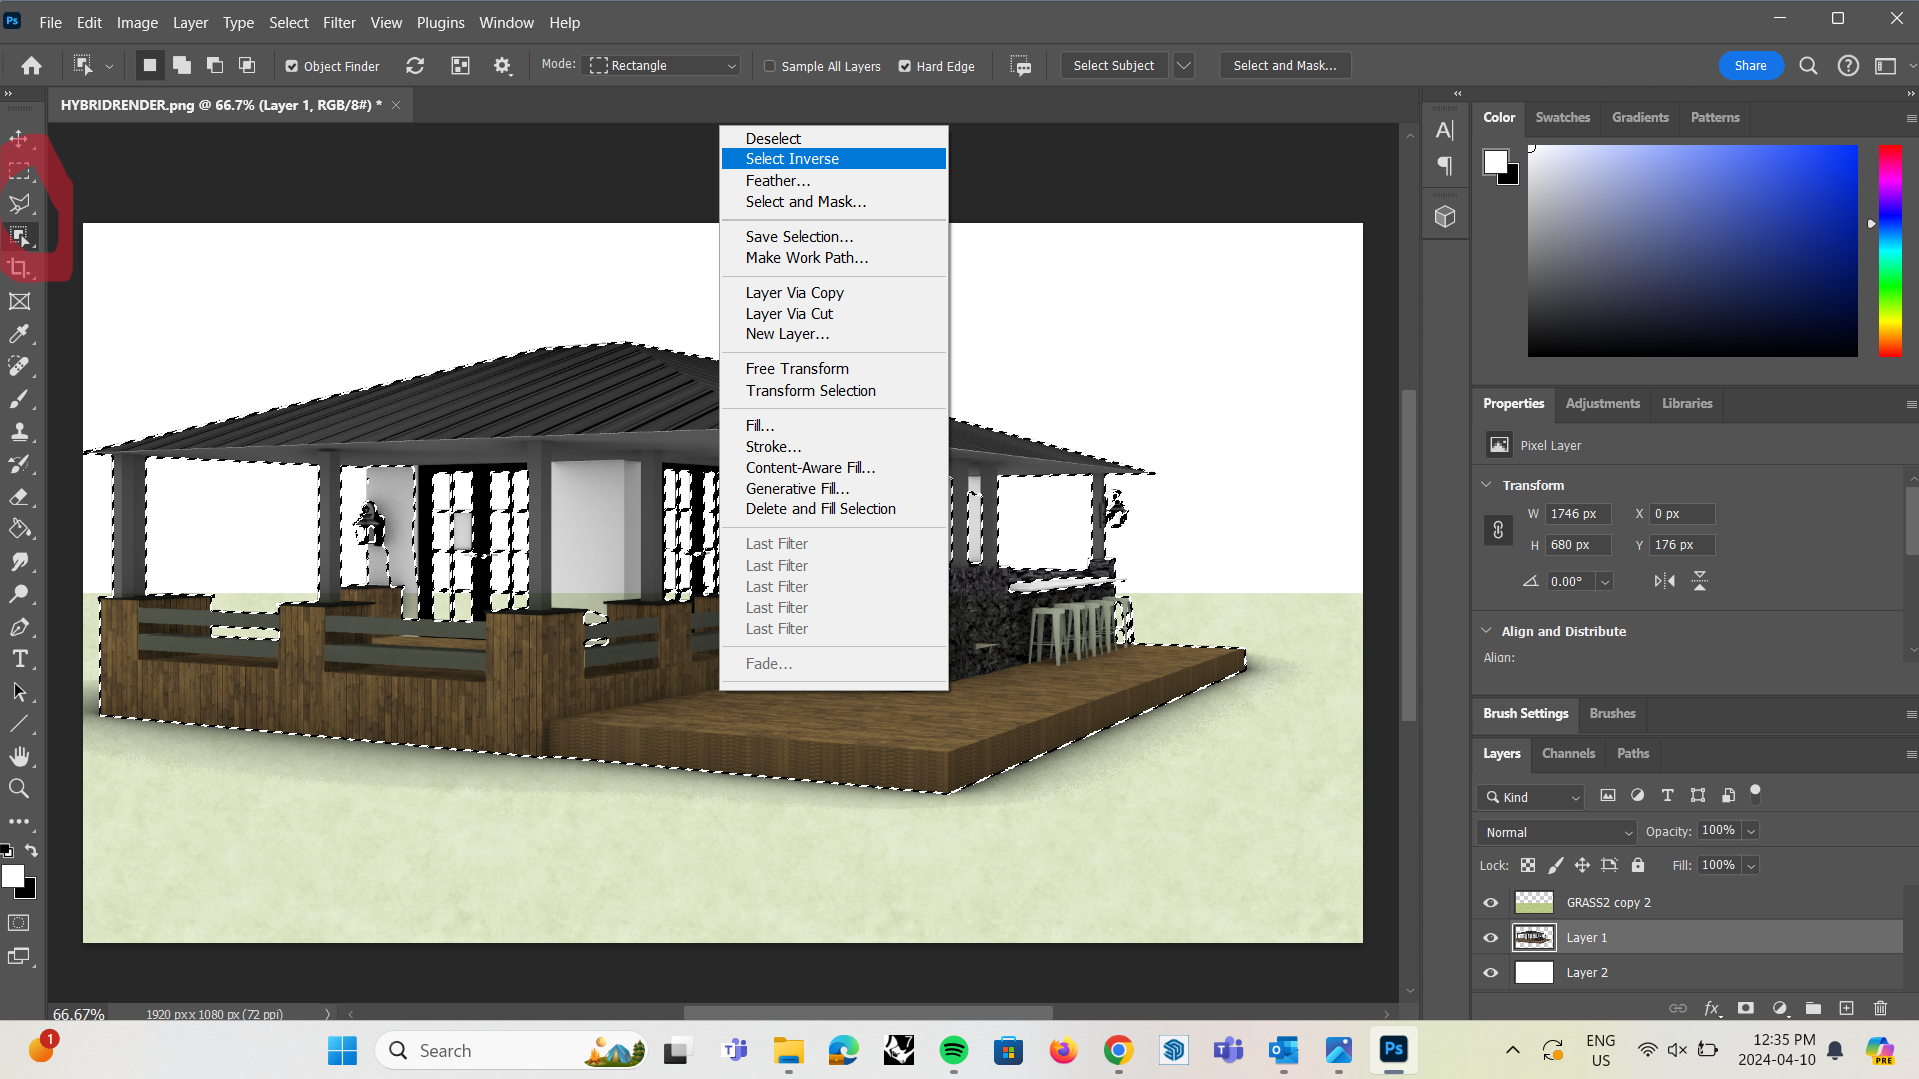
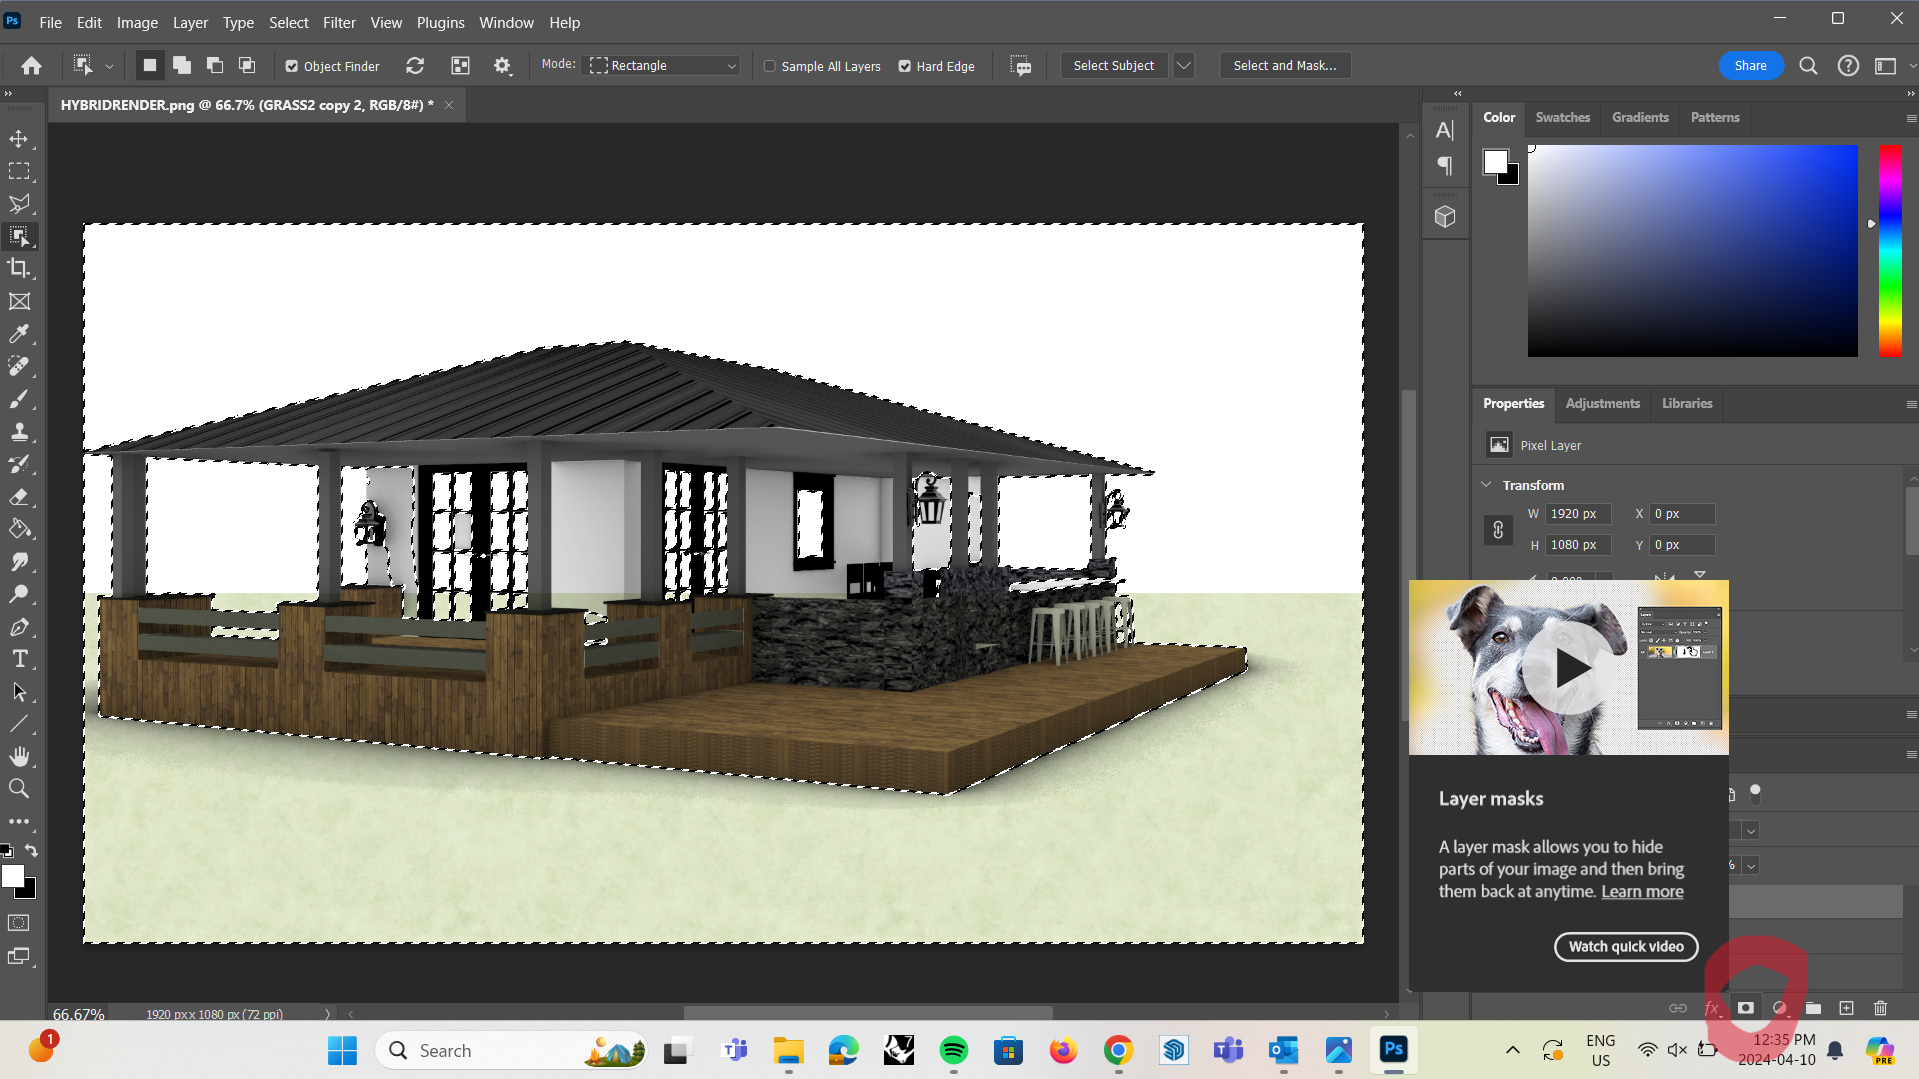
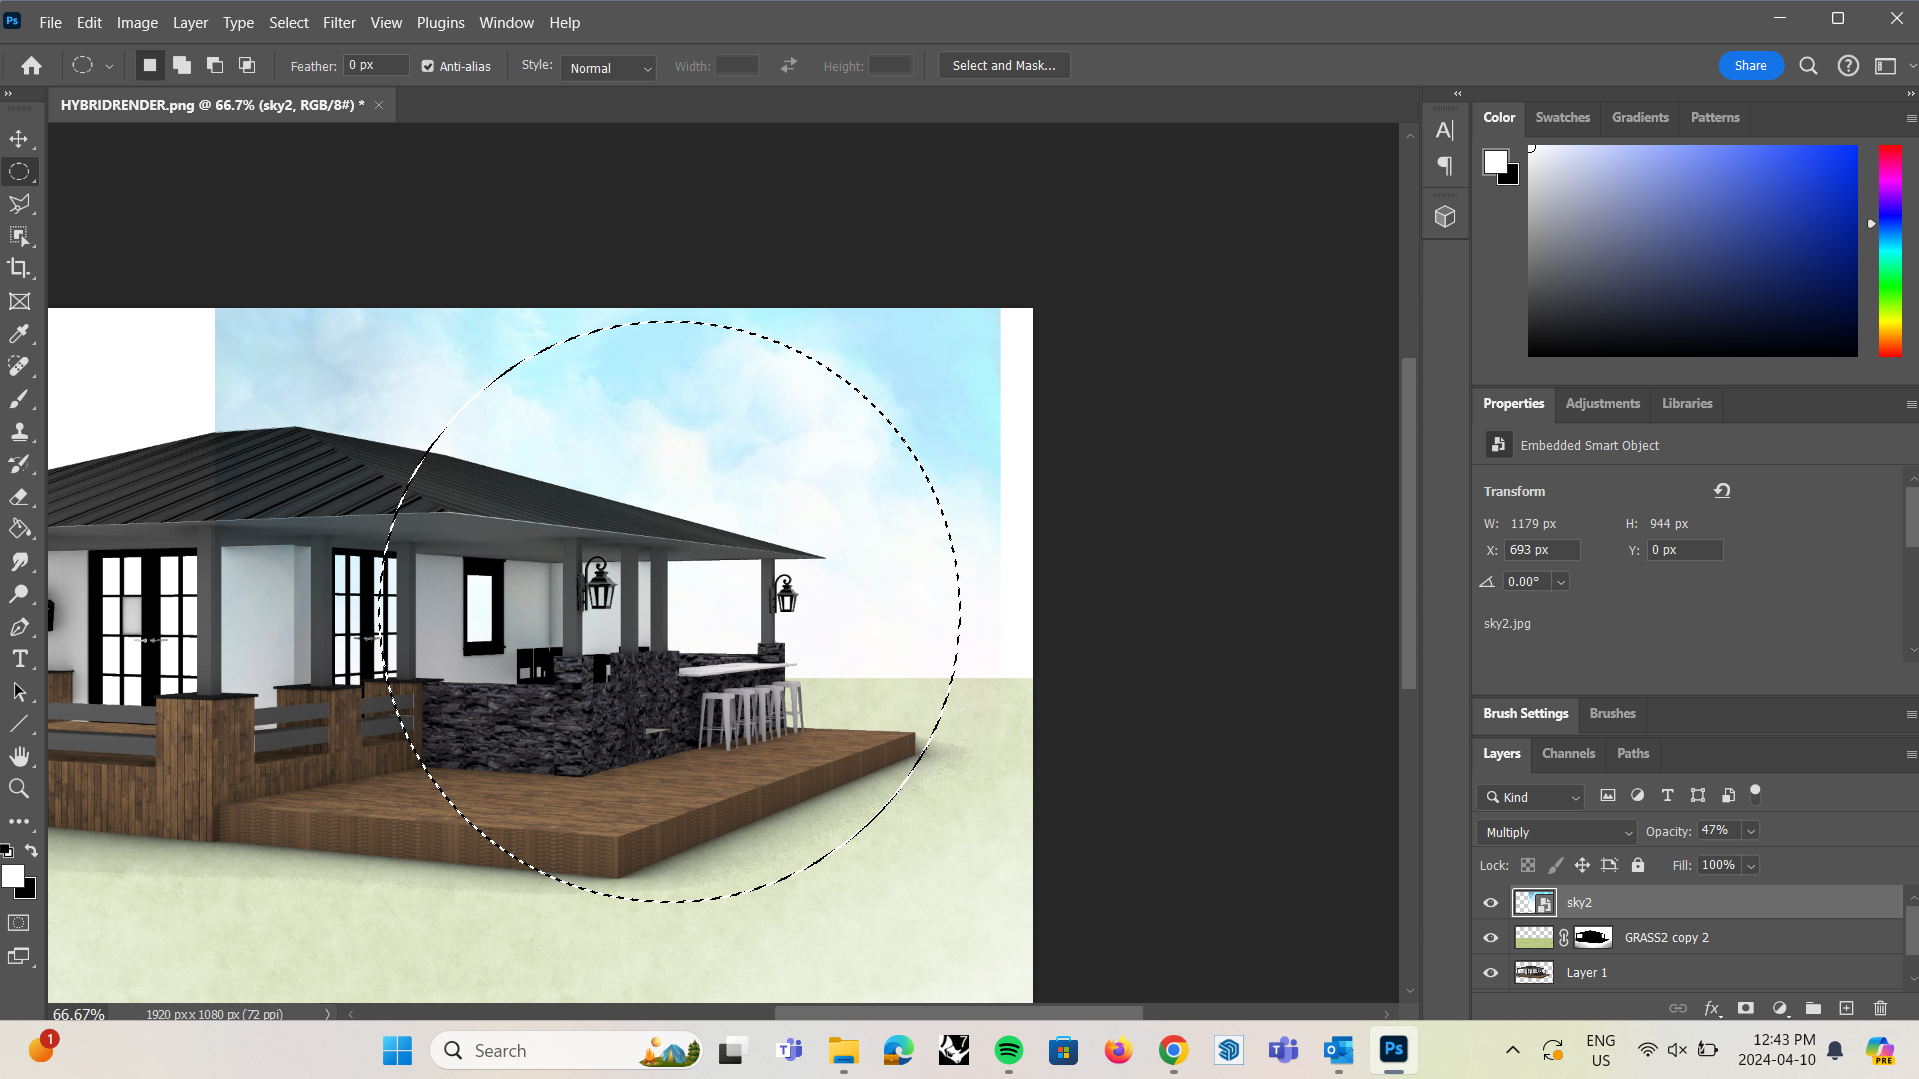
- To mask your texture, there are a variety of 'Lasso' tools that can help you to select and mask your objects
- To erase the grass texture from the model, go on to the layer with the model and use the 'Object Selection Tool' or the 'Polygonal Lasso' tool to help with object selection
- Go back to the layer with the texture
- Right-click onto your screen to 'Select Inverse' to help erase everything inside the object
- Click the 'Mask' tool located on the bottom right of the screen to mask the texture
- There are other types of masking tools that can create a more fantastical effect to your collage, such as the more geometrical lasso tools (Rectangle, Ellipse etc.)
Hybrid Rendering: Photoshop (Blending Options, Opacity Etc)
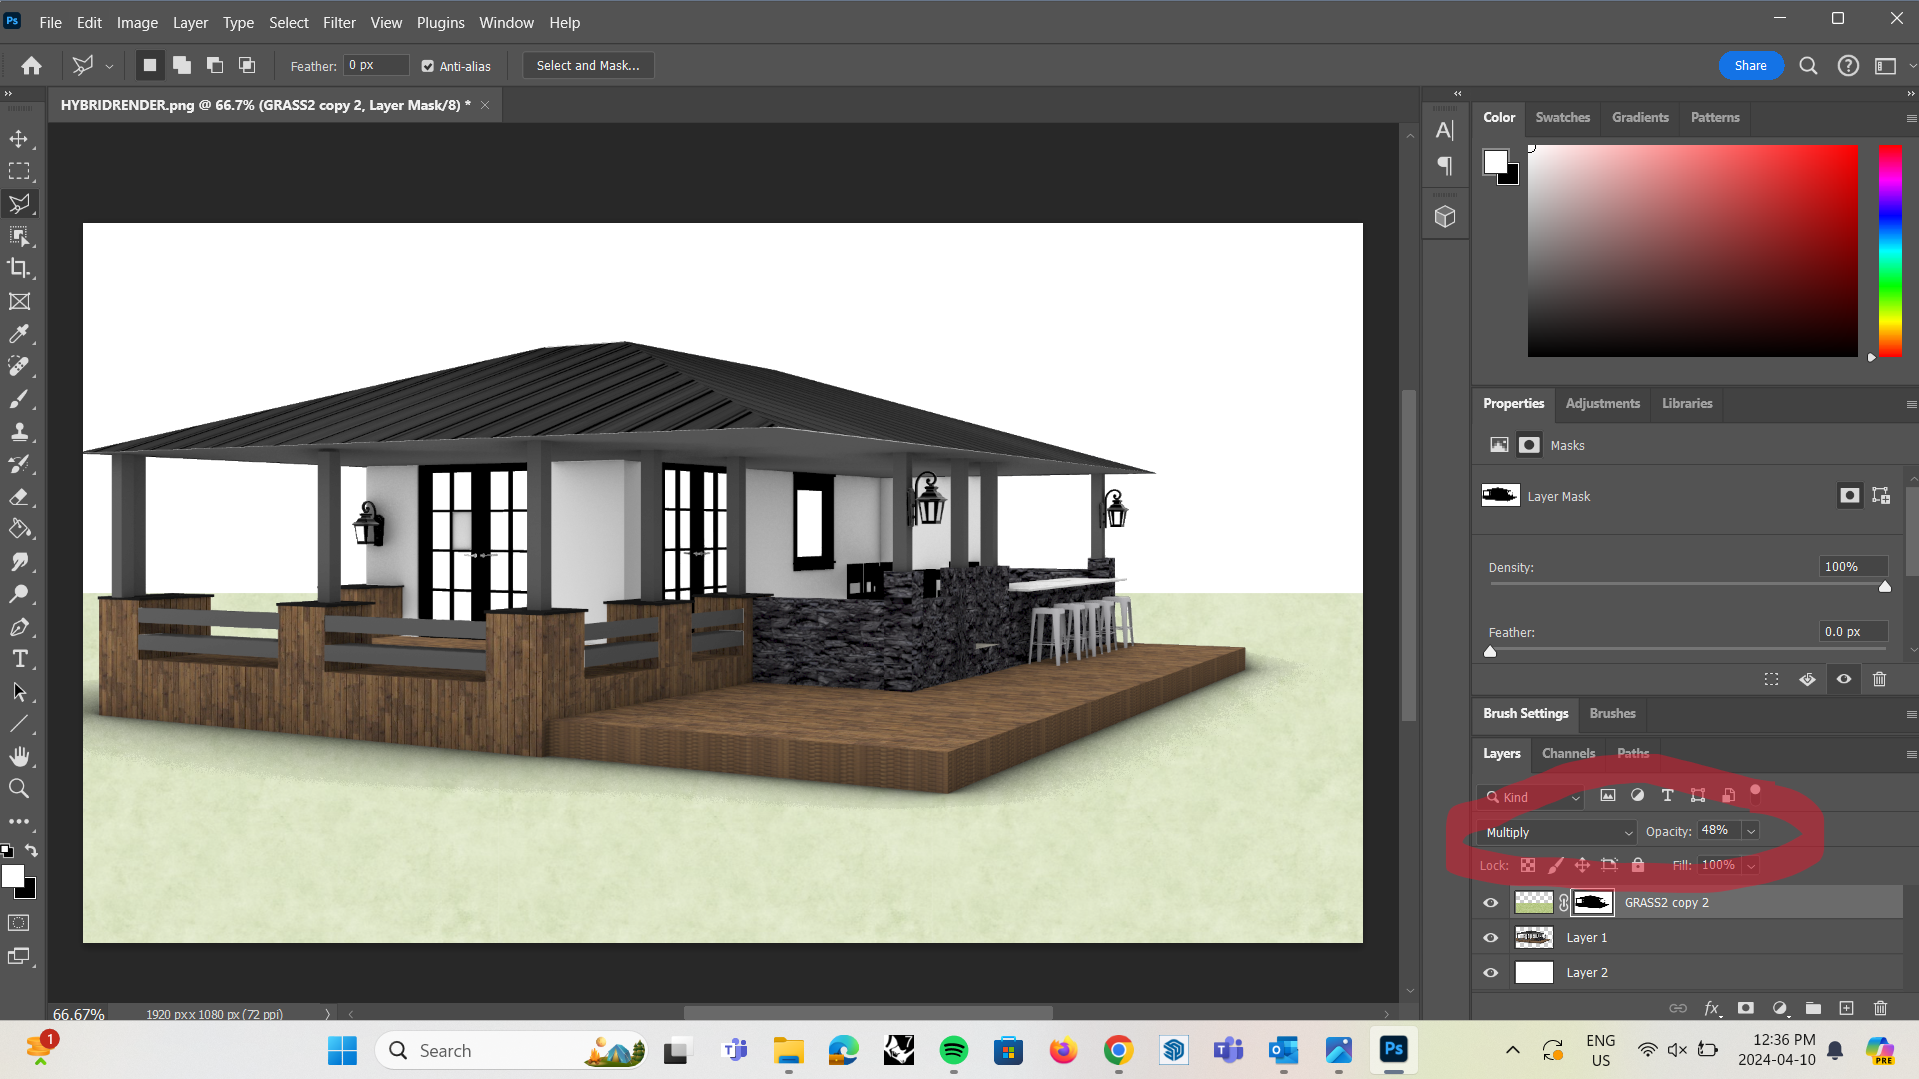
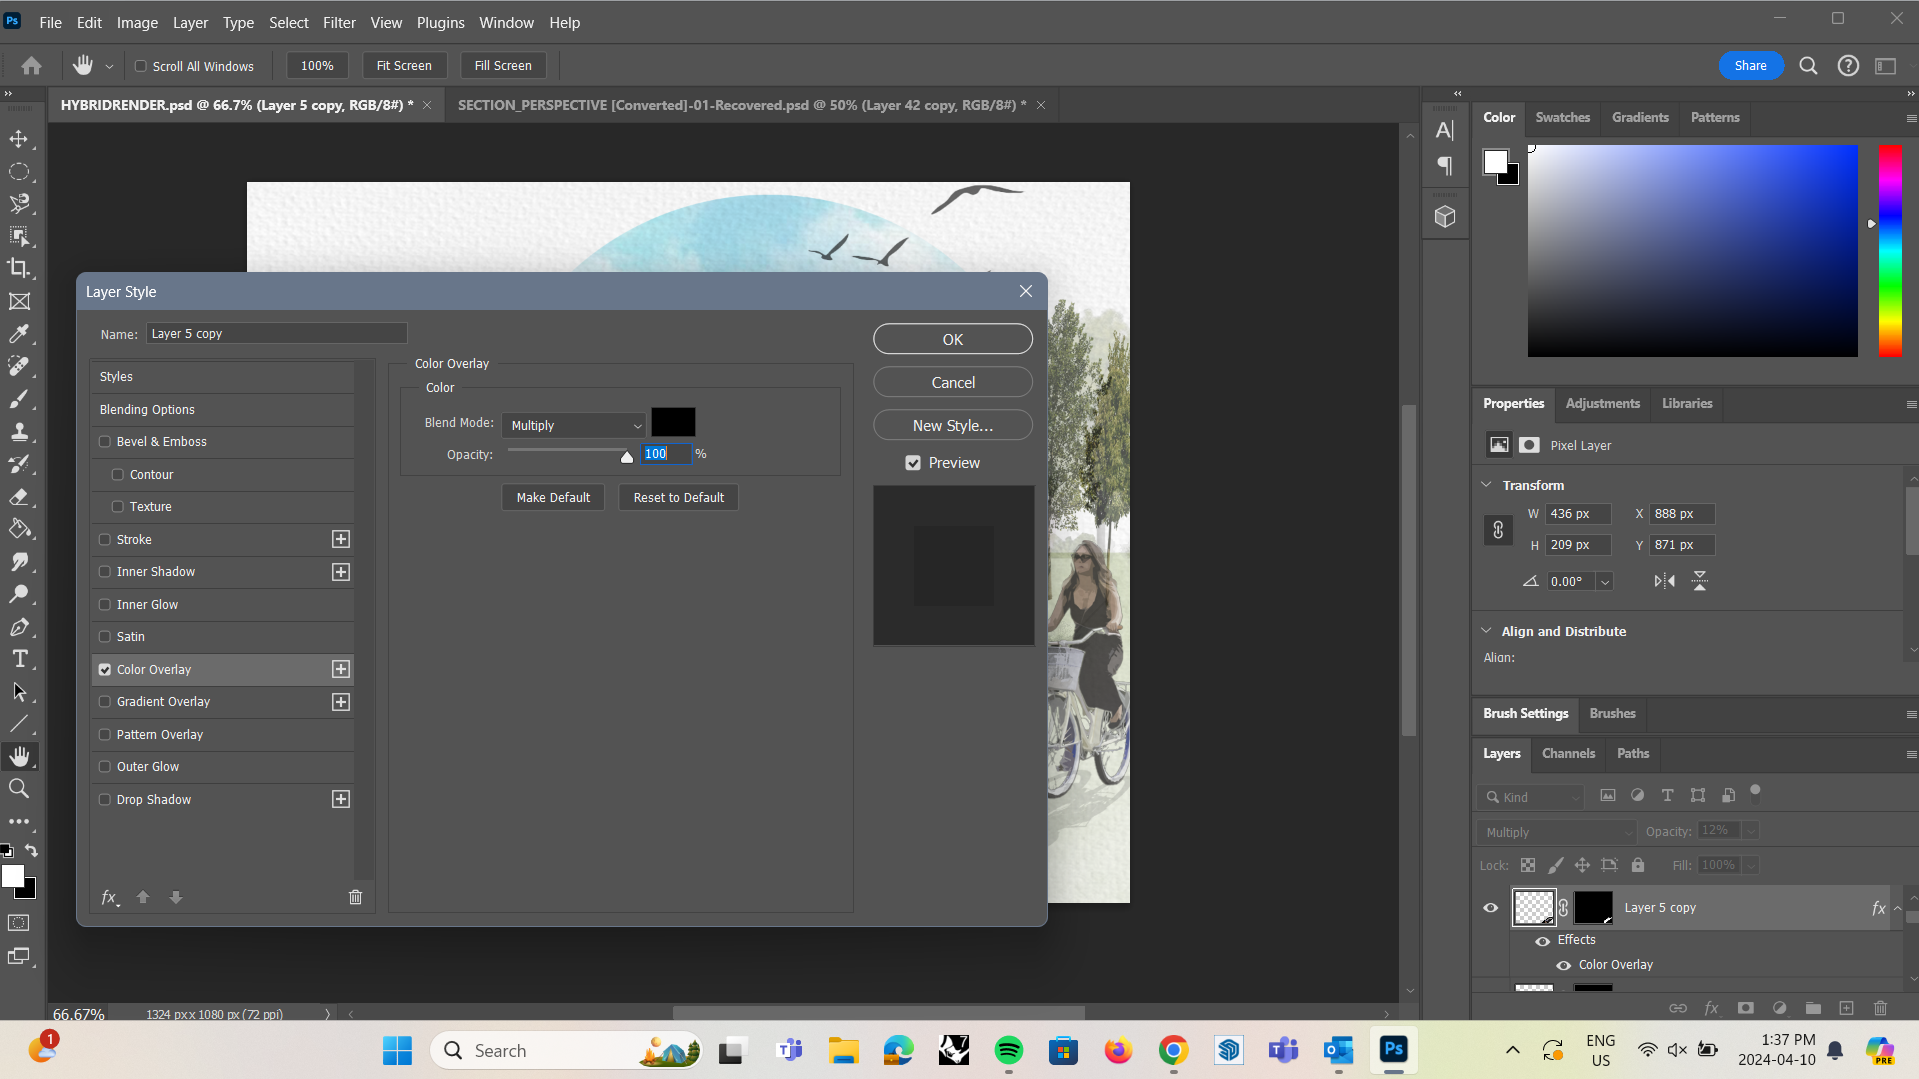
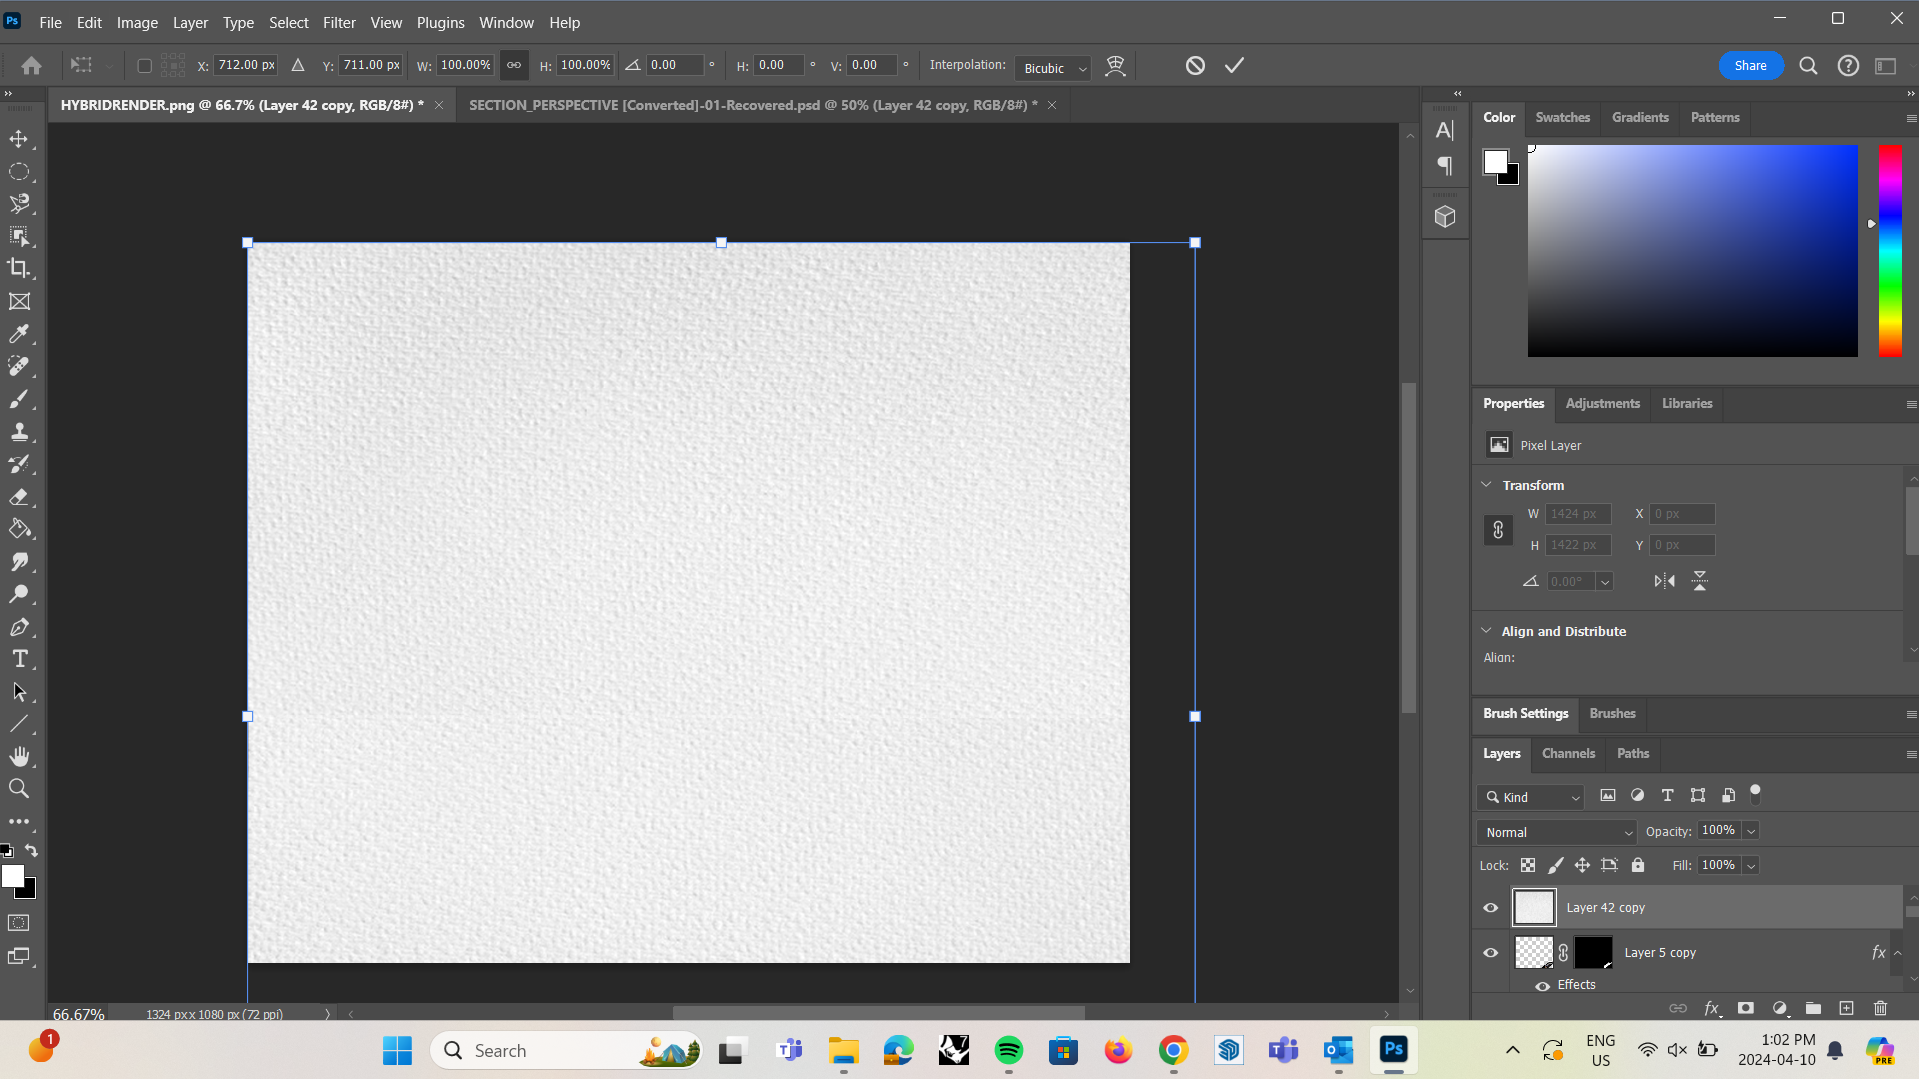
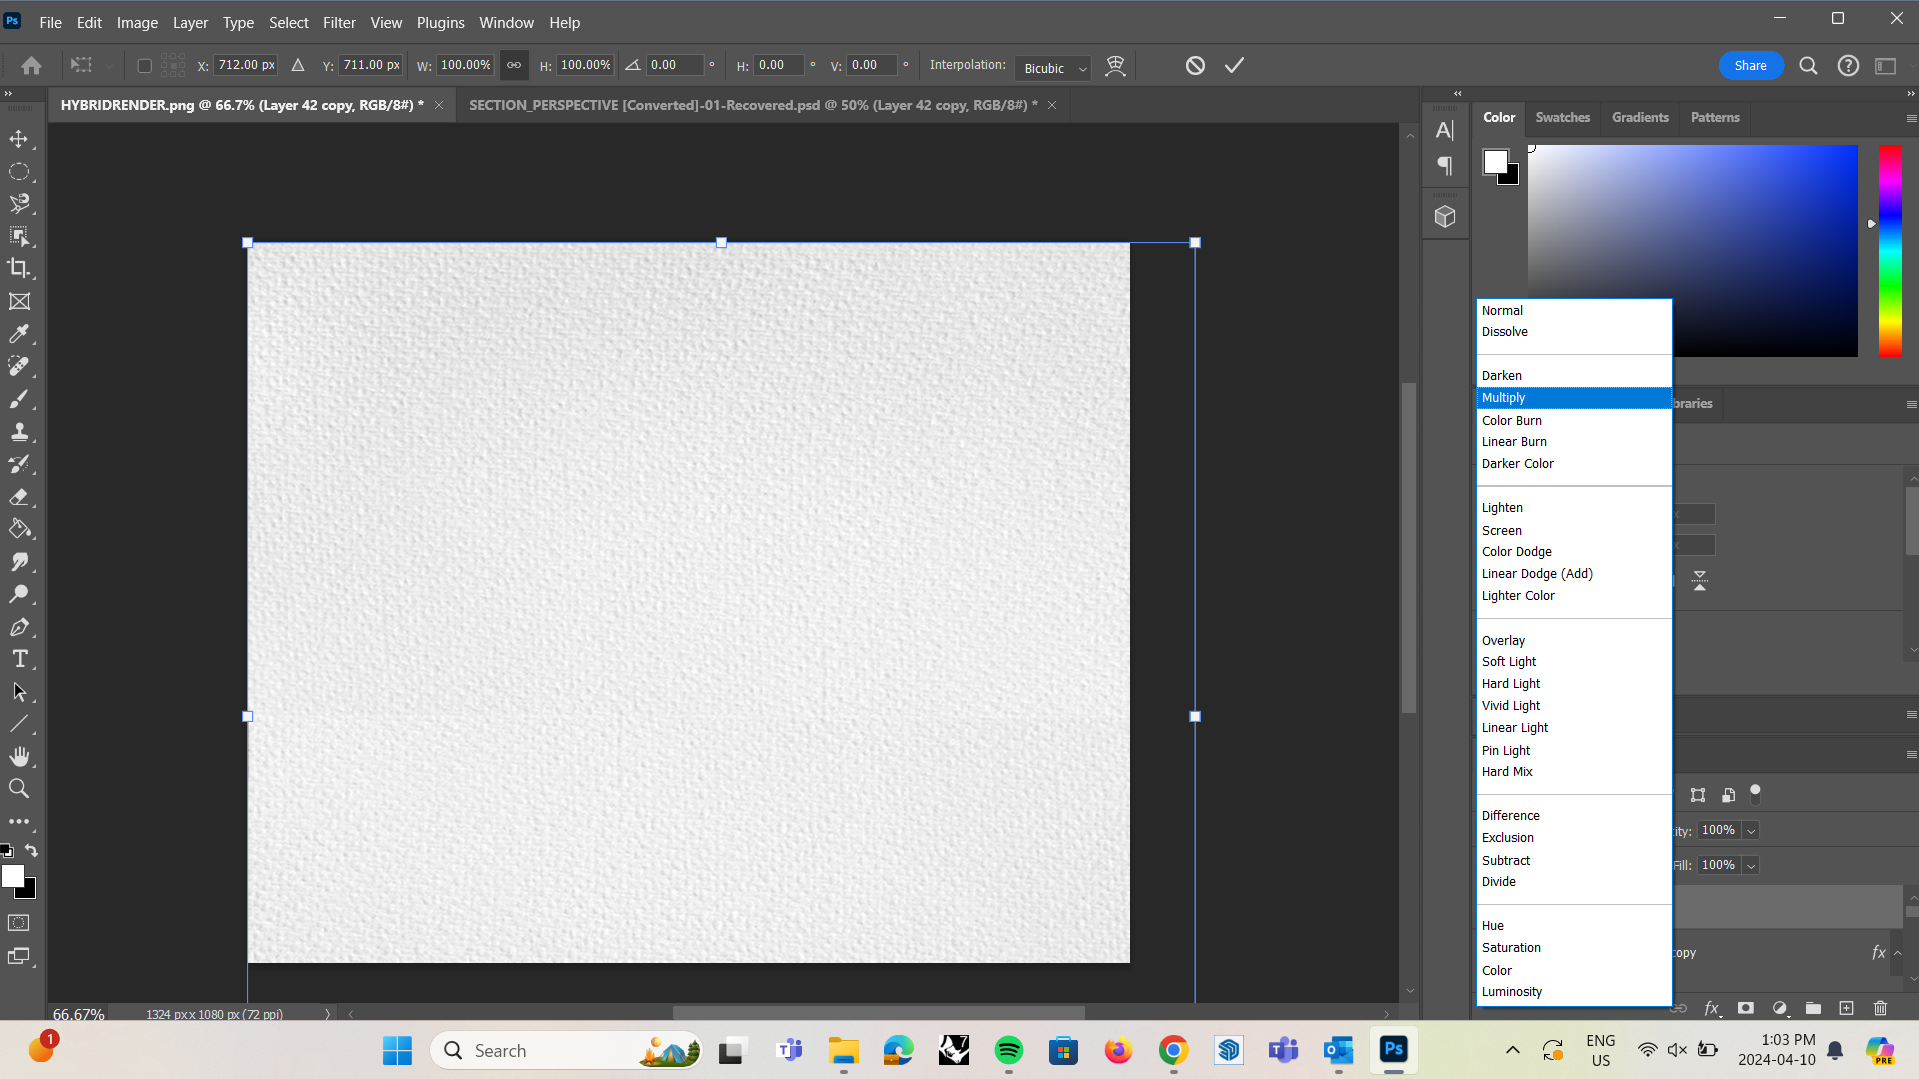
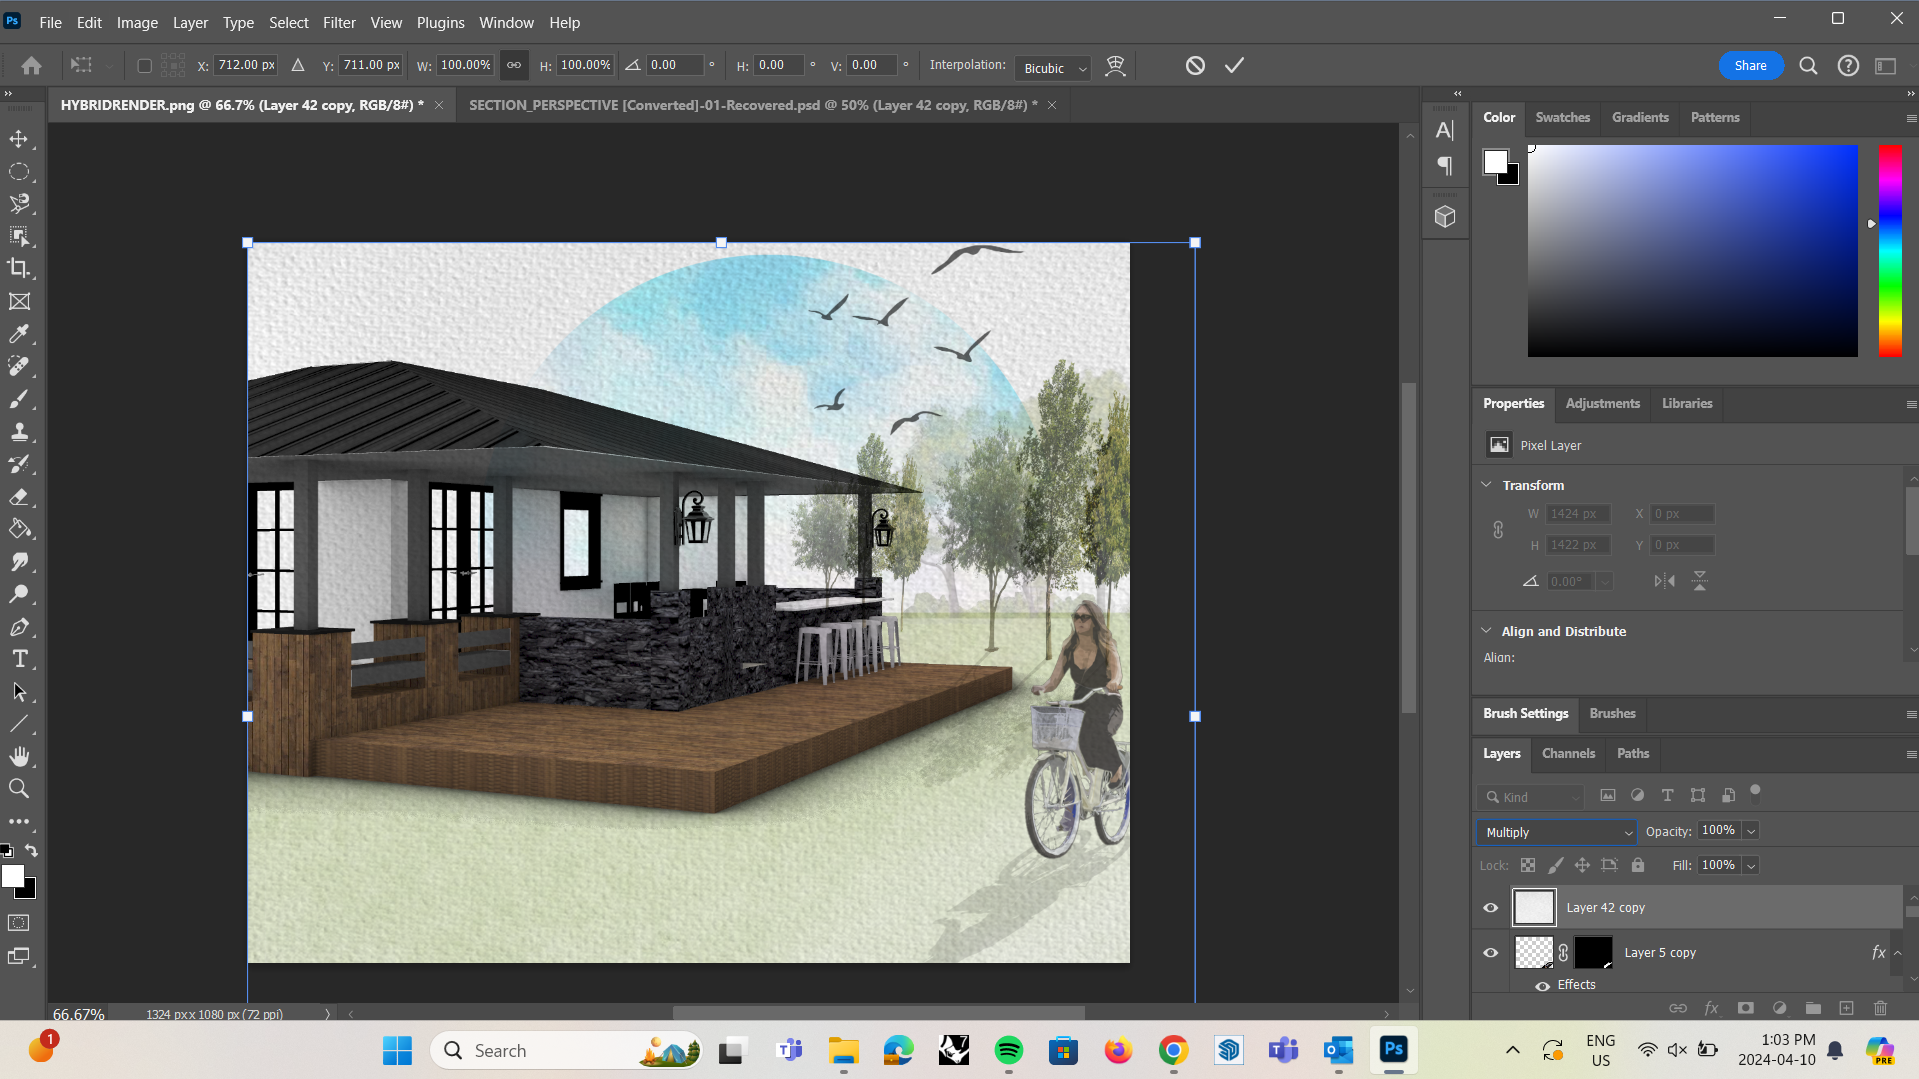
- Playing around with the 'Blending' Options and 'Opacity' settings on your textures can help blend your collage with your renders
- Using the 'Colour Overlay' tool under the 'fx' tab can also help alter the colour of the texture (good for shadows or changing the hue of the object/ texture)
Hybrid Rendering: Photoshop (Landscaping, People and Objects)
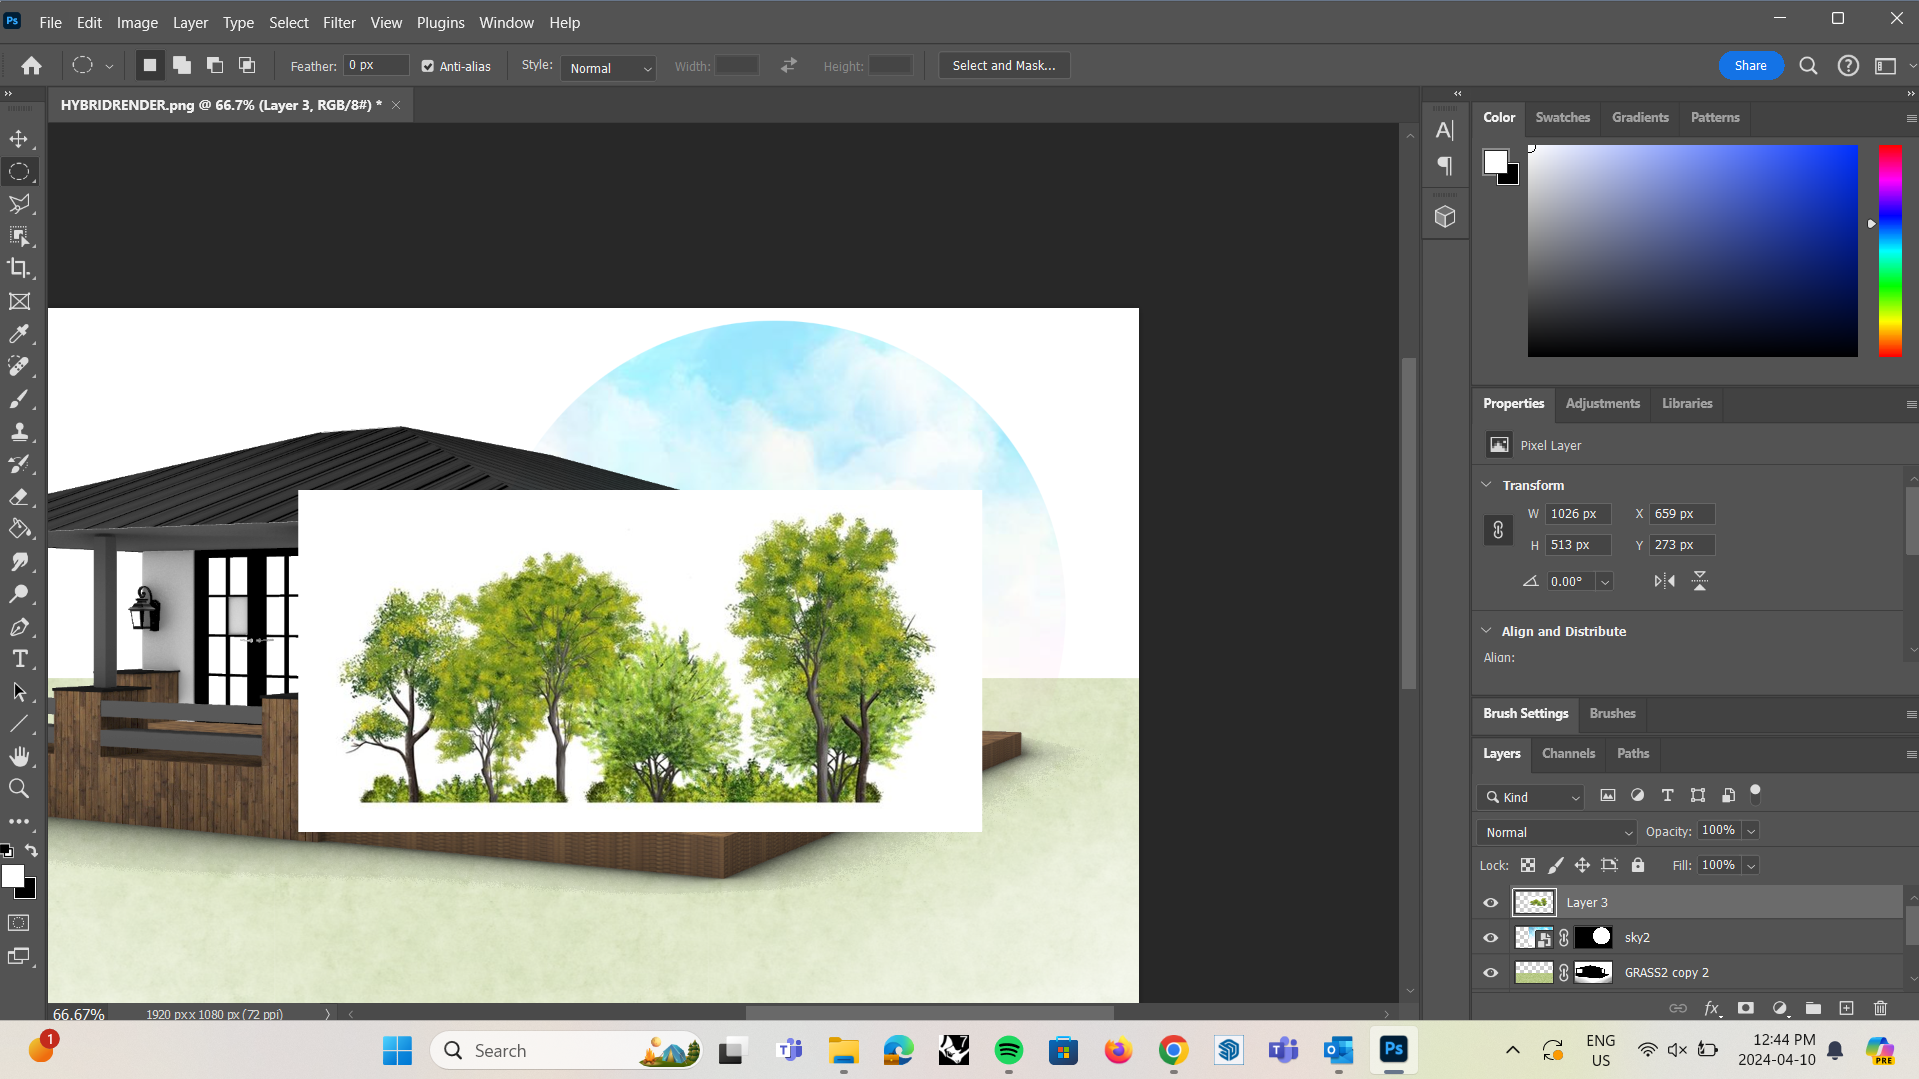
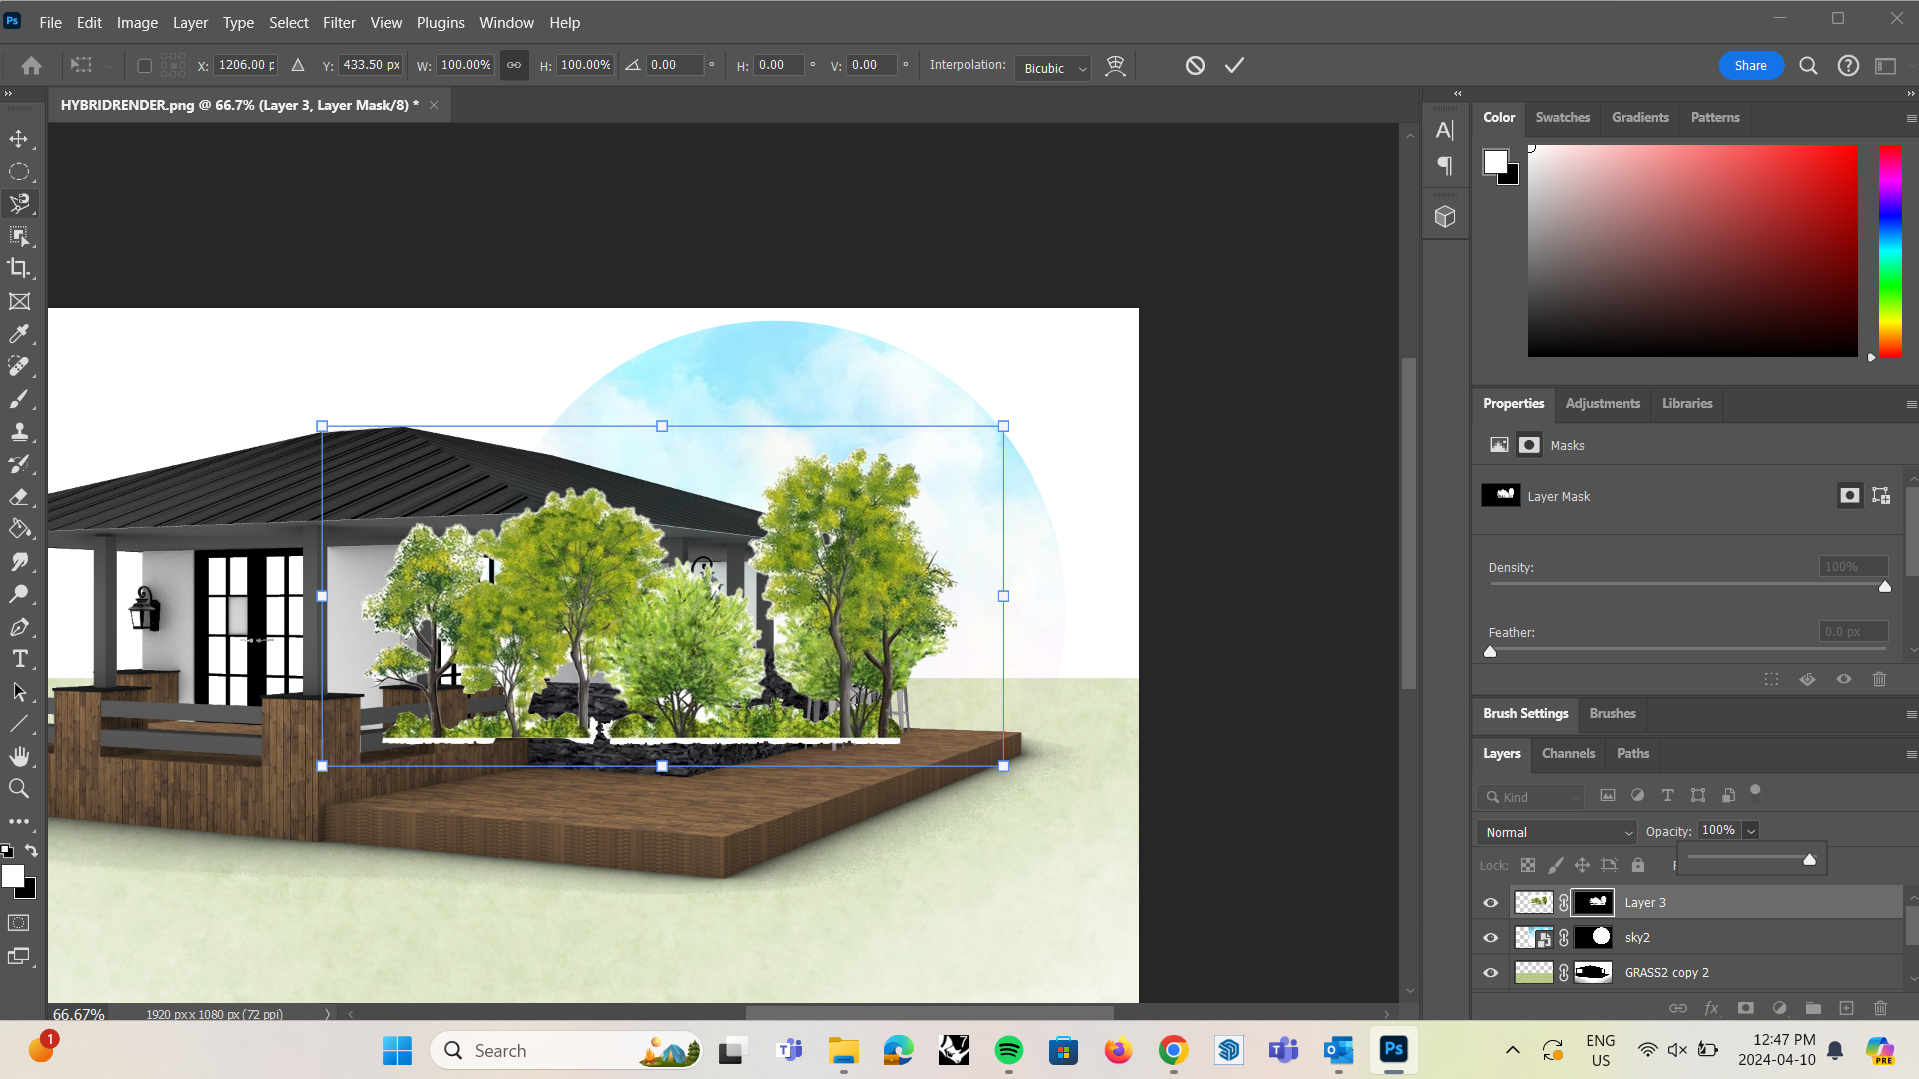
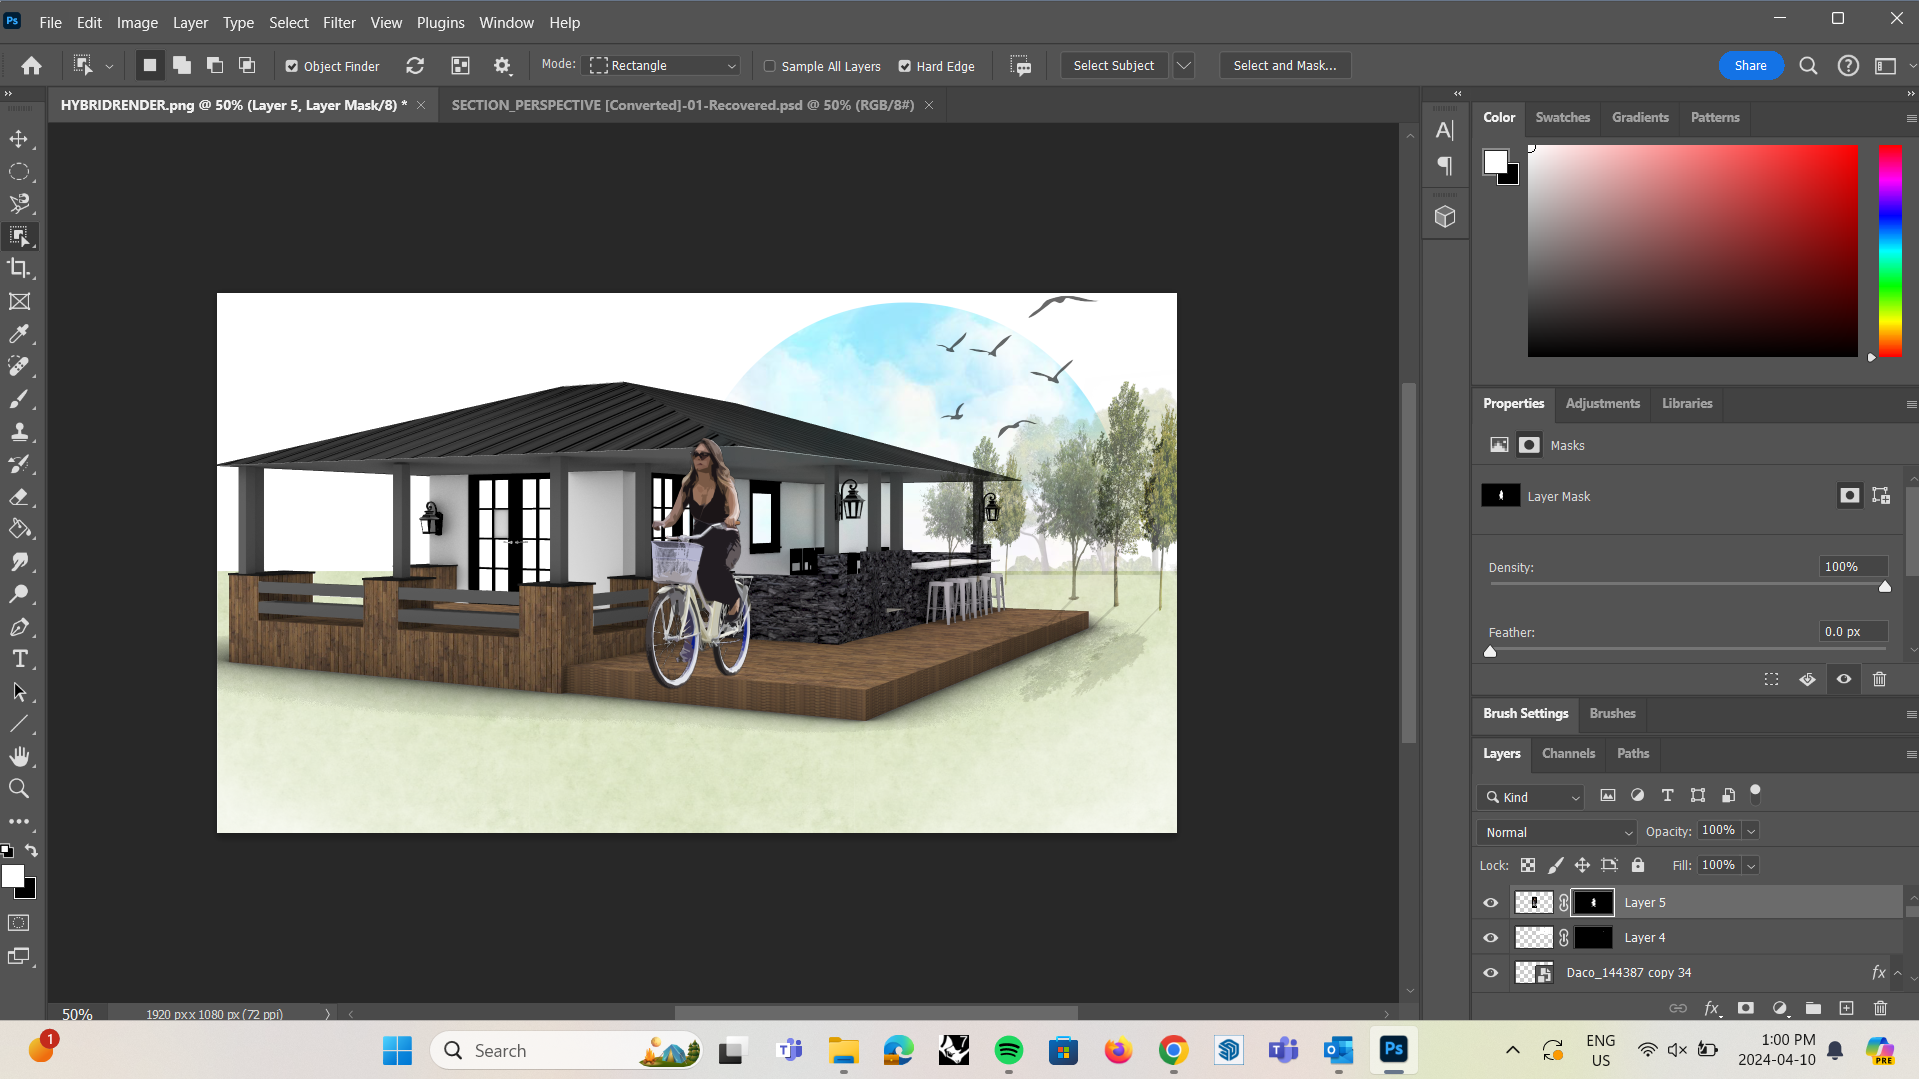
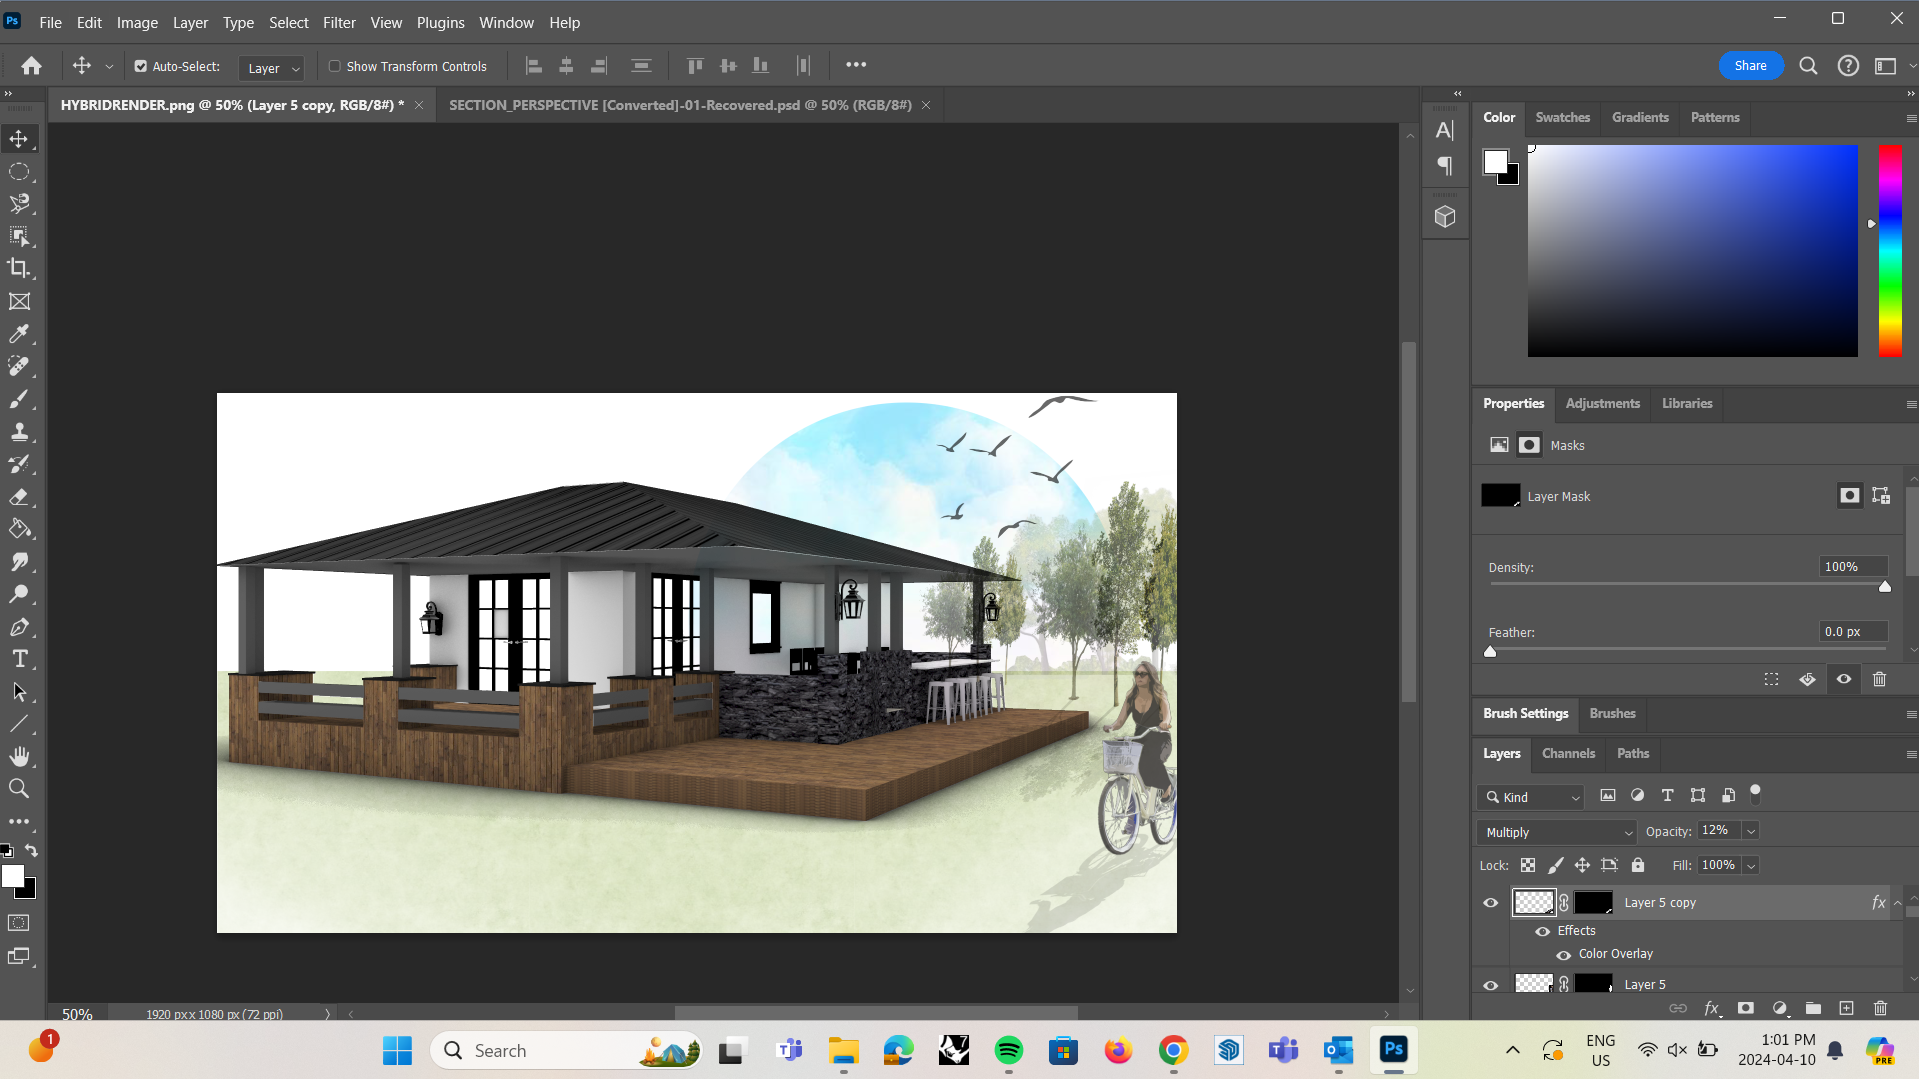
- Using the same methods of masking, blending and opacity, you can add landscaping elements, people and other objects to enhance your hybrid rendering
- TIP: there are websites that already have .png and .jpg files readily available to use in your collage. Google, Pinterest can also help you find high resolution images as well