Pier 9 Guide: How to Register Omax Waterjet Jobs to the Same Origin
by jlopezbi in Workshop > Metalworking
980 Views, 1 Favorites, 0 Comments
Pier 9 Guide: How to Register Omax Waterjet Jobs to the Same Origin
This Instructable is for Workshop Users at Pier 9.
Requirements for using this machine at Pier 9:
- Take General Workshop Safety Class
- Take Waterjet Basic Safety and Use class
This Instructable will walk you through setting up multiple Omax Waterjet Jobs with the same origin
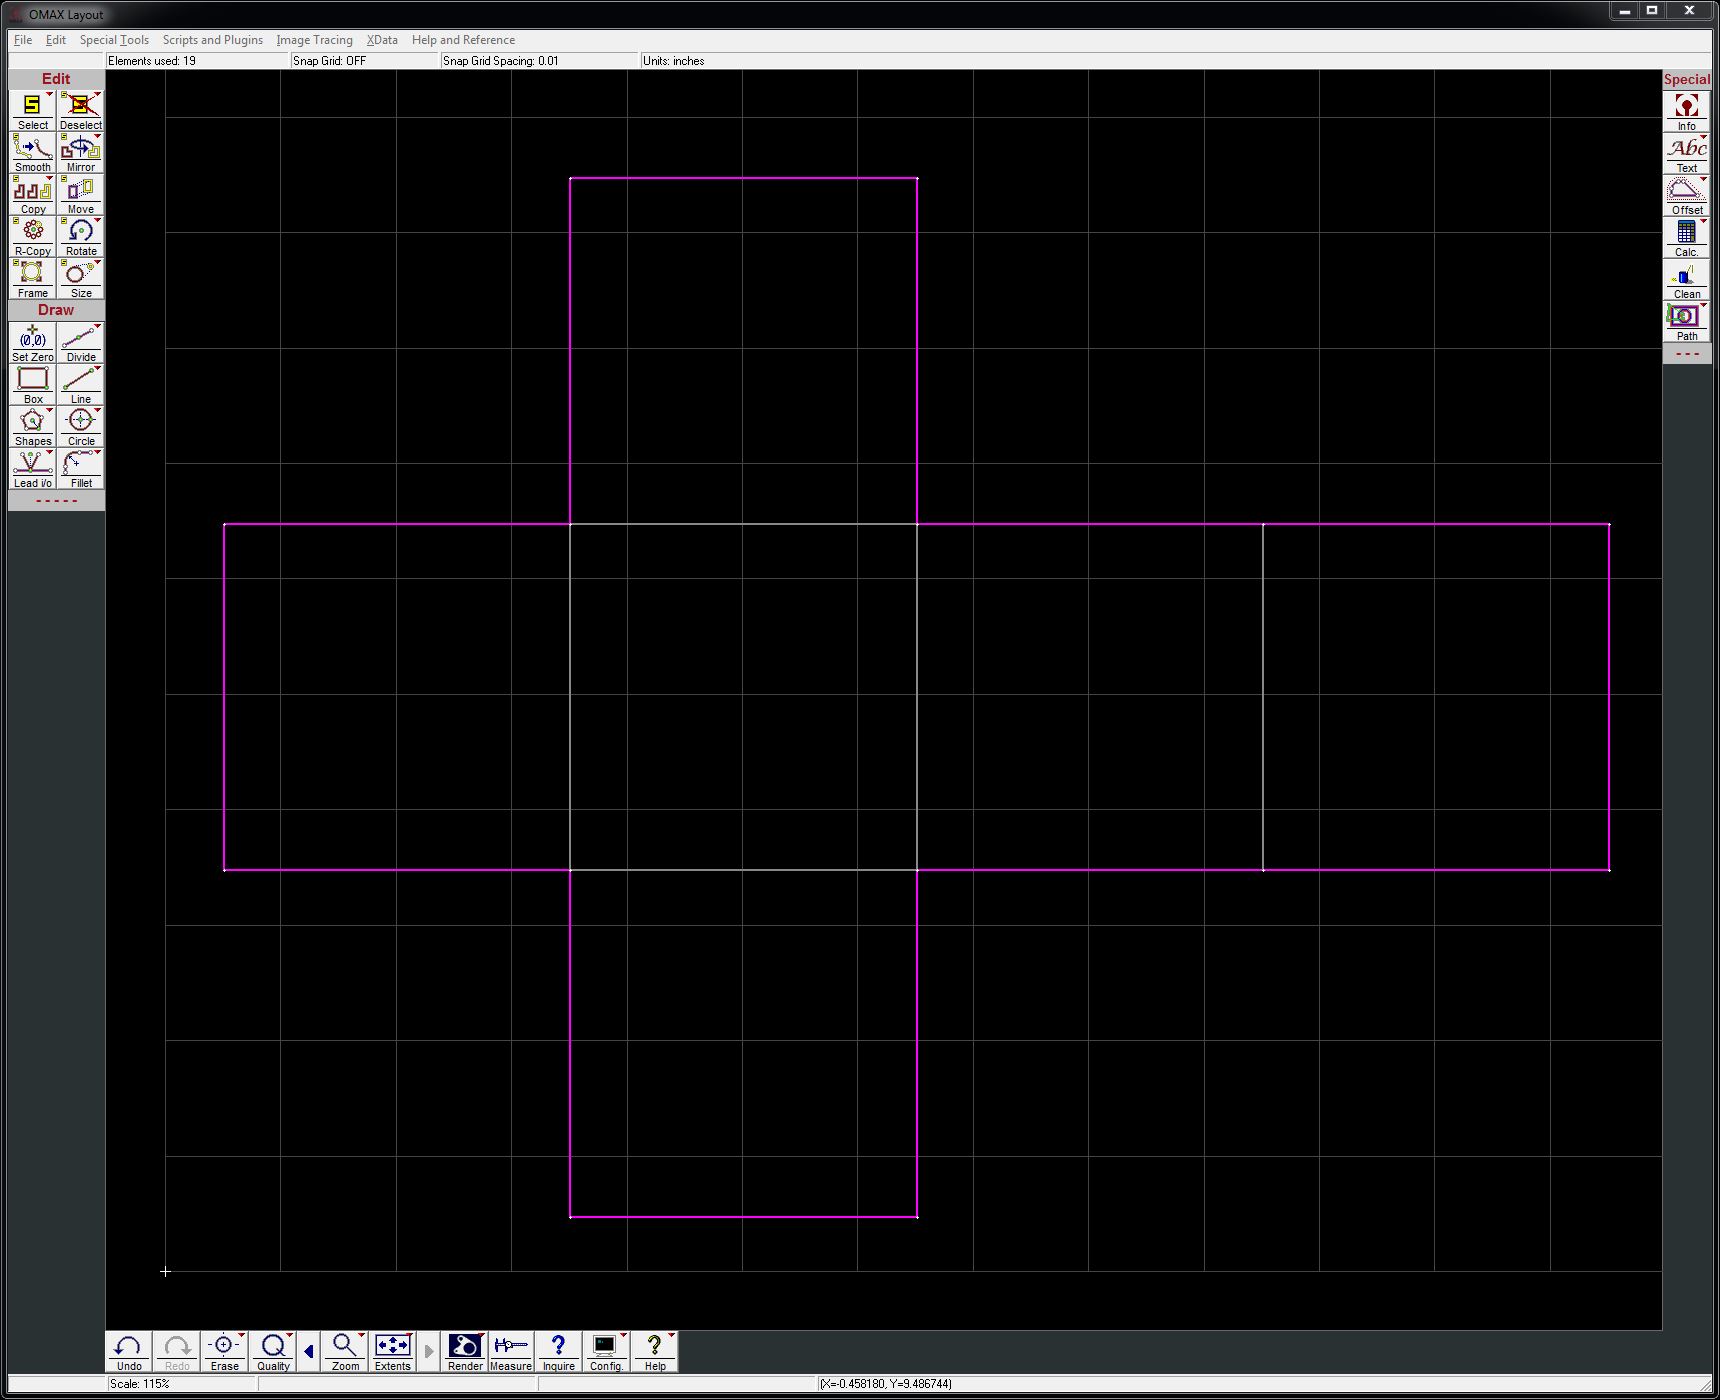
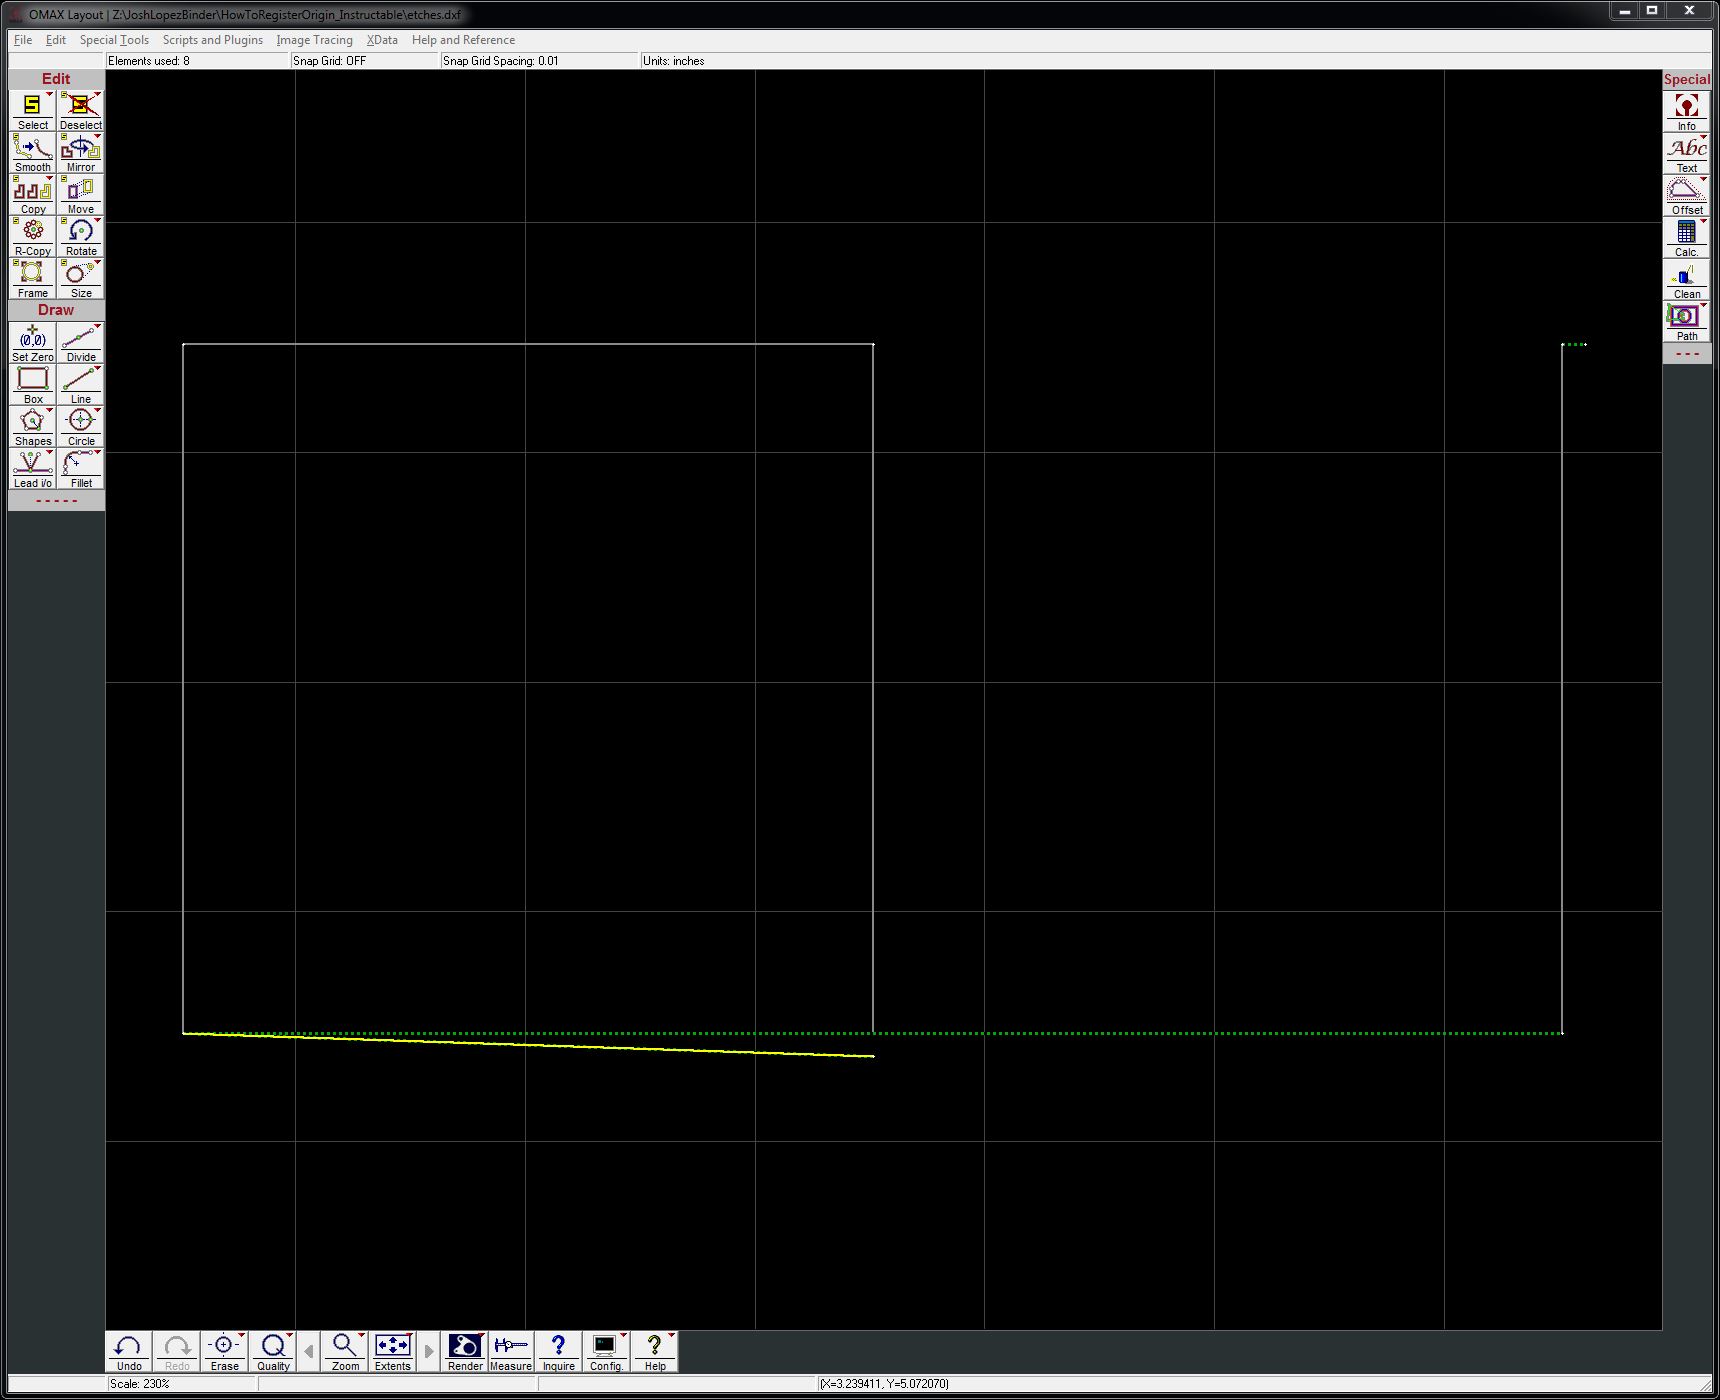
The Problem: Omax Layout's auto-path gets totally confused with multiple Cut lines and Etch lines meeting at a point.
The Solution: Separate your job into two files, etching and cutting, and assign the same origin to both files.
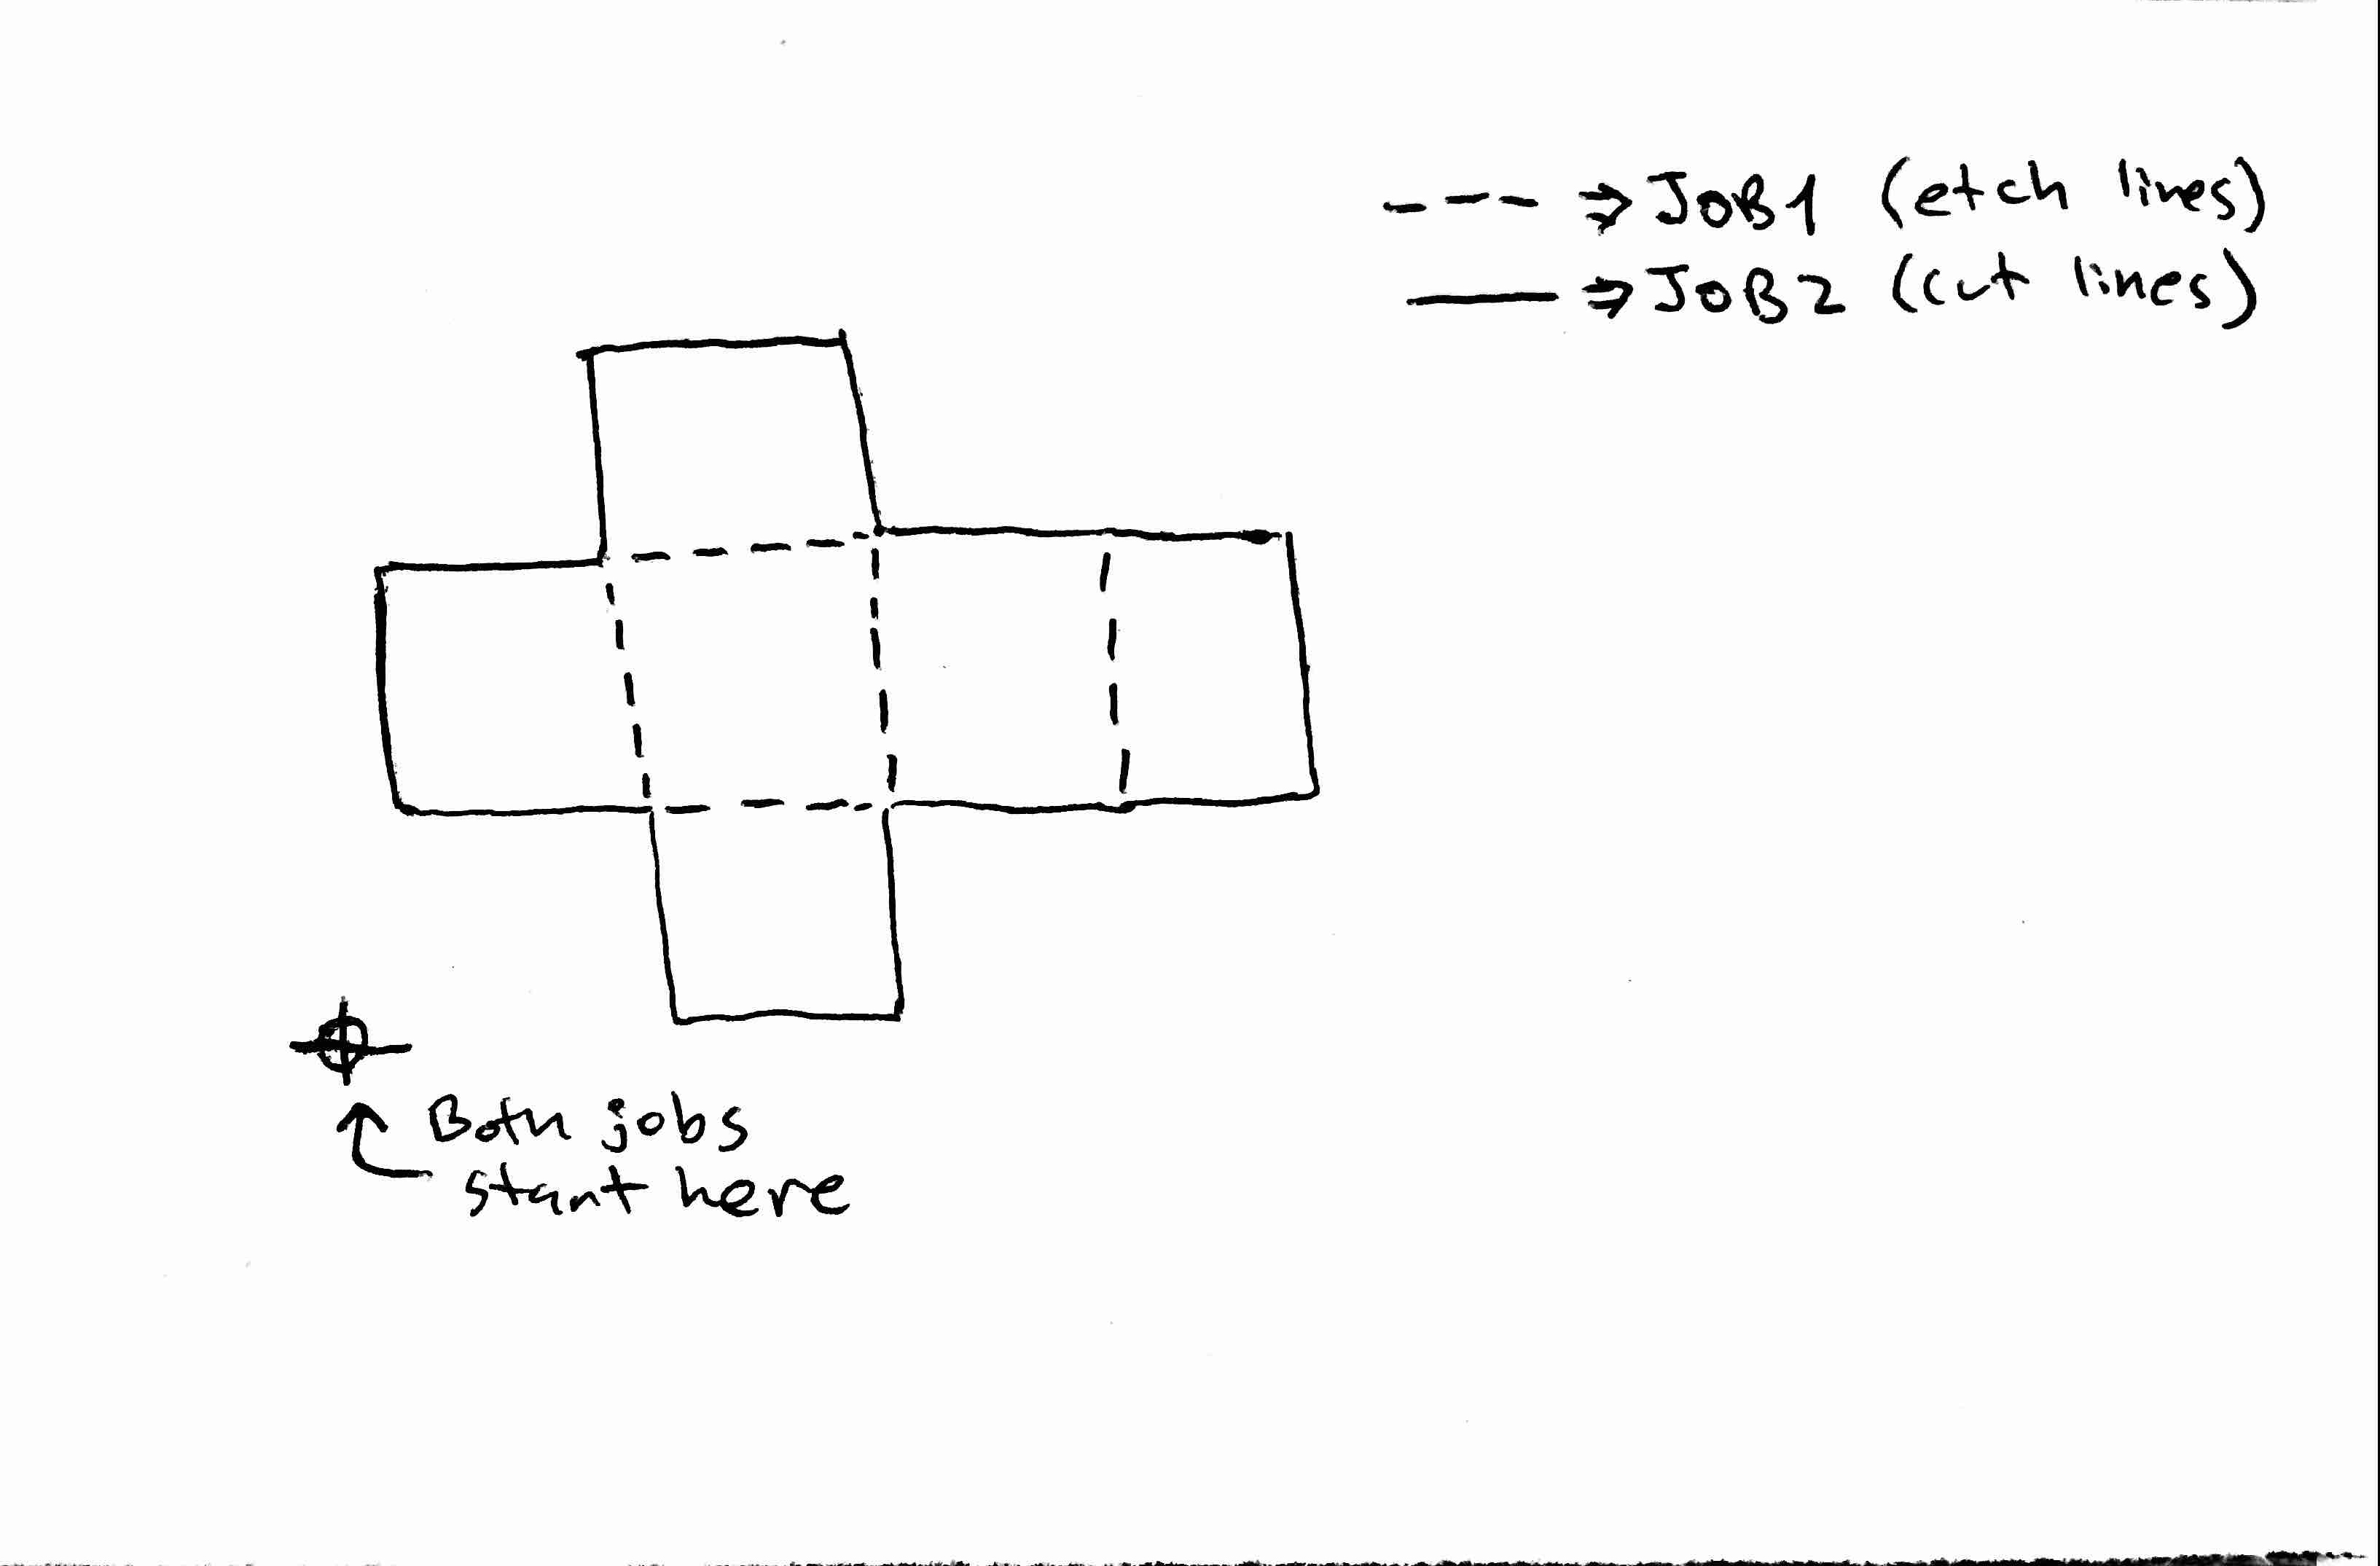
Example: In this instructable I will be using the part from the pictures above. In the Omax Layout screen-shot, the grey lines are etch lines and the purple lines are cut lines. I am going to break those two parts of my job up and manually set each origin to the same point.
Save Seperate Dxf's in Omax Layout
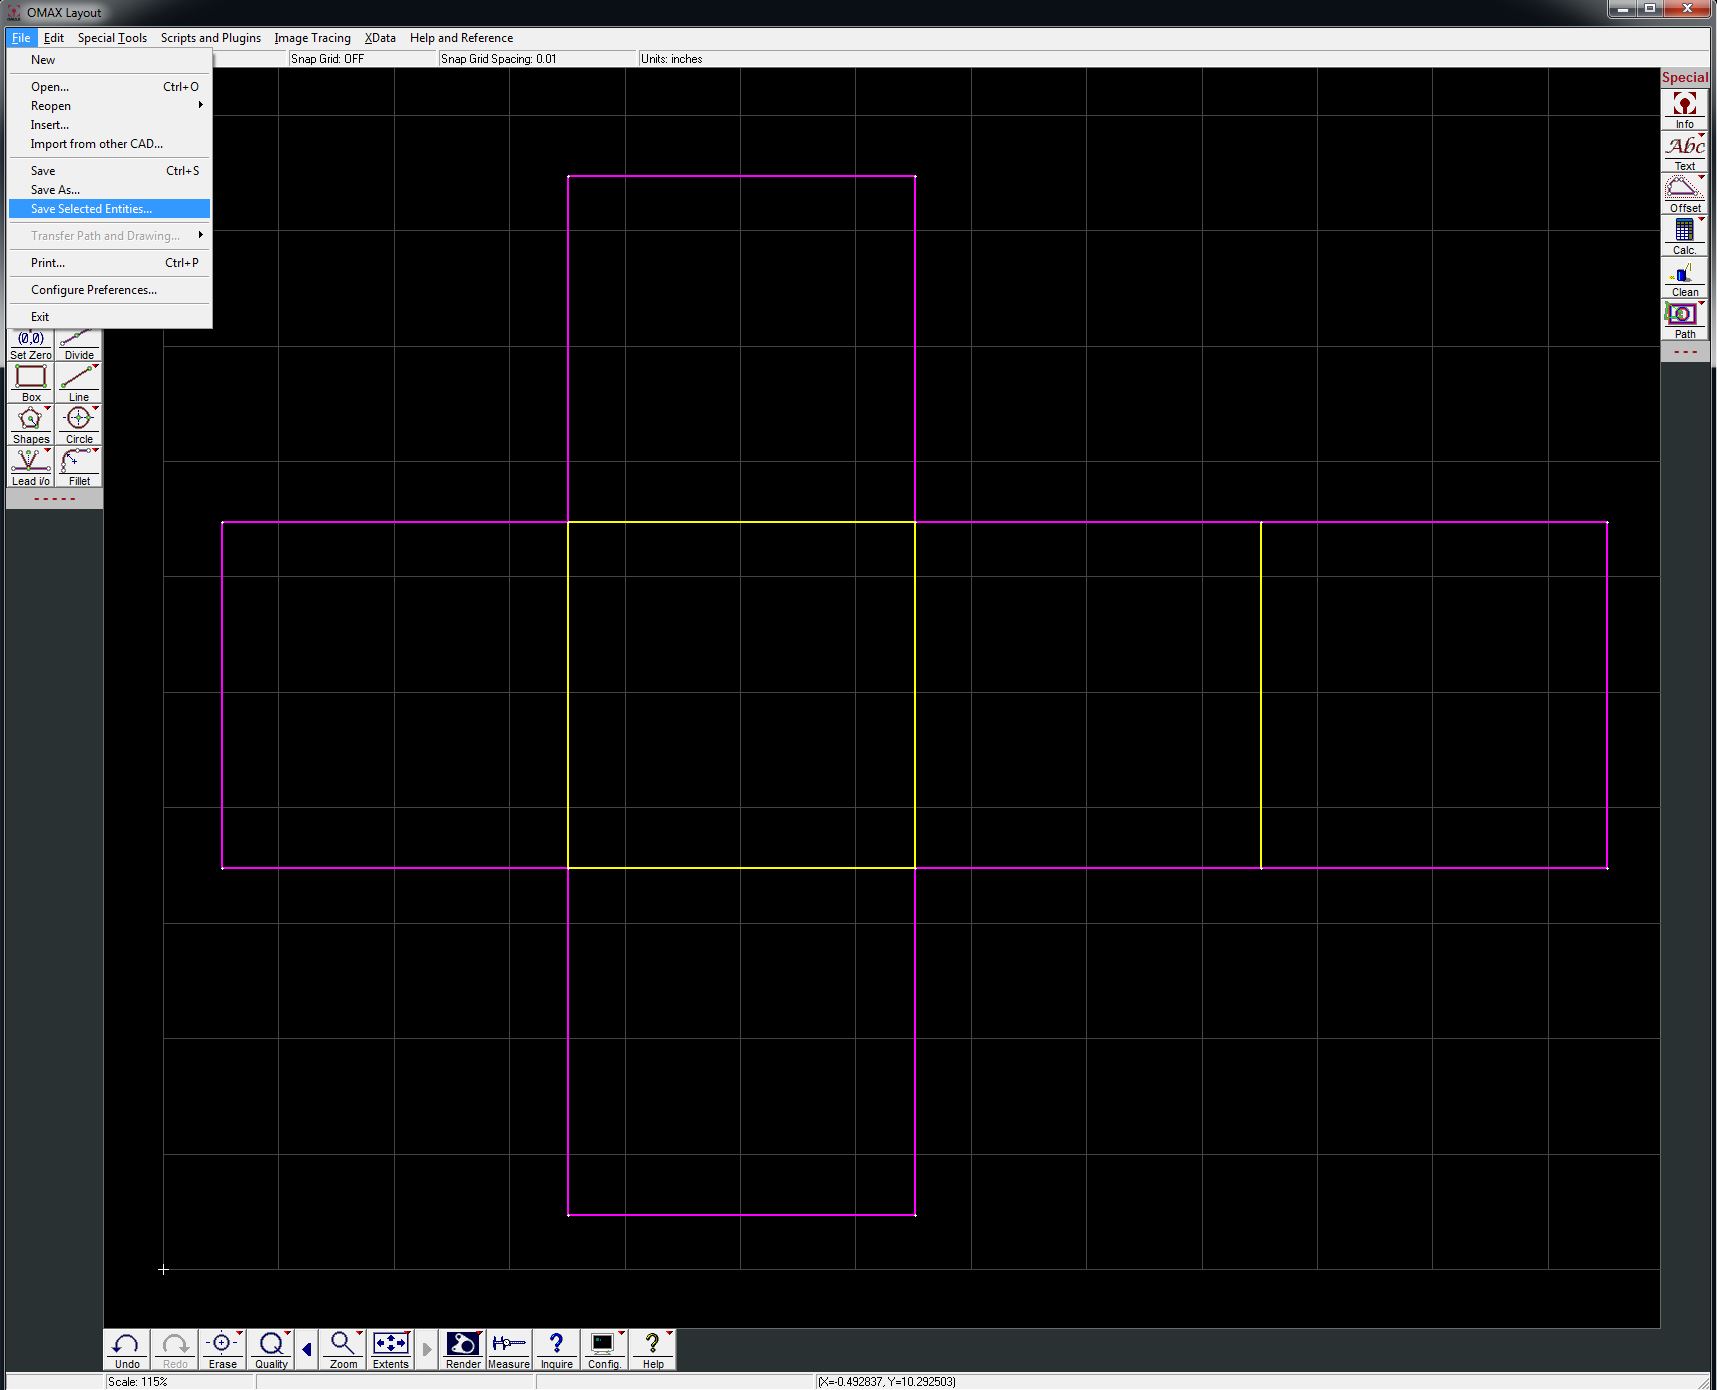
- Use Select tool to select all of the lines of the first job. In this case I am selecting all the etch lines. Selected lines appear yellow
- Click File > Save Selected Entities
- Save the file as a descriptive name like "job1" or "etches"
- Clear the selection using Deselect > All
- Repeat steps 1-3 but for the lines of the second job. I named this second files "cuts"
Create Lead-Ins and Lead-Outs
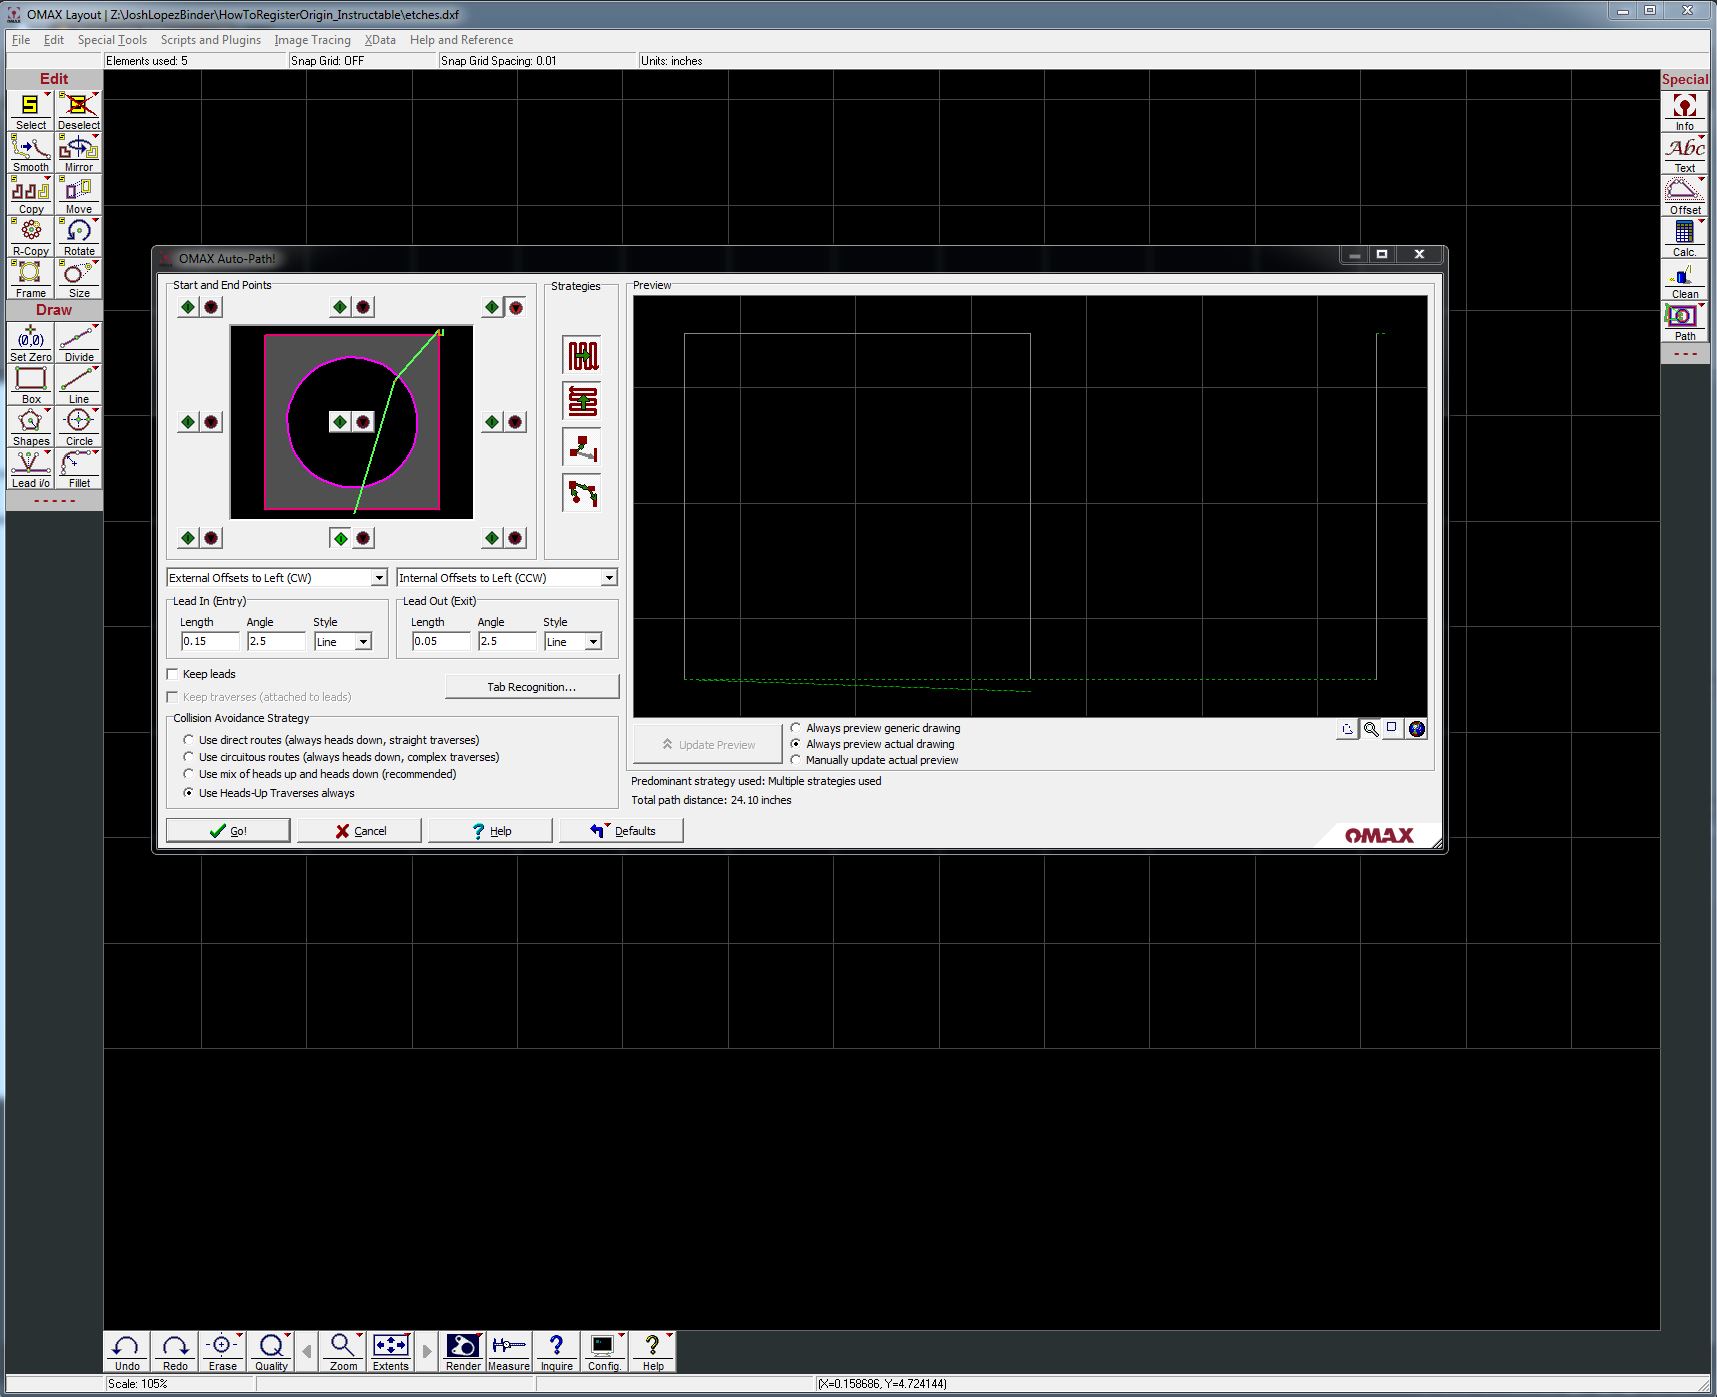
- Open one of the newly saved files. In this case I am doing the "etches" file
- use Lead I/O > AutoPath (advanced and configure) to add lead-ins and lead-outs
Replace First Traverse Line
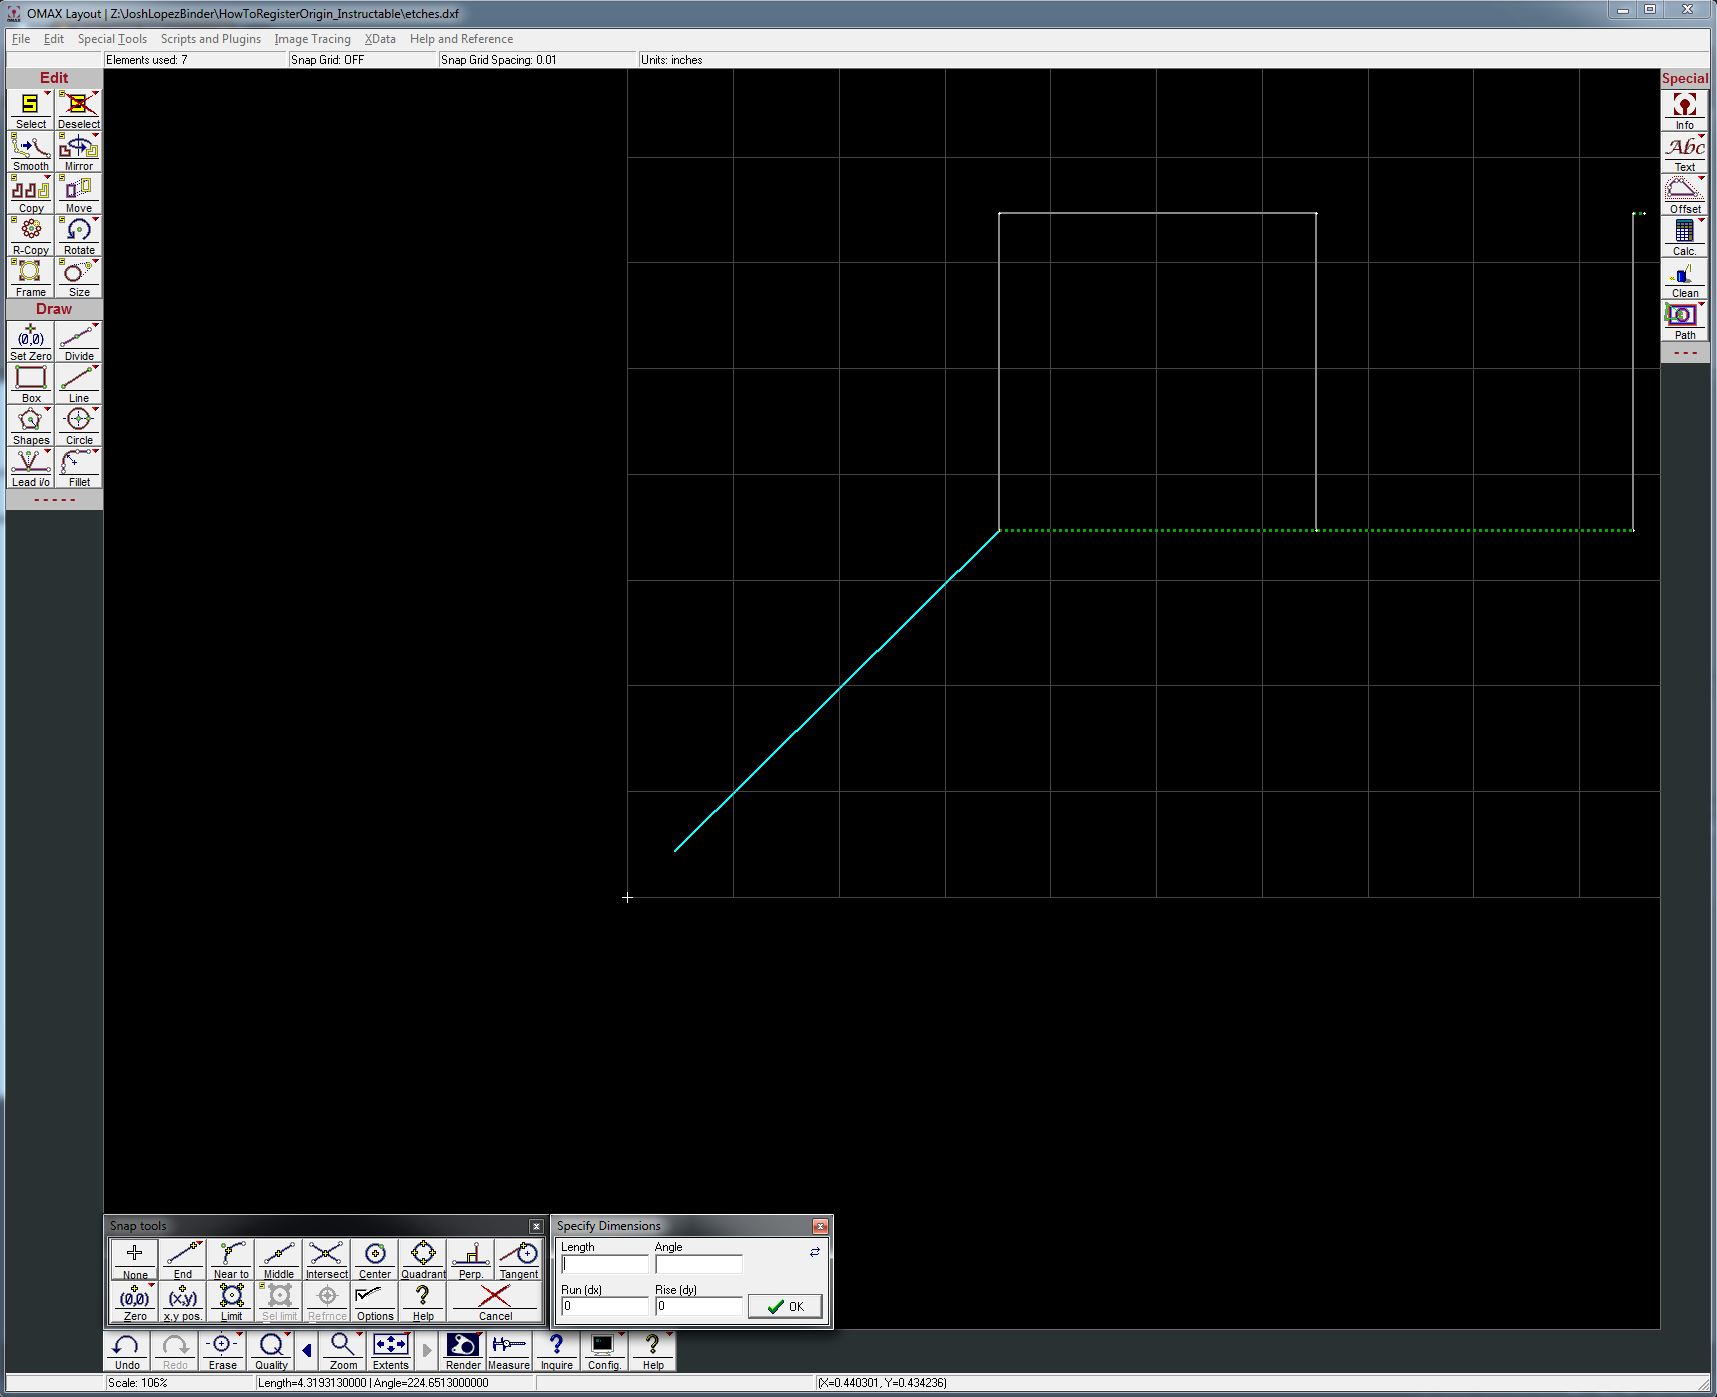
- Use the Select tool to select the first green line (traverse or heads-up traverse). Note where the line connects to the rest of the job. Lets call that point P.
- Delete the line.
- Call up the Line tool (pres "L")
- Press "E" for end-snap, start the new line at point P.
- Snap the start of the new line to the origin of the drawing, using "Z"
- Run the Path command to save out the toolpath file (.ORD file)
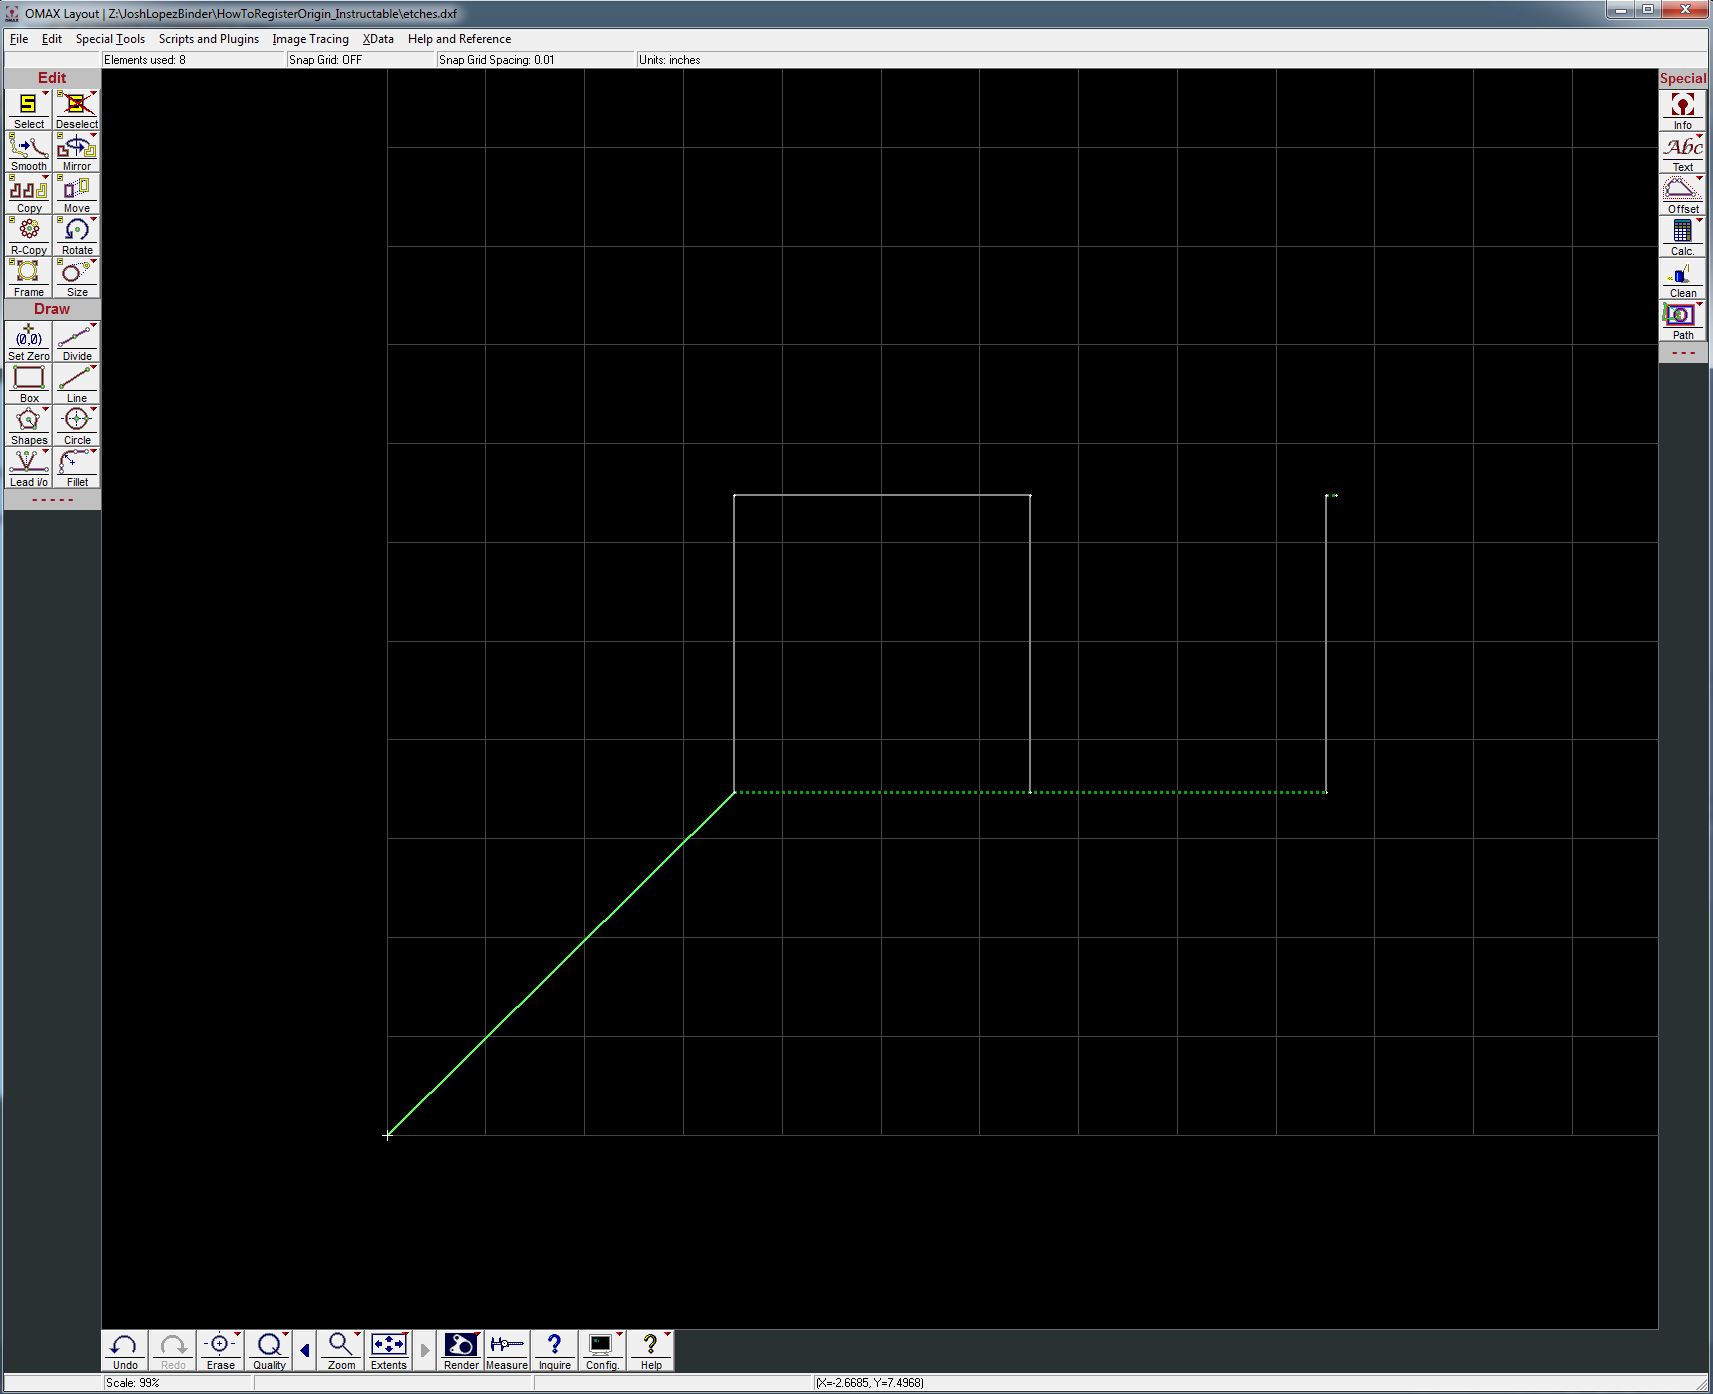
Repeat Steps 2 and 3 for the Other Saved Job
Now both jobs have a start line that begins at the origin. Because the two files were saved out from the original base file, they lines are perfectly registered to one-another.
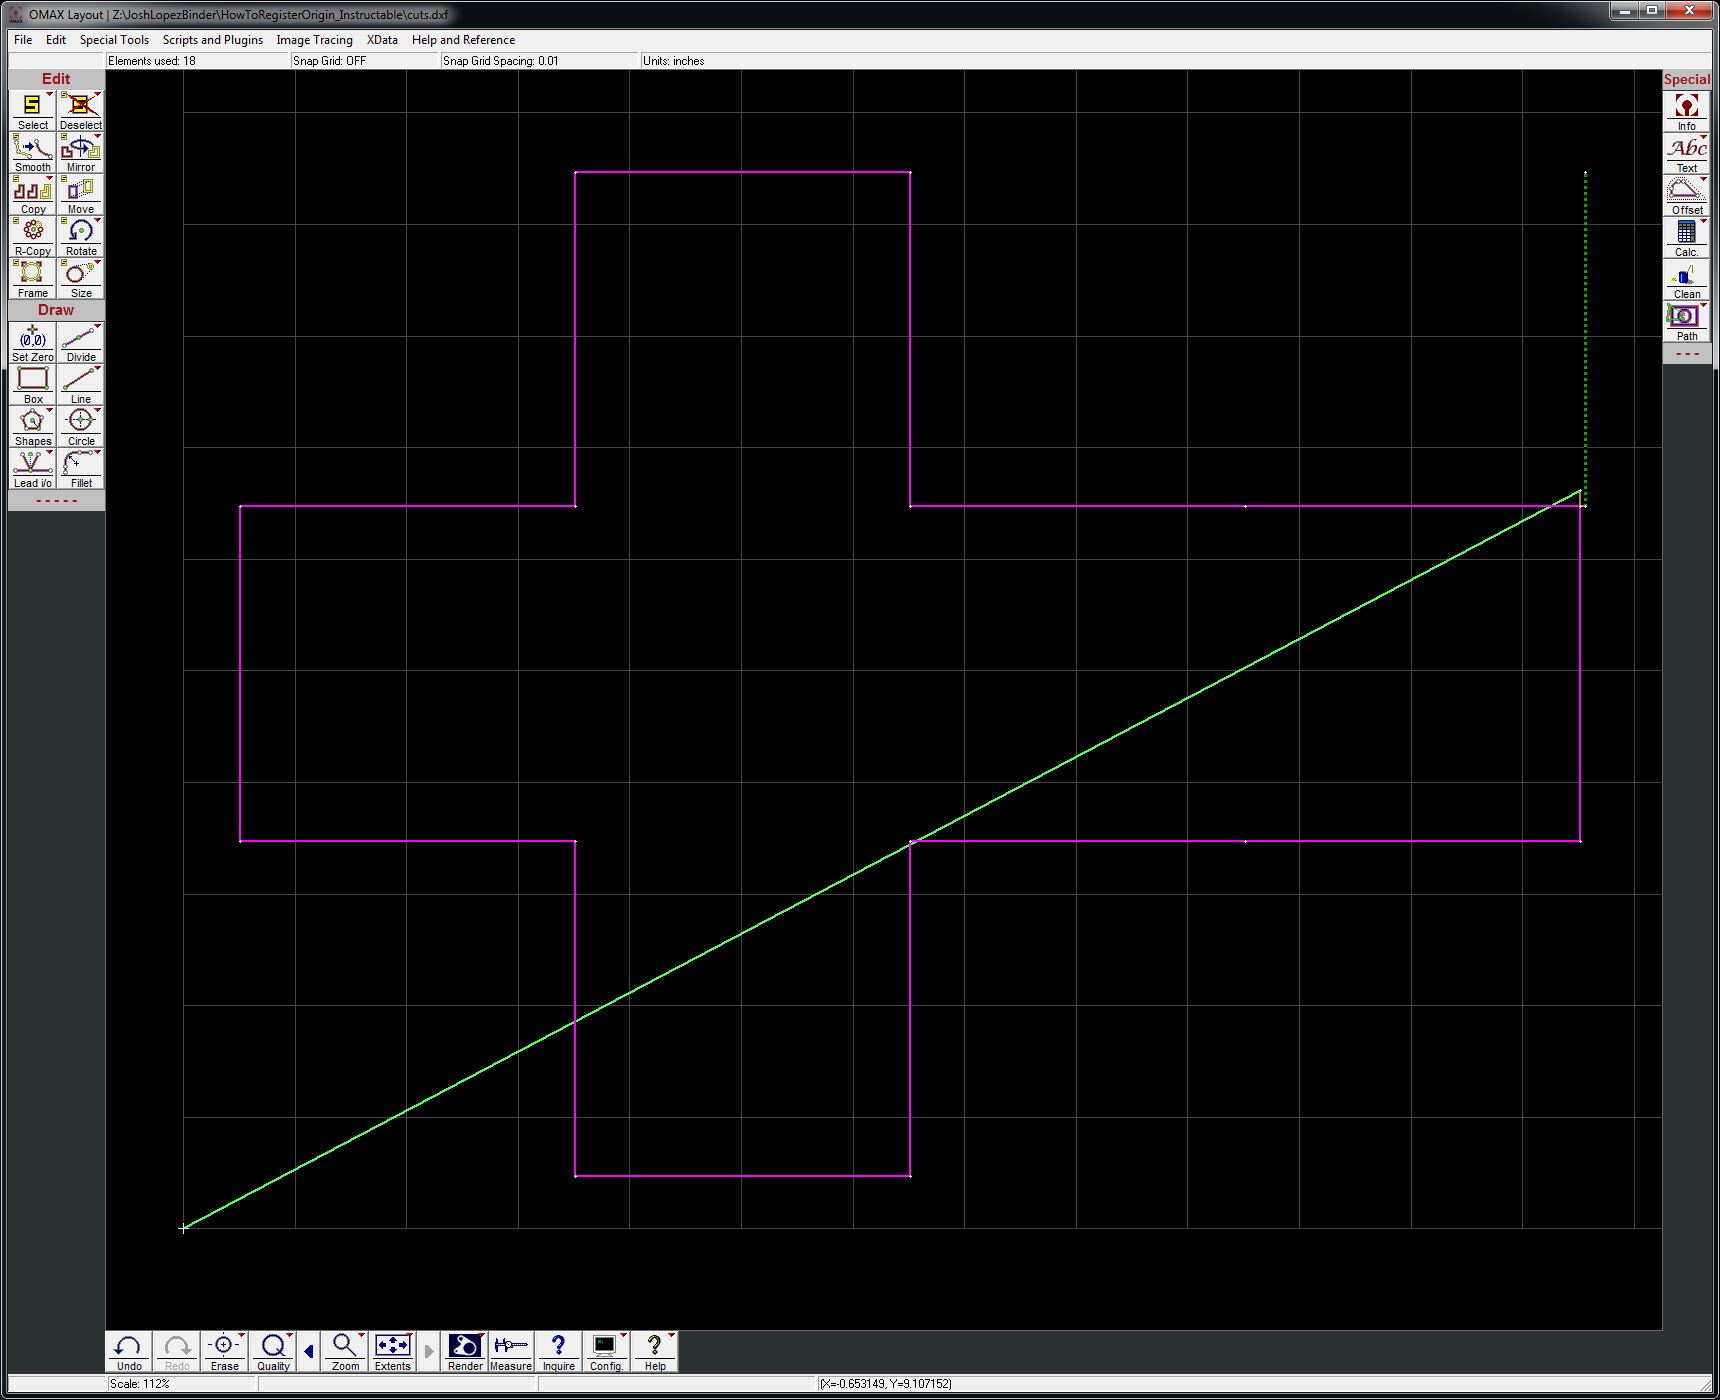
Run Jobs
- Run the first job..
- Move the waterjet back to the path-start
- Run the second job.